
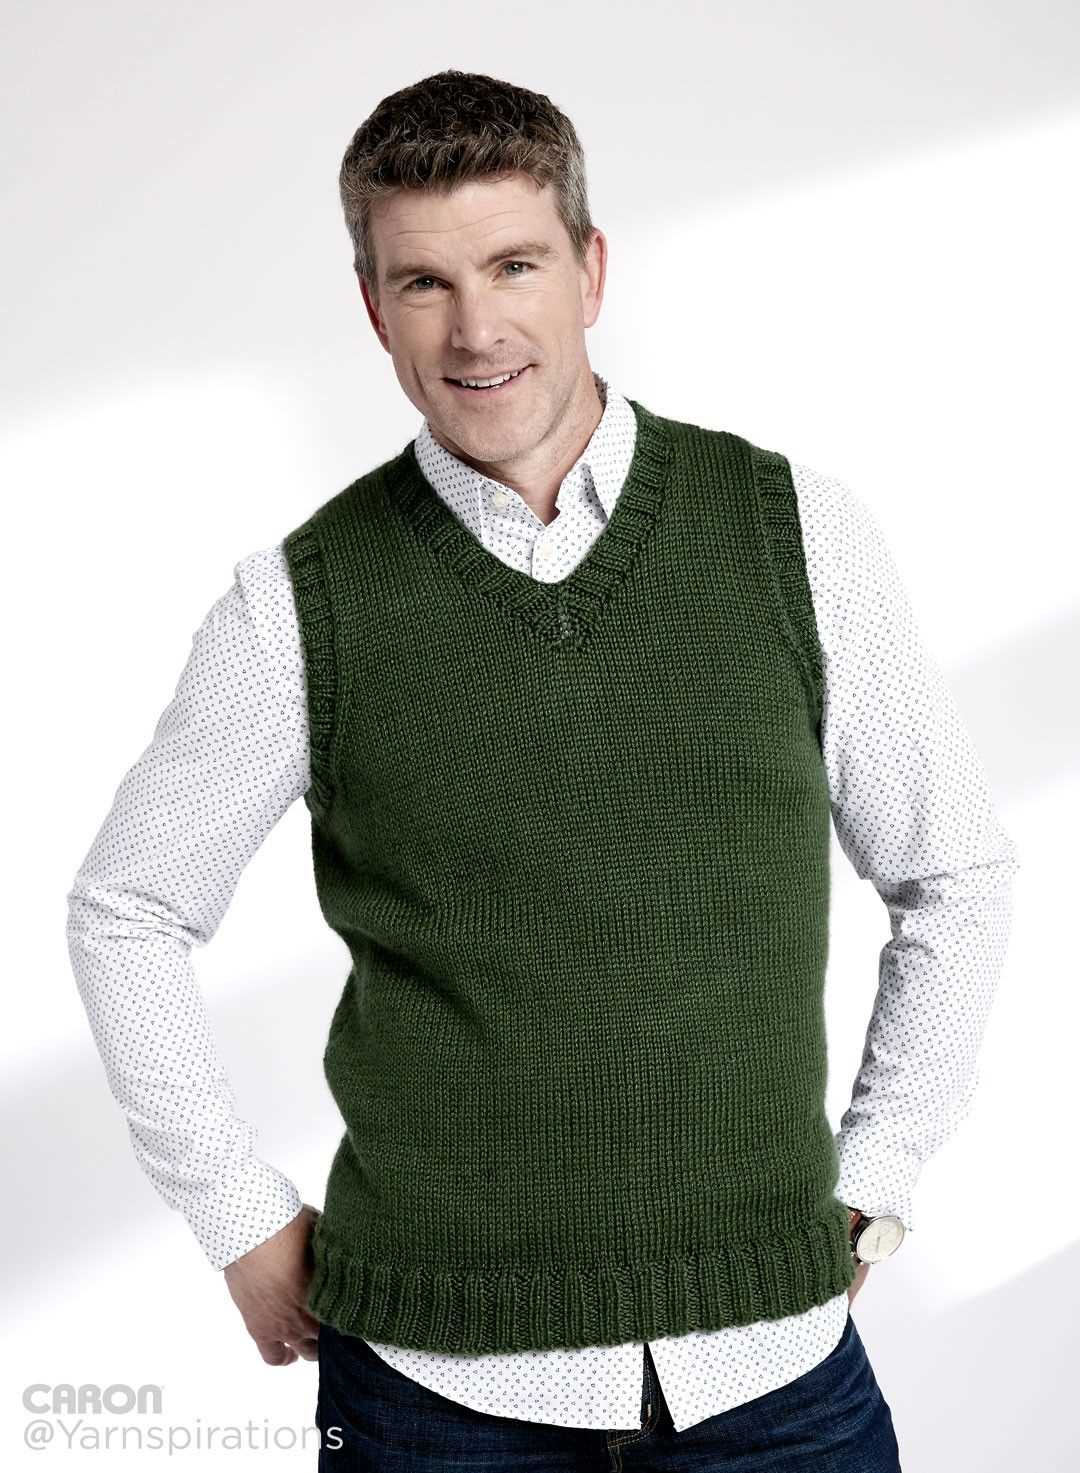
If you’re looking for a stylish and versatile addition to your wardrobe, a V neck vest is a great choice. Vests are perfect for layering over a shirt or under a jacket, adding an extra layer of warmth while still keeping a stylish and put-together look. Plus, knitting your own vest allows you to customize it to your own exact measurements and preferences.
A V neck vest knit pattern is a classic design that never goes out of style. The V neck adds a touch of elegance to the vest, making it suitable for both formal and casual occasions. Whether you’re a beginner or an experienced knitter, there are plenty of V neck vest knit patterns available to suit your skill level and style.
When choosing a V neck vest knit pattern, it’s important to consider the type of yarn you want to use. Thicker yarns will create a warm and cozy vest, perfect for colder climates, while lighter weight yarns will result in a more lightweight and breathable garment. Additionally, the type of stitch pattern used in the pattern will also affect the look and feel of the vest. From simple garter stitch to intricate cable patterns, there are endless possibilities to choose from.
What is a V neck vest?
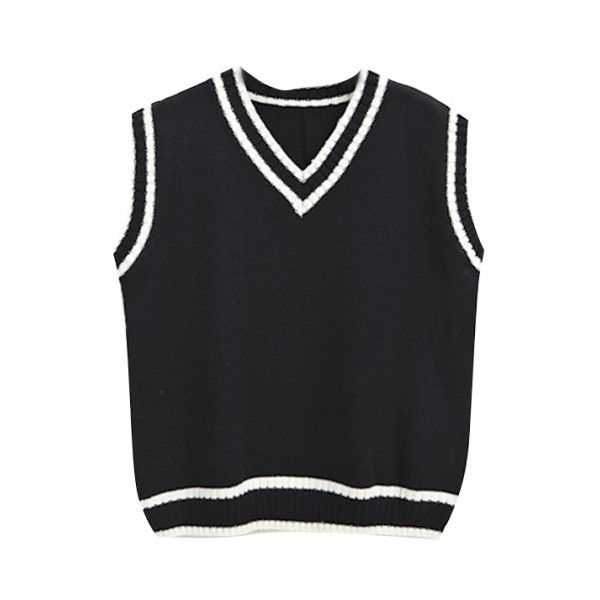
A V neck vest is a type of sweater or knitwear that is sleeveless and features a V-shaped neckline. It is a versatile and popular clothing item that can be worn by both men and women. The V neck design of the vest creates a flattering and elongating effect on the upper body, making it a stylish and flattering choice for many different occasions.
One of the main characteristics of a V neck vest is the absence of sleeves. This makes it a great option for layering over shirts or blouses, as it provides warmth and style without adding bulk or restricting arm movement. The V neck itself adds a touch of elegance and sophistication to the overall look, making it suitable for both casual and more formal settings.
V neck vests are typically made from knit materials, such as wool, cotton, or acrylic. This makes them comfortable to wear and perfect for colder seasons. They can be plain and simple in design, or feature various patterns and textures, such as cables or ribbing. Some vests also have buttons or zip closures at the front, adding additional style and functionality.
Overall, a V neck vest is a versatile and timeless clothing item that can be easily incorporated into any wardrobe. Its classic design and flattering neckline make it a popular choice for both men and women, and it can be styled in a variety of ways to suit different personal preferences and occasions.
Why knit a V neck vest?
There are several reasons why knitting a V neck vest can be a great project for any knitter. Firstly, V neck vests are versatile and can be worn in a variety of settings and seasons. They can be dressed up or down, making them a practical and stylish addition to any wardrobe. Whether you’re attending a casual gathering or a formal event, a V neck vest can effortlessly elevate your look.
Secondly, knitting a V neck vest allows you to personalize and customize your garment. You can choose your favorite color yarn, experiment with different stitch patterns, or even add embellishments like buttons or pockets. This creative freedom allows you to create a one-of-a-kind piece that reflects your personal style and preferences.
A V neck vest is also a great option for those looking to improve their knitting skills. The V neck shape adds an element of challenge and complexity to the project, making it a great opportunity to learn and practice new techniques. You can practice shaping the neckline, working with decreases to create a flattering fit, and mastering different stitch patterns.
Lastly, knitting a V neck vest is a practical endeavor. Vests are layering essentials that can add warmth without the bulkiness of a sweater. They are perfect for transitional seasons or for those who prefer to have their arms unrestricted. Knitting a V neck vest is an investment in a versatile and timeless garment that will serve you well for years to come.
Choosing the right yarn for your V neck vest
When knitting a V neck vest, one of the most important factors to consider is the type of yarn you will be using. The choice of yarn can greatly affect the final look and feel of your garment, so it is important to choose wisely.
Fiber content: The first thing to consider is the fiber content of the yarn. There are many different types of fibers available, each with their own properties and characteristics. For a V neck vest, it is recommended to use a yarn that is soft and comfortable against the skin. Natural fibers like merino wool, alpaca, and cashmere are popular choices for their warmth and luxurious feel. Synthetic fibers like acrylic and nylon can also be used, as they are often more affordable and easier to care for.
Weight: The weight of the yarn is also an important factor to consider. A V neck vest is typically a medium-weight garment, so you will want to choose a yarn that is neither too thick nor too thin. Light worsted or DK weight yarns are good options, as they provide enough warmth and drape while still being relatively easy to work with. It is also important to consider the gauge of your pattern and choose a yarn that will give you the desired stitch count and fabric density.
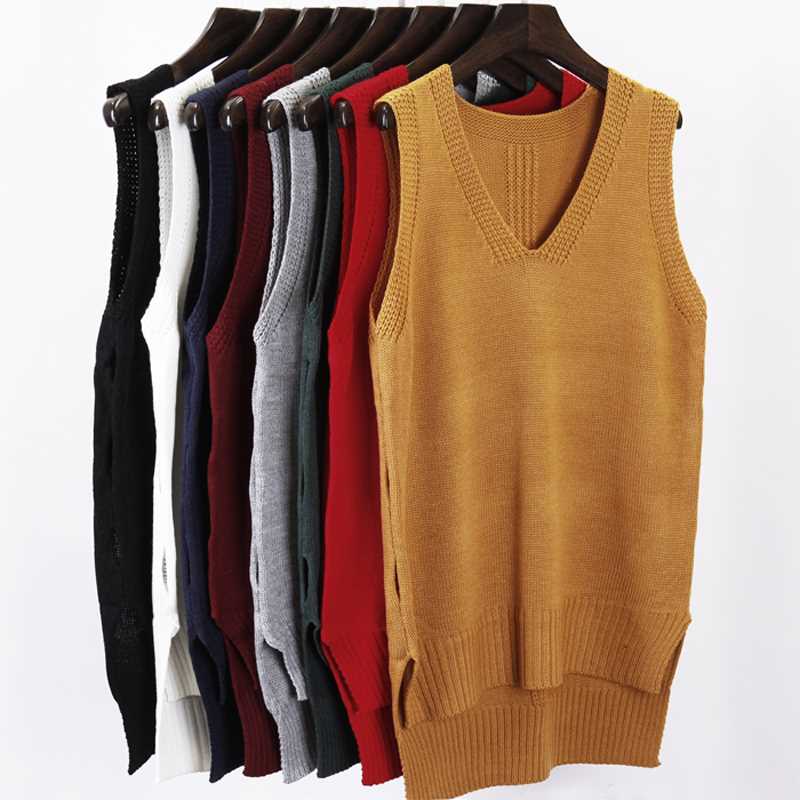
Color and texture: Lastly, you should consider the color and texture of the yarn. The color of the yarn can greatly impact the overall look of your V neck vest. Neutral colors like black, gray, and cream are classic choices that can easily be paired with different outfits. On the other hand, bold and vibrant colors can add a pop of personality to your garment. Texture is also important – a smooth yarn will give you a more polished look, while a textured or variegated yarn can add visual interest and depth to your knitting.
Overall, choosing the right yarn for your V neck vest is all about finding a balance between comfort, practicality, and aesthetics. By considering factors like fiber content, weight, color, and texture, you can ensure that your finished garment will be both stylish and comfortable to wear.
Tools needed for knitting a V neck vest
Knitting a V neck vest requires a few essential tools that will help you create a beautifully finished garment. These tools are necessary for both beginners and experienced knitters, ensuring that your project runs smoothly and the end result is of high quality.
1. Knitting Needles:
A set of knitting needles is the most basic tool you will need for knitting a V neck vest. The size of the needles will depend on the pattern and yarn you are using. It is important to have the correct size needles to achieve the desired gauge and ensure that your stitches are the right size. Circular needles are typically used for knitting the body of the vest, while double-pointed needles may be required for working on smaller sections such as the neckline and armholes.
2. Yarn:
Choosing the right yarn is crucial for knitting a V neck vest. The type of yarn you use will determine the overall look, feel, and durability of the finished garment. It is recommended to use a yarn that is specifically labeled for knitting garments, such as a wool blend or cotton blend. The weight of the yarn, such as DK or worsted, will also depend on the pattern and desired fit of the vest. Make sure to check the yarn requirements specified in the pattern.
3. Stitch Markers:
Stitch markers are handy tools that help you keep track of your progress and mark important points in your knitting. They are especially useful for indicating the beginning and end of the V neck shaping or marking the armhole placement. You can use simple plastic or metal rings as stitch markers, or opt for decorative ones that add a touch of fun to your project.
4. Tapestry Needle:
A tapestry needle is essential for weaving in loose ends and seaming your V neck vest. After you have completed the knitting, you will need to neatly sew in any loose yarn tails to ensure a clean finish. The tapestry needle has a large eye and a blunt end, making it easy to thread and preventing it from splitting the yarn.
5. Measuring Tape:
A measuring tape is an invaluable tool for checking your gauge and ensuring that your vest will fit properly. You will need to measure your bust, waist, and hip circumference to determine the correct size to knit. In addition, the measuring tape can also be used to check the length of the vest and the placement of the V neck shaping.
By having these essential tools on hand, you will be well-prepared to tackle the project of knitting a V neck vest. Remember to always follow the pattern instructions and enjoy the process of creating a beautiful, handmade garment!
Tips for knitting the V neck
Knitting a V neck vest can be a fun and rewarding project. Here are some tips to help you successfully knit a V neck:
1. Follow the pattern:
It’s important to carefully read and follow the pattern instructions for the V neck vest. The pattern will provide guidance on the specific stitches, measurements, and shaping required to create the V neck. Pay close attention to the instructions and refer back to them as needed.
2. Use stitch markers:
Stitch markers can be extremely helpful when knitting the V neck. They can be used to mark the center front and center back, as well as other key points along the neck. These markers will help you keep track of your stitches and ensure that you are shaping the neck correctly.
3. Increase or decrease evenly:
To create the V neck shape, you will need to increase or decrease stitches evenly on either side of the neck. Follow the pattern’s instructions for the specific stitch counts and measurements, and distribute the increases or decreases evenly to maintain symmetry.
4. Use short rows for shaping:
Short rows can be used to shape the V neck more naturally. By working partial rows back and forth, you can create a gentle curve that follows the shape of the neck. This will help prevent any awkward gaps or bunching along the edges of the V neck.
5. Pay attention to tension:
When knitting the V neck, it’s important to maintain a consistent tension throughout the project. Uneven tension can cause the V neck to pucker or stretch unevenly. Take your time and adjust your knitting to ensure that your stitches are even and uniform.
By following these tips, you can successfully knit a V neck vest and create a beautiful and stylish garment. Enjoy the process and take pride in your handmade creation!
Different stitch patterns for your V neck vest
When knitting a V neck vest, one of the key design elements is the stitch pattern used. The stitch pattern not only adds visual interest to the vest, but also affects the drape and texture of the fabric. Here are a few different stitch patterns you can consider for your V neck vest:
1. Garter Stitch
The garter stitch is a basic knitting pattern that is created by knitting every row. This stitch pattern creates a bumpy texture and is perfect for beginner knitters. It is also a great choice if you want a simple and classic look for your V neck vest.
2. Stockinette Stitch
The stockinette stitch is another basic stitch pattern that is created by knitting one row and purling the next. This stitch pattern creates a smooth and sleek fabric that is great for showcasing intricate stitch patterns or creating a polished look for your V neck vest.
3. Ribbing Stitch
Ribbing stitch is a combination of knit and purl stitches that creates a stretchy fabric with vertical ridges. This stitch pattern is often used for cuffs, hems, and collars. Incorporating ribbing stitch into your V neck vest can add texture and elasticity to the garment.
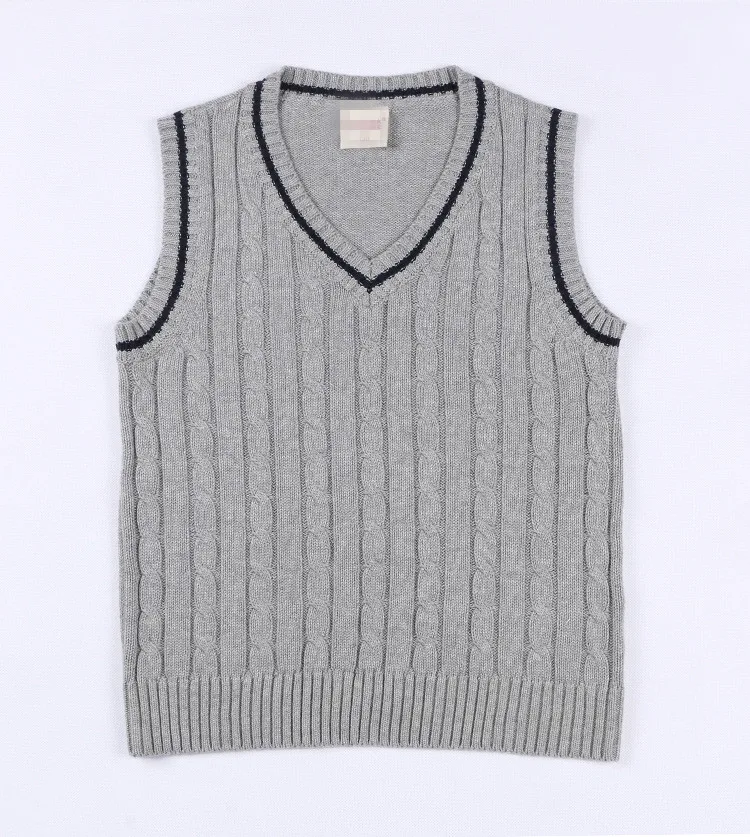
4. Cable Stitch
Cable stitch is a more complex stitch pattern that creates interlocking twists and braids. This stitch pattern adds depth and intricacy to your V neck vest. It is perfect for creating a classic and timeless look. Cable stitch requires some experience and practice, but the result is well worth it.
Remember, these are just a few examples of stitch patterns you can use for your V neck vest. Get creative and experiment with different stitch patterns to create a unique and personalized garment that suits your style.
Adding Embellishments to Your V Neck Vest
When it comes to knitting a V neck vest, there are many opportunities to add embellishments that can enhance the overall look and style of the garment. Whether you want to create a unique design or simply add some texture or color, here are a few ideas to consider.
Ribbing and Cables
One way to add interest to your V neck vest is by incorporating ribbing or cables into the design. Ribbing can be used at the neckline, armholes, and hem to create a more fitted and polished look. Cables, on the other hand, can add a touch of elegance and sophistication, as well as enhance the overall structure of the vest. By combining different stitch patterns, you can create a visually appealing and textured garment.
Colorwork
If you want to make a bold statement with your V neck vest, consider adding colorwork. This technique involves knitting with multiple colors to create intricate patterns or motifs. Whether you prefer Fair Isle, intarsia, or stranded knitting, the possibilities are endless. You can add colorwork to the entire vest or use it as an accent on specific areas such as the neckline or pockets.
Embroidery and Appliques
If you’re looking to add a touch of whimsy or personalization to your V neck vest, embroidery and appliques are great options. You can use embroidery to add decorative stitches or motifs onto the fabric, such as flowers, animals, or geometric patterns. Appliques, on the other hand, involve attaching pre-made fabric or felt shapes onto the vest, such as hearts, stars, or letters. These embellishments can make your vest truly one-of-a-kind and showcase your creativity.
Beads and Sequins
If you want to add some sparkle and glamour to your V neck vest, consider using beads or sequins as embellishments. Whether you add them sporadically throughout the entire vest or concentrate them in specific areas, these embellishments can instantly elevate the look of your garment. Beads can be sewn on individually, while sequins can be attached using a sequin stitch or thread. Just be sure to choose beads or sequins that coordinate well with the yarn and color palette of your vest.
When adding embellishments to your V neck vest, it’s important to consider the weight and drape of the yarn you’re using. Bulky or heavily embellished vests may benefit from a more structured yarn, while lightweight or delicate vests may require more careful placement of the embellishments. Ultimately, the choice of embellishments is up to you and your personal style, so don’t be afraid to get creative and experiment!
V neck vest knitting troubleshooting
Knitting a V neck vest can be a fun and rewarding project, but occasionally you may encounter some common issues that need troubleshooting. Here are a few tips to help you overcome these challenges and create a beautiful finished garment.
1. Uneven or sloppy stitches around the V neck
If you notice that your stitches around the V neck are uneven or sloppy, it could be due to tension issues. To fix this, try using a smaller needle size when working the V neck section. This will help to create tighter and more consistent stitches. Additionally, make sure to pay extra attention to your tension and keep it consistent throughout the V neck shaping.
2. Gaps or holes at the base of the V neck
If you are experiencing gaps or holes at the base of the V neck, it could be because you are not picking up enough stitches when shaping the V neck. Double check your pattern instructions and make sure you are picking up the correct number of stitches along the V neck edge. If the gaps persist, you can also try using a smaller needle size or adding an additional decrease before starting the V neck shaping to close any potential gaps.
3. Uneven armhole shaping
If your armhole shaping is coming out uneven, it could be due to inconsistent decreases. Make sure to carefully follow the pattern instructions and double check your stitch counts after each decrease row. If you notice any discrepancies, you can use stitch markers to help keep track of your decreases and ensure they are evenly distributed. Additionally, counting your stitches after each decrease row can help you identify any mistakes early on and prevent any further unevenness.
4. Twisted or misaligned side seams
If your side seams are twisting or misaligned, it could be because you are unintentionally twisting your stitches when joining in the round. To prevent this, double check that your stitches are not twisted before joining in the round and use stitch markers to mark the beginning of the round. Additionally, make sure to carefully align your side seams when sewing them together at the end to ensure a neat and straight finish.
With these troubleshooting tips in mind, you’ll be able to overcome common challenges and successfully knit a beautiful V neck vest. Remember to take your time, stay patient, and don’t be afraid to ask for help or seek additional resources if needed. Happy knitting!
Finishing touches for your V neck vest
Once you have completed knitting your V neck vest, there are a few finishing touches that you can add to make it truly stand out. These final details can elevate your garment from a simple knit to a stylish and sophisticated piece.
1. Blocking: Before adding any finishing touches, it is important to block your vest. Blocking helps to shape and relax the stitches, giving your garment a more polished look. To block your V neck vest, wet it gently with lukewarm water and lay it flat on a clean towel. Gently stretch and shape it to the desired size, and let it dry completely.
2. Edging: Adding an edging to your V neck vest can give it a professional and finished look. Consider using a contrasting color yarn to create a ribbed or garter stitch edge. You can also experiment with different stitch patterns, such as a picot or a scalloped edge, to add a touch of elegance to your vest.
- 3. Buttons: Choosing the right buttons for your V neck vest can completely change its appearance. Consider the color, size, and style of buttons that will complement your vest. From classic and timeless wooden buttons to modern and sleek metal ones, the choice is yours. Sew the buttons on securely, ensuring that they align with the V neck opening.
- 4. Embellishments: If you want to add a bit of flair to your V neck vest, consider adding embellishments such as embroidery, beads, or sequins. These small details can make your vest unique and eye-catching. Remember to sew or attach these embellishments securely to prevent them from falling off or getting damaged.
- 5. Labels: Adding a label to your V neck vest is a great way to personalize it and add a professional touch. You can purchase woven labels with your name or brand, or you can make your own using fabric and a permanent marker. Sew the label into a discreet spot, such as the side seam or the back of the neck.
By adding these finishing touches to your V neck vest, you can create a garment that is not only cozy and comfortable but also stylish and unique. Whether you choose to add edging, buttons, embellishments, or labels, each detail will contribute to making your vest one-of-a-kind.
Styling your V neck vest
The V neck vest is a versatile and stylish piece that can be dressed up or down for any occasion. Whether you’re going for a casual look or a more formal outfit, the V neck vest can be the perfect addition to your wardrobe. Here are some tips on how to style your V neck vest:
1. Casual look: For a relaxed and casual look, pair your V neck vest with a simple white t-shirt or a striped long-sleeve shirt. Complete the look with a pair of jeans or chinos and some sneakers. This is a great outfit for a weekend brunch or a day out with friends.
2. Office attire: If you want to add a touch of sophistication to your workwear, the V neck vest can be a great option. Pair it with a crisp white button-down shirt and a pair of tailored trousers. Finish off the look with some loafers or oxford shoes. This outfit is perfect for a business casual or smart casual dress code.
3. Layer up: The V neck vest is an ideal layering piece. You can wear it over a lightweight sweater or under a blazer for added warmth and style. This is a great option for transitioning between seasons and can give your outfit a more polished and put-together look.
4. Dress it up: If you’re going for a dressier look, pair your V neck vest with a collared shirt and a pair of tailored trousers. Add a blazer or a suit jacket for a more formal touch. Complete the look with some dress shoes or boots. This outfit is perfect for a wedding or a fancy dinner.
Inspiration for your next V neck vest project
If you’re looking for inspiration for your next knitting project, a V neck vest is a versatile and stylish choice. Whether you’re a seasoned knitter or just starting out, there are many patterns and designs to choose from. Here are some ideas to get you inspired:
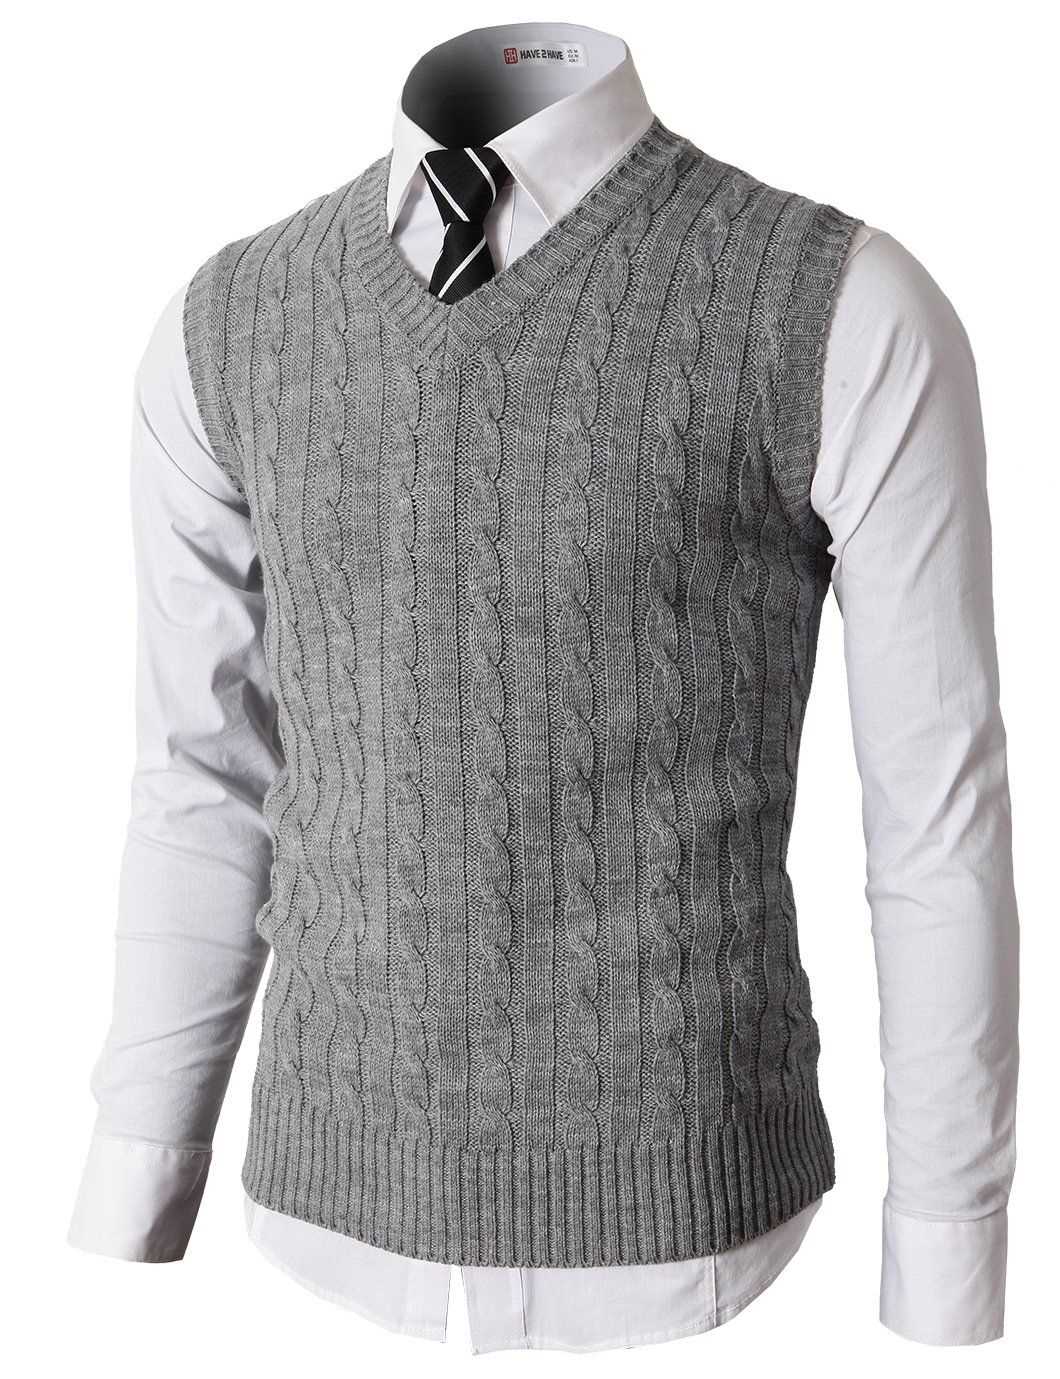
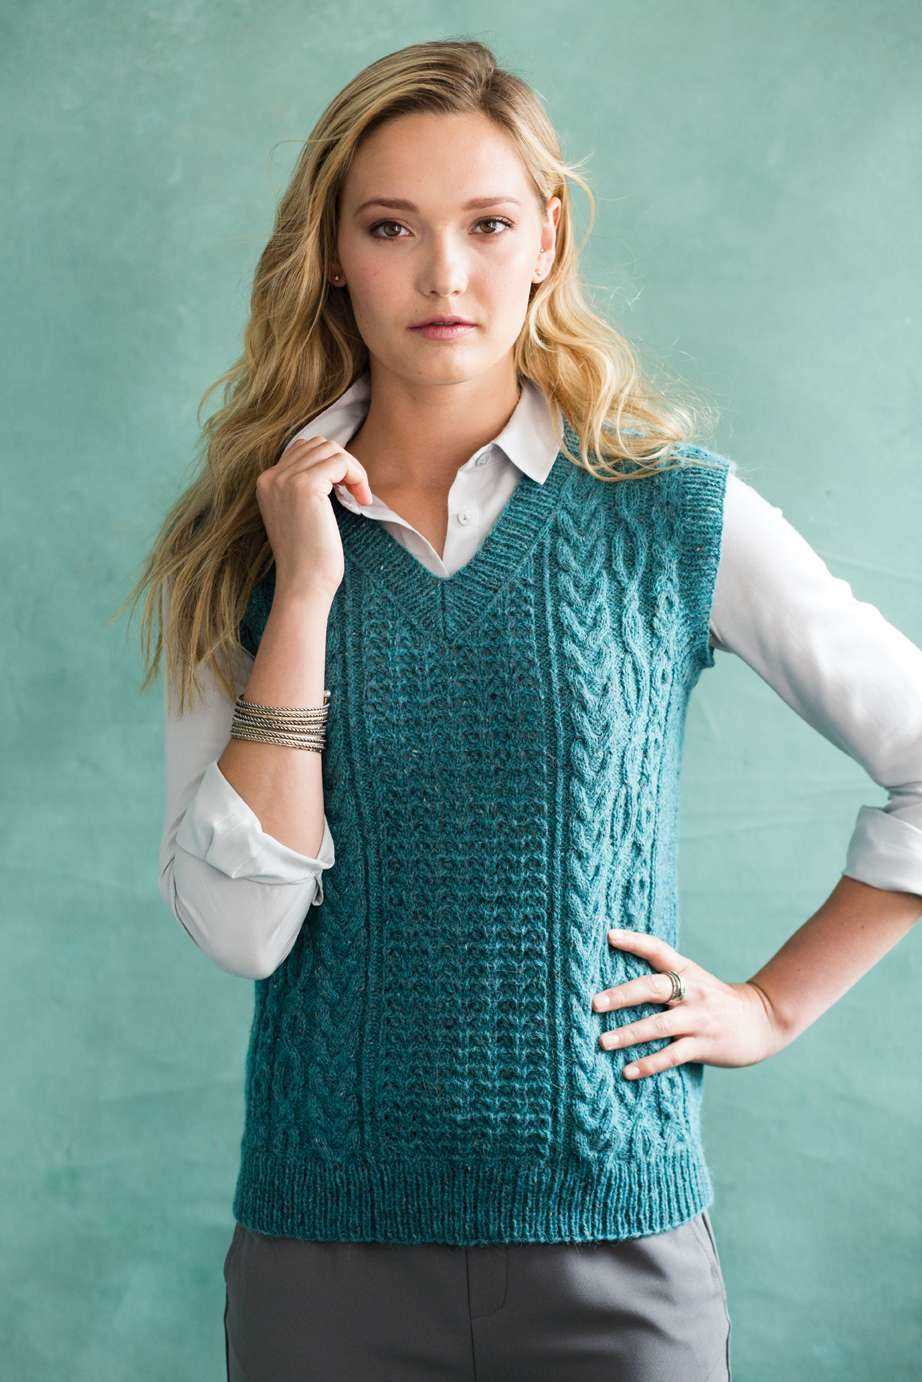
1. Classic cable knit
A classic cable knit V neck vest is a timeless choice. The intricate cable patterns add texture and interest to the design, while the V neck adds a feminine touch. You can choose to knit the vest in a neutral color for a sophisticated look, or experiment with bold hues for a modern twist. Pair it with jeans or a skirt for a chic and cozy outfit.
2. Colorful Fair Isle
For a fun and vibrant look, try knitting a Fair Isle V neck vest. Fair Isle is a colorwork technique that involves knitting with multiple colors in a single row to create beautiful and intricate patterns. You can choose a traditional Fair Isle pattern or create your own unique design. The V neck adds a modern touch to the classic Fair Isle look. Wear it with solid colored bottoms to let the vest be the star of the show.
3. Chunky oversized
If you’re looking for a cozy and relaxed fit, consider knitting a chunky oversized V neck vest. Using bulky yarn and large needles, you can create a warm and comfortable vest that’s perfect for layering over long-sleeved shirts or dresses. The oversized fit adds a modern and fashion-forward element to the classic V neck design. Opt for a neutral color for a versatile wardrobe staple, or go bold with a bright shade to make a statement.
No matter which style you choose, a V neck vest is a versatile and chic addition to any wardrobe. With so many patterns and designs available, you can find the perfect inspiration for your next knitting project. Happy knitting!