
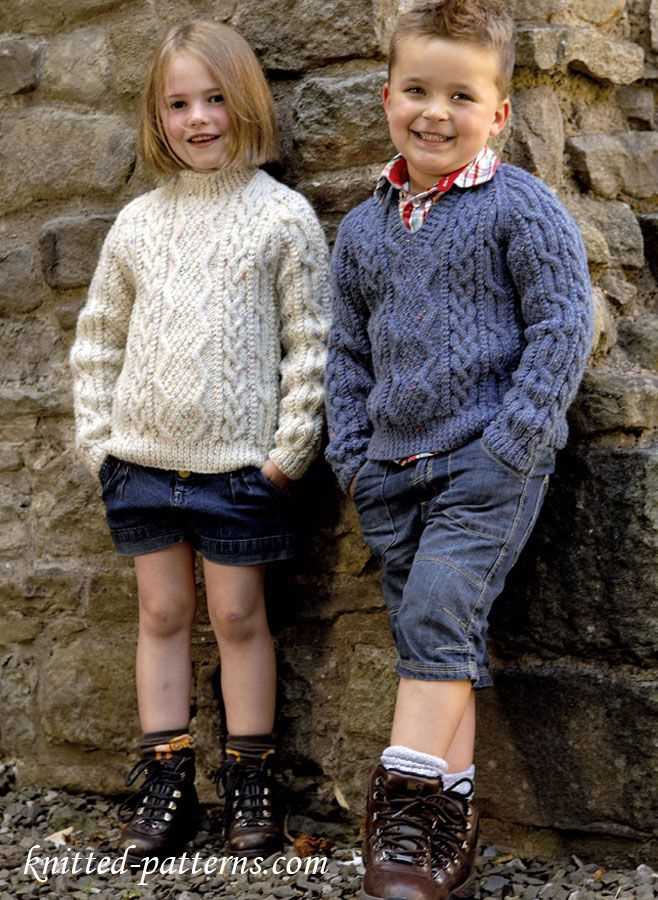
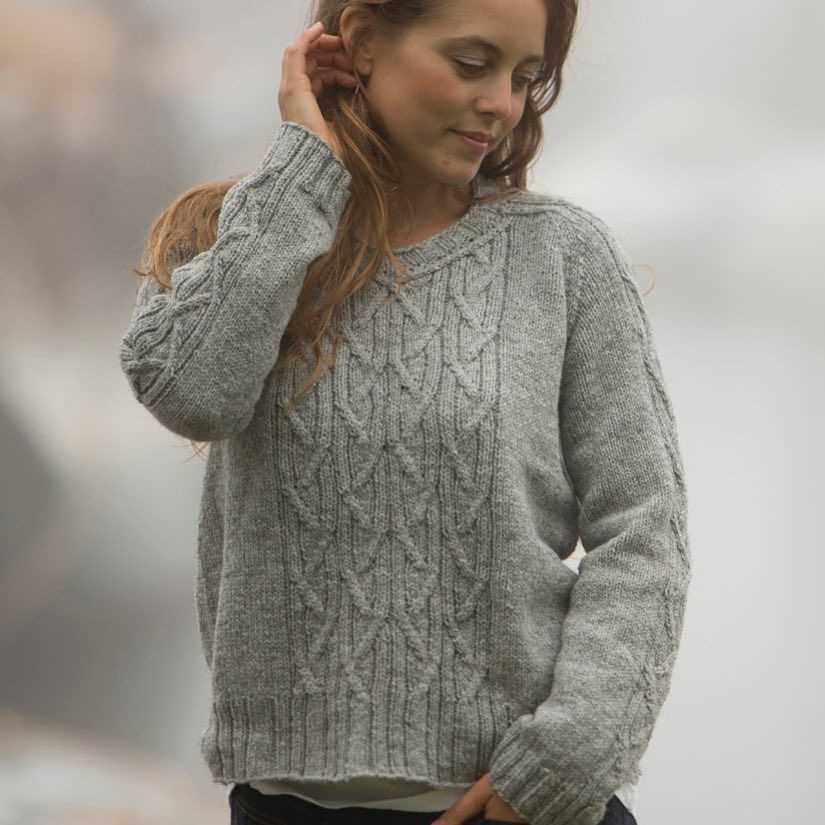
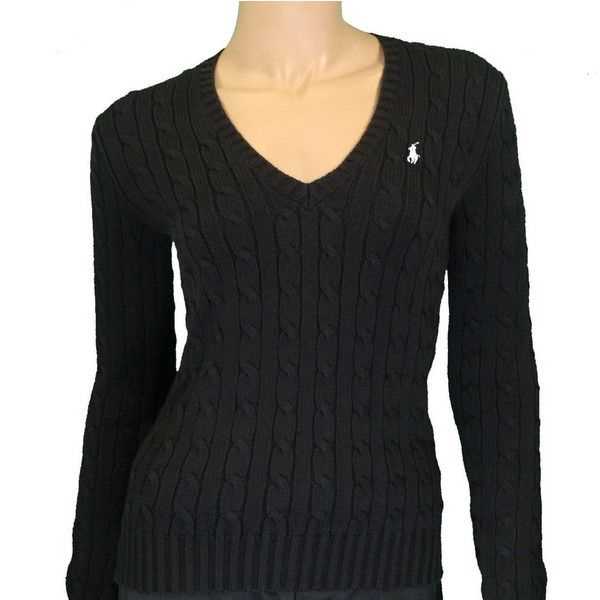
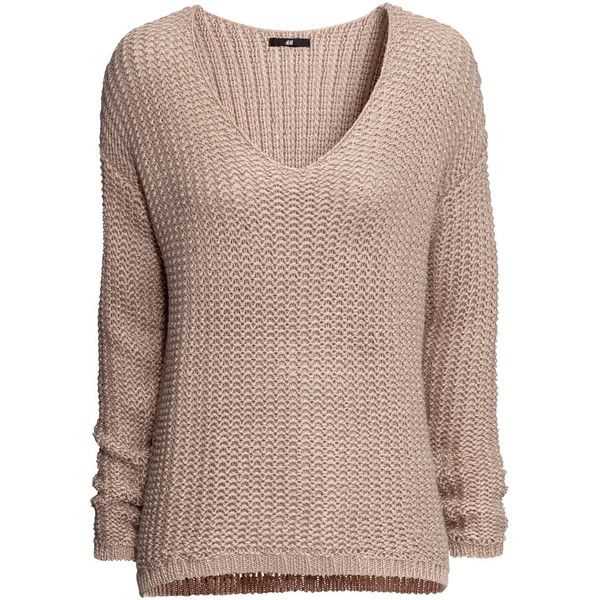
Knitting is a popular craft that allows you to make your own cozy and stylish garments. If you’re looking for a new project, why not try knitting a v neck jumper? A v neck jumper is a versatile and timeless piece that can be dressed up or down. With a v neck jumper knitting pattern, you can create a garment that fits you perfectly and showcases your knitting skills.
Knitting a v neck jumper may seem intimidating, but with the right pattern and some practice, you’ll be able to create a stunning piece. There are many v neck jumper knitting patterns available, ranging from beginner-friendly patterns to more advanced designs. Whether you’re a beginner or a seasoned knitter, there’s a pattern out there that suits your skill level.
When choosing a v neck jumper knitting pattern, consider the style and fit you prefer. Some patterns feature a slim fit, while others have a looser, more relaxed silhouette. You’ll also want to consider the yarn weight and needle size recommended in the pattern, as this will determine the final look and feel of your jumper. With so many options available, you’re sure to find a v neck jumper knitting pattern that matches your personal style.
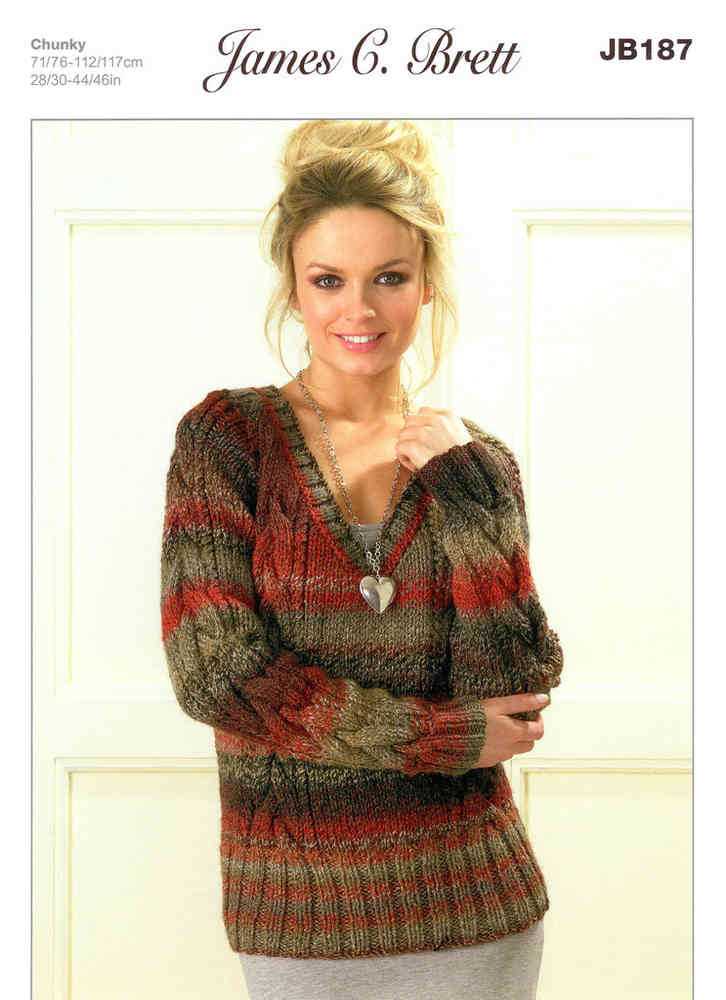
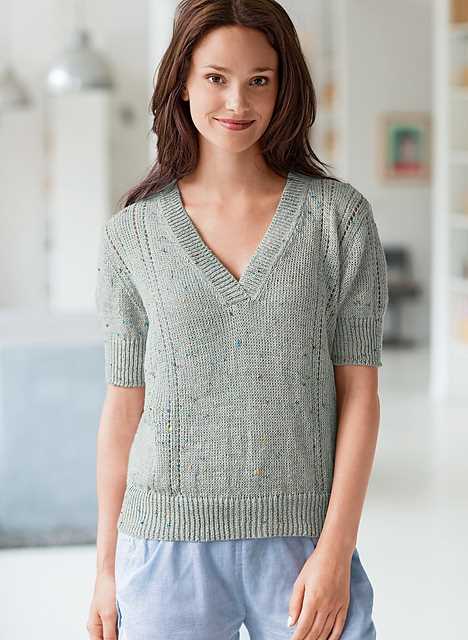
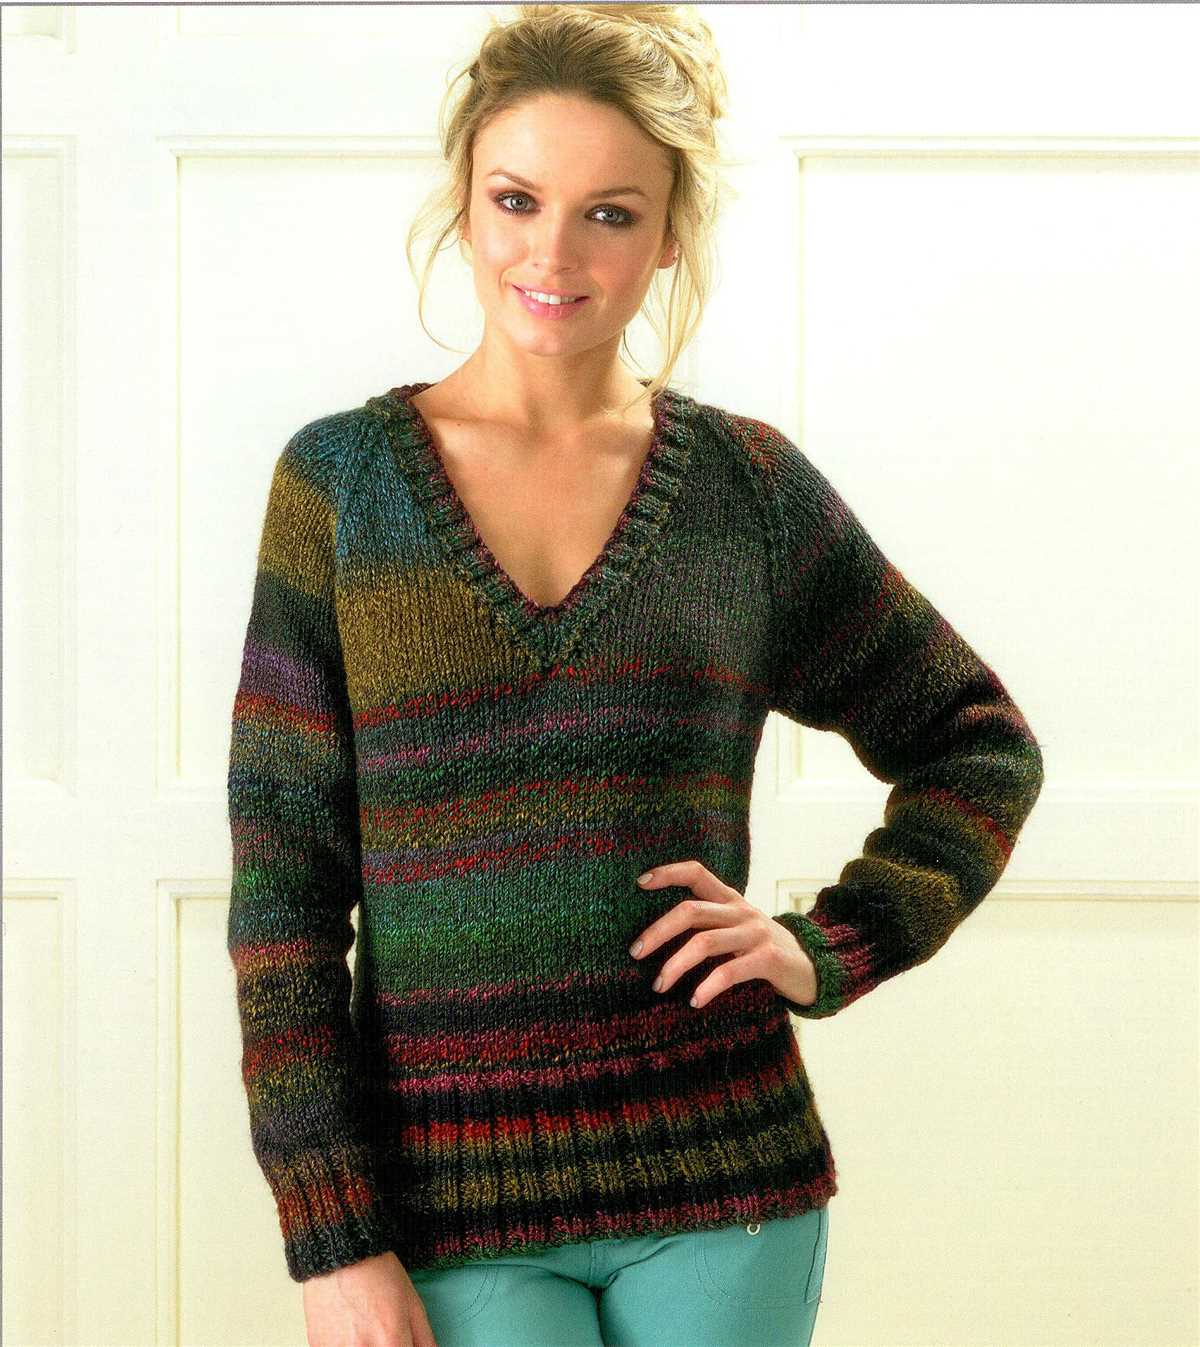
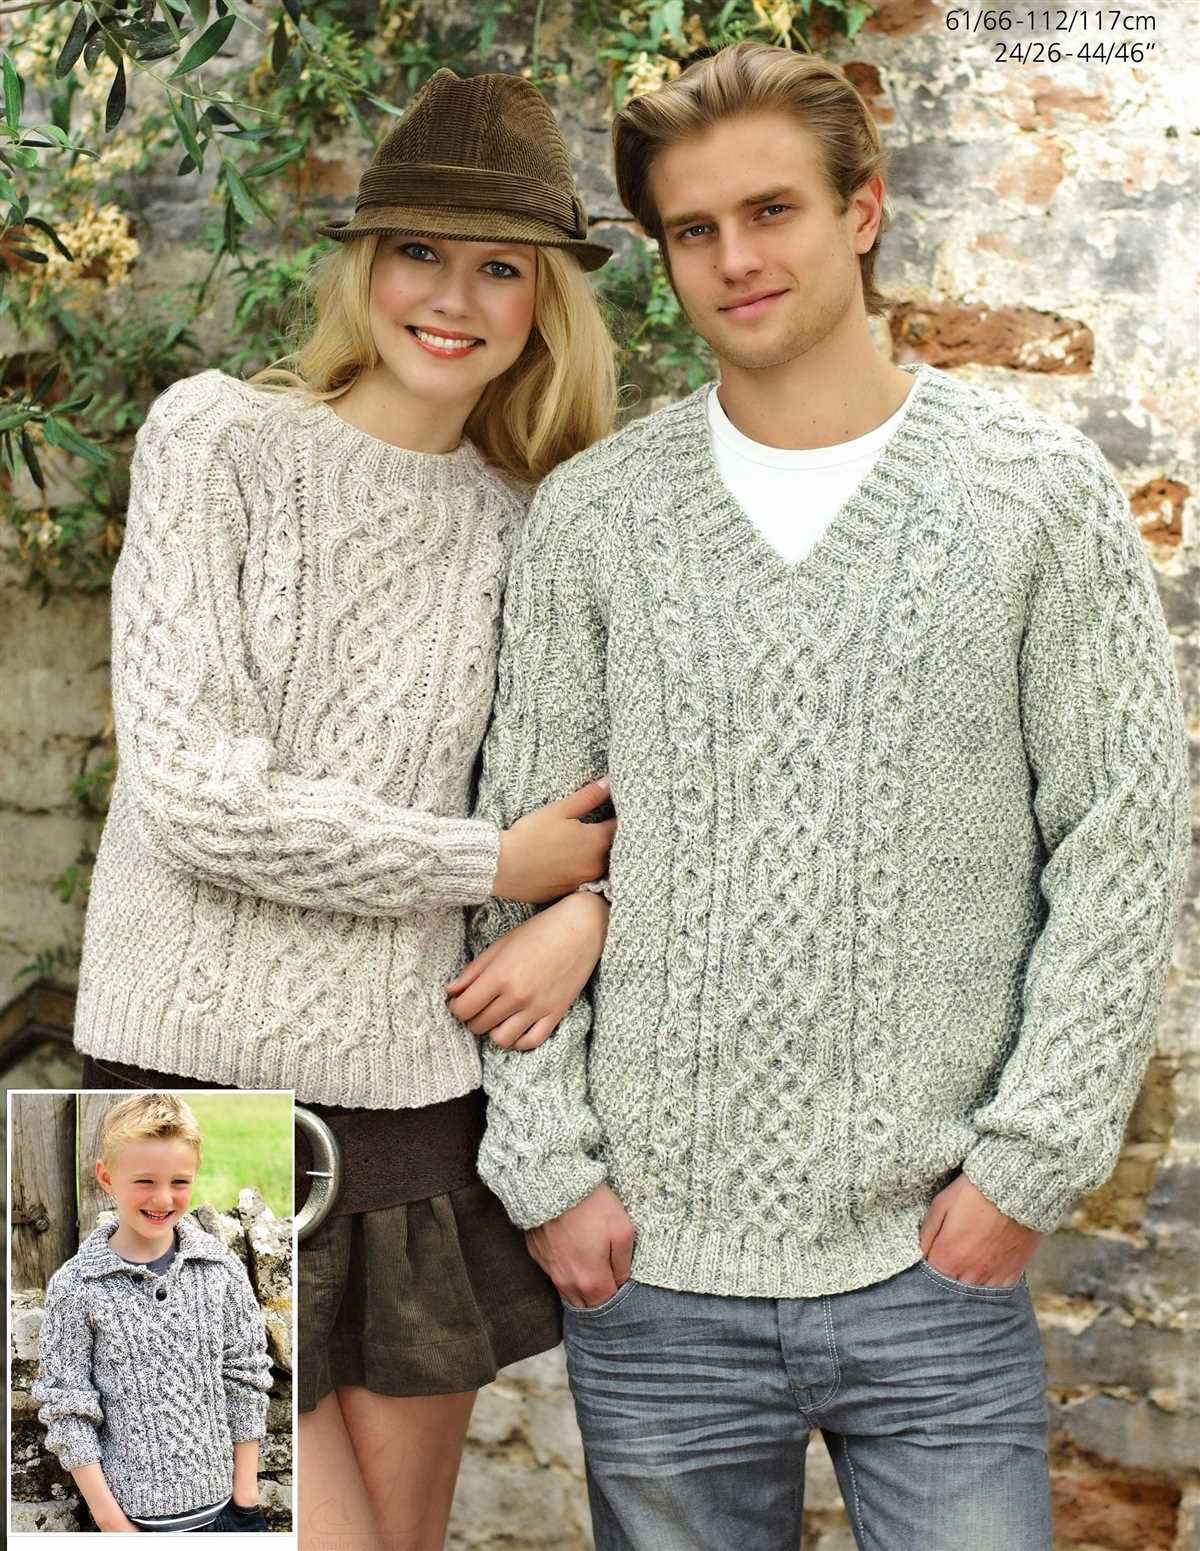
V Neck Jumper Knitting Pattern
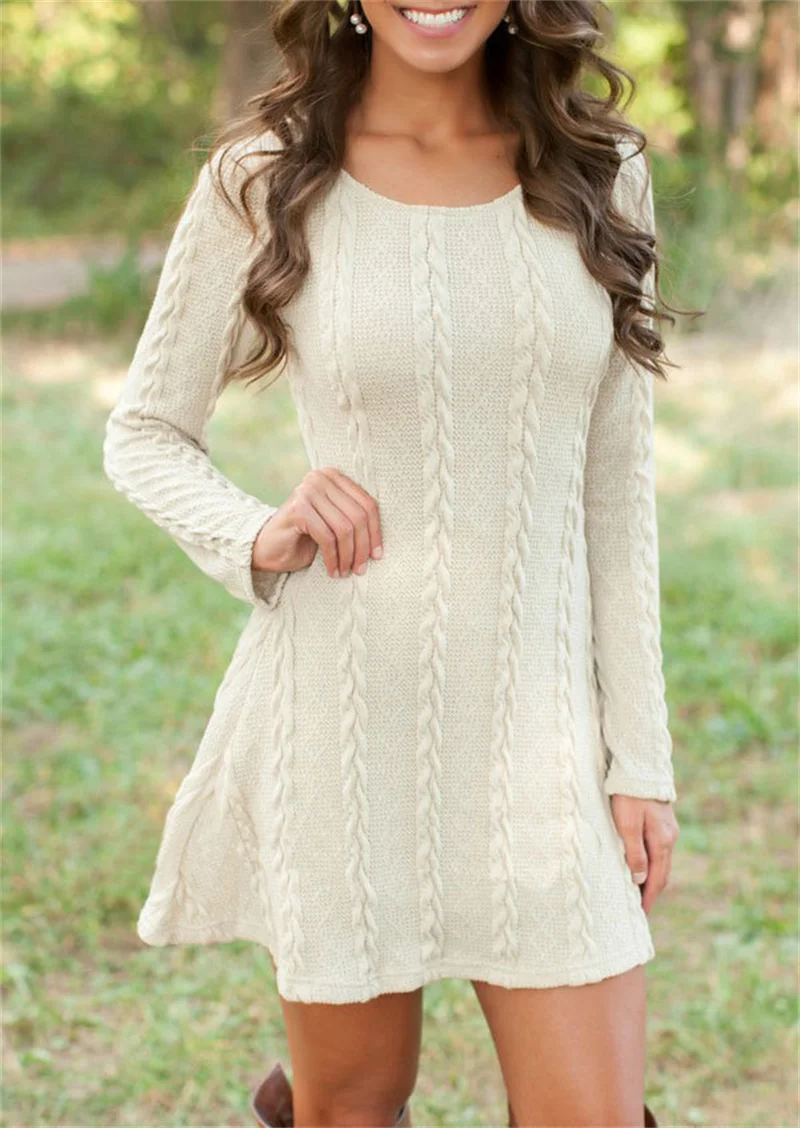
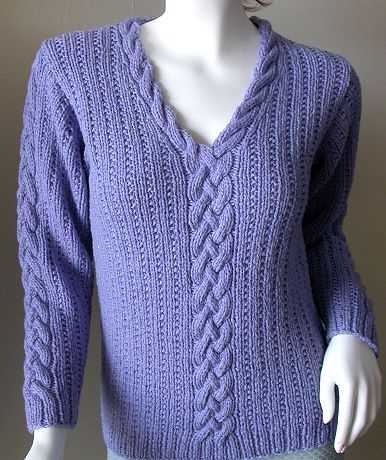
If you’re looking for a stylish and versatile addition to your wardrobe, a V neck jumper is a perfect choice. With its classic neckline and cozy fit, it is a staple piece that can be dressed up or down for any occasion. Whether you’re a beginner or an experienced knitter, this V neck jumper knitting pattern is a great project to work on.
To start, you’ll need to gather your materials. You’ll need a set of knitting needles in the appropriate size for your chosen yarn, as well as the yarn itself. Choosing a soft and durable yarn will ensure that your jumper is comfortable and long-lasting. You may also want to have stitch markers and a tape measure on hand to assist with the pattern.
Once you have your materials ready, it’s time to start knitting. The pattern will typically begin with casting on the required number of stitches, followed by working in ribbing for the cuffs, hem, and neckline. From there, you’ll continue working in your chosen stitch pattern until the body of the jumper reaches the desired length.
Next, you’ll separate the front and back pieces of the jumper by placing some stitches on hold for the neckline. This will create the V shape. You’ll then work on each section separately, decreasing stitches at the neckline edge to create the shaping. Once both the front and back pieces are complete, you’ll join them together at the shoulders using a simple sewing or grafting technique.
After the shoulders are joined, you’ll pick up stitches along the neckline and work in ribbing to create a neat finish. Finally, you’ll sew up the sides of the jumper and add any finishing touches, such as buttons or decorative trim, to complete the look.
A V neck jumper is a timeless and versatile garment that can be worn year-round. With the right pattern and some basic knitting skills, you can create a beautiful jumper that is tailored to your style and preferences. Give it a try and enjoy the satisfaction of knitting your own wardrobe staple.
Choosing the Right Yarn for Your V Neck Jumper
When it comes to knitting a v neck jumper, choosing the right yarn is key to achieving the desired fit, drape, and overall look. The yarn you select will play a significant role in determining the final result of your project.
Type of Yarn: There are various types of yarn available in the market, including acrylic, wool, cotton, and blends. Each type has its own unique qualities and characteristics. Acrylic yarn is known for its affordability, durability, and wide color range. Wool yarn offers warmth and insulation, making it perfect for winter garments. Cotton yarn is lightweight and breathable, making it suitable for warmer climates. Blends combine different fibers to create a yarn with a combination of qualities.
Weight of Yarn: The weight of the yarn you choose will impact the overall feel and drape of your v neck jumper. Lighter weight yarns, such as lace or fingering weight, will create a more delicate and airy garment. Medium weight yarns, like DK or worsted weight, are versatile and can be used for a range of projects. Bulky or chunky weight yarns will result in a thicker and warmer jumper.
Gauge: It is important to consider the recommended gauge for your v neck jumper pattern when selecting yarn. The gauge refers to the number of stitches and rows per inch using a specific needle size. Using a yarn with a different gauge than the pattern suggests can lead to a jumper that is either too big or too small. Check the label of the yarn for the recommended gauge and compare it to your pattern’s gauge to ensure a proper fit.
Color and Texture: The color and texture of the yarn can greatly enhance the overall look of your v neck jumper. Consider the style and design of your pattern when selecting yarn colors. Solid colors may highlight the stitch pattern, while variegated yarns can create an interesting visual effect. The texture of the yarn, such as smooth or textured, can also impact the appearance of your finished project.
In conclusion, choosing the right yarn for your v neck jumper is essential for achieving the desired fit, drape, and overall aesthetic. Consider the type of yarn, weight, gauge, and color/texture when making your selection. By carefully choosing the yarn, you can create a beautiful and comfortable v neck jumper that you will love to wear.
Selecting the Appropriate Knitting Needles
Choosing the right knitting needles is essential for any knitting project, including V neck jumpers. The size and material of the needles can greatly affect the outcome and fit of the finished knitwear. When selecting knitting needles, consider the yarn weight and gauge suggested in the knitting pattern.
1. Needle Size: The needle size is often indicated in the knitting pattern. It is crucial to use the correct size to achieve the desired tension. If the needles are too small, the fabric will be tight, and if they are too large, the fabric will be loose. It is recommended to check your gauge with a swatch before starting the actual project to ensure the correct needle size is being used.
2. Needle Material: Knitting needles are available in various materials, including bamboo, wood, metal, and plastic. Each material has its own unique characteristics. Bamboo and wood needles are lightweight, warm to the touch, and provide a smooth knitting experience. Metal needles are known for their durability and slick surface, allowing the yarn to glide easily. Plastic needles are affordable and lightweight, making them suitable for beginners.
3. Knitting Needle Length: The length of the knitting needles should be chosen based on the size of the knitting project. For smaller projects, such as socks or hats, shorter needles are more convenient. For larger projects, like V neck jumpers, longer needles are recommended to accommodate a larger number of stitches.
4. Circular or Straight Needles: Depending on personal preference and the pattern requirements, you can choose between circular or straight needles. Circular needles are versatile and can be used for both flat and in-the-round knitting. They distribute the weight of the knitting more evenly, reducing strain on the hands and wrists. Straight needles are traditionally used for flat knitting, but they can still be used for certain V neck jumper patterns.
5. Interchangeable Needle Sets: If you frequently knit different projects, investing in an interchangeable needle set can be a practical option. These sets typically include a range of needle sizes and cable lengths, allowing you to easily switch between needle sizes as needed.
- Overall, selecting the appropriate knitting needles is crucial for the success of your V neck jumper knitting project.
- Consider the needle size, material, length, and type (circular or straight) to ensure the best results.
- Don’t forget to check your gauge with a swatch to verify the correct needle size.
- Experiment with different needle materials to find the one that suits your knitting style and preferences.
- Investing in an interchangeable needle set can provide you with versatility and convenience for future projects.
Understanding the Gauge for Your V Neck Jumper
When knitting a V neck jumper, it is important to understand the concept of gauge. Gauge refers to the number of stitches and rows per inch (or centimeter) that you achieve when knitting with a specific yarn and needle size. By achieving the correct gauge, you can ensure that your finished jumper will fit as intended and have the correct proportions.
To determine the gauge for your V neck jumper, start by knitting a swatch using the recommended needle size and yarn. The pattern will typically provide instructions on the desired gauge. For example, it may state that the gauge should be 20 stitches and 24 rows per 4 inches. Take the time to knit a swatch that measures at least 4 inches in both width and height.
Measuring the gauge
To measure the gauge, lay your swatch flat on a hard surface and use a ruler or measuring tape to count the number of stitches and rows within the specified measurement area. It is important to measure both the width and height of the swatch, as the gauge can vary in different directions.
Count the number of stitches in a 1-inch section and divide by the total width of your swatch to determine the number of stitches per inch. Repeat this process for the rows to determine the number of rows per inch. Compare these measurements to the recommended gauge in the pattern.
Adjusting the gauge
If your gauge does not match the recommended gauge, you may need to adjust your needle size. If your gauge is too loose and you have more stitches per inch, try using a smaller needle size. Conversely, if your gauge is too tight and you have fewer stitches per inch, try using a larger needle size.
Keep in mind that the type of yarn you are using can also affect the gauge. Different yarn fibers and weights have different properties and may require adjustments to achieve the correct gauge. Experiment with different needles and yarn combinations until you achieve the desired gauge for your V neck jumper.
Casting on Stitches for the V Neck Jumper
When starting to knit a V neck jumper, one of the first steps is casting on the necessary stitches. The number of stitches required will depend on the size of the jumper and the chosen pattern. It is important to follow the instructions carefully to ensure the correct number of stitches are cast on.
To cast on stitches for a V neck jumper, various methods can be used. One common method is the long tail cast on, which creates a neat and elastic edge. This technique involves creating a slipknot and then using both hands to make a series of loops on the needle, alternating between the thumb and index finger. Once the desired number of stitches is cast on, the slipknot can be tightened by pulling on the working yarn.
Another method that can be used is the cable cast on, which creates a firm and stable edge. This technique involves creating a slipknot and placing it on the left-hand needle. Then, using the right-hand needle, the working yarn is brought between the two needles and wrapped around the right-hand needle. This process is repeated for each stitch until the required number of stitches is cast on.
It is important to ensure that the correct tension is maintained when casting on stitches for a V neck jumper. Too tight of a tension can make it difficult to knit the subsequent rows, while too loose of a tension can result in loose and uneven stitches. Experimenting with different tension techniques can help achieve the desired result.
Once all the necessary stitches are cast on, the V neck jumper can then be knitted according to the chosen pattern. Following the pattern instructions and keeping track of the number of rows and stitches will ensure a successful and well-fitting end result.
Knitting the V Neck Section
When knitting a V neck jumper, the V neck section is an important part of the pattern. It adds a stylish and flattering element to the design.
To start knitting the V neck section, you will need to follow the instructions provided in the pattern. Typically, this will involve decreasing stitches at the center front, shaping the V neck opening. This can be achieved by working decreases on either side of a central stitch marker.
Once the decreases have been completed, the V neck shaping can be continued by working straight in the established pattern until the desired depth of the V neck is reached. This may involve working several rows or rounds without any shaping.
After the desired depth is reached, you will then need to shape the other side of the V neck. This can be done by increasing stitches on either side of the center stitch marker, mirroring the decreases made earlier.
It is important to follow the provided pattern and carefully count your stitches to ensure accurate shaping of the V neck. This will help to achieve a symmetrical and professional-looking finish to your jumper.
Shaping the Neckline of Your V Neck Jumper
When knitting a V neck jumper, one of the key elements to consider is the shaping of the neckline. The neckline is what gives the jumper its distinctive V shape, and it’s important to get it right in order to achieve a professional-looking finished product.
There are several techniques you can use to shape the neckline of your V neck jumper. One common method is to use decreases and increases to create the V shape. To do this, you would work a series of decreases at the center front of the jumper, gradually reducing the number of stitches until you reach the desired depth of the V. Then, you would work increases on either side of the center front, gradually adding stitches back in to create the width of the V.
Another option is to use short rows to shape the neckline. Short rows involve working partial rows of knitting in order to create curves or angles in the fabric. To shape the V neck using short rows, you would work a series of short rows on one side of the center front, creating a slope that mimics the desired V shape. Then, you would work short rows on the other side to create a symmetrical neckline.
Once you have shaped the neckline, you can then continue knitting the rest of the jumper according to the pattern. It’s important to pay attention to the pattern instructions and follow them carefully to ensure that the neckline turns out as intended. Additionally, blocking the finished jumper can help to shape the neckline and give it a clean, polished appearance.
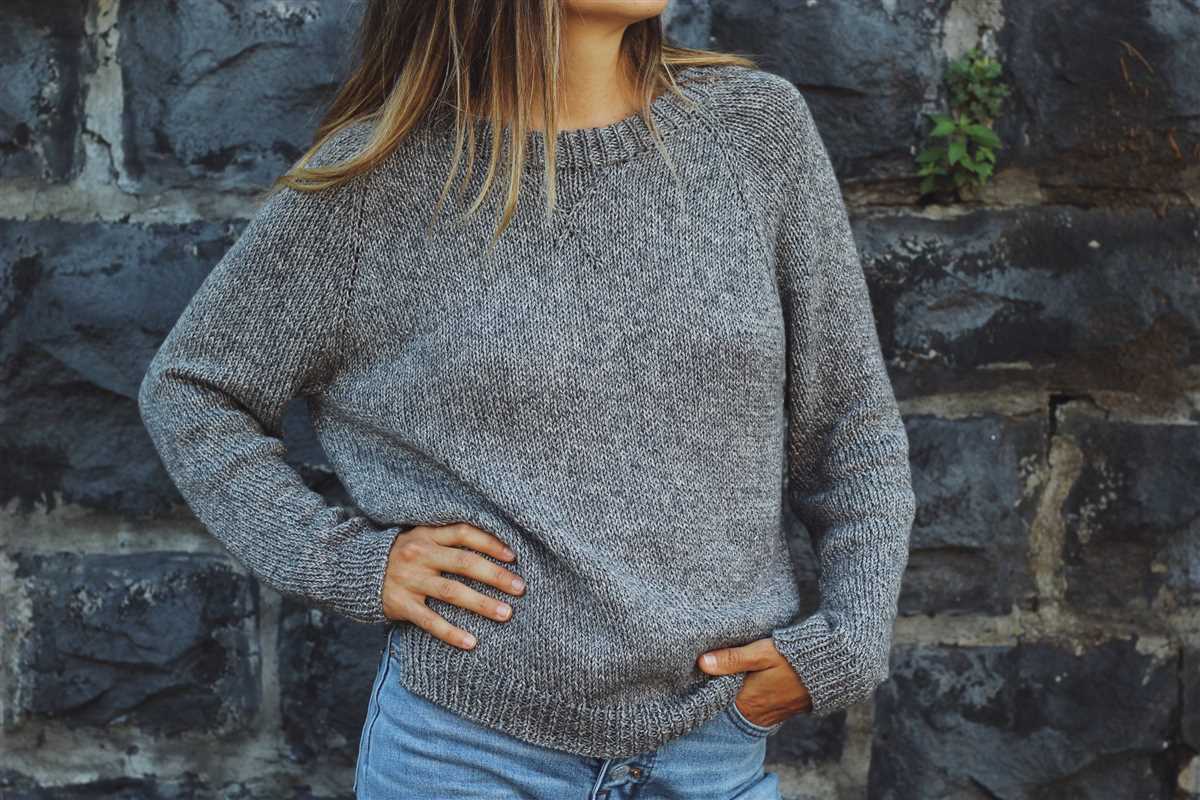
Knitting the Body of the V Neck Jumper
After finishing the ribbing for the neckline, it’s time to start knitting the body of the V neck jumper. This is where the main body of the jumper will take shape, and where you’ll begin to see the V neck start to form. The body is worked in a simple stockinette stitch, which creates a smooth and even texture for the jumper.
To begin, you’ll need to place markers on each side of the jumper to indicate the beginning and end of the front and back sections. This will help you keep track of where you are in the pattern and make it easier to follow along. Next, you’ll continue working in the stockinette stitch until the body reaches the desired length, following the instructions provided in the knitting pattern.
Tip: When knitting the body, it’s important to maintain an even tension so that the fabric doesn’t become too loose or too tight. This will ensure that the jumper fits well and has a nice drape. Remember to check your gauge regularly to make sure you’re knitting to the correct tension.
- Once the body is complete, you’ll need to bind off the stitches before moving on to the sleeves.
- Tip: When binding off, make sure to do so loosely to create a comfortable edge that won’t feel too tight around the hips.
- After binding off, you can also seam the sides of the jumper together using the mattress stitch, if necessary.
- When the body is complete and all the finishing touches have been made, you’ll be one step closer to having a beautiful V neck jumper that you can proudly wear.
Creating the Sleeves for Your V Neck Jumper
In order to complete your V neck jumper, you will need to create the sleeves. The sleeves are an essential component of the jumper as they provide warmth and coverage for your arms. Follow these steps to knit the sleeves for your V neck jumper.
1. Determine the Size of Your Sleeves
Before you begin knitting, you need to determine the size of your sleeves. You can refer to the pattern instructions for the recommended measurements or customize the sleeves to fit your preferences. Measure the circumference of your arm at the widest part and the length from your shoulder to your wrist. These measurements will guide you when knitting the sleeves.
2. Cast On Stitches
To start knitting the sleeves, cast on the required number of stitches onto your knitting needle. The pattern instructions will specify the number of stitches depending on the size of your sleeves. Make sure to use the same type of yarn and needle size as you used for the body of the jumper to maintain consistency in the overall look of the garment.
3. Knit the Sleeves
Once you have cast on the stitches, you will knit each row in the pattern specified in the instructions. This could be a basic knit stitch or a more intricate stitch pattern, depending on the design of your V neck jumper. Follow the pattern carefully, making sure to create any necessary increases or decreases to shape the sleeve as you go along.
4. Finishing the Sleeves
After knitting the desired length for your sleeves, you will need to finish them off. This typically involves binding off the stitches to create a clean edge. Follow the pattern instructions for the specific method of binding off. Once the sleeves are finished, you can sew them onto the body of the jumper, aligning them with the armholes, to complete your V neck jumper.
Finishing Touches: Seaming and Blocking Your V Neck Jumper
Once you have finished knitting your V neck jumper, it’s time to give it those final touches that will bring it to life. Two important steps in completing your project are seaming and blocking.
Seaming: To seam your V neck jumper, you will need a tapestry needle and the same yarn that you used for knitting. Start by laying your jumper flat with the right sides facing each other. Thread your tapestry needle with the yarn, and then begin sewing the pieces together using a mattress stitch. This technique creates an invisible seam that is both durable and neat. Remember to sew one side at a time, making sure your stitches are consistent and even. After you have finished seaming, turn your jumper right side out and admire your work!
Blocking: Blocking is a crucial step in finishing any knitted garment, as it helps to even out the stitches and gives the fabric a professional finish. Fill a basin with lukewarm water and add a small amount of mild detergent. Gently submerge your V neck jumper in the water, making sure it is completely soaked. Let it sit for about 15 minutes, then carefully remove the excess water by pressing the garment between your hands or rolling it in a clean towel. Lay your jumper flat on a blocking mat or towel, shaping it to the desired dimensions. You can use pins to secure the edges and ensure that the V neck lies flat. Leave it to dry completely before removing the pins.
By following these steps and taking the time to seam and block your V neck jumper, you can transform your knitted piece from a collection of individual parts into a well-finished garment that is ready to be worn with pride. Enjoy the process and take pride in your handmade creation!