
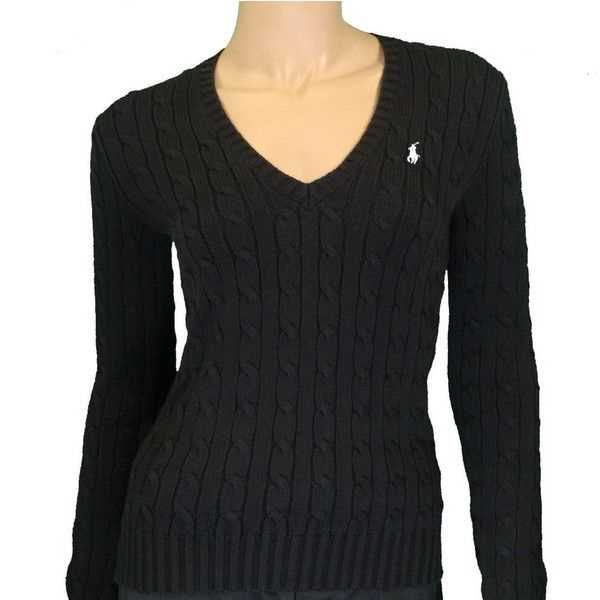
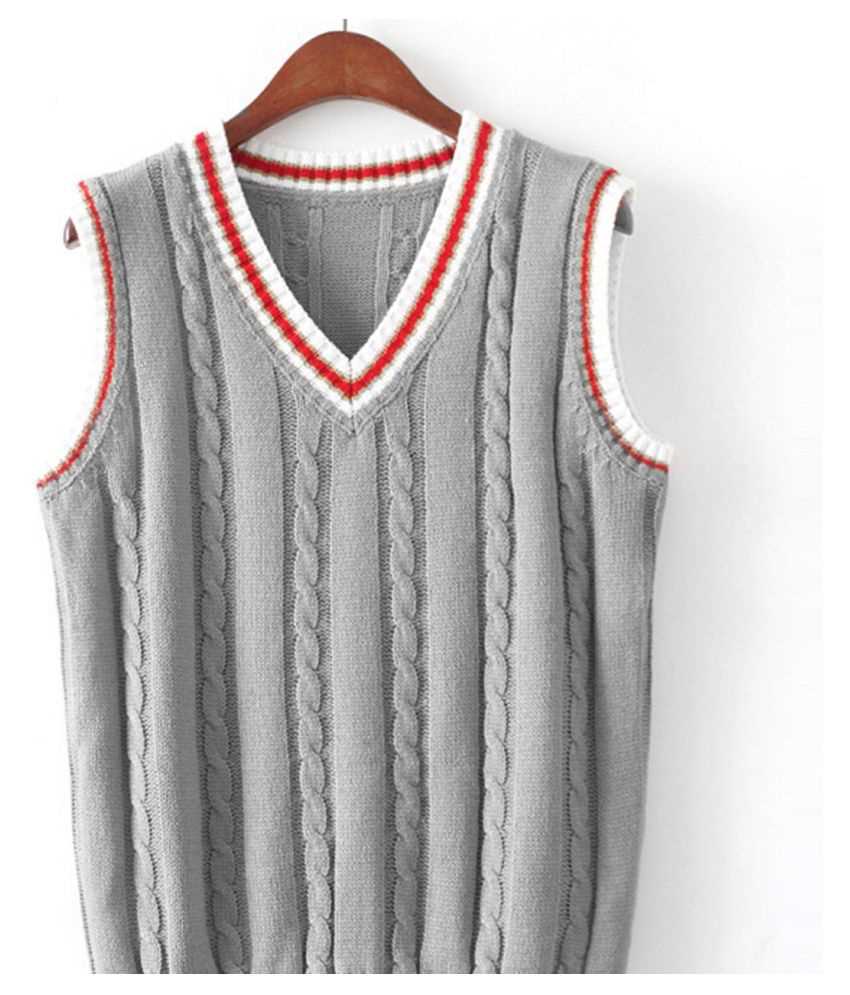
If you’re looking for a classic and timeless sweater pattern, look no further than the V-neck cable knit sweater. This versatile garment not only adds a touch of sophistication to any outfit, but it also provides warmth and comfort during the colder months.
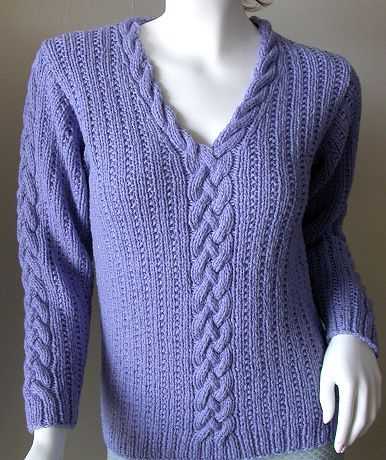
The V-neck design is a popular feature in many sweaters as it flatters all body types and adds a stylish element to the overall look. Whether you’re dressing up for a formal event or simply want to add a touch of elegance to your everyday wear, a V-neck cable knit sweater is the perfect choice.
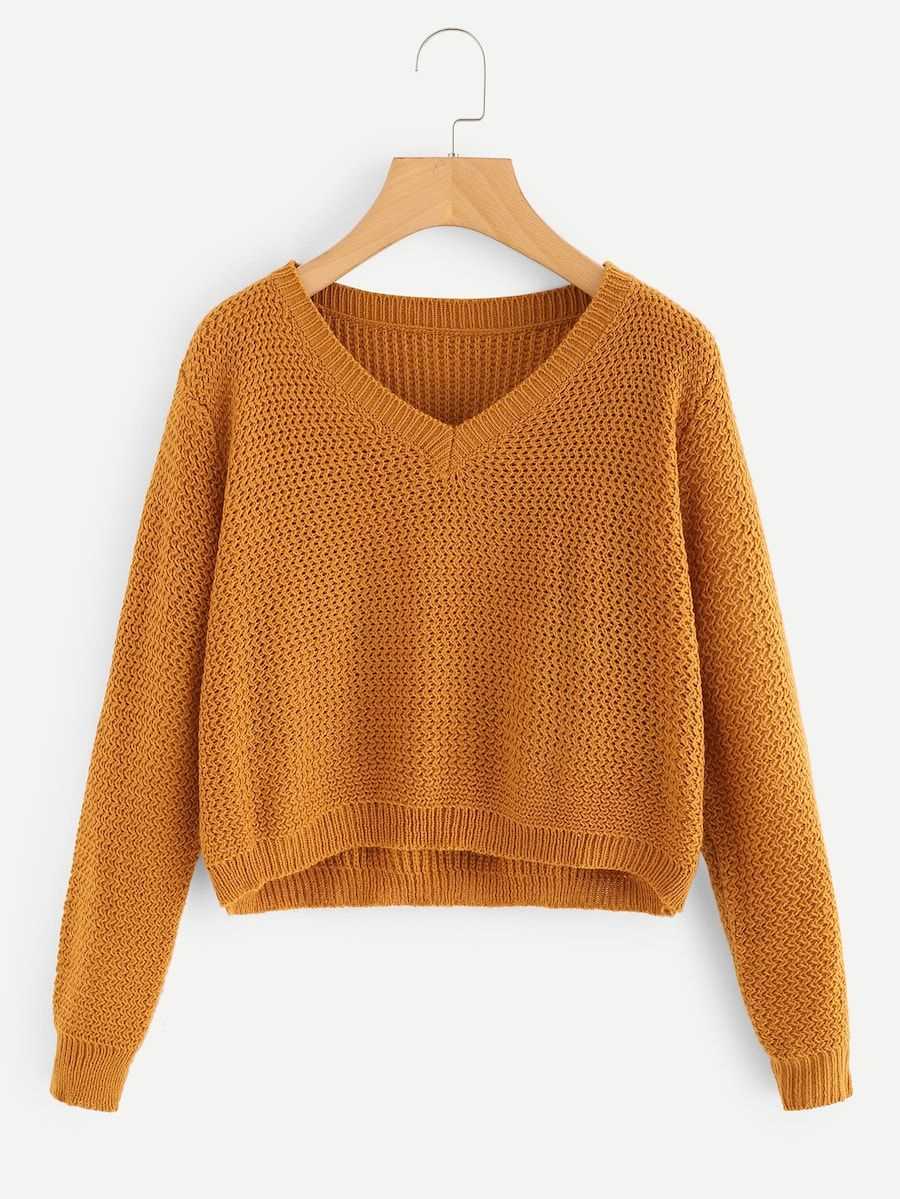
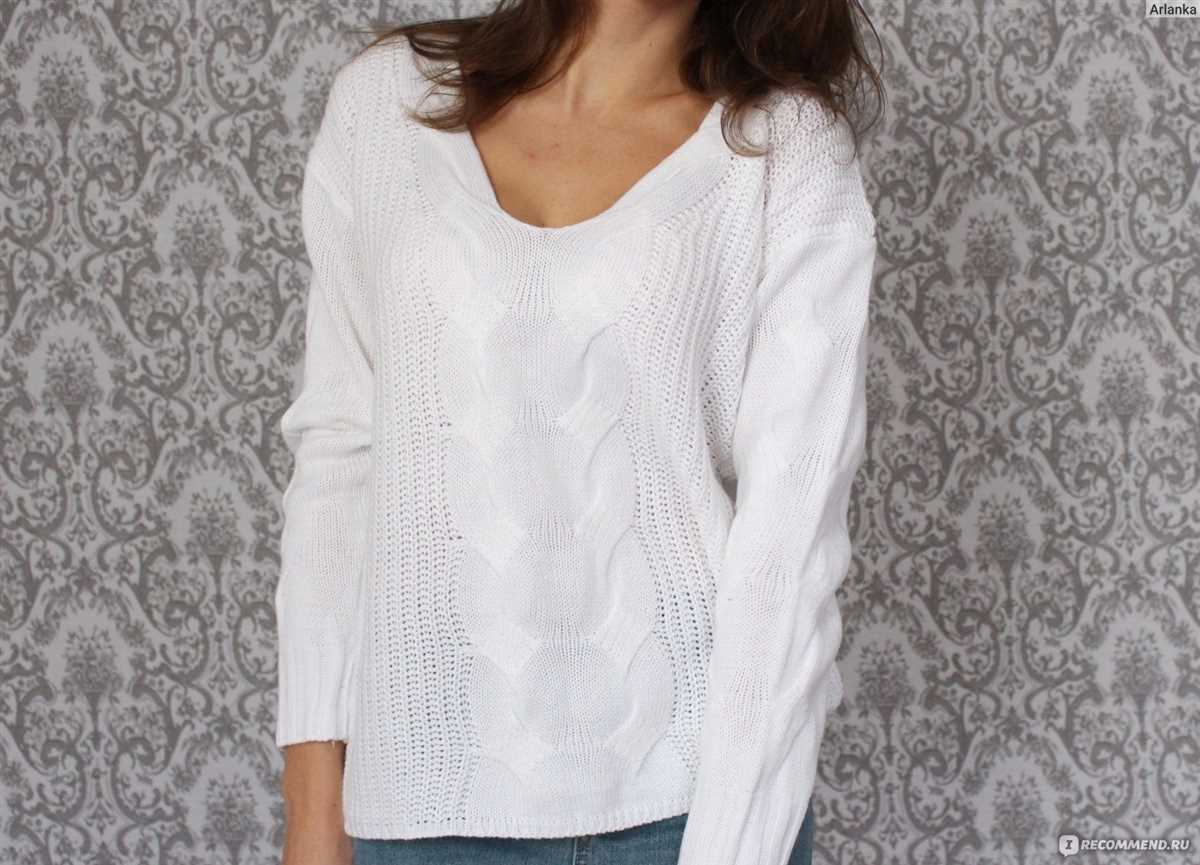
The cable knit pattern, characterized by its intricate interwoven design, adds depth and texture to the sweater, making it visually interesting and unique. The cables themselves form a series of twisted stitches that create a vertical or diagonal pattern, giving the sweater a distinct and eye-catching look.
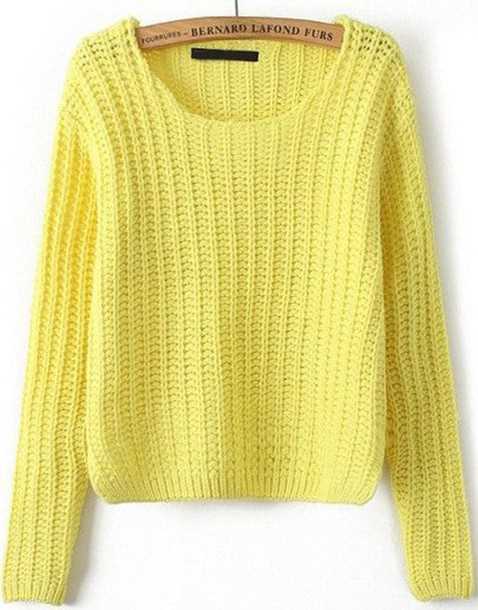
Knitting your own V-neck cable knit sweater allows you to customize the size, color, and yarn type to suit your personal style and preferences. With countless patterns available online and in knitting books, you can choose from a wide range of options and create the perfect sweater that fits you like a glove.
V Neck Cable Knit Sweater Pattern
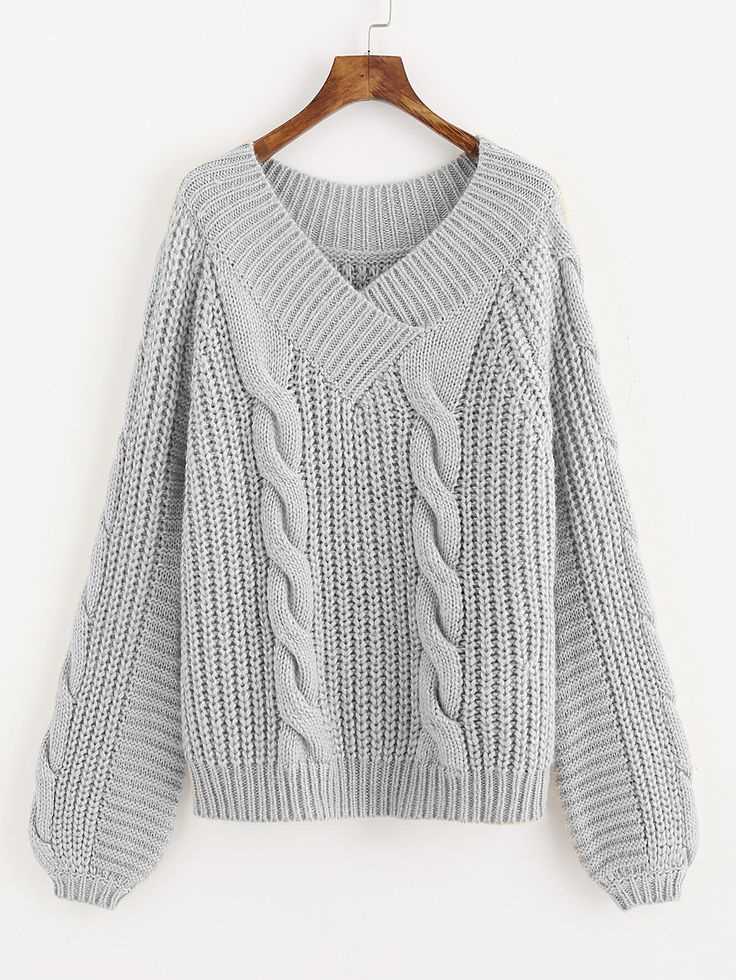
A V-neck cable knit sweater is a classic and versatile piece of clothing that can be worn in various styles and occasions. Whether you want to stay cozy during the winter months or add some texture to your outfit, a cable knit sweater is the perfect choice.
The pattern for a V-neck cable knit sweater typically includes a combination of knit and purl stitches to create the cable design. The V-neck adds a touch of femininity and elegance to the sweater, making it suitable for both casual and dressier looks.
How to Knit a V Neck Cable Knit Sweater
To knit a V-neck cable knit sweater, you will need a pattern, knitting needles, cable needles, and yarn in your desired color and thickness. The pattern will provide you with the instructions for stitches, shaping, and cable design.
Start by knitting the back piece of the sweater, following the pattern’s instructions. Once the back piece is complete, move on to the front piece. When you reach the neckline, you will start shaping the V-neck by decreasing stitches on either side.
Next, it’s time to knit the sleeves. The sleeves can either be knitted separately and then attached to the body, or you can knit them in the round using double-pointed needles or a circular needle depending on your preference.
Once all the pieces are complete, you will need to sew them together. Follow the pattern’s instructions for seaming and finishing touches. Finally, block the sweater to give it a polished look and to ensure that the cables are well-defined.
Styling Options

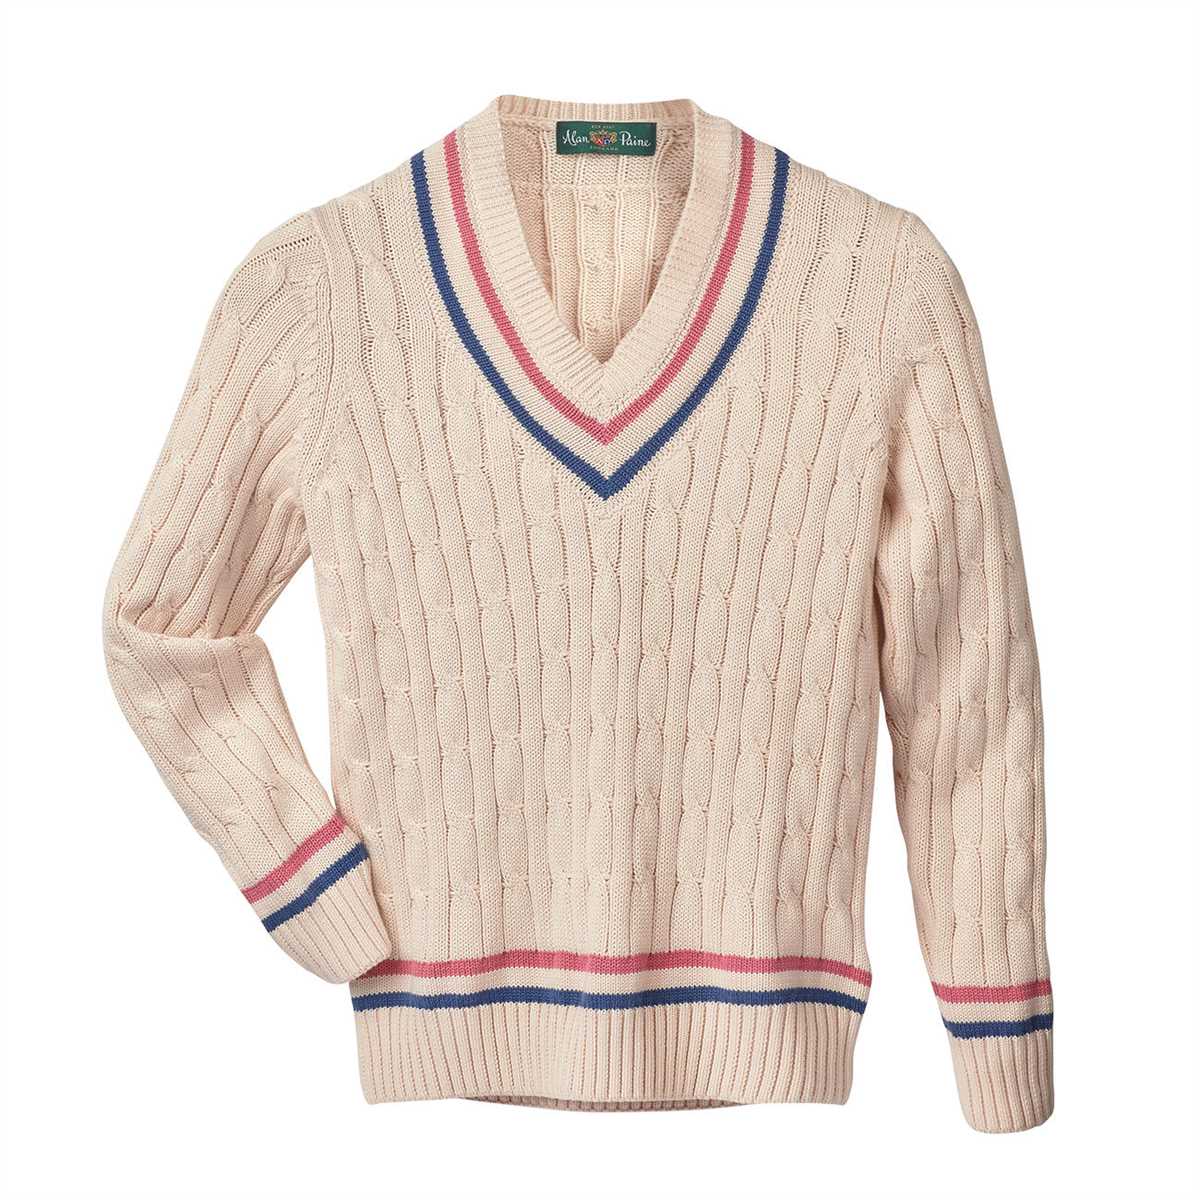
A V-neck cable knit sweater can be styled in numerous ways to suit different occasions and personal preferences. For a casual look, pair it with your favorite jeans and ankle boots. Layer it over a collared shirt for a preppy and stylish outfit. You can also dress it up by wearing it with a skirt and heels for a more sophisticated look.
The cable knit pattern adds texture and interest to the sweater, making it a statement piece on its own. However, you can also accessorize it with statement jewelry such as oversized earrings or a chunky necklace to enhance your style.
Overall, a V-neck cable knit sweater is a timeless wardrobe staple that can be easily incorporated into any outfit. With its classic design and versatility, it is sure to become a go-to piece for both comfort and style.
Why Choose a V Neck Cable Knit Sweater?
A V neck cable knit sweater is a versatile and timeless piece of clothing that should be a staple in every wardrobe. Whether you’re dressing up for a formal occasion or dressing down for a casual outing, a V neck cable knit sweater can provide the perfect blend of style, comfort, and warmth.
One of the main reasons to choose a V neck cable knit sweater is its classic and sophisticated appearance. The combination of the V neck design and the intricate cable knit pattern creates a visually interesting and elegant look that never goes out of style. It can be worn with jeans for a casual and cozy ensemble, or paired with tailored pants and a blazer for a more polished and professional outfit.
- Versatility: A V neck cable knit sweater can be easily dressed up or down depending on the occasion. It can be worn as a standalone piece or layered with a shirt or blouse underneath. It can also be easily paired with different bottoms, such as skirts, trousers, or even shorts, making it suitable for various seasons and settings.
- Comfort: The cable knit construction of the sweater provides extra warmth and insulation, making it a great choice for colder weather. The V neck design also allows for better breathability and ventilation, ensuring that you stay comfortable and cozy without feeling too hot.
- Durability: Cable knit sweaters are known for their durability and long-lasting quality. The intricate weaving technique creates a strong and sturdy fabric that can withstand regular wear and washing without losing its shape or texture.
- Timeless style: A V neck cable knit sweater is a classic wardrobe staple that will never go out of style. It can be worn year after year, making it a great investment piece that will never go to waste.
In conclusion, a V neck cable knit sweater is a must-have item that combines style, comfort, and versatility. Its classic design, durability, and timeless appeal make it a perfect addition to any wardrobe. Whether you’re dressing up for a formal event or dressing down for a casual outing, a V neck cable knit sweater will always provide a stylish and cozy option. So why not choose a V neck cable knit sweater and elevate your fashion game?
Materials Needed for Cable Knit Sweater
To create a beautiful cable knit sweater, you will need a few essential materials. Here is a list of the items you will need to get started:
- Yarn: Choose a high-quality yarn that is suitable for sweater knitting. Look for a yarn that is soft and durable, and that comes in the color of your choice.
- Knitting Needles: You will need a set of knitting needles that are appropriate for the thickness of your yarn. Consider using circular needles for knitting the body of the sweater, and double-pointed needles for the sleeves.
- Cable Needle: A cable needle is a specialized knitting needle used to hold stitches while you twist or cross them in a cable pattern. Make sure to choose a cable needle that matches the size of your knitting needles.
- Tape Measure: A tape measure is essential for taking accurate measurements of your body and for checking the gauge of your knitting. This will help ensure that your sweater fits properly.
- Stitch Markers: Stitch markers are small rings that are placed on the knitting needle to mark specific stitches or sections of your pattern. This is especially useful when working cable patterns, as it can help you keep track of your stitches.
- Tapestry Needle: A tapestry needle is used for sewing or weaving in loose ends of yarn. It is also useful for seaming the pieces of your sweater together.
In addition to these materials, you may also need scissors, stitch holders, and a row counter. Having all of these items on hand will ensure that you have everything you need to successfully knit a cable knit sweater.
Getting Started: Casting On Stitches
Before you can begin knitting your V neck cable knit sweater, you need to cast on the stitches. This is the process of creating the foundation row of stitches that will form the base of your sweater. There are several different methods for casting on stitches, but one of the most common is the long tail cast on method.
To cast on using the long tail method, follow these steps:
- Hold the working yarn (the yarn attached to the ball) in your right hand, with the tail end hanging down.
- Create a slip knot by making a loop with the yarn, passing the end through the loop, and pulling tight. This loop will count as your first stitch.
- Hold the slip knot on your left hand needle, with the tail end of the yarn on top and the working yarn on the bottom.
- Insert the right hand needle into the slip knot from front to back, with the working yarn behind the needle.
- Using your right hand, wrap the working yarn around the needle from right to left.
- Bring the right hand needle with the wrap under and through the slipped stitch, creating a new stitch on the right hand needle. This new stitch should be placed on the left hand needle.
- Repeat steps 4-6 until you have cast on the desired number of stitches for your sweater.
Once you have cast on all of your stitches, you can begin knitting the first row of your V neck cable knit sweater pattern. Make sure to follow the instructions carefully, as the cast on stitches will form the foundation for the rest of your knitting project.
Knitting the Ribbing: Creating a Neat Edge
In the process of knitting a V neck cable knit sweater, one of the most important steps is creating a neat and professional-looking edge for the ribbing. The ribbing is typically found at the bottom of the sweater, as well as the cuffs and neckline. It gives the sweater a polished and finished appearance.
To create a neat edge for the ribbing, it is crucial to use the correct knitting technique and pay attention to tension. Ribbing is often worked in a pattern of knit and purl stitches, which creates a textured and elastic fabric. The key to achieving an even and tidy edge is to maintain consistent tension throughout the knitting process.
Here are some tips for creating a neat edge when knitting the ribbing:
- Cast on with a smaller needle size: Starting with a smaller needle size for the cast on can help create a tighter edge that prevents the ribbing from being too loose or floppy.
- Use a stretchy cast on method: There are various stretchy cast on methods, such as the long tail cast on or the tubular cast on, that can be used for ribbing. These methods provide more elasticity at the edge, allowing the ribbing to stretch comfortably over the body.
- Keep tension even between knit and purl stitches: Consistency in tension between the knit and purl stitches is important to prevent uneven edges. Pay attention to the tightness of the yarn when switching between these two stitch types.
- Block the ribbing: After completing the ribbing section, blocking can help even out any slight irregularities and enhance the overall appearance of the edge. Blocking involves soaking the knitted fabric in water, gently squeezing out the excess moisture, and then reshaping it to the desired dimensions.
By following these tips and techniques, you can ensure that the ribbing on your V neck cable knit sweater has a neat and professional edge. The attention to detail in this aspect of knitting will contribute to the overall quality and appearance of the finished garment.
Starting the Cable Pattern: Crossing Stitches
The cable pattern is a classic and timeless design that adds texture and depth to any knitted garment. It consists of crossing stitches to create a braided or twisted look. If you’re ready to take your knitting skills to the next level, learning how to work a cable pattern is a great place to start.
To create the cable pattern, you will need a cable needle, which is a short double-pointed needle or crochet hook. The cable needle is used to hold the stitches while you cross them over each other. The basic technique involves temporarily moving a certain number of stitches to the cable needle, holding it in front or in back of your work, and then knitting the next set of stitches before returning to the stitches on the cable needle.
1. Right Cable: To create a right cable, you will move the designated number of stitches onto the cable needle and hold it in the back of your work. Then, knit the next set of stitches from the left needle. Finally, knit the stitches from the cable needle.
2. Left Cable: To create a left cable, you will move the designated number of stitches onto the cable needle and hold it in the front of your work. Then, knit the next set of stitches from the left needle. Finally, knit the stitches from the cable needle.
It’s important to note that the number of stitches you move onto the cable needle and the order in which you cross them will determine the specific cable pattern you create. By experimenting with different stitch counts and combinations, you can achieve a wide variety of intricate cable designs.
When working a cable pattern, it’s also helpful to use a cable chart or written instructions to guide you. The chart or instructions will indicate when and how to cross the stitches, ensuring that your cable pattern is consistent and symmetrical.
With practice, you’ll become more comfortable with crossing stitches and creating beautiful cable patterns. Whether you’re knitting a V-neck cable knit sweater or a cozy scarf, the cable pattern will elevate your knitting projects and showcase your skills.
Shaping the V Neck: Decreasing Stitches
When knitting a V neck cable knit sweater, one of the important steps is to shape the V neck by decreasing stitches. This is done to create the distinctive V-shaped neckline that adds style and visual interest to the sweater.
To start shaping the V neck, the pattern will typically specify a specific number of stitches to decrease. This can be done by working a series of decreases on both sides of the neckline. Common decrease techniques used in this process include knit two stitches together (k2tog) and slip slip knit (ssk).
One common approach is to decrease stitches every other row or every few rows, depending on the desired depth of the V neck and the overall design of the sweater. The decreases are usually staggered to create a gradual slope, rather than a sharp change in the neckline.
It is important to carefully follow the pattern instructions for decreasing stitches, as the specific decreases and placement may vary depending on the individual pattern. The pattern will typically provide row-by-row instructions for shaping the V neck, ensuring that the decreases are done in the correct places and in the correct sequence.
Once the desired number of stitches have been decreased, the V neck shaping is complete and the remainder of the sweater can be knit according to the pattern instructions. The cable knit pattern will continue, creating a beautiful textured design on the front of the sweater.
Knitting the Body: Continuing the Cable Pattern

Once you have completed the ribbing and established the cable pattern on the front and back panels of the sweater, it’s time to start knitting the body. In this section, we will discuss how to continue the cable pattern and shape the body of the sweater.
Continuing the Cable Pattern:
When transitioning from the ribbing to the body, you will continue the cable pattern that you established in the previous sections. This means that you will follow the cable chart or written instructions, making sure to maintain the correct stitch count and cable crossings. Remember to read the chart or instructions carefully and keep track of your progress as you go.
As you work on the body, you may need to adjust the cable pattern to accommodate shaping, such as increases or decreases. In these cases, it is important to maintain the integrity of the cable design while achieving the desired fit. You may need to modify the cable crossings or adjust the stitch count to ensure the cables align correctly.
Shaping the Body:
While knitting the body, you will gradually shape it to create a flattering silhouette. This may involve incorporating waist shaping, hip shaping, or other adjustments to achieve the desired fit. To do this, you will work increases or decreases at specific intervals, following the pattern instructions.
It is important to pay attention to the shaping instructions and make any necessary modifications to the cable pattern as you shape the body. By doing so, you can ensure that the cables flow smoothly across the garment and result in a polished finished look.
Keep in mind that shaping the body may require adjusting the cable pattern on both the front and back panels of the sweater. This will help maintain symmetry and ensure that the cables align correctly on both sides.
Continue working on the body until you reach the desired length, following the pattern instructions for any additional shaping or finishing details. Once the body is complete, you can move on to knitting the sleeves and finishing the sweater.
Knitting the Sleeves: Adding the Cable Design
Adding a cable design to the sleeves of a V-neck cable knit sweater can add an extra touch of sophistication and visual interest to the overall design. The cable pattern creates a texture that stands out from the surrounding knit stitches, making the sleeves a focal point of the garment.
To begin knitting the sleeves, first follow the pattern instructions for the stitch and row gauge. This will ensure that the sleeves are the correct length and width. Start by knitting the required number of rows in the main body of the sweater, making sure to leave enough stitches on the needle for the cable design. The cable pattern typically consists of a specific number of stitches that are crossed over each other to create the cables.
1. Cable Chart: It is helpful to have a cable chart or written instructions for the specific cable design you are using. This chart will indicate the order of the stitches that need to be crossed and the direction of the crossing. Follow the chart or written instructions carefully to ensure the cables are created correctly.
2. Cable Needle: When working the cable pattern, a cable needle is typically used to hold the stitches that will be crossed. Slip the required number of stitches onto the cable needle, either in front or behind the work, depending on the direction of the cable cross. Keep the cable needle to the side while working the next set of stitches.
3. Cross the Stitches: Work the next set of stitches according to the pattern until you reach the point where the cable cross will occur. Retrieve the cable needle and hold it in the appropriate position in front or behind the work. Bring the next set of stitches to the cable needle and hold it alongside the work. Cross the stitches on the cable needle over the working stitches, either in front or behind the work, again depending on the direction of the cable cross.
- 4. Continue Knitting: Once the cable cross is complete, continue knitting the remaining stitches in the pattern until the next cable cross is required. Repeat steps 2 and 3, following the cable chart or written instructions, until the desired length of the cable pattern is reached.
By following these steps, you can successfully add a cable design to the sleeves of your V-neck cable knit sweater. Remember to take your time and pay close attention to the cable chart or written instructions to ensure the cables are created accurately. Have fun knitting and enjoy the beautiful cable design that will enhance the overall aesthetic of your sweater!
Finishing Touches: Sewing and Blocking
After completing the knitting of your V neck cable knit sweater, there are a few finishing touches you can add to ensure that your garment looks polished and professional. Two important steps in the finishing process are sewing and blocking.
Sewing the seams of your sweater is essential to give it structure and stability. Using a yarn needle and matching yarn, sew the sides of the body, the sleeves, and the V-neck together. Make sure to sew with even tension and consistent stitches to achieve a neat and tidy finish. Once the seams are sewn, weave in any loose yarn tails on the inside of the sweater to keep them from unraveling.
Blocking is the process of shaping and stretching your knitted garment to its desired size and shape. This step is particularly important for cable knit patterns as it helps to open up the stitches and showcase the intricate cable design. To block your sweater, you can either wet block or steam block it. Wet blocking involves soaking the sweater in water, gently squeezing out the excess moisture, and then shaping it on a flat surface to dry. Steam blocking, on the other hand, involves using a steamer or an iron with steam to lightly dampen the sweater and then stretching and shaping it as desired. Whichever method you choose, make sure to follow the care instructions specific to the yarn you used.
Summary

In conclusion, sewing and blocking are crucial steps in completing your V neck cable knit sweater. Sewing the seams ensures that your sweater has structure and stability, while blocking helps to shape and showcase the cable knit design. By taking the time to sew and block your sweater properly, you can elevate its overall look and ensure that it will be a stylish and well-fitting garment.