
If you love cozy and comfortable clothes, then a sweatshirt knitting pattern is just what you need. Knitting your own sweatshirt allows you to create a garment that fits you perfectly and matches your personal style. Whether you prefer a classic crewneck or a trendy oversized design, there are plenty of patterns available for you to choose from.
One of the great things about knitting your own sweatshirt is that you can customize it to your liking. You can choose the yarn, color, and stitch pattern that you like the most. This allows you to create a truly one-of-a-kind garment that reflects your personality and style. Plus, knitting your own sweatshirt is a great way to relax and unwind after a long day.
If you are new to knitting, don’t worry! There are plenty of beginner-friendly sweatshirt patterns available. These patterns provide step-by-step instructions and often include helpful videos or tutorials. With a little practice, you’ll be able to create beautiful knitted sweatshirts that you can wear with pride.
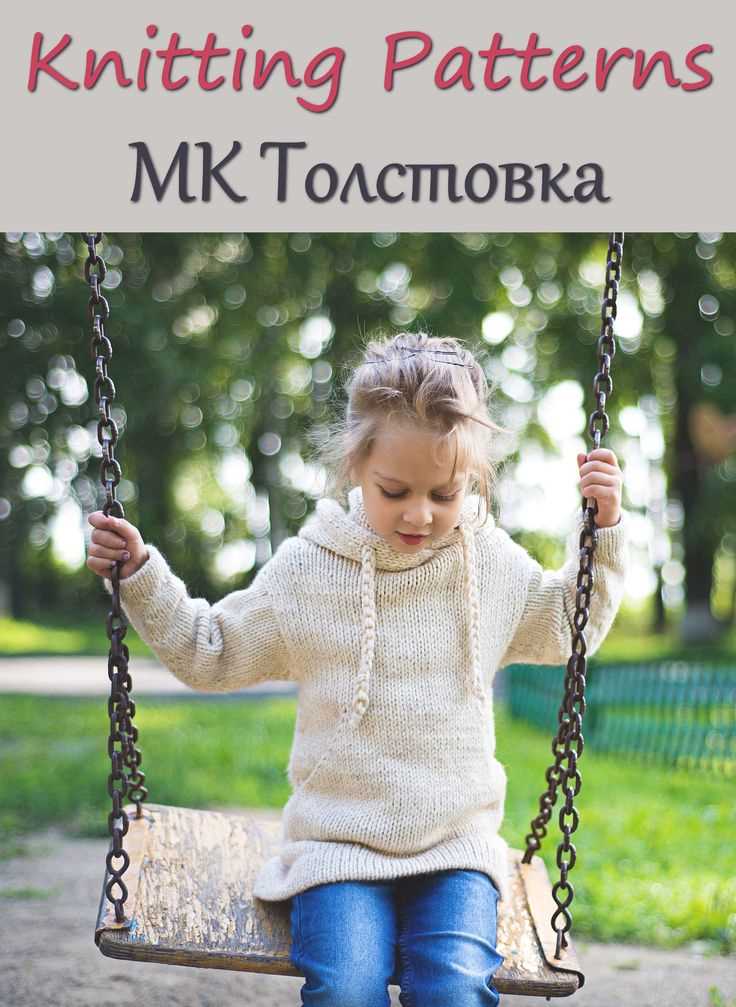
Sweatshirt Knitting Pattern
Knitting your own sweatshirt is a fun and rewarding project for both beginners and experienced knitters. With a variety of patterns and styles to choose from, you can create a unique and personalized sweatshirt that fits your style perfectly.
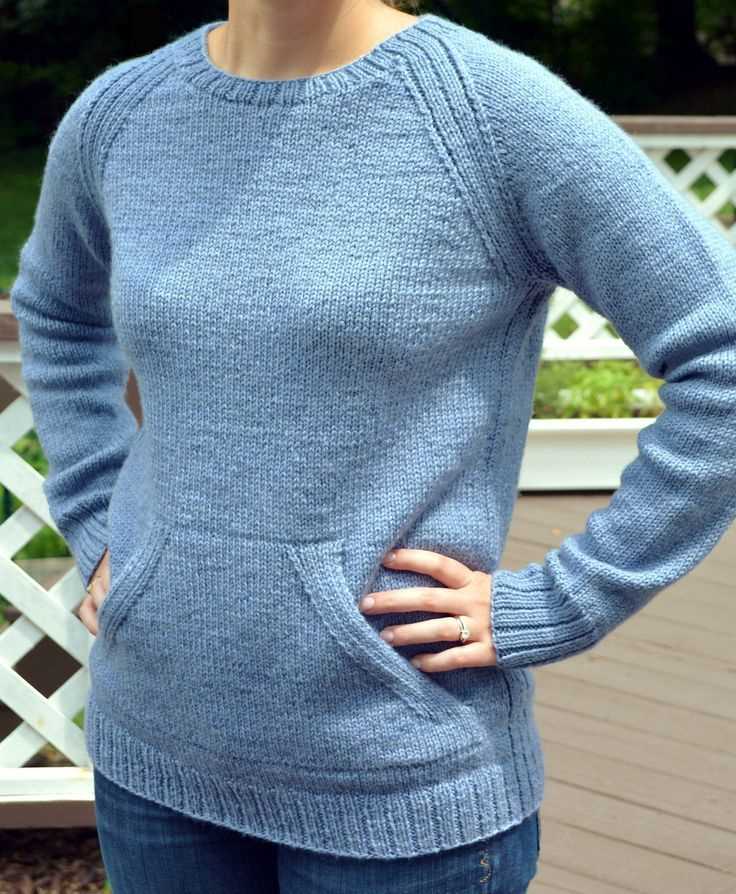
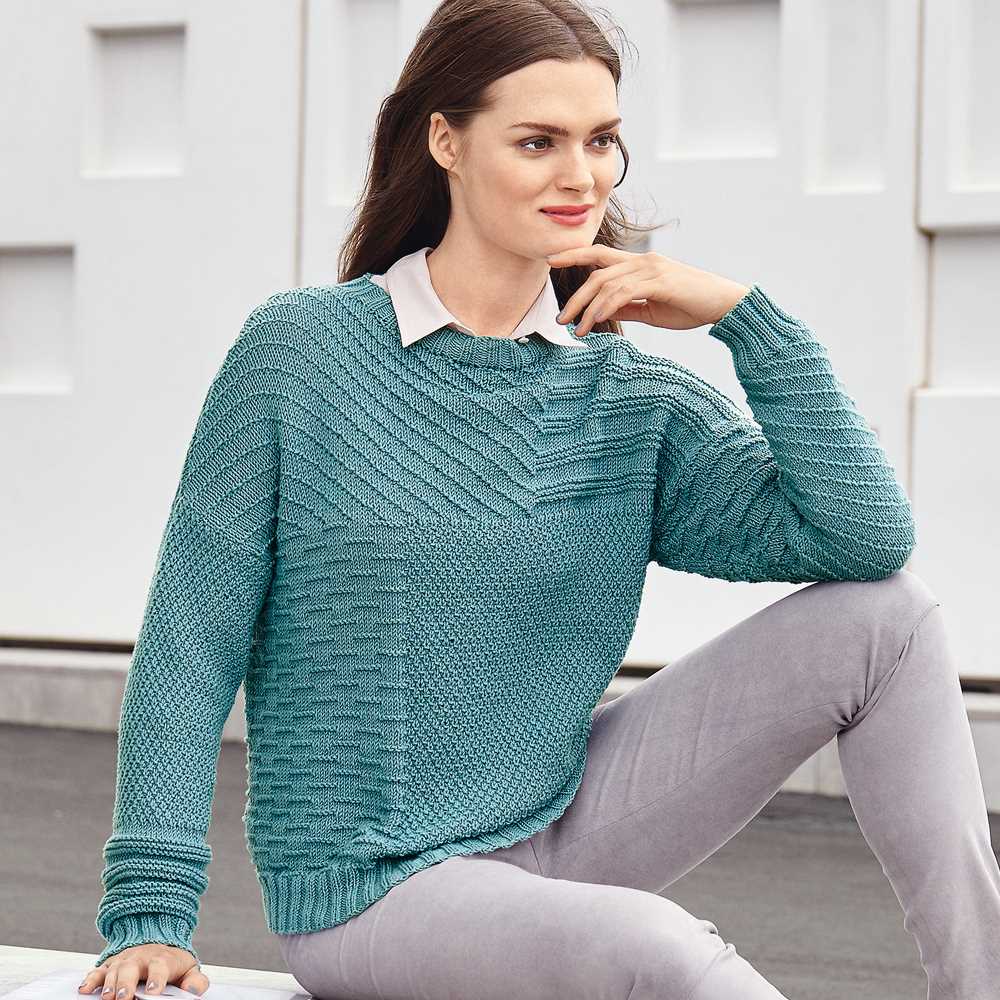
One popular sweatshirt knitting pattern is the classic crew neck style. This pattern features a simple stockinette stitch throughout the body and sleeves, with ribbing at the neckline, cuffs, and hem for a clean and polished look. The crew neck style is versatile and can be dressed up or down depending on the yarn and color you choose.
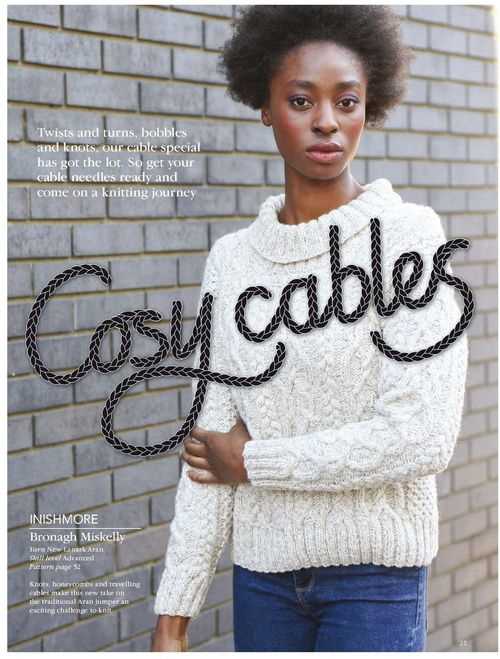
If you’re looking for something with a bit more texture, the cable knit sweatshirt pattern is an excellent choice. This pattern incorporates intricate cable stitches that add depth and visual interest to the garment. The cable knit sweatshirt is cozy and warm, making it perfect for colder seasons.
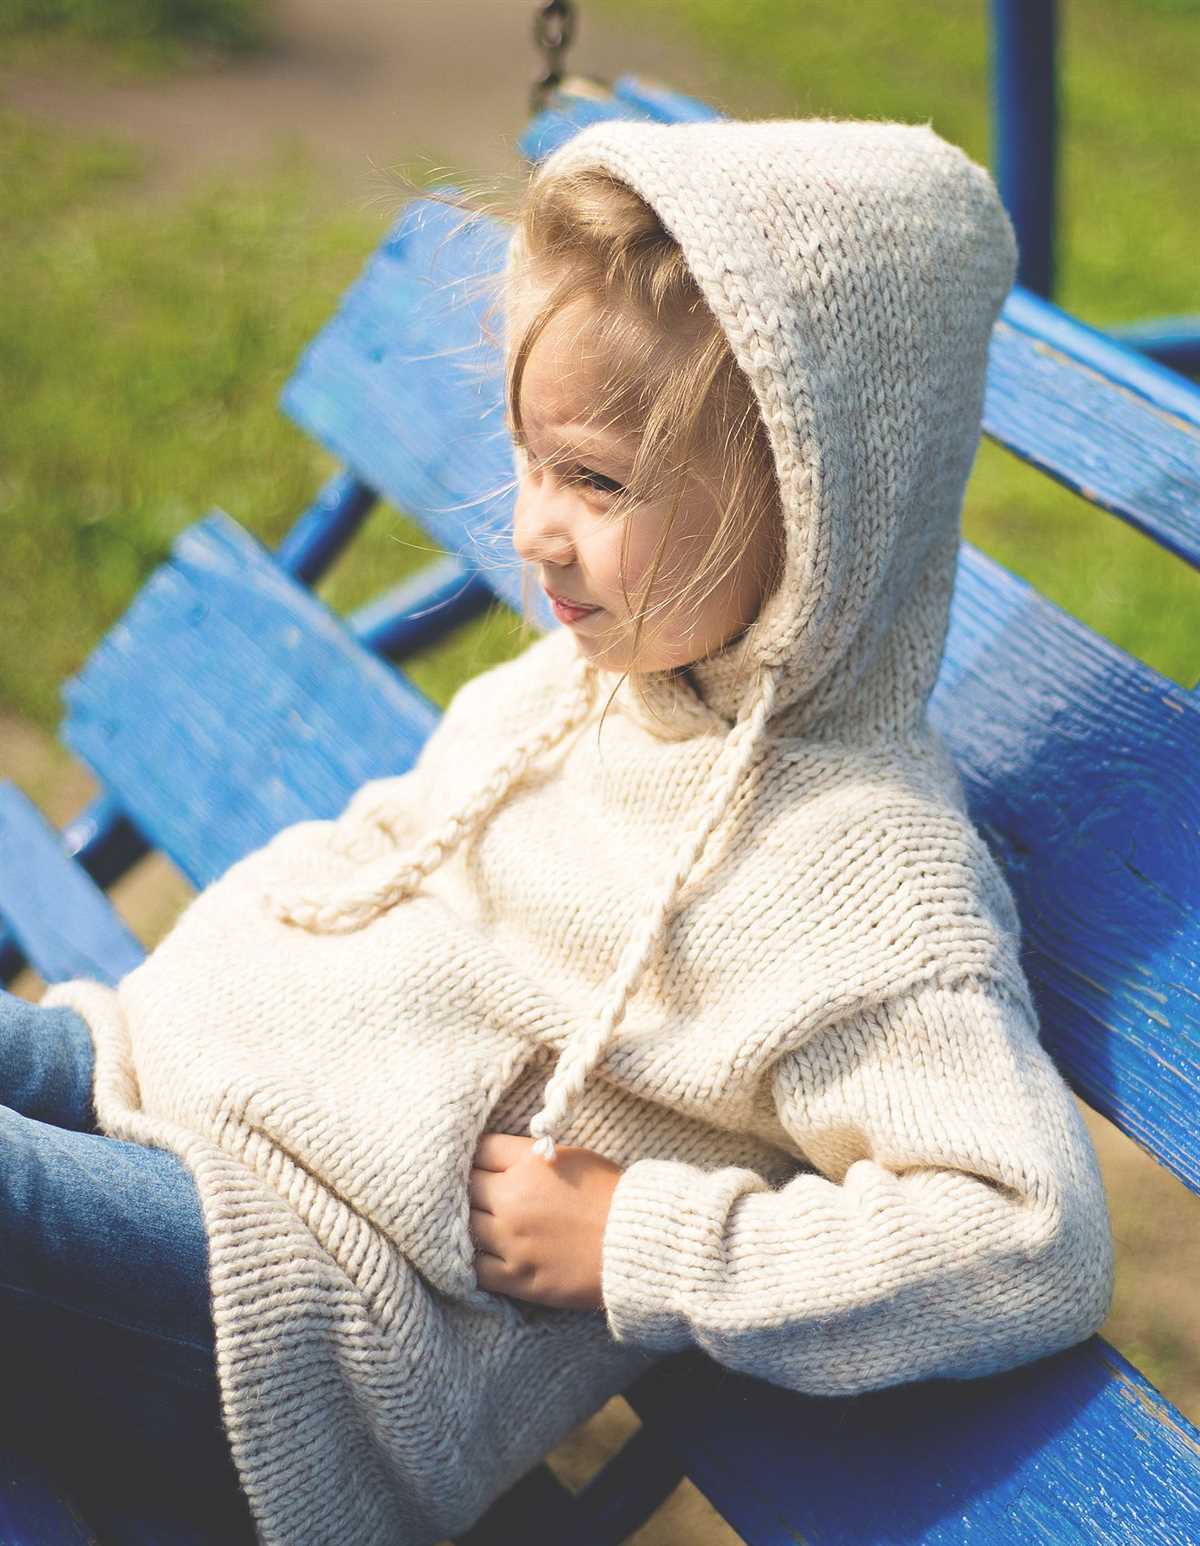
For those who prefer a more relaxed and oversized fit, the oversized sweatshirt knitting pattern is a great option. This pattern typically uses chunky or bulky weight yarn and larger needles to create a loose and slouchy silhouette. The oversized sweatshirt is perfect for lounging around the house or for a casual and comfortable look.
When choosing a sweatshirt knitting pattern, it’s important to consider both the style and difficulty level. Some patterns may require advanced techniques, such as colorwork or lace stitches, while others are more suitable for beginners. Regardless of your skill level, there’s a sweatshirt knitting pattern out there that’s perfect for you. Happy knitting!
Choosing the Right Yarn
When it comes to knitting a sweatshirt, choosing the right yarn is essential to achieve the desired results. There are several factors to consider when selecting the yarn for your project.
Fiber content:
The first thing to consider is the fiber content of the yarn. Different fibers have different properties and will affect the feel and drape of the finished garment. Popular fibers for sweatshirts include wool, cotton, and acrylic. Wool is known for its warmth and natural elasticity, while cotton is breathable and comfortable to wear. Acrylic is a synthetic fiber that is affordable and ideal for those with wool allergies.
Weight:
The weight of the yarn will determine the thickness and heaviness of the sweatshirt. Sweaters are often knit with medium to bulky weight yarns to ensure warmth and coziness. However, if you prefer a lighter and more breathable sweatshirt, you can consider using a lighter weight yarn. Keep in mind that the weight of the yarn will affect the gauge and size of your finished garment, so it’s important to check the pattern requirements.
Color and texture:
The color and texture of the yarn are also important considerations. The color should complement the design of the sweatshirt and your personal style. Solid colors are versatile and classic, while variegated or self-striping yarns can add visual interest to your project. As for texture, you can choose between smooth yarns or those with a bit of texture, such as boucle or tweed, depending on the look you want to achieve.
By considering these factors, you can choose the perfect yarn for your sweatshirt knitting project. Take your time to explore different options and find the yarn that meets your preferences and requirements. With the right yarn, you can create a comfortable and stylish sweatshirt that you’ll love to wear.
Getting Started with the Pattern
Before you start knitting a sweatshirt, it’s important to have a good understanding of the pattern you’re working with. This will help ensure that you have all the necessary materials and are familiar with the steps involved in creating the garment. Here are some tips to help you get started with the sweatshirt knitting pattern:
Gather your materials
Before you dive into the pattern, take some time to gather all the materials you will need. This includes the specified yarn, needles, stitch markers, and any other tools mentioned in the pattern. Make sure you have enough yarn to complete the project, as running out in the middle can be frustrating.
Read the pattern carefully
Once you have your materials ready, it’s time to carefully read through the knitting pattern. Pay close attention to the instructions, abbreviations, and any special techniques mentioned. Take note of the gauge provided in the pattern and make sure your tension matches it to achieve the correct size of the sweatshirt.
It is also helpful to make a list of any unfamiliar terms or techniques mentioned in the pattern. This will allow you to research and familiarize yourself with them beforehand, ensuring that you are prepared when you come across them in the instructions.
Take measurements
Before you begin knitting, be sure to take accurate measurements of the person the sweatshirt is intended for. This will help you select the correct size and make any necessary adjustments to the pattern. It’s also a good idea to compare these measurements to the finished garment measurements provided in the pattern to ensure a proper fit.
By following these steps and familiarizing yourself with the sweatshirt knitting pattern, you will set yourself up for success and be ready to create a cozy and stylish garment. Take your time, enjoy the process, and don’t hesitate to seek clarification if needed. Happy knitting!
Understanding the Gauge
Gauge is an essential element in knitting as it determines the size and fit of the final project. It refers to the number of stitches and rows per inch in a knitted fabric. Every pattern has a recommended gauge that knitters should aim for in order to achieve the desired size and drape of the garment.
To understand the importance of gauge, one must first know the key phrases often used in knitting patterns. “Stitch gauge” refers to how many stitches are required to create a one-inch square. “Row gauge” is the number of rows needed to reach one inch in height. These measurements vary depending on the yarn, needle size, and individual tension of the knitter.
Why is it important to achieve the correct gauge?
Knitting a swatch and measuring the gauge before starting a project may seem like an extra step, but it can save a lot of time and frustration in the long run. If the gauge is too tight, the finished garment will be smaller than intended. Conversely, if the gauge is too loose, the garment will be larger. Understanding and achieving the recommended gauge ensures that the final project will have the correct measurements and fit the intended wearer.
How to measure gauge?
Measuring gauge requires knitting a swatch of a specific size and counting the number of stitches and rows within that gauge. Most patterns specify the gauge over a four-inch square. Knitters can use a ruler or a gauge swatch tool to measure their swatch and compare it to the pattern’s recommended gauge. If the measurement is off, adjusting the needle size or yarn weight can help achieve the correct gauge.
Troubleshooting gauge issues
If the swatch has more stitches and rows per inch than specified, the knitter can try using larger needles or thinner yarn. Conversely, if the swatch has fewer stitches and rows, using smaller needles or thicker yarn may help. It is important to recheck the gauge after making adjustments to ensure compatibility with the pattern.
- Overall, understanding and achieving the correct gauge is crucial for producing a well-fitting and correctly sized knitted garment.
- By measuring the stitch and row gauge and making necessary adjustments, knitters can ensure the success of their projects.
- Gauge is not something to overlook, as a small discrepancy can result in a significantly different final product.
Casting On and Joining in the Round
When knitting a sweatshirt, one of the first steps is to cast on and join the work in the round. This creates a seamless and continuous knit fabric, perfect for the body of the sweatshirt.
To cast on, you can use a variety of methods such as the long-tail cast on or the knitted cast on. The number of stitches you cast on will depend on the size of your sweatshirt and the desired fit. It’s important to ensure that your cast on edge is not too tight, as this can make it difficult to join the work in the round.
Once you have cast on your stitches, the next step is to join the work in the round. This is done by carefully sliding the stitches from the left-hand needle onto the right-hand needle, being careful not to twist the stitches. You can use a stitch marker to mark the beginning of the round, which will help you keep track of your progress as you work.
With the stitches joined in the round, you are now ready to start working the body of the sweatshirt. This typically involves knitting in the round until you reach the desired length, often with a ribbed pattern at the hem, cuffs, and neckline. Always refer to the specific pattern you are using for the recommended stitch pattern and instructions for shaping the sweatshirt.
Casting on and joining in the round are essential steps in starting a sweatshirt knitting project. By following these steps carefully and paying attention to the tension of your cast on edge, you can create a seamless and comfortable sweatshirt that is sure to keep you cozy and stylish.
Knitting the Body
Once you have finished knitting the ribbing for the hem, it’s time to move on to the body of the sweatshirt. The body is typically worked in stockinette stitch, which creates a smooth, even fabric. This section will guide you through the steps of knitting the body, from shaping the waist to creating the armholes.
1. Waist shaping: To give the sweatshirt a more fitted look, you may want to include waist shaping. This involves decreasing stitches gradually around the waist area. You can achieve this by working a series of decrease rows evenly spaced apart. Follow the pattern instructions to determine the number of stitches to be decreased and the specific decrease method to use.
2. Body length: The length of the body can vary depending on personal preference and the design of the sweatshirt. Typically, the body is knit to the desired length from the waist to the underarm. You can measure a properly fitting sweatshirt to determine the desired length or refer to the pattern for guidance.
3. Armhole shaping: Once the body reaches the desired length, it’s time to shape the armholes. This involves binding off a certain number of stitches on each side to create an opening for the sleeves. The pattern will instruct you on how to evenly distribute the bind-off stitches and continue knitting the remaining stitches for the shoulders.
4. Finishing: After completing the body, you can continue knitting the sleeves and collar to complete the sweatshirt. Make sure to follow the pattern instructions for these sections and any additional finishing details, such as adding a ribbed collar or seaming the sides. Once all the pieces are knitted, you can sew them together and add any final touches, such as buttons or a zipper.
Adding Sleeves
Once you have completed the body of the sweatshirt, it’s time to add the sleeves. To begin, you will need to pick up stitches along the armhole. Using a smaller circular needle, start at the underarm and pick up stitches evenly around the armhole. The number of stitches will depend on the size of your sweatshirt and the desired width of your sleeves.
Once you have picked up the stitches, you will need to work in the desired stitch pattern for the sleeves. This could be the same stitch pattern used for the body or a different pattern for some added interest. You will continue to work in the round, knitting or purling each stitch as required by the pattern.
For the sleeve length, you can try on the sweatshirt to see where you would like the sleeves to end. You can then measure from the underarm to the desired length and continue working in the stitch pattern until you reach that length.
When you have reached the desired sleeve length, you can start shaping the sleeve by decreasing stitches. The method of decreasing will depend on the stitch pattern you are using and the shaping you desire. Common methods include decreasing every other row or every few rows until the desired width is achieved.
Once you have finished shaping the sleeve, you can bind off the remaining stitches and weave in any loose ends. Repeat this process for the second sleeve, and your sweatshirt will be complete!
Creating the Neckline
When knitting a sweatshirt, the neckline is an important detail that can greatly impact the overall look and fit of the garment. There are several techniques that can be used to create different types of neckline, depending on the desired style and design.
Ribbing: One popular method for creating a neckline is to use ribbing. Ribbing is a textured stitch pattern created by alternating knit stitches and purl stitches. This creates a stretchy and flexible fabric that is ideal for necklines. To create a ribbed neckline, you can begin by knitting a few rows of ribbing in the desired stitch pattern, then switch to a larger needle size and continue knitting the neckline.
Banding: Another option for creating a neckline is to use a banding technique. In this method, a separate band of fabric is knitted and then attached to the neckline. This can be done using stitches or seaming techniques. Banding can add structure and stability to the neckline, as well as provide an opportunity for additional decorative elements such as cables or colorwork.
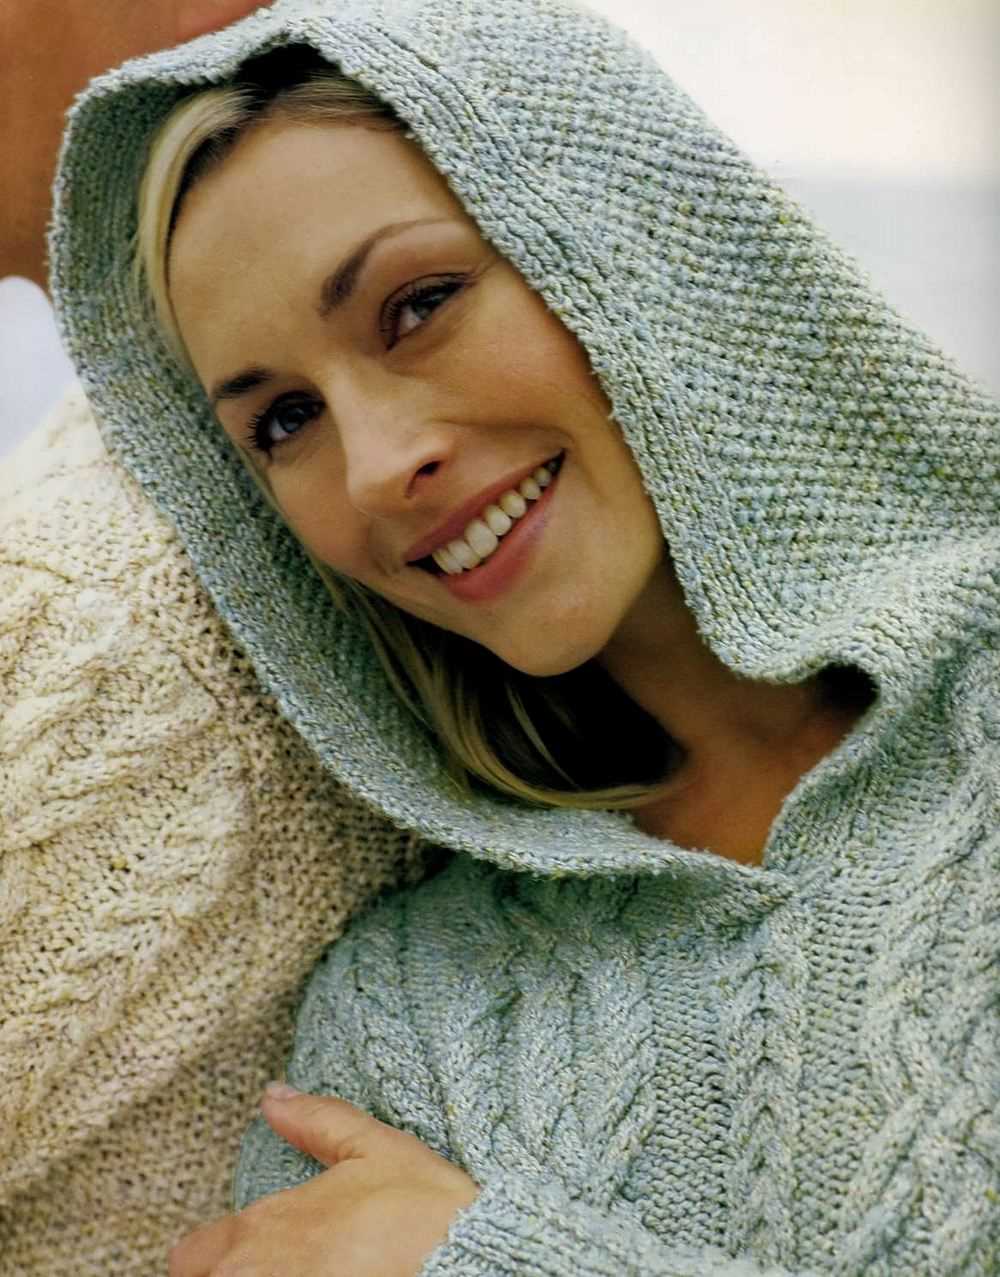
- Cowl Neck: For a cozy and stylish sweatshirt, you may choose to create a cowl neckline. A cowl neck is a type of neckline that folds or drapes around the neck, creating a warm and fashionable look. To create a cowl neckline, you can knit a separate piece in the desired length and width, then attach it to the main body of the sweatshirt.
- Boat Neck: If you prefer a more open and feminine neckline, a boat neck is a great option. A boat neck is a wide neckline that sits just below the collarbone and extends towards the shoulders. To create a boat neck, you can shape the neckline by gradually decreasing stitches towards the shoulders, creating a gentle curve.
Overall, the neckline is an important aspect of any sweatshirt knitting pattern. It can make a statement, add style, and affect the fit and comfort of the garment. By choosing the right technique and design for your sweatshirt neckline, you can create a finished piece that is both functional and fashionable.
Shaping the Waist and Hips
The shaping of the waist and hips is an important step in creating a well-fitting sweatshirt. By adding decreases and increases in specific areas, you can achieve a more tailored and flattering silhouette.
To shape the waist, you will need to work decreases evenly spaced across the row or round. This can be done by knitting two stitches together (k2tog) or by slipping a stitch, knitting the next stitch, and then passing the slipped stitch over (ssk). You will continue to work these decreases until the desired waist measurement is reached.
For the hips, you will need to add increases to create more room and allow for a comfortable fit. This can be done by knitting into the front and back of the same stitch (kfb) or by making yarn overs (yo) and then knitting into the back of the loop on the following row. You will work these increases evenly spaced across the row or round until the desired hip measurement is reached.
It is important to note that the number of increases and decreases needed will vary depending on your chosen pattern, yarn, and personal measurements. It is always a good idea to consult the pattern instructions and make any necessary adjustments for a customized fit.
Finishing the Sleeves and Hem

Once you have completed knitting the body of the sweatshirt, it’s time to move on to finishing the sleeves and hem. This is where you will add the final touches to your project and give it a polished look.
Sleeves: Start by placing your stitches for the sleeves onto double-pointed needles or a circular needle, depending on your preference. Make sure to evenly distribute the stitches so that you have an equal number on each needle.
Next, work the pattern for the sleeves as instructed, following the stitch pattern and decreasing or increasing as necessary. Pay attention to any shaping details, such as ribbing or cuff patterns, to ensure a snug fit.
Pro tip: To avoid a tight bind-off edge on the sleeves, you can use a larger needle size for the bind-off row.
Hem: To finish the hem of the sweatshirt, you will need to pick up stitches along the bottom edge. Starting at one side seam, insert your needle into the first stitch of the row and pull the yarn through to create a new stitch. Continue this process along the entire bottom edge, evenly spacing the stitches.
Once you have picked up all the stitches, work the desired hem pattern, such as ribbing or garter stitch, for the specified number of rows. Make sure to maintain the same tension as the rest of the sweatshirt to ensure an even appearance.
Pro tip: To prevent a curling effect at the hem, consider adding a few rows of seed stitch or a knit/purl pattern before starting the specified hem pattern.
Finally, bind off your stitches using your preferred method. Be sure to bind off loosely to allow for comfortable movement and a relaxed fit. Once you have completed the sleeves and hem, your sweatshirt is ready for blocking and wearing!
Adding Ribbing
Adding ribbing to a sweatshirt knitting pattern can give it a polished and professional look. Ribbing is a technique that creates a stretchy and elastic edge, perfect for cuffs, collars, and hems. It involves alternating knit and purl stitches in a specific pattern to create a textured effect.
To add ribbing to your sweatshirt, you will need to determine the number of stitches to use and the desired length of the ribbing. Generally, a common ribbing pattern is a 1×1 rib, which means alternating one knit stitch with one purl stitch. However, you can also experiment with other ribbing patterns, such as a 2×2 rib or a 3×1 rib, depending on your desired look.
Start by knitting the number of rows specified in the knitting pattern for the ribbing. Then, switch to the main stitch pattern for the rest of the sweatshirt. You can use a stitch marker to mark the beginning of the ribbing section to ensure you don’t accidentally continue knitting ribbing where it’s not intended.
When working the ribbing section, make sure to maintain an even tension and to keep your ribbing stitches neat and consistent. This will help the ribbing look tidy and prevent any loose or uneven stitches. Consider using a smaller needle size for the ribbing section to create a tighter and more defined ribbing effect.
After completing the ribbing section, you can proceed with the rest of the knitting pattern as instructed. The ribbing will provide a comfortable and snug fit for the cuffs, collars, and hems of your sweatshirt, adding both style and functionality to your finished project.
Blocking and Finishing
Once you have finished knitting your sweatshirt, the next step is blocking and finishing. Blocking is the process of shaping and aligning your fabric to give it a more professional and polished look. It helps to even out any uneven stitches and ensures that your garment retains its shape.
To block your sweatshirt:
1. Wet blocking: Fill a sink or basin with lukewarm water and add a small amount of gentle detergent. Submerge your knit sweatshirt in the water and gently squeeze out any air bubbles. Let it soak for about 15-20 minutes.
2. Rinse: Remove the sweatshirt from the soapy water and gently squeeze out the excess water. Refill the sink with clean water and rinse the sweatshirt until the water runs clear.
3. Press: Lay the damp sweatshirt flat on a clean towel, and gently shape it to your desired size and dimensions. Use pins to hold it in place if needed. Allow it to air dry completely.
4. Finishing: Once your sweatshirt is dry, it’s time to add the finishing touches. This may include sewing on buttons, attaching a collar or cuffs, or weaving in any loose ends. Take your time to carefully complete these final steps to ensure a professional-looking finished product.
Blocking and finishing your knit sweatshirt can be a time-consuming process, but it is well worth the effort. It will help to improve the overall appearance and fit of your garment, making it look more polished and refined. So take your time, follow these steps, and soon you’ll have a beautiful handmade sweatshirt that you can proudly wear or gift to someone special.
Customizing Your Sweatshirt

Once you have finished knitting your sweatshirt, you can customize it to make it truly unique. There are several customization options available depending on your preferences and skill level. Here are a few ideas to get you started:
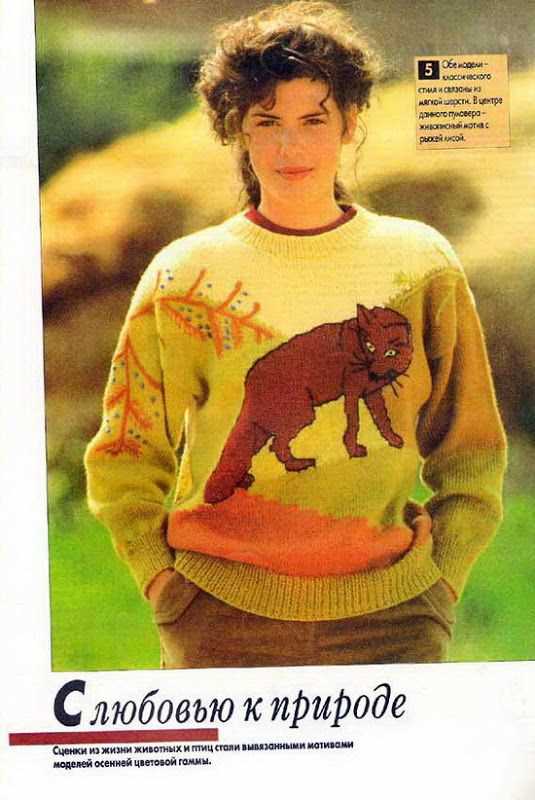
Embroidery: Adding embroidered designs or patches to your sweatshirt can instantly elevate its look. You can choose to embroider your initials, favorite symbols, or even intricate patterns. Use embroidery floss and a needle to carefully stitch your design onto the fabric.
Buttons: Instead of a traditional pullover, you can add buttons to the front of your sweatshirt to create a cardigan-style design. Choose buttons that complement the color and style of your sweatshirt. This customization not only adds functionality but also adds a touch of elegance to your sweater.
Color blocking: If you love experimenting with colors, you can customize your sweatshirt by incorporating color blocking. Use a different color for the sleeves, collar, and hem to create a unique and eye-catching design. Ensure that the colors you choose complement each other and create a harmonious overall look.
Trimming: Adding trims to your sweatshirt can give it a polished and finished look. You can trim the edges of your sweatshirt with ribbing or contrasting fabric to create a stylish border. This customization option allows you to add texture and interest to your garment.
Pockets: If you find sweatshirts without pockets inconvenient, you can add your own. Choose a fabric that matches your sweatshirt and sew on pockets using a similar method as sewing buttons. Pockets not only add practicality but also add a design element to your sweatshirt.
Overall, customizing your sweatshirt allows you to showcase your creativity and personal style. Whether you choose to embroider, add buttons, play with colors, or incorporate trims, these customization options can transform a basic sweatshirt into a fashionable and one-of-a-kind garment.