
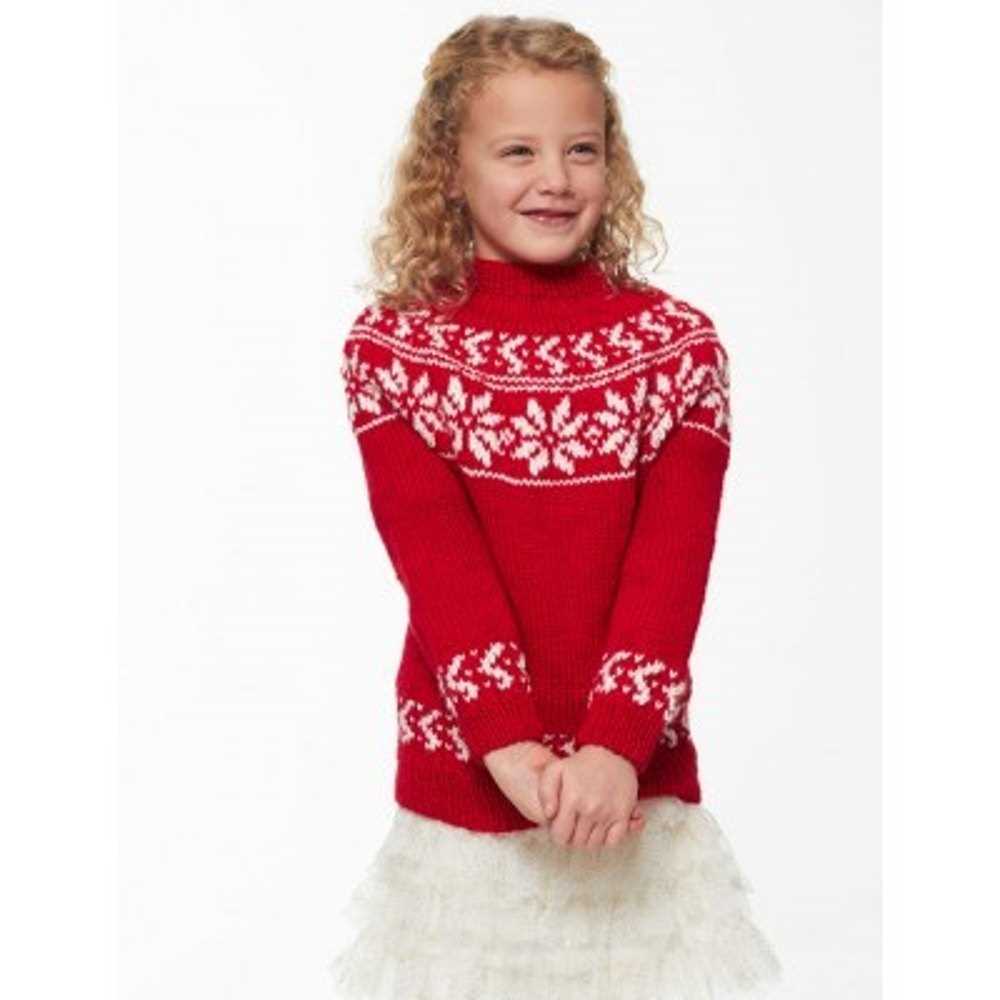
Winter is the perfect time to snuggle up in a cozy, warm sweater, and what better way to embrace the season than by knitting your own snowflake sweater? With its intricate snowflake design, this sweater is not only stylish but also a fun and challenging project for knitters of all skill levels.
Knitting a snowflake sweater may seem intimidating, but with a detailed knitting pattern and a little patience, you’ll be able to create a beautiful piece that will keep you warm during the chilly winter months. The pattern includes step-by-step instructions and helpful diagrams to guide you through the process, ensuring that you achieve the desired result.
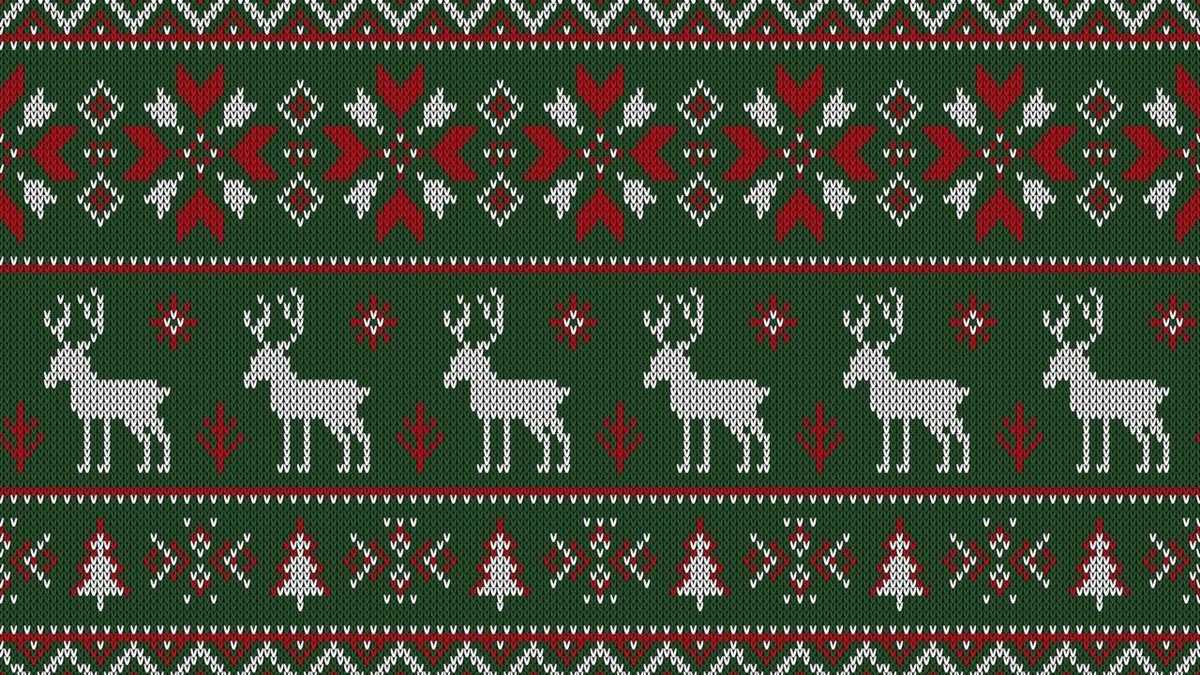
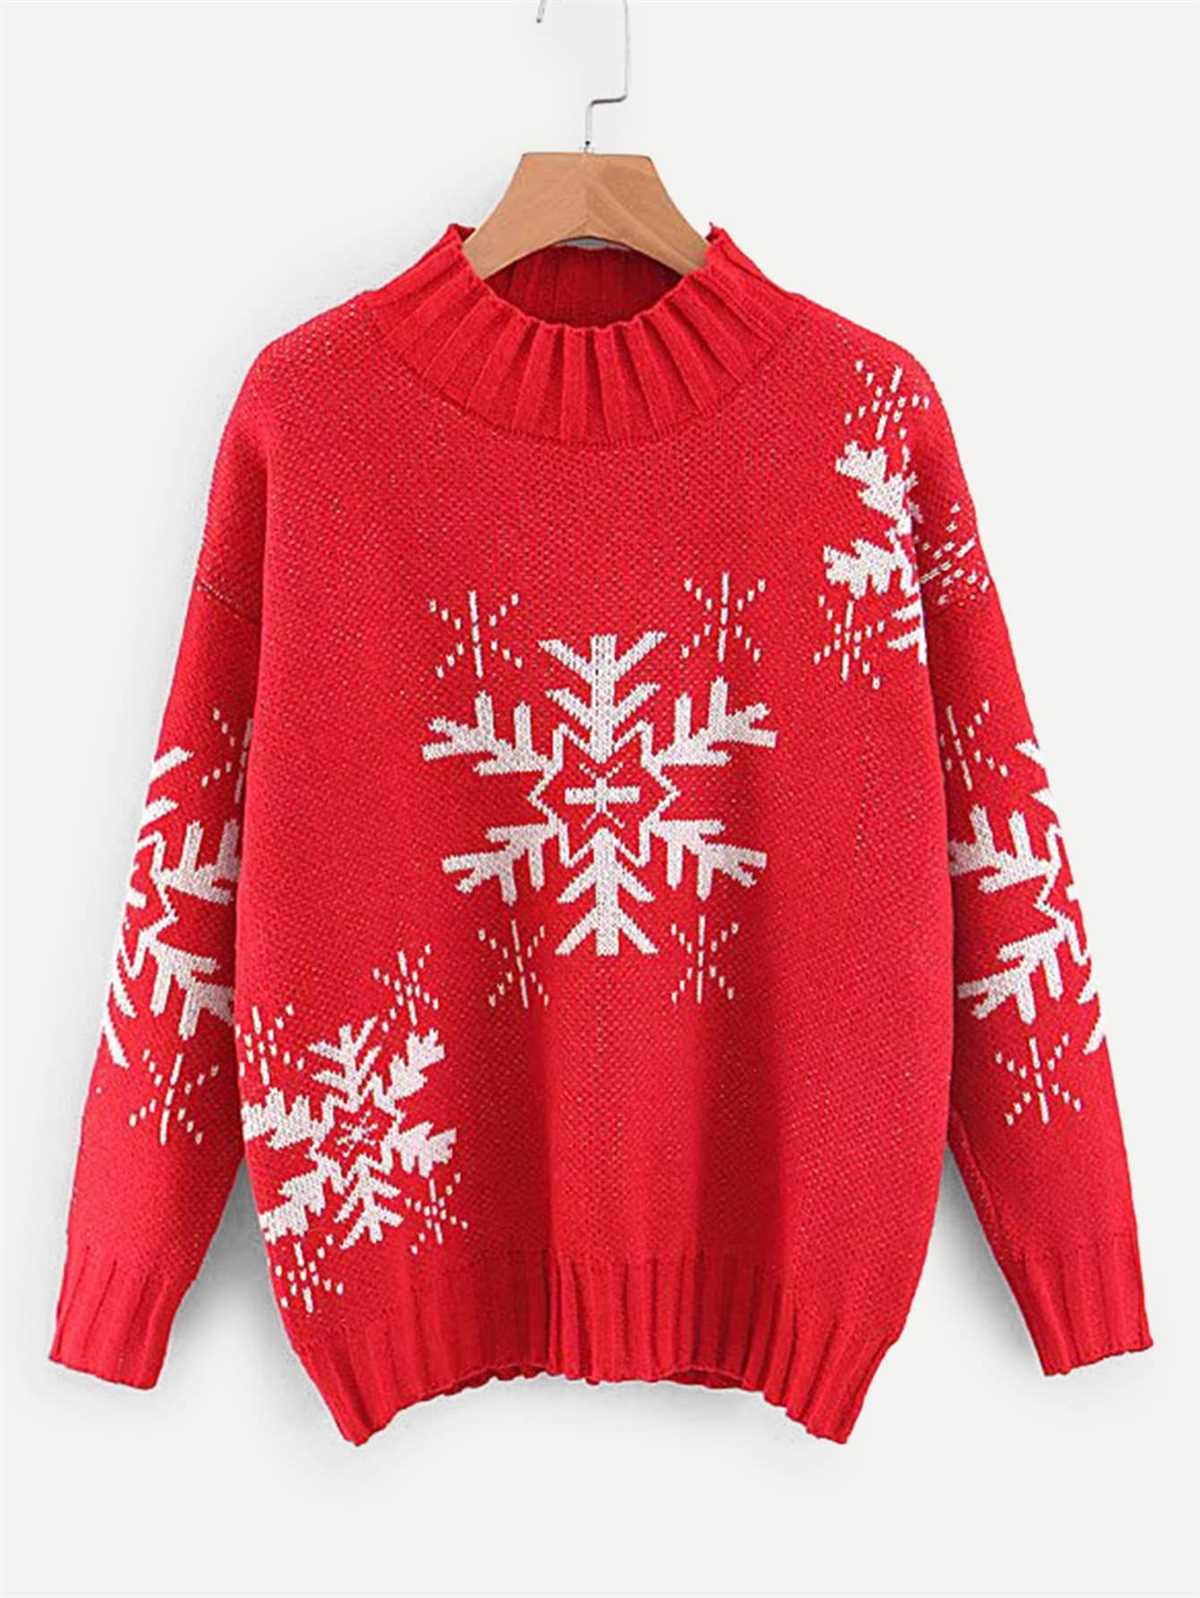
One of the most appealing aspects of this snowflake sweater is its versatility. You can choose to knit it in a variety of colors, allowing you to personalize it to your own taste. Whether you prefer a classic white snowflake against a dark background or a vibrant, colorful design, the possibilities are endless. Additionally, there are options for different sleeve lengths, necklines, and even sweater lengths, so you can create a garment that suits your style and preferences.
Snowflake Sweater Knitting Pattern
If you’re looking for a cozy and stylish winter project, you can’t go wrong with a snowflake sweater knitting pattern. With its intricate design and warm woolen fabric, this sweater is sure to keep you cozy during the cold winter months.
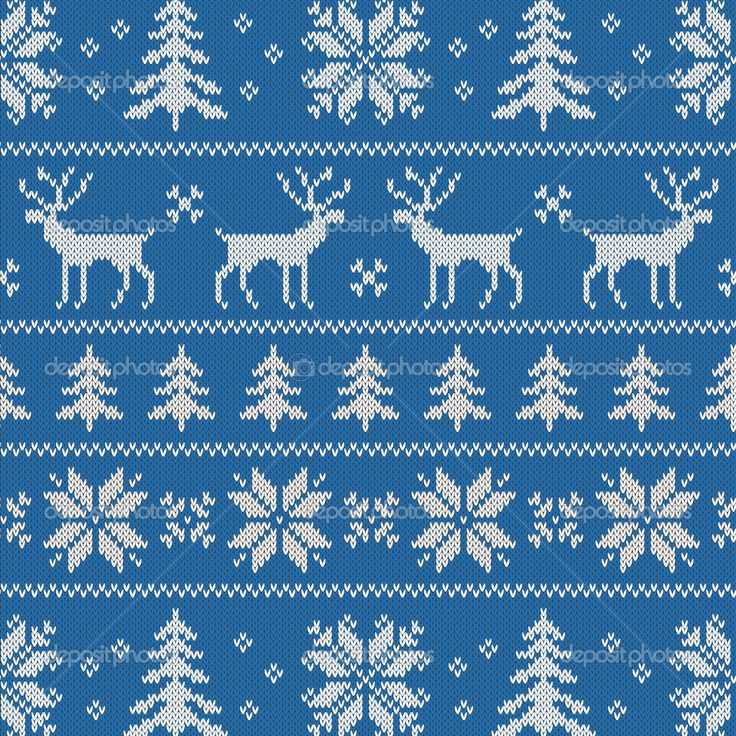
The snowflake sweater knitting pattern features a beautiful snowflake motif that is worked into the fabric using colorwork techniques. You can choose to knit it in a single color for a more subtle look, or experiment with different colors to create a bold and eye-catching design. The pattern typically includes instructions for multiple sizes, so you can easily customize the sweater to fit your measurements.
Materials:
- Worsted weight yarn in the color(s) of your choice
- Knitting needles in the appropriate size for your yarn
- Circular knitting needles (optional)
- Stitch markers
- Tapestry needle
- Scissors
Instructions:
- Begin by casting on the required number of stitches for your size. Make sure to check the gauge in the pattern to ensure proper fit.
- Knit the ribbing for the hem, cuffs, and neckline, following the pattern instructions.
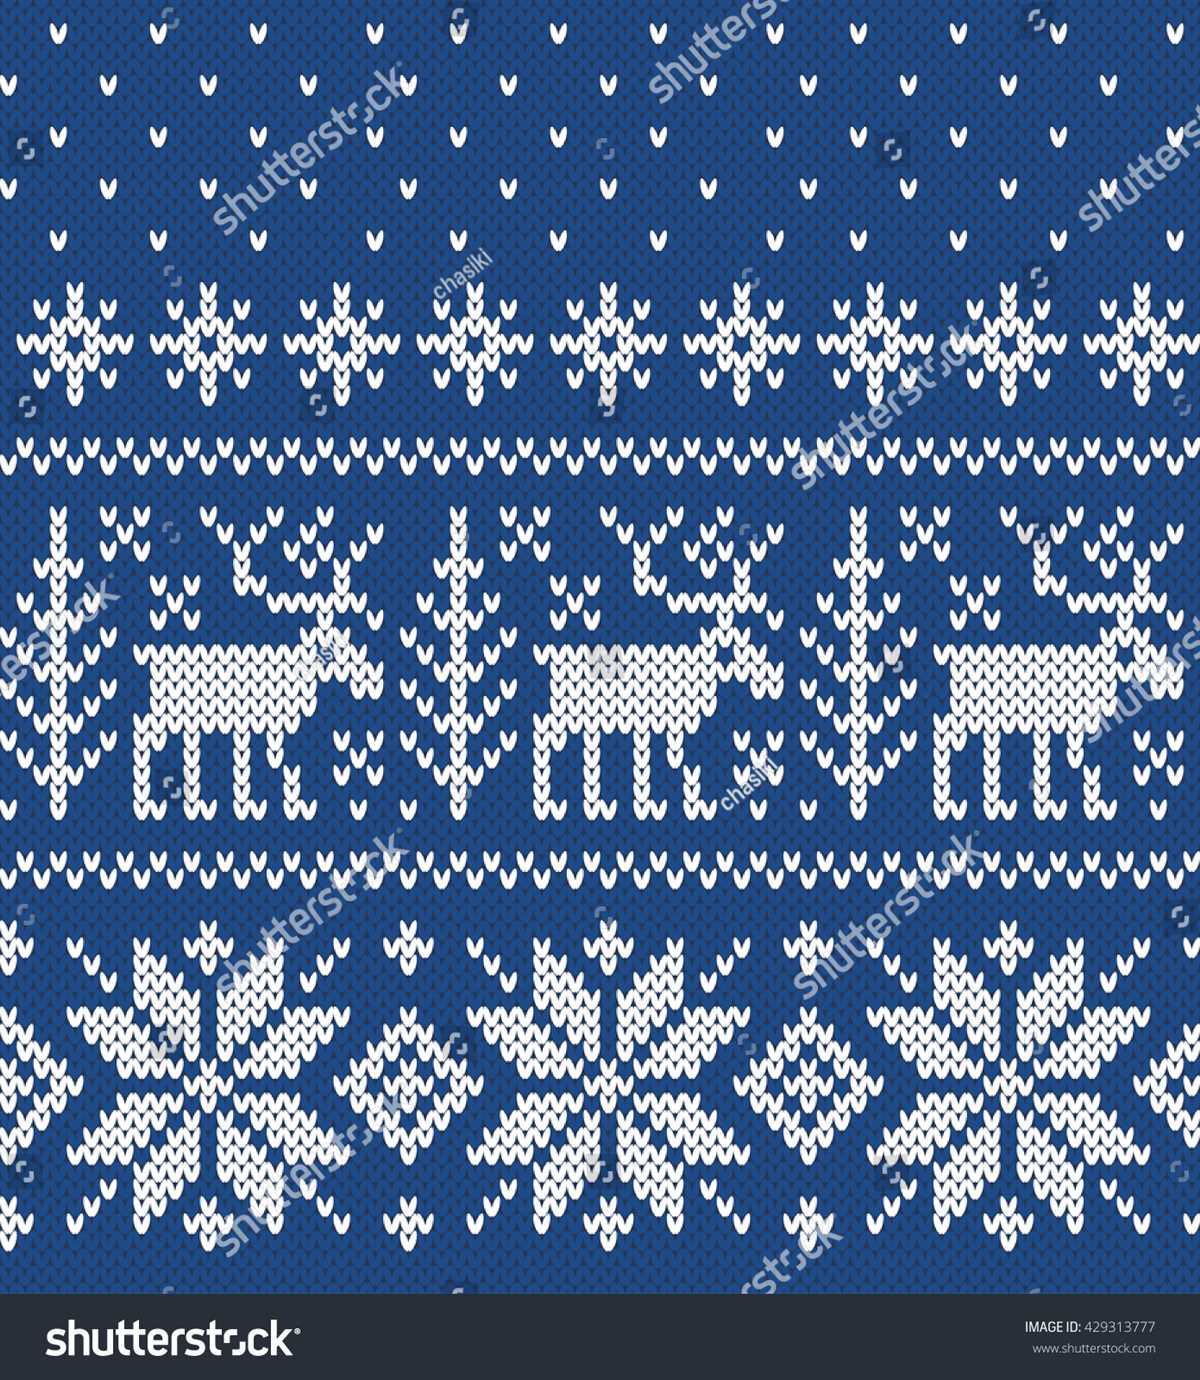
- Start working the snowflake motif, following the colorwork chart provided in the pattern. Use different colors of yarn to create the snowflake design.
- Continue knitting the body of the sweater in the main color, following the pattern instructions for shaping and length.
- Complete the sleeves by following the pattern instructions for shaping and length.
- Finish the sweater by knitting the neckline ribbing and binding off the stitches.
- Weave in any loose ends and block the sweater to shape and size.
With its intricate snowflake design and cozy warmth, the snowflake sweater is a perfect knitting project for the winter season. Whether you’re making it for yourself or as a gift, this sweater is sure to be a cherished item in your wardrobe. So grab your yarn and needles, and get ready to create a beautiful and cozy snowflake sweater!
Materials
To knit the snowflake sweater, you will need the following materials:
- Yarn: Choose a soft and warm yarn in your preferred color. Recommended options include wool or acrylic in worsted weight.
- Knitting needles: You will need a pair of straight or circular knitting needles in the appropriate size for your selected yarn. Check the yarn label for the recommended needle size.
- Tapestry needle: A tapestry needle with a large eye will be used for weaving in the loose ends of the yarn.
- Stitch markers: These small plastic or metal rings will help you keep track of stitch counts and pattern repeats.
- Scissors: A pair of sharp scissors is essential for cutting the yarn and trimming any excess.
- Measuring tape: A measuring tape will be useful for taking accurate measurements and checking your gauge.
- Row counter: A row counter or pen and paper will come in handy for keeping track of the rows and repeats in the pattern.
Make sure to gather all the materials before starting the project to ensure a smooth knitting experience. Having everything ready will save you time and allow you to fully enjoy the process of creating your snowflake sweater!
Choosing the Right Yarn

When it comes to knitting a snowflake sweater, choosing the right yarn is crucial. The yarn you select will not only affect the appearance and texture of the finished garment, but also determine how warm and comfortable it will be to wear. With so many options available, it can be overwhelming to make a decision, but with a few key considerations in mind, you can find the perfect yarn for your project.
1. Fiber Content: One of the first things to consider when choosing yarn for your snowflake sweater is the fiber content. The most common options include wool, acrylic, cotton, and blends. Wool is a popular choice for its warmth and durability, while acrylic offers affordability and easy care. Cotton yarn is great for warmer weather, as it is breathable and lightweight. Blends can offer the best of both worlds, combining the properties of different fibers.
- Wool: Warm and durable
- Acrylic: Affordable and easy care
- Cotton: Breathable and lightweight
- Blends: Combining different fiber properties
2. Weight and Gauge: Another important factor to consider is the weight and gauge of the yarn. The pattern for your snowflake sweater will specify the recommended gauge, and it’s important to choose a yarn that matches this gauge. Yarn weight is typically categorized as lace, fingering, sport, DK, worsted, aran, bulky, or super bulky. Each weight has a different thickness, which will affect the drape and stitch definition of your sweater.
- Lace: Very fine and delicate
- Fingering: Light and versatile
- Sport: Light to medium weight
- DK: Medium weight
- Worsted: Medium to heavy weight
- Aran: Heavy weight
- Bulky: Very thick and chunky
- Super bulky: Extremely thick and cozy
3. Color and Texture: The color and texture of the yarn can greatly enhance the overall aesthetic of your snowflake sweater. Consider whether you want a solid color or a variegated yarn with multiple colors. Texture-wise, you can choose from smooth and even yarns to add more structure, or opt for fluffy and haloed yarns for a cozy and soft feel. Experimenting with different combinations can create unique and eye-catching patterns on your sweater.
By keeping these factors in mind and swatching with different yarn options, you can choose the perfect yarn for your snowflake sweater knitting project. Whether you prioritize warmth, durability, or aesthetics, selecting the right yarn will ensure that your finished sweater is exactly what you envision.
Selecting Needles
When knitting a snowflake sweater, it is important to choose the right needles for the project. The type and size of needles you use can greatly affect the outcome of your sweater, so it’s worth taking the time to select the right ones.
Firstly, consider the type of needles you prefer to work with. There are two main types: straight needles and circular needles. Straight needles consist of two separate needle points joined by a simple straight shaft, while circular needles have a flexible cable connecting the two needle points. Choose the type that you find most comfortable and efficient for knitting a sweater.
Next, consider the size of needles you need for your snowflake sweater. The size of needles will determine the size and tension of your stitches. If you want a looser, more relaxed fit for your sweater, choose larger needles. If you want a tighter, more snug fit, choose smaller needles. Look at the pattern for your snowflake sweater to find the recommended needle size, or make a gauge swatch to see how different needle sizes affect your stitches.
Lastly, consider the material of the needles. Needles can be made from various materials, including metal, wood, and plastic. Each material has its own unique feel and characteristics. Some knitters prefer the smoothness and durability of metal needles, while others enjoy the warmth and flexibility of wood needles. Experiment with different materials to find the one that suits your knitting style and preferences.
In conclusion, selecting the right needles for your snowflake sweater is crucial for achieving the desired result. Consider your preferred needle type, size, and material to ensure a comfortable knitting experience and a beautiful finished sweater.
Gauge Swatch
When starting a knitting project, it’s important to create a gauge swatch in order to ensure that your finished product will be the correct size. A gauge swatch is a small square of knitting that allows you to measure your stitches and rows per inch, helping you match the pattern’s recommended gauge.
To create a gauge swatch, you’ll need the same yarn and knitting needles that you plan to use for your project. Cast on a certain number of stitches, typically recommended in the pattern, and knit for a few inches. Then, measure the stitches and rows within a 4-inch square in the middle of your swatch using a ruler or a gauge tool.
The gauge swatch serves as a reference point for your knitting tension and can help prevent surprises when it comes to the final measurements of your project. By working the swatch and comparing it to the recommended gauge in the pattern, you can adjust your tension or needle size accordingly.
When creating your gauge swatch, make sure to block it as you plan to block your finished project. Blocking can cause slight changes in gauge, so it’s important to account for this when determining whether your stitch count matches the pattern.
If your gauge swatch doesn’t match the recommended gauge, you may need to adjust your needle size. If your stitches are smaller than the pattern’s gauge, try using larger needles. Conversely, if your stitches are larger, use smaller needles. It may take a few tries to achieve the correct gauge, but it’s worth the effort to ensure that your project turns out just right.
Remember, spending a little extra time on a gauge swatch can save you a lot of frustration and disappointment later on. Plus, it’s an opportunity to practice the stitch pattern and familiarize yourself with the yarn and needles before diving into your project.
Cast On
When starting a knitting project, one of the first steps is to cast on. This is the process of creating the foundation row of stitches. There are several methods of casting on, but for the snowflake sweater knitting pattern, we will use the long-tail cast on method.
Long-Tail Cast On:
To begin the long-tail cast on, you will need to estimate the amount of yarn needed for each stitch. This can be done by measuring the desired length of the finished project and multiplying it by the number of stitches per inch. Leave a tail of yarn that is four times the length of the desired width of the finished project.
Hold the needle in your right hand with the tail of the yarn hanging down. Make a slipknot and place it on the needle, pulling the tail snugly to secure it. Hold the needle and slipknot in your right hand.
With your left hand, insert the thumb and index finger between the yarn and tail, creating a triangle shape. Insert the needle from left to right through the triangle, catching the yarn with the needle.
Slide the new stitch onto the needle while releasing the tension on the triangle. Repeat this process for the desired number of stitches, keeping the tension even and consistent throughout. Once all the stitches have been cast on, you are ready to begin knitting the first row of the snowflake sweater pattern.
Snowflake Sweater Knitting Pattern – Body Pattern
The body pattern of the snowflake sweater consists of a combination of snowflake motifs and ribbing. This creates a beautiful and textured design that will keep you warm and stylish during the winter months. To begin the body pattern, cast on the required number of stitches as indicated in the pattern. Make sure to join in the round, being careful not to twist the stitches.
Once you have the correct number of stitches on your needles, begin by working the ribbing pattern. This can be a simple knit 1, purl 1 ribbing or any other ribbing pattern that you prefer. Work the ribbing for the desired length as specified in the pattern. The ribbing will help create a snug and comfortable fit around the waist and hips.
After completing the ribbing, it’s time to start working on the snowflake motifs. The snowflake motifs are created using a combination of knit and purl stitches, as well as yarn overs and decreases. Follow the chart or written instructions provided in the pattern to create the snowflake motif. Repeat the motif as specified in the pattern, ensuring that it lines up neatly with the previous motifs.
In between the snowflake motifs, continue working the ribbing pattern as established earlier. This will create a nice contrast between the motifs and the ribbing, while also maintaining the stretchiness and fit of the sweater. Continue working the snowflake motifs and ribbing until you reach the desired length for the body of the sweater.
Once the body pattern is complete, you can proceed to the next section of the pattern, such as the sleeves or neckline. Remember to refer to the pattern for any specific instructions regarding shaping or finishing the body of your snowflake sweater.
Increasing for Sleeves
When knitting a snowflake sweater, it is important to correctly increase the number of stitches to form the sleeves. The sleeves should be gradually widened to create a comfortable fit. Here are some instructions on how to increase for the sleeves:
1. Set up the stitch pattern: Before starting the increases, make sure you have established the snowflake stitch pattern on the body of the sweater. This will ensure that the sleeves match the rest of the garment.
2. Determine your increase rate: Depending on the size of the sweater and the desired fit, you will need to determine how frequently to increase stitches. The most common way is to increase 2 stitches every several rows, but this may vary depending on the pattern and the gauge of your knitting.
3. Increase at the edge: Begin the increases at the beginning and end of each row to create symmetry in the sleeves. You can use various techniques such as yarn over or make one to add stitches. Be sure to follow the instructions provided in the pattern to maintain the desired stitch pattern.
4. Keep track of your increases: It is essential to keep careful track of the increase rows and stitches to ensure that both sleeves are symmetrical. Use stitch markers or a stitch counter to help you stay organized.
5. Try on as you go: As you increase, periodically try on the sweater to check the fit of the sleeves. This will allow you to make adjustments if necessary and ensure that the sleeves are comfortable and properly shaped.
6. Continue increasing until desired length: Keep increasing stitches at the designated intervals until the sleeves reach the desired length. Make sure to check the pattern for any specific instructions regarding the length of the sleeves.
By following these steps, you will be able to successfully increase for the sleeves of your snowflake sweater and create a beautifully fitted garment.
Sleeve Pattern
When knitting a snowflake sweater, the sleeve pattern is an important component to consider. The sleeves of the sweater should match the overall design and style of the snowflake motif.
One popular sleeve pattern for a snowflake sweater is a simple cable knit design. This pattern involves creating a column of twisted stitches that resemble the shape of a snowflake. To create this pattern, you will need to use a cable needle and follow a specific set of instructions.
To begin, cast on the desired number of stitches for the sleeve. Then, work in a rib stitch pattern for a few rows to create a neat cuff. Once the cuff is complete, you can start the cable pattern.
The cable pattern typically involves knitting a set number of stitches, slipping them onto the cable needle, knitting the next set of stitches, and then knitting the stitches from the cable needle. This process creates the twisted effect that resembles a snowflake. Repeat the cable pattern for the desired length of the sleeve, and then finish off with a few rows of rib stitch for the cuff.
Finishing
To finish the snowflake sweater, there are a few steps to follow to ensure a polished final product. First, carefully weave in all the loose ends of yarn that were created during the knitting process. This will help to secure the stitches and prevent any unraveling. Use a tapestry needle to weave the ends in discreetly on the wrong side of the sweater.
Next, block the sweater to give it a professional finish. Blocking involves wetting the sweater, gently shaping it to the desired dimensions, and letting it dry flat. This will even out the stitches and allow the snowflake pattern to shine.
Collar: The snowflake sweater can be finished with various collar options. Some knitters prefer a simple crew neck, while others may opt for a turtleneck or scoop neck. Choose the collar style that best suits your preference and follow the pattern instructions to complete it.
Cuffs and Hem: The cuffs and hem of the snowflake sweater can be finished with ribbing or a decorative pattern to add interest and structure. Consider using a contrasting color or stitch pattern to make these areas stand out.
Buttons or closures: If desired, add buttons or other closures to the front of the sweater. These can be functional or purely decorative, depending on your preference. Make sure to sew them securely and evenly spaced for a professional look.
Finishing touches: Finally, give the sweater a final inspection and make any necessary adjustments. Check for any loose threads, uneven stitches, or other imperfections. Use a crochet hook or needle to fix any issues and ensure a flawless final product.
Blocking and Care Instructions
After completing your snowflake sweater, it is important to block the garment to give it a polished look and ensure that it maintains its shape. Blocking is the process of gently shaping and stretching the fabric to the desired dimensions, and it also helps to even out any inconsistencies in your knitting.
To block your snowflake sweater, follow these steps:
- Fill a basin or sink with lukewarm water and add a small amount of gentle wool wash or mild detergent. Avoid using any harsh chemicals or bleach.
- Submerge the sweater in the water, gently squeezing the fabric to ensure it is fully saturated. Let it soak for about 15-20 minutes.
- Drain the water from the basin or sink and gently squeeze out any excess water from the sweater. Do not wring or twist the fabric as this can cause stretching or damage.
- Lay a clean, dry towel on a flat surface and place the sweater on top, carefully arranging it to the desired dimensions and shape.
- Using rustproof T-pins or blocking wires, pin the edges of the sweater to the towel, pulling gently to shape the fabric as needed. Make sure to pin the neckline, cuffs, and hem to maintain their shape.
- Leave the sweater to dry completely. This may take up to 24-48 hours, depending on the thickness of the fabric and the humidity of the environment.
- Once dry, carefully remove the pins or wires and gently reshape any areas that may have slightly distorted during the blocking process.
When it comes to caring for your snowflake sweater, it is important to follow these guidelines to ensure its longevity:
- Hand wash your sweater using a gentle wool wash or mild detergent. Avoid machine washing as it can cause felting or stretching.
- Do not wring or twist the fabric when washing or drying.
- Reshape the sweater after washing and lay it flat to dry, away from direct sunlight or heat sources.
- Store your sweater folded or rolled to prevent stretching or distortion.
- Avoid hanging your sweater as it can cause stretching and deformation over time.
By following these blocking and care instructions, you can ensure that your snowflake sweater remains beautiful and cozy for many winters to come.