
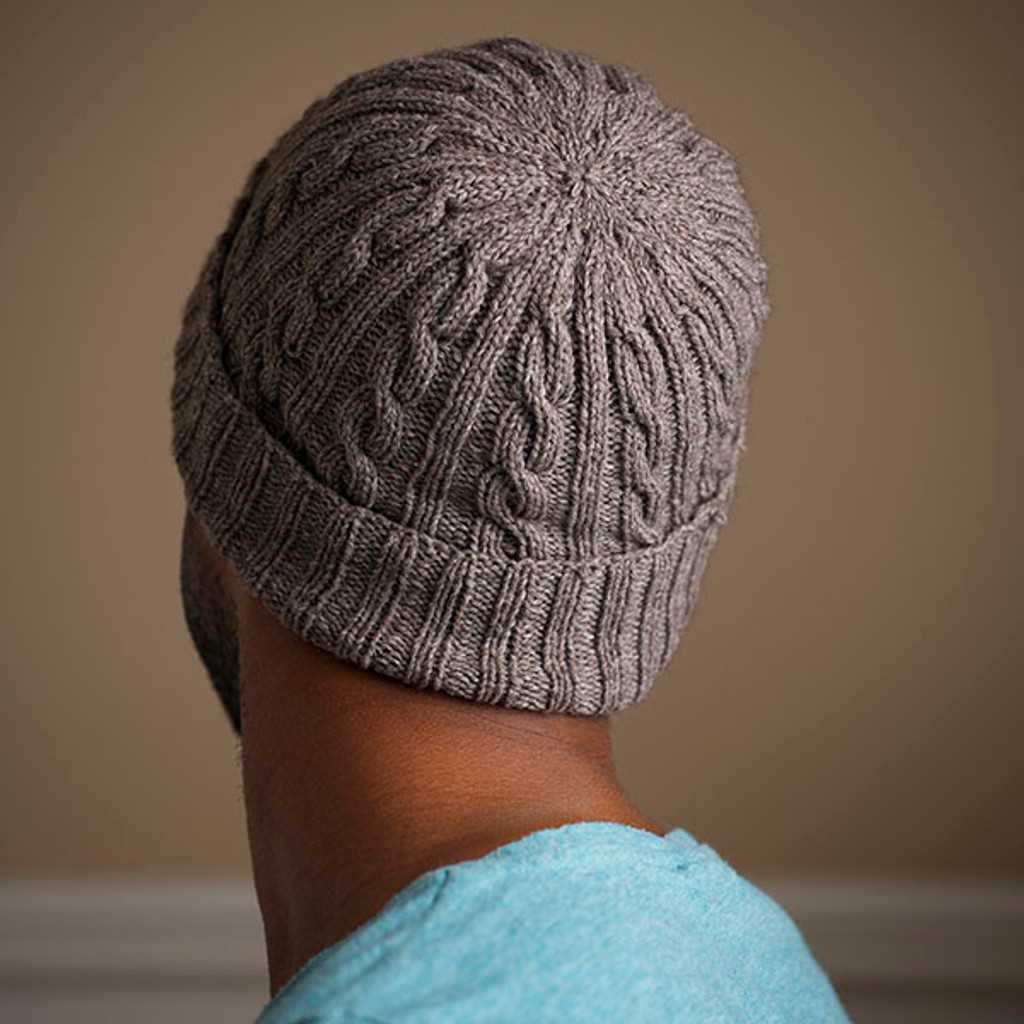
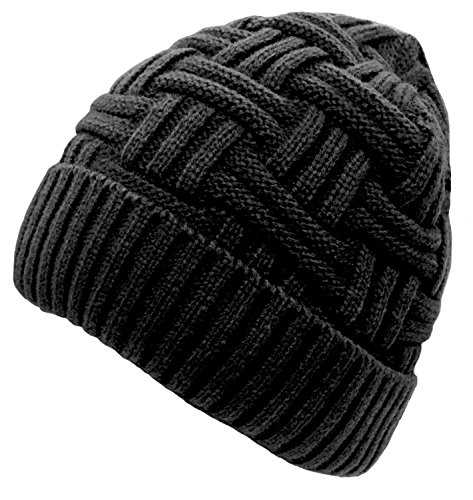
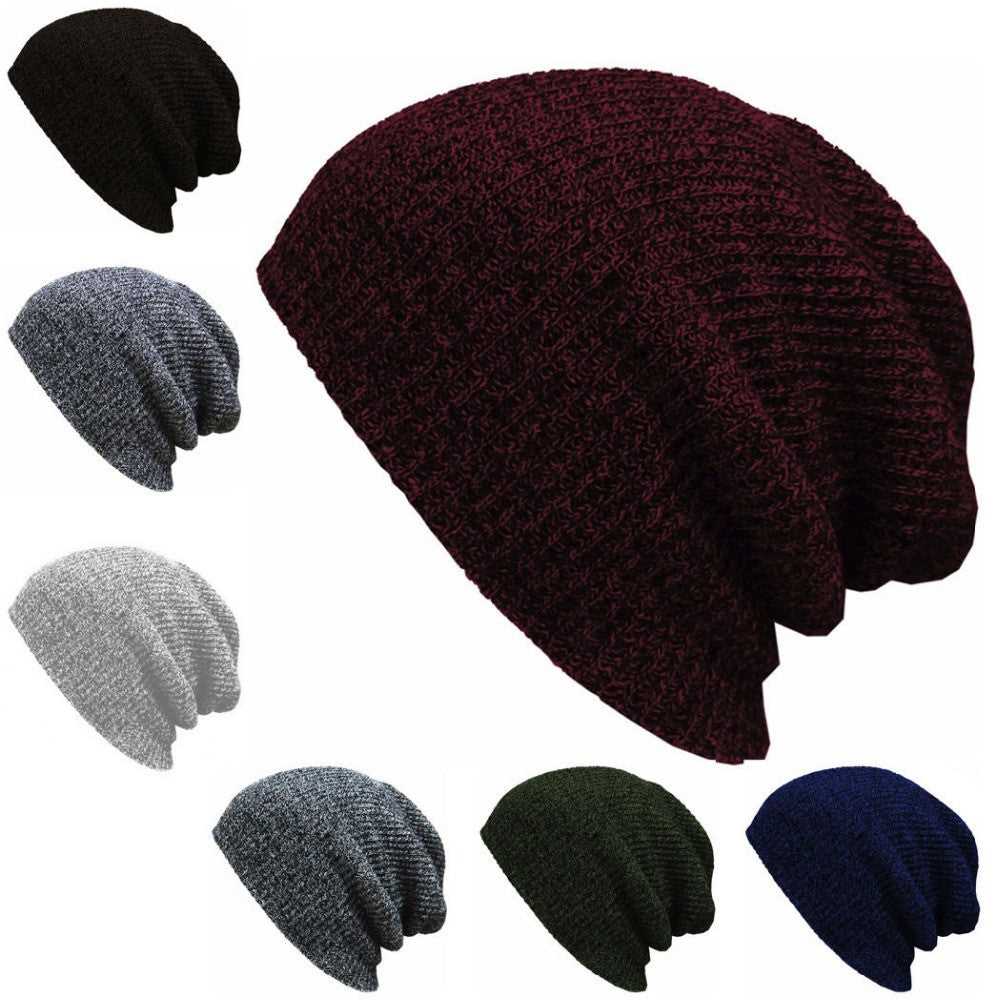
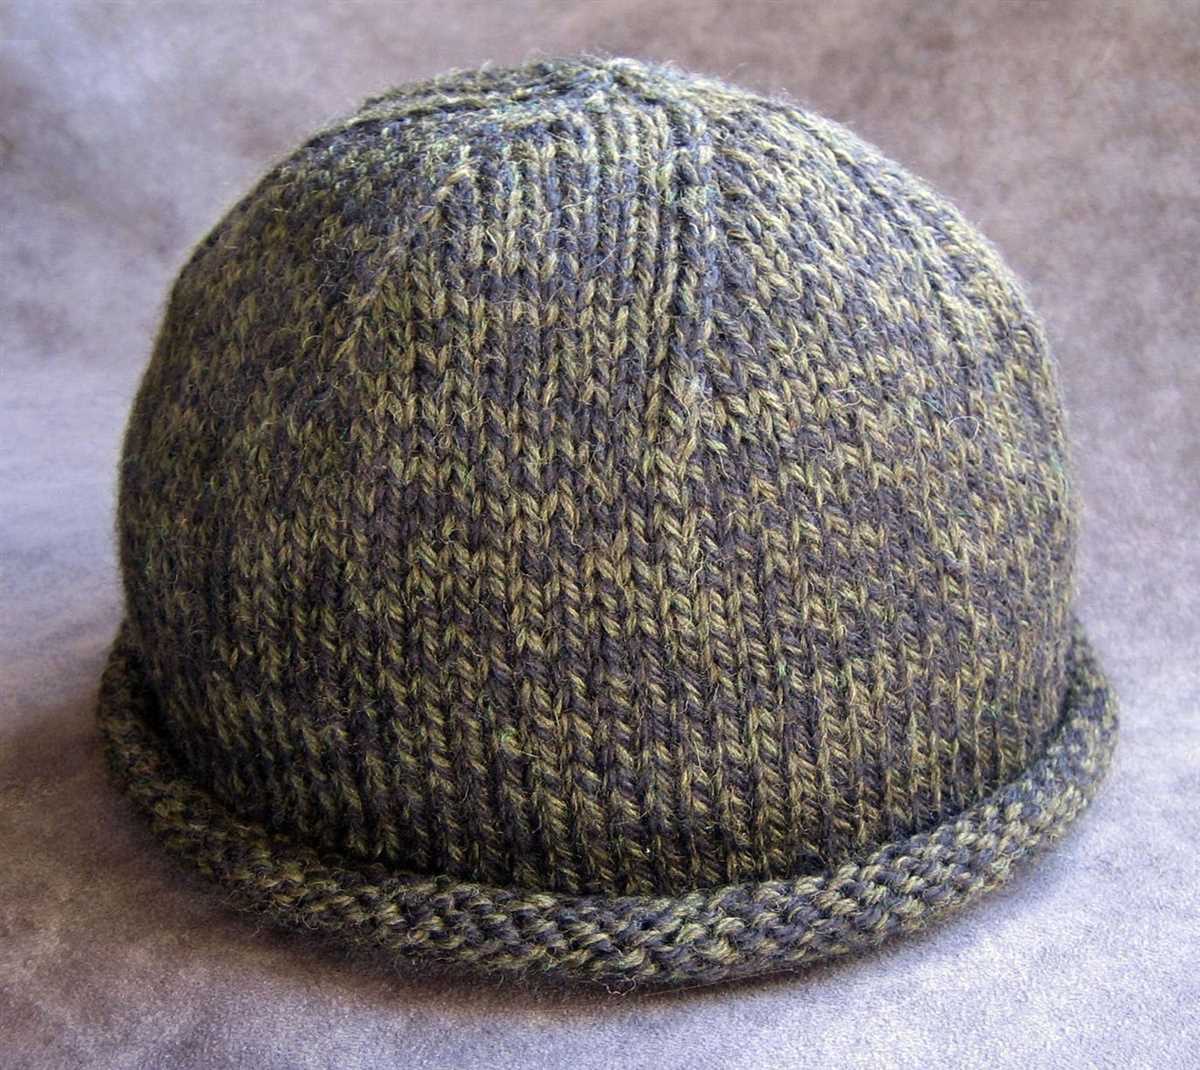
If you are a fan of knitting and love creating your own cozy winter accessories, then this skull cap beanie knitting pattern is for you. A skull cap beanie is a classic and versatile hat style that can be worn by both men and women. It is a perfect choice for those cold winter days when you want to stay warm and stylish at the same time.
This knitting pattern is suitable for knitters of all skill levels, from beginners to advanced. It uses basic knitting stitches and techniques, making it a great project for those who are new to knitting. With this pattern, you can create a beautiful and snug skull cap beanie that will keep you warm and fashionable throughout the winter season.
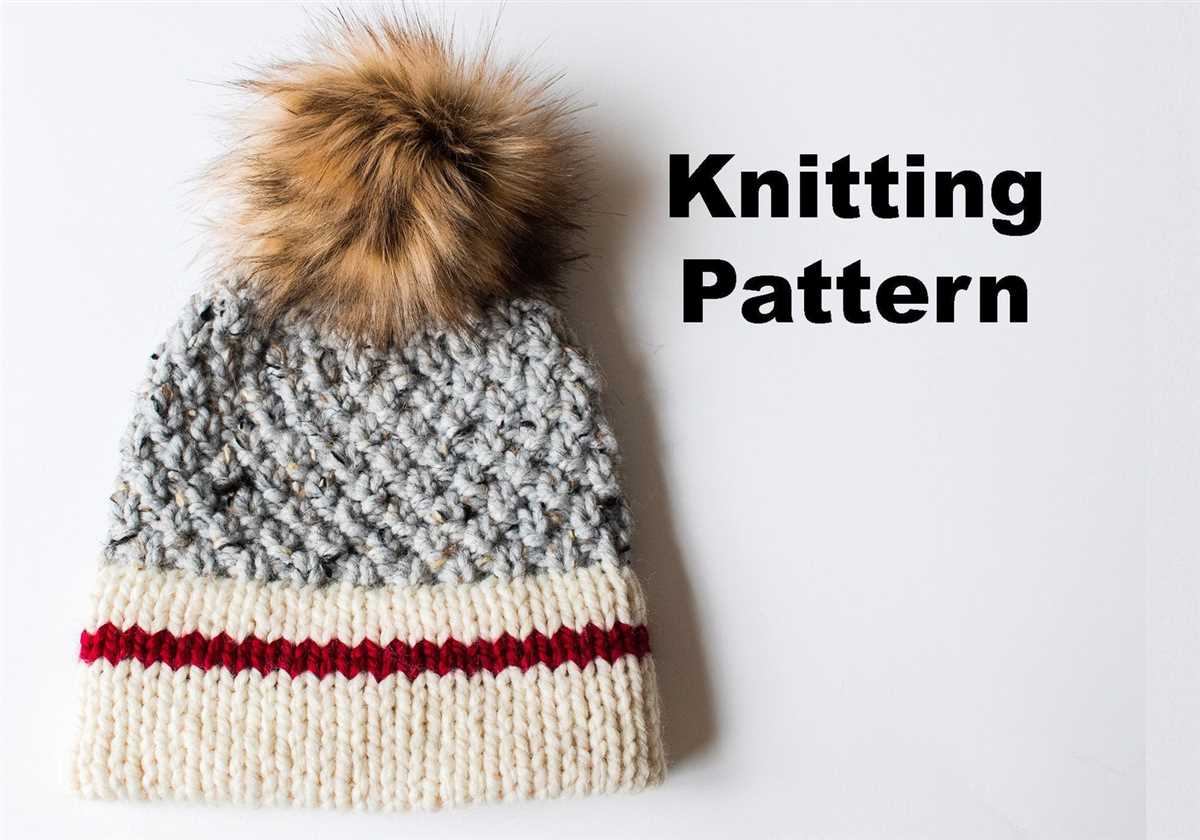
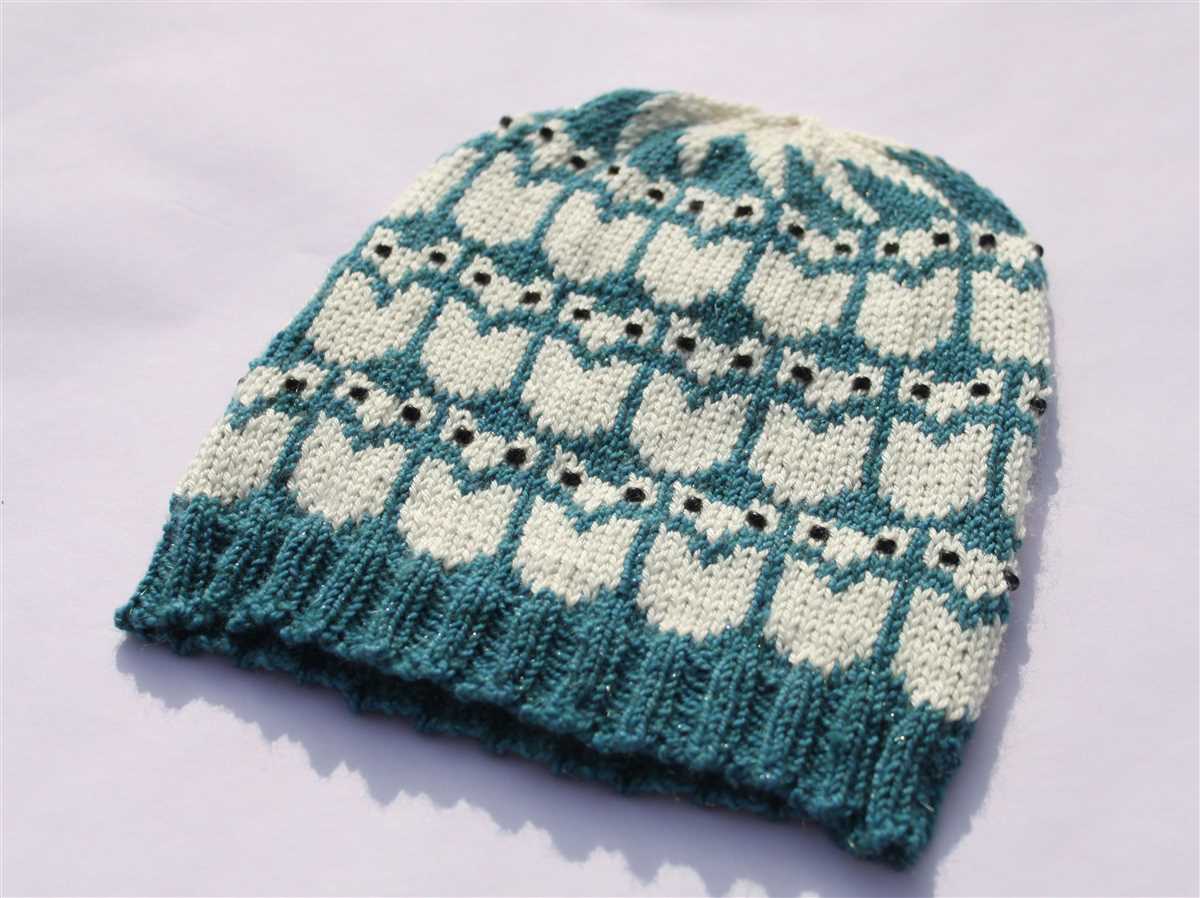
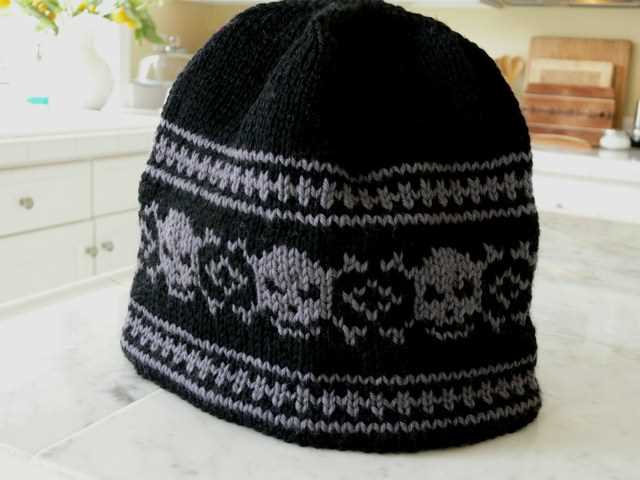
The pattern includes detailed instructions, as well as measurements and recommendations for yarn and needle sizes. You can choose your favorite color of yarn to create a customized beanie that matches your personal style. Whether you prefer a solid color or a multicolored design, this pattern allows you to experiment and get creative with your knitting.
So, grab your knitting needles and get ready to create a cozy and stylish skull cap beanie. With this knitting pattern, you can enjoy the relaxing and rewarding process of knitting while making a practical accessory that will keep you warm and fashionable all winter long.
Materials and Tools
Before you start knitting your skull cap beanie, you’ll need to gather all the necessary materials and tools. Here is a list of everything you’ll need:
- Yarn: Choose a yarn that is suitable for the season and provides the desired warmth. You may also want to consider the color and texture of the yarn to match your style.
- Knitting Needles: Depending on the size and tension of your chosen yarn, you will need a pair of knitting needles that are appropriate for the gauge of your pattern.
- Tape Measure: This will help you ensure that your beanie is the correct size and fits comfortably.
- Yarn Needle: A yarn needle is necessary for finishing off your project and weaving in any loose ends.
- Stitch Markers: These handy tools can help you keep track of stitch patterns or mark sections of your pattern that require special attention.
- Scissors: A sharp pair of scissors is essential for cutting your yarn and trimming any loose threads.
- Stitch Holder: If your pattern calls for temporarily placing stitches aside, a stitch holder will come in handy.
- Row Counter: Although not necessary, a row counter can be helpful for keeping track of the number of rows you have completed.
Make sure you have all these materials and tools ready before you begin knitting your skull cap beanie. Having everything prepared will make the knitting process smoother and more enjoyable.
Choosing the right yarn
When knitting a skull cap beanie, it is important to choose the right yarn to ensure the best results. The yarn you choose will greatly impact the overall look, feel, and durability of your finished project.
Fiber Content: The first thing to consider when choosing yarn for a skull cap beanie is the fiber content. You want a yarn that is soft and comfortable to wear, so look for options that are made from natural fibers like wool, alpaca, or cotton. These fibers will provide warmth, breathability, and a cozy feel against the skin.
Weight: The weight of the yarn is also important to consider. A skull cap beanie is typically a small project, so you will want to choose a yarn that is lightweight and won’t create a bulky or heavy finished product. Look for yarns that are categorized as fingering, sport, or worsted weight for the best results.
- Color: The color of the yarn is a personal choice, but it can also impact the overall look of the skull cap beanie. Consider the recipient’s style and preferences, as well as any specific color patterns or designs you plan to incorporate into the beanie.
- Texture: The texture of the yarn can add an extra element of interest to your skull cap beanie. Consider choosing a yarn with a subtle texture or opting for a variegated yarn to add depth and dimension to your finished project.
- Ease of care: Finally, consider the ease of care for the yarn. Look for yarns that can be machine washed and dried for convenience, especially if you plan to gift the skull cap beanie to someone who may not have the time or ability to hand wash and lay flat to dry.
By considering the fiber content, weight, color, texture, and ease of care of the yarn, you can choose the perfect yarn for your skull cap beanie knitting project. Whether you prefer a soft and cozy wool blend or a vibrant variegated cotton, the right yarn will help you create a beautiful and functional skull cap beanie.
Selecting the Appropriate Needle Size
When it comes to knitting a skull cap beanie, selecting the appropriate needle size is crucial to achieving the desired gauge and the right fit for your project. The needle size you choose will directly impact the size of your stitches and the overall tension of your knitting.
There are a few factors to consider when determining the needle size for your skull cap beanie. The first is the yarn weight you plan to use. Yarns can range from super fine to super bulky, and each weight will have a recommended needle size range. Check the yarn label for the recommended needle size, as this will provide a starting point for your project.
Additionally, you may need to adjust the needle size based on your personal knitting tension. If you tend to knit tightly, you may want to choose a slightly larger needle size to achieve the gauge specified in the pattern. Conversely, if you knit loosely, you may need to go down a needle size to get the correct gauge.
It’s important to note that gauge is not the only consideration when selecting a needle size. The overall look and feel of the fabric you want to create will also play a role. If you prefer a tighter, denser fabric, you may opt for a smaller needle size. For a more open and airy fabric, a larger needle size may be more suitable.
Finally, it can be helpful to swatch your chosen yarn and needle size combination before starting your project. This will allow you to check your gauge and make any necessary adjustments before committing to a full skull cap beanie. Remember to block and measure your swatch to get a more accurate gauge measurement.
Getting started: Casting on

When starting a knitting project, the first step is casting on. This is the process of creating the first row of stitches on your knitting needles. There are several methods you can use to cast on, depending on your skill level and the type of project you’re working on. In this article, we’ll cover a basic cast on method that is suitable for beginners and works well for a skull cap beanie.
To begin, you’ll need your knitting needles and the yarn you’ll be using for your project. Make sure the yarn is securely attached to the ball of yarn, with a long enough tail to work with. Hold one knitting needle in your right hand and the tail end of the yarn in your left hand.
Step 1: Using your thumb and index finger of your left hand, create a slipknot by making a loop with the yarn. Insert the needle into the loop from left to right, and pull the yarn through, creating a new loop. Place this loop on the needle, making sure it is not too tight or too loose.
Step 2: With the loop securely on the needle, hold the needle with the loop in your right hand and the tail end of the yarn in your left hand. Insert the right needle into the loop on the left needle, going from left to right.
Step 3: With the right needle through the loop, wrap the tail end of the yarn around the right needle, going from back to front. Then, use the right needle to pull the loop of yarn through the loop on the left needle, creating a new loop on the right needle.
Step 4: Repeat steps 2 and 3 until you have cast on the desired number of stitches for your project. Make sure to keep the stitches loose enough to easily work with, but not so loose that they are falling off the needle.
Once you have finished casting on, you can move on to the next step in your skull cap beanie knitting pattern. Whether you’re a beginner or an experienced knitter, casting on is an essential skill to learn and master. With practice, you’ll be able to cast on stitches confidently and easily for all your knitting projects.
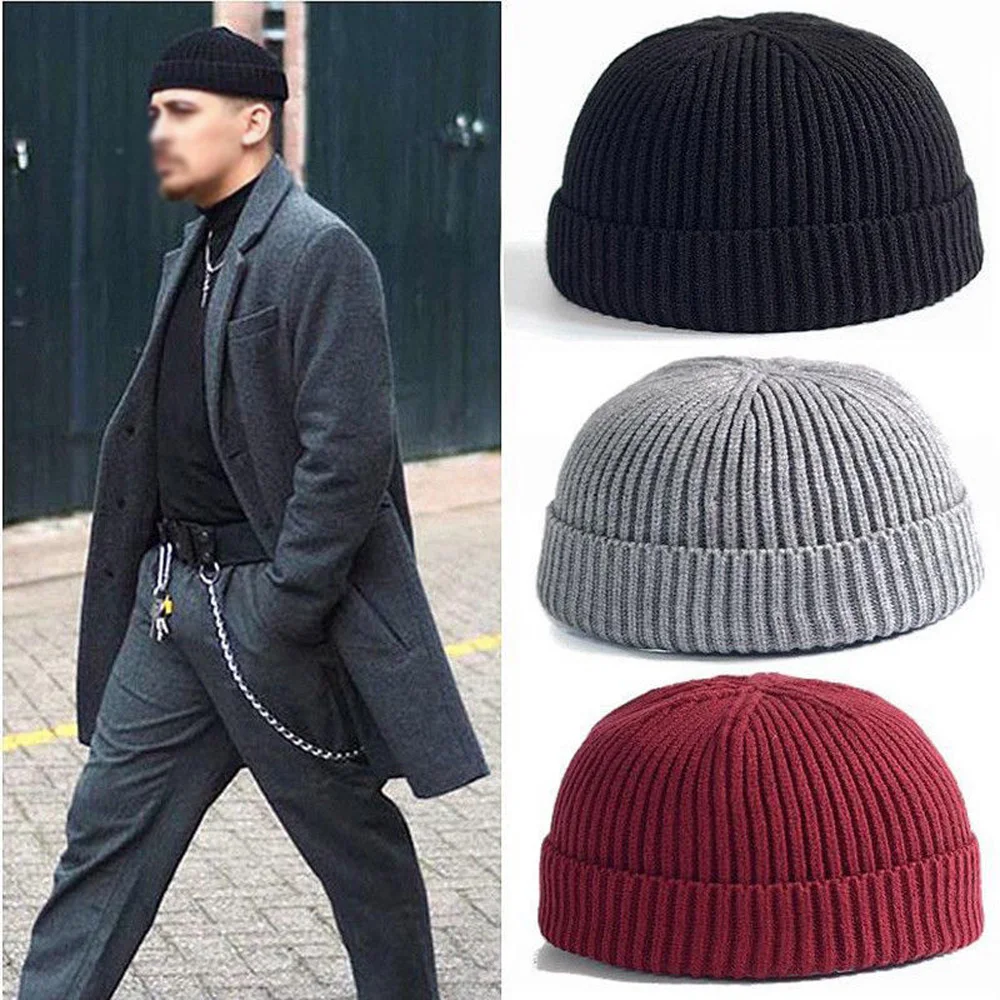
Knitting the Ribbed Brim
When knitting a skull cap beanie, the ribbed brim is an essential component that adds both style and functionality to the hat. The ribbed pattern creates a stretchy and snug fit around the wearer’s head, ensuring that the beanie stays in place and provides warmth.
To start knitting the ribbed brim, you will need to cast on the desired number of stitches using a suitable yarn and needle size. It is recommended to use a smaller needle size than the main body of the beanie to create a tighter ribbing. For example, if you are using a size 8 needle for the beanie, you can use a size 6 needle for the ribbed brim.
1. Ribbing pattern
The ribbing pattern usually consists of alternating knit and purl stitches. A common ribbing pattern is the 2×2 rib, which means you will knit two stitches, then purl two stitches, and repeat this sequence throughout the entire row. This creates a neat and textured ribbed effect.
Example:
- Row 1: *K2, P2* Repeat until the end of the row
- Row 2: *P2, K2* Repeat until the end of the row
- Repeat Rows 1 and 2 to continue the ribbing pattern
2. Ribbing length
The length of the ribbed brim can vary depending on personal preference and the desired style of the beanie. A typical length for the ribbed brim is around 1-2 inches. However, you can adjust the length to your liking by knitting more or fewer rows in the ribbing pattern.
3. Bind off
Once you have reached the desired length for the ribbed brim, you will need to bind off your stitches to secure the edge. To bind off in ribbing, you will continue the pattern as established. For example, if you were in the middle of the 2×2 ribbing pattern, you would knit the knit stitches and purl the purl stitches as you bind off.
Example:
- Row 1: *K2, P2* Repeat until the end of the row
- Row 2: *P2, K2* Repeat until the end of the row
- Continue repeating Rows 1 and 2 until you have a few stitches remaining
- Bind off the stitches following the ribbing pattern. For example, if the last stitches on your needle are knit stitches, knit them as you bind off. If they are purl stitches, purl them as you bind off.
By following these steps, you can easily knit the ribbed brim for your skull cap beanie. Remember to adjust the pattern and length according to your personal preference and style. Happy knitting!
Shaping the crown: Decrease rounds
Once you have reached the desired length for your skull cap beanie, it’s time to start shaping the crown by decreasing stitches. Decrease rounds are essential to create the rounded shape of the crown and provide a snug fit to the beanie.
To begin the decrease rounds, you will need to divide your stitches evenly across multiple double-pointed needles or use the magic loop method if you prefer. This will make it easier to work the decreases evenly and create a symmetrical crown.
One common method for decreasing is to knit two stitches together (k2tog) at regular intervals across the round. This simple decrease decreases the stitch count by one and helps to create a tighter fabric. Alternatively, you can use a centered double decrease (cdd) where you slip two stitches together as if to knit, knit one stitch, and then pass the slipped stitches over. This decrease creates a more pronounced decrease and adds a decorative element to the beanie.
As you work the decrease rounds, make sure to follow the stitch pattern established in the previous rounds. Pay attention to any specific instructions for decreases given in the pattern you are using. It’s important to maintain the stitch pattern and decrease evenly so that the beanie retains its desired shape.
Continue working the decrease rounds until you have reached the desired number of stitches or until the pattern instructs you to stop. Once you have completed the decrease rounds, you can finish off the crown by cutting the yarn and threading it through the remaining stitches, pulling them tight to close the top. You can then weave in any loose ends and block the beanie, if desired, to give it a polished look.
Continuing the Decrease Rounds
Once you have completed the ribbing section of your skull cap beanie, it’s time to move on to the decrease rounds. These rounds will shape the crown of the beanie and create a snug fit on the wearer’s head.
To begin the decrease rounds, you will continue working in the round, following the established stitch pattern. You may need to switch to double-pointed needles or a circular needle with a shorter cable length as the number of stitches decreases.
Round 1: Knit 2 stitches together across the round. This will decrease the stitch count by half.
Round 2: Knit all stitches.
Round 3: *Knit 2 stitches together, knit 1 stitch. Repeat from * to the end of the round.
Round 4: Knit all stitches.
Continue alternating Rounds 3 and 4 until you have a small number of stitches remaining on your needles. This will depend on your desired fit and the size of the beanie. Once you have reached this point, cut the yarn, leaving a long tail.
Thread the tail through the remaining stitches and pull tight to close the top of the beanie. Secure the yarn with a knot, and weave in any loose ends on the inside of the beanie. Your skull cap beanie is now complete and ready to be worn or gifted to someone special!
Switching to double-pointed needles

Switching to double-pointed needles is an essential skill when knitting a skull cap beanie. Double-pointed needles are often used for knitting in the round, allowing you to create seamless projects like hats. When you reach the point in your pattern where you need to switch to double-pointed needles, follow these steps for a smooth transition:
- Divide your stitches: Before switching to double-pointed needles, you’ll need to divide your stitches evenly among three or four needles, depending on the size of your project. This helps distribute the stitches and make it easier to work with the smaller needles.
- Join in the round: Once your stitches are divided, you’ll need to join them in the round using a stitch marker. This will mark the beginning of each round and help you keep track of your progress.
- Start knitting: With your stitches divided and joined in the round, you can begin knitting with the double-pointed needles. Hold the needle with your working yarn in your dominant hand and knit as you normally would, working with one needle at a time.
- Switch needles: As you work, you’ll need to periodically switch needles to continue knitting in the round. When you reach the end of one needle, simply pick up the next needle and continue knitting. This helps distribute the wear and tear on your needles and ensures an even tension throughout your project.
- Continue knitting: Once you’ve switched to double-pointed needles, you can continue knitting in the round until you reach the desired length or complete your pattern. Remember to always keep your stitches snug on the needles and be mindful of any pattern instructions as you knit.
Switching to double-pointed needles may feel intimidating at first, but with practice, it becomes a valuable skill in your knitting repertoire. By following these steps, you’ll be able to seamlessly switch to double-pointed needles and create beautiful skull cap beanies.
Finishing touches: Binding off
To complete your skull cap beanie, you will need to bind off your stitches. This final step in the knitting process ensures that your hat will have a neat and finished edge.
To bind off, begin by knitting the first two stitches as normal. Then, insert your left needle into the first stitch on your right needle. Lift this stitch over the second stitch and off the right needle. Now you have one stitch bound off. Knit the next stitch and repeat the process of lifting the previous stitch over the new stitch and off the needle.
Continue this process until you have bound off all of your stitches. Cut the yarn, leaving a tail that is long enough to weave into the stitches to secure the end.
By binding off your stitches, you are creating a strong and tidy finished edge for your skull cap beanie. Now you can proudly wear or gift your hand-knitted creation!
Weaving in Loose Ends
When knitting a skull cap beanie, it is important to weave in the loose ends to ensure a neat and finished look. There are several methods you can use to weave in loose ends, depending on your preference and the type of yarn you are working with.
Method 1: Duplicate Stitch
If you are using a smooth and tightly spun yarn, duplicate stitch is a great option for weaving in loose ends. With this method, you will essentially be sewing the loose end into the fabric, creating a seamless look. To do this, thread the loose end onto a tapestry needle and simply follow the path of the stitches, weaving the loose end through the fabric.
Method 2: Knit or Purl Stitch
For chunkier or textured yarns, you can weave in loose ends by knitting or purling the ends into the fabric. To do this, simply insert the loose end onto a knitting needle or crochet hook and knit or purl the stitches as usual. This method creates a secure finish and blends the loose end seamlessly into the fabric.
Method 3: Russian Join
If you prefer a more secure method, you can try the Russian join technique. This involves splitting the yarn in half and intertwining the loose ends together to create a strong join. Once the join is complete, simply trim any excess yarn and continue knitting or crocheting.
Tips for Weaving in Loose Ends
- Always leave a long enough tail when starting or finishing a project to ensure you have enough yarn to weave in.
- Weave in the loose ends as you go, rather than waiting until the end, to prevent tangling and make the process easier.
- Be careful not to pull the yarn too tight when weaving in the loose ends, as this can distort the fabric.
- If you are working with a multicolored project, try to weave in the ends with a color that matches the surrounding stitches to create a seamless finish.
By taking the time to weave in the loose ends, you can ensure that your skull cap beanie has a professional and finished look. Choose a weaving method that works best for the yarn you are using and follow these tips to achieve a neat and secure finish.
Blocking and Final Adjustments
Once you have finished knitting the skull cap beanie, it is important to block it to ensure that it maintains its shape and fit. Blocking involves wetting the knitted piece and then reshaping it to the desired size and shape, allowing it to dry in that position. This helps to smooth out any uneven stitches or tension and give the beanie a professional finish.
To block the beanie, you will need to gently soak it in lukewarm water with a mild detergent or wool wash. Avoid using harsh chemicals or scrubbing the fabric, as this can damage the fibers. After soaking for a few minutes, gently squeeze out any excess water, taking care not to wring or twist the beanie.
Next, lay the beanie flat on a clean towel or foam blocking mat and reshape it to the desired size. Use your hands to smooth out any wrinkles or creases in the fabric. You can use pins or blocking wires to help hold the beanie in place and maintain its shape during the drying process.
Allow the beanie to air dry completely before removing the pins or blocking wires. This can take several hours or even overnight, depending on the humidity and air circulation in your home. Once dry, the beanie should be soft and ready to wear!
Before wearing the beanie, you may also want to make any final adjustments to the fit. Try it on and see if it fits snugly and comfortably. If it feels too loose or tight, you can make minor adjustments by adding or removing a row of stitches near the brim. Remember to weave in any loose ends and trim them neatly before wearing.
With these final touches, your skull cap beanie is now complete! It’s time to show off your knitting skills and enjoy the warmth and style of your handmade creation.