
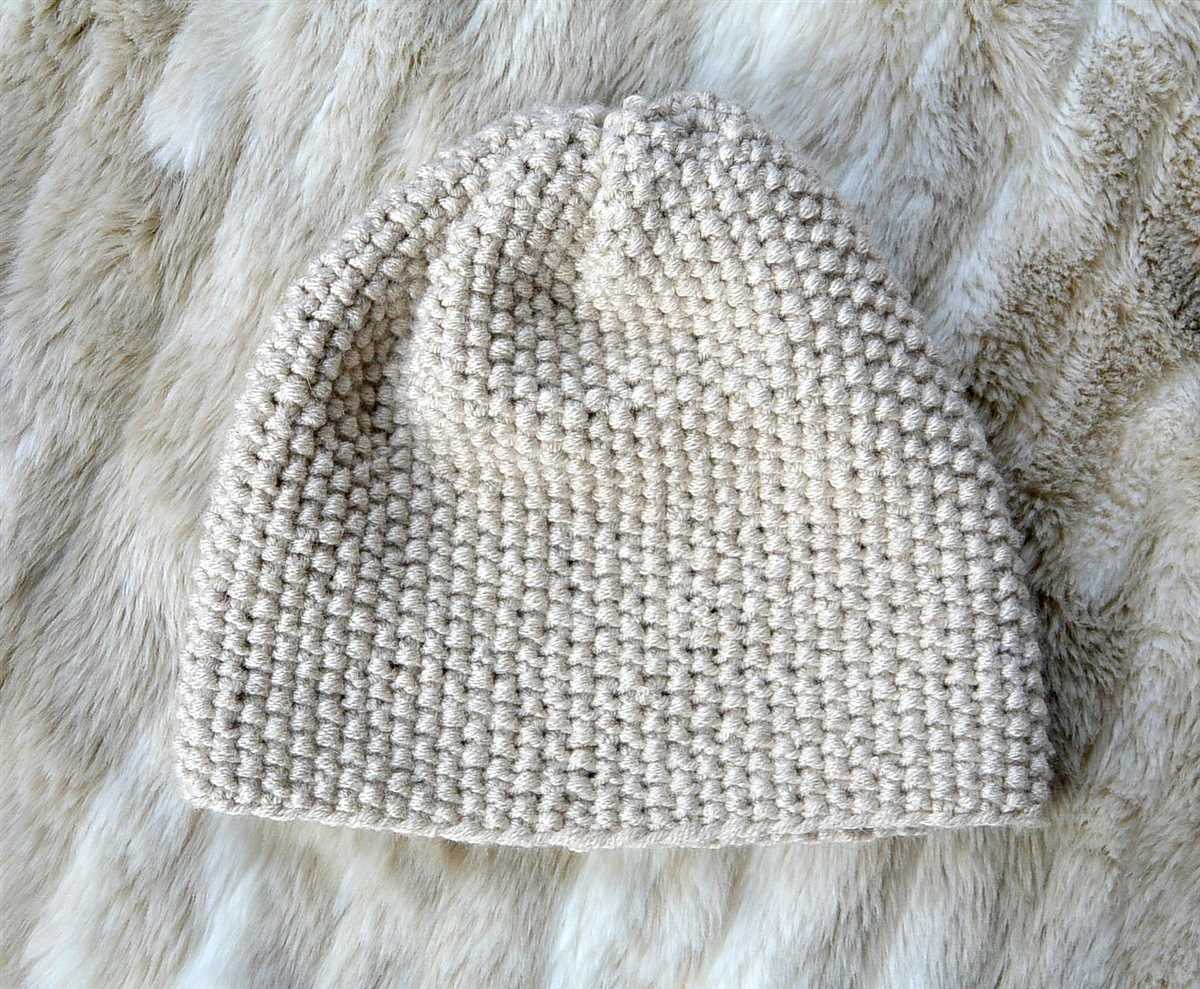
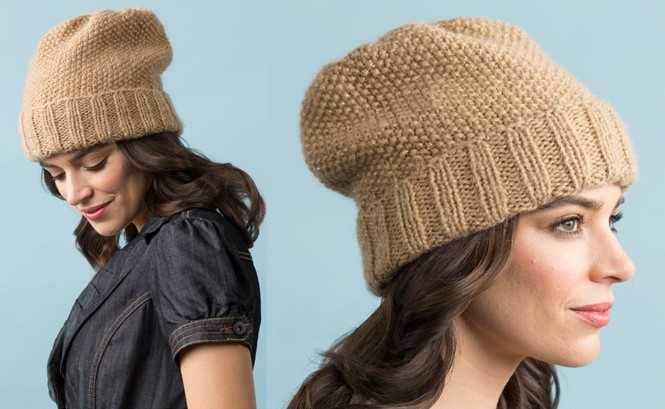
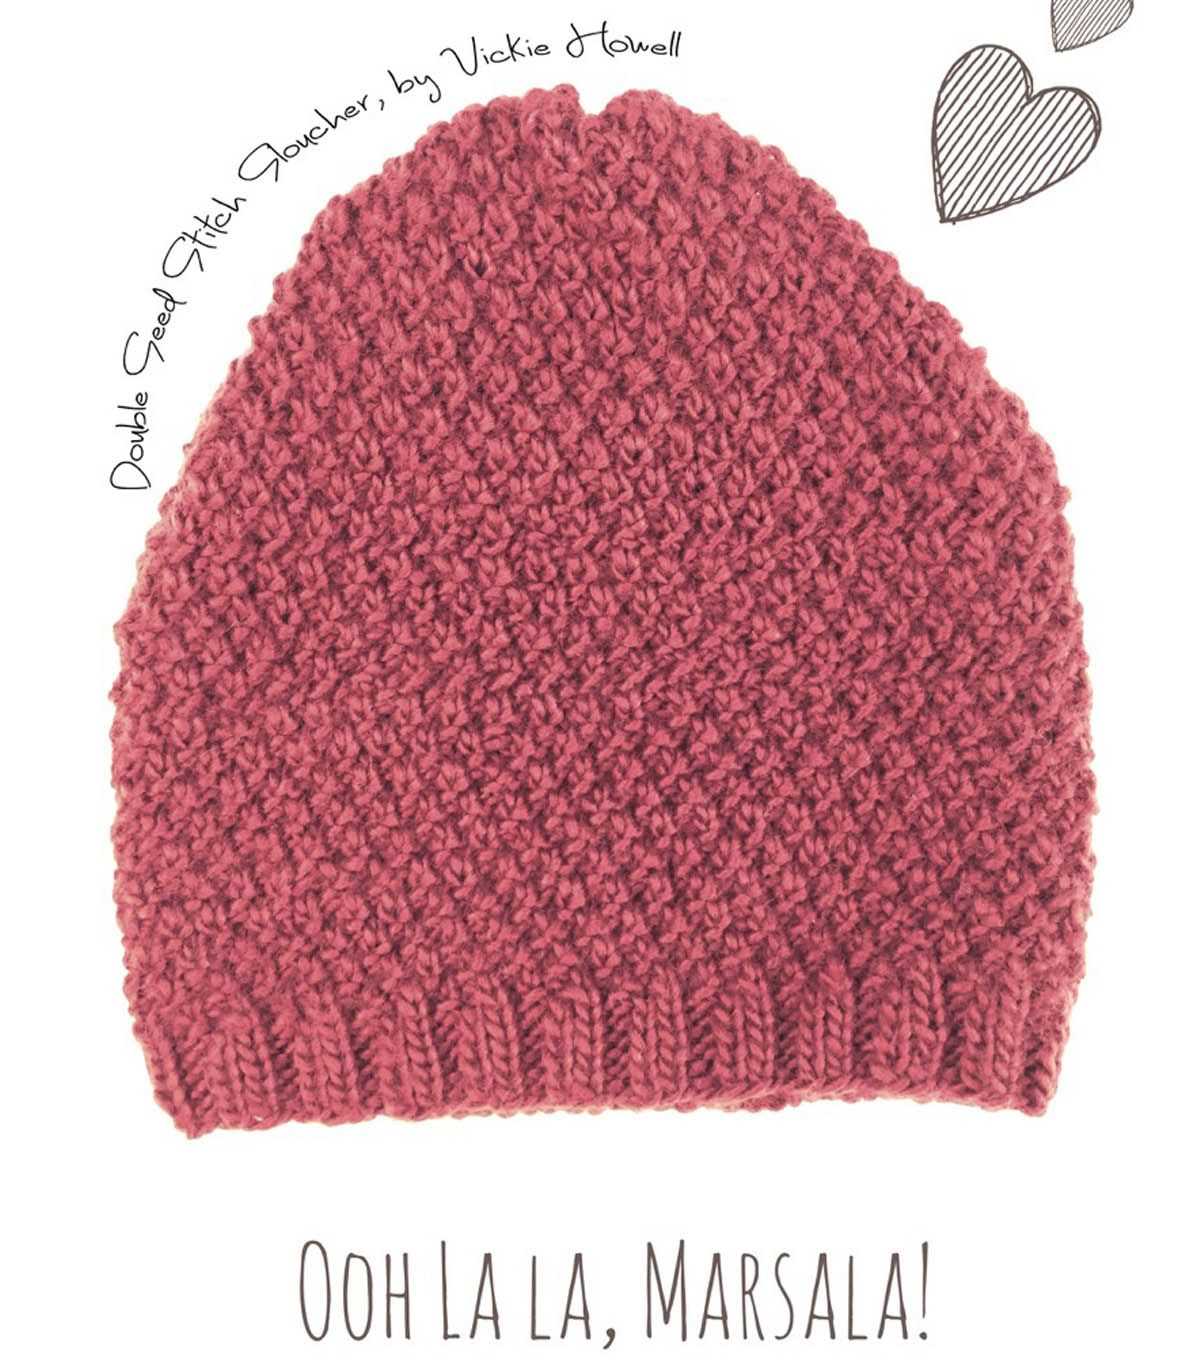
Are you a fan of cozy knitted hats? If so, you’re in luck! We have a fantastic free pattern for a seed stitch knit hat that you’re going to love. Whether you’re a beginner knitter or an experienced pro, this pattern is perfect for anyone looking to create a stylish and warm accessory for the colder months.
The seed stitch is a classic knitting pattern that creates a textured fabric with small, raised bumps. It’s super easy to do and adds a beautiful touch to any project. In this pattern, we’ll walk you through step-by-step instructions on how to knit a seed stitch hat, including the materials you’ll need and the techniques required.
This pattern is designed to fit most adult heads, but can easily be adjusted for a smaller or larger size. You can also customize your hat by experimenting with different yarn colors or adding embellishments like pom-poms or buttons. The possibilities are endless!
So grab your knitting needles and get ready to create a cozy and stylish accessory with our seed stitch knit hat pattern. It’s the perfect project to keep you warm and stylish all winter long!
Seed Stitch Knit Hat Free Pattern

If you’re looking for a simple and stylish knitting project, the Seed Stitch Knit Hat is the perfect choice. This pattern uses the seed stitch, which creates a beautifully textured fabric with alternating knit and purl stitches. The result is a cozy and warm hat that’s perfect for chilly days.
To make this hat, you’ll need a set of size 8 (5.0 mm) knitting needles and one skein of worsted weight yarn in the color of your choice. The pattern is worked in the round, so you’ll also need a set of double-pointed needles or a circular needle long enough to accommodate the number of stitches.
Pattern Instructions:

Materials:
- Size 8 (5.0 mm) knitting needles
- One skein of worsted weight yarn
- Double-pointed needles or circular needle
Instructions:
- Cast on 88 stitches using the long-tail cast-on method.
- Join to work in the round, being careful not to twist the stitches.
- Round 1: *K1, p1; repeat from * to end of round.
- Repeat Round 1 until the hat measures approximately 7 inches from the cast on edge.
- Decrease Rounds: Switch to double-pointed needles when necessary. Continue working in the seed stitch pattern, but decrease as follows:
- Decrease Round 1: *K1, p1, k1, p2tog; repeat from * to end of round.
- Decrease Round 2: *K1, p1, k2tog, p1; repeat from * to end of round.
- Decrease Round 3: *K1, p1, k1, p2tog; repeat from * to end of round.
- Decrease Round 4: *K1, p1, k2tog; repeat from * to end of round.
- Decrease Round 5: *K1, p2tog; repeat from * to end of round.
- Decrease Round 6: *K2tog, p1; repeat from * to end of round.
- Decrease Round 7: *K2tog; repeat from * to end of round.
- Cut the yarn, leaving a 6-inch tail. Thread the tail through the remaining stitches and pull tight to close the top of the hat.
- Weave in any loose ends and block the hat to your desired size.
This seed stitch knit hat pattern is a great project for knitters of all skill levels. The seed stitch creates a beautiful texture that will keep you warm and stylish. Whether you’re making a hat for yourself or as a gift, this pattern is sure to be a hit!
Materials
Before you start knitting your seed stitch hat, make sure you have all the necessary materials handy. Here’s a list of what you’ll need for this project:
- Yarn: Choose a soft and warm yarn in the color of your choice. Worsted weight yarn is recommended for this pattern.
- Needles: You’ll need a set of double-pointed or circular needles in the appropriate size for your yarn. Check the label on your yarn for recommended needle size.
- Tapestry Needle: This will be used for weaving in ends and finishing touches.
- Stitch Marker: This will help you keep track of your rounds as you knit.
- Scissors: You’ll need them for cutting yarn and trimming ends.
If you don’t have all of these materials, you can find them at your local yarn store or online. It’s always a good idea to have everything gathered before you start, so you can dive into the pattern without any interruptions.
Gauge
Gauge, also known as tension, is an important aspect of knitting that determines how many stitches and rows are in a given measurement. It is essential to achieve the correct gauge in order to create a well-fitting and properly proportioned knit item, such as a hat. Not only does gauge affect the size and shape of the finished piece, but it also affects the amount of yarn needed to complete the project.
In order to determine the correct gauge for a knitting pattern, it is necessary to swatch. Swatching involves knitting a small sample of the stitch pattern using the recommended needle size and yarn. The swatch is then measured to determine how many stitches and rows are in a specific measurement. This measurement is compared to the gauge specified in the pattern. If the gauge matches the pattern’s gauge, then the knitter can proceed with confidence knowing that their finished item will turn out as intended. However, if the gauge does not match, adjustments may need to be made, such as changing needle size or yarn weight, in order to achieve the correct gauge.
Key Factors Influencing Gauge:
- Needle Size: The size of the needles used in knitting can have a significant impact on gauge. Smaller needles typically result in a tighter gauge, while larger needles result in a looser gauge.
- Yarn Weight: The weight of the yarn used also affects gauge. Thicker yarns generally produce a looser gauge, while thinner yarns produce a tighter gauge.
- Tension: The tension at which a knitter holds their yarn and stitches can also affect gauge. Some knitters naturally have a looser or tighter tension, which can influence the gauge of their knitting.
- Stitch Pattern: The stitch pattern used in the knitting can also impact gauge. Different stitch patterns have different properties and may result in a looser or tighter gauge.
By understanding the importance of gauge and the factors that influence it, knitters can ensure that their finished knit items fit properly and have the desired appearance. Taking the time to swatch and make any necessary adjustments will result in a more successful knitting project.
Size
When it comes to knitting a hat, getting the right size is essential for a perfect fit. This seed stitch knit hat pattern comes in three sizes: small, medium, and large. To determine the right size for your hat, you will need to measure the circumference of the wearer’s head.
Small: The small size is ideal for head circumferences between 18 and 20 inches. This size is typically suitable for children or adults with smaller head sizes.
Medium: If the head circumference falls between 20 and 22 inches, the medium size will be the best fit. This size is the most common for average adult head sizes.
Large: For larger head sizes, measuring between 22 and 24 inches, the large size is recommended. This size is suitable for people with larger heads or those who prefer a looser fit.
It’s important to note that these measurements are approximate and can vary depending on the individual’s head shape and personal preferences. If you’re unsure about which size to choose, it’s always a good idea to err on the larger side, as you can easily adjust the fit by adding or removing stitches during the knitting process.
To ensure the best fit, it’s recommended to measure the recipient’s head circumference before starting the project. This way, you can confidently choose the correct size and create a hat that will be both stylish and comfortable to wear.
Abbreviations
In knitting, abbreviations are commonly used to make patterns more concise and easier to read. By using abbreviations, knitters can quickly understand instructions without having to spell out every word. Below is a list of commonly used abbreviations in knitting:
- k: knit
- p: purl
- st(s): stitch(es)
- tbl: through back loop
- yo: yarn over
- dec: decrease
- inc: increase
- rep: repeat
- sl: slip
- psso: pass slipped stitch over
These abbreviations are often combined with numbers and symbols to create specific instructions. For example, “k2tog” means to knit two stitches together, “p3tog” means to purl three stitches together, and “yo” means to make a yarn over. It’s important to familiarize yourself with these abbreviations before attempting a knitting pattern, as they are commonly used and will make the instructions much clearer.
Instructions
To create the seed stitch knit hat, you will need the following materials:
- Size 8 (5mm) circular knitting needles, 16″ (41cm) in length
- Size 8 (5mm) double-pointed knitting needles
- Approximately 200 yards (183 meters) of worsted weight yarn
- Tapestry needle for weaving in ends
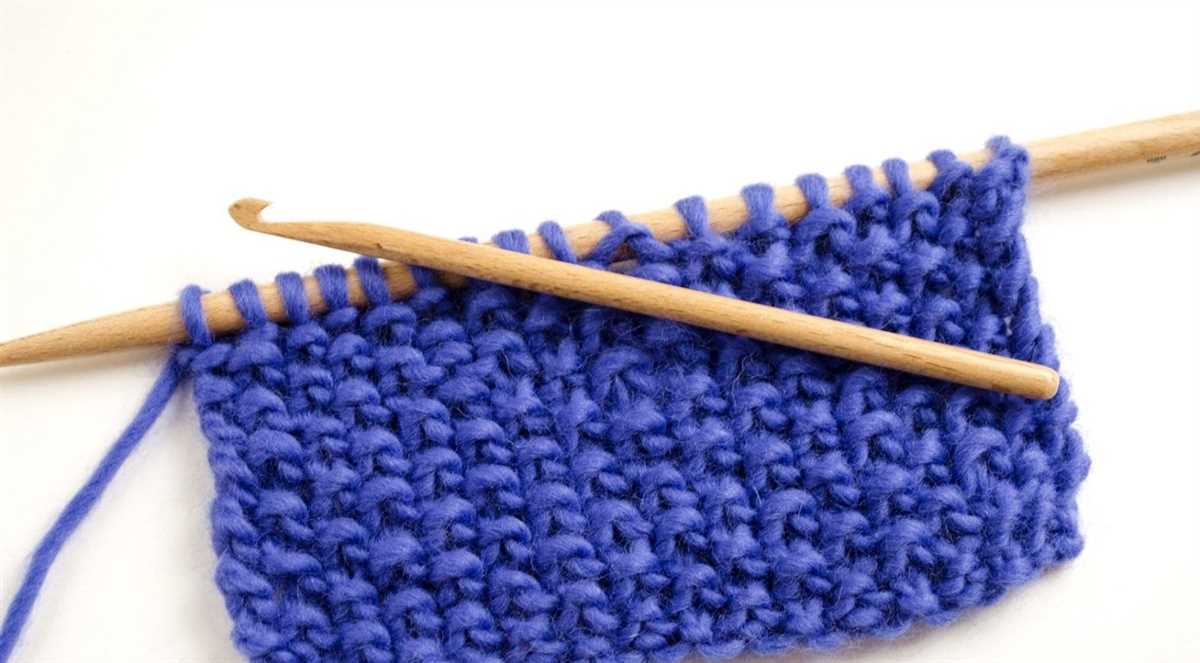
Begin by casting on 88 stitches using the circular needles. Join in the round, being careful not to twist the stitches. Place a stitch marker to mark the beginning of the round.
Round 1: *K1, p1* repeat to end of round.
Round 2: *P1, k1* repeat to end of round.
Repeat Rounds 1 and 2 for the seed stitch pattern until the hat measures approximately 7 inches (18cm) from the cast on edge.
Next, switch to the double-pointed needles when necessary. Continue the seed stitch pattern for the crown decreases as follows:
- Decrease round 1: *K2tog, p1, k1, p1* repeat to end of round (66 stitches remaining).
- Decrease round 2: *P1, k1, p1* repeat to end of round.
- Decrease round 3: *K2tog, p1, k1* repeat to end of round (44 stitches remaining).
- Decrease round 4: *P1, k1* repeat to end of round.
- Decrease round 5: *K2tog, p1* repeat to end of round (22 stitches remaining).
- Decrease round 6: *P1, k2tog* repeat to end of round (11 stitches remaining).
Cut the yarn, leaving a long tail. Thread the tail through the remaining stitches using a tapestry needle and pull tight to close the top of the hat. Weave in any remaining ends.
Your seed stitch knit hat is now complete and ready to be worn or gifted to a lucky recipient!
The Cast On Method in Seed Stitch Knit Hat Pattern
In the seed stitch knit hat pattern, the cast on is the first step in creating the hat. The cast on determines the initial number of stitches that will be used to create the hat’s brim. There are several casting on methods that can be used, but for this pattern, the long tail cast on method is recommended.
The long tail cast on method involves using two strands of yarn to create the initial row of stitches. This method provides a sturdy and elastic edge, which is ideal for the brim of a hat. To start, measure out a length of yarn that is approximately three times the width of the finished brim. This length will be used for both the tail and the working yarn.
Steps for the long tail cast on method:
- Make a slipknot at the end of the yarn, leaving a tail of approximately 6 inches.
- Hold the slipknot with your left hand, and insert the right needle into the loop from left to right.
- Position the right needle under the working yarn, which is attached to the ball of yarn.
- Loop the working yarn around the right needle, creating a new stitch.
- Carefully slide the new stitch onto the left needle.
- Repeat steps 3-5 until the desired number of stitches is cast on.
- Ensure that the tail and working yarn are positioned correctly, with the tail yarn coming from the slipknot and the working yarn attached to the ball of yarn.
Once all the stitches are cast on, the next step in the seed stitch knit hat pattern is to start knitting in seed stitch pattern, alternating between knit and purl stitches. The cast on edge will become the brim of the hat, providing a neat and finished look.
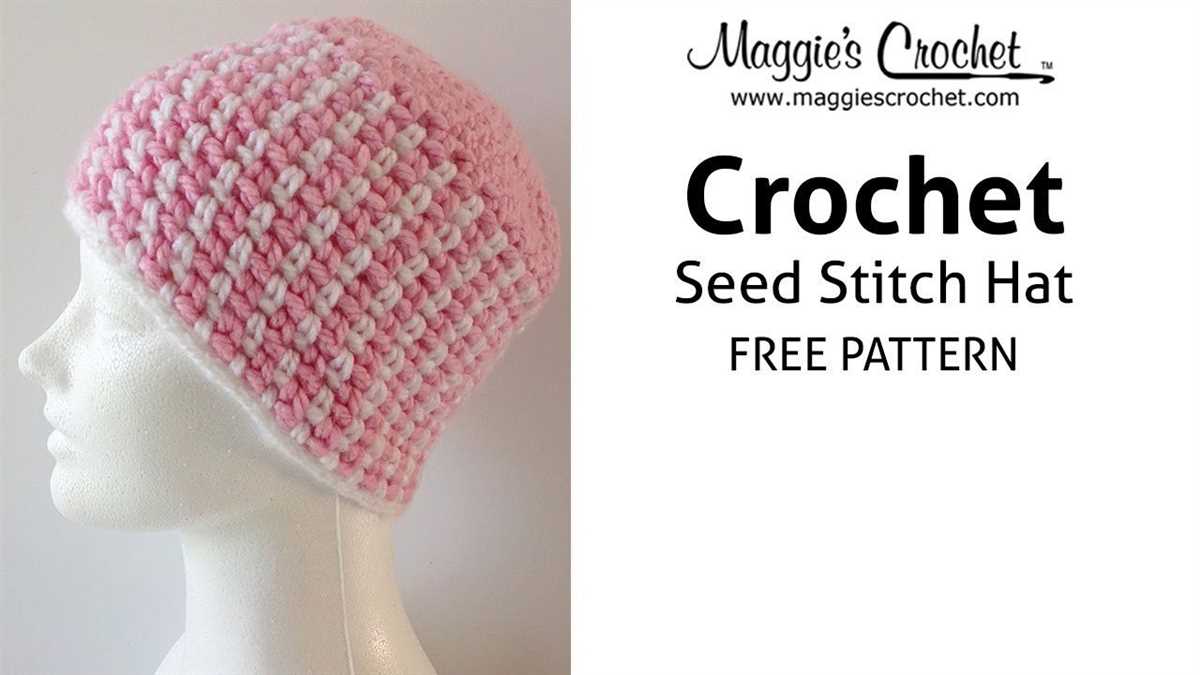
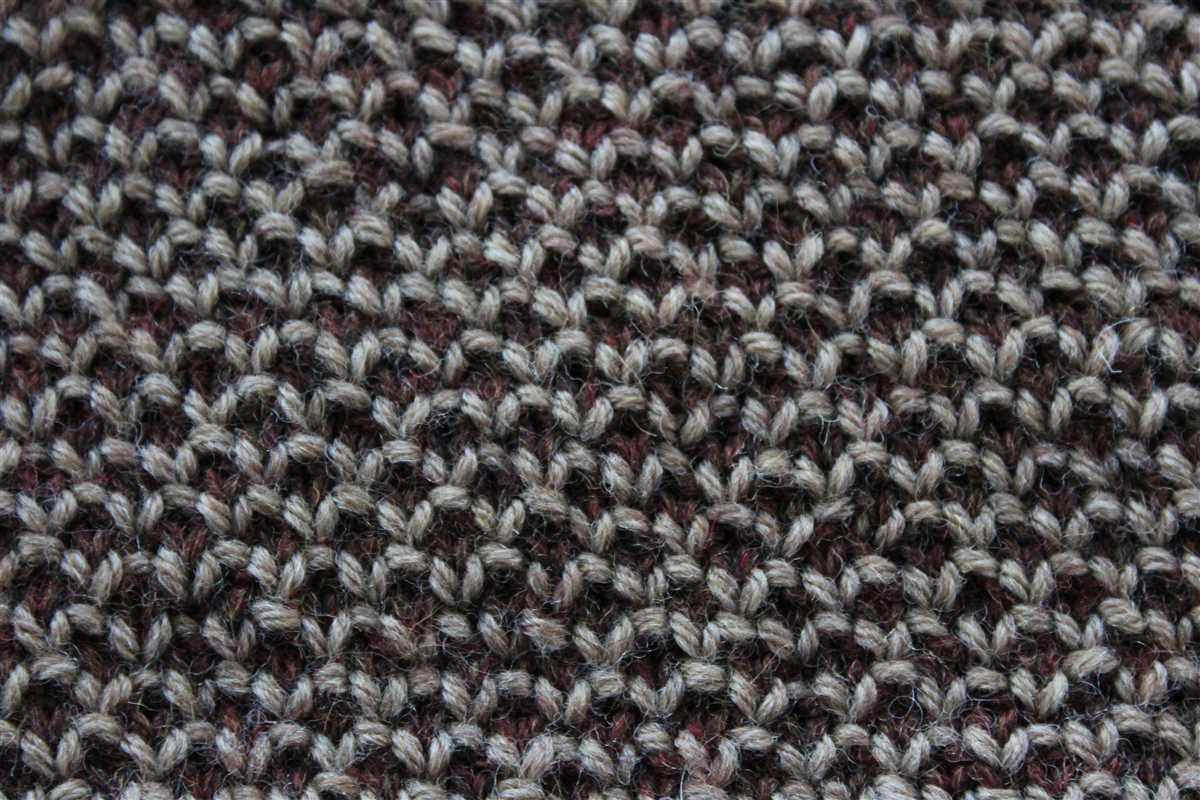
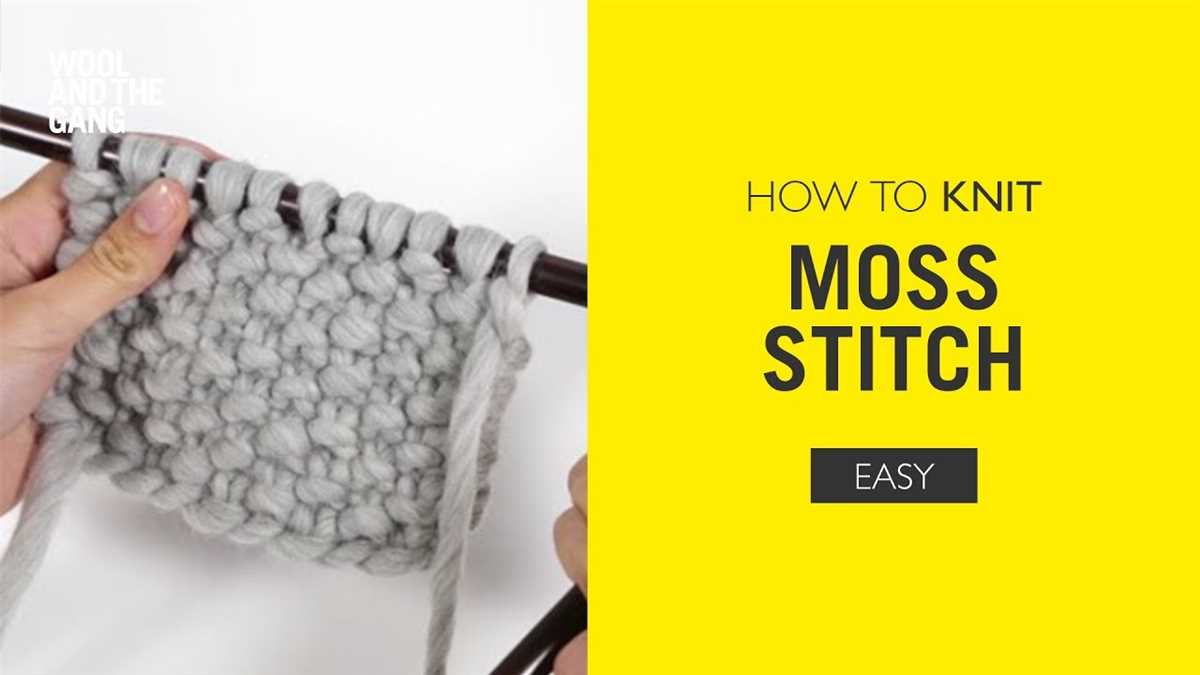
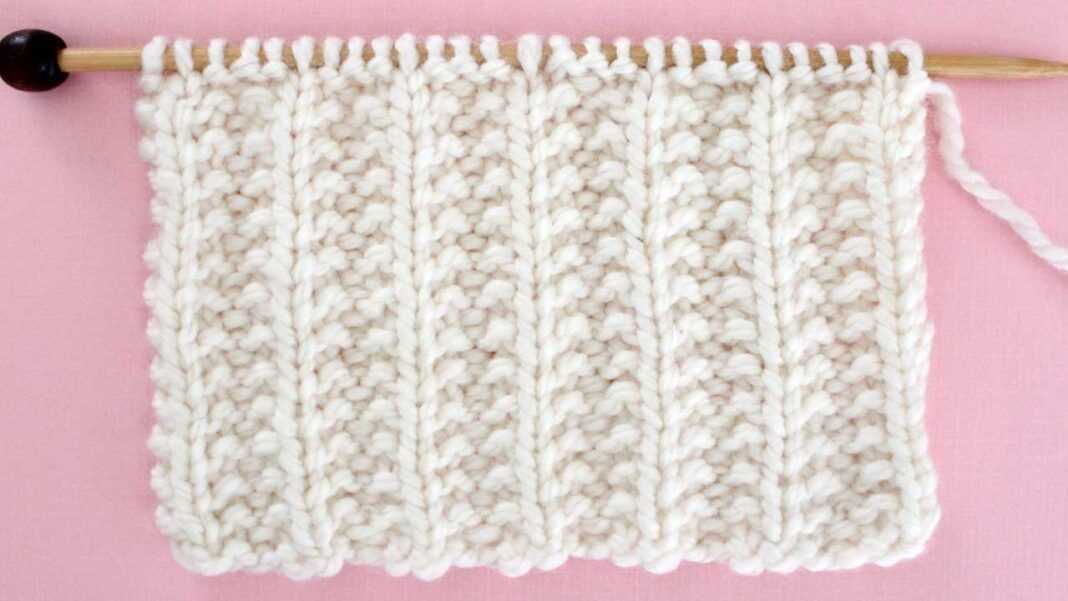
Seed Stitch Pattern
The seed stitch pattern is a simple and versatile knitting pattern that creates a beautiful texture. It is made by alternating between knit and purl stitches in a specific pattern. The result is a fabric that is both soft and structured, making it perfect for a variety of projects, including hats, scarves, and sweaters.
To create the seed stitch pattern, you can use any number of stitches, but it’s recommended to use an odd number to ensure the pattern is balanced. The pattern is as follows: knit the first stitch, purl the second stitch, and continue this pattern until the end of the row. On the next row, purl the first stitch and knit the second stitch, repeating this pattern until the end of the row. Repeat these two rows for the desired length.
The seed stitch pattern creates a textured fabric that is reversible, meaning it looks the same on both sides. This makes it ideal for projects where both sides of the fabric are visible, such as scarves and blankets. The fabric has a slight stretch to it, which adds to its versatility and comfort.
This pattern can be used with any type of yarn and needle size, allowing you to customize the look and feel of your project. Whether you’re an experienced knitter looking for a simple and relaxing pattern, or a beginner looking to practice different stitches, the seed stitch pattern is a great choice. Its simplicity and beautiful texture make it a timeless knitting pattern that can be used for a wide range of projects.
Key Phrases:
- Seed stitch pattern
- Simple and versatile knitting pattern
- Creates a beautiful texture
- Soft and structured fabric
- Perfect for hats, scarves, and sweaters
- Recommended to use an odd number of stitches
- Pattern: knit the first stitch, purl the second stitch
- Reversible fabric
- Customizable with different yarn and needle size
- Great for both experienced knitters and beginners
Decreases
Decreasing is an essential technique in knitting that allows you to shape your project and create a snugger fit. In the context of a seed stitch knit hat, decreases are used to shape the crown of the hat and create the tapered look. There are several ways to work decreases in knitting, including knit two together (k2tog) and slip, slip, knit (ssk).
To decrease using the k2tog method, insert your needle into the next two stitches as if to knit, then knit them together as one stitch. This method creates a right-leaning decrease. Alternatively, for a left-leaning decrease, you can use the ssk method. To do this, slip the next two stitches knitwise onto the right needle, one at a time. Then, insert the left needle into the front of both slipped stitches and knit them together through the back loops.
When working the seed stitch pattern, it is important to pay attention to the pattern instructions for decreasing. Typically, decreases are worked on the knit rows to maintain the seed stitch pattern. For example, you might be instructed to k1, k2tog, work in pattern to end of the row. This means you knit the first stitch, knit the next two stitches together, and then continue working in the seed stitch pattern until the end of the row.
As you continue to decrease on subsequent rows, the number of stitches will decrease, and you may need to adjust the pattern accordingly. It is helpful to keep track of your stitches and mark each decrease row to ensure accuracy and consistency. With careful attention to decreases, you can create a beautifully shaped seed stitch knit hat.
Finishing
Once you have completed knitting the seed stitch hat, you will need to finish it off to give it a polished and professional look. Here are a few steps to follow:
1. Weave in the ends
Using a yarn needle, thread the loose ends of the yarn through the stitches on the wrong side of the hat. Make sure to weave the ends in securely to prevent them from unraveling.
2. Block the hat
Blocking is an important step to shape your hat and give it a more finished appearance. To block the hat, soak it in lukewarm water and gently squeeze out the excess water. Lay the hat flat on a towel and shape it to the desired size, making sure to smooth out any wrinkles or uneven areas. Let the hat dry completely before moving on to the next step.
3. Add a pom-pom (optional)
If you want to add a playful touch to your seed stitch hat, you can attach a pom-pom to the top. There are many premade pom-poms available in craft stores, or you can make your own using yarn. Sew the pom-pom securely to the top of the hat using a yarn needle.
4. Finishing touches
Lastly, examine the hat for any loose stitches or uneven areas and fix them using a crochet hook or yarn needle. Trim any excess yarn or loose threads.
Once you have completed these finishing steps, your seed stitch hat will be ready to wear or gift to someone special. Enjoy the cozy warmth and stylish look of your handmade creation!
Optional Embellishments
If you want to add some extra flair to your seed stitch knit hat, there are plenty of optional embellishments you can incorporate. Here are a few ideas to consider:
- Buttons: Sewing on decorative buttons can add a pop of color or a touch of whimsy to your hat. You can choose buttons that match the yarn or opt for contrasting colors for a bold look.
- Pom Pom: Attach a fluffy pom pom to the top of your hat for a playful and cozy addition. You can make your own pom pom using yarn or purchase pre-made ones in various colors.
- Embroidery: Get creative with embroidery by adding small designs, initials, or even a name to your hat. This is a great way to personalize your knit hat and make it unique.
- Ribbons or Bows: Tying a ribbon or bow around the base of the hat can give it a feminine touch. Choose a ribbon in a complementary color or pattern to add a special touch.
These are just a few ideas to get you started, but feel free to let your imagination run wild and customize your seed stitch knit hat however you like. Embrace your creativity and make your hat truly one-of-a-kind.
Conclusion
The seed stitch knit hat is a versatile and stylish accessory that can keep you warm during the colder months. With its simple yet elegant texture, it’s a great project for beginners and experienced knitters alike. By following the free pattern and adding your own personal touches, you can create a hat that reflects your style and personality. So grab your knitting needles, choose your favorite yarn, and get ready to create a beautiful seed stitch knit hat that will keep you cozy and fashionable.