
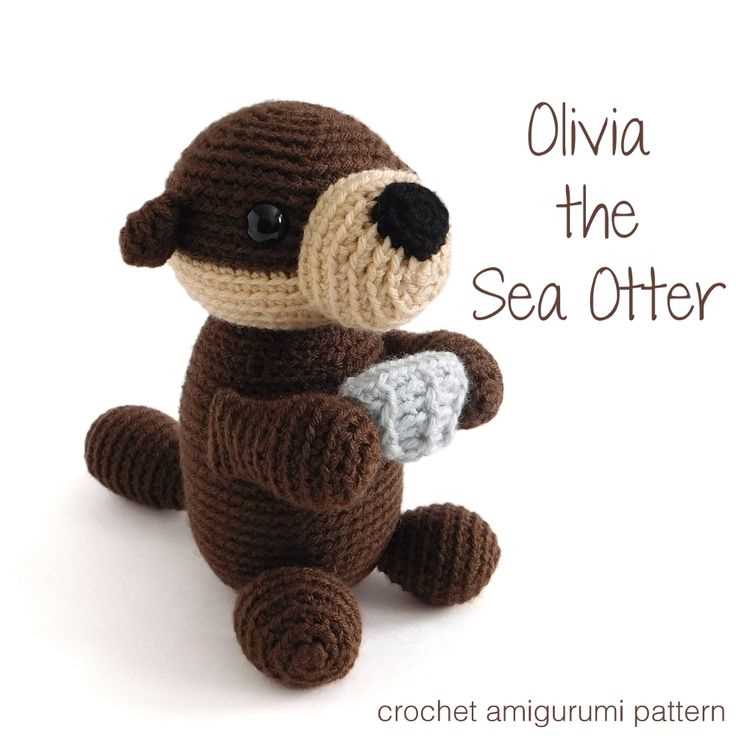
Knitting is not only a relaxing hobby, but it also allows you to create beautiful and unique items. One popular knitting design is the sea otter pattern. With its cute and adorable appearance, the sea otter pattern is loved by both children and adults.
The sea otter knitting pattern is perfect for creating various items such as toys, hats, scarves, and even blankets. This pattern usually involves using different knitting techniques to create the texture and shape of a sea otter. By following the pattern instructions, you can easily create your own sea otter-inspired masterpiece.
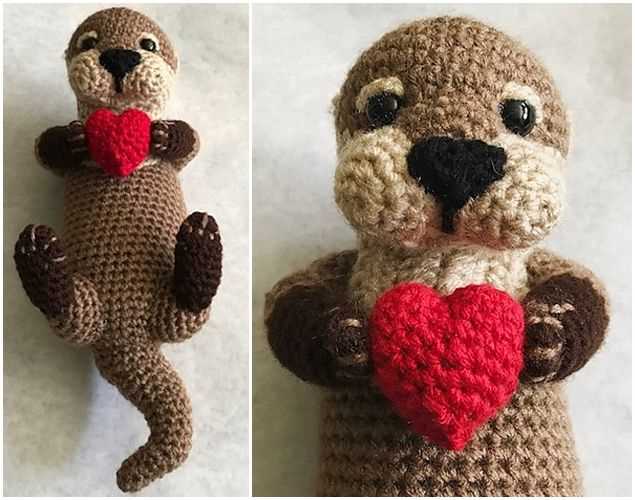
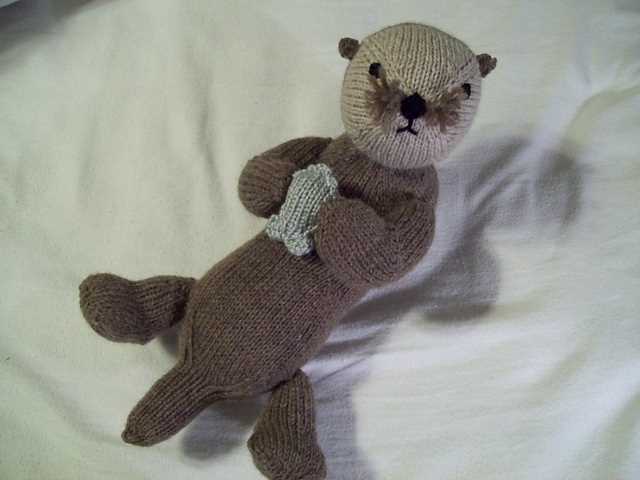
What makes the sea otter knitting pattern special is its attention to detail. The pattern often includes instructions for knitting the otter’s face, paws, and tail, ensuring that the finished product resembles a real sea otter. Additionally, you can choose the colors of your yarn to make your sea otter pattern even more personalized. Whether you prefer a realistic-looking otter or a whimsical, colorful one, the choice is yours.
Why Choose a Sea Otter Knitting Pattern
Knitting is a popular craft that allows people to create beautiful and unique items. One of the most adorable creatures from the animal kingdom is the sea otter, making it a popular choice for knitters looking for a fun and cute project. Choosing a sea otter knitting pattern offers several advantages that make it a great choice for both beginner and experienced knitters.
Versatility: Sea otter knitting patterns come in a variety of styles and designs, offering knitters the opportunity to choose a pattern that suits their skill level and preferences. Whether you prefer a simple and minimalistic design or a more intricate and detailed one, there is a sea otter knitting pattern for everyone.
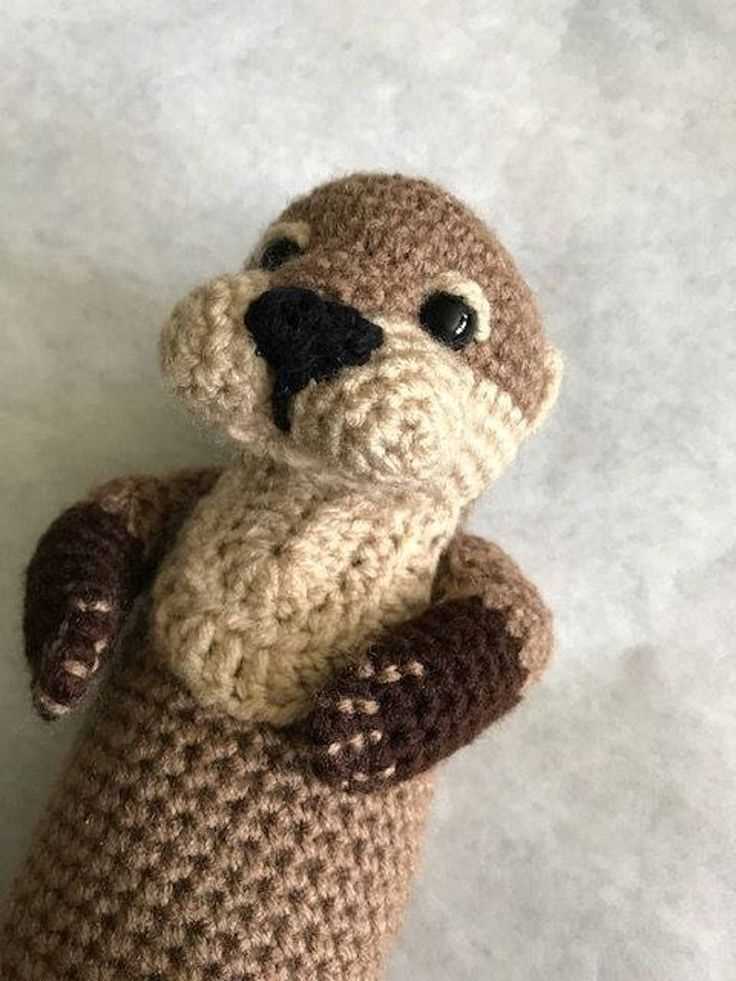
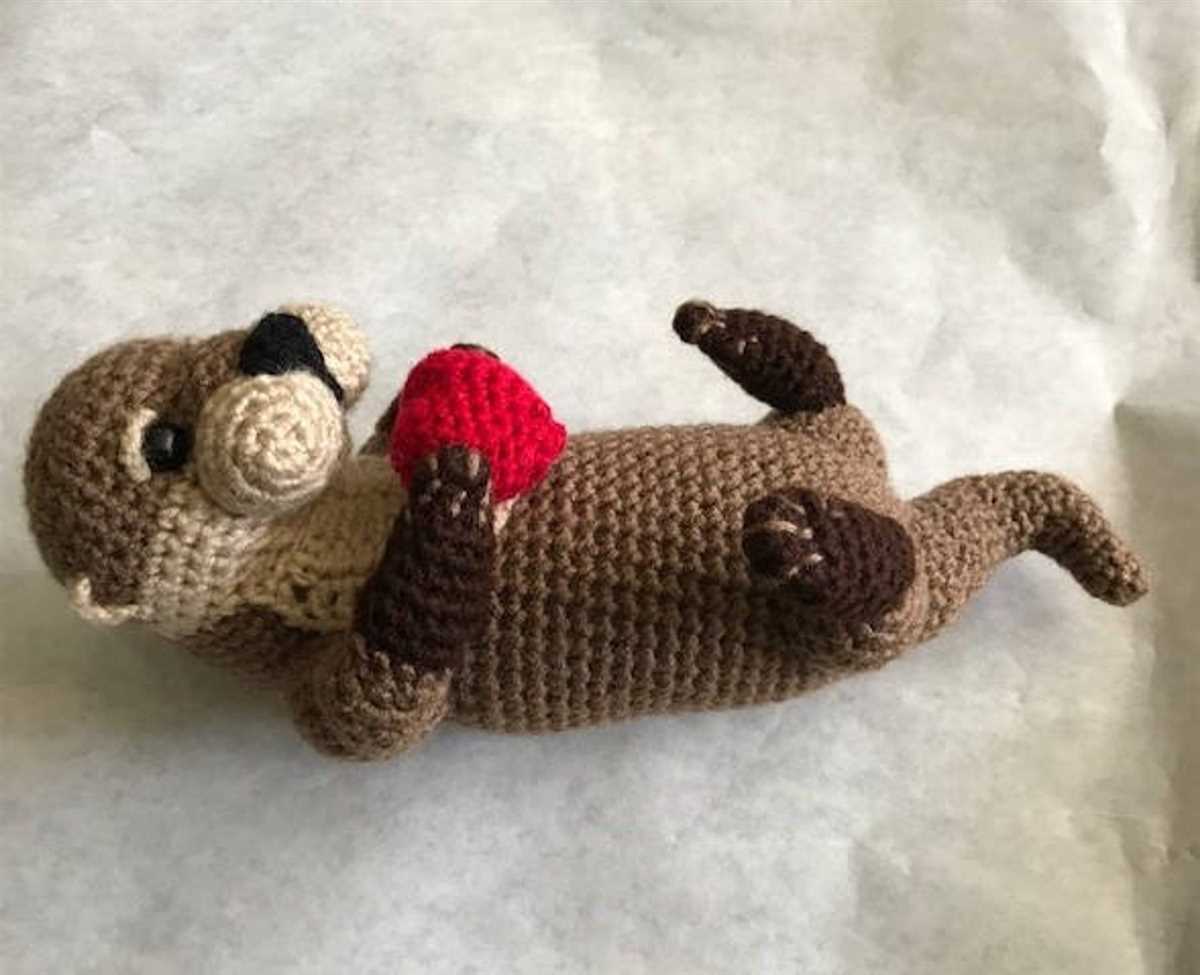
Cuteness: Sea otters are known for their adorable appearance, with their round faces and playful nature. Knitting a sea otter allows you to capture their cuteness and create a soft and cuddly toy or a decorative item that will bring joy and smiles to anyone who sees it.
Unique gift: Handmade gifts are always special, and knitting a sea otter gives you the opportunity to create a one-of-a-kind present. Whether it’s for a baby shower, a birthday, or just to surprise someone you care about, a sea otter knitting pattern allows you to create a personalized and memorable gift that will be cherished for years to come.
Relaxation and stress relief: Knitting has been proven to have numerous mental health benefits, including promoting relaxation and reducing stress. The repetitive motions and focus required in knitting can help calm the mind and provide a sense of accomplishment. Knitting a sea otter can be a therapeutic activity that allows you to unwind and create something beautiful at the same time.
Learning opportunity: If you’re new to knitting or looking to expand your skills, a sea otter knitting pattern can be a great learning opportunity. Knitting a sea otter involves various techniques such as shaping, color changes, and adding details. By following a sea otter knitting pattern, you can improve your knitting skills and gain confidence in tackling more complex projects in the future.
Overall, choosing a sea otter knitting pattern offers an enjoyable and rewarding knitting experience. Whether you’re knitting for yourself or creating a special gift for someone, the cuteness, versatility, and learning opportunities provided by a sea otter knitting pattern make it a fantastic choice.
Materials Needed for the Sea Otter Knitting Pattern

In order to complete the sea otter knitting pattern, you will need a few materials to get started. Here is a list of the essential items you will need:
- Yarn: For this project, you will need a soft and medium-weight yarn in colors that resemble a sea otter’s fur. Look for shades of brown, gray, and black.
- Knitting Needles: You will need a set of double-pointed knitting needles in a size suitable for the yarn you are using. The recommended size may vary depending on your gauge and yarn choice.
- Darning Needle: A darning needle with a blunt tip is essential for weaving in the loose ends of your yarn and assembling different parts of the sea otter.
- Stuffing: To give your sea otter a nice, plump shape, you will need some stuffing. You can use polyester fiberfill or any other type of stuffing material of your choice.
- Safety Eyes: For the eyes of your sea otter, you can use either plastic or glass safety eyes. Choose a size that matches the desired look of your otter.
- Scissors: A good pair of scissors is essential for cutting the yarn and trimming any excess materials.
Once you have gathered all the necessary materials, you will be ready to start working on your sea otter knitting pattern. Make sure to have everything prepared and organized before you begin, so that you can enjoy the knitting process without any interruptions!
Step-by-Step Instructions for the Sea Otter Knitting Pattern
Knitting has always been a popular hobby for those who love creating unique and adorable stuffed animals. If you’re looking to knit a sea otter, this step-by-step guide will walk you through the process.
The sea otter knitting pattern begins with the body. Using a set of double-pointed needles and your chosen yarn, cast on the required number of stitches. Knit in the round until the body reaches the desired length. Increase or decrease stitches as needed to shape the body.
Body
- Cast on the required number of stitches using double-pointed needles.
- Knit in the round until the body reaches the desired length.
- Increase or decrease stitches as needed to shape the body.
- Bind off and cut the yarn, leaving a long tail for sewing.
Next, it’s time to knit the head. Using the same method as the body, cast on the required number of stitches and knit in the round until the head reaches the desired height. To shape the head, decrease stitches gradually until you have a rounded shape.
Head
- Cast on the required number of stitches using double-pointed needles.
- Knit in the round until the head reaches the desired height.
- Decrease stitches gradually to shape the head.
- Bind off and cut the yarn, leaving a long tail for sewing.
After completing the body and head, it’s time to move on to the limbs. To create the arms and legs, cast on the required number of stitches and knit in the round until the desired length is reached. For added realism, you can attach small pieces of felt to act as the sea otter’s webbed feet.
Limbs
- For the arms and legs, cast on the required number of stitches using double-pointed needles.
- Knit in the round until the desired length is reached.
- Bind off and cut the yarn, leaving a long tail for sewing.
- Attach small felt pieces to act as webbed feet.
Lastly, it’s time to assemble all the knitted pieces. Using a tapestry needle and the long tails left from each piece, sew the limbs onto the body. Attach the head to the body, ensuring it is securely in place. Embroider or use buttons to create the sea otter’s eyes and nose.
With these step-by-step instructions, you’ll be able to create your very own sea otter using the knitting pattern. Get creative with different yarn colors and have fun bringing this adorable creature to life!
Casting on and Beginning the Body

Before you start knitting the body of your sea otter, you will need to cast on the required number of stitches. The number of stitches will vary depending on the size of your otter and the gauge of your knitting. Follow the instructions in the knitting pattern to determine the correct number of stitches to cast on.
To cast on, hold your knitting needle in your right hand and make a slip knot with your yarn. Insert the knitting needle into the slip knot and tighten the loop around the needle. This will be your first stitch. Repeat this process for each stitch you need to cast on, adjusting the tension as necessary to create even and consistent stitches.
Once all your stitches are cast on, you can begin knitting the body of your sea otter. Follow the knitting pattern’s instructions for the specific stitch pattern and shaping details. It is a good idea to use stitch markers to mark the beginning and end of each round, especially if you are knitting in the round. This will help you keep track of where you are in the pattern and ensure your stitches are aligned correctly.
As you knit the body, remember to check your gauge periodically to ensure it matches the gauge specified in the knitting pattern. This will help ensure that your otter turns out the correct size and shape. If your gauge is off, you may need to adjust your needle size or tension to achieve the desired measurements.
Continue knitting the body of your sea otter according to the pattern instructions until you reach the desired length or shaping requirements. Take your time and enjoy the process of creating your otter, and soon you will have a cuddly and adorable knitted sea otter to cherish!
Creating the Arms and Legs
When knitting a sea otter, one of the most important parts to consider are the arms and legs. These appendages give the otter its distinctive look and allow it to move and play in the water. To create the arms and legs of the sea otter, follow these steps:
1. Gather the necessary materials
Before starting the knitting process, make sure you have all the materials you need. This includes the appropriate yarn in the desired color, knitting needles, stitch markers, and a tapestry needle for sewing the pieces together.
2. Start with the arms
Begin by casting on the required number of stitches for the arms, as indicated in the knitting pattern. Use the specified knitting technique to create the desired texture and stitch pattern. Pay attention to any shaping instructions, such as increasing or decreasing stitches, to achieve the correct shape and length of the arms.
3. Continue with the legs
After finishing the arms, move on to knitting the legs. Follow the same process as for the arms, casting on the required number of stitches and using the specified knitting technique. Take note of any shaping instructions to ensure the legs have the desired shape and length.
4. Add any additional details
Once the arms and legs are complete, you can add any additional details to enhance the sea otter’s appearance, such as individual toes or claws. This can be achieved by using embroidery techniques or creating separate pieces to attach to the arms and legs.
5. Sew the arms and legs onto the body
Finally, use a tapestry needle and the same yarn used for knitting to sew the arms and legs onto the body of the sea otter. Make sure to securely attach the pieces to ensure they withstand play and movement.
By following these steps, you can create realistic and adorable arms and legs for your knitted sea otter. Have fun and let your creativity shine!
Shaping the Body and Head
When knitting a sea otter, it is important to pay attention to shaping the body and head to achieve a realistic look. This pattern provides detailed instructions on how to do so.
The body:
To shape the body, you will need to increase and decrease stitches in specific places. The pattern will specify when and where to do these increases and decreases. This will give the body a curved shape, similar to that of a real sea otter. Pay attention to the number of stitches indicated and follow the instructions carefully to ensure proper shaping.
The head:
The head is an important part of the sea otter’s appearance. To shape the head, you may need to decrease stitches at certain points to create a tapered effect. This will give the head a more realistic shape and prevent it from looking too round or bulky. Again, follow the instructions provided in the pattern and pay attention to the number of stitches to be decreased.
By carefully shaping the body and head of your sea otter, you can create a knitted toy that closely resembles the real animal. Take your time, follow the instructions, and make any necessary adjustments to achieve the desired shape.
Attaching the Arms and Legs
Once you have completed knitting the body of the sea otter, it’s time to attach the arms and legs. This step is crucial in bringing your sea otter to life and adding the finishing touches to your knitted creation.
Begin by positioning the arms and legs in their desired locations on the body. You can use pins or stitch markers to hold them in place before attaching them. It’s important to make sure the arms and legs are evenly spaced and properly aligned.
Next, take a yarn needle and thread it with the same yarn you used to knit the sea otter. Starting from the inside of the body, carefully sew through both the body and the arm/leg, taking care to secure the stitches tightly. Repeat this process for each arm and leg, making sure they are securely attached to the body.
After you have attached all the arms and legs, give them a gentle tug to ensure they are securely fastened. Trim any excess yarn and weave in the ends to tidy up the appearance of your sea otter.
Congratulations! You have successfully attached the arms and legs to your knitted sea otter. Now you can move on to adding the final details, such as the face and any optional accessories, to complete your adorable sea otter knitting project.
Finishing Touches for the Sea Otter Knitting Pattern
Once you have completed knitting your sea otter using the provided pattern, it’s time to add the finishing touches to bring your creation to life. These final steps will help create the authentic look and feel of a real sea otter.
Embroidering Facial Features
To add the adorable facial features to your sea otter, you can use a simple embroidery technique. Use black yarn to carefully embroider the eyes, nose, and mouth onto the knitted face. You can choose to sew on a small button or bead for the eyes if desired. Take your time and pay attention to the details to capture the playful expression of a sea otter.
Attaching Arms and Legs
Now it’s time to attach the knitted arms and legs to your sea otter body. Carefully sew each limb onto the appropriate spot, making sure they are securely attached. You can use the leftover yarn from your knitting project or a matching thread to ensure a neat finish. Position the limbs in a relaxed and natural-looking pose to give your sea otter a lifelike appearance.
Creating a Textured Fur
To achieve a realistic fur texture for your sea otter, consider using a technique called surface slip stitch. This method involves using a different color yarn to create rows of slip stitches over the knitted body. Experiment with different yarn shades to mimic the natural patterns and colors found on a sea otter’s fur. This technique adds depth and dimension to your knitted creation.
Final Grooming
Once all the finishing touches are complete, give your sea otter a final grooming session to fluff up its fur. Use a soft brush or your fingers to gently tease out the knitted fibers and create a full and fluffy appearance. Pay attention to any areas that may need additional grooming, such as the face or paws. This step will help your sea otter look its best and ready to be displayed or gifted to a loved one.
With these finishing touches, your sea otter knitting project will be complete, and you’ll have a charming and lifelike sea otter to enjoy. Get creative and have fun personalizing your otter with unique details that make it truly one-of-a-kind.
Tips and Tricks for the Sea Otter Knitting Pattern
Knitting a sea otter can be a fun and rewarding project for those who love marine animals. Whether you are an experienced knitter or just starting out, here are some tips and tricks to help you with the sea otter knitting pattern:
1. Use the right materials
When knitting the sea otter, it’s important to use the right materials to ensure the best results. Opt for a soft and smooth yarn that will give your otter a plush and realistic appearance. Choose colors that resemble the natural fur of sea otters, such as shades of brown or gray.
2. Pay attention to gauge
Before diving into the pattern, make sure to check your gauge. This is especially important when knitting toys, as it ensures that the finished project will be the correct size. Use the recommended needle size and yarn weight specified in the pattern, and knit a gauge swatch to ensure that you are knitting to the correct tension.
3. Master the required stitches
The sea otter knitting pattern may require you to have some basic knitting skills, such as knitting, purling, increasing, and decreasing. If you are new to knitting, it may be helpful to practice these stitches on a small swatch before starting the pattern. This will help you become more confident and comfortable with the required techniques.
4. Follow the pattern instructions closely
When knitting the sea otter, it is important to carefully follow the pattern instructions. Read through the entire pattern before starting and familiarize yourself with the various sections and techniques involved. Take your time and ensure that you understand each step before moving on to the next.
5. Add your own personal touch
While the pattern provides guidance, don’t be afraid to add your own personal touch to the sea otter. You can customize the facial features, such as the eyes and nose, to give your otter a unique expression. Additionally, you can experiment with different yarn colors or even incorporate other stitches or patterns to make your sea otter truly one-of-a-kind.
With these tips and tricks in mind, you can confidently embark on your sea otter knitting project. Enjoy the process and have fun creating your very own adorable sea otter!
Frequently Asked Questions about the Sea Otter Knitting Pattern
If you are interested in knitting a sea otter using a knitting pattern, you may have some questions. Here are some frequently asked questions about the sea otter knitting pattern:
1. Where can I find a sea otter knitting pattern?
You can find sea otter knitting patterns online on various knitting websites and platforms. There are also books and magazines that feature sea otter knitting patterns. Additionally, many knitting communities and forums have members who are willing to share their sea otter knitting patterns.
2. What materials do I need to knit a sea otter?
To knit a sea otter, you will need yarn in the colors of your choice, knitting needles (usually size 4 or 5), a yarn needle for sewing the pieces together, stuffing material, and safety eyes or buttons for the eyes. Some patterns may also require additional materials such as embroidery floss or felt for detailing.
3. How difficult is it to knit a sea otter?
The difficulty level of knitting a sea otter can vary depending on the pattern and your knitting skills. Some patterns may be more suitable for experienced knitters, while others may be beginner-friendly. It is important to choose a pattern that matches your skill level and to take your time following the instructions.
4. How long does it take to knit a sea otter?
The time it takes to knit a sea otter can vary depending on your knitting speed, the complexity of the pattern, and the amount of time you have available to devote to knitting. On average, it may take several days to a week to complete a sea otter knitting project.
5. Can I customize the sea otter knitting pattern?
Yes, you can definitely customize the sea otter knitting pattern to make it your own. You can experiment with different yarn colors, add accessories like scarves or hats, or modify the pattern to change the size or shape of the sea otter. Knitting is a creative craft, and you have the freedom to tailor the pattern to your preferences.
By addressing these frequently asked questions, you should have a better understanding of how to find a sea otter knitting pattern, what materials are needed, the difficulty level, the time commitment, and the potential for customization. With this knowledge, you can confidently embark on your sea otter knitting project!
Variations of the Sea Otter Knitting Pattern
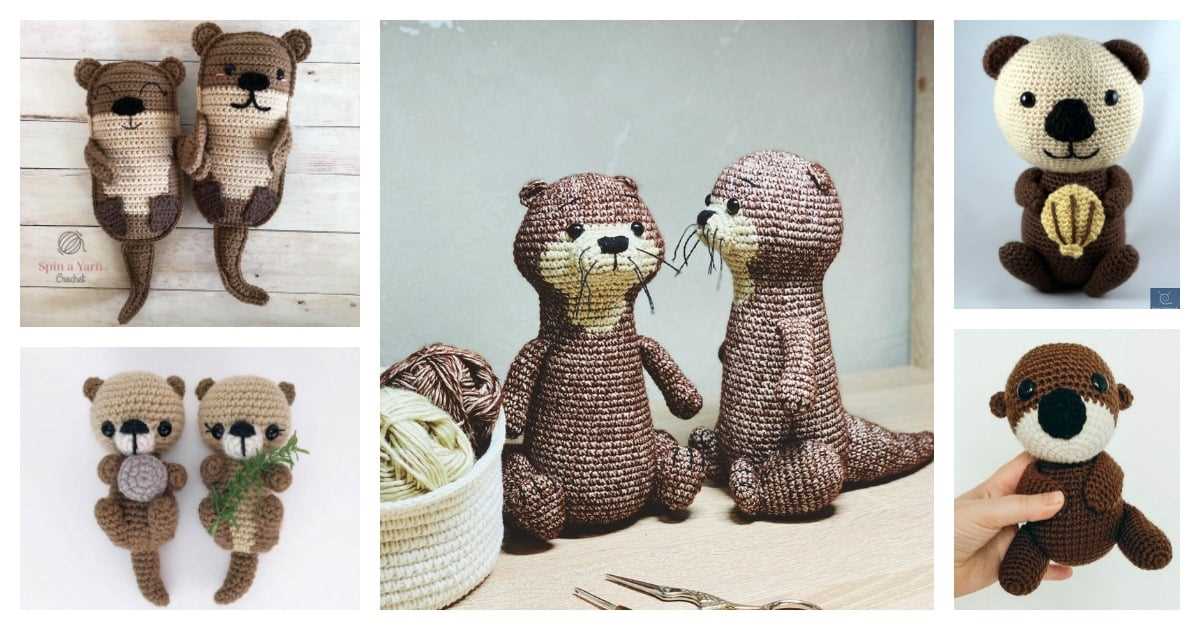
The sea otter knitting pattern can be easily customized to create a variety of different designs and styles. Here are some variations you can try:
- Color variations: Instead of using the traditional brown color for the sea otter, you can experiment with different shades such as grey, black, or even vibrant colors like pink or blue. This allows you to create unique and eye-catching sea otter knitted toys.
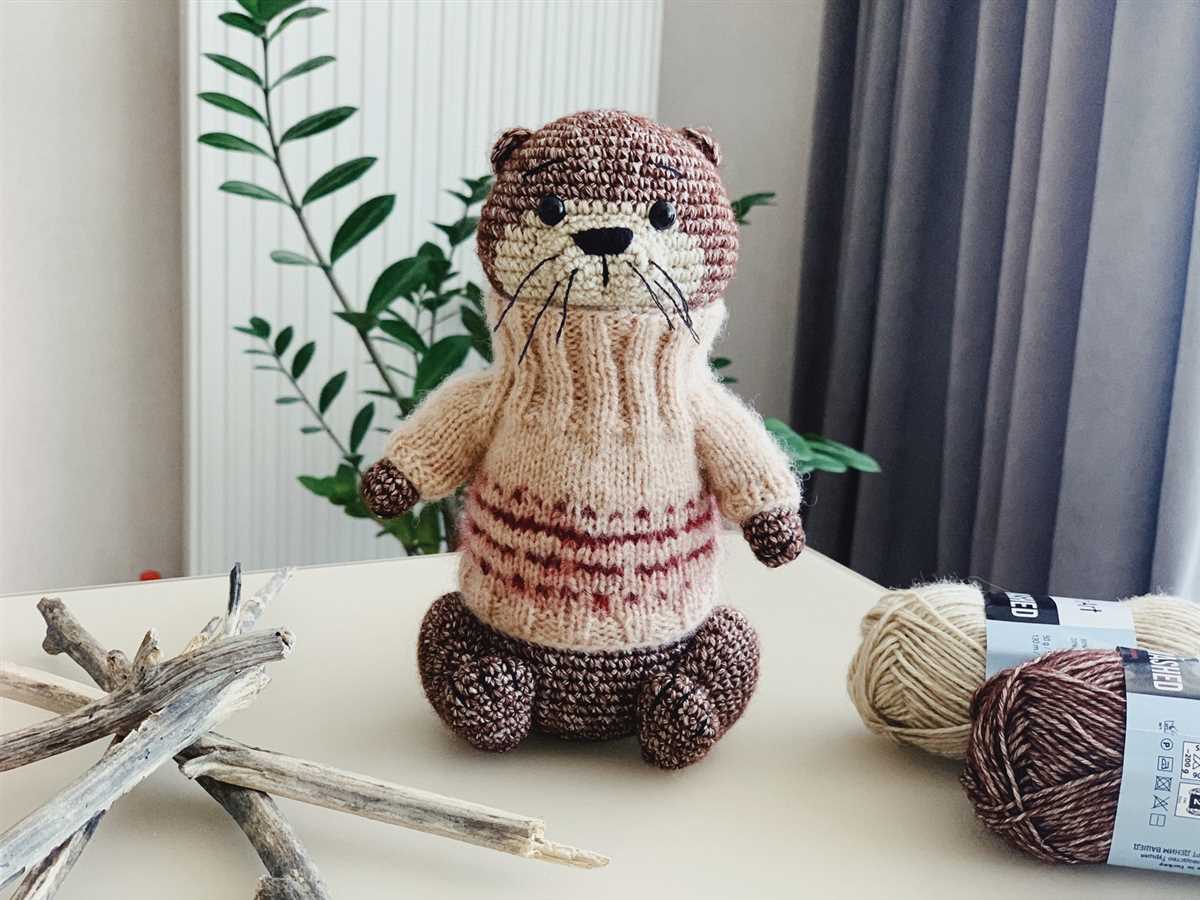
- Pattern stitch variations: While the garter stitch is commonly used for the body of the sea otter, you can try different stitch patterns for added texture and visual interest. Consider using ribbing, seed stitch, or even lace patterns to create a different look.
- Size variations: The sea otter knitting pattern can be easily adjusted to make larger or smaller sea otter toys. Simply change the size of the needles and the weight of the yarn to achieve the desired size. You can create mini sea otters as keychain accessories or oversized sea otters as cuddly companions.
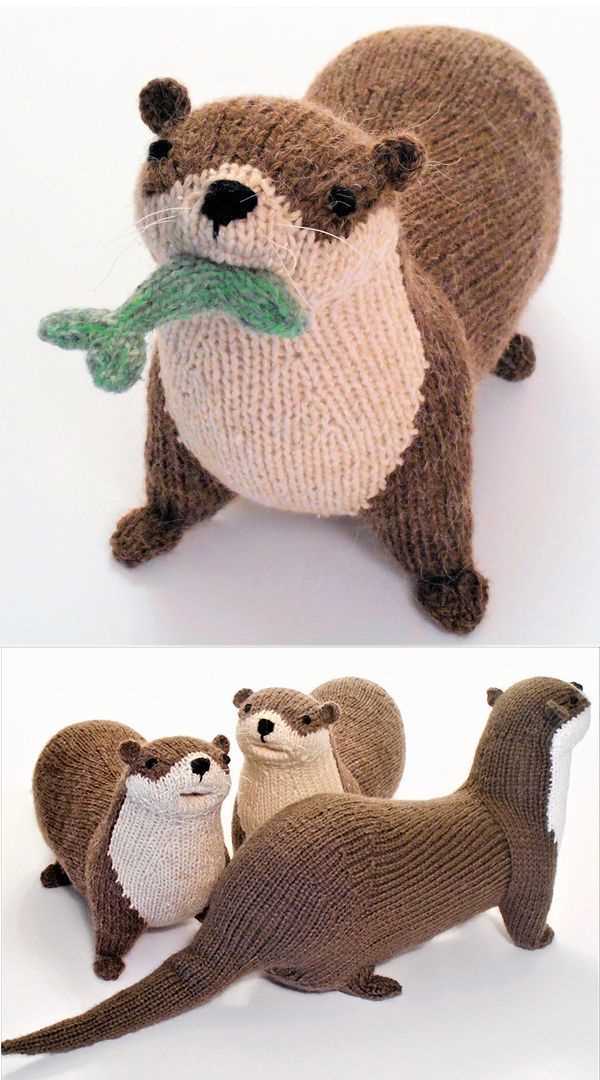
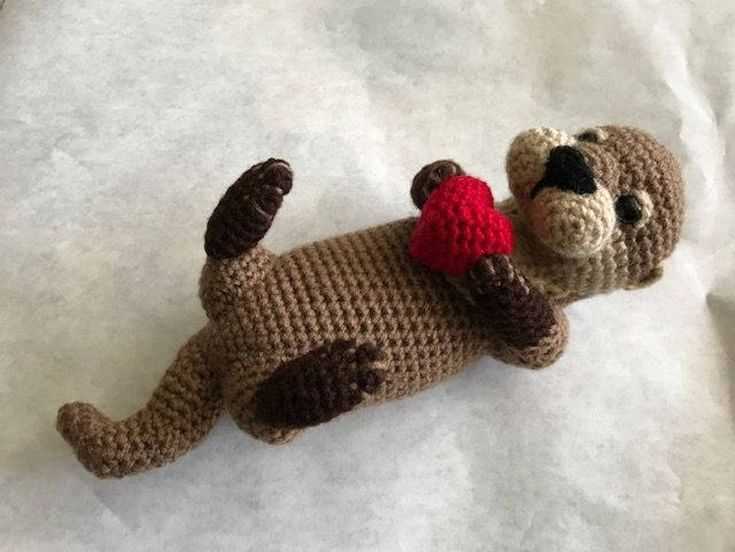
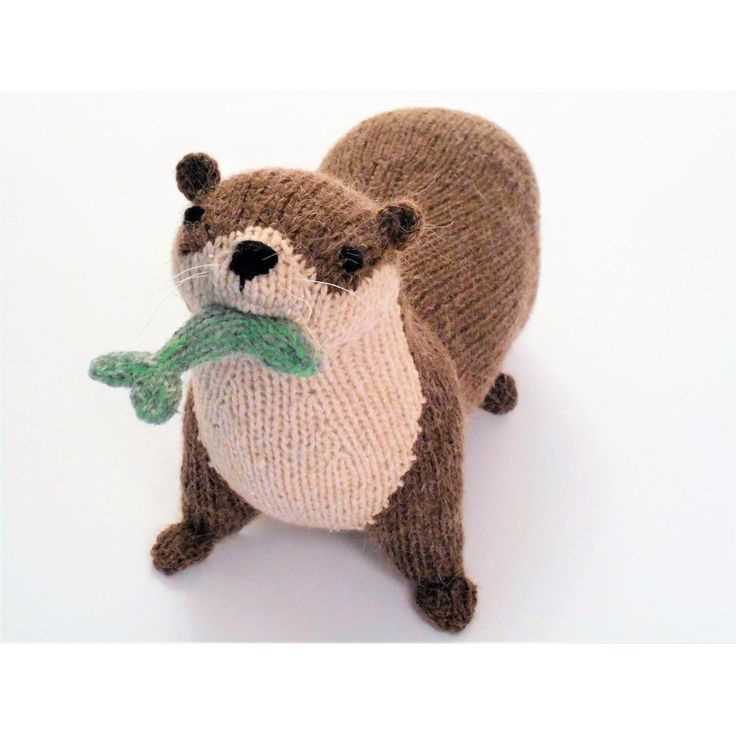
- Accessories: Add a touch of personality to your sea otter by including accessories such as a tiny knitted scarf, a cute hat, or even a little knitted fish or shell. These small details can make your sea otter toy even more adorable and unique.
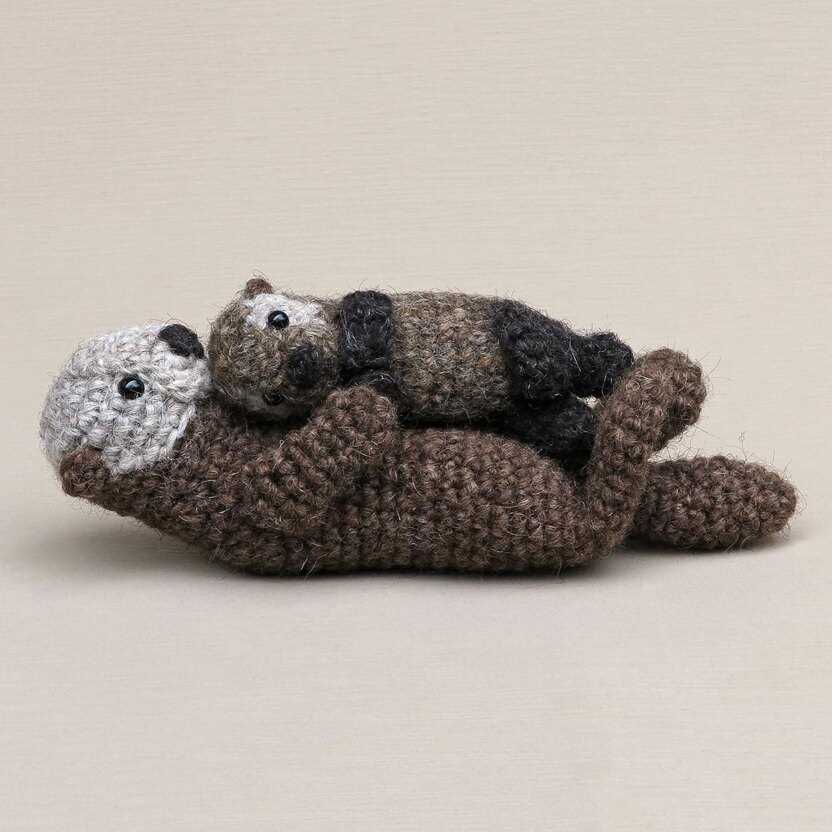
With these variations, you can create a whole family of sea otters, each with its own distinct personality and style. Let your creativity soar and have fun experimenting with different colors, stitches, sizes, and accessories to make your sea otter knitting pattern truly one-of-a-kind!