
A scrunchie is a perfect accessory to add a touch of style and personality to any outfit. Not only does it hold your hair in place comfortably, but it can also be a fun and easy knitting project. With just a few basic stitches and a little bit of yarn, you can create beautiful scrunchies in various colors and patterns.
To make your own scrunchie, you’ll need a few supplies, including knitting needles, a crochet hook, and some elastic. The knitting pattern itself is quite simple and is suitable for knitters of all skill levels. Whether you’re a beginner or an experienced knitter, this pattern is a great way to practice your skills and create something unique.
The basic pattern consists of casting on a certain number of stitches, knitting in the round, and adding the elastic to create the scrunching effect. You can customize your scrunchie by using different yarns, colors, and stitch patterns. Whether you prefer a plain and simple scrunchie or one with intricate lace or cable patterns, the options are endless.
What is a Scrunchie?
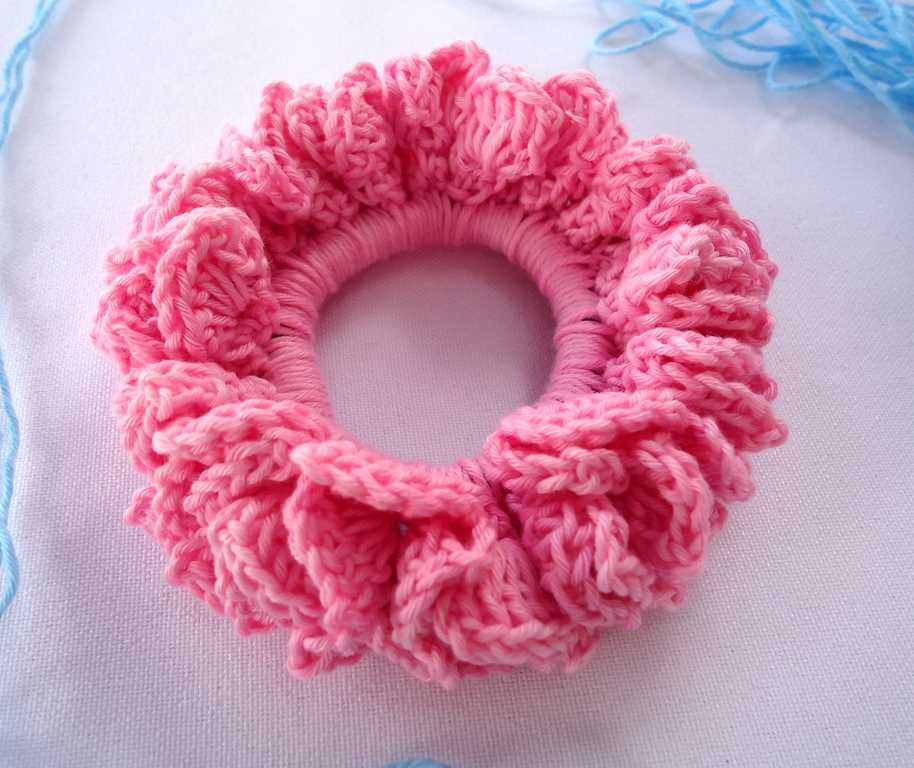
A scrunchie is a hair accessory that is used to tie up or secure hair. It is made of fabric and usually has an elastic band inside that helps to hold the hair in place. The fabric is often gathered or scrunched up, hence the name “scrunchie”. Scrunchies were especially popular in the 1980s and 1990s, but they have made a comeback in recent years and are now considered a fashionable accessory.
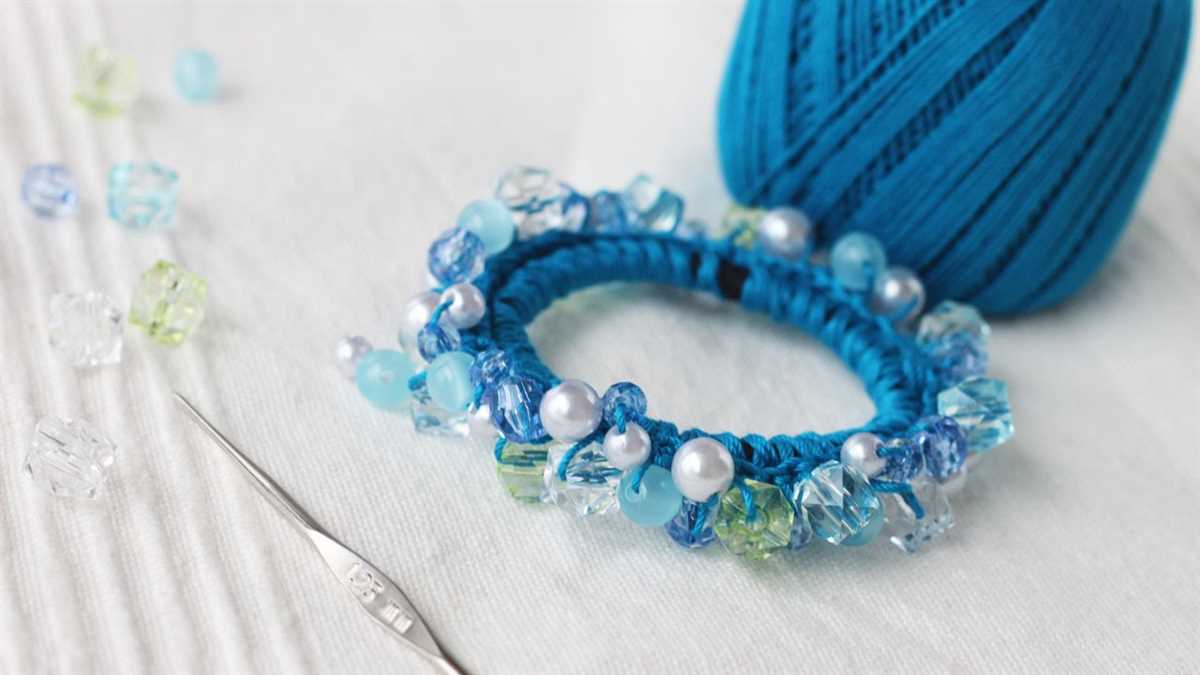
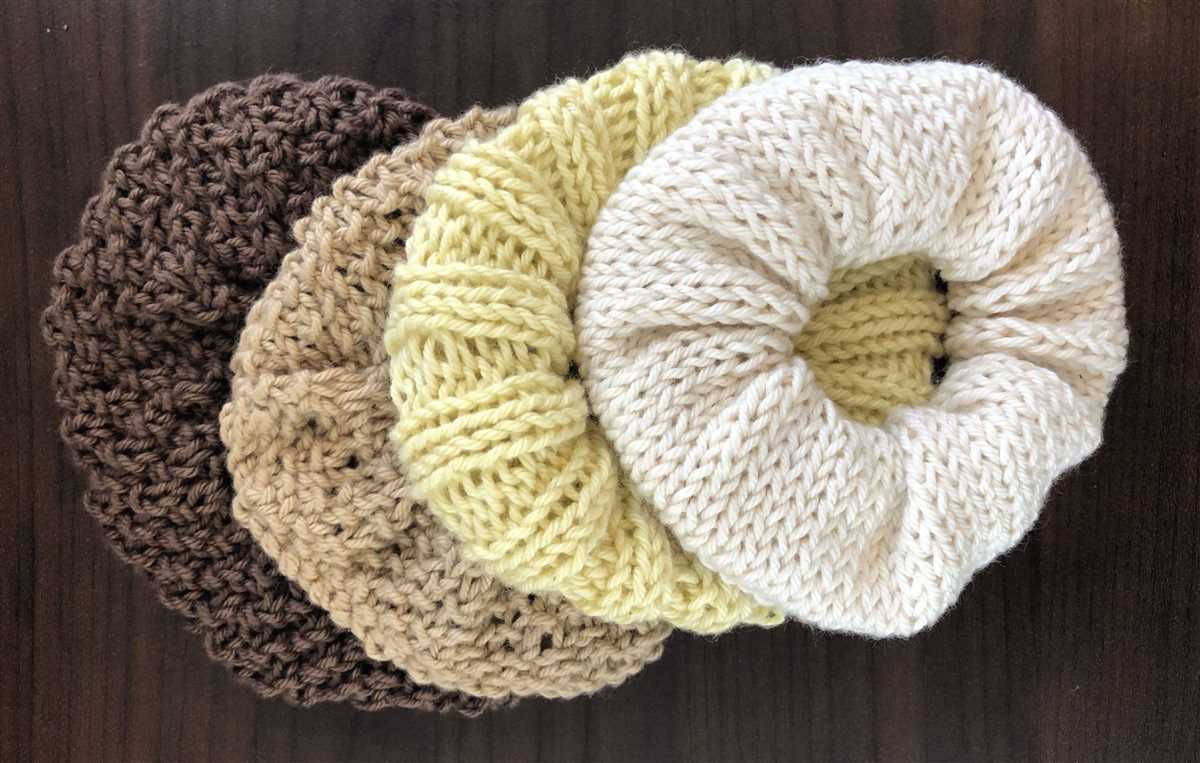
Scrunchies come in various sizes, colors, and designs, allowing individuals to express their personal style. They can be made from different types of fabric, such as cotton, satin, velvet, or silk. Some scrunchies are plain and simple, while others may have patterns, prints, or embellishments like bows or beads. There are also scrunchies specifically designed for sports or exercise, which are made from moisture-wicking material to prevent sweat from absorbing into the fabric.
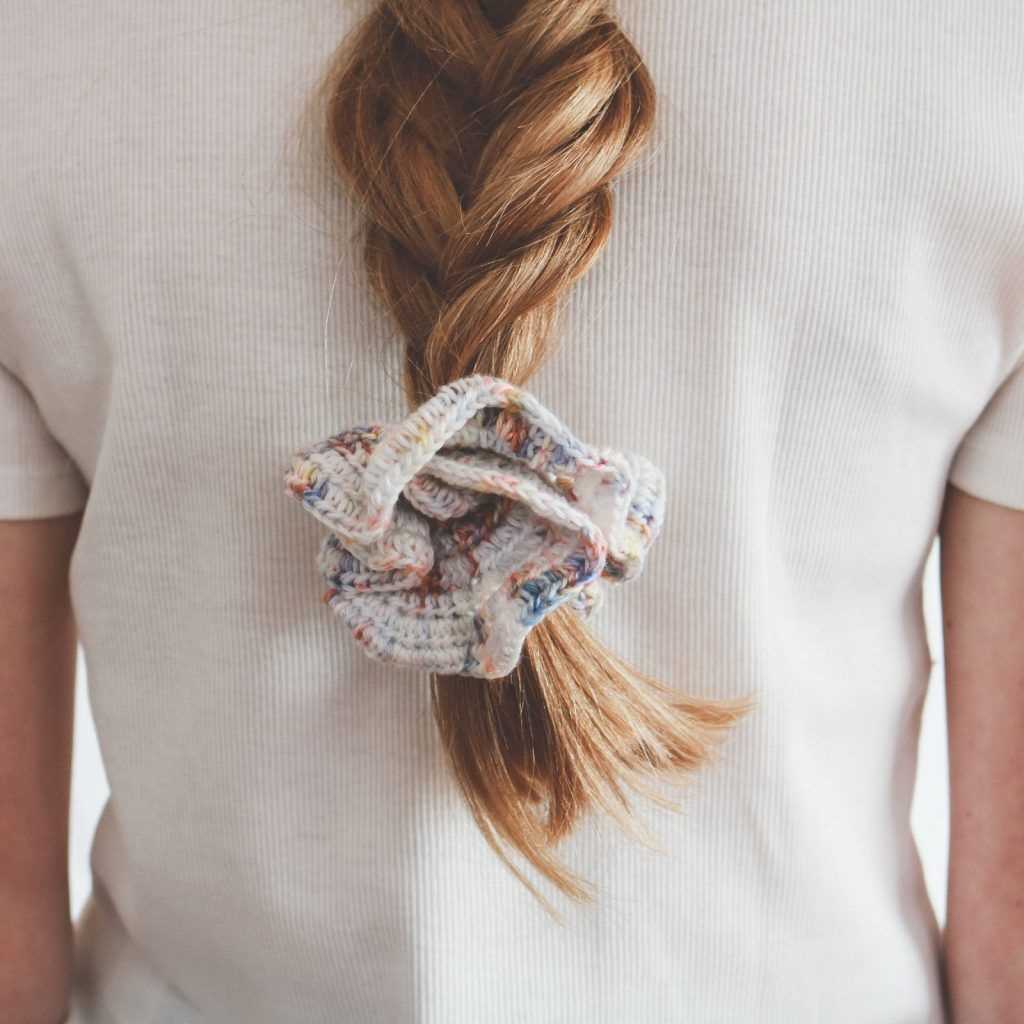
Scrunchies are versatile and can be worn in a variety of hairstyles. They can be used to create ponytails, messy buns, half-up hairstyles, or to simply hold back the hair. Scrunchies are often favored over regular hair ties because they are gentler on the hair and reduce the risk of breakage. The fabric of the scrunchie provides a cushion between the hair and the elastic, preventing it from pulling or snagging the hair.
The History of Scrunchies
The scrunchie, also known as a hair scrunchie or hair bobble, is a popular hair accessory that gained popularity in the 1980s and 1990s. These fabric-covered elastic bands are often worn to hold and decorate hair. The history of scrunchies dates back to the late 18th century, where women used ribbons or strips of fabric to tie and secure their hair.
However, it wasn’t until the early 1980s when the scrunchie as we know it today was invented. The creator of the scrunchie, Rommy Revson, was working as a freelance hairstylist in New York City when she came up with the idea. She wanted a hair tie that was soft, gentle on the hair, and easily removable. With the help of her husband, she designed a fabric-covered elastic band that became the original scrunchie.
Revson patented the scrunchie design in 1986 and went on to found the company “Scunci” to produce and market the scrunchie. The scrunchie quickly became a fashion trend, with its popularity peaking in the 1990s. Celebrities like Madonna and Janet Jackson were often seen wearing scrunchies, and they became a staple accessory in many girls’ and women’s wardrobes.
However, as fashion trends evolved, the popularity of the scrunchie declined. In the early 2000s, it was considered outdated and unfashionable. But in recent years, the scrunchie has made a comeback. It is now considered a retro fashion item and has gained popularity among younger generations who are embracing 90s fashion trends. Today, scrunchies are available in a wide variety of colors, patterns, and materials, making them a versatile and stylish accessory for any hair type or style.
Benefits of Knitting Scrunchies
Knitting scrunchies can be a fun and rewarding activity that offers several benefits. Not only does it provide a creative outlet, but it also allows you to make personalized accessories for yourself or as thoughtful gifts for friends and family.
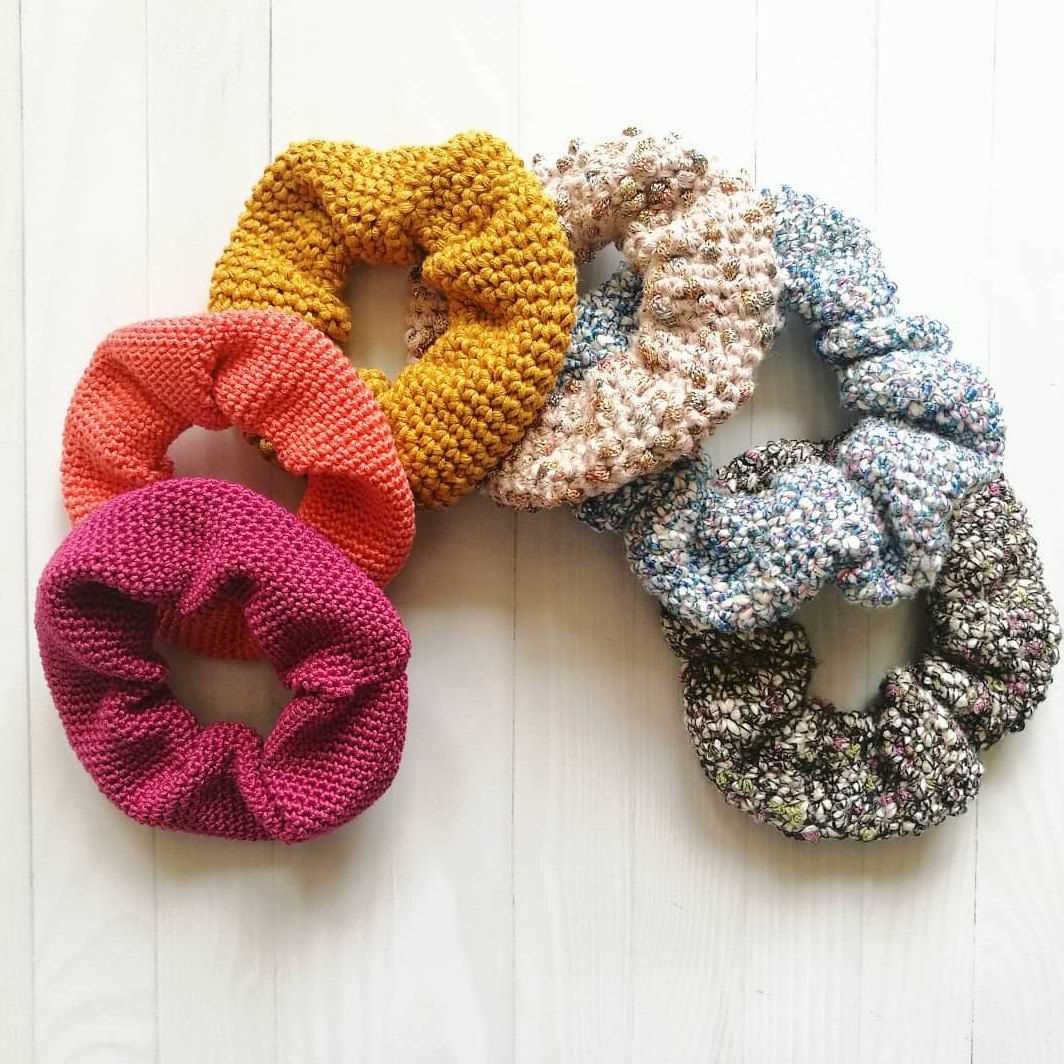
One of the main advantages of knitting scrunchies is the ability to customize them according to your preferences. You can choose from a wide variety of yarn colors and textures, allowing you to create unique and one-of-a-kind scrunchies that match your outfits or reflect your personal style. Additionally, you can experiment with different knitting patterns to achieve different looks and effects, adding even more versatility to your scrunchie collection.
Knitting scrunchies can also be a relaxing and therapeutic activity. The repetitive motions of knitting can help to reduce stress and anxiety, providing a sense of calm and focus. It can serve as a mindful practice, allowing you to immerse yourself in the present moment and engage in a soothing and meditative process. Furthermore, knitting can help improve your manual dexterity and hand-eye coordination, promoting brain health and cognitive function.
In addition to the creative and therapeutic benefits, knitting scrunchies can also be a sustainable choice. By making your own scrunchies, you can reduce waste and minimize your environmental impact. Instead of purchasing mass-produced accessories, you can upcycle leftover yarn or repurpose old clothing to create eco-friendly scrunchies. This allows you to contribute to a more sustainable fashion industry and make a positive difference for the planet.
In conclusion, knitting scrunchies offers numerous benefits, from the creative freedom and customization it provides to the therapeutic and sustainable aspects. Whether you are an experienced knitter or a beginner looking to start a new hobby, knitting scrunchies is an enjoyable and worthwhile activity that allows you to create beautiful and practical accessories while enjoying the many advantages it offers.
Choosing the Right Yarn for Your Scrunchie
When making a scrunchie, one of the most important decisions you’ll need to make is choosing the right yarn. The yarn you select will determine the look, feel, and durability of your scrunchie, so it’s essential to choose wisely.
1. Consider the weight and thickness. The weight and thickness of the yarn will determine how bulky or delicate your scrunchie will be. If you want a chunky and thick scrunchie, opt for a heavier weight yarn, such as a bulky or super bulky yarn. On the other hand, if you prefer a more lightweight and delicate scrunchie, choose a finer weight yarn, such as fingering or sport weight.
2. Look for stretch. Since scrunchies are meant to stretch and hold your hair in place, it’s essential to choose a yarn with good stretch and recovery. Look for yarns that contain elastane or spandex, as these fibers will give your scrunchie the necessary elasticity it needs to hold its shape and stay in your hair.
3. Consider the fiber content. Different fibers have different qualities, so consider what you want your scrunchie to feel like. If you want a soft and cozy scrunchie, opt for yarns made from natural fibers like cotton, bamboo, or wool. If you prefer something more lightweight and breathable, choose a yarn made from a synthetic fiber like acrylic or nylon.
4. Think about the color and pattern. The yarn you choose will determine the color and pattern of your scrunchie, so consider what you want the final product to look like. Solid-colored yarns can create a classic and versatile scrunchie, while variegated or self-striping yarns can add a fun and playful touch. Consider your personal style and the occasion for which you’ll be wearing the scrunchie.
By considering these factors, you can choose the perfect yarn for your scrunchie and create a beautiful and functional accessory for your hair. Whether you prefer a chunky and cozy scrunchie or a lightweight and delicate one, there’s a yarn out there that will suit your needs and preferences.
Essential Knitting Tools for Making Scrunchies
Creating your own scrunchies can be a fun and rewarding knitting project. To ensure that your scrunchies turn out perfectly, it’s important to have the right tools on hand. Here are some essential knitting tools for making scrunchies:
1. Knitting Needles
First and foremost, you will need a pair of knitting needles. The size of the needles will depend on your knitting pattern and the desired thickness of your scrunchie. Circular needles are often a popular choice for knitting scrunchies, as they allow for easy knitting in the round. Make sure to choose needles that are comfortable for you to work with and that suit the yarn you are using.
2. Yarn
Yarn is another essential component for making scrunchies. Choose a yarn that is lightweight, durable, and soft, as these qualities will ensure that your scrunchie is comfortable to wear. There are many different yarn options available, so select one that matches your desired color and texture. Experimenting with different types of yarn can also add variety to your scrunchie collection.
3. Stitch Markers
Stitch markers are incredibly useful tools when knitting scrunchies. They can be used to mark specific stitches or sections of your pattern, making it easier to keep track of your progress. Stitch markers come in various shapes and sizes, including ring markers and locking markers. Having a set of stitch markers on hand will help you stay organized and prevent mistakes in your knitting.
4. Tapestry Needle
A tapestry needle is an essential tool for weaving in yarn ends and completing finishing touches on your scrunchies. After you have finished knitting, you will use the tapestry needle to seamlessly sew any loose ends of yarn into the fabric of your scrunchie. It’s important to choose a tapestry needle with a large enough eye to easily thread the yarn through.
5. Scissors
No knitting project is complete without a good pair of scissors. Scissors are needed for cutting the yarn, trimming any excess fabric, and tidying up your finished scrunchies. It’s important to have a sharp pair of scissors that can easily cut through the yarn without fraying or damaging it.
With these essential knitting tools, you will be well-equipped to start making your own scrunchies. Remember to always follow a pattern, take your time, and have fun with your knitting project!
Easy Scrunchie Knitting Patterns for Beginners
If you’re a beginner knitter looking for a fun and easy project, knitting a scrunchie is a perfect choice! Scrunchies are popular hair accessories that can be easily customized to match any outfit or style. With just a few basic knitting stitches, you can create your own collection of stylish scrunchies.
To get started, you’ll need some yarn in your desired color or colors, knitting needles (size 6-8 is recommended), and a hair elastic. You can choose to use a single color or get creative by using multiple colors or different types of yarn. The choice is yours!
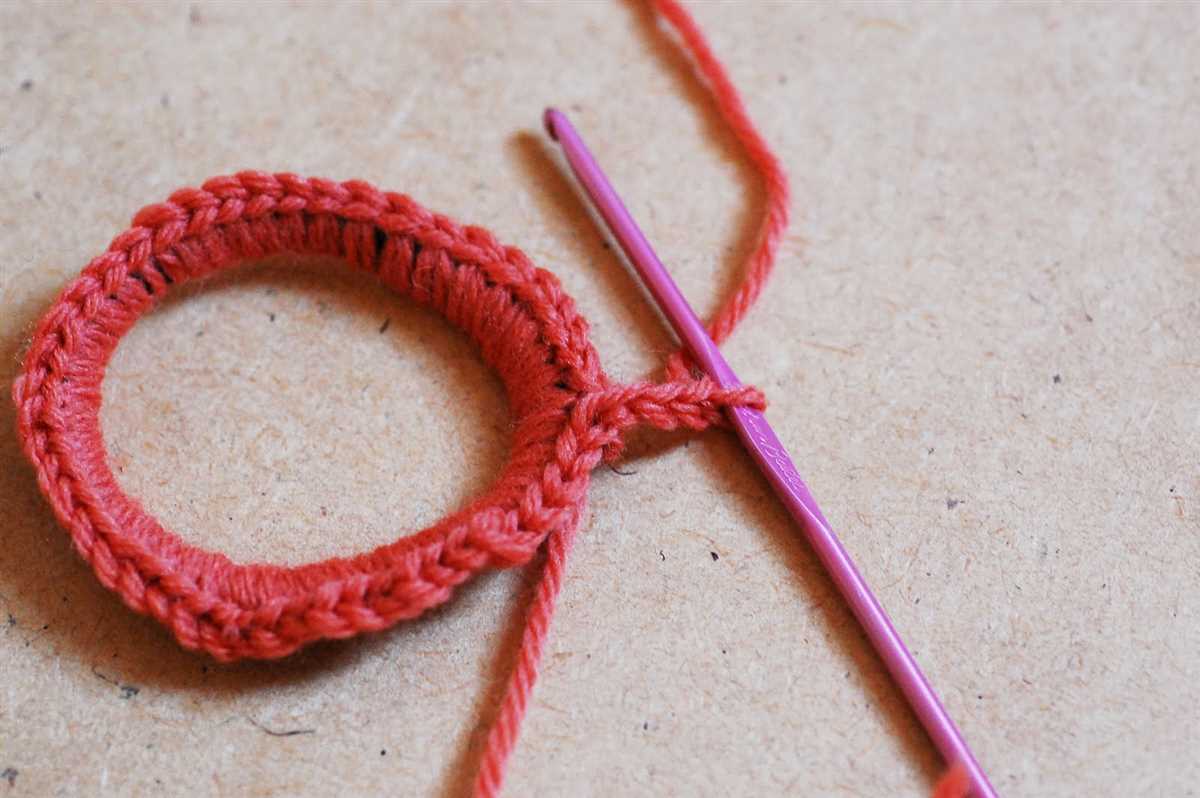
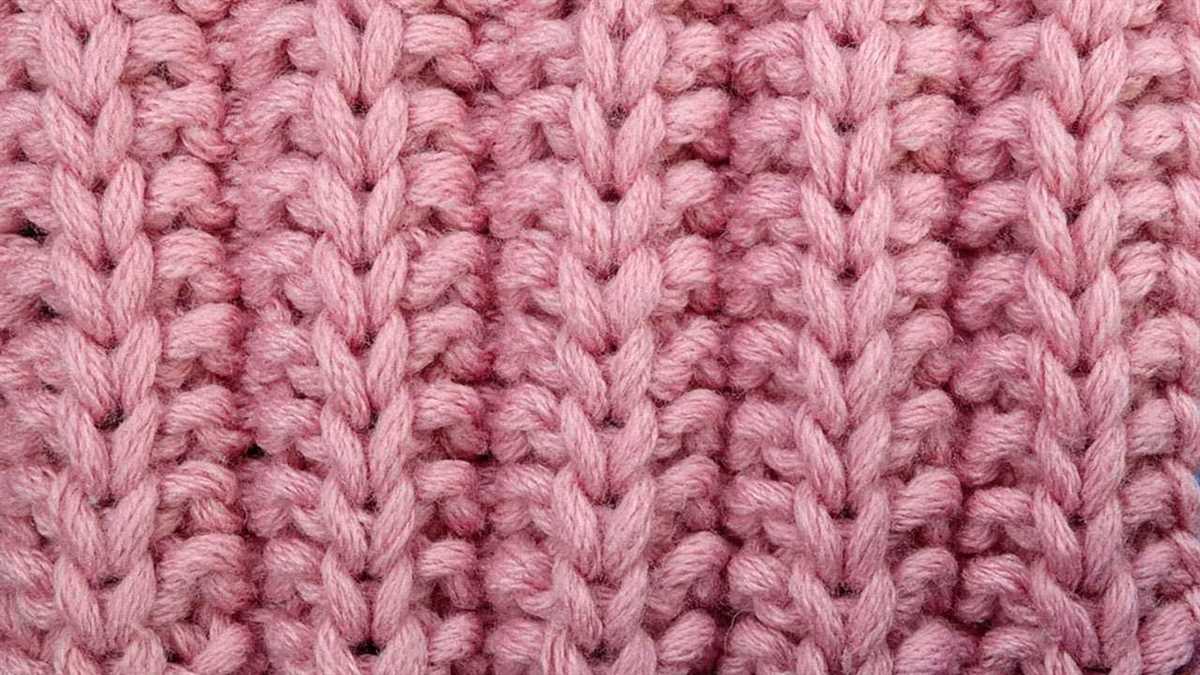
One simple scrunchie knitting pattern for beginners involves casting on a certain number of stitches (typically around 50-60) and knitting in a rib stitch pattern for a few inches. The rib stitch creates a stretchy and textured fabric, perfect for holding your hair in place. After you’ve knit the desired length, you’ll cast off and then sew the ends of the fabric together to form a loop. Finally, you’ll insert a hair elastic inside the loop and sew the opening closed. And voila, your first scrunchie is complete!
If you’re feeling more adventurous, you can try knitting a scrunchie with a different stitch pattern, such as seed stitch or garter stitch, to create a unique texture. You can also experiment with different yarn weights and types to achieve different looks and textures. Don’t be afraid to get creative and make each scrunchie your own!
- Choose a yarn color or colors
- Select suitable knitting needles
- Cast on the desired number of stitches
- Knit in a rib stitch pattern for a few inches
- Cast off and sew the ends together to form a loop
- Insert a hair elastic and sew the opening closed
With these easy-to-follow knitting patterns, you’ll be able to make a variety of scrunchies to match your outfits or give as gifts to friends and family. Not only are scrunchies trendy and practical, but they also offer a great way to practice and improve your knitting skills. So grab your knitting needles and start making your own fabulous scrunchies!
Pattern 1: Basic Garter Stitch Scrunchie
The garter stitch is one of the simplest and most popular knitting patterns, making it a perfect choice for creating a basic scrunchie. This pattern is ideal for beginners who are just starting to learn how to knit.
Materials:
- 1 skein of yarn (worsted weight)
- Size 8 knitting needles
- Elastic hair tie
- Tapestry needle
Instructions:
- Cast on 40 stitches using the long-tail cast-on method.
- Knit every row (garter stitch) until the piece measures approximately 12 inches in length.
- Bind off all stitches.
- Sew the ends of the knitted piece together using the tapestry needle.
- Insert the elastic hair tie through the knitted tube.
- Sew the ends of the hair tie together using the tapestry needle to secure it in place.
And voila! Your basic garter stitch scrunchie is now complete. Feel free to experiment with different yarn colors and textures to create unique scrunchies that match your style and outfits. This simple pattern is the perfect way to start your scrunchie knitting journey and create beautiful accessories for yourself or as gifts for friends and family.
Pattern 2: Ribbed Scrunchie with a Twist
A ribbed scrunchie can add a touch of elegance to any hairstyle, and with a twist, it becomes even more unique. This pattern provides instructions on how to create a ribbed scrunchie with a twist using basic knitting techniques.
Materials:
- Medium-weight yarn
- Knitting needles (size US 7 or as desired)
- Elastic hair tie
- Scissors
- Yarn needle
Instructions:
- Cast on 20 stitches using the long-tail cast-on method.
- Knit 1 row.
- Purl 1 row.
- Repeat steps 2 and 3 until the work measures approximately 3 inches in length.
- Twist the knitted fabric once, creating a twist in the ribbing.
- Bring the ends of the fabric together and seam them using the mattress stitch or any other preferred method.
- Turn the knitted fabric inside out.
- Thread the elastic hair tie through the fabric tube, making sure it is evenly distributed.
- Overlap the ends of the elastic hair tie and sew them together securely.
- Weave in any loose ends and trim excess yarn.
This ribbed scrunchie with a twist is versatile and can be customized to match any outfit or style. Experiment with different yarn colors and textures to create unique and personalized scrunchies.
Intermediate Scrunchie Knitting Patterns for Advanced Knitters
For advanced knitters looking to take on a new challenge, these intermediate scrunchie patterns are the perfect project to test your skills and create stylish accessories. These patterns go beyond the basic knit and purl stitches, incorporating more intricate techniques and stitches to create beautiful and unique scrunchies.
1. Cable Knit Scrunchie: This pattern combines the classic look of cables with the practicality of a scrunchie. With its twisted stitches and intricate design, this scrunchie will add a touch of elegance to any hairstyle. The pattern includes instructions for both a smaller and larger scrunchie, allowing you to customize the size to your liking.
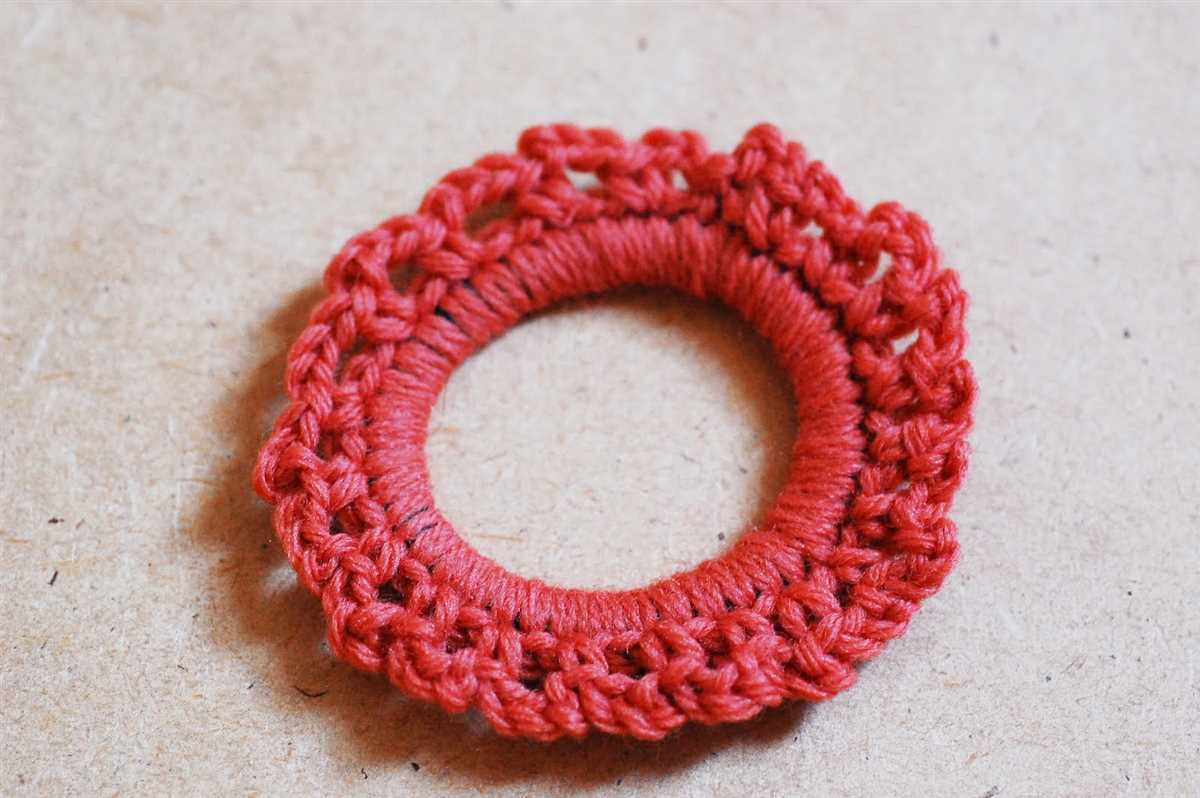
2. Lace Trim Scrunchie: If you’re looking for a more delicate and feminine design, this lace trim scrunchie pattern is for you. The main body of the scrunchie features a simple ribbed stitch, while the lace trim adds an elegant touch. This pattern is a great opportunity to practice lace knitting and create a dainty accessory.
These intermediate scrunchie patterns are designed for knitters who are comfortable with various techniques, such as cables and lace. They are perfect for expanding your knitting skills and creating unique and stylish accessories. With these patterns, you can add a personal touch to your scrunchie collection and showcase your advanced knitting abilities.
- Note: These patterns assume knowledge of basic knitting techniques, such as casting on, knitting, purling, and binding off. If you’re new to knitting, it’s recommended to start with beginner-friendly patterns before attempting these intermediate designs.
Pattern 3: Cable Knit Scrunchie
Take your scrunchie game to the next level with this cable knit pattern! The textured cables create a beautiful and intricate design that will make your scrunchies stand out. This pattern is perfect for knitters who are looking for a challenge and want to add a touch of elegance to their accessories.
To start, you will need:
- Worsted weight yarn
- Knitting needles in size US 7 or as preferred for gauge
- Cable needle
- Elastic hair tie
- Tapestry needle
- Scissors
Before you begin, make sure to check your gauge and adjust your needle size if necessary. The cable knit scrunchie is worked in the round, so you will need to be comfortable with knitting in the round using double-pointed needles or circular needles.
Now let’s get started with the pattern:
- Cast on 60 stitches using the long tail cast-on method.
- Join in the round, being careful not to twist the stitches.
- Work *k2, p2* ribbing for 1 inch.
- Begin the cable pattern:
- Round 1: *k2, p2*.
- Round 2: *p2, k2*.
- Round 3: *place next 2 stitches on cable needle and hold in front, knit next 2 stitches, knit 2 stitches from cable needle, p2, k2*.
- Round 4: *p2, k2*.
- Continue repeating rounds 1-4 of the cable pattern until the scrunchie measures approximately 6 inches in length.
- Switch back to *k2, p2* ribbing and work for another 1 inch.
- Bind off loosely in pattern.
- Using a tapestry needle, seam the two ends of the scrunchie together.
- Insert the elastic hair tie into the scrunchie, wrapping it around the stitches.
- Secure the elastic by stitching it in place with the tapestry needle.
- Weave in any loose ends and trim excess yarn.
And voila! You now have your very own cable knit scrunchie. This pattern allows for endless customization options by choosing different yarn colors or experimenting with different cable patterns. Have fun knitting and accessorizing with your new scrunchie!
Pattern 4: Lace Stitch Scrunchie
If you’re searching for a delicate and feminine scrunchie pattern, the Lace Stitch Scrunchie is perfect for you. This pattern incorporates a beautiful lace stitch design that adds an elegant touch to your hair accessory collection.
To create this scrunchie, you will need a fine-weight yarn and a pair of knitting needles. Start by casting on the desired number of stitches, usually around 40-50 stitches, depending on your preference and the thickness of your yarn.
Lace Stitch Pattern:
To achieve the lace stitch design, follow the steps below:
- Row 1: Knit 2 stitches together (K2tog), yarn over, repeat until the end of the row.
- Row 2: Purl all stitches.
- Row 3: Knit all stitches.
- Row 4: Purl all stitches.
- Repeat these 4 rows until the desired length is achieved.
Assembly:
Once you have knitted the desired length of the scrunchie, bind off your stitches and seam the ends together to create a tube. Next, insert an elastic band through the tube and sew the ends of the elastic band together securely. Lastly, weave in any loose ends of yarn to finish off your Lace Stitch Scrunchie.
With its delicate lace stitch pattern, this scrunchie is a stylish accessory that can add a touch of elegance to any hairstyle. Whether you’re knitting it for yourself or as a gift for a friend, the Lace Stitch Scrunchie is sure to be a hit.
Advanced Scrunchie Knitting Patterns for Expert Knitters
If you’re an experienced knitter looking for a new challenge, why not try your hand at advanced scrunchie knitting patterns? These patterns are perfect for those who are comfortable with basic knitting techniques and are ready to take their skills to the next level.
One advanced scrunchie knitting pattern you can try is the lace scrunchie. This pattern incorporates intricate lace stitches, creating a delicate and elegant design. You’ll need to be familiar with lace knitting techniques, such as yarn overs and decreases, to successfully complete this pattern. The end result is a stunning scrunchie that adds a touch of sophistication to any hairstyle.
Another advanced scrunchie knitting pattern to consider is the cable scrunchie. This pattern features intricate cable designs, which require a good understanding of cable knitting techniques. By incorporating cables into your scrunchie, you’ll create a texture that is both visually interesting and unique. This pattern is perfect for those who love the challenge of complex knitting stitches.
If you’re looking for something a little different, try experimenting with colorwork scrunchie patterns. These patterns incorporate different colors of yarn to create beautiful and intricate designs. Fair Isle and intarsia techniques are often used in colorwork knitting patterns, so it’s important to be comfortable with these techniques before attempting an advanced colorwork scrunchie pattern.
When attempting advanced scrunchie knitting patterns, it’s important to remember that practice makes perfect. Take your time and don’t be afraid to make mistakes – they’re all part of the learning process. With patience and perseverance, you’ll be able to create stunning scrunchies that showcase your advanced knitting skills.
Pattern 5: Fair Isle Scrunchie
For those who love a bit of color and pattern, the Fair Isle Scrunchie is the perfect choice. This traditional knitting technique is known for its intricate motifs and is commonly used in sweaters, hats, and gloves. Now you can incorporate this beautiful technique into your scrunchie collection.
To create the Fair Isle Scrunchie, you will need two colors of yarn, one for the main color and another for the contrasting color. This pattern uses the stranded knitting technique, where you carry both colors of yarn across the rows, creating a float on the wrong side of the work.
Materials:
- Main color yarn (DK weight)
- Contrasting color yarn (DK weight)
- Size US 4 (3.5mm) knitting needles
- Elastic hair band
- Tapestry needle
Instructions:
- Cast on 36 stitches using the main color yarn.
- Row 1: Knit.
- Row 2: Purl.
- Row 3: *Knit 5 stitches with the main color, knit 1 stitch with the contrasting color; repeat from * to the end of the row.
- Row 4: *Purl 1 stitch with the contrasting color, purl 5 stitches with the main color; repeat from * to the end of the row.
- Repeat rows 3 and 4 until the desired length is achieved. Make sure to carry the yarn not in use loosely across the back of the work to prevent puckering.
- Bind off all stitches.
- Sew the ends of the knitted strip together to form a loop.
- Thread the elastic hair band through the loop and sew the ends together securely.
- Weave in any loose ends.
Now you have a beautiful Fair Isle Scrunchie that will add a touch of color and pattern to your hairstyle. Experiment with different color combinations and create a unique scrunchie for every outfit.
Remember to have fun while knitting and enjoy the process of creating something beautiful with your own hands. Happy knitting!