
Knitting your own scarf is a wonderful way to add a personal touch to your winter wardrobe. With a plain scarf knitting pattern, you can create a versatile and timeless accessory that will keep you warm and stylish all season long. Whether you’re a beginner or an experienced knitter, this pattern is perfect for everyone.
The plain scarf knitting pattern is characterized by its simplicity and elegance. It is a straightforward pattern that requires only basic knitting stitches, making it ideal for beginners who are just starting out with knitting. The pattern consists of a simple knit stitch, which creates a neat and uniform texture. This makes it perfect for showcasing the beauty of the yarn you choose, whether it’s a rich, vibrant color or a soft, natural hue.
One of the great things about the plain scarf knitting pattern is its versatility. It can be easily customized to suit your preferences and style. You can choose to make the scarf wider or narrower, longer or shorter, depending on your personal taste. You can also experiment with different types of yarn and different knitting needle sizes to create different effects. The possibilities are endless, and you can let your creativity shine through as you knit your own unique scarf.
So, whether you’re a beginner knitter looking for a simple and satisfying project or an experienced knitter looking for a versatile and customizable pattern, the plain scarf knitting pattern is a great choice. It’s a timeless accessory that will keep you warm and stylish, and it’s a wonderful way to showcase your knitting skills. Grab your knitting needles and yarn, and start creating your own beautiful scarf today!
Plain Scarf Knitting Pattern: A Beginner’s Guide
Knitting is a wonderful hobby that allows you to create beautiful and practical items. If you’re a beginner looking to start your knitting journey, a plain scarf is a perfect first project. Not only is it simple to make, but it also provides an opportunity to practice basic knitting stitches and techniques.
To start knitting your plain scarf, you’ll need a few essential supplies. These include knitting needles, yarn, and a pair of scissors. Choose a pair of needles that are suitable for the thickness of your yarn, and make sure to select a soft and comfortable yarn that you’ll enjoy working with.
Once you have your supplies ready, it’s time to begin knitting. The first step is to cast on, which means creating the foundation row of stitches on your needle. You can use a simple slip knot to start, then follow a cast-on method such as the long-tail cast-on or the knit cast-on.
After casting on, you’ll move on to the main part of the knitting process – the knitting stitch. The basic knitting stitch involves inserting the right needle through the front of the first stitch on the left needle, wrapping the yarn around the right needle, and pulling it through the stitch. Repeat this process for each stitch on the left needle until you reach the end of the row.
As you continue knitting, you’ll create rows of stitches that will form the length of your scarf. Remember to keep your stitches even and consistent for a neat finished look. You can also try experimenting with different stitch patterns, such as ribbing or garter stitch, to add texture and interest to your scarf.
Finally, when your scarf has reached the desired length, it’s time to cast off. This process involves securing the stitches and removing them from the needle. There are various cast-off methods to choose from, such as the basic bind-off or the stretchy bind-off. Once you’ve cast off, weave in any loose ends of yarn to finish off your scarf.
With this beginner’s guide to knitting a plain scarf, you’ll have the skills and knowledge to create your very own cozy and stylish accessory. Enjoy the process of knitting and the satisfaction of completing your first project, and soon you’ll be ready to take on more advanced knitting patterns.
Selecting the Right Yarn and Needles
When it comes to knitting a plain scarf, selecting the right yarn and needles is crucial. The type of yarn you choose will determine the overall look and feel of the finished scarf, while the size of the needles will determine the gauge and drape of the fabric.
Yarn: There are many different types of yarn available, each with its own unique characteristics. When choosing yarn for a plain scarf, consider factors such as the fiber content, weight, and texture. Wool yarn is a popular choice as it is warm, soft, and comes in a variety of weights. Acrylic yarn is another option, as it is affordable and easy to care for. Look for yarn that is labeled as “worsted” or “DK” weight, as these are commonly used for scarves.
Needles: The size of the needles you use will determine the gauge of your knitting. If you want a tight knit fabric, choose smaller needles, while larger needles will produce a looser, drapier fabric. The recommended needle size for a plain scarf is typically between US 7 and US 9. However, this may vary depending on your yarn choice and desired gauge. It’s a good idea to knit a swatch before starting your scarf to ensure that you are happy with the fabric’s density and drape.
Overall, the yarn and needles you select for your plain scarf will greatly influence the outcome of your project. Take the time to choose the right yarn based on its fiber content, weight, and texture, and select the appropriate needle size to achieve the desired gauge and drape. With the right materials, you’ll be on your way to creating a beautiful and cozy scarf that you’ll love wearing or gifting to someone special.
Choosing the Right Stitch Pattern
When it comes to knitting a plain scarf, one of the most important decisions you’ll need to make is choosing the right stitch pattern. The stitch pattern you choose will not only determine the overall appearance of the scarf but also its warmth, texture, and drape. Therefore, it’s essential to consider your desired outcome and the characteristics of different stitch patterns before making a final decision.
There are several factors to consider when choosing a stitch pattern for your plain scarf. First and foremost, think about the level of difficulty you’re comfortable with. If you’re a beginner, you may want to start with a simple stitch pattern like garter stitch or stockinette stitch. These patterns are easy to learn and create a classic, smooth fabric. However, if you’re more experienced or looking for a challenge, you can opt for more intricate stitch patterns like cables or lace.
Another factor to consider is the texture and thickness of the yarn you’re using. Chunky or bulky yarns tend to work well with stitch patterns that have more pronounced textures, such as seed stitch or ribbing. On the other hand, if you’re working with a finer yarn, you may want to choose a stitch pattern that creates a more delicate and lightweight fabric, like lace or eyelet stitches.
It’s also important to think about the overall style of the scarf. Are you looking for a classic and timeless design? Or do you want something more modern and trendy? Different stitch patterns can help you achieve different looks. For a traditional and elegant scarf, consider using a simple ribbing or moss stitch. For a more contemporary look, you can experiment with geometric patterns or colorwork.
In conclusion, choosing the right stitch pattern for your plain scarf is crucial for achieving the desired outcome. Consider factors such as difficulty level, yarn thickness, and overall style to find the perfect stitch pattern that will make your scarf both visually appealing and functional.
When you’re ready to start knitting your plain scarf, the first step is to cast on stitches. Casting on is the process of getting the yarn onto your knitting needles and creating the foundation row of stitches. There are several methods for casting on, but one of the most common and simple methods is the long-tail cast on.
To begin the long-tail cast on, you’ll need to estimate how much yarn you’ll need for the cast on. This can be a bit tricky, but generally, you’ll need about three times the length of your finished scarf. Once you have your estimated length, you can create a slipknot to secure the yarn to your knitting needle. You’ll then hold the slipknot in your right hand and the tail of the yarn in your left hand, with the working yarn (attached to the ball of yarn) over your thumb and index finger.
Step 1: Make a slipknot
To make a slipknot, cross the tail over the working yarn to create a loop. Insert your right hand through the loop from below, grab the working yarn, and pull it through the loop. Pull the slipknot tight, but not too tight, leaving enough space for your needle to fit through.
Step 2: Position the yarn
Hold the slipknot in your right hand and the tail of the yarn in your left hand. With your left hand, bring the working yarn over your thumb and index finger, creating a “V” shape between your fingers.
Step 3: Insert the needle
Insert your knitting needle from left to right through the “V” shape of the yarn. The needle should go under your thumb and over your index finger.
Step 4: Loop the yarn
With your right hand, bring the needle up and around the working yarn, creating a loop. The loop should be on top of the knitting needle.
Step 5: Pull the loop through
Pull the loop through the “V” shape of the yarn, creating a new stitch on your knitting needle. Tighten the stitch slightly, but again, not too tight.
Continue steps 3-5 until you have cast on the desired number of stitches for your scarf. It may take a few tries to get the hang of the long-tail cast on, but with practice, it will become easier. Once you have cast on all your stitches, you’re ready to start knitting your plain scarf!
Knitting the First Few Rows
When starting a plain scarf knitting pattern, the first few rows are crucial in setting the foundation for the entire project. It is important to take your time and follow the instructions carefully to ensure that the stitches are consistent and the tension is even.
Step 1: Casting On
The first step in knitting the plain scarf is to cast on the required number of stitches. This can be done using the long-tail cast-on method or any other preferred casting method. Make sure to leave a long enough tail to weave in later.
Step 2: First Row
After casting on, begin the first row of the pattern. This is usually a row of knit stitches, but can vary depending on the specific pattern. Take care to work each stitch correctly, making sure to keep the tension even throughout.
Step 3: Second Row
After completing the first row, turn the work and begin the second row. Again, follow the pattern instructions for this row, which may be a combination of knit and purl stitches. Pay attention to the stitch count and any specific techniques required.
Step 4: Checking Tension
As you work the first few rows, it is important to periodically check your tension. This ensures that the scarf will have an even appearance and the stitches will not be too tight or too loose. Adjust your tension as needed to achieve the desired result.
Step 5: Continuing the Pattern
Once you have completed the first few rows, continue following the pattern instructions for the remaining rows. This may involve repeating a set of stitches or incorporating different stitch patterns to create texture.
Step 6: Finishing
As you near the end of the scarf, follow the pattern instructions for binding off and weaving in the ends. Take your time to carefully finish the scarf, ensuring that it is neat and tidy.
By taking your time and carefully working the first few rows of a plain scarf knitting pattern, you can set a strong foundation for the rest of the project. Remember to follow the pattern instructions, check your tension, and enjoy the process of creating a beautiful hand-knit scarf.
Working the Body of the Scarf
Once you have finished the ribbing, it’s time to start working on the body of the scarf. This section will make up the majority of the scarf and is where you can get creative with your stitches and patterns.
Row 1: Begin by knitting the first stitch, then purl the next stitch. Repeat this pattern across the row until you reach the last stitch. Finish the row by knitting the last stitch.
Row 2: Purl the first stitch, then knit the next stitch. Repeat this pattern across the row until you reach the last stitch. Finish the row by purling the last stitch.
Continue alternating between these two rows, creating a ribbed pattern throughout the body of the scarf. This simple rib stitch adds texture and depth to the scarf, making it more visually interesting.
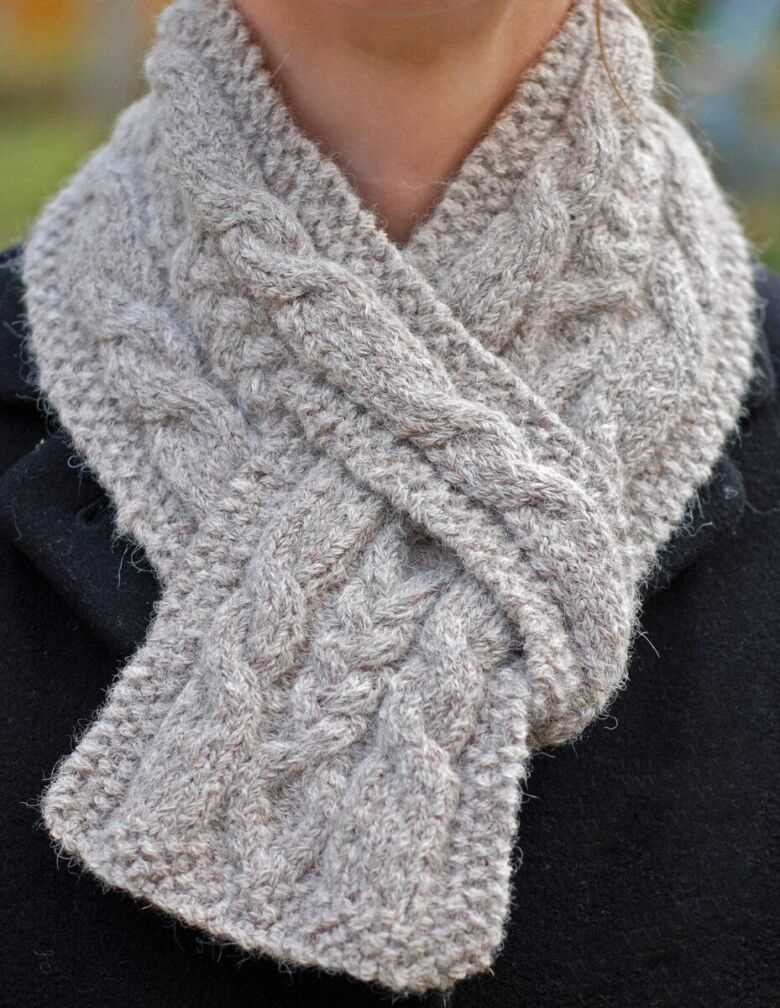
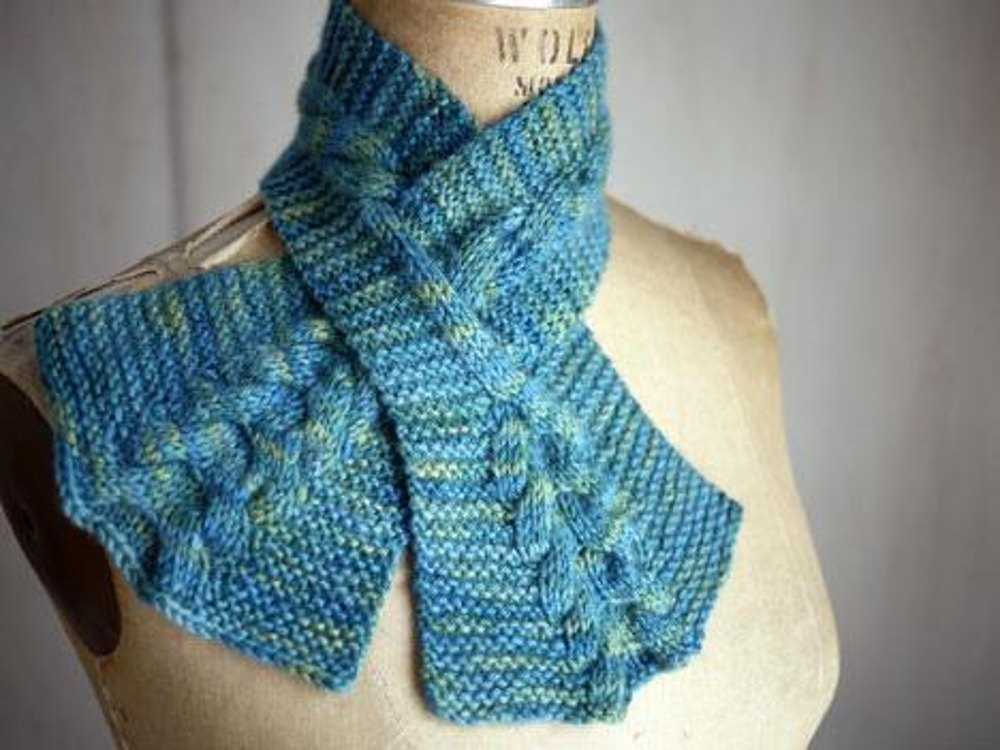
If you’re feeling more adventurous, you can explore different stitch patterns to add variety to your scarf. Consider trying out a cable stitch, seed stitch, or basketweave pattern. These stitches can create beautiful textured effects and make your scarf truly unique.
As you work on the body of the scarf, make sure to periodically check the length to ensure it is reaching your desired size. Scarves are typically around 60-70 inches long, but you can adjust the length based on your personal preference.
Once you’ve reached your desired length, finish off the scarf by knitting a few rows in the same ribbed pattern as the beginning. This will create a neat and consistent edge. Bind off your stitches and weave in any loose ends.
- Row 1: Knit 1, purl 1, repeat across row
- Row 2: Purl 1, knit 1, repeat across row
Adding a Simple Border
Adding a border to your plain scarf knitting pattern can be a great way to enhance the overall look and add a touch of style. A border can help define the edges of the scarf and make it look more finished. There are several ways you can add a border to your scarf, depending on your skill level and the desired outcome.
If you’re a beginner knitter, a simple garter stitch border can be a great option. This involves knitting every row for a designated number of stitches at the beginning and end of each row. The garter stitch border will create a neat and clean edge for your scarf.
For a more advanced option, you can try adding a ribbed border. This involves alternating between knit and purl stitches to create a textured pattern. A ribbed border adds depth and interest to your scarf, and it’s a great way to practice different knitting techniques.
Another option is to add a lace border to your plain scarf. This can be achieved by incorporating lace motifs or stitches into the edges of your scarf. Lace borders add an elegant and feminine touch to your knitting project, and they can make your scarf stand out.
When adding a border, it’s important to consider the overall size of your scarf and the width of the border. You don’t want the border to overpower the rest of the scarf, so it’s best to choose a border width that complements the design. Additionally, make sure to choose a yarn color that complements the main color of your scarf to create a cohesive look.
Adding a border to your plain scarf knitting pattern is a fun way to personalize your project and make it truly unique. Whether you choose a simple garter stitch border or a more intricate lace border, the added detail will elevate your scarf and make it one-of-a-kind.
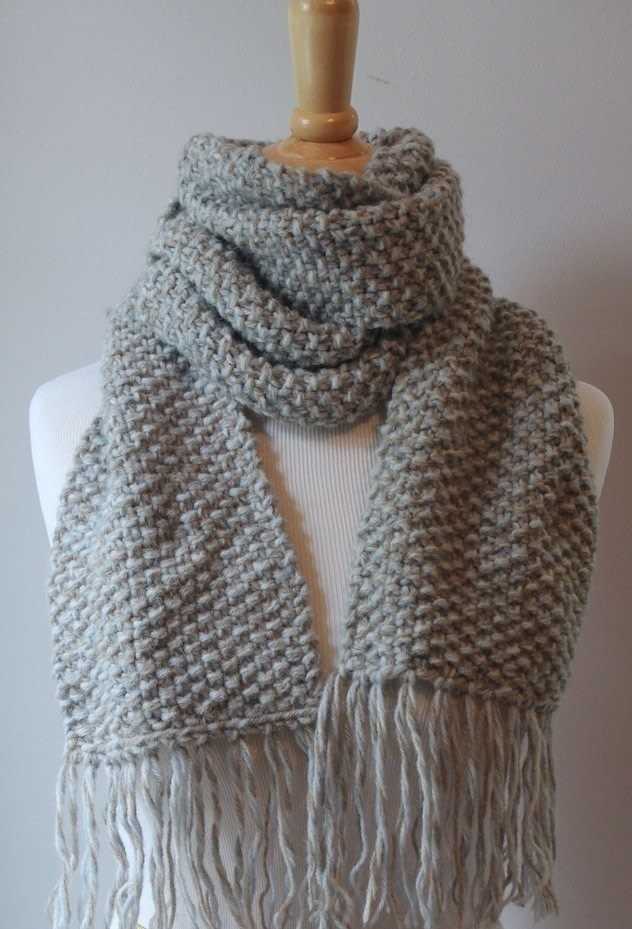
Creating a Ribbed or Seed Stitch Pattern
The ribbed or seed stitch pattern is a popular choice for knitters who want to add texture and visual interest to their projects. This pattern is perfect for knitting a plain scarf, as it creates a beautiful, raised fabric that looks great on both sides.
To create a ribbed or seed stitch pattern, you will need a basic knowledge of knitting techniques, such as how to knit and purl stitches. The pattern is simple, alternating between knit and purl stitches in each row. This creates a ribbed effect with a raised and slightly bumpy texture.
Start by casting on an even number of stitches, such as 20 or 30.
For the ribbed stitch pattern, begin with a row of *knit one, purl one* across the row. Repeat this pattern for each row, ending with a knit stitch. This creates a series of vertical ribs or lines that run parallel to each other across the fabric.
If you prefer the seed stitch pattern, start with a row of *knit one, purl one* across the row. For the second row, reverse the pattern to *purl one, knit one*. Repeat these two rows for the desired length of your scarf. The seed stitch pattern creates a fabric with small bumps or seeds scattered evenly across the surface.
Both the ribbed and seed stitch patterns can be easily adjusted to suit your desired width and length of the scarf. Simply cast on more or fewer stitches to make the scarf wider or narrower, and continue the pattern until the desired length is reached.
When knitting the ribbed or seed stitch pattern, it’s important to keep a consistent tension to ensure an even and professional finish. Remember to take your time and count your stitches carefully to avoid any mistakes in the pattern. With a little practice, you’ll be able to create a beautiful and cozy scarf using the ribbed or seed stitch pattern.
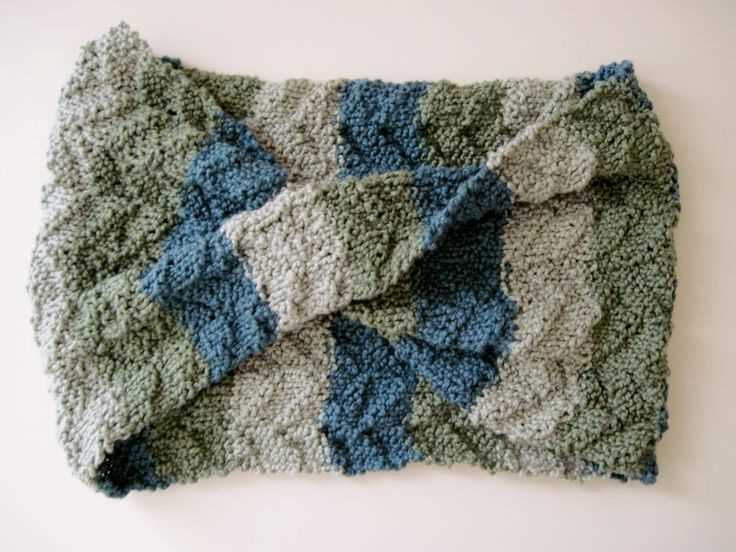
Adding Stripes or Color Changes
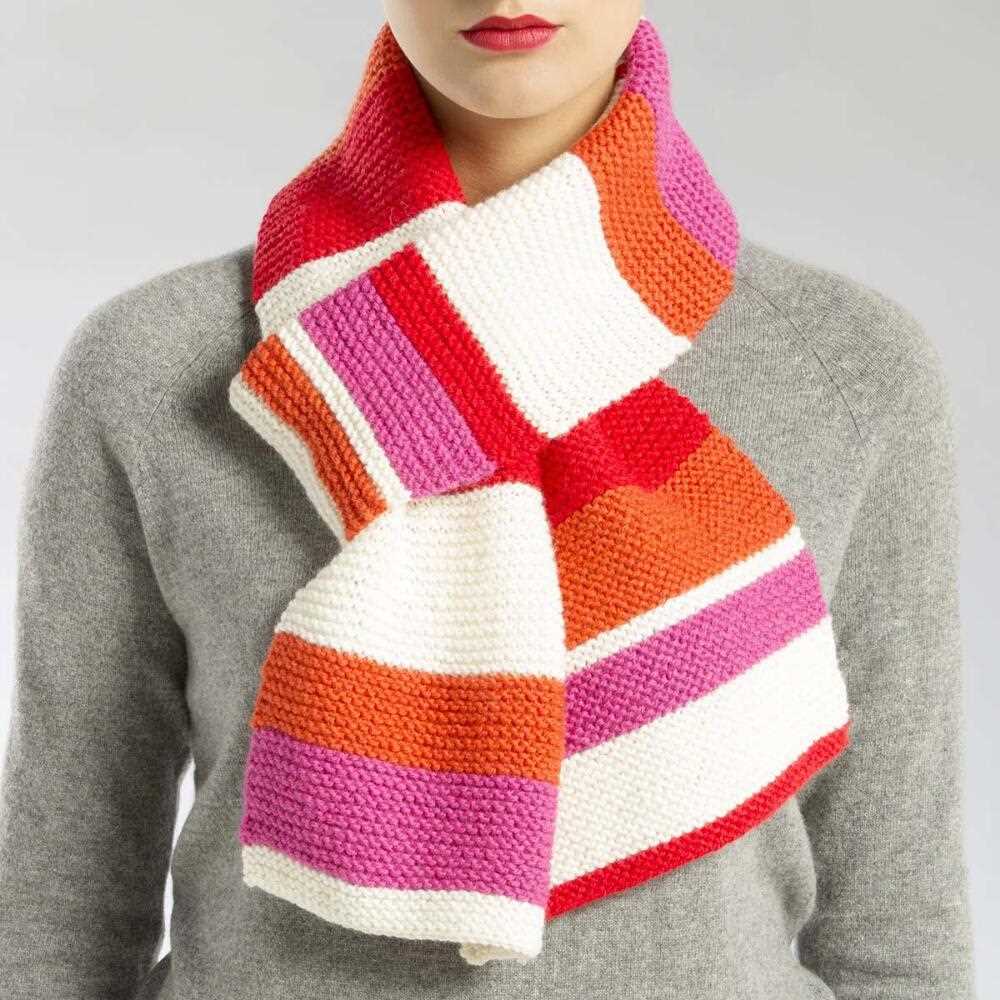
If you want to add a bit of visual interest to your plain scarf, you can incorporate stripes or color changes into your knitting pattern. This will give your scarf a unique and personalized look. There are a few different ways you can go about adding stripes or color changes to your scarf, depending on your knitting skill level and the desired effect.
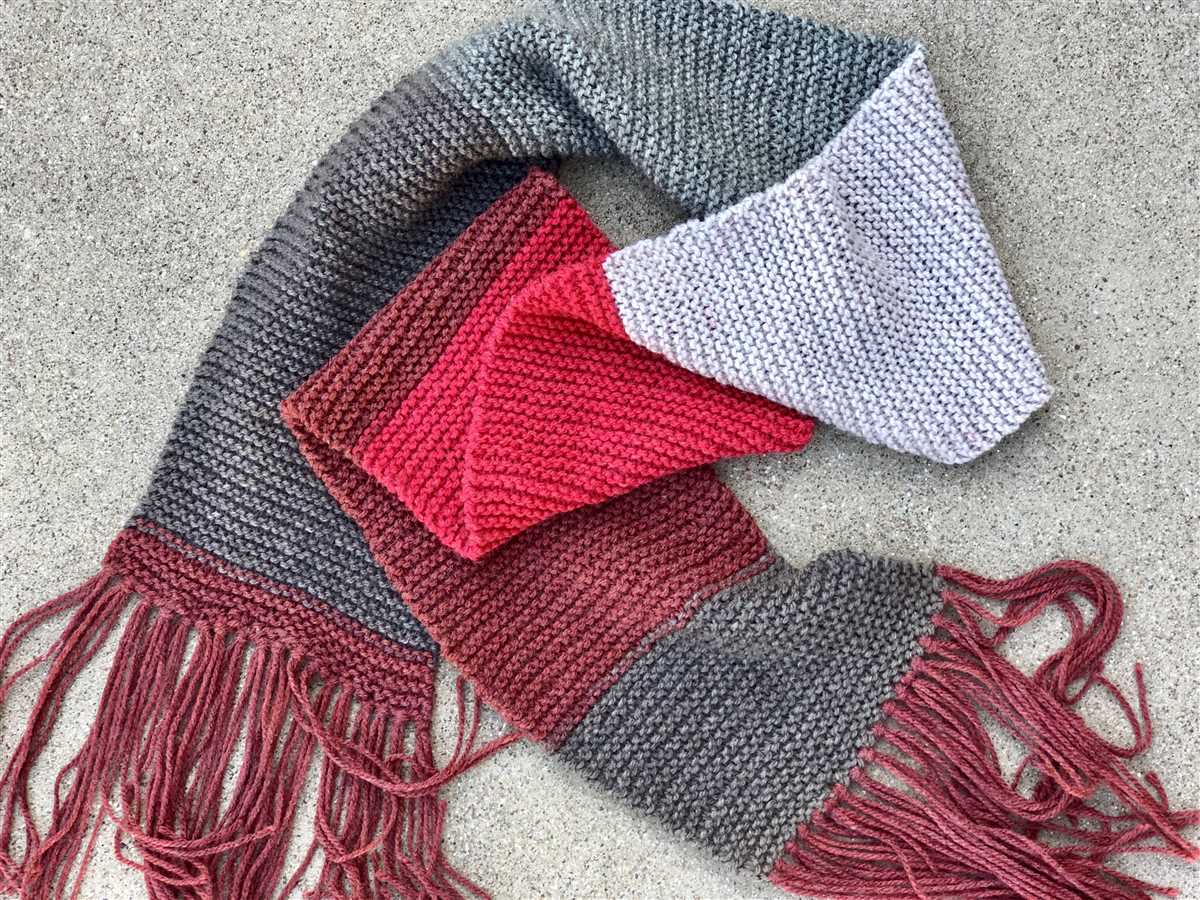
1. Simple Stripe Pattern: One of the easiest ways to add stripes to your scarf is by knitting a simple stripe pattern. This can be done by alternating between two or more colors every few rows. For example, you could knit two rows in one color, then switch to another color for the next two rows, and continue alternating in this way. This creates a clean and classic striped look.
2. Intarsia Technique: If you want to incorporate more complex color changes or designs into your scarf, you can use the intarsia technique. This involves using separate balls or bobbins of yarn for each color block or design element. You will need to twist the yarns together at the color change to prevent any holes in your knitting. This technique allows for more detailed and precise color changes, but it can be more time-consuming and requires some skill.
3. Gradient Yarn: Another way to add color changes to your scarf is by using gradient yarn. Gradient yarn is pre-dyed with multiple colors that gradually blend into each other. You can simply knit with this yarn to create a beautiful ombre effect in your scarf. This option is great for beginners as it requires no extra color changes or techniques.
4. Fair Isle Technique: For a more intricate and textured look, you can incorporate the Fair Isle technique into your scarf. This involves knitting with multiple colors in each row to create a pattern or design. Fair Isle knitting requires a bit more skill and practice, as you need to manage multiple yarns at once, but the result can be stunning.
Overall, adding stripes or color changes to your plain scarf is a great way to add personal style and make your knitting project more interesting. Whether you choose a simple stripe pattern, use the intarsia or Fair Isle techniques, or opt for gradient yarn, you can create a unique and eye-catching scarf that will be a joy to wear or gift to someone special.
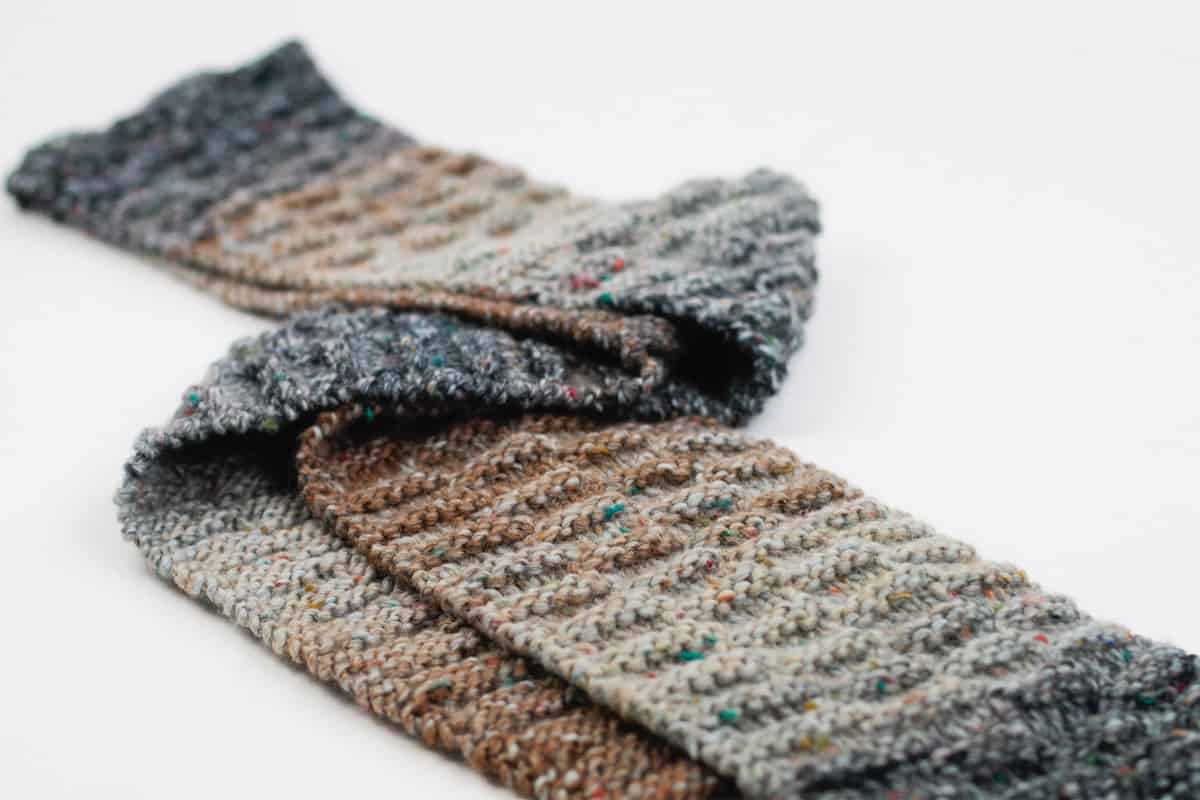
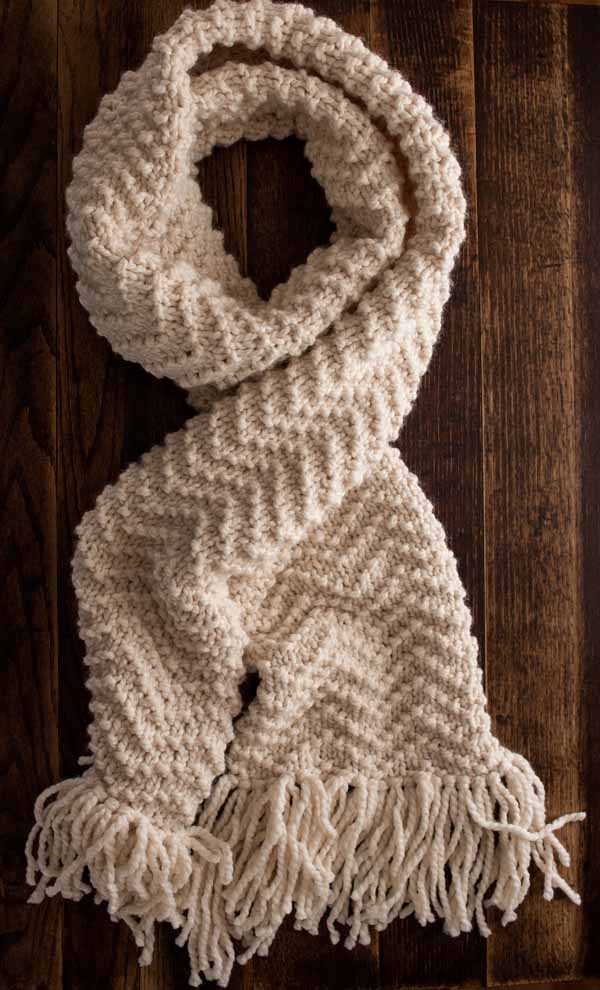
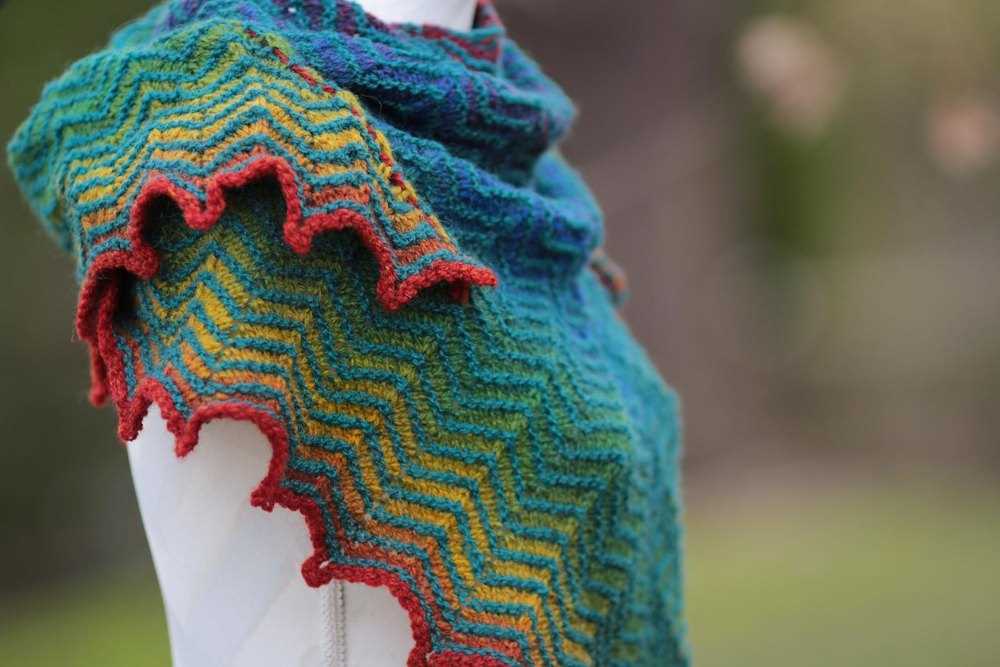
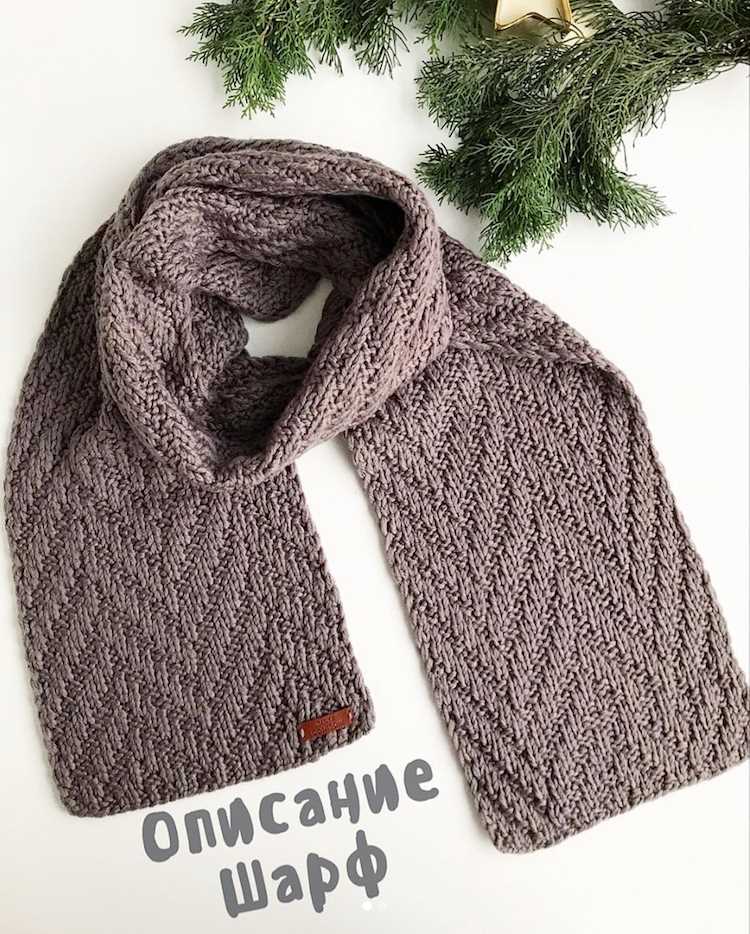
Creating a Textured Pattern
One way to add interest and depth to a plain scarf pattern is to incorporate a textured pattern. Textured patterns can range from simple to intricate, and they can be created using a variety of stitches and techniques. By adding texture to your knitting, you can create a unique and visually appealing scarf.
To begin creating a textured pattern, you can start with a basic knit and purl combination. For example, you can alternate between knit and purl stitches in a regular pattern to create a ribbed texture. This simple pattern can add dimension to the scarf’s surface and give it a more interesting look.
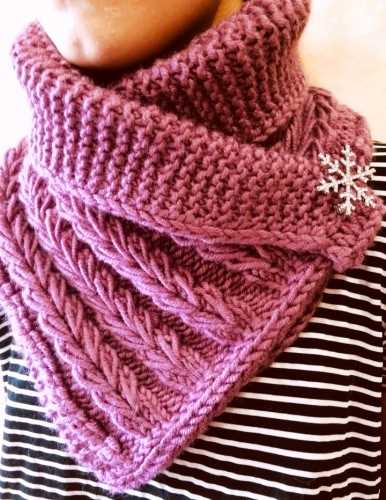
Another way to create a textured pattern is to use different types of stitches such as cables or bobbles. Cables involve crossing stitches over each other to create a braided effect, while bobbles create small raised bumps on the fabric. These stitches can be incorporated into your scarf pattern to add unique and eye-catching details.
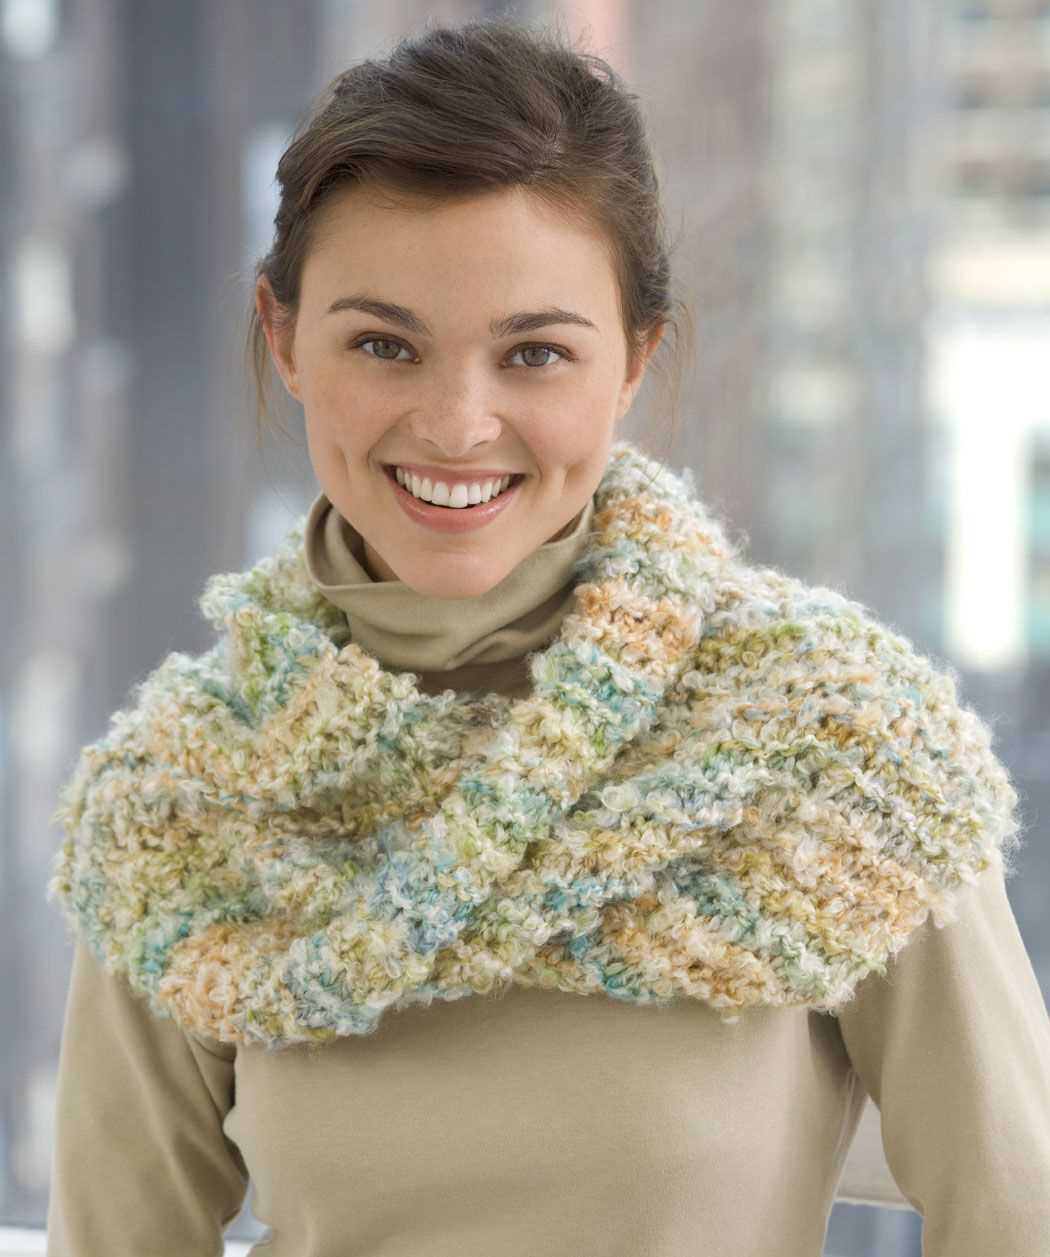
You can also experiment with different yarn weights and fiber types to create texture in your scarf. For example, using a chunky yarn can create a bumpy texture, while using a finer yarn with a halo effect can give your scarf a soft and fuzzy appearance. Additionally, using variegated or self-striping yarn can add visual interest and texture to your scarf without having to change stitches or patterns.
When creating a textured pattern, it’s important to keep in mind the overall design and aesthetic of the scarf. Consider how the texture will complement the yarn, the intended wearer, and the desired level of complexity. By carefully selecting and combining different stitch patterns, yarns, and techniques, you can create a beautifully textured scarf that stands out.
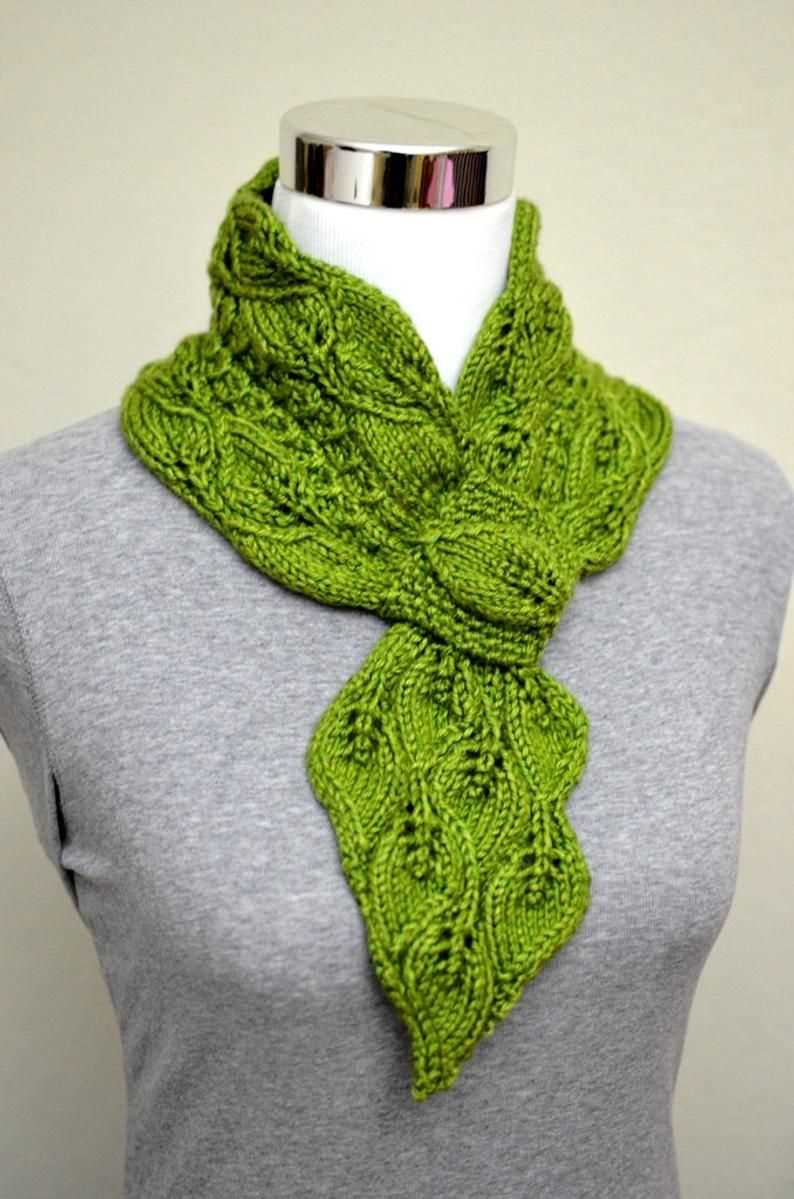
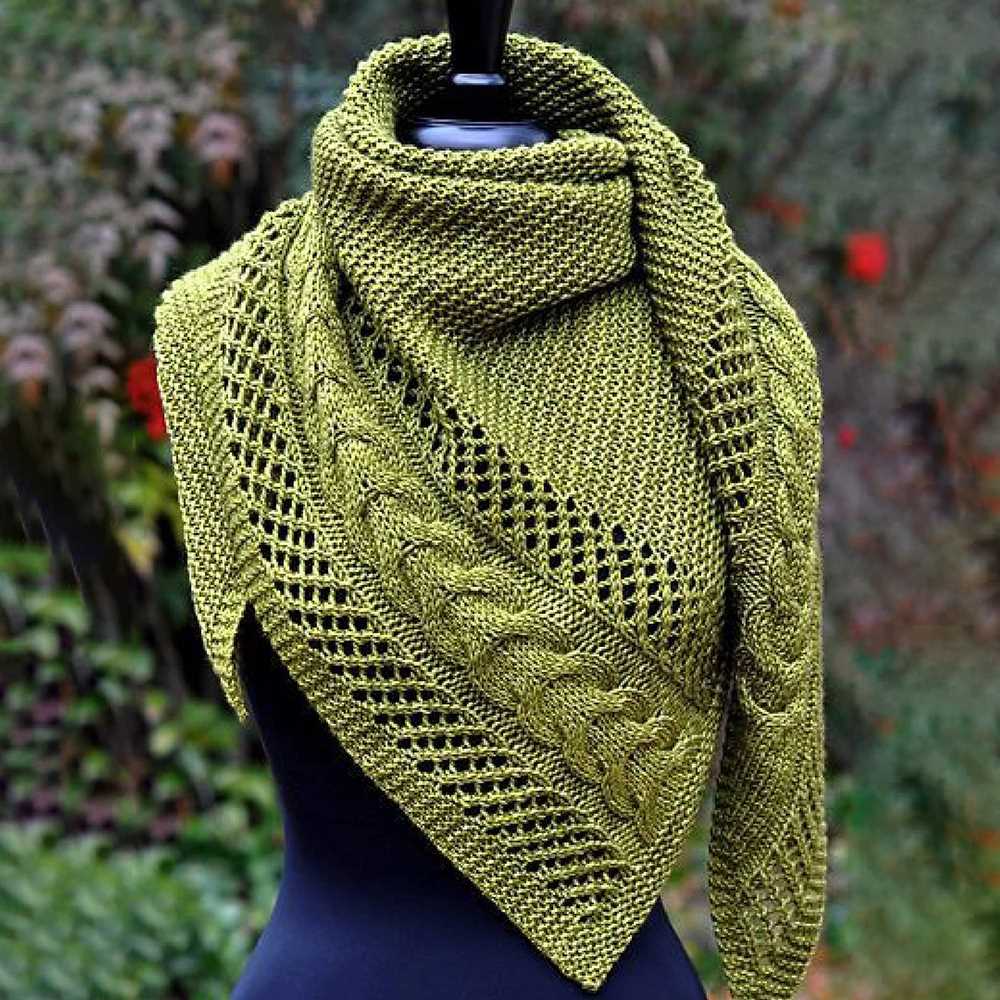
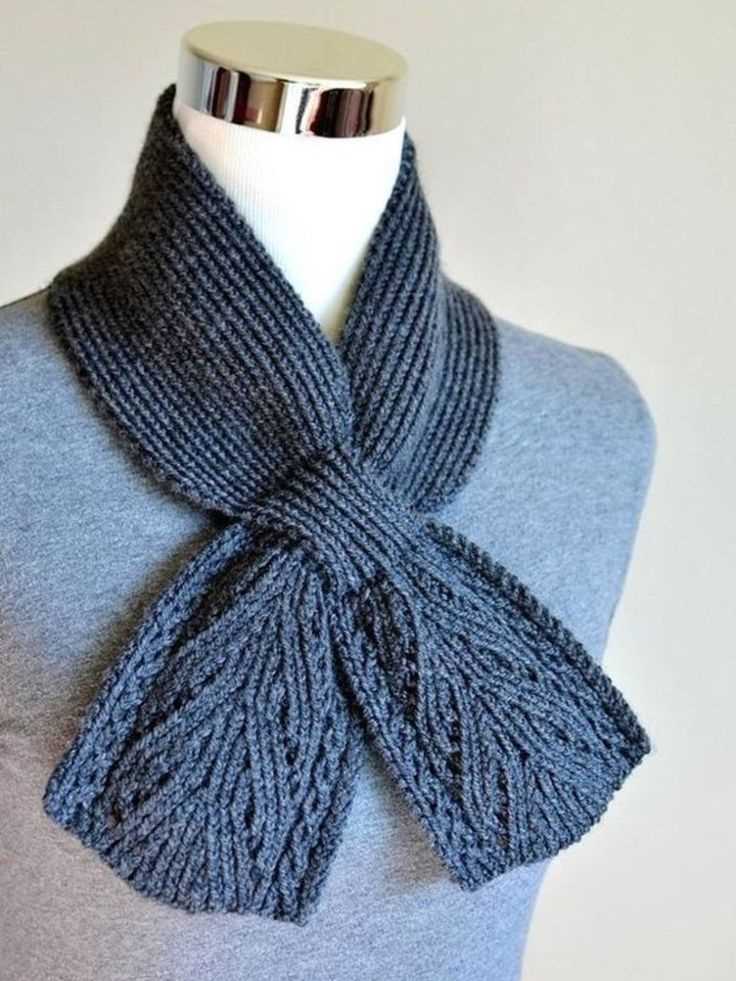
Creating a Lace Pattern

When it comes to knitting a plain scarf, adding a lace pattern can elevate the final project and give it a delicate and intricate look. Creating a lace pattern requires attention to detail and patience, as it involves working with a combination of yarn overs, decreases, and intricate stitch patterns.
One popular lace pattern for a scarf is the “Feather and Fan” stitch. This stitch creates a beautiful ripple effect, reminiscent of feathers, with a repeating pattern of knit and purl stitches. To start, cast on the desired number of stitches for your scarf. Then, follow the lace pattern instructions, which typically involve a row of yarn overs and decreases, followed by rows of knit and purl stitches. Repeat these rows until the desired length is reached.
When creating a lace pattern, it’s important to use yarn that complements the stitch pattern. Choose a yarn that is lightweight and has good stitch definition, as this will allow the lace pattern to stand out. Lace weight or fingering weight yarns are often the best choices for lace knitting. Additionally, using larger needles can also enhance the lace pattern and create a more open and airy look.
For beginners, it’s recommended to start with simpler lace patterns and gradually work up to more complex designs. By following clear instructions and practicing the basic lace stitches, such as yarn overs and decreases, beginners can build their confidence and develop their lace knitting skills. There are also numerous resources available, such as books and online tutorials, that offer step-by-step instructions and guidance for creating various lace patterns.
In conclusion, creating a lace pattern for a plain scarf can add a touch of elegance and sophistication to the final project. With patience, attention to detail, and practice, knitters can master the art of lace knitting and create stunning accessories that are sure to impress.
Finishing and Binding Off
Once you have finished knitting your plain scarf, it’s time to give it a polished and finished look. The finishing and binding off techniques are important to ensure that your scarf stays in shape and doesn’t unravel. Here are a few steps to follow:
1. Weaving in the Ends:
Start by cutting the yarn, leaving a long tail. Thread this tail through a tapestry needle and carefully weave it through the stitches on the wrong side of the scarf. Make sure to secure the end by weaving it back and forth a few times. Repeat this process for any other loose ends.
2. Blocking:
Blocking your scarf will help to even out the stitches and give it a professional finish. Wet your scarf gently in lukewarm water and lay it flat on a towel. Shape the scarf by gently pulling on the edges to straighten any unevenness. Leave it to dry completely before removing the pins or weights used to keep it in shape.
3. Binding Off:
Binding off, also known as casting off, is a technique used to create a neat and finished edge on your knitting project. To bind off your plain scarf, knit the first two stitches as normal. Then, insert the left needle into the first stitch on the right needle and lift it over the second stitch and off the right needle. Knit the next stitch and repeat the process until you have one stitch remaining. Cut the yarn, leaving a long tail, and thread it through the last stitch to secure it.
By following these steps, you will be able to finish off your plain scarf with a professional touch. Take your time and make sure to weave in all loose ends and block your scarf for the best results. Happy knitting!
Blocking and Care Instructions
After you finish knitting your plain scarf, it is important to block it to give it the desired shape and size. Blocking involves wetting the scarf and gently stretching it to the desired dimensions, then allowing it to dry completely in that shape.
Here are the steps to block your plain scarf:
- Fill a basin or sink with lukewarm water and add a gentle wool wash or mild detergent.
- Submerge the scarf in the water and gently squeeze it to ensure the fibers are fully saturated. Avoid agitating or wringing the scarf, as this can cause damage.
- Let the scarf soak in the water for about 15-20 minutes.
- Drain the water from the basin or sink and gently press out the excess water from the scarf. Do not twist or wring the scarf.
- Lay a clean towel on a flat surface and place the scarf on top of it.
- Gently stretch the scarf to the desired shape and size, making sure to maintain the same width along its length. You can use blocking pins or rustproof T-pins to hold the scarf in place if needed.
- Leave the scarf to dry completely in a well-ventilated area, away from direct sunlight or heat sources.
Once your scarf is dry, you can remove the pins and enjoy your beautifully blocked plain scarf.
Care Instructions:
- Hand wash your scarf in lukewarm water using a gentle wool wash or mild detergent.
- Do not bleach or use harsh chemicals on the scarf.
- Gently squeeze out excess water and lay flat to dry.
- Avoid wringing or twisting the scarf.
- Store your scarf in a dry and clean place, away from direct sunlight or heat.
- Avoid hanging the scarf, as this can cause it to lose its shape.
- If the scarf gets wrinkled, you can gently steam it using a steamer or iron it on a low heat setting with a cloth between the iron and the scarf.
With proper care and blocking, your plain scarf will remain soft, cozy, and beautiful for years to come.