
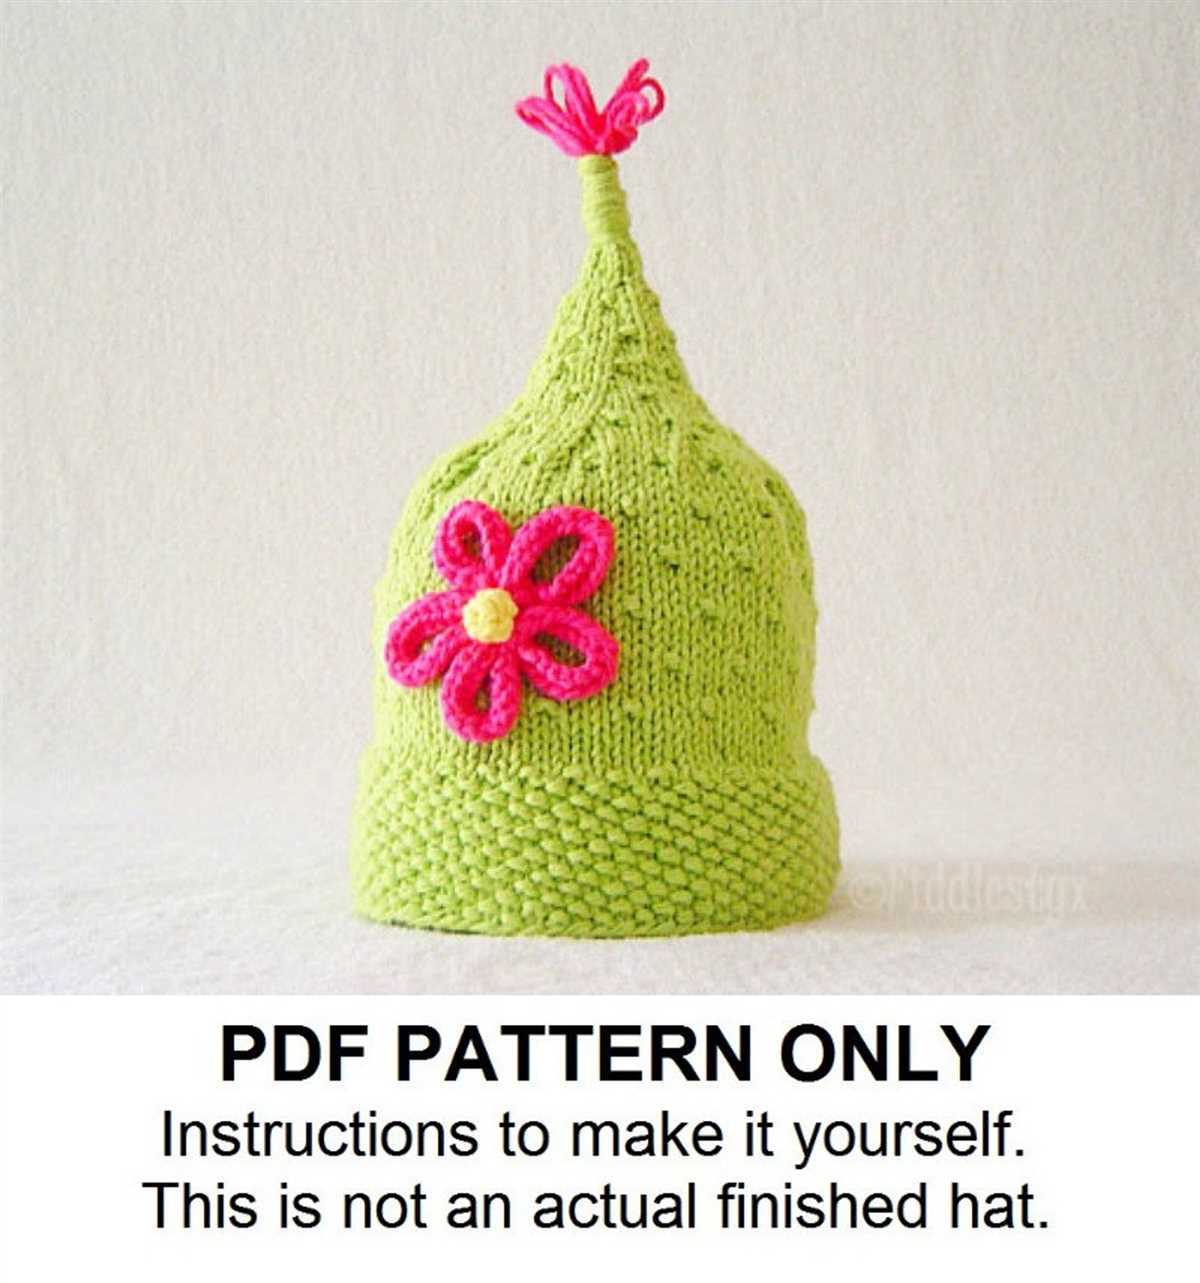
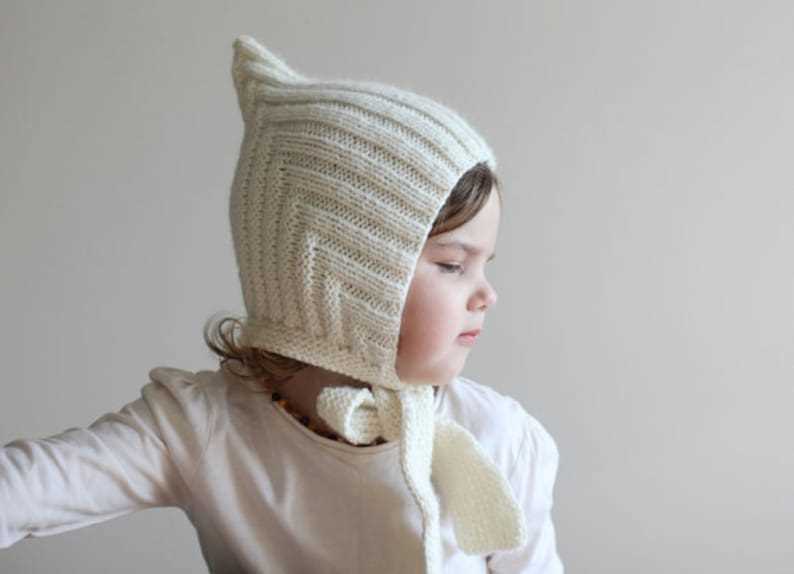
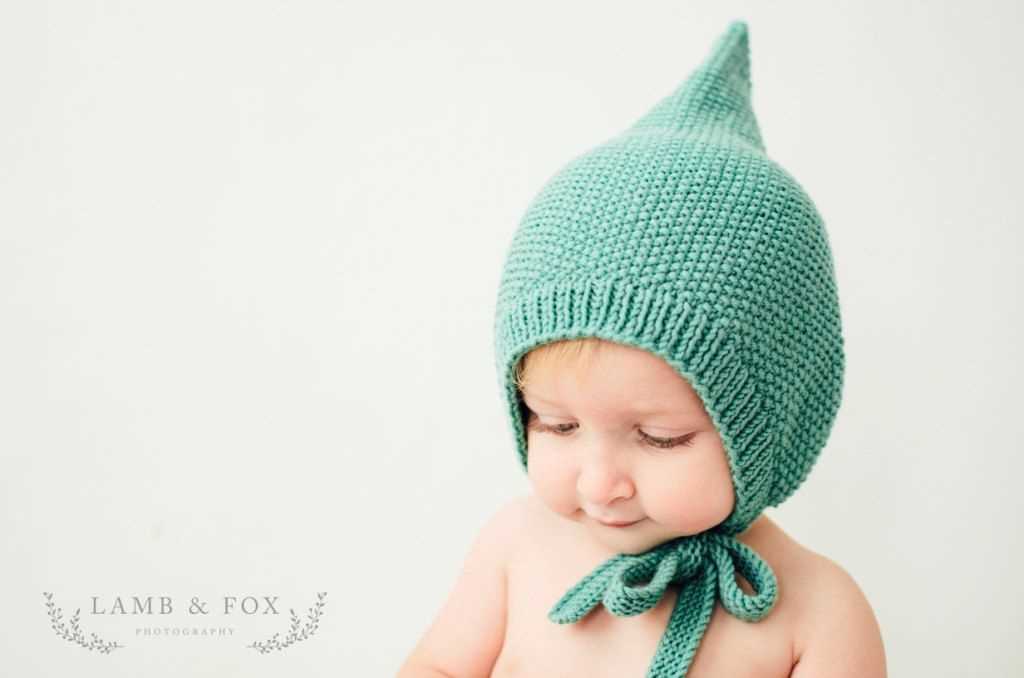
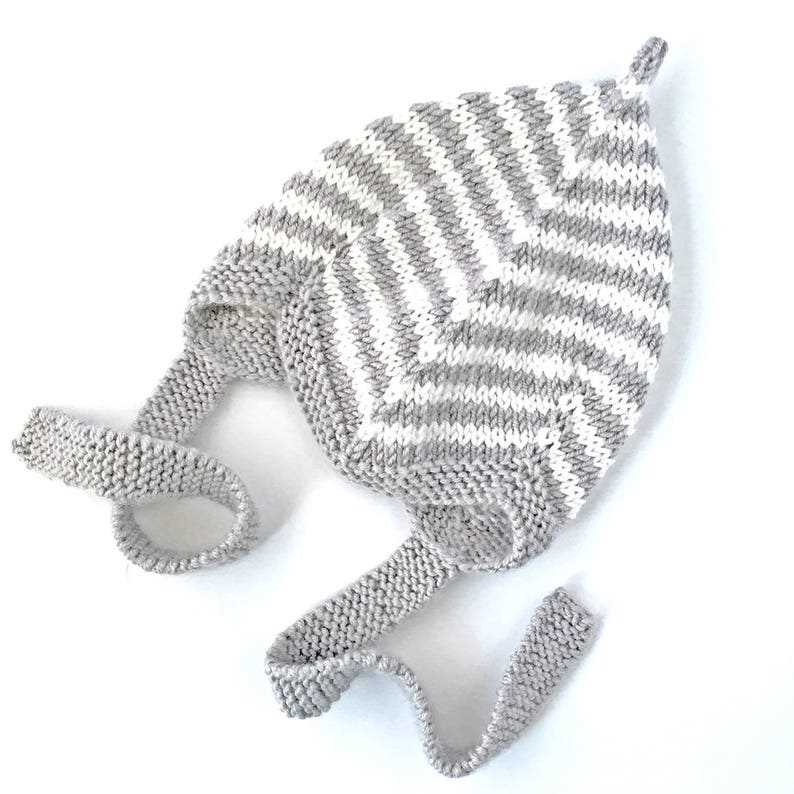
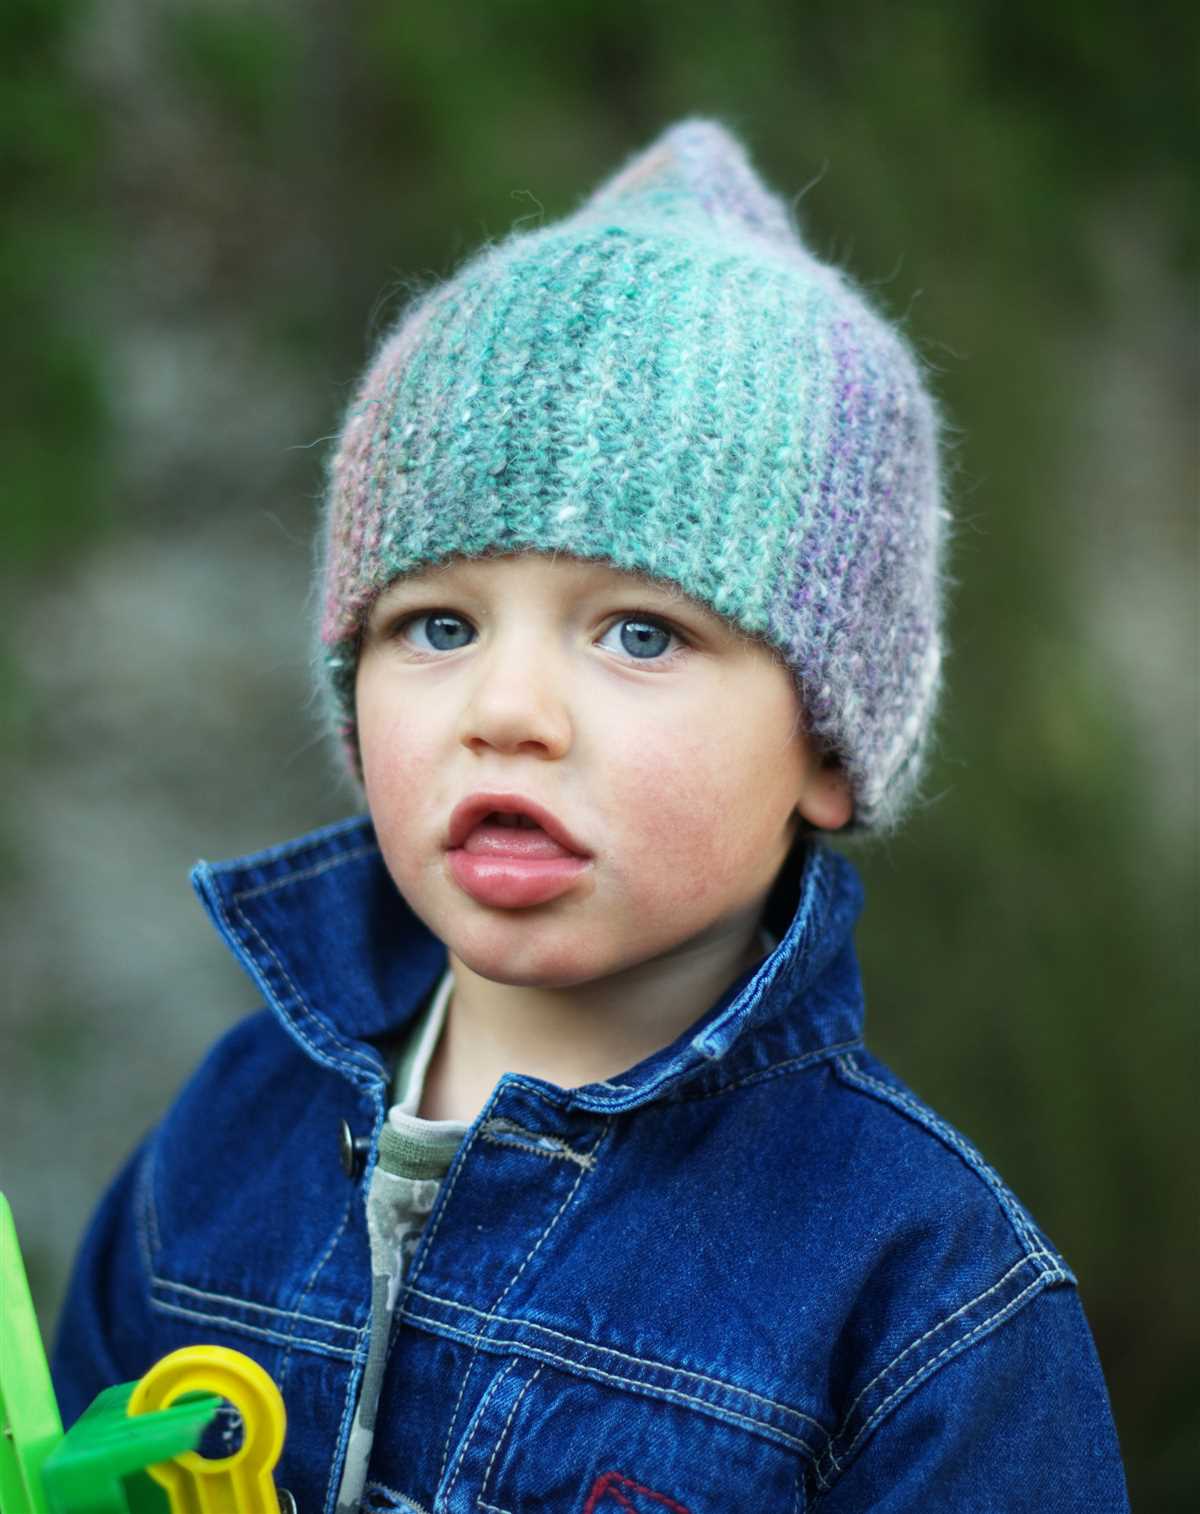
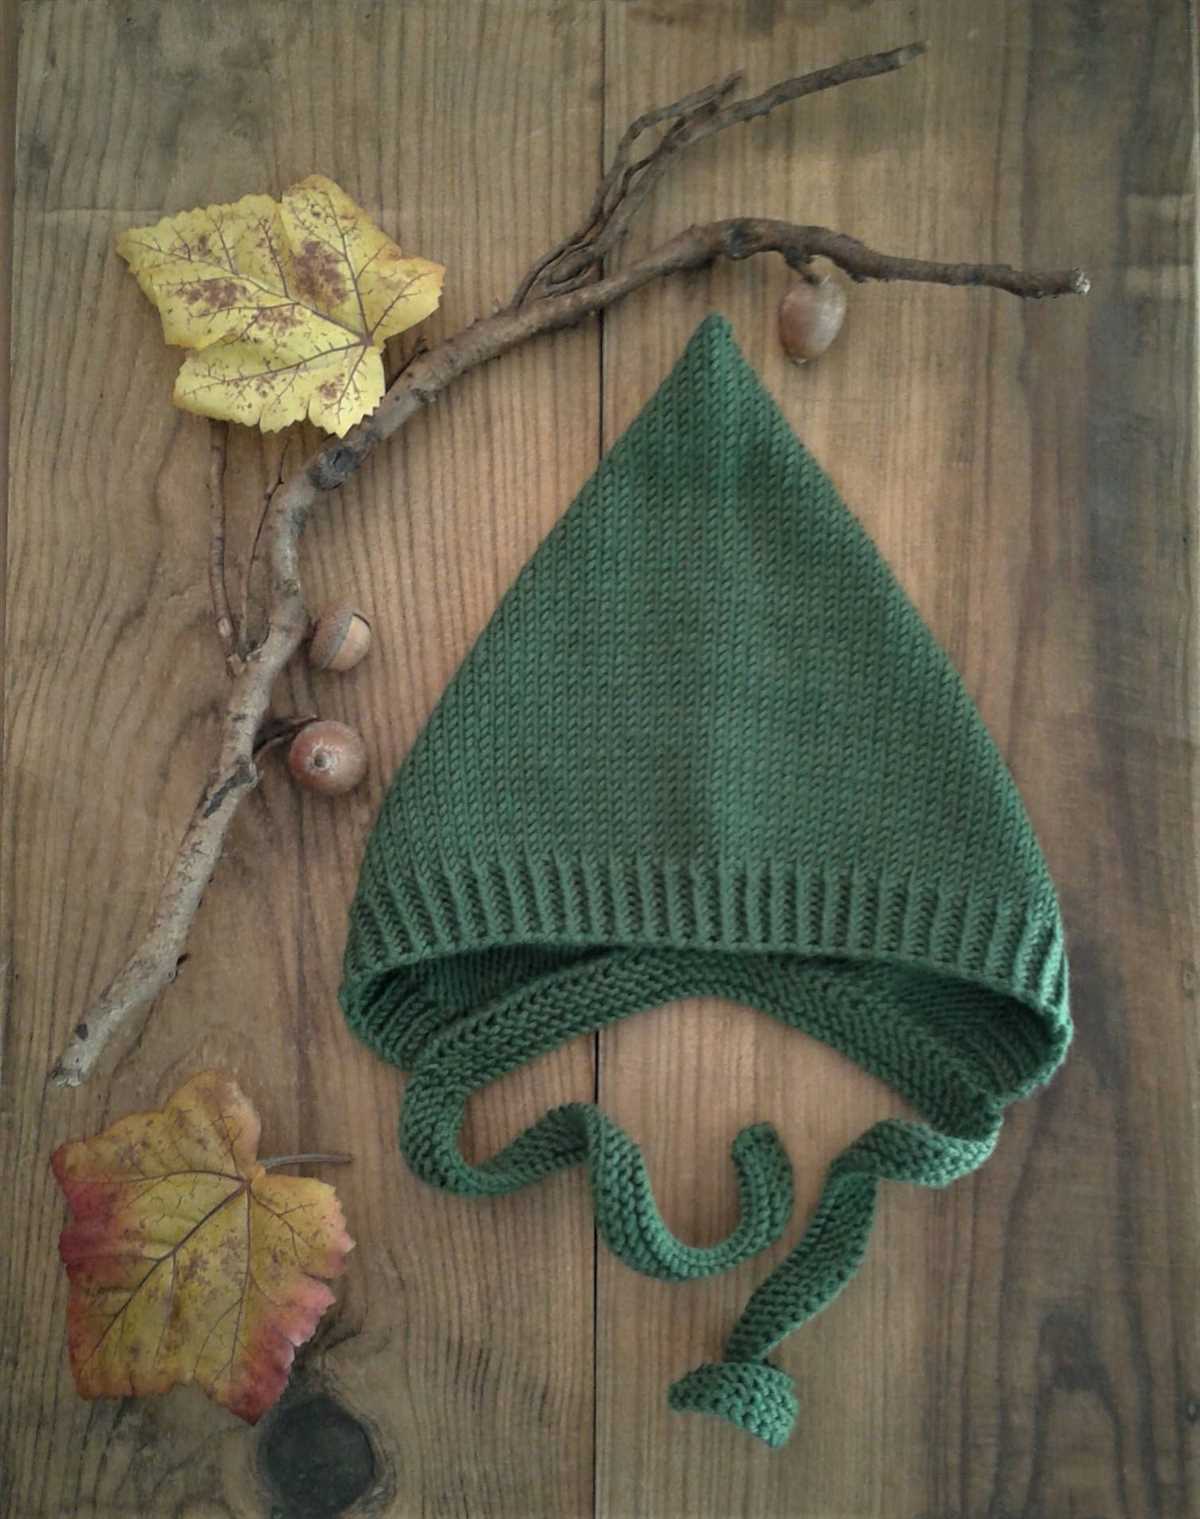
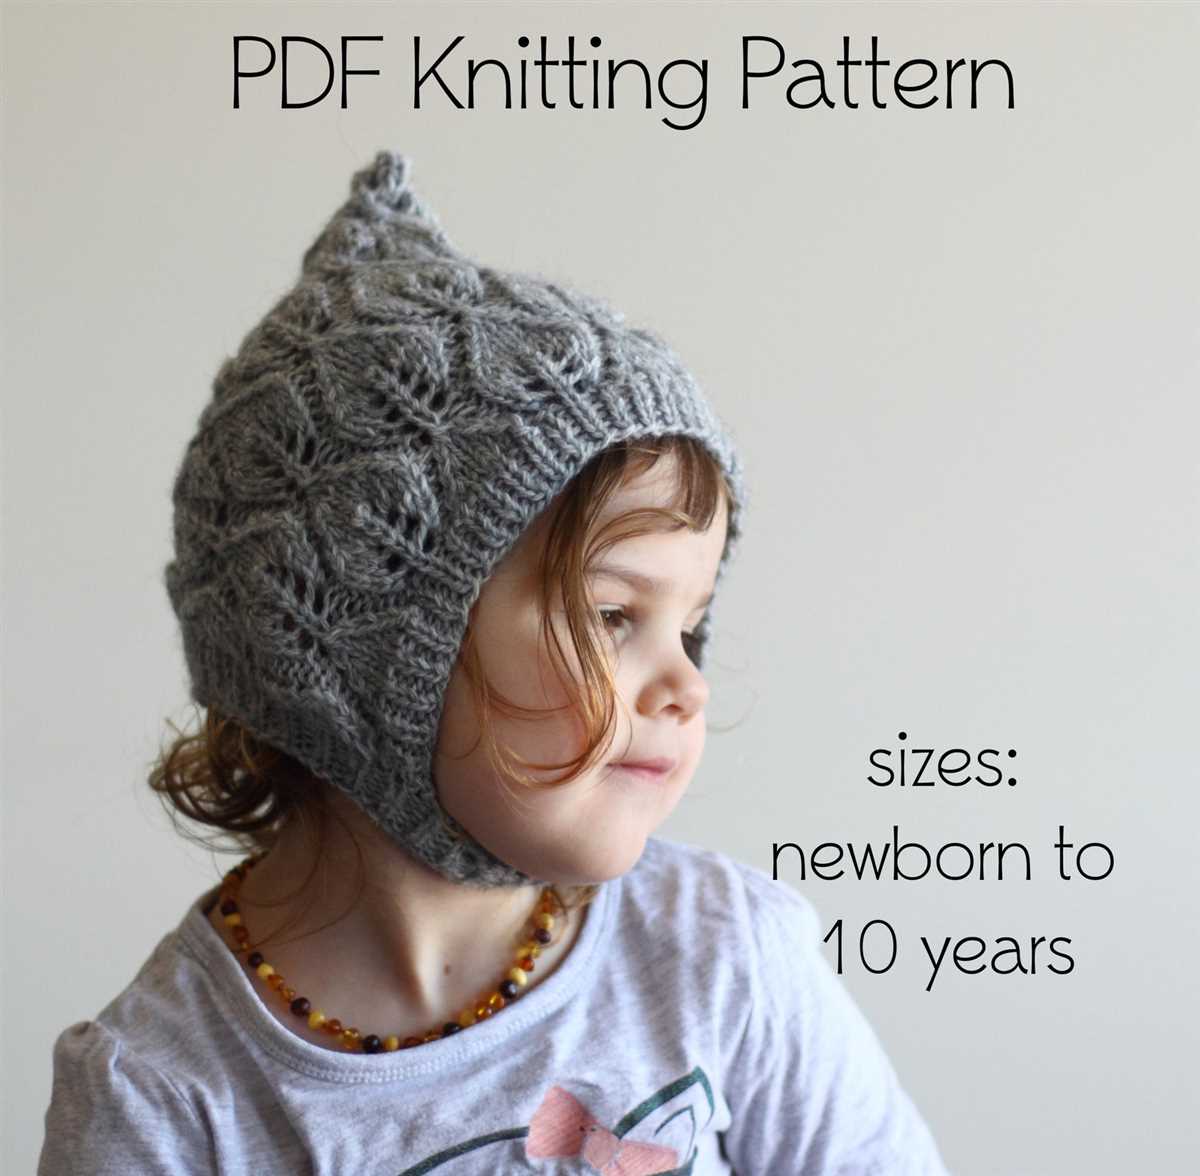
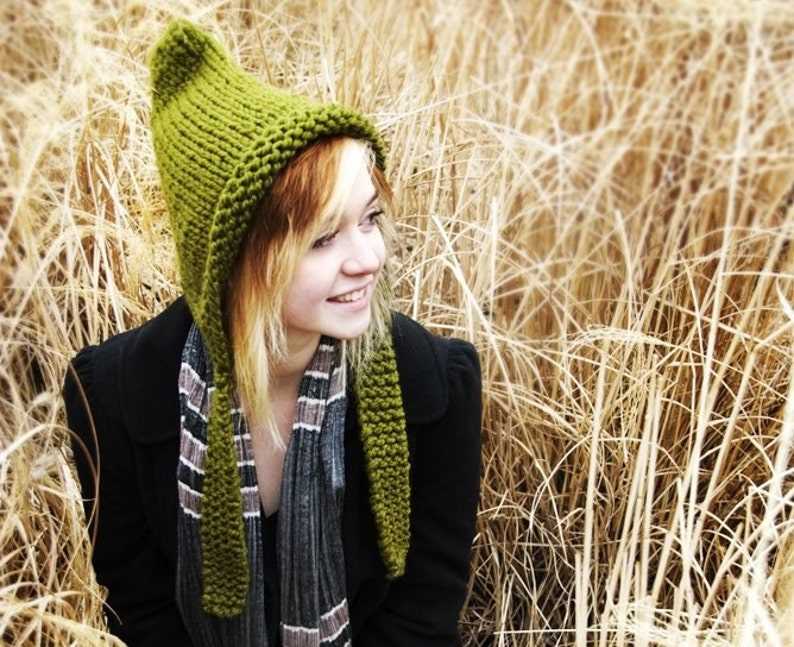
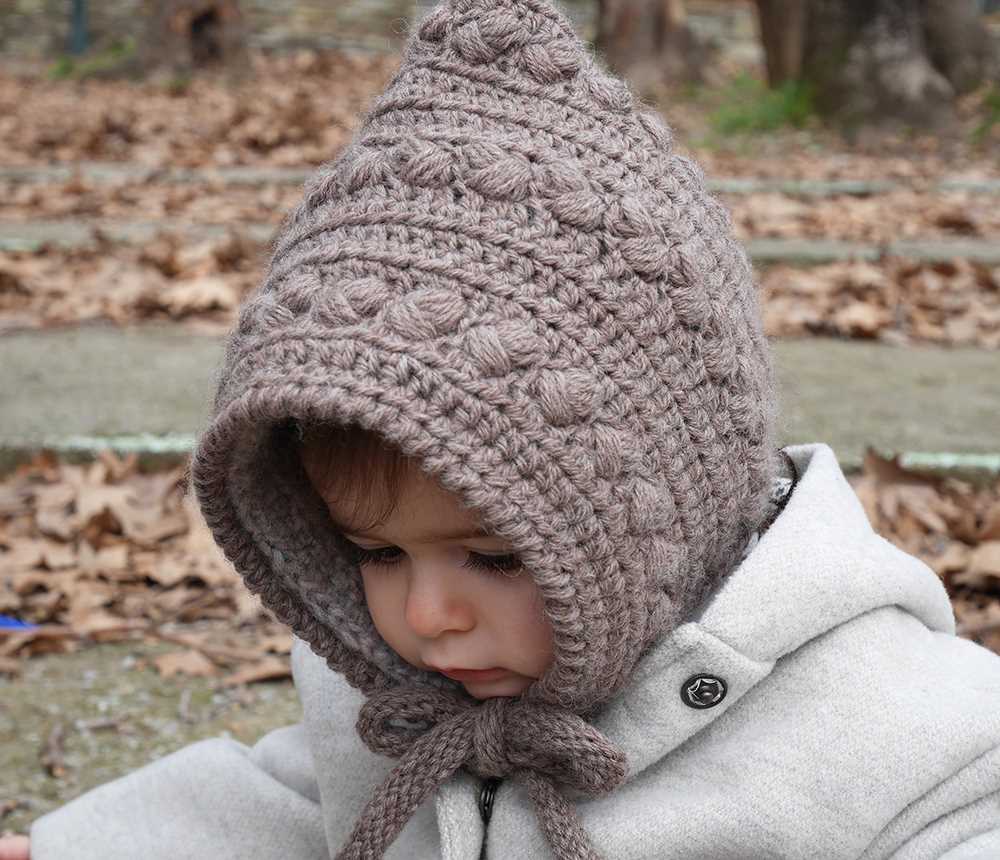
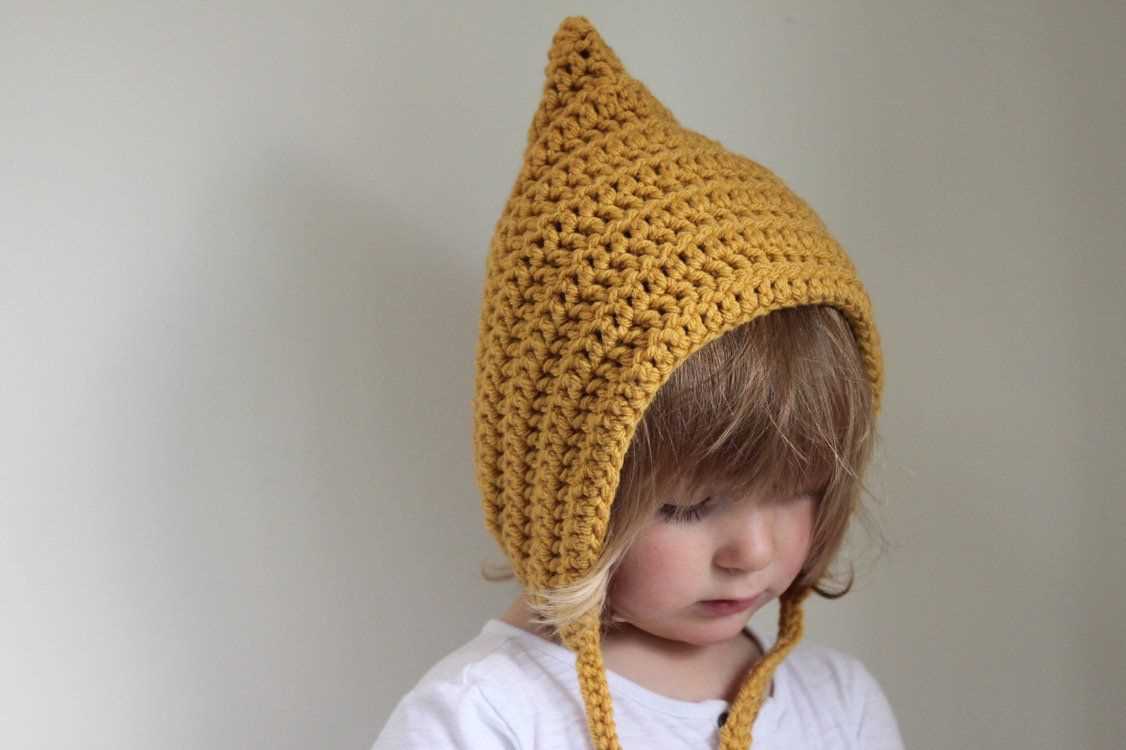
If you’re looking for a cute and cozy hat to knit for a baby or toddler, look no further than the pixie hat knitting pattern. This adorable hat style features a pointed top and a snug fit that will keep little ones warm and stylish. Whether you’re a beginner knitter or an experienced crafter, this pattern is a fun and rewarding project to take on.
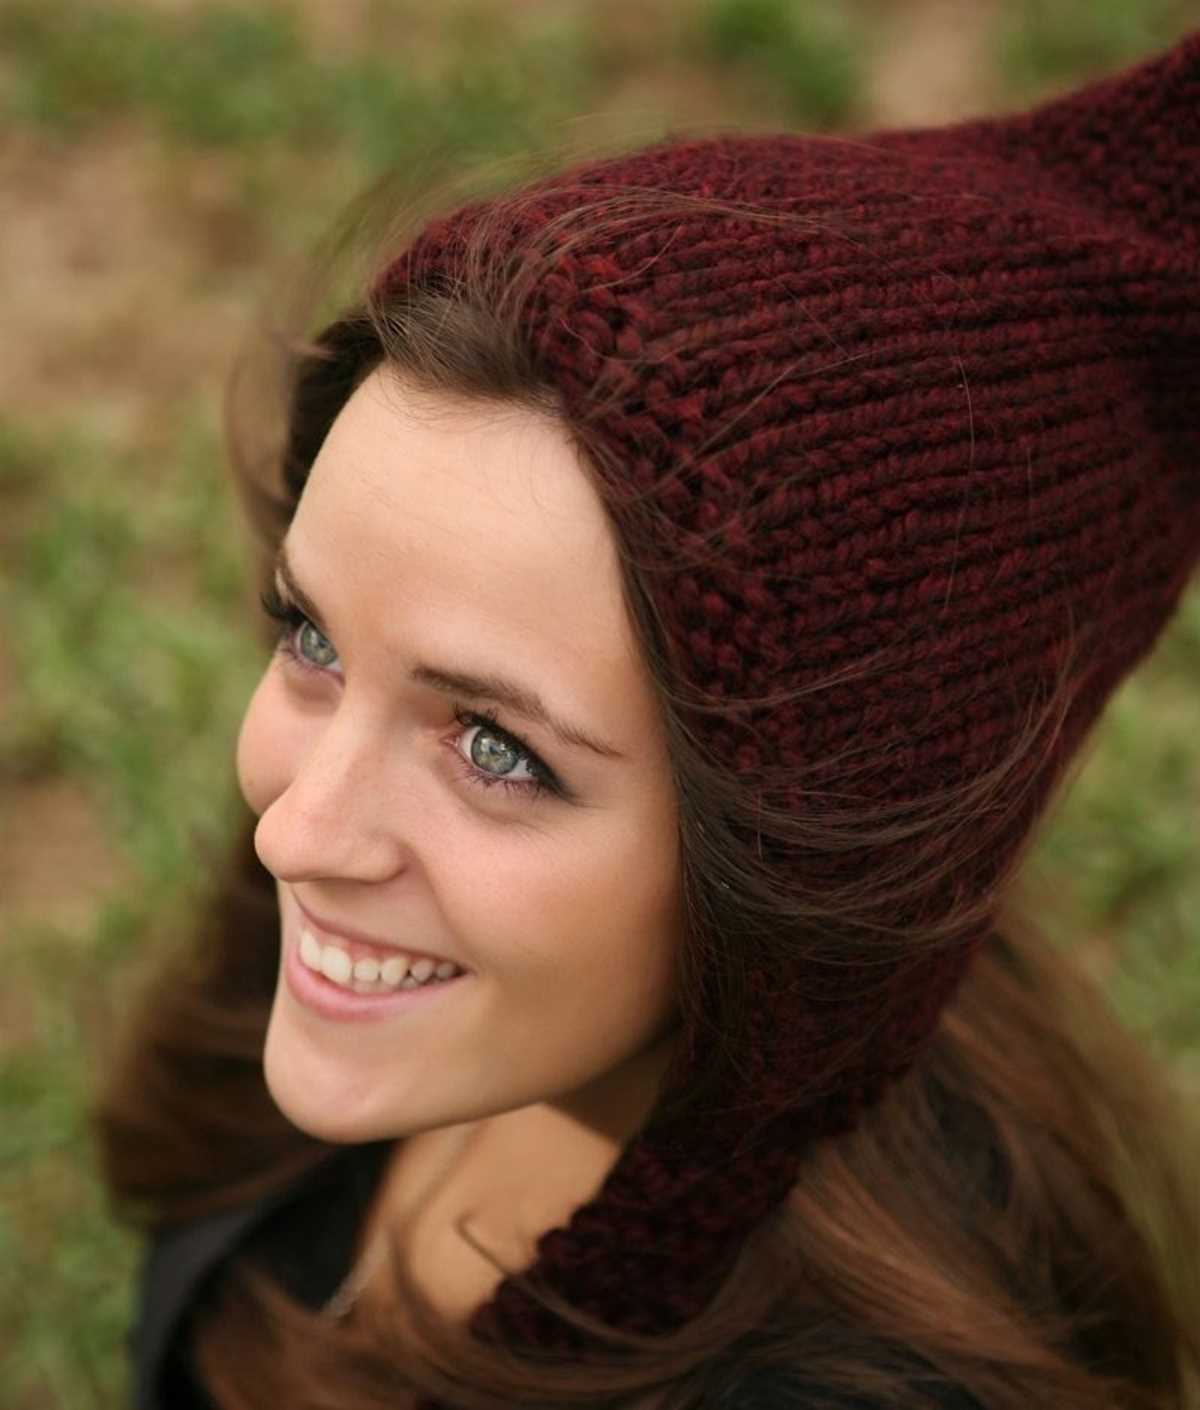
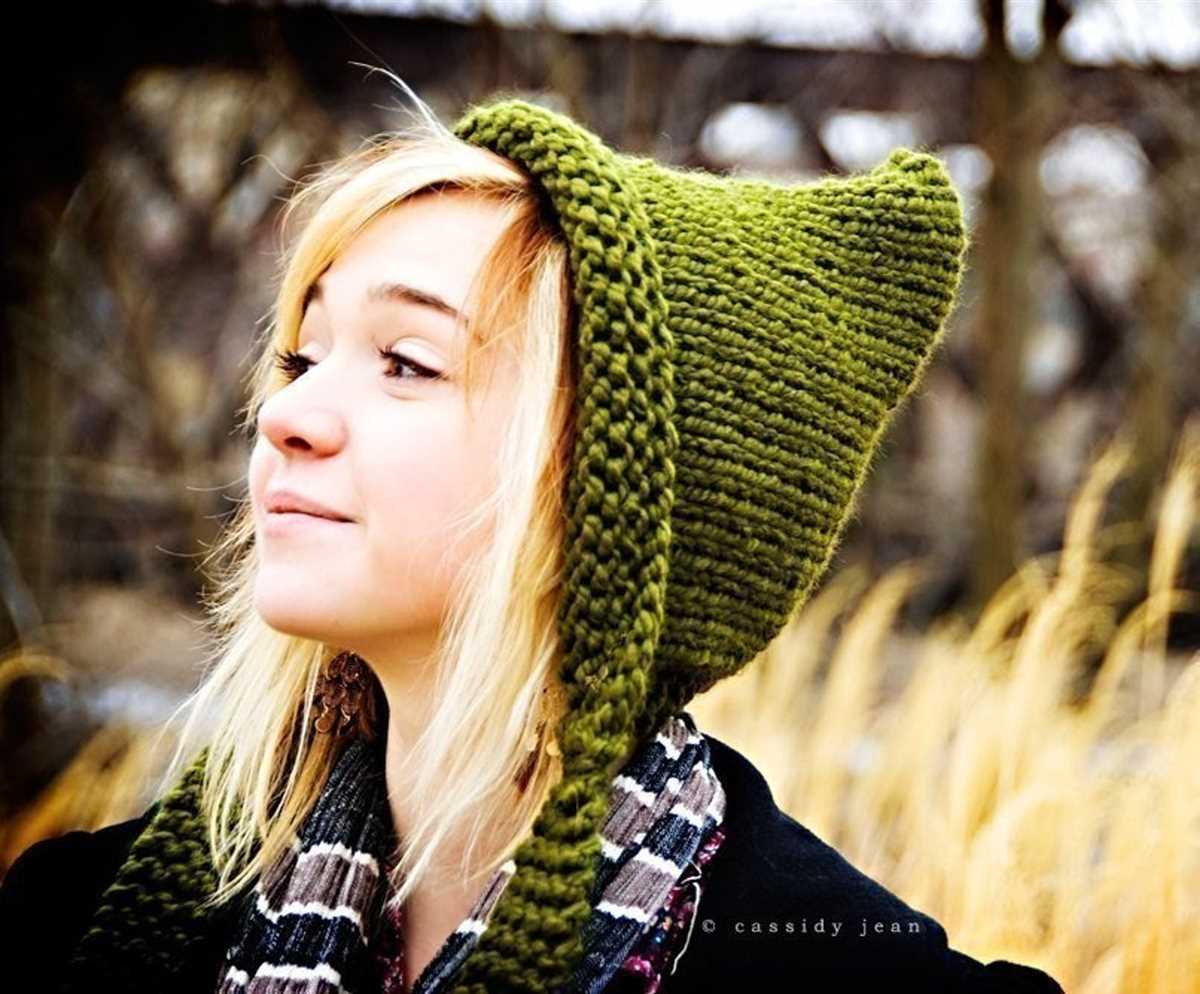
The pixie hat is a classic design that has been popular for generations. Its unique shape is reminiscent of a fairy tale character and adds a whimsical touch to any outfit. The pattern usually includes instructions for multiple sizes, so you can make a hat that will fit a newborn, an older baby, or a toddler. It’s a versatile pattern that can be customized with different yarn colors and embellishments to make it truly unique.
Knitting a pixie hat is a great way to use up leftover yarn from other projects or to experiment with new colors and textures. The pattern typically calls for a soft and warm yarn, such as merino wool or acrylic blend, to ensure maximum comfort for the child. The hat is usually knit in the round, using basic stitches like knit and purl, making it an ideal project for knitters of all skill levels.
Whether you’re knitting a pixie hat for your own child or as a gift for someone else, it’s sure to be a cherished item. The hat provides both warmth and style, and its unique shape is sure to draw compliments wherever it’s worn. So grab your knitting needles and get ready to create a delightful pixie hat that will bring joy to any little one’s wardrobe.
Pixie Hat Knitting Pattern: A Step-by-Step Guide
Knitting is a wonderful hobby that allows you to create beautiful and unique items. If you are looking for a fun project to try, why not make a pixie hat? These adorable hats are perfect for babies, children, and even adults. With their pointed tops and cute little tassels, they add a touch of whimsy to any outfit. In this step-by-step guide, we will walk you through the process of knitting your very own pixie hat.
Materials Needed:
- Yarn: Choose a soft and cozy yarn in your desired color. Worsted weight yarn is a popular choice for this project.
- Knitting Needles: Use a set of double-pointed needles in the appropriate size for your yarn.
- Stitch markers: These will help you keep track of your stitches.
- Tapestry needle: This will be used to weave in the ends of your yarn.
- Scissors: You will need these to cut your yarn.
Instructions:
- Cast on: Start by casting on 80 stitches onto your double-pointed needles.
- Ribbing: Knit 1 stitch, purl 1 stitch in a rib pattern for the first 2 inches.
- Main body: Switch to knitting in stockinette stitch for the next 4 inches. Knit all stitches on the right side rows and purl all stitches on the wrong side rows.
- Decrease: Decrease 8 stitches evenly across the next row by knitting 2 stitches together. This will bring your total stitch count down to 72.
- Pointed top: Continue knitting in stockinette stitch until the hat measures 5 inches from the cast-on edge.
- Shaping the point: To create the pointed top of the hat, begin by dividing the stitches onto 3 double-pointed needles. You will have 24 stitches on each needle.
- Decrease rounds: Knit 2 stitches together at the beginning of each needle. You will now have 16 stitches on each needle.
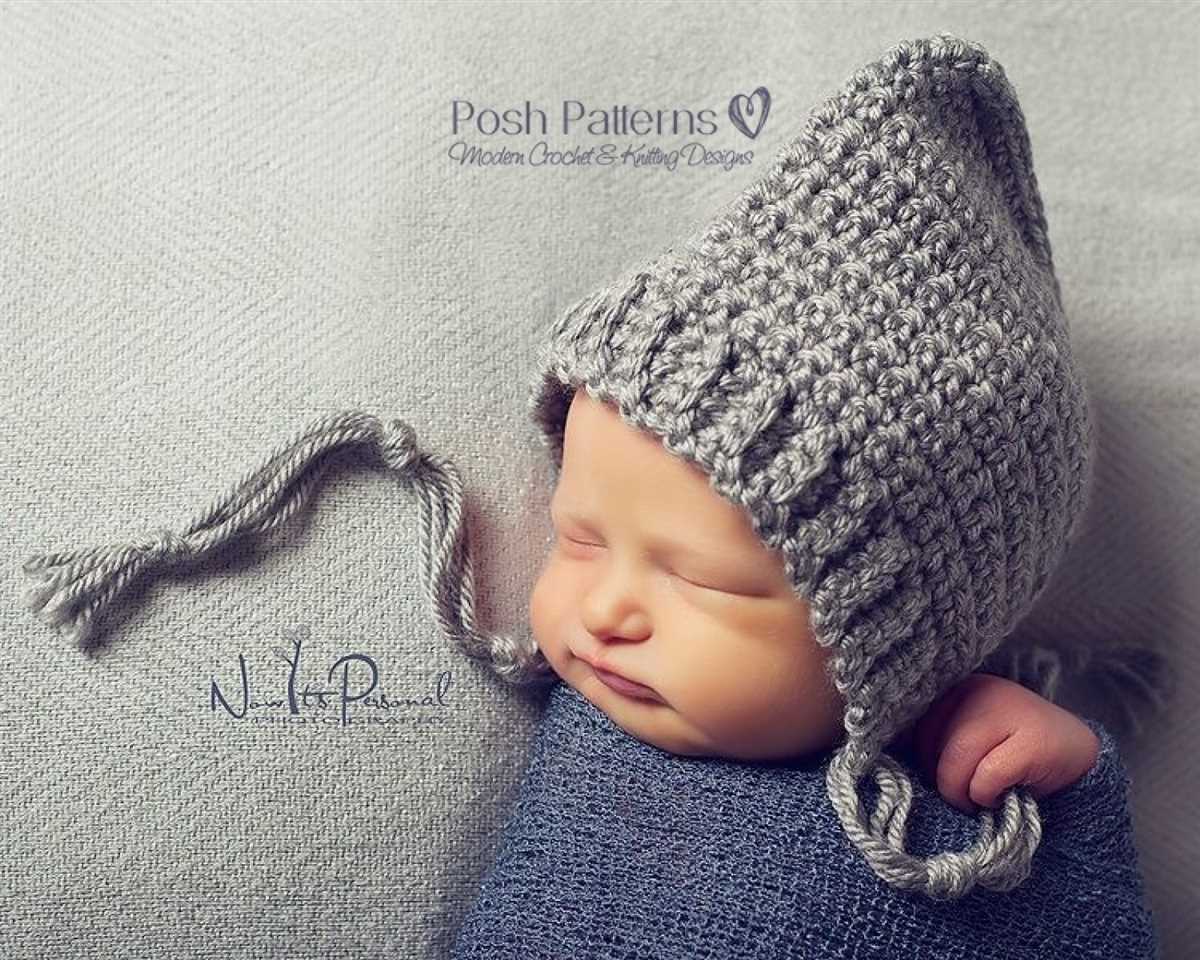
- Tassel: Cut a piece of yarn about 8 inches long and use it to tie a tassel at the top of the hat. You can also add additional tassels to the corners, if desired.
- Finishing: Weave in any loose ends and trim the excess yarn. Your pixie hat is now ready to be worn or gifted to someone special!
Knitting a pixie hat is a fun and rewarding project that can be completed in just a few hours. You can customize your hat by using different colors or adding embellishments like bows or buttons. Whether you are a beginner knitter or an experienced crafter, this step-by-step guide will help you create a beautiful pixie hat that will be treasured for years to come.
Choosing the Right Yarn and Needles for Your Pixie Hat
When it comes to knitting a pixie hat, choosing the right yarn and needles is essential to achieve the desired look and fit. The type of yarn you select will determine the warmth, texture, and overall appearance of the hat, while the size of your needles will determine the gauge and the size of the finished product.
Yarn: For a cozy and soft pixie hat, it is recommended to choose a yarn that is warm and has good insulation properties, such as wool or alpaca. These natural fibers provide excellent warmth and breathability, ensuring that the hat will be comfortable to wear in different weather conditions. Additionally, these fibers also have great stitch definition, allowing any patterns or textures to stand out beautifully.
Needles: The choice of needles will depend on the thickness of the yarn and the desired gauge. For thicker yarns, such as chunky or bulky, it is best to use larger size needles to create a looser fabric, resulting in a more relaxed and slouchy fit. On the other hand, finer yarns, like fingering or sport weight, will require smaller size needles to achieve a tighter gauge and a more fitted hat. It is important to check the yarn label for recommended needle sizes and to make a gauge swatch before starting your project to ensure the right fit.
Other factors to consider when choosing needles include the material of the needles and your personal preference. Metal or wooden needles are commonly used for knitting hats as they provide a smooth surface for easy stitch movement. Circular needles are often preferred for creating hats as they allow for seamless knitting in the round, avoiding the need for a seam in the finished product.
In conclusion, selecting the appropriate yarn and needles for your pixie hat is crucial in achieving the desired look and fit. By considering the warmth, texture, and gauge, as well as your personal preference, you can create a beautiful and comfortable hat that will keep you cozy in style.
Understanding the Basic Stitches for Knitting a Pixie Hat
If you are interested in knitting a pixie hat, it is important to understand the basic stitches involved in the process. These stitches will form the foundation of your hat and determine its overall look and feel. Whether you are a beginner or an experienced knitter, having a solid understanding of these stitches will ensure that you are able to create a beautiful and well-fitting pixie hat.
One of the most important stitches to master is the knit stitch. This stitch forms the basis of most knitting projects, including the pixie hat. To knit a stitch, insert the right needle into the first stitch on the left needle, from left to right, and wrap the yarn around the right needle. Then pull the right needle through the stitch, creating a new stitch on the right needle. Repeat this process for each stitch in the row.
In addition to the knit stitch, the purl stitch is another essential stitch for knitting a pixie hat. The purl stitch creates a textured surface on the fabric, which can add visual interest to your hat. To purl a stitch, insert the right needle into the first stitch on the left needle, from right to left, and wrap the yarn around the right needle. Then pull the right needle through the stitch towards you, creating a new stitch on the right needle. Repeat this process for each stitch in the row.
Some other important stitches to be aware of for knitting a pixie hat include:
-
Knit 2 together (k2tog): This stitch is used to decrease the number of stitches in a row and shape the hat. To k2tog, insert the right needle into the next two stitches on the left needle, from left to right, and knit them together as if they were one stitch.
-
Purl 2 together (p2tog): Similar to k2tog, this stitch is used to decrease stitches in a row. To p2tog, insert the right needle into the next two stitches on the left needle, from right to left, and purl them together as if they were one stitch.
-
Yarn over (yo): This stitch is used to create an eyelet or an increase in the number of stitches. To yarn over, bring the yarn to the front of the work (if knitting) or the back of the work (if purling), then wrap the yarn around the right needle before continuing with the next stitch.
By understanding and practicing these basic stitches, you will be well-equipped to tackle any pixie hat knitting pattern and create a beautiful and unique accessory for yourself or someone you love.
Casting On and Creating the Brim of the Pixie Hat
When starting to knit a pixie hat, the first step is to cast on the desired number of stitches. This will determine the circumference of the hat and can be adjusted depending on the size and age of the recipient. A common cast on method for a pixie hat is the long-tail cast on. This method creates a stretchy and neat edge, which is especially important for the brim of the hat.
To begin the long-tail cast on, you will need to estimate the length of the yarn tail needed. This can be done by multiplying the desired number of stitches by the estimated length per stitch. Once you have the desired length, make a slip knot at the end of the yarn and place it on the knitting needle. Hold the knitting needle in your right hand and the yarn tail in your left hand.
Step 1: With the right needle, insert it into the slip knot from front to back, making sure the needle is behind the yarn tail.
Step 2: Using your index finger and thumb of your left hand, hold the working yarn (the yarn attached to the yarn ball) and the yarn tail together, forming a “V” shape.
Step 3: Bring the right needle under the yarn tail and up through the “V” shape formed by the working yarn and yarn tail.
Step 4: Drop the yarn tail and use the right needle to pull the working yarn through the “V” shape, creating a new stitch on the right needle.
Repeat steps 1-4 until the desired number of stitches is cast on. Once the stitches are cast on, you can begin creating the brim of the pixie hat. The brim is typically worked in a ribbing pattern, which creates a stretchy and snug fit around the head. A common ribbing pattern for a pixie hat is the k2, p2 rib, where you knit two stitches, then purl two stitches, and repeat this pattern until the end of the row. This creates a textured and elastic brim that will keep the hat secure on the head.
Continue working in the ribbing pattern for the desired length of the brim, usually around 1-2 inches. Once the brim is complete, you can move on to the main body of the pixie hat, where you can experiment with different stitch patterns and colors to create a unique and adorable hat.
Knitting the Body of the Pixie Hat
Once you have completed the ribbing section of the pixie hat, it is time to move on to knitting the body. This is where the hat really takes shape and the characteristic pointy top starts to form.
To begin, you will switch to your main color yarn and continue in the round. You will be working in stockinette stitch for the body of the hat, which means you will knit every round. This creates a smooth and even texture.
Row 1: Knit all stitches in the round. Keep in mind that if you are using double-pointed needles, you will need to distribute your stitches evenly across the needles.
Rows 2-5: Continue knitting all stitches in the round for the next four rows. This will help build the length of the hat.
Keep in mind that you can always adjust the length of the body by adding or subtracting rows. If you want a longer hat, simply knit more rows before moving on to the next section. If you want a shorter hat, knit fewer rows.
One helpful tip is to place a stitch marker after every 10th row. This can help you keep track of the number of rows you have completed and ensure that your hat is symmetrical.
Continue knitting in stockinette stitch until the body of the hat reaches the desired length. Once you are satisfied, you can then move on to shaping the crown of the hat, which will give it its unique pixie shape.
Adding a Pom Pom or Tassel to Your Pixie Hat
Adding a pom pom or tassel to your pixie hat can be a fun and whimsical way to embellish your knitted creation. It adds a playful touch and can make your hat stand out from the crowd. Whether you choose to make a pom pom or a tassel, here are a few steps to help you get started.
1. Making a Pom Pom
To make a pom pom, you will need some yarn in the color of your choice, a pom pom maker or cardboard cut into a donut shape, scissors, and a needle and thread. Start by wrapping the yarn around the pom pom maker or cardboard donut until it is thick and full. The more yarn you wrap, the bigger and fluffier your pom pom will be. Once you are done wrapping, carefully slide the yarn off the maker or donut, keeping it intact. Then, take a piece of yarn and tie it tightly around the center of the wrapped yarn. Next, cut through all the loops on both sides of the center tie. Fluff up the pom pom and trim any uneven strands to shape it into a perfect sphere. Finally, use the needle and thread to securely attach the pom pom to the top of your pixie hat.
2. Adding a Tassel
If you prefer a tassel instead of a pom pom, you will need some yarn, scissors, and a piece of cardboard or a tassel maker. Begin by cutting a piece of cardboard to the desired length of your tassel. For a longer tassel, use a longer piece of cardboard. Then, wrap the yarn around the cardboard, making sure to cover it completely. The more times you wrap the yarn around, the thicker your tassel will be. Once you are satisfied with the thickness, cut the yarn at one end. Slide a separate piece of yarn through the top loops of the wrapped yarn and tie it tightly. This will create the head of the tassel. Finally, cut the loops at the opposite end of the tassel and trim any uneven strands to make it neat and even. Attach the tassel securely to the top corner of your pixie hat using a needle and thread.
Whichever option you choose, adding a pom pom or tassel to your pixie hat is a simple and enjoyable way to personalize your knitting project. It’s a small detail that can make a big impact and showcase your creativity. So go ahead and experiment with different colors and sizes to create a unique and playful hat that will be sure to turn heads!
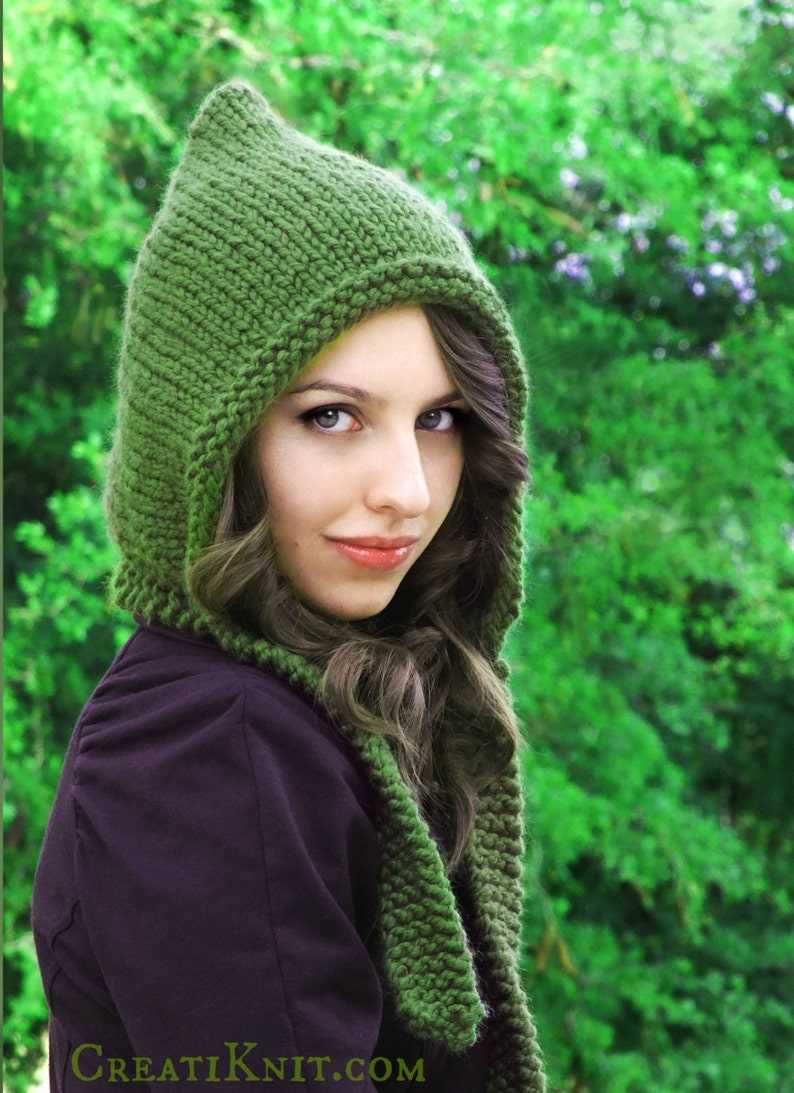
Shaping the Top of the Pixie Hat
When knitting a pixie hat, shaping the top is an important step in creating the characteristic point at the crown. The shaping involves decreasing stitches gradually to form a cone shape, allowing the hat to fit snugly on the head. Here is a step-by-step guide on how to shape the top of a pixie hat:
1. Begin Decreasing Stitches:
To start shaping the top of the pixie hat, you will need to decrease stitches in each round. This can be done by knitting two stitches together (k2tog) at regular intervals. The number of stitches to be decreased will depend on the pattern and desired fit. Follow the pattern instructions to determine the appropriate number of decreases and the spacing between them.
2. Continue Decreasing:
As you progress with the knitting, you will need to continue decreasing stitches in each round. The frequency of the decreases may change as you reach the top of the hat. Pay attention to the pattern instructions to know when to adjust the decrease rate. In some cases, the decreases may be spaced closer together as you approach the crown to create a more pronounced point.
It is important to keep track of the number of stitches remaining after each round of decreasing to ensure you are following the pattern correctly. Use stitch markers or a row counter to help you stay organized.
3. Finishing the Crown:
Once you have decreased stitches to the point where only a few remain, you will need to finish the crown of the pixie hat. This is typically done by threading the yarn through the remaining stitches and pulling tight to close the top. Secure the yarn with a knot and weave in any loose ends to prevent them from unraveling.
After shaping the top of the pixie hat, you can proceed to finish the brim or add any additional embellishments according to the pattern instructions. Remember to check your gauge throughout the knitting process to ensure the hat will fit correctly. With the top properly shaped, you will have a charming and stylish pixie hat ready to keep your head warm in style.
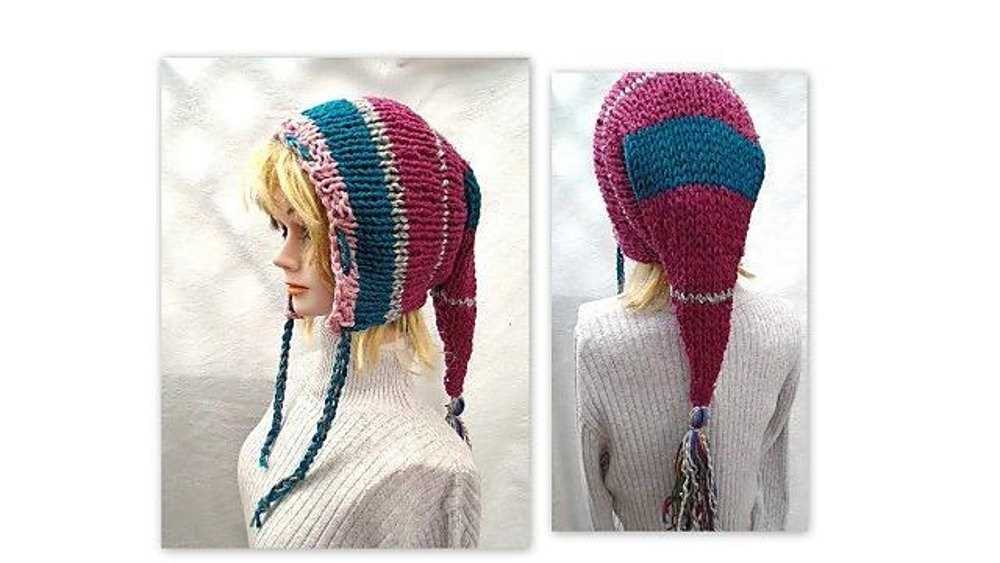
Creating the Ear Flaps for Your Pixie Hat
The ear flaps are an essential part of the pixie hat design, providing extra warmth and style. To create the ear flaps, you will need to follow a specific knitting pattern that includes specific instructions for shaping and attaching the flaps to the main hat. Here is a step-by-step guide to help you create the perfect ear flaps for your pixie hat.
1. Cast on the required number of stitches
Begin by casting on the required number of stitches for each ear flap. This will depend on the size and design of your pixie hat. Be sure to check the knitting pattern for the exact number of stitches needed.
2. Knit the ear flap
Once you have cast on the stitches, you will be knitting the ear flap in a certain stitch pattern. This may include knitting in stockinette stitch, seed stitch, ribbing, or any other pattern specified in the knitting pattern. Follow the instructions and knit the ear flap until it reaches the desired length.
3. Shape the ear flap
After knitting the ear flap to the desired length, you will need to shape it to create the distinctive pixie hat look. This usually involves decreasing or increasing stitches at the edges of the flap to create a pointed or rounded shape. Follow the specific instructions in the knitting pattern to shape the ear flap correctly.
4. Repeat for the second ear flap
Once you have completed the first ear flap, repeat the process to create the second ear flap. Make sure to match the length and shape of the first flap for symmetry.
5. Attach the ear flaps to the main hat
After both ear flaps are complete, it’s time to attach them to the main body of the hat. This can be done through sewing or knitting the flaps onto the sides of the hat, depending on the pattern instructions. Take care to position the flaps evenly and securely to ensure they stay in place while wearing the hat.
By following these steps and carefully following the provided knitting pattern, you will be able to create beautiful and functional ear flaps for your pixie hat. Whether you’re knitting for yourself or as a gift, the additional warmth and style of the ear flaps will make your hat stand out and keep you cozy in colder weather.
Decreasing and Finishing the Ear Flaps
Once you have reached the desired length for your ear flaps, it’s time to start decreasing to create the rounded shape.
To decrease, you will need to follow the specific instructions provided in the knitting pattern. Typically, this involves knitting two stitches together, known as a knit two together (k2tog) decrease, at specific points in the row. This will help to taper the ear flaps and create a more fitted shape.
Continue following the pattern instructions for decreasing until you have the required number of stitches remaining for each ear flap. At this point, you may need to switch to double-pointed needles if the number of stitches becomes too small to fit comfortably on your circular needle or straight needles.
Once all decreases have been made and the desired number of stitches remain, you can start finishing the ear flaps. This typically involves binding off the stitches to create a neat edge. Follow the pattern instructions for the specific method of binding off recommended, whether it’s a basic bind off or a more decorative edge.
After binding off, you may need to weave in any loose ends or tails of yarn that were created during the knitting process. This will help to give the ear flaps a finished appearance and prevent them from unraveling. Weaving in the ends involves using a yarn needle to thread the yarn through the stitches on the wrong side of the knitting, being careful to hide the yarn as much as possible.
At this point, the ear flaps should be complete and ready to be attached to the main body of the hat. Follow the pattern instructions for attaching the ear flaps, whether it involves sewing them on or picking up stitches along the edge of the hat to join them seamlessly.
Adding Embellishments to Your Pixie Hat
Once you’ve completed knitting your pixie hat, you may want to add some extra embellishments to make it even more unique and eye-catching. There are several options for adding flair to your hat, from simple to more complex designs. Here are some ideas to get you started:
Pom-poms
Adding a pom-pom to the top of your pixie hat is a classic and playful option. You can use a contrasting yarn color to create a pop of color, or match it to the main color of your hat for a more coordinated look. Pom-poms can be made using a pom-pom maker or by hand, and you can experiment with different sizes to achieve the desired effect.
Buttons
Another way to add interest to your pixie hat is by sewing on buttons. You can choose buttons in a variety of shapes, sizes, and colors to suit your style. Sewing them onto the brim of the hat or along the sides can create a decorative element that also serves a functional purpose. Just make sure to securely attach the buttons so they don’t come loose during wear.
Embroidery
For those who enjoy sewing, adding embroidery to your pixie hat can create a beautiful and intricate design. You can use different colored threads to create patterns, flowers, or any other design that inspires you. Embroidery can be done on the brim, the sides, or even the back of the hat, depending on the look you’re going for.
- Sewing on patches or appliques
- Adding ribbons or bows
- Inserting beads or sequins
- Using fabric paint to create designs
Ultimately, the choice of embellishments for your pixie hat is up to you and your personal style. Don’t be afraid to experiment and get creative to make your hat truly one-of-a-kind!
Blocking and Finishing Your Pixie Hat
Once you have finished knitting your pixie hat, it is important to block and finish it to give it the perfect shape and fit. Blocking helps to even out the stitches and give the hat a professional finish.
To block your pixie hat, you will first need to wash it gently in lukewarm water using a mild detergent. Rinse it thoroughly to remove any soap residue. Then, gently squeeze out excess water and lay the hat flat on a clean towel.
Using blocking pins or stainless steel T-pins, shape the hat to the desired size and stretch it slightly to ensure a snug fit. Place the pins along the edges and top of the hat to hold it in place while it dries. If you want the brim to have a curved shape, you can shape it by folding it over and pinning it down.
Leave the hat to dry completely, preferably in a well-ventilated area. This may take a day or two depending on the thickness of the yarn. Once the hat is dry, carefully remove the pins and admire your beautifully blocked pixie hat.
To finish your pixie hat, you can add some decorative touches. You can attach a pom-pom or tassel on top of the hat for a fun and trendy look. You can also add a contrasting color trim along the brim or use a different stitch pattern for the last few rows to add some texture.
Remember to weave in any loose ends and make sure all seams are secure before wearing your pixie hat. With blocking and finishing, your pixie hat will be ready to keep you warm and stylish all winter long!
Tips and Tricks for Knitting a Perfect Pixie Hat
Knitting a pixie hat can be a fun and rewarding project, but it can also present some challenges. Here are some tips and tricks to help you knit a perfect pixie hat:
1. Choose the Right Yarn
When knitting a pixie hat, it’s important to choose the right yarn. Opt for a soft and comfortable yarn that will be gentle on a baby’s skin. Look for a yarn that is easy to work with and has good stitch definition to show off the pattern.
2. Use the Right Needles
Using the right needles can make a big difference in the outcome of your pixie hat. Choose needles that are the recommended size for your yarn to ensure that your stitches are even and the hat has the right fit. Circular needles are often a good choice for knitting a hat as they can hold a larger number of stitches and make it easier to manage the decreasing pattern.
3. Gauge Swatch
Before you start knitting the actual hat, it’s important to make a gauge swatch. This will help you determine if your tension is correct and ensure that the hat fits properly. If your gauge doesn’t match the pattern, you may need to adjust your needle size or yarn choice.
4. Pay Attention to Stitch Markers
Using stitch markers can make it easier to keep track of your stitches and decreases. Place stitch markers at the beginning and end of each section to help you follow the pattern and remember where to make your decreases.
5. Blocking

Once you have finished knitting your pixie hat, blocking can help to even out your stitches and give the hat a professional finish. Follow the instructions for blocking your specific yarn, and allow the hat to dry completely before wearing or gifting it.
6. Get Creative

While the basic pixie hat pattern is a great starting point, don’t be afraid to get creative and add your own personal touch. You can experiment with different stitch patterns, colors, or embellishments to make your pixie hat even more unique.
By following these tips and tricks, you’ll be well on your way to knitting a perfect pixie hat that is not only adorable but also comfortable and well-fitting. Happy knitting!