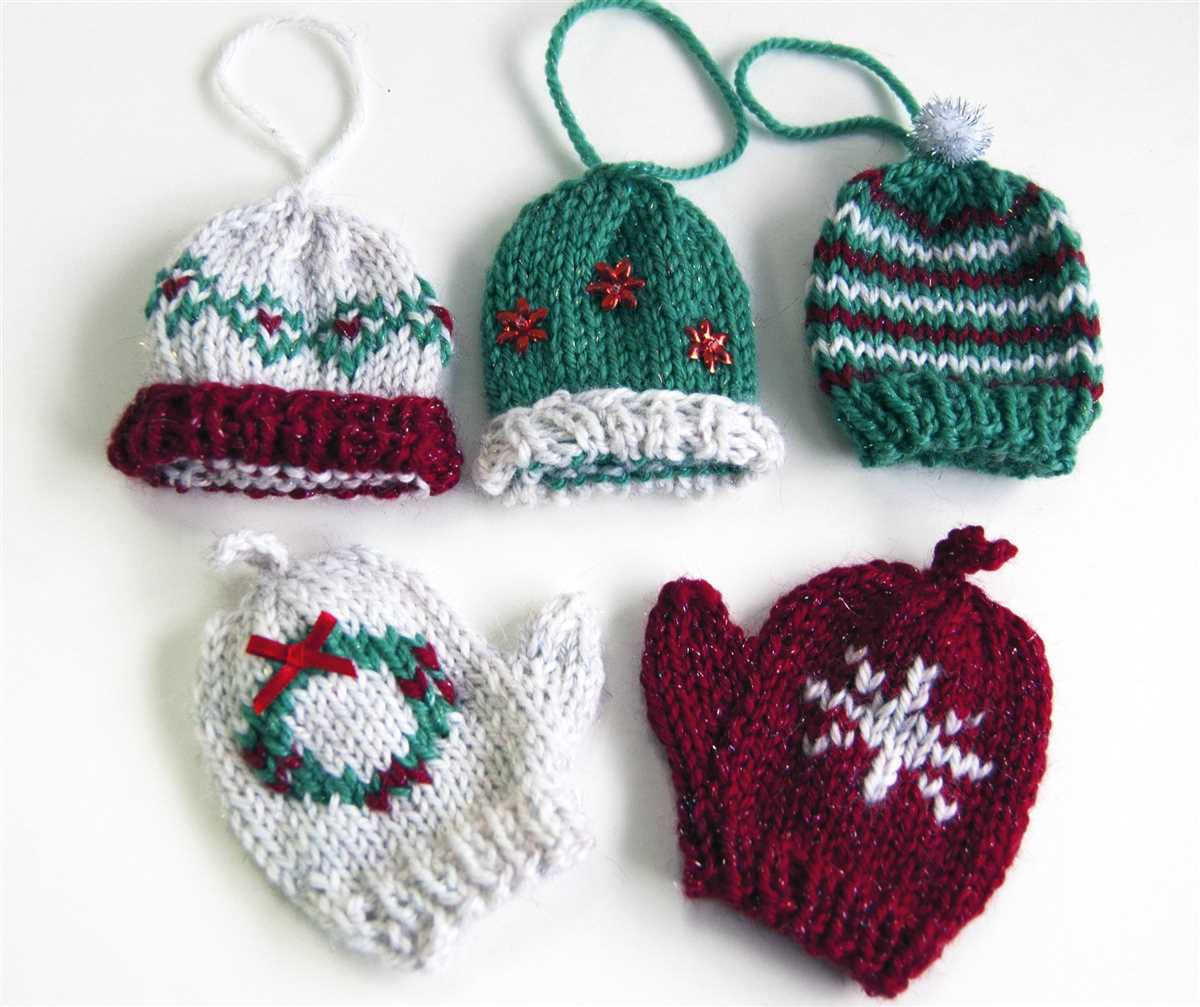
Looking for a festive and adorable addition to your holiday decorations? These mini knit mitten ornaments are the perfect DIY project to add some charm to your Christmas tree! Made with basic knitting techniques, this pattern is suitable for knitters of all skill levels.
These mini mitten ornaments are not only cute but also functional! They can be used as traditional ornaments, but they also make great gifts and stocking stuffers. Knit them in different colors to match your holiday color scheme or personalize them with initials or small embellishments.
This pattern uses small amounts of yarn and only requires basic knitting supplies, such as knitting needles and a tapestry needle for seaming. The mitten ornaments are knit flat and then seamed along the edges. The pattern includes written instructions as well as a chart for those who prefer visual aids.
Mini Knit Mitten Ornaments Pattern
The Mini Knit Mitten Ornaments Pattern is a delightful way to add a touch of warmth and coziness to your holiday decorations. These adorable little mittens are quick and easy to knit, making them a perfect project for beginners or for those looking for a fun and portable project to work on during the busy holiday season.
To create these charming mitten ornaments, you will need a set of double-pointed knitting needles, a small amount of yarn in your choice of colors, and a darning needle for finishing. The pattern is worked in the round, starting at the cuff and working your way up to the tip of the mitten. The pattern also includes instructions for a loop at the top of the mitten so you can easily hang it on your tree or wreath.
Materials:
- Double-pointed knitting needles
- Yarn in your choice of colors
- Darning needle
Instructions:
- Cast on 24 stitches evenly onto your double-pointed needles.
- Divide the stitches evenly onto three needles (8 stitches per needle) and join in the round, being careful not to twist the stitches.
- Knit 2, purl 2 ribbing for the cuff of the mitten, repeating this pattern for 1 inch.
- Switch to stockinette stitch (knit every round) and continue until the mitten measures 2 inches from the cuff.
- Begin shaping the thumb gusset by increasing 1 stitch at the beginning of the next round and 1 stitch at the end of the round. Continue in stockinette stitch until the gusset measures 1 inch.
- Next round: Knit to the last 3 stitches on the needle, knit 2 together, knit 1. Slip the next 3 stitches onto a stitch holder or waste yarn.
- Knit the remaining stitches in the round until the mitten measures approximately 4 inches from the cuff.
- Switch back to 2×2 ribbing (knit 2, purl 2) for 1 inch.
- Bind off using a stretchy bind off method.
- Weave in any loose ends and block your mitten ornaments if desired.
Finishing:
Thread a length of yarn through the top of the mitten and tie a knot to create a loop for hanging. Embellish your mitten ornaments with buttons, beads, or embroidery if desired.
These mini knit mitten ornaments are perfect for adding a charming touch to your holiday decor. Hang them on your tree, use them to adorn your mantel, or give them as thoughtful homemade gifts to friends and family. No matter how you choose to use them, these adorable little mittens are sure to bring warmth and cheer to your holiday season.
Materials needed for mini knit mitten ornaments
If you’re interested in creating your own mini knit mitten ornaments, you’ll need a few basic materials to get started. These adorable ornaments are the perfect addition to your holiday decor or can make wonderful handmade gifts for your loved ones. Here is a list of everything you’ll need:
1. Yarn:
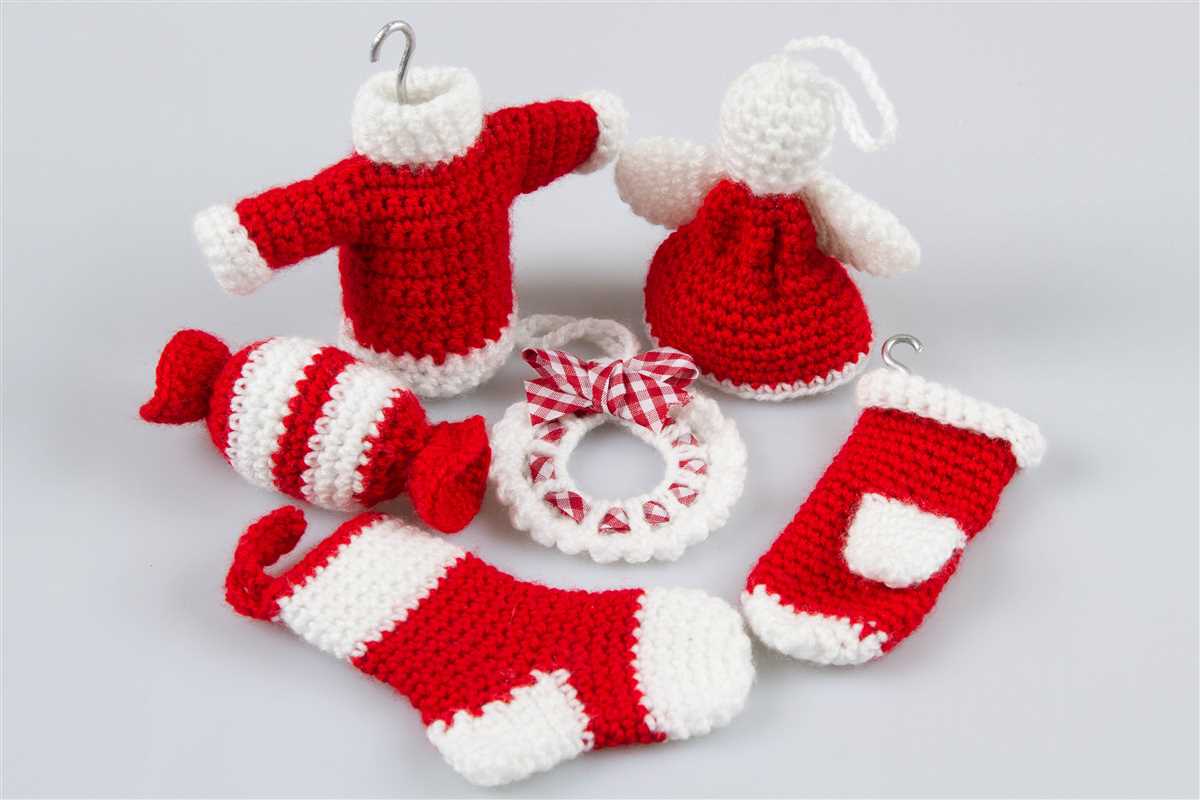
To make your mini knit mitten ornaments, you’ll need a small amount of yarn in the colors of your choice. You can opt for traditional holiday colors like red, green, and white, or get creative with a variety of different shades. Consider using different colors for each mitten to add a playful touch to your ornaments.
2. Knitting needles:
A pair of knitting needles is essential for this project. Choose the appropriate size depending on the thickness of your yarn to ensure that your stitches are tight and secure. Circular knitting needles or double-pointed needles can be used, depending on your preference and knitting technique.
3. Scissors:
A good pair of scissors is a must-have for any knitting project. You’ll need them to cut the yarn when changing colors or finishing off your mitten ornaments. Make sure they are sharp and easy to handle to ensure clean and precise cuts.
4. Tapestry needle:
A tapestry needle, also known as a yarn needle, is needed for weaving in loose ends and sewing any small details onto your mitten ornaments. Make sure the eye of the needle is large enough to accommodate the thickness of your yarn.
5. Stitch markers:
Stitch markers can be helpful when keeping track of your stitches, especially if you are following a specific pattern. These small, colored rings can be slipped onto your knitting needles to mark specific points in your pattern or to divide sections of your work.
6. Stuffing:
To give your mini knit mitten ornaments a three-dimensional shape, you’ll need some stuffing material. This can be polyester fiberfill, cotton balls, or even recycled scraps of yarn or fabric. Choose a material that is soft and lightweight to ensure a nice, plump result.
Once you have gathered all of these materials, you’ll be ready to start knitting your mini mitten ornaments. Remember to have fun with your color choices and enjoy the process of creating these adorable holiday decorations!
Choosing the right yarn for your mini knit mitten ornaments
When it comes to knitting mini mitten ornaments, choosing the right yarn is essential for creating beautiful and durable decorations. The yarn you select will determine the overall look and feel of your ornaments, as well as their ability to withstand wear and tear. So, how do you choose the perfect yarn for your mini knit mitten ornaments?
First and foremost, consider the weight and thickness of the yarn. Since you are knitting small ornaments, you will want to use a light or medium weight yarn. This will ensure that your mittens are not too bulky or heavy, and will hang nicely on your Christmas tree. Choose a yarn that is smooth and pliable, as this will make it easier to work with and give your mittens a polished finish.
- Fiber: Opt for natural fibers such as wool or cotton, as they are more resilient and will provide better stitch definition. Synthetic fibers like acrylic can work as well, but they may not have the same level of durability.
- Color: Consider the color scheme of your Christmas tree and decorations. Choose yarn in festive shades of red, green, white, or metallics like gold and silver. You can also opt for variegated yarns with multiple colors to add visual interest to your ornaments.
- Texture: Think about the texture you want your mittens to have. Do you prefer a smooth and sleek finish, or something more textured? Depending on your preference, you can choose yarn with a subtle sheen, a fuzzy mohair blend, or even a sparkly metallic thread.
Remember, the yarn you choose for your mini knit mitten ornaments will greatly impact their appearance and durability. Take the time to explore different options and consider the overall aesthetic you want to achieve. With the right yarn, you can create mini mitten ornaments that are both charming and long-lasting.
Getting started with the mini knit mitten ornaments pattern
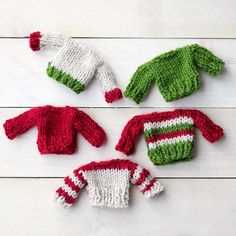
If you’re ready to start making adorable mini knit mitten ornaments, this pattern will guide you through the process. These charming ornaments make the perfect addition to your holiday decorations or can be given as thoughtful handmade gifts.
Materials:
- Yarn: Choose a soft, lightweight yarn in the color of your choice.
- Knitting needles: Use a pair of appropriately sized knitting needles to achieve the desired gauge.
- Tapestry needle: This will be used to weave in the ends of your yarn.
- Scissors: An essential tool for cutting yarn and trimming any loose ends.
Pattern Instructions:
- Cast on your desired number of stitches. This will determine the size of your mini mitten ornament.
- Work in a rib stitch pattern for the cuff of the mitten.
- Switch to stockinette stitch for the hand of the mitten.
- Decrease stitches to shape the top of the mitten.
- Finish off the mitten by binding off all remaining stitches.
- Repeat the pattern to create a matching mitten ornament.
Feel free to customize your mini mitten ornaments by adding embellishments such as buttons, beads, or embroidery. Once you’ve completed the pattern, you can attach a loop of yarn or ribbon to hang your ornaments on your Christmas tree or around your home.
These mini mitten ornaments are the perfect project for beginner knitters or anyone looking for a quick and charming knitting pattern. Have fun experimenting with different yarn colors and designs to create a delightful collection of mini knit mitten ornaments!
Knitting the cuff of the mini knit mitten ornaments
The cuff of the mini knit mitten ornaments is an important and decorative part of the pattern. It adds texture and charm to the finished ornament. To begin knitting the cuff, you will need to cast on the required number of stitches using your preferred cast-on method.
One option for the cuff is the rib stitch pattern. This stitch pattern creates a stretchy cuff that hugs the mitten ornament and helps it stay in place. To knit the rib stitch pattern, alternate between knitting and purling stitches for a set number of rows. This creates the ribbed effect. You can choose how many rows of ribbing you want to knit based on your desired cuff length.
Another option for the cuff is the seed stitch pattern. This stitch pattern creates a textured, bumpy cuff that adds visual interest to the ornament. To knit the seed stitch pattern, alternate between knitting and purling stitches in a specific pattern. For example, you can knit one stitch, purl one stitch, and repeat this pattern across the row. Then, on the next row, you would purl one stitch, knit one stitch, and repeat. This creates the seed stitch pattern. Again, you can choose how many rows of seed stitch you want to knit based on your desired cuff length.
After you have finished knitting the cuff, you can continue on to knit the hand of the mitten ornament. The cuff provides a nice transition between the hand and the cuff and creates a polished look for the ornament. You can experiment with different stitch patterns and yarn colors to customize your mini knit mitten ornaments and make them unique.
Creating the thumb of the mini knit mitten ornaments
When knitting the thumb of the mini knit mitten ornaments, it is important to follow a specific set of instructions to ensure that the thumb is shaped correctly and securely attached to the rest of the mitten.
The first step is to pick up stitches along the side edge of the mitten where the thumb will be placed. This is usually done by inserting the knitting needle into the stitches of the mitten and pulling the yarn through to create new stitches. The number of stitches to be picked up can vary depending on the size of the mitten and the desired width of the thumb.
Once the stitches have been picked up, they are then worked in the round to create the thumb. This is typically done by knitting each stitch in a continuous spiral, without turning the work. It is important to keep track of the beginning of the round to ensure that the thumb is symmetrical.
To shape the thumb, decreases are made at regular intervals. This is usually done by knitting two stitches together, which reduces the total number of stitches and creates a tapered shape. The specific pattern will provide instructions on how often to make decreases and where they should be placed.
Once the desired length of the thumb has been reached, the stitches are either bound off or placed on a stitch holder. This ensures that the thumb is secure and will not unravel. The mini knit mitten ornament is now ready to be completed with any additional embellishments and attached to a tree or other decorative display.
Knitting the palm of the mini knit mitten ornaments
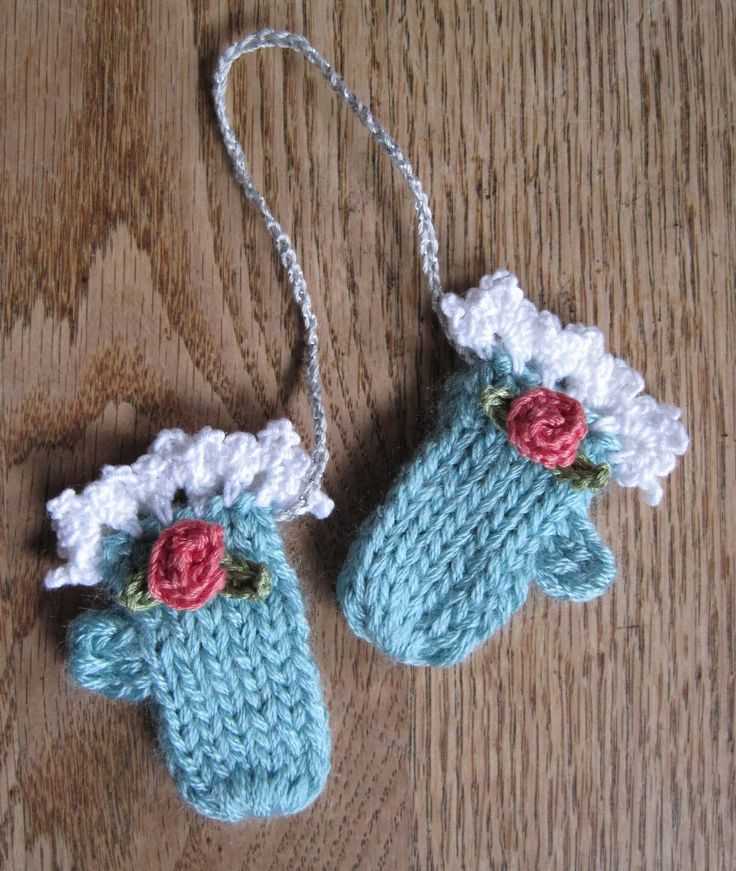
The palm of the mini knit mitten ornaments is an important section to focus on when knitting these adorable decorations. It is where the main design and shaping take place, bringing the mitten to life.
When knitting the palm of the mini mitten, it is essential to follow the pattern instructions carefully. The pattern will guide you through the various stitches, decreases, and shaping techniques required to create the palm. Pay close attention to the stitch count and any specific instructions for the design, as these details can greatly impact the final look of the mitten.
One technique commonly used in knitting the palm of the mini mitten ornaments is the garter stitch. This stitch pattern creates a textured fabric that is both visually appealing and adds extra warmth to the ornament. Pay attention to the tension of your stitches, as an even tension will help ensure a consistent and professional-looking palm.
As you progress through the palm section, make sure to check your work frequently. This will help catch any mistakes or inconsistencies early on, allowing you to correct them before they become more difficult to fix. It’s better to take the time to fix small errors as you go rather than trying to fix them later when the mitten is nearly complete.
Overall, knitting the palm of the mini knit mitten ornaments requires attention to detail, following the pattern instructions, and careful monitoring of your work. By taking the time to knit this section accurately, you can create beautiful and intricate mini mitten ornaments that will delight all who see them. Happy knitting!
Adding the decorative details to the mini knit mitten ornaments
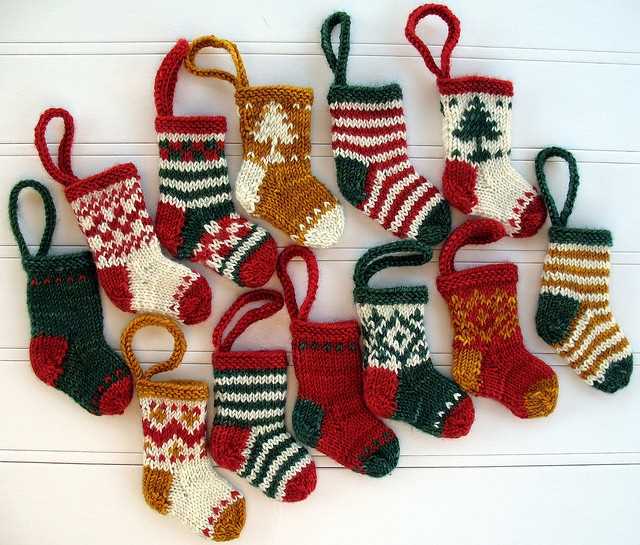
Once you have completed knitting the mini mitten ornaments, it’s time to add the decorative details that will make them truly charming and festive. These details will bring the mittens to life and make them stand out as beautiful holiday decorations. Here are some ways you can add those special touches:
1. Embroidery
Using a contrasting colored yarn or thread, you can embroider various designs onto the mini mittens. This can include simple patterns like snowflakes, stars, or hearts, or you can get creative and personalize each mitten with the recipient’s initials or a special message. Embroidery adds a touch of elegance and intricacy to the ornaments.
2. Beads and sequins
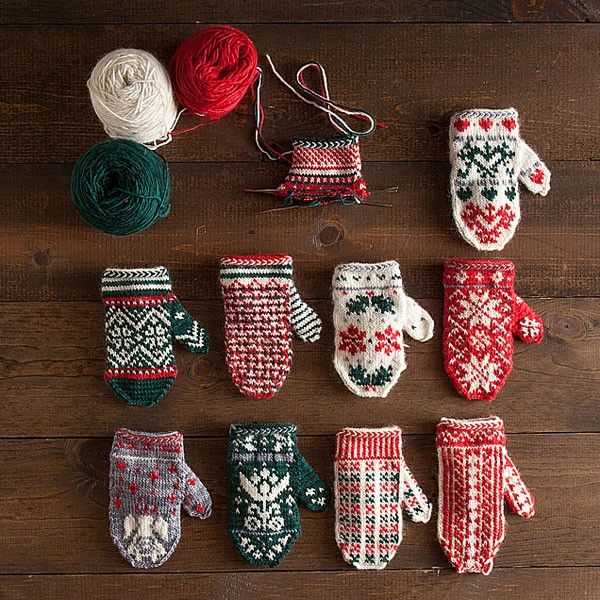
For a touch of sparkle, you can embellish the mini mittens with beads and sequins. Using a needle and thread, carefully attach these decorative elements to the mittens, either following a pattern or in a random arrangement. The beads and sequins will catch the light and make the ornaments shine, adding an extra festive touch to your holiday decor.
3. Ribbon or twine loops
To easily hang the mini mitten ornaments on your tree or around your home, you can attach small loops made of ribbon or twine to the top of each mitten. Simply thread the ribbon or twine through the stitches at the top of the mitten and tie a knot. This will allow you to easily hang the ornaments and create a cohesive display.
4. Pom-poms or tassels
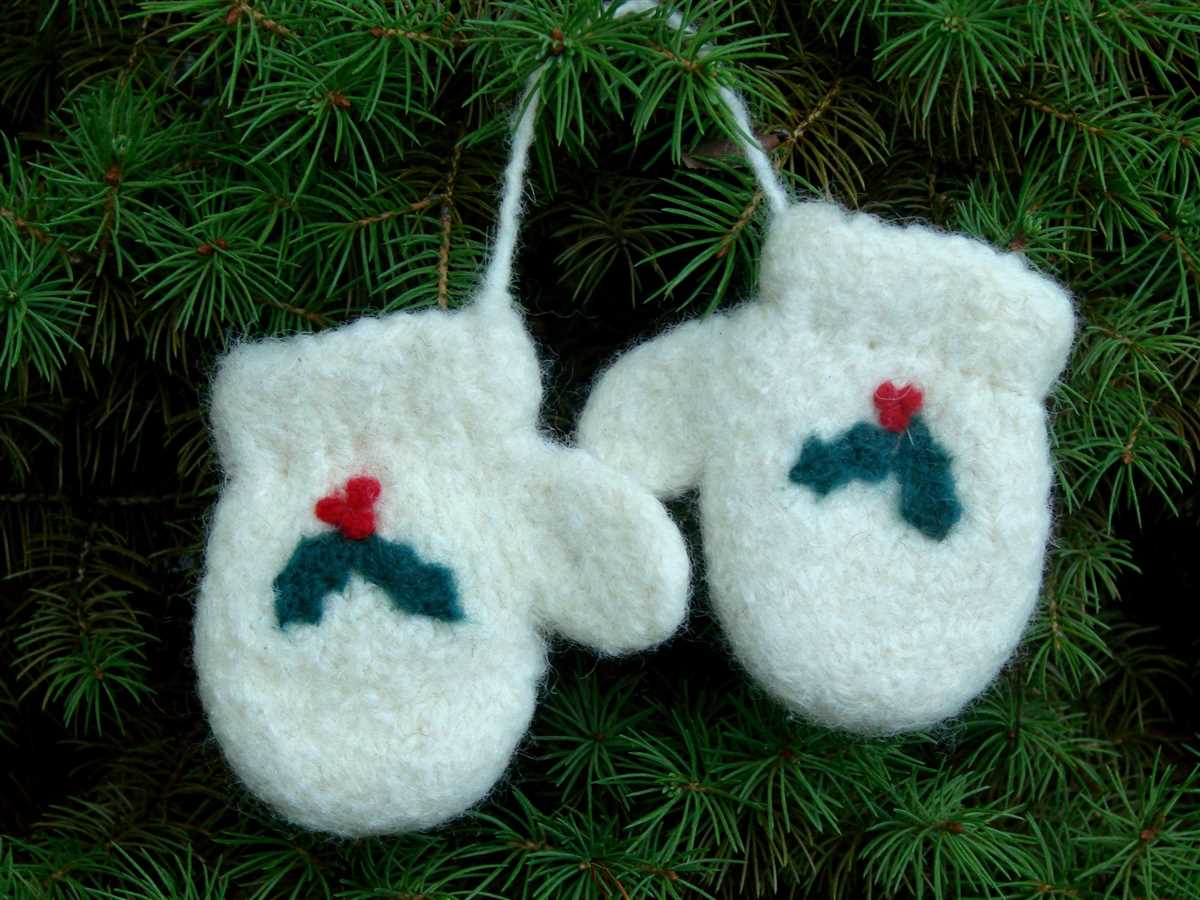
Another fun way to decorate the mini mittens is by adding pom-poms or tassels to them. You can either make your own pom-poms or tassels using yarn, or you can buy pre-made ones in various colors and sizes. Attach these decorative elements to the cuff of each mitten for an extra touch of whimsy and playfulness.
With these decorative details added, your mini knit mitten ornaments will be ready to bring a festive and cozy vibe to your holiday decorations. Whether you hang them on your tree, use them as gift toppers, or display them throughout your home, these adorable ornaments will add a charming touch to your holiday decor.
Shaping the mini knit mitten ornaments
When knitting the mini mitten ornaments, shaping is an important step to create the desired shape and fit. The shaping techniques used in this pattern include increasing and decreasing stitches, as well as shaping the thumb area.
Increasing stitches
To increase stitches, you can use various methods such as knitting into the front and back of a stitch, or making a yarn over. In this pattern, increasing stitches is done to create the thumb area of the mitten. By increasing stitches in a specific area, you can create the shape of the thumb without interrupting the overall pattern of the mitten.
Decreasing stitches
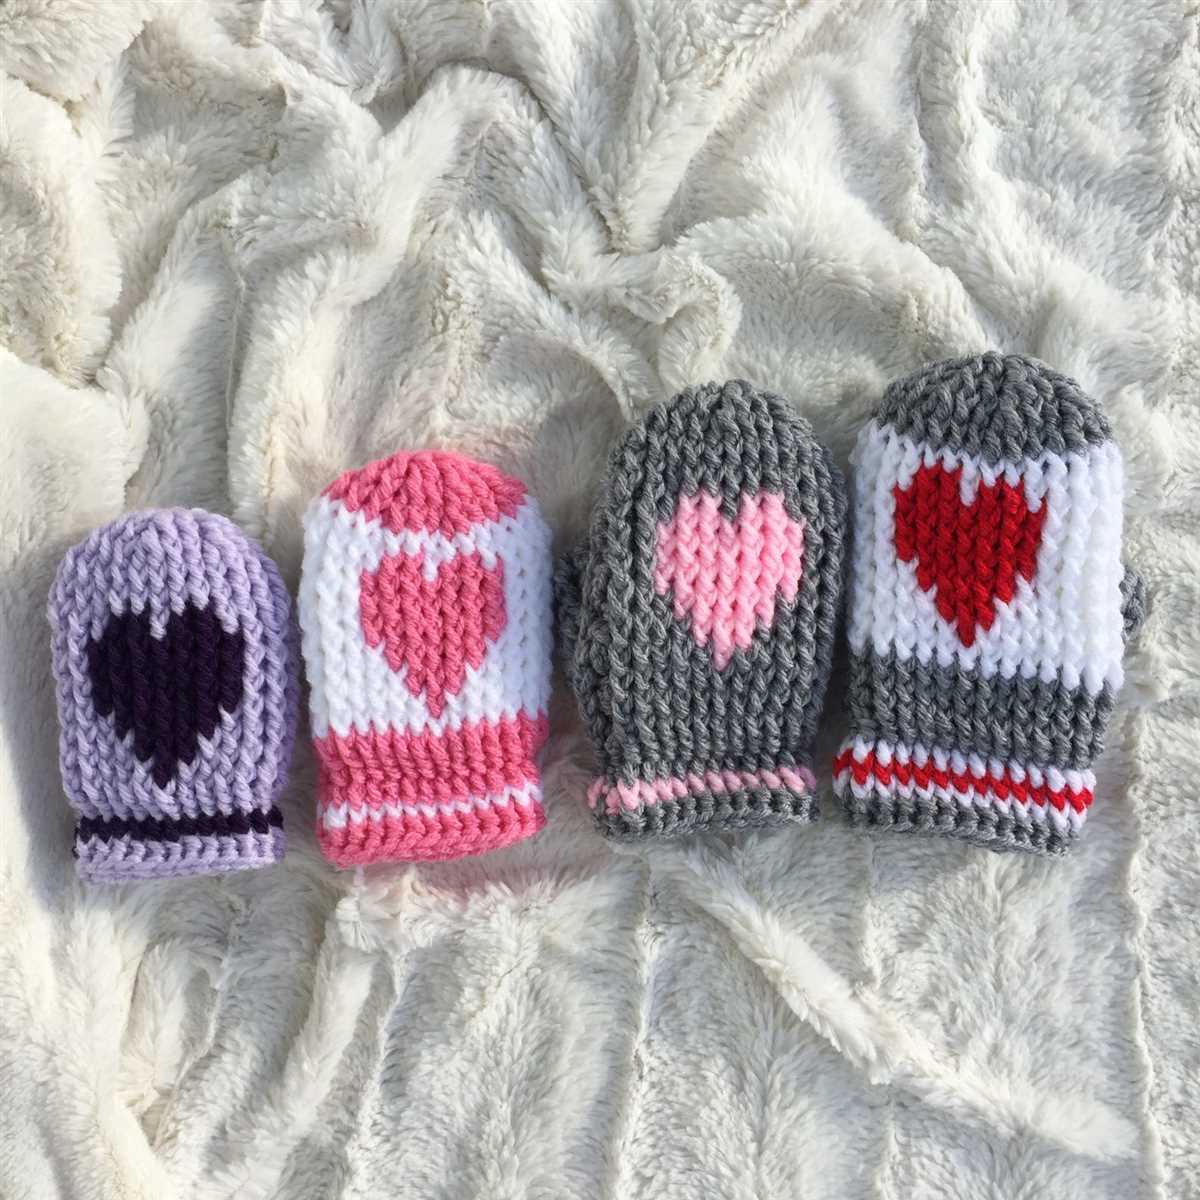
Decreasing stitches is an essential part of shaping the mitten. It is done to narrow the mitten down towards the fingers and create the tapering shape. In this pattern, decreasing stitches are used at the top of the mitten to shape the pointed end. Common decreasing techniques include knitting two stitches together or slipping stitches and passing them over.
Shaping the thumb area
In order to create the thumb area, the pattern will instruct you to place a certain number of stitches on hold. This enables you to knit the body of the mitten without those stitches, leaving a gap for the thumb. Once the body of the mitten is complete, you will then pick up the held stitches and knit the thumb separately.
- Start by placing the specified number of stitches on a stitch holder or spare piece of yarn.
- Continue knitting the remaining stitches for the mitten body.
- Once the body of the mitten is complete, transfer the held stitches back onto the needle.
- Follow the instructions for knitting the thumb, which may involve decreasing stitches to create a rounded shape.
- Finish off the thumb area and secure any loose ends.
By shaping the mini knit mitten ornaments using these techniques, you can create charming and realistic-looking ornaments that will add a festive touch to your holiday decor.
Finishing touches for your mini knit mitten ornaments
Once you have finished knitting your mini mitten ornaments, there are a few final touches you can add to make them even more charming and festive. These small details will give your ornaments that extra special touch and make them stand out on your Christmas tree or as decorations around your home.
Add a decorative border
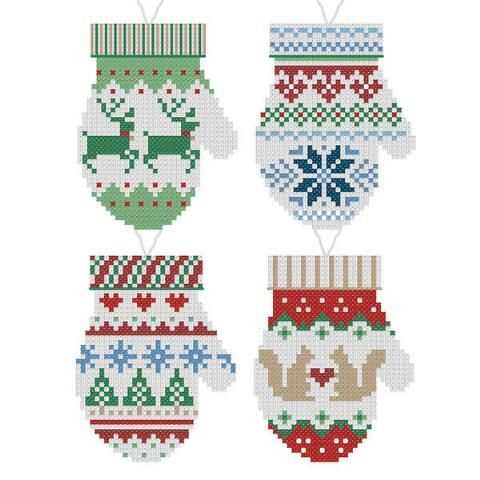
To add a decorative border to your mini knit mitten ornaments, you can use a contrasting color yarn to create a neat and tidy edge. This can be done by picking up stitches along the edges of the mitten and knitting a few rows in the contrasting color. You can also use a crochet hook to create a simple scalloped edge or picot border.
Embroider designs or initials
For a personalized touch, you can embroider designs or initials onto your mini knit mitten ornaments. This can be done using embroidery floss or yarn in a complementary color. Choose a simple design, such as a snowflake, heart, or star, and use a straight stitch or backstitch to create the design. You can also add initials or names to the front or back of the mitten using a small font or script.
Attach small buttons or beads
Another way to add embellishments to your mini knit mitten ornaments is by attaching small buttons or beads. This can be done by sewing them onto the front of the mitten in a decorative pattern or scattering them randomly for a whimsical look. Choose buttons or beads in colors that match your mitten or go for contrasting colors to make them pop.
Hang with a festive ribbon or twine
To finish off your mini knit mitten ornaments, you can attach a festive ribbon or twine for hanging. Choose a color that matches the overall theme of your ornaments and tie it securely to the top of the mitten. You can also add a small bow or knot to the top for added flair. This will make it easy to hang your ornaments on your Christmas tree or around your home.
Displaying and gifting your mini knit mitten ornaments
If you have created a collection of mini knit mitten ornaments, you might be wondering how best to display and gift them. These adorable little decorations are perfect for adding a festive touch to your home or for giving as thoughtful handmade gifts.
One way to display your mini knit mitten ornaments is to hang them on a mini Christmas tree. You can use a small tabletop tree or even a branch from your backyard. Attach the mittens to the tree using thin ribbon or twine, and arrange them in a visually appealing pattern. This will create a charming and unique display that is sure to catch the eye of all your guests.
If you prefer a more traditional display, you can place the mini knit mitten ornaments in a decorative bowl or basket. This allows you to showcase your creations while also keeping them organized and easily accessible. Arrange the mittens in a neat and tidy way, and add some festive touches like pinecones or ornaments to enhance the overall look.
When it comes to gifting your mini knit mitten ornaments, there are several options to consider. You can attach them to a gift package as an extra little decoration or tie them onto a bottle of wine or a jar of homemade jam. Another idea is to create a set of three or four mittens and package them in a clear plastic bag with a ribbon, making them perfect for a stocking stuffer or Secret Santa gift.
Finally, don’t forget to include a little note explaining that the mittens are handmade with love. This adds a personal touch and lets the recipient know that you put time and effort into creating something special just for them.
Some ideas for displaying and gifting your mini knit mitten ornaments include:
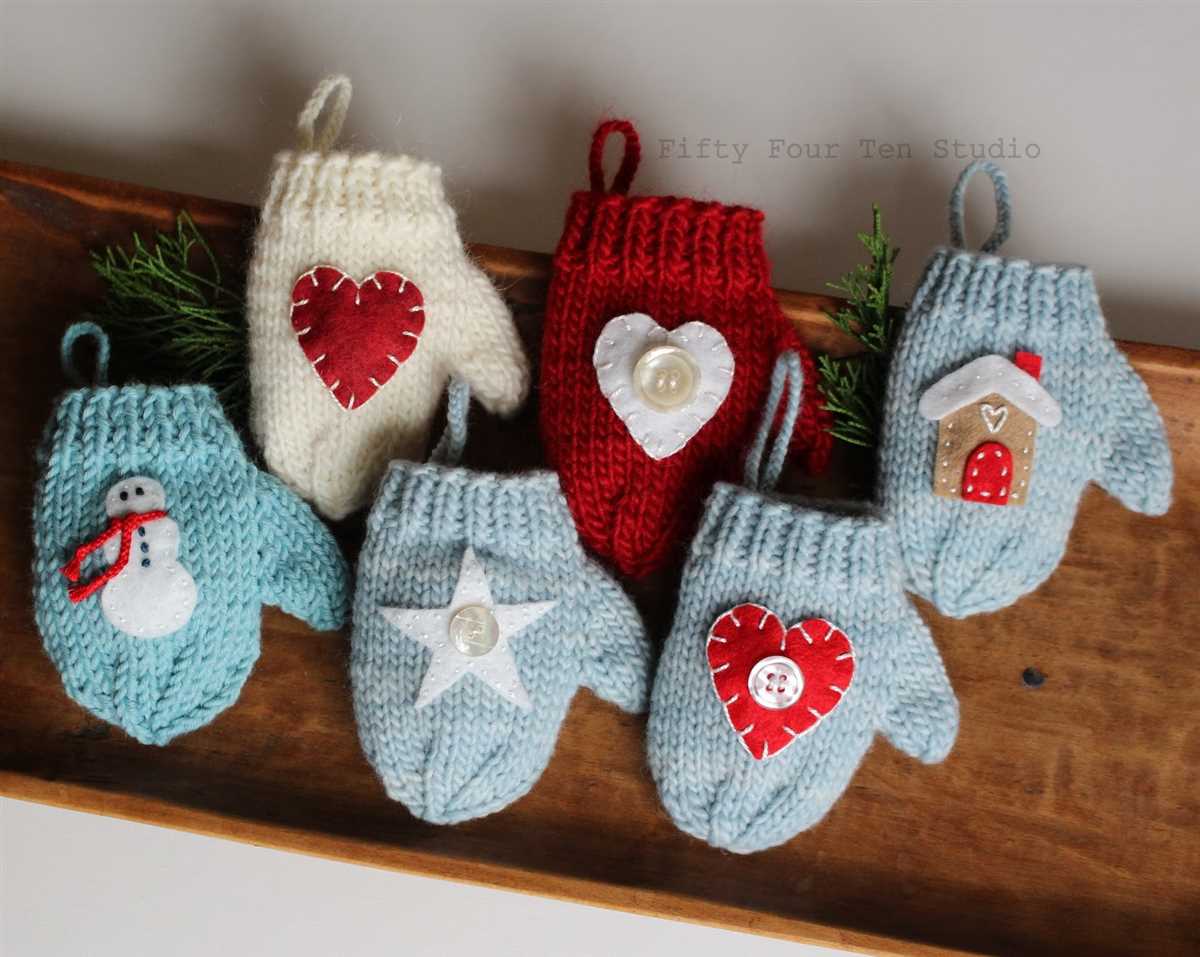
- Hanging them on a mini Christmas tree or branch
- Placing them in a decorative bowl or basket
- Attaching them to gift packages or bottles
- Creating a set of mittens for stocking stuffers or Secret Santa gifts
- Including a note explaining that the mittens are handmade with love
Troubleshooting common issues with the mini knit mitten ornaments pattern
In this section, we will address some common issues that may arise when knitting the mini mitten ornaments pattern and provide solutions to help you overcome them.
Problem: Difficulty following the pattern instructions
If you find it challenging to follow the pattern instructions, it can be helpful to break them down into smaller steps. Try reading each instruction carefully, and make sure you understand the abbreviations and knitting terms used. If you are still having trouble, consider seeking help from experienced knitters or online knitting communities.
Problem: Uneven stitches
Uneven stitches can result from inconsistent tension or incorrect knitting technique. To resolve this issue, try to maintain a consistent tension throughout your knitting. Pay attention to how you hold your yarn and needles and practice maintaining an even pressure. If necessary, consider using different needle sizes or adjusting your tension to achieve the desired stitch consistency.
Problem: Mitten ornaments are too small or too large
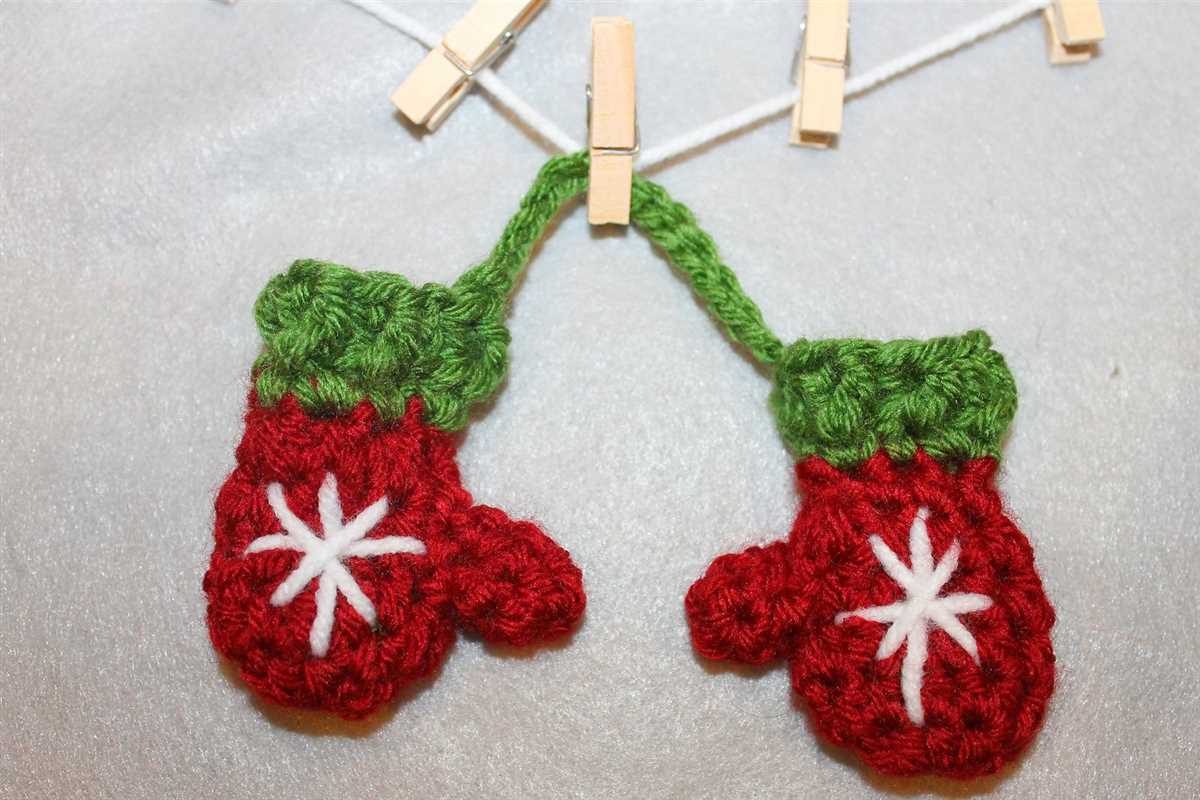
If your mitten ornaments turn out either too small or too large, it could be due to differences in gauge or yarn weight. Make sure to check your gauge before starting the project and adjust your needle size or tension as needed to match the recommended gauge in the pattern. Additionally, ensure that you are using the correct yarn weight specified in the pattern. Using a lighter or heavier weight yarn can result in a different finished size.
Problem: Difficulty joining the mitten ornaments
Joining the mitten ornaments can be a bit tricky due to their small size. To make it easier, you can use a crochet hook to slip stitch the sides together instead of using a tapestry needle. Alternatively, you can try using a small needle with a sharp tip or a small amount of fabric glue to secure the edges together. Take your time and be patient when joining the mitten ornaments to achieve a neat and secure finish.
Summary:
When knitting the mini mitten ornaments pattern, it’s normal to encounter some challenges along the way. However, by following the troubleshooting tips mentioned above, you can address common issues such as difficulty following the pattern instructions, uneven stitches, mitten ornaments being too small or too large, and difficulty joining the pieces. Remember to practice, be patient, and seek help when needed, and you’ll soon be creating beautiful mini knit mitten ornaments with ease.