
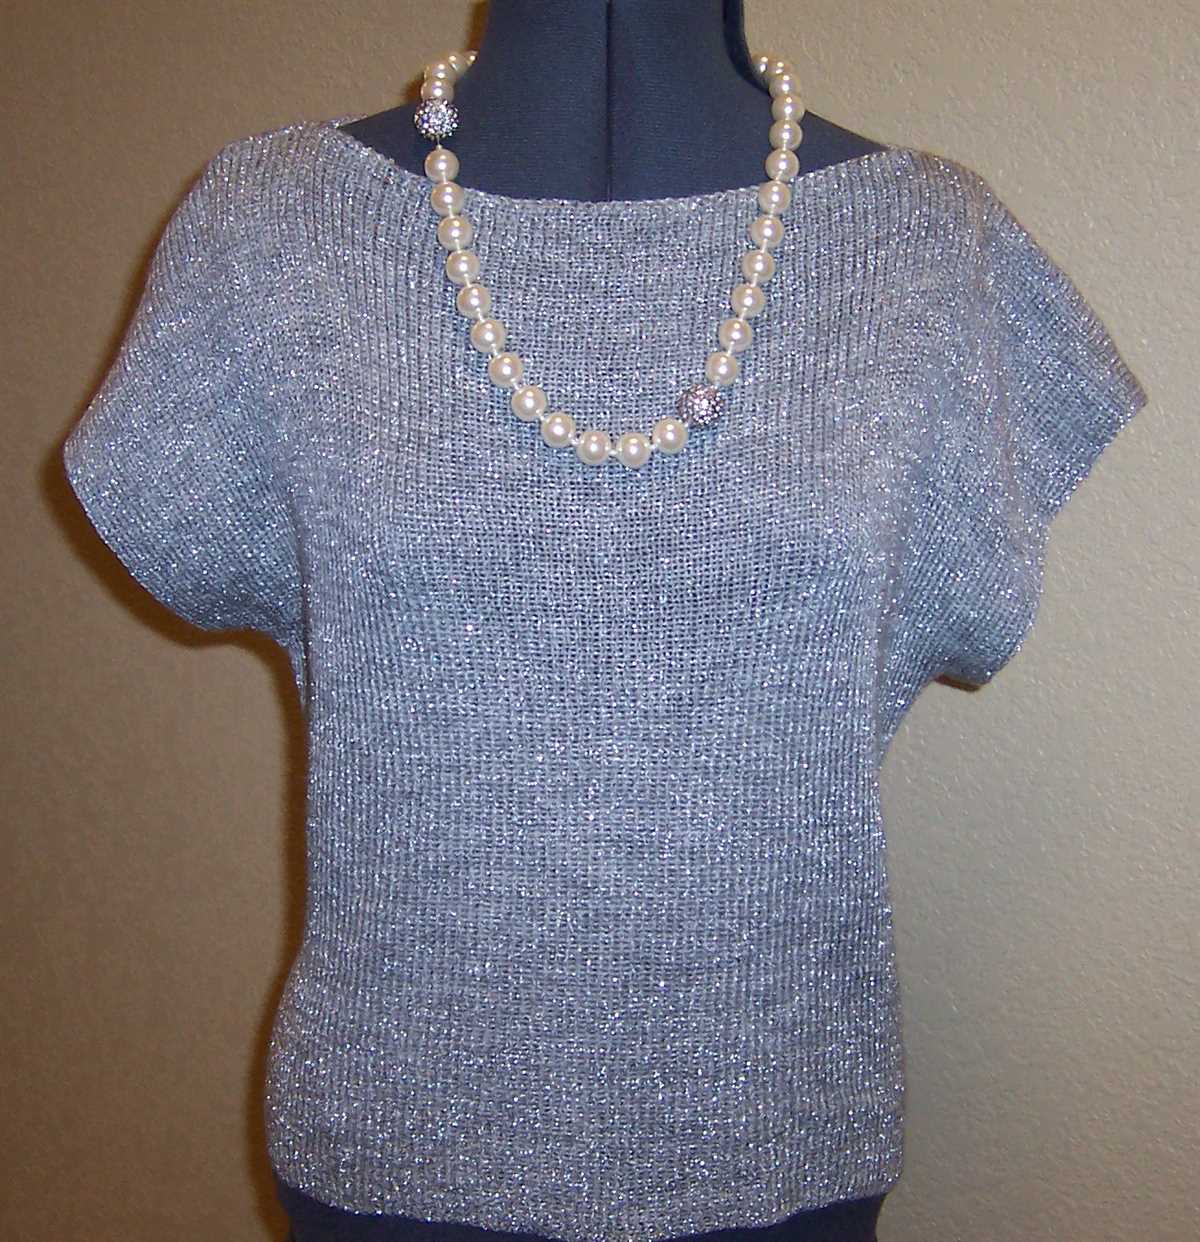
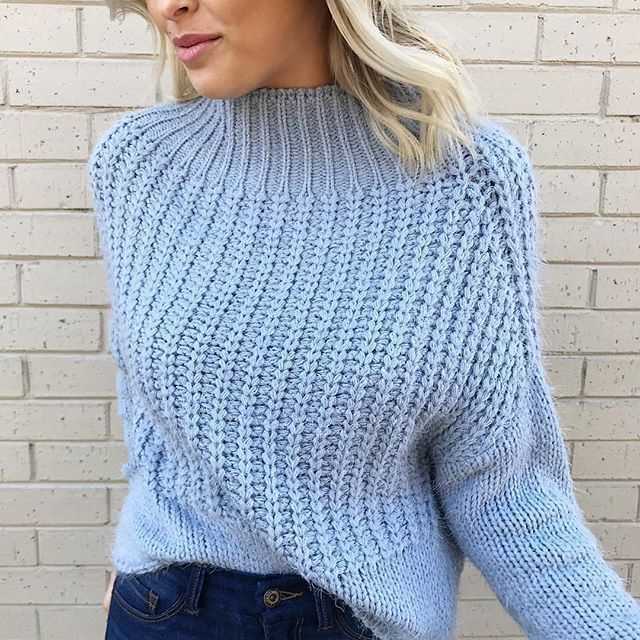
If you’re a fan of loom knitting and want to take your skills to the next level, why not try making a sweater? Sweaters are a versatile and stylish addition to any wardrobe, and with the right loom knitting patterns, you can create a sweater that is both fashionable and comfortable.
Loom knitting is a popular technique that uses a circular or rectangular loom, instead of traditional knitting needles, to create fabric. It’s a great option for beginners or those who find traditional knitting needles difficult to use. With loom knitting, you can create a wide variety of projects, including hats, scarves, and even blankets.
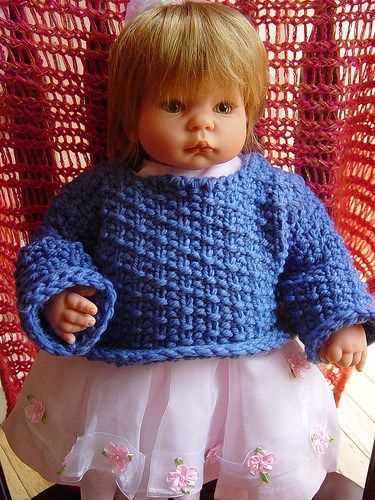
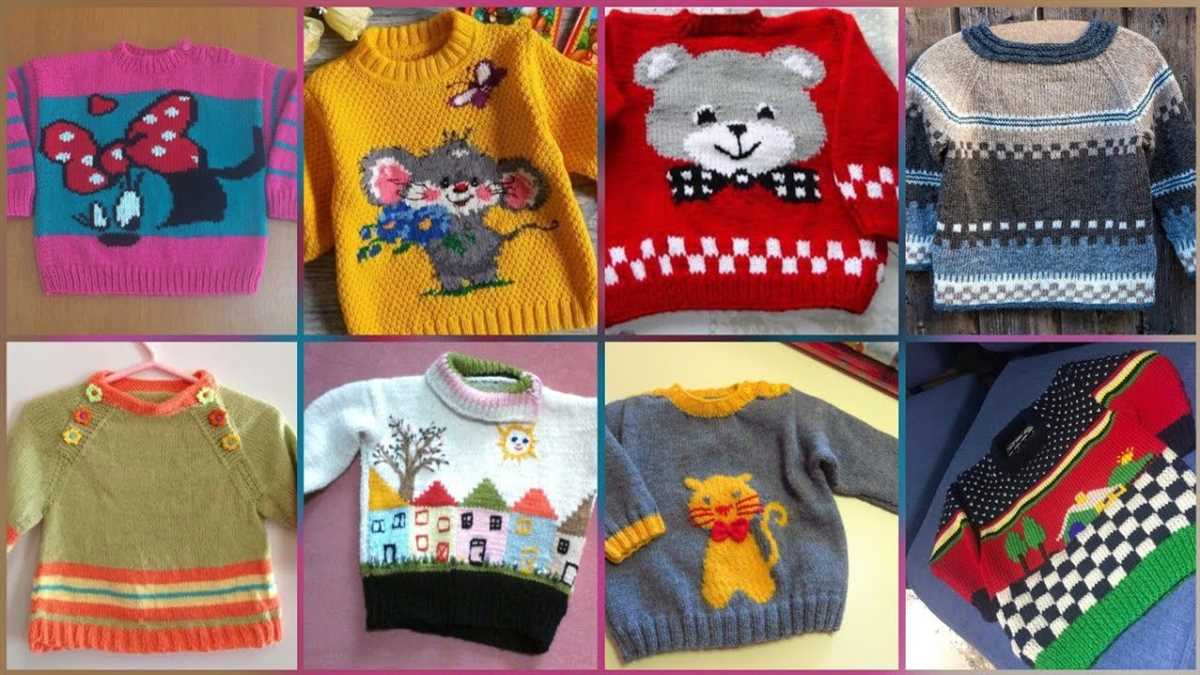
When it comes to making a sweater, there are many loom knitting patterns available to choose from. Whether you prefer a simple, classic design or something more intricate and eye-catching, there’s a pattern out there for you. With loom knitting, you can create sweaters in a variety of sizes, from children’s sizes to plus sizes, so you can make something for everyone in your family.
So, if you’re ready to take your loom knitting skills to the next level and create a beautiful sweater, check out some loom knitting patterns today. With a little time and effort, you can have a one-of-a-kind sweater that you’ll be proud to wear.
Choosing the right loom for your sweater
When it comes to loom knitting patterns for sweaters, choosing the right loom is essential. The right loom will determine the size and fit of your sweater, as well as the stitch pattern and overall design. Here are some factors to consider when selecting a loom for your sweater:
1. Size and Gauge:

First, consider the size of the sweater you want to knit. Different looms come in various sizes, so choose one that matches the desired dimensions of your sweater. Additionally, look for a loom with the appropriate gauge. The gauge refers to the number of stitches and rows per inch. Check your pattern for the recommended gauge and select a loom that matches it to ensure the correct size and fit of your sweater.
2. Type of Loom:

There are different types of looms available for knitting sweaters, including circular or straight looms. Circular looms are ideal for knitting seamless sweaters in the round, while straight looms are better suited for knitting flat pieces that will later be seamed together. Consider the construction method you prefer and choose a loom accordingly.
3. Material and Durability:

Pay attention to the material and durability of the loom. Looms can be made of plastic, wood, or metal. Plastic looms are lightweight and affordable but may not be as durable as wooden or metal ones. Wooden looms offer a smooth knitting experience and are often more durable, while metal looms provide extra strength and stability. Choose a loom that suits your needs and preferences.
In conclusion, selecting the right loom for your sweater is crucial for achieving the desired size, fit, and design. Consider factors such as size, gauge, type of loom, and material to ensure a successful knitting project. With the right loom in hand, you’ll be well-equipped to create a beautiful and cozy sweater using loom knitting patterns.
Selecting the perfect yarn for your loom knitting sweater
When it comes to loom knitting a sweater, choosing the right yarn is crucial for achieving the desired result. The yarn you choose will determine the overall look and feel of the sweater, as well as its warmth and durability. There are a few key factors to consider when selecting the perfect yarn for your project.
1. Fiber Content:
The first thing to consider is the fiber content of the yarn. Different fibers have different qualities and properties, so it’s important to choose one that suits your needs and preferences. For a cozy and warm sweater, wool or a wool blend yarn is a great option. If you prefer a lighter and more breathable fabric, cotton or bamboo yarn would be a better choice. Consider the season for which you’re knitting the sweater and the level of comfort you want to achieve.
2. Weight and Gauge:
The weight and gauge of the yarn will determine the thickness and texture of the finished sweater. It’s important to choose a yarn that corresponds to the pattern you’re using and matches the desired gauge. Most loom knitting patterns will specify the recommended yarn weight and gauge, so make sure to check the instructions before making your selection. Keep in mind that using a different weight or gauge yarn may require adjusting the pattern or loom settings.
3. Color and Texture:
The color and texture of the yarn can greatly impact the overall appearance of your sweater. Consider the style and design you have in mind and choose a yarn with a color and texture that complements your vision. Solid colors are versatile and timeless, while variegated or self-striping yarns can add visual interest and create unique patterns. Experiment with different combinations to find the perfect yarn for your loom knitting sweater.
By considering the fiber content, weight and gauge, as well as the color and texture of the yarn, you can select the perfect one for your loom knitting sweater. Remember to follow the pattern instructions and make a gauge swatch to ensure that your yarn choice will result in the desired size and fit. With the right yarn, you can create a beautiful and cozy sweater that you’ll be proud to wear.
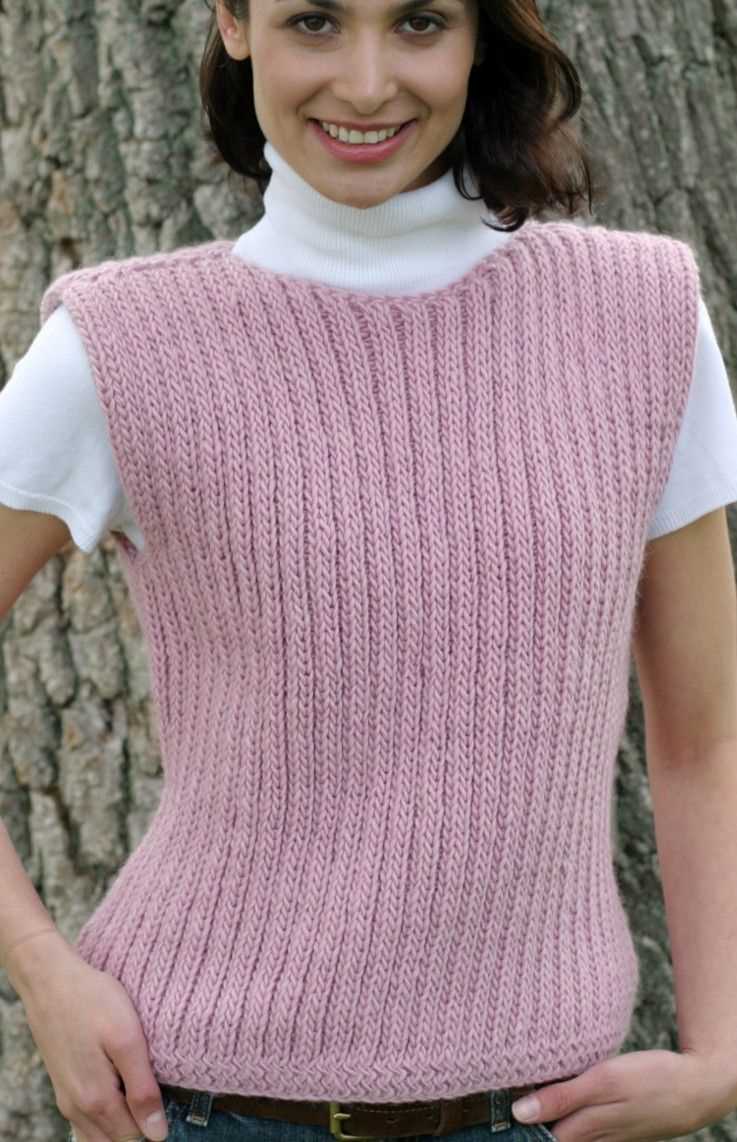
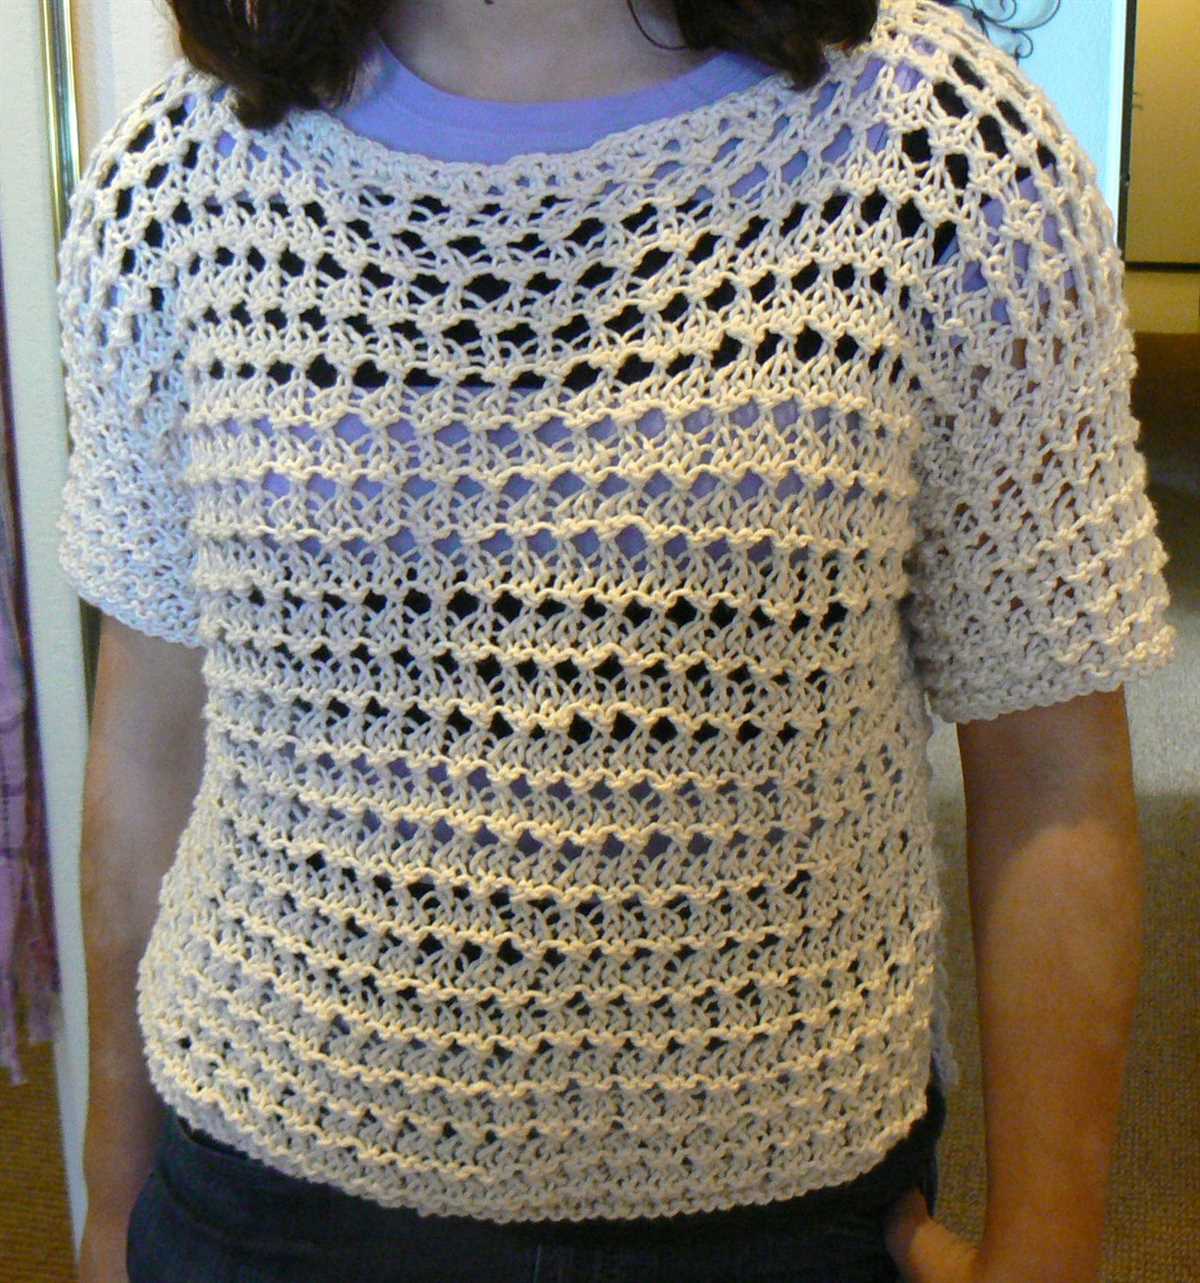
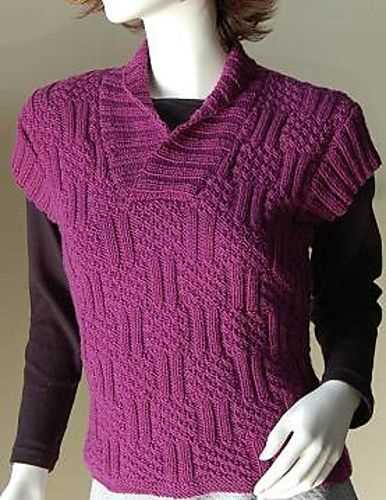
Basic stitches for loom knitting a sweater
Loom knitting is a popular technique for creating beautiful and comfortable garments, including sweaters. When it comes to knitting a sweater on a loom, there are a few basic stitches that you need to be familiar with. These stitches will allow you to create the various parts of the sweater, such as the body, sleeves, and neckline.
1. Stockinette stitch: The stockinette stitch is the most basic and commonly used stitch in loom knitting. It creates a smooth, stretchy fabric with rows of “V” shapes on the right side and horizontal lines on the wrong side. To knit the stockinette stitch on a loom, alternate between knitting and purling each row.
2. Rib stitch: Rib stitch is often used for cuffs, collars, and hemlines of sweaters. It creates a stretchy and textured pattern that adds a decorative element to the garment. To knit the rib stitch on a loom, alternate between knitting and purling in a specific pattern, such as knitting two stitches, then purling two stitches.
3. Garter stitch: The garter stitch is another common stitch used in loom knitting. It creates a textured fabric with rows of flat ridges or bumps on both sides. To knit the garter stitch on a loom, knit every row without purling. This stitch is often used for sweater bodies or as an accent pattern.
4. Cable stitch: The cable stitch adds a beautiful and intricate design to sweaters. It involves crossing stitches to create a twisted pattern. To knit the cable stitch on a loom, follow a specific cable pattern that indicates how to cross the stitches using a cable needle or a regular knitting tool.
By mastering these basic stitches, you will be able to create a wide variety of sweater designs on a loom. Whether you’re a beginner or an experienced loom knitter, these stitches will provide you with the foundation to create stunning and cozy sweaters for yourself or loved ones.
Top-down vs. bottom-up sweater construction
When it comes to knitting a sweater, there are two main methods of construction: top-down and bottom-up. Both methods have their own advantages and disadvantages, and it ultimately comes down to personal preference and the desired outcome of the project.
Top-down construction
In top-down sweater construction, you start knitting from the neckline down to the waist or hemline. This method allows you to try on the sweater as you go, making it easier to adjust the fit and length as needed. It also allows for more creativity in terms of design, as you can easily add in intricate stitch patterns or customize the neckline and sleeves.
With top-down construction, you typically begin by knitting the neckline and yoke, then separate the stitches for the sleeves and body. This method is great for beginners or those who prefer to see their progress as they knit. The seamless construction also means there are fewer finishing touches required once the knitting is complete.
Bottom-up construction
In bottom-up sweater construction, you start knitting from the hemline or waist up to the neckline. This method is often preferred by knitters who enjoy working on the body of the sweater first and then tackling the sleeves later. It can also be easier to follow a pattern with bottom-up construction, as you typically work straight rows and don’t need to worry about shaping the neckline.
With bottom-up construction, you typically begin by knitting the body of the sweater in one piece, then attach the sleeves and knit them separately. This method can be great for those who like a more traditional approach to knitting and prefer a structured, tailored fit. However, it can be more difficult to make adjustments to the fit or length once the knitting is complete.
- Top-down construction:
- Start at neckline
- Try on as you go
- Easier to adjust fit and length
- More creative design options
- Great for beginners
- Bottom-up construction:
- Start at hemline or waist
- Work body first, then sleeves
- Easier to follow patterns
- Structured, tailored fit
- More difficult to adjust fit or length
Step-by-step instructions for loom knitting a raglan sleeve sweater
Loom knitting is a fun and easy way to create beautiful garments, and a raglan sleeve sweater is a classic wardrobe staple that can be made using this technique. Here are step-by-step instructions to help you create your own cozy and stylish sweater.
Materials:
- Loom knitting tool
- Medium weight yarn (approximately 800-1000 yards)
- Knitting loom with at least 80 pegs
- Stitch markers
- Tapestry needle
- Scissors
1. Preparing the loom:
Set up your knitting loom by evenly spacing the pegs. Make sure to leave enough space in the middle for the body of your sweater. Use stitch markers to mark the beginning and end of your raglan lines, which will determine where the sleeves will be attached.
2. Casting on:
Using the e-wrap method, cast on your desired number of stitches onto the loom. This will be the total number of stitches for your sweater, including both sleeves and the body. Make sure to keep the tension even as you wrap the yarn around each peg.
3. Knitting the raglan sleeves:
For each sleeve, work in a round on the designated pegs between the stitch markers. Use the knit stitch or the stitch pattern of your choice to create the desired texture. Repeat this process for both sleeves until they reach your desired length.
4. Knitting the body:
Once the sleeves are complete, remove the stitch markers and join them to the body of the sweater. Continue knitting in a round on all the pegs, including the sleeves. Knit until the body reaches the desired length.
5. Shaping the neckline:
To shape the neckline, decrease the number of stitches gradually over several rounds. This can be done by knitting two stitches together or using any other decrease method you prefer. Continue shaping the neckline until you reach the desired depth.
6. Binding off:
After shaping the neckline, it’s time to bind off your stitches. Cut the yarn leaving a long tail, and use a tapestry needle to thread it through each stitch on the loom. Remove the stitches from the pegs as you go. Once all the stitches are off the loom, pull the tail tightly to secure the binding off.
With these step-by-step instructions, you’ll be able to create a cozy and stylish raglan sleeve sweater using loom knitting. Experiment with different stitch patterns and yarn colors to make it truly unique to your style.
Tips for adjusting the size and fit of your loom knitting sweater
When it comes to loom knitting sweaters, one of the most important aspects is getting the right size and fit. Here are some tips to help you adjust the size and fit of your loom knitting sweater:
1. Gauge swatch
Before starting your loom knitting sweater, it’s crucial to make a gauge swatch. This will help you determine how many stitches and rows you need to achieve the desired size. Compare your swatch to the recommended gauge in the pattern and make any necessary adjustments.
2. Adjusting stitch count
If you want to change the size of your loom knitting sweater, you can adjust the stitch count. Add or subtract stitches in multiples of the stitch pattern to get the desired width. Keep in mind that adding or subtracting too many stitches may affect the overall look and fit of the sweater.
3. Changing yarn weight
If you want to change the size of your loom knitting sweater, you can also consider changing the yarn weight. Using a bulkier yarn will result in a larger sweater, while using a lighter yarn will result in a smaller sweater. However, make sure to adjust the stitch count accordingly to maintain the desired proportions.
4. Customizing the length

If you want to customize the length of your loom knitting sweater, you can easily do so by adding or subtracting rows. Measure the length from the beginning of the sweater to the desired point and adjust the number of rows accordingly. Remember to consider any shaping or pattern instructions in the original pattern.
5. Trying it on
Throughout the process of loom knitting your sweater, make sure to try it on periodically to check the size and fit. This will help you catch any issues early on and make necessary adjustments. It’s easier to fix any sizing problems before the sweater is finished.
By following these tips, you can adjust the size and fit of your loom knitting sweater to ensure it looks and feels just right.
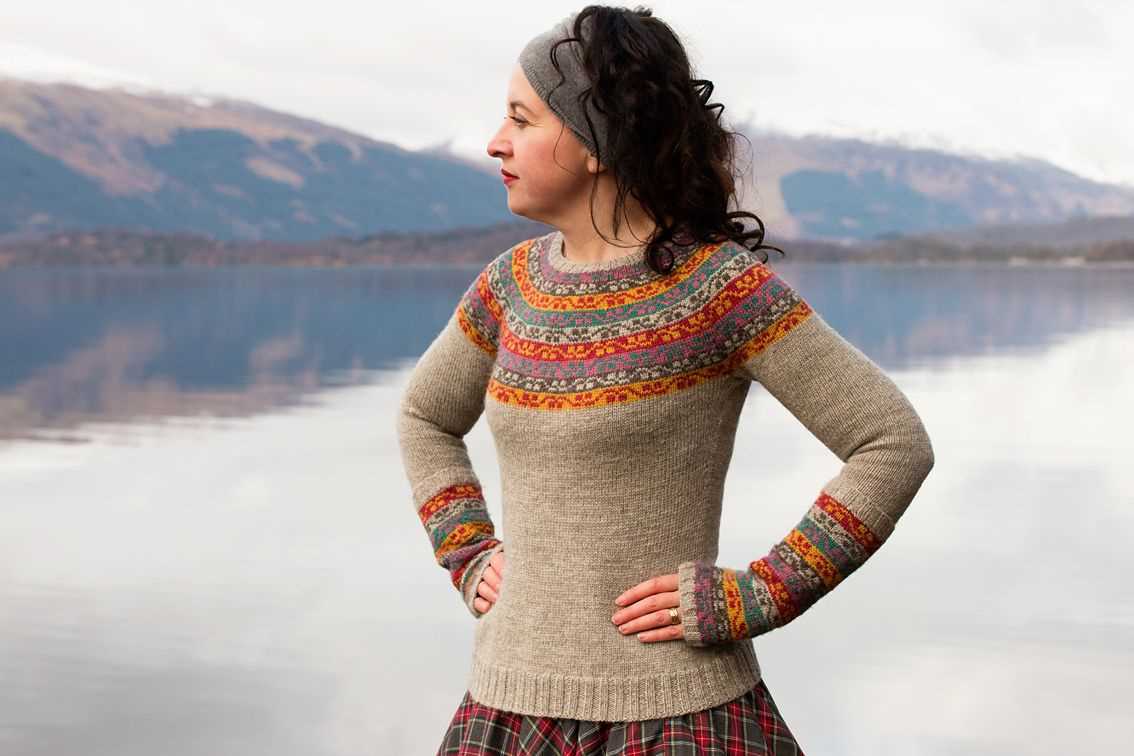
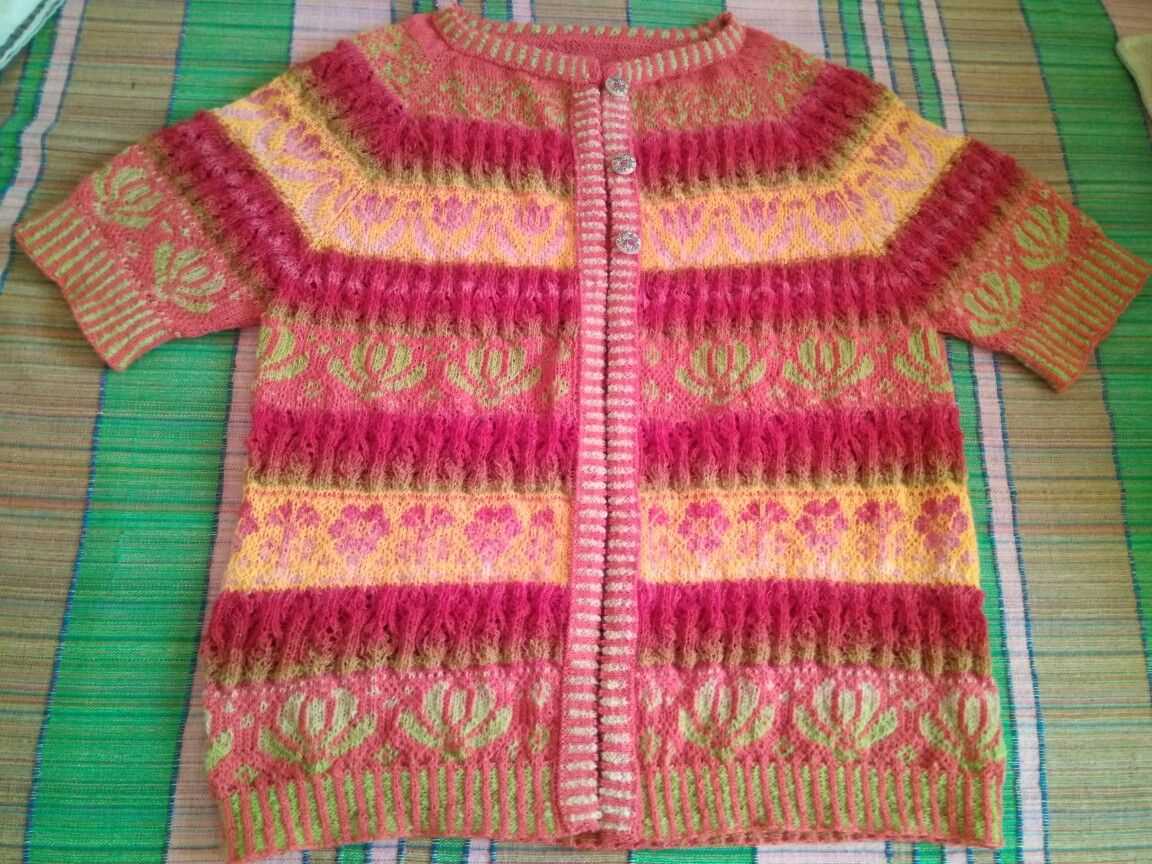
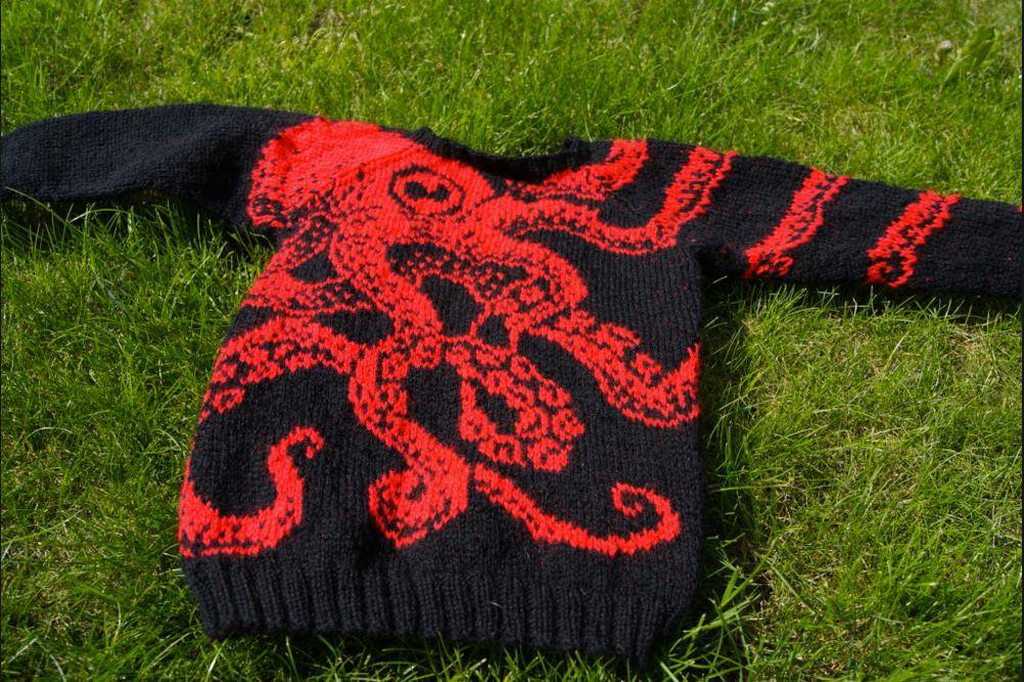
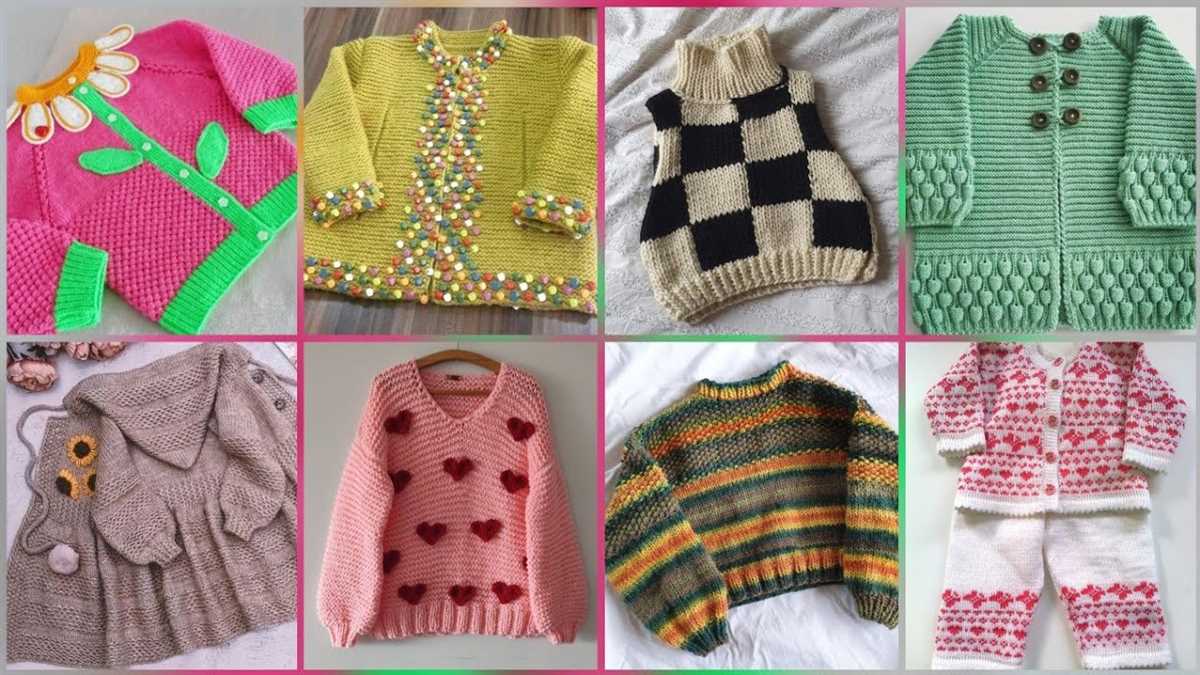
Embellishing your loom knitting sweater with stitch patterns and motifs
When it comes to loom knitting, one of the most exciting aspects is the opportunity to personalize your projects and make them unique. This is especially true when it comes to sweaters, as they provide a large canvas for showcasing different stitch patterns and motifs. Whether you prefer simple and classic designs or intricate and elaborate patterns, there are countless options to choose from.
One way to embellish your loom knitting sweater is by incorporating different stitch patterns. This can be done by alternating between different stitches, such as the garter stitch, rib stitch, or seed stitch, to create interesting textures and visual appeal. You can also experiment with more complex stitch patterns, such as cables or lace, to add a touch of elegance and sophistication to your sweater.
Another way to add flair to your loom knitting sweater is by incorporating motifs or designs. This can be done through intarsia, where different colored yarns are used to create a picture or pattern on the fabric, or through fair isle knitting, where multiple colors are used to create intricate designs. Whether you choose to create a simple heart motif or a more intricate floral pattern, adding motifs to your sweater can truly make it one-of-a-kind.
In addition to stitch patterns and motifs, you can also consider adding other embellishments to your loom knitting sweater. This can include buttons, beads, or embroidery, which can be used to highlight certain areas or add a touch of sparkle and texture. You can also experiment with different types of yarn, such as metallic or variegated yarns, to further enhance the visual interest of your sweater.
Overall, when it comes to embellishing your loom knitting sweater, the possibilities are endless. Whether you choose to incorporate different stitch patterns, motifs, or other embellishments, the key is to let your creativity shine and make your sweater a reflection of your personal style.
Finishing techniques for a professional-looking loom knitting sweater

When it comes to creating a professional-looking loom knitting sweater, the finishing techniques are just as important as the construction itself. These techniques can elevate your sweater from homemade to high-quality, giving it a polished and well-finished appearance.
Blocking: One of the first steps in finishing a loom knitting sweater is blocking. Blocking involves gently stretching and shaping the knitted pieces to the correct dimensions. This helps even out any inconsistencies in tension and ensures that the sweater has a uniform shape and size. Blocking can be done by soaking the knitted pieces in water and then pinning them to a blocking board to dry.
Seaming: Proper seaming is essential for creating a professional finish on your loom knitting sweater. Use a yarn needle and the same yarn that you used for your project to seam the pieces together. Take your time to align the edges, making sure the stitches match up perfectly. Invisible seaming techniques, such as mattress stitch or grafting, can be used to create seamless joins that are nearly invisible.
Finishing touches: Once your sweater is blocked and seamed, it’s time to add the finishing touches. This may include adding ribbing to the cuffs, collar, and hem, or incorporating decorative stitches along the edges. Pay attention to the details, ensuring that your stitching is neat and even. You can also consider adding buttons, zippers, or other closures to give your sweater a professional look and make it functional.
Finishing off: Finally, make sure to securely weave in all loose ends to ensure that your sweater withstands wear and tear. Use a tapestry needle and weave the ends through the stitches on the wrong side of the fabric. Trim any excess yarn, being careful not to cut the fabric or any nearby stitches. This will give your sweater a clean and polished appearance.
By using these finishing techniques, you can take your loom knitting sweater to the next level and create a professional-looking garment that you’ll be proud to wear or give as a gift. Take your time and pay attention to the details, and you’ll be rewarded with a beautiful and well-finished sweater.
Loom Knitting Sweater Patterns for Different Styles and Skill Levels – Conclusion
In conclusion, loom knitting offers a wide variety of sweater patterns for different styles and skill levels. Whether you are a beginner or an experienced loom knitter, you can find a pattern that suits your needs.
If you are a beginner, you can start with simple sweater patterns that use basic stitches and techniques. These patterns will help you practice your skills and gain confidence in loom knitting. As you gain more experience, you can move on to more complex patterns that incorporate different stitch patterns and shaping techniques.
For those who are more experienced, there are advanced sweater patterns available that offer a greater challenge. These patterns often include intricate stitch patterns, colorwork, and unique shaping techniques. They are perfect for knitters who want to take their skills to the next level and create one-of-a-kind sweaters.
Regardless of your skill level, it is important to choose a sweater pattern that matches your style and preferences. There are patterns available for various styles, including pullovers, cardigans, and oversized sweaters. You can also find patterns for different sizes, from baby sweaters to plus-size options.
When selecting a loom knitting sweater pattern, make sure to carefully read and follow the instructions. Take your time and don’t be afraid to ask for help if needed. Loom knitting can be a fun and rewarding craft, and with the right pattern, you can create beautiful and cozy sweaters for yourself and your loved ones.