
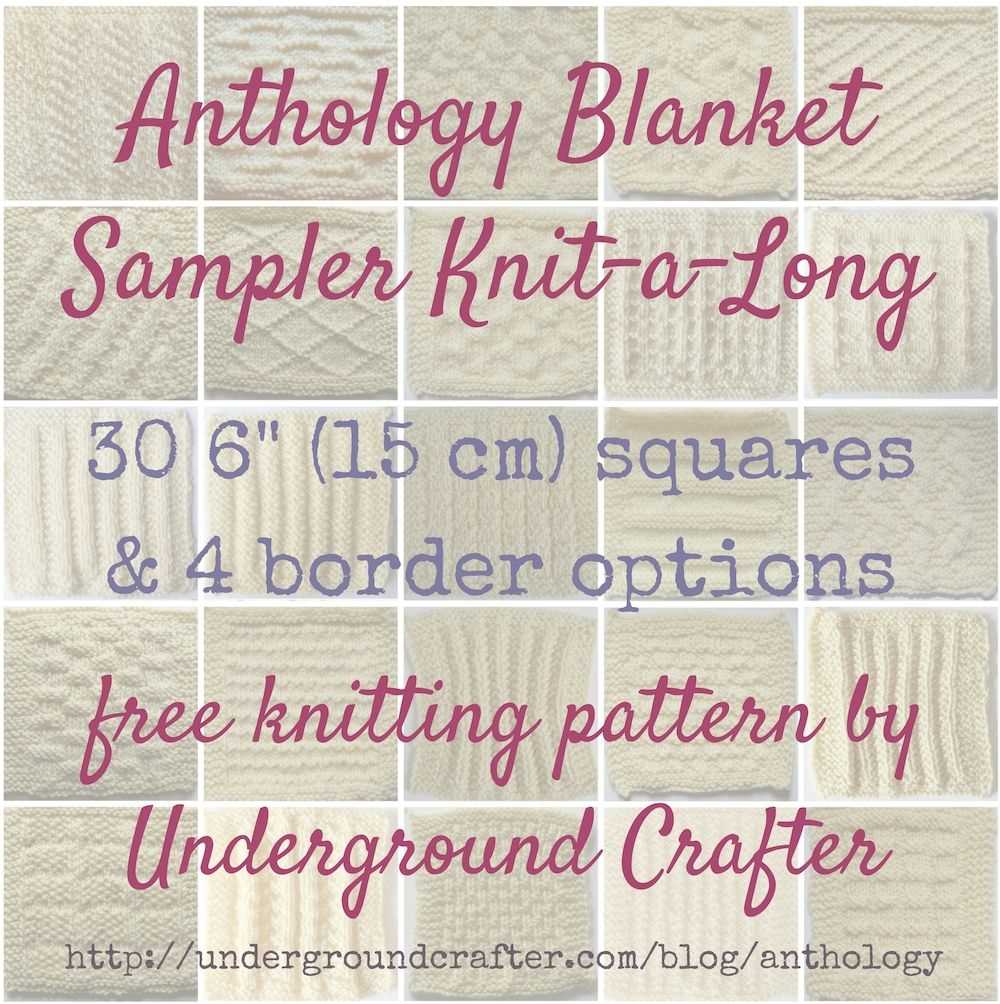
Are you a budding knitter looking to expand your skills and create beautiful projects? Look no further than the knitting sampler squares! This free pattern is an excellent way to practice various stitches and techniques while creating a collection of unique and versatile squares.
The knitting sampler squares pattern is perfect for both beginners and experienced knitters. If you are new to knitting, this pattern will teach you a variety of essential techniques, such as casting on, knitting, purling, increasing, decreasing, and binding off. Each square focuses on one specific stitch or technique, allowing you to master it before moving on to the next skill.
For experienced knitters, the knitting sampler squares offer an opportunity to experiment with different textures, patterns, and stitch combinations. You can mix and match the squares to create your own custom projects, such as blankets, scarves, or even garments.
Knitting Sampler Squares Free Pattern
If you’re a knitter looking for a new challenge or just want to expand your skills, a knitting sampler squares project is a great way to do it. A sampler square is a small, individual square of knitting that is used to practice different stitches, techniques, or patterns. By knitting a variety of sampler squares, you can learn new stitches and build your skills while also creating a beautiful and functional piece of knitted fabric.
One of the best things about knitting sampler squares is that they can be customized to your preferences. You can choose to use a specific yarn or needle size, or you can mix and match different types of yarn and needles for a more varied and textured result. You can also choose to knit all of your sampler squares in the same size, or you can vary the size to create a unique patchwork effect.
How to Get Started
To get started with your knitting sampler squares project, you’ll first need to gather your materials. You’ll need a selection of yarn in different colors and weights, as well as a set of knitting needles in a range of sizes. You’ll also need a tapestry needle for weaving in ends, and some scissors.
Once you have your materials, you can begin by choosing the stitches or patterns you want to include in your sampler squares. This is where the fun begins, as there are countless options to choose from. You can select simple stitches like garter stitch or stockinette stitch, or you can challenge yourself with more complex patterns like cable or lace stitches. You can also choose to combine different stitches and patterns to create unique and interesting designs.
When you’ve chosen your stitches or patterns, you can start knitting your sampler squares. Start by casting on the desired number of stitches for your square, and then work your chosen stitch or pattern for a set number of rows. Once you’ve finished knitting your square, bind off your stitches, and weave in any loose ends.
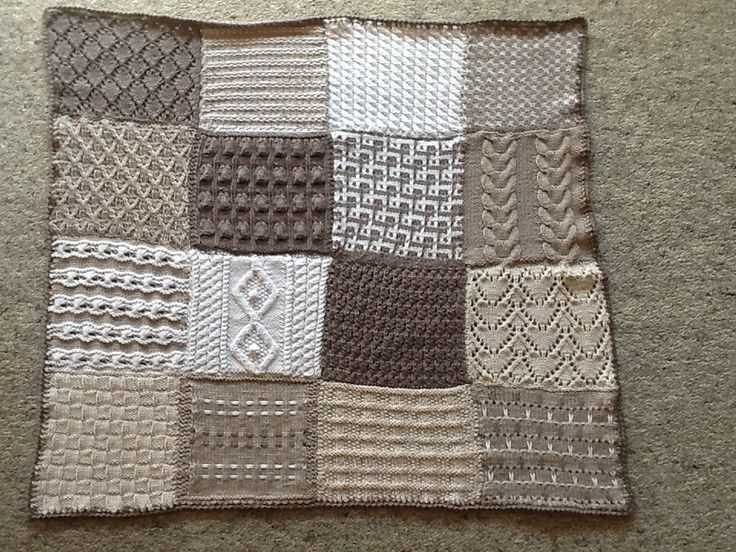
As you knit your sampler squares, be sure to keep track of the stitches, patterns, and techniques you’re using. This will help you remember what you’ve learned and allow you to replicate your favorite squares in future projects. Once you’ve finished knitting all of your squares, you can join them together to create a blanket, scarf, or other knitted item.
Knitting sampler squares is a fun and creative way to improve your knitting skills and create beautiful and unique knitted items. Whether you’re a beginner or an experienced knitter, a knitting sampler squares project is a great way to expand your knowledge and have fun with your knitting.
What Are Sampler Squares?
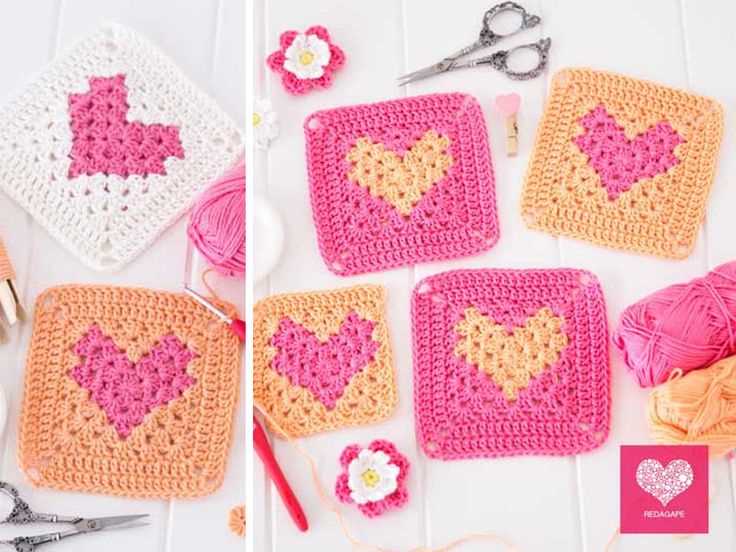
Sampler squares are small knitted or crocheted squares that are often used as practice pieces or as building blocks for larger projects. They are usually made using a variety of different stitch patterns and techniques, allowing knitters and crocheters to experiment and learn new skills. Sampler squares can be made in any size, but they are typically around 4 to 6 inches in width and height.
These squares can serve multiple purposes. They can be used as swatches to test out different yarns or stitch patterns before starting a larger project. They can also be used as a way to practice and improve knitting or crocheting skills, such as working with different stitch patterns or practicing tension. Additionally, sampler squares can be used to create larger projects, such as blankets or pillows, by joining multiple squares together.
Knitting sampler squares free pattern is a popular search term for those looking to find instructions on how to make sampler squares. There are numerous resources available online that provide free patterns and tutorials for creating these squares. Knitters and crocheters can choose from a wide range of stitch patterns, from simple garter stitch to more intricate lace or cable patterns, to create their own unique sampler squares.
Overall, sampler squares are a versatile and enjoyable way for knitters and crocheters to practice and experiment with different stitch patterns and techniques. Whether used as practice pieces, swatches, or building blocks for larger projects, these squares allow crafters to showcase their skills and creativity in a small, manageable format.
Why Choose Sampler Squares for Knitting?
Sampler squares are a popular choice for knitting for several reasons. Firstly, they provide an excellent opportunity to practice various knitting stitches and techniques in a small and manageable format. Each square can be a different stitch pattern, allowing knitters to expand their skills and experiment with new techniques. This makes sampler squares an ideal project for both beginners who want to learn new stitches and experienced knitters who want to challenge themselves.
Furthermore, sampler squares offer versatility in terms of the final project. Once the squares are completed, they can be assembled into various items such as blankets, scarves, or even garments. This allows knitters to create unique and personalized pieces that showcase their creativity and talent. Sampler squares can also be a great way to use up leftover yarn, as each square requires a small amount of yarn, making it a cost-effective and sustainable option.
In addition to their educational and creative benefits, sampler squares also provide a sense of accomplishment. As each square is completed, knitters can see their progress and feel a sense of satisfaction. This can be particularly rewarding for beginners who can quickly see their skills improve with each square they complete. Sampler squares also allow knitters to work on their projects in small, manageable increments, making it easier to fit knitting into a busy schedule.
In conclusion, choosing sampler squares for knitting offers a range of benefits. From the opportunity to learn new stitches and techniques to the versatility in creating unique projects, sampler squares are a practical and enjoyable choice for knitters of all skill levels. So why not give them a try and unlock your knitting potential?
Materials Needed for Knitting Sampler Squares
Before starting your knitting project, it is important to gather all the necessary materials. Here is a list of items you will need to complete your knitting sampler squares:
1. Yarn:
The first thing you will need is a variety of yarn colors. Choose different colors to create interesting patterns and textures in your sampler squares. It is recommended to use medium weight yarn (also known as worsted or aran weight) for this project.
2. Knitting Needles:
To knit your sampler squares, you will need a set of knitting needles. The size of the needles you choose will depend on the recommended gauge for your yarn. It is recommended to use US size 8 (5.0 mm) knitting needles for worsted weight yarn.
3. Scissors:
You will also need a pair of scissors to cut the yarn at the end of each square and to make any necessary adjustments or corrections while knitting.
4. Yarn Needle:
A yarn needle or tapestry needle is essential for sewing in loose ends and finishing your squares. Make sure to choose a needle with a large enough eye to accommodate the thickness of your yarn.
5. Stitch Markers:

Stitch markers can be helpful for keeping track of important points in your knitting, such as the beginning of a row or a specific stitch pattern. These can be optional, but are recommended for beginners to avoid confusion or mistakes.
6. Measuring Tape:
A measuring tape is useful for checking the size of your squares and ensuring they meet the specified dimensions. This will help you create a consistent set of squares for your sampler.
7. Pattern Guide:
Lastly, you will need a pattern guide or instructions for knitting your sampler squares. This will provide you with the stitch patterns and techniques to create each individual square.
By gathering these materials before starting your project, you will be well-prepared to create beautiful and diverse knitting sampler squares.
Basic Knitting Stitches for Sampler Squares
In order to create beautiful and diverse sampler squares for your knitting projects, it is important to have a solid foundation of basic knitting stitches. These stitches form the building blocks of any knitting pattern and allow you to create a variety of textures and designs. Here are some essential knitting stitches that you can use to create your own sampler squares:
1. Garter Stitch
The garter stitch is one of the most basic knitting stitches and is perfect for beginners. It is created by knitting every row, resulting in a fabric with ridges on both sides. This stitch is simple yet versatile, and can be used to create a variety of patterns.
2. Stockinette Stitch
The stockinette stitch is another fundamental knitting stitch. It is created by alternating rows of knit and purl stitches, with the knit stitches forming smooth “V” shapes on the right side of the fabric, and purl stitches creating a textured surface on the wrong side. This stitch is commonly used to create the main body of garments and provides a smooth and polished finish.
3. Seed Stitch
The seed stitch is a textured knitting stitch that creates a bumpy surface. It is created by alternating knit and purl stitches within the same row, and then alternating the stitches in the following rows. The result is a fabric with a pebbled texture that adds visual interest to your sampler squares.
4. Ribbing Stitch
Ribbing stitches are commonly used to create cuffs, collars, and hems in knitting projects. The most common ribbing stitch is the 1×1 ribbing, which is created by alternating knit and purl stitches in a 1:1 ratio. This stitch creates a stretchy and elastic fabric that is perfect for areas that need to stretch, such as waistbands or necklines.
By mastering these basic knitting stitches, you will have the skills necessary to create a wide variety of sampler squares. Experiment with different stitch patterns, colors, and textures to create your own unique knitting projects. Sampler squares are a great way to practice and showcase your knitting skills while creating beautiful and functional pieces.
How to Read a Sampler Square Pattern
Reading a sampler square pattern is an essential skill for knitters who want to create beautiful and intricate designs. A sampler square is a small knitted square that combines different stitch patterns, allowing you to practice and showcase various techniques. Here are some steps to help you decipher and understand a sampler square pattern:
1. Study the materials list:
Before starting a sampler square pattern, it’s important to review the materials list. This list will specify the yarn weight, needle size, and any other materials you’ll need for the project. It’s crucial to gather all the necessary supplies before you begin knitting.
2. Look for the stitch key:
A stitch key is a legend that explains the abbreviations and symbols used in the pattern. This key will help you understand the different stitches and techniques required. Take the time to familiarize yourself with the symbols and abbreviations before you start knitting.
3. Read the pattern instructions:
Once you have a clear understanding of the stitch key, read through the pattern instructions carefully. Pay attention to any special instructions or stitch repeats, as these can significantly impact the final appearance of your square. Take your time to fully understand each step before proceeding.
4. Take note of the gauge:
Gauge refers to the number of stitches and rows per inch in a knitted fabric. It’s crucial to match the gauge specified in the pattern to ensure that your sampler square turns out the correct size. If your gauge doesn’t match, you may need to adjust your needle size or tension to achieve the desired results.
5. Start knitting:
With all the information gathered and understood, it’s time to start knitting your sampler square. Follow the pattern instructions carefully, using the stitch key as a guide. Take your time and check your work frequently to ensure that you are maintaining the correct stitch count and achieving the desired stitch pattern.
By following these steps, you’ll be able to confidently read and execute a sampler square pattern, creating beautiful and diverse knitting projects. Enjoy the process of exploring new stitch patterns and honing your skills with each unique square!
Getting Started with Your First Sampler Square
Knitting sampler squares is a great way to practice different knitting stitches and techniques, while also creating small and useful pieces that can be combined into larger projects. If you’re new to knitting, starting with sampler squares is a great way to build your skills and confidence.
Before you begin, gather your materials. You will need a pair of knitting needles, yarn in the color and weight of your choice, and a tapestry needle for finishing. Make sure your needles are the correct size for your yarn, as indicated on the yarn label.
Step 1: Cast On
Start by casting on the required number of stitches for your sampler square. This will depend on the pattern you are following. You can use a basic cast-on method such as the long-tail cast-on or the knitted cast-on. Make sure to leave a long enough tail for weaving in later.
Step 2: Knit the Rows
Once you have cast on, you will follow the pattern instructions to knit the rows for your sampler square. This may involve knitting stitches such as garter stitch, stockinette stitch, or ribbing. Take your time and make sure to work each row correctly, following any stitch patterns or variations indicated in the pattern.
Step 3: Change Stitches
The beauty of sampler squares is that you can experiment with different stitches and techniques. As you progress in your knitting journey, you can add different stitches to your sampler squares to practice and enhance your skills. For example, you can try different types of cables, lace stitches, or colorwork techniques.
Step 4: Bind Off and Finish
Once you have completed all the rows for your sampler square, it’s time to bind off. Follow the pattern instructions for the specific bind-off method to use. After binding off, weave in any loose ends using a tapestry needle. This will give your sampler square a neat and finished look.
Once you have finished your first sampler square, you can continue to knit more squares using different stitch patterns and techniques. Eventually, you can join these squares together to create larger projects such as blankets, scarves, or even garments. Keep practicing and exploring new stitches, and you’ll soon become a confident and skilled knitter.
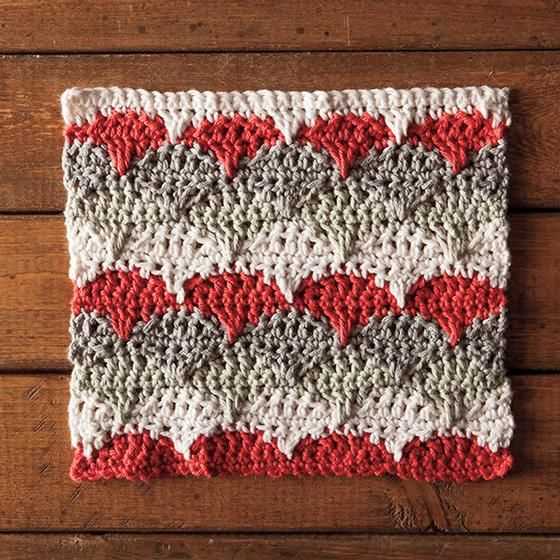
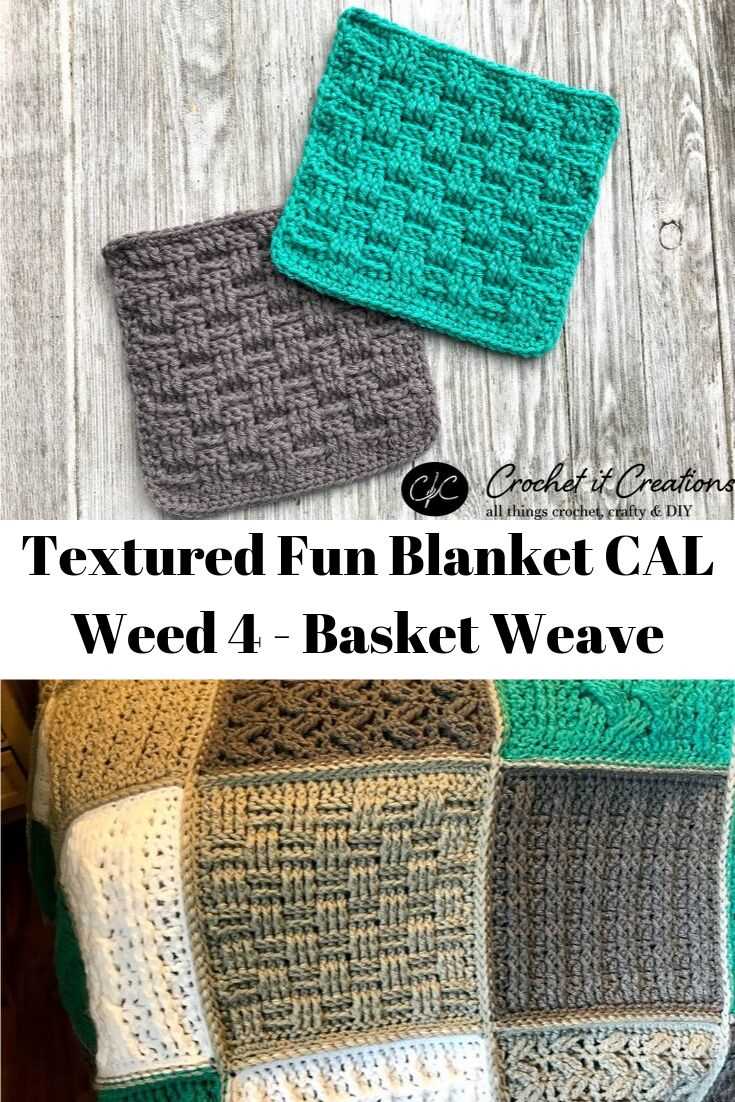
Adding Texture to Your Sampler Squares
If you want to add some extra interest to your knitting sampler squares, consider adding texture to your designs. Texture can elevate your squares from simple blocks to eye-catching pieces of artwork. Here are a few ways you can incorporate texture into your sampler squares:
Cable Stitch
One of the most popular ways to add texture to knitting is through cable stitches. Cables create intertwining patterns that add depth and dimension to your squares. You can experiment with different cable designs, from simple twists to more complex braids, to create unique textures.
Bobbles
Bobbles are small, raised bumps that add a playful and textured effect to your squares. You can create bobbles by knitting several stitches into one stitch and then purling them together on the next row. The resulting bobbles can be arranged in different patterns, such as rows or clusters, to achieve the desired texture.
Seed Stitch
Seed stitch is a simple but effective way to add texture to your squares. By alternating knit and purl stitches in a specific pattern, you can create a raised, bumpy texture that adds visual interest. Seed stitch also works well as a border or an accent in combination with other textured stitches.
Ribbing
Ribbing is a classic technique that adds both texture and stretch to your squares. It involves alternating knit and purl stitches in a specific pattern, usually in a multiple of two stitches. Ribbing can create either vertical or horizontal ridges, depending on the stitch pattern, and is often used for cuffs, collars, and hems.
By incorporating these texture techniques into your knitting sampler squares, you can create a visually appealing and diverse collection of squares. Mix and match different textures to create unique combinations and experiment with different yarns and needle sizes to further enhance the texture. Have fun exploring the world of texture in knitting!
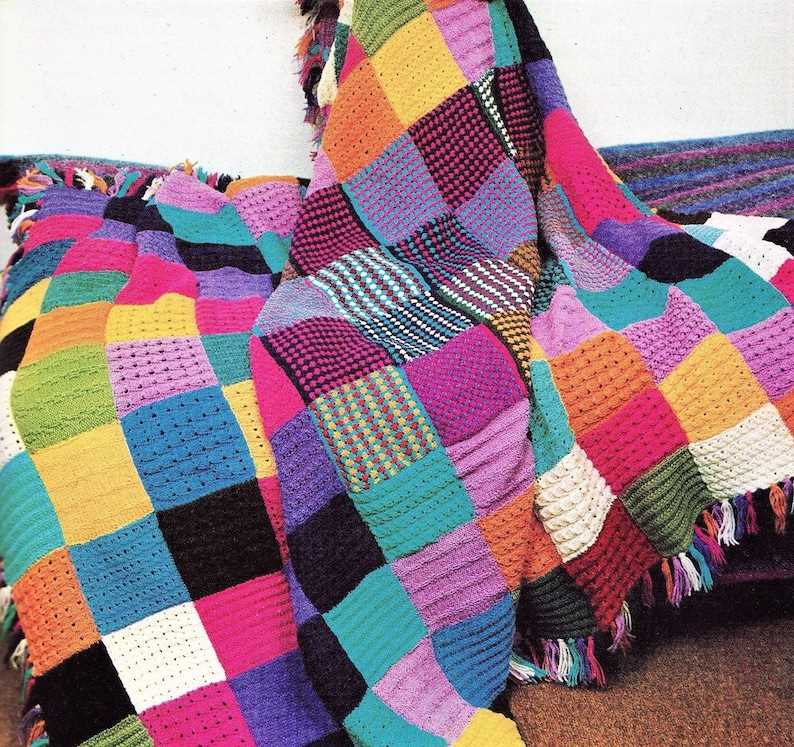
Playing with Colors in Sampler Squares
The art of knitting sampler squares provides a wonderful opportunity to explore the world of colors. By using different shades and combinations, you can create stunning and unique patterns that showcase your creativity and skill. Whether you’re a beginner or an experienced knitter, experimenting with colors in sampler squares can be an exciting and rewarding experience.
1. Mixing and Matching: One of the best ways to play with colors in sampler squares is by mixing and matching different shades. You can create a harmonious color scheme by using colors within the same family, or you can opt for a more contrasting effect by pairing complementary colors together. Don’t be afraid to experiment and try out different combinations to see which ones work best for you.
2. Gradual Color Changes: Another technique to explore is creating gradual color changes within your sampler squares. This can be achieved by using variegated yarns or by switching between colors row by row. Gradual color changes can create a beautiful gradient effect and add depth and visual interest to your squares.
3. Color Blocking: If you prefer a more bold and modern look, you can try color blocking in your sampler squares. This technique involves using bold and contrasting colors to create geometric patterns or sections within the square. Color blocking can create a striking visual impact and can be a fun way to experiment with different color combinations.
4. Adding Texture: Playing with colors doesn’t always mean using flat and solid shades. You can also incorporate texture into your sampler squares by using different stitch patterns or by mixing yarns with different textures. This can add an extra dimension to your squares and make them visually appealing.
5. Keeping it Simple: While experimenting with colors can be exciting, sometimes simplicity is key. You can create beautiful sampler squares using just a few colors or even a single color. By focusing on the texture and stitch pattern, you can still achieve stunning and visually interesting squares without overwhelming them with too many colors.
Overall, playing with colors in sampler squares allows you to unleash your creativity and create unique pieces of art. So go ahead and dive into the world of colors, and let your imagination run wild!
Finishing and Blocking Sampler Squares
After completing each sampler square, it is important to take the time to properly finish and block the square. This final step will help ensure that the square retains its shape and looks neat and professional. Here are some steps to follow for finishing and blocking your sampler squares:
1. Weave in the Ends:
- Start by securing any loose ends of yarn from your knitting.
- Using a tapestry needle, weave the ends into the back of the fabric, making sure they are hidden and secure.
2. Wet Blocking:

- Fill a basin or sink with lukewarm water and add a small amount of mild detergent.
- Gently submerge the sampler square into the water, making sure it is fully saturated.
- Allow the square to soak for about 15 minutes, gently pressing down to ensure it is fully submerged.
- Remove the square from the water and gently squeeze out any excess water, being careful not to wring or twist the fabric.
- Place the square on a clean towel and roll it up, pressing down to remove more moisture.
- Unroll the towel and carefully reshape the square to its correct dimensions.
- Pin the square to a blocking board or mat, using rustproof T-pins or blocking wires to secure it in place.
- Allow the square to air dry completely, usually overnight.
3. Steam Blocking:
- If you prefer, you can steam block your sampler square instead of wet blocking.
- Set up your iron on the appropriate steam setting and lightly hover the iron over the square without touching it.
- The steam will help relax the fibers and shape the square.
- Be careful not to apply too much heat or pressure, as this can damage the yarn.
- Allow the square to cool and dry before removing any pins or wires.
By following these finishing and blocking techniques, you can ensure that your sampler squares have a professional finish and will look stunning when they are joined together to form a larger project.
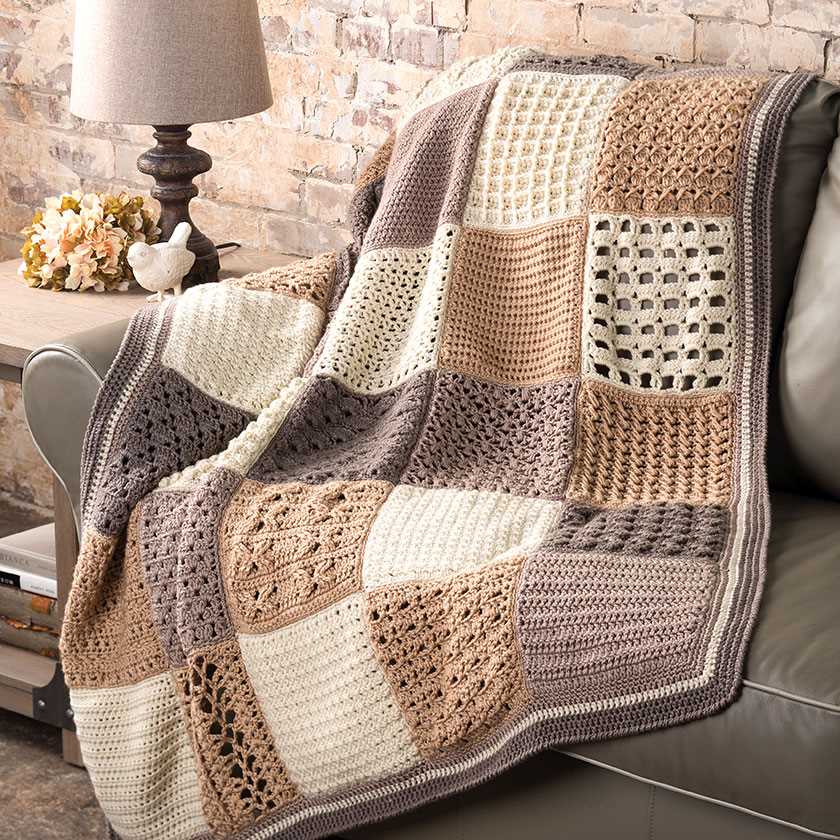
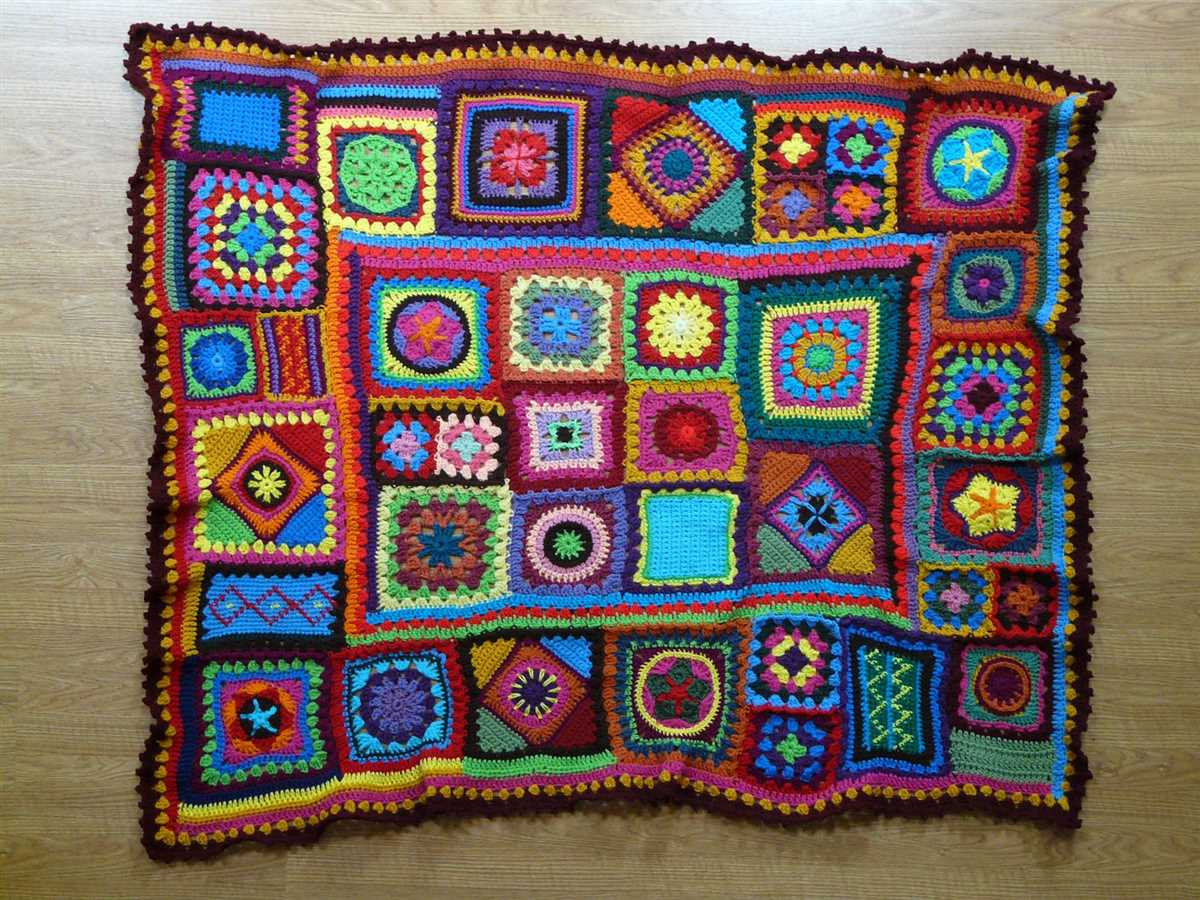
Assembly Options for Your Sampler Squares
Once you have completed all your knitting sampler squares, it’s time to assemble them into a finished project. There are several assembly options you can choose from, depending on the desired outcome and your personal preference. Here are a few ideas to get you started:
1. Traditional Seaming: The most common way to assemble sampler squares is to use a mattress stitch or whip stitch to join them together. This method creates a neat and invisible seam on the wrong side and ensures that the squares are securely attached.
2. Single Crochet Join: If you prefer a more visible and decorative seam, you can use a crochet hook to join the squares using single crochet stitches. This method adds texture and can create a beautiful border around each square.
3. Diagonal Join: For a unique and eye-catching look, you can experiment with joining the squares diagonally. This can be done by seaming the corners of each square together in a diagonal pattern, creating an interesting visual effect.
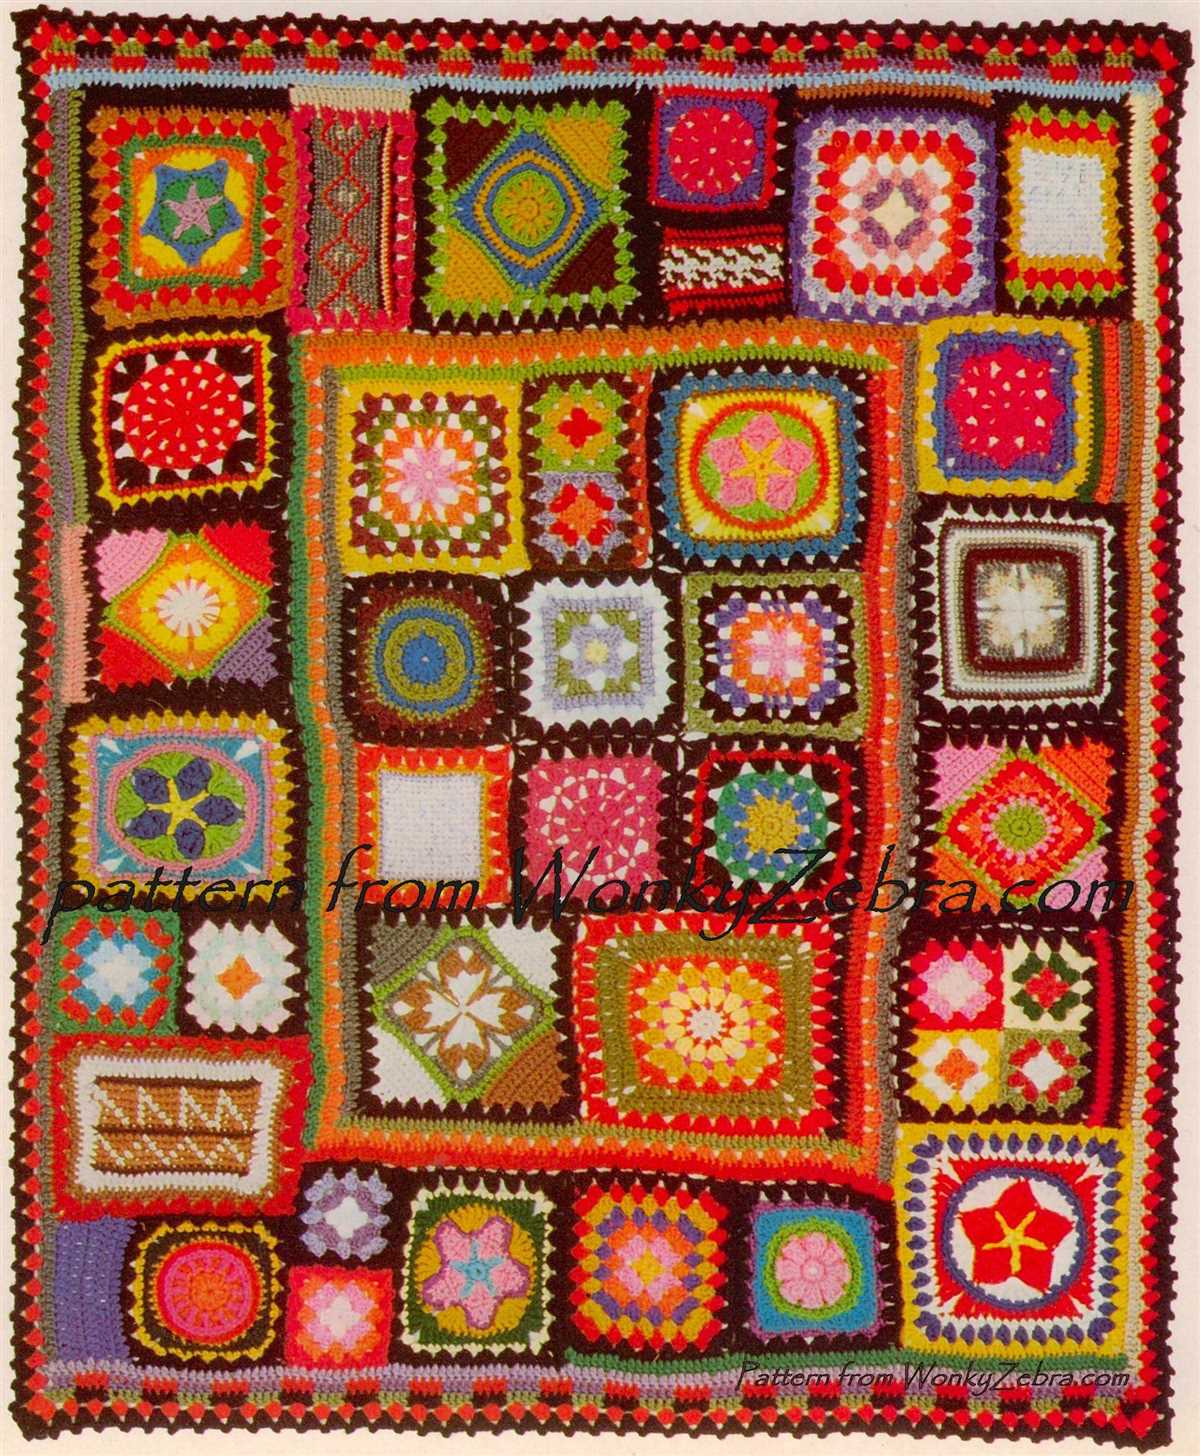
4. Patchwork Layout: If you want to showcase the individual squares and create a patchwork design, you can arrange them in a specific layout and sew them together with visible stitches. This method allows you to play with different color combinations and arrangements to create a truly unique piece.
These are just a few options for assembling your knitting sampler squares. Depending on the size and number of squares, you can mix and match these techniques or come up with your own creative way to join them together. The important thing is to have fun and create a finished project that you are proud of!
Using Sampler Squares for Other Knitting Projects
Sampler squares are a versatile knitting project that can be used in many different ways. While they are often made as a way to practice new stitch patterns or techniques, they can also be incorporated into larger projects or used as standalone pieces.
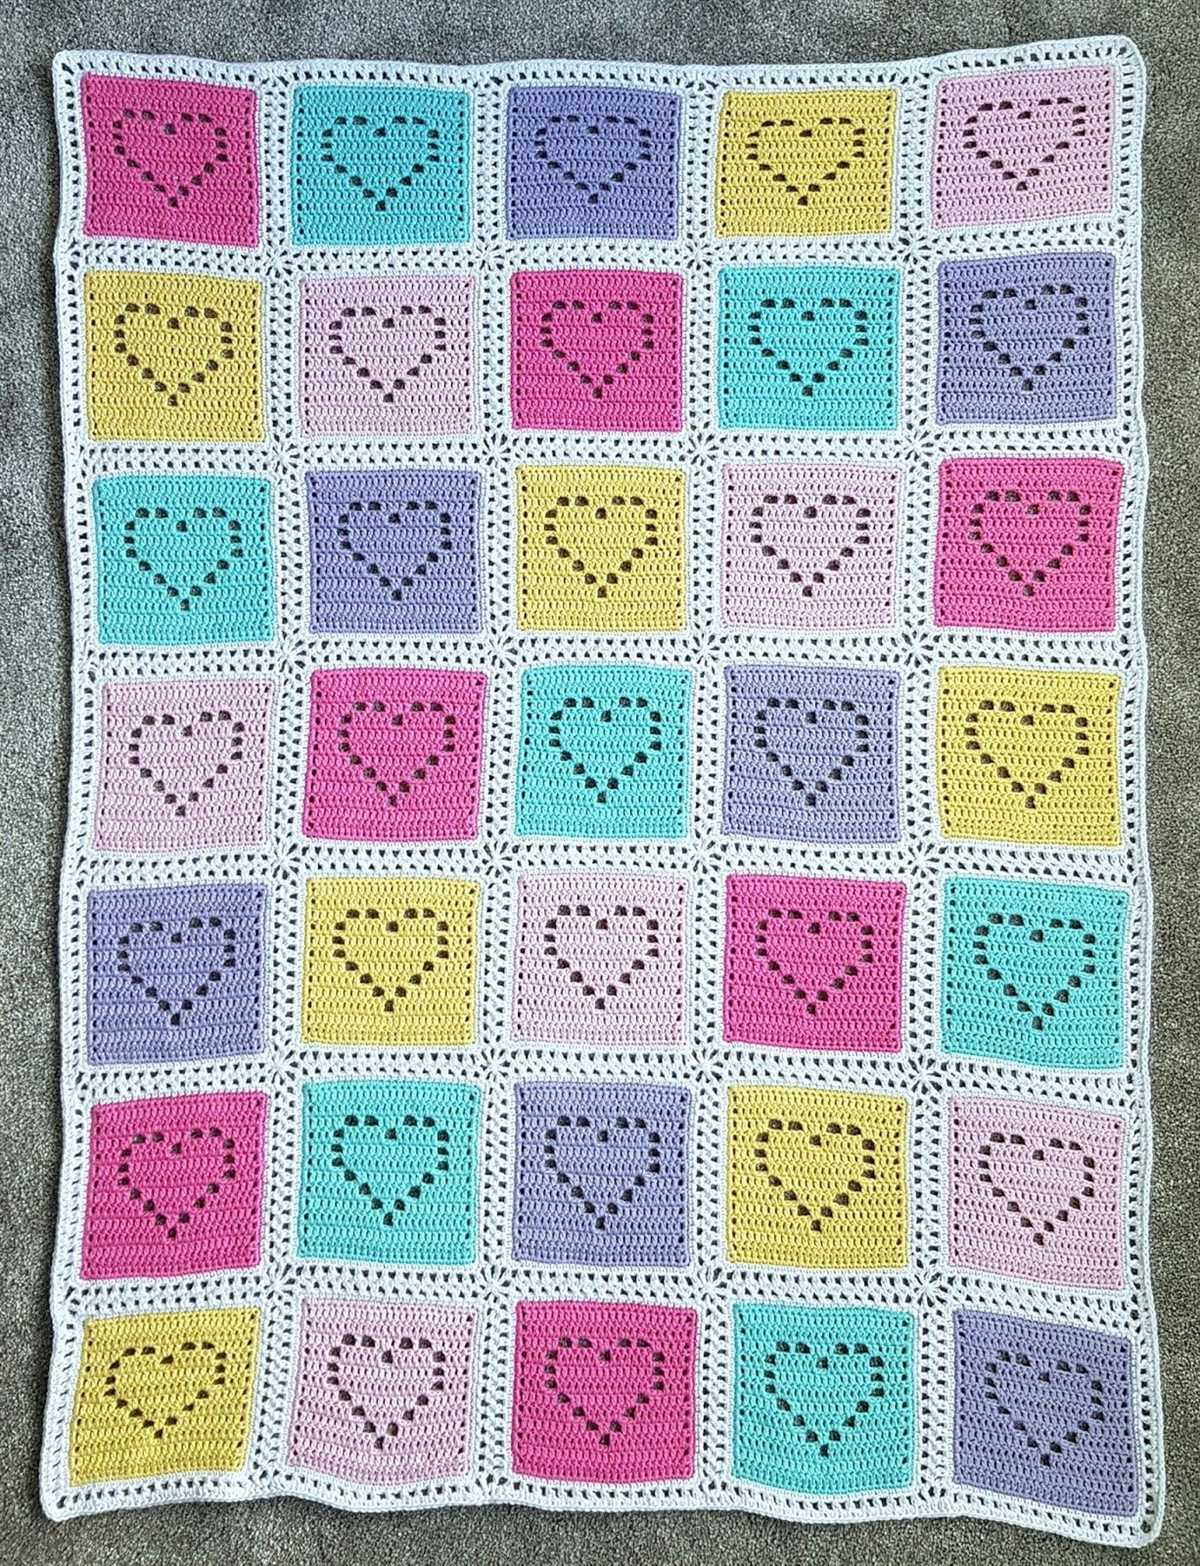
Creating a Beautiful Blanket: One of the most common uses for sampler squares is to create a blanket or throw. By knitting multiple squares in different stitch patterns and colors, you can create a unique and eye-catching blanket. Arrange the squares in a layout that you like, and then sew them together using a coordinating yarn. This allows you to showcase different stitches and textures in one cozy and functional piece.
Designing Decorative Pillows: Sampler squares can also be used to make decorative pillows. Simply knit a few squares in coordinating colors and stitch patterns, and then sew them into a pillow cover using a fabric backing. This is a great way to add a pop of color and texture to your home decor, while also showcasing your knitting skills.
Crafting Coasters and Pot Holders: If you only have a small amount of yarn or want to practice a specific stitch pattern, sampler squares can be used to create coasters or pot holders. Simply knit a square in the desired stitch pattern, and then attach a fabric backing for added durability. These small projects make great handmade gifts or additions to your own kitchen.
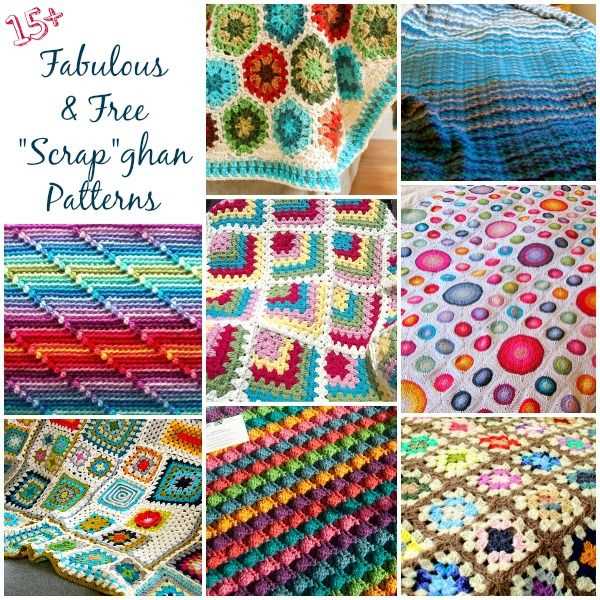
Embarking on an Afghan Adventure: If you enjoy making sampler squares, you can take it a step further and create an entire afghan composed of different squares. This allows you to explore various stitch patterns and color combinations, resulting in a truly unique and personal piece. Use a simple joining method, such as slip stitching or crocheting, to connect the squares together into a cohesive blanket.
In conclusion, sampler squares can be used in a variety of ways to create beautiful and functional knitting projects. Whether you choose to make a blanket, pillow, coaster, or afghan, the possibilities are endless. Experiment with different stitch patterns, colors, and arrangements to create your own unique masterpiece. Happy knitting!
Share Your Completed Sampler Squares
After working hard on your knitting sampler squares, it’s time to show off your finished creations! Whether you chose to stick to the pattern or added your own personal touch, we would love to see what you’ve come up with.
Share your completed sampler squares and inspire others by posting pictures on social media using the hashtag #SamplerSquares or by tagging our knitting community. Don’t forget to mention the yarn and needle size you used, as well as any modifications or techniques you used to achieve a specific look.
Here are some ways you can showcase your work:
- Take a photo of your sampler squares laid out flat, showing the variety of patterns and textures.
- Create a collage of your favorite squares and frame it as a piece of art for your home.
- Join your sampler squares together to create a cozy blanket or pillow cover.
- Experiment with different color combinations or yarn weights to personalize your square.
We can’t wait to see all the unique and beautiful sampler squares you’ve created. Share your progress and inspire others to try their hand at knitting sampler squares. Keep on knitting!
Note: If you’d like, you can also share your completed sampler squares in the comments below. We’d love to hear about your knitting journey and see your beautiful creations!