
A snood is a stylish and versatile accessory that can add a touch of elegance to any outfit. It is a popular choice for both men and women, as it provides warmth and comfort while also enhancing the overall look. Whether you’re planning to make a snood for yourself or as a gift for someone special, having a knitting pattern is essential.
Knitting a snood can be a fun and rewarding project, especially if you’re a fan of knitting. It allows you to experiment with different colors, textures, and patterns, giving you the freedom to create a unique and personalized snood. With the right knitting pattern, you can easily follow step-by-step instructions and create a snood that matches your style and preferences.
There are various knitting patterns available for snoods, ranging from simple and basic designs to more intricate and complex ones. If you’re a beginner, it’s recommended to start with a simple pattern to get the hang of knitting before moving on to more advanced projects. However, even the simplest snood pattern can produce impressive results, so don’t hesitate to give it a try.
What is a snood and why should you knit one?
A snood is a type of accessory worn around the neck that can be knitted or crocheted. It is typically a tube-shaped garment that can be pulled over the head and worn loosely around the neck. Snoods can be made in various lengths and can also be worn as a head covering or a hood. While snoods were traditionally worn by men and women in historical times, they have become increasingly popular in modern fashion.
Knitting a snood can be a rewarding and enjoyable project for several reasons. First, snoods are versatile and can be worn in different ways to complement various outfits. They can add a touch of warmth and style to any outfit, whether it’s casual or dressy. Additionally, knitting a snood allows you to choose your own yarn colors and patterns, giving you the opportunity to create a unique accessory that reflects your personal style.
Furthermore, knitting a snood can be a relaxing and therapeutic activity. The repetitive nature of knitting can help to reduce stress and promote mindfulness. It can also be a great way to unwind and take a break from the digital world. Knitting a snood can be a meditative process that allows you to focus on the present moment and create something beautiful with your hands.
If you are new to knitting, knitting a snood can be a great beginner project. The simple construction of a snood makes it an ideal project for practicing basic knitting stitches and techniques. It can help you familiarize yourself with knitting in the round and working with circular needles. Knitting a snood can also be a quick project that can be completed within a relatively short period of time, giving you a sense of accomplishment and boosting your confidence as a knitter.
Benefits of knitting a snood:
- Versatile and can be worn in different ways
- Allows for personalization with yarn colors and patterns
- Relaxing and therapeutic activity
- Great beginner knitting project
Choosing the right materials for your snood knitting project
A snood is a versatile and stylish accessory that can be worn in different ways to add warmth and flair to any outfit. To ensure that your snood turns out just the way you want it, choosing the right materials is essential. From the type of yarn to the knitting needles, each element plays a crucial role in the final result.
Yarn: When it comes to selecting the yarn for your snood, consider the level of warmth and thickness you desire. For a cozy winter snood, opt for a chunky or bulky weight yarn. If you prefer a lighter option for transitional seasons, a worsted weight yarn would work well. Additionally, consider the fiber content of the yarn. Natural fibers like wool and alpaca provide excellent insulation, while acrylic blends offer easy care and durability.
Needles: The size of your knitting needles will determine the tightness or looseness of your stitches. For a more open and breathable snood, use larger needles. If you want a denser and warmer snood, go for smaller needles. Circular needles are the most common choice for snood projects since they allow you to knit in the round and avoid seams. Ensure that your needle length matches the circumference of your desired snood.
Gauge: Before starting your snood project, it’s crucial to check your gauge. This involves knitting a small swatch and measuring the number of stitches and rows per inch. By matching the gauge suggested in the pattern, you can ensure that your snood turns out the right size. Adjusting your needle size or tension may be necessary to achieve the correct gauge.
Additional materials: Apart from yarn and needles, you may need other materials depending on the pattern you choose. This could include stitch markers, a tapestry needle for sewing seams or weaving in ends, and a row counter to keep track of your progress. Make sure to review the pattern requirements and gather all necessary materials before starting your snood knitting project.
Essential knitting techniques for knitting a snood
When knitting a snood, there are several essential techniques that you will need to know in order to create a beautiful and functional accessory. These techniques include casting on, knitting in the round, and binding off.
Casting on: To begin knitting your snood, you will need to cast on your stitches. The cast on method you choose will depend on the desired edge of your snood. A simple and commonly used cast on method is the long tail cast on. This method creates a neat and stretchy edge that is perfect for a snood.
Knitting in the round: A snood is typically knitted in the round, meaning you will be continuously knitting in a circle without turning your work. This is typically done using circular knitting needles or double pointed needles, depending on your preference and the circumference of your snood. When knitting in the round, it is important to join your work and be mindful of your gauge to ensure an even and consistent stitch pattern.
Binding off: Once you have completed the desired length of your snood, you will need to bind off your stitches. Binding off creates a finished edge and prevents your stitches from unraveling. There are several methods for binding off, including the traditional bind off and the stretchy bind off. The stretchy bind off is particularly useful for snoods, as it provides a comfortable and stretchy edge that will not feel tight around the wearer’s neck.
By mastering these essential knitting techniques, you will be well-equipped to create a beautiful and cozy snood. Whether you are a beginner or an experienced knitter, practicing these techniques will help you perfect your snood-making skills and create a stylish accessory for yourself or as a gift.
Step-by-step guide on how to cast on for your snood

Before you start knitting your snood, you need to cast on the stitches. The cast-on row forms the foundation of your knitting project. Here is a step-by-step guide on how to cast on for your snood:
- Choose your method: There are different methods of casting on, but for a snood, the long-tail cast-on method is commonly used. It creates a neat and slightly stretchy edge.
- Measure the yarn: Estimate the length of yarn you will need for casting on. The general rule of thumb is to measure about 3 times the width of your snood.
- Make the slipknot: Start by making a slipknot at one end of your yarn. Simply fold the yarn into a loop and pull one end through the loop, creating a knot.
- Hold the needle: Hold one knitting needle in your right hand (if you’re right-handed), with the slipknot at the end. The other needle will be held in your left hand.
- Make the first stitch: Insert the needle in your right hand through the slipknot, from back to front, and catch the yarn tail with the needle. Bring the needle under the working yarn (the yarn attached to the ball) and pull it through the slipknot, creating a new loop on the needle.
- Create more stitches: Repeat step 5 until you have cast on the desired number of stitches for your snood. Keep your stitches loose, as a tight cast-on will make it difficult to work with later.
- Count your stitches: Once you have cast on all your stitches, count them to make sure you have the correct number. This is important for following the knitting pattern and ensuring your snood turns out the right size.
Now that you have successfully cast on for your snood, you are ready to start knitting the first row according to the pattern instructions. The cast-on row provides a solid foundation for your snood and sets the stage for the rest of your knitting project.
Mastering the basic stitch pattern for your snood
Making a snood can be a fun and rewarding project for knitters of all skill levels. Whether you’re a beginner or an experienced knitter, mastering the basic stitch pattern is essential to creating a beautiful snood that you’ll be proud to wear.
The basic stitch pattern for a snood typically involves a combination of knit and purl stitches, which create a textured and stretchy fabric. This pattern allows the snood to fit comfortably around your neck while providing warmth and style.
To begin, cast on the desired number of stitches for your snood. Depending on the thickness of the yarn and the desired width of your snood, you may want to cast on anywhere from 60 to 100 stitches.
Once you have cast on your stitches, you can start working the basic stitch pattern. For example, you might begin by working two rows of knit stitches, followed by two rows of purl stitches. Repeat this pattern until your snood reaches the desired length.
Remember to always read the pattern instructions carefully and follow any additional stitch patterns or techniques that are specified. Practice makes perfect, so don’t be discouraged if you make a few mistakes along the way. With time and patience, you’ll soon be mastering the basic stitch pattern and creating stunning snoods that will keep you cozy and stylish all winter long.
Creating texture and pattern in your snood with different stitch patterns
A snood is a versatile and stylish accessory that can be worn in a variety of ways to add warmth and style to your outfit. One way to enhance the look of your snood is to incorporate different stitch patterns, which can create texture and pattern that make your snood unique.
When choosing stitch patterns for your snood, consider the weight and drape you want for your finished piece. Chunky stitches, such as cables or bobbles, can add depth and visual interest to your snood, while lighter, lacy stitches create a more delicate and feminine look.
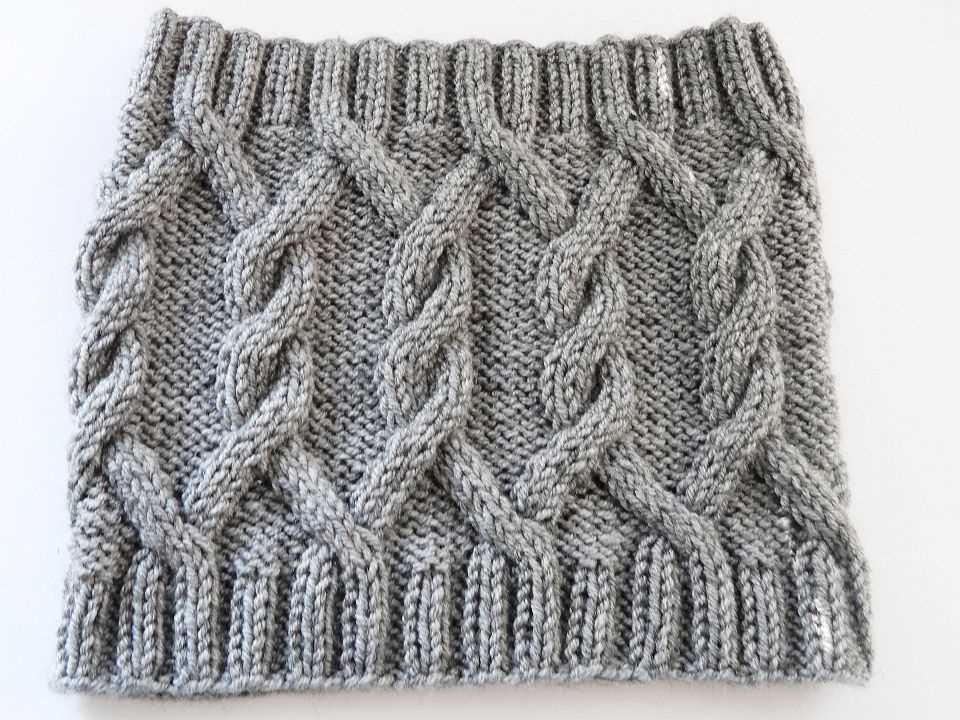
1. Cable stitch pattern
The cable stitch pattern is a classic choice for adding texture to your snood. This technique involves crossing stitches over each other to create a twisted effect. You can choose from simple cables with a few crossing stitches or more complex designs with intricate cable patterns.
2. Seed stitch pattern
The seed stitch pattern is another option for adding texture to your snood. This pattern alternates knit and purl stitches to create a bumpy and textured surface. It is a great choice for a snood as it lies flat and adds visual interest without being too bulky.
3. Lace stitch pattern
If you prefer a more delicate and feminine look, a lace stitch pattern can be a beautiful choice for your snood. Lace patterns typically involve yarn over and knit two together stitches to create an open and airy fabric. You can choose from simple lace stitch patterns or more intricate designs for a more dramatic effect.
By incorporating different stitch patterns into your snood, you can create a customized and unique accessory that showcases your knitting skills. Experiment with different combinations and techniques to find the perfect stitch pattern for your snood.
Tips and Tricks for Increasing and Decreasing Your Snood
Making a snood can be a fun and rewarding project, but it’s important to know how to properly increase and decrease stitches to create the desired shape and fit. Here are some tips and tricks to help you master the art of shaping your snood:
Increasing Stitches:
- One common way to increase stitches is by working a yarn-over. To do this, simply bring the yarn to the front of your work, then wrap it over the right-hand needle and continue with the next stitch.
- Another technique for increasing stitches is the “knit front and back” method. To do this, knit the next stitch as usual, but before dropping it off the left-hand needle, insert the right-hand needle into the back loop of the same stitch and knit it again.
- If you need to increase more than one stitch in a row, you can use the “make one” method. To make one stitch, insert the right-hand needle from front to back under the horizontal strand between the last stitch you worked and the next stitch on the left-hand needle. Then, knit this strand like a regular stitch.
Decreasing Stitches:
- To decrease stitches, one common method is the “knit two together” technique. Simply insert the right-hand needle into the next two stitches on the left-hand needle, and knit them together as if they were one stitch.
- Another method for decreasing stitches is the “slip, slip, knit” method. Slip the next stitch as if to knit onto the right-hand needle, then slip the following stitch in the same way. Insert the left-hand needle into the front of both slipped stitches and knit them together.
- If you want to decrease more than one stitch in a row, you can use the “knit three together” method. Insert the right-hand needle into the next three stitches on the left-hand needle and knit them together.
Remember to always read and follow the pattern instructions for any specific increases or decreases required for your snood. With practice, you’ll become more comfortable with these techniques and be able to shape your snood to fit perfectly.
Adding beautiful finishing touches to your snood
Your snood is almost finished, but don’t forget about giving it those beautiful finishing touches that will make it truly stand out. Here are some ideas to consider:
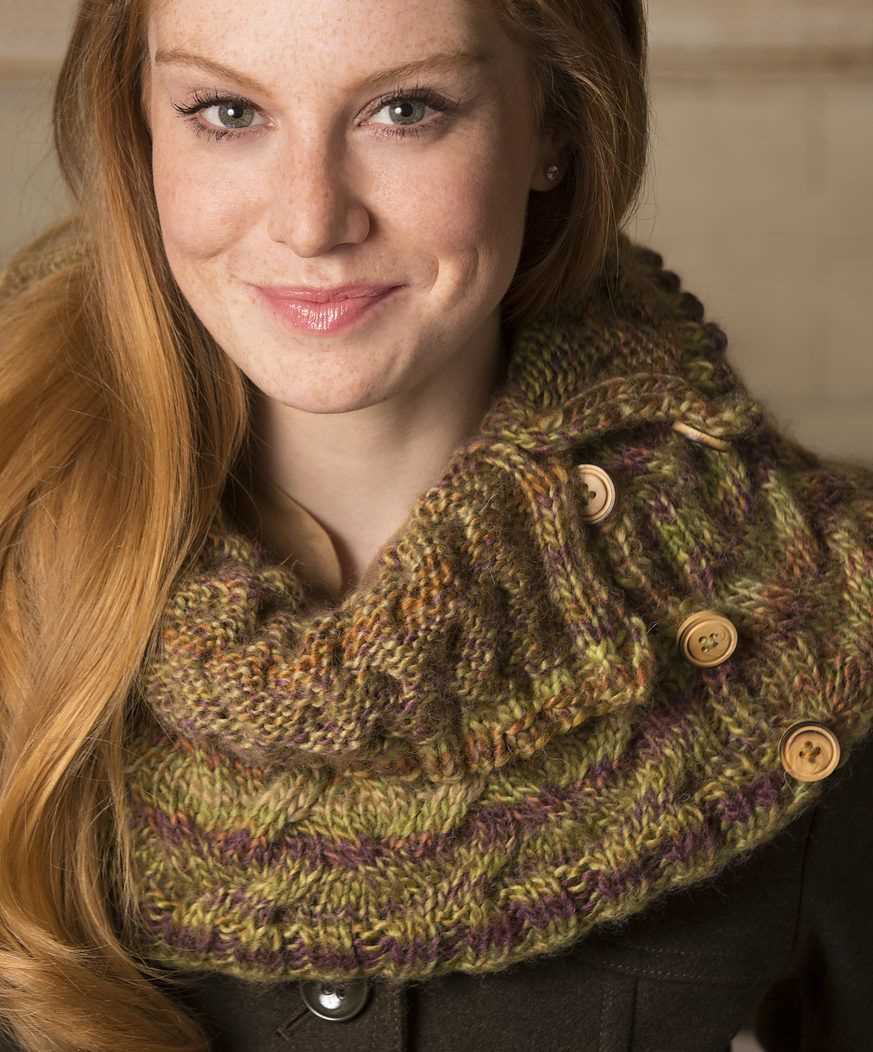
1. Embellishments
Add some extra flair to your snood by incorporating embellishments. You can sew on small fabric flowers, beads, or sequins to create a more glamorous look. Another option is to attach decorative buttons or charms along the edge of your snood. These little touches can really make your snood a unique and personalized accessory.
2. Lace trim
Consider adding a delicate lace trim to the edge of your snood. This can give it a feminine and elegant touch. Choose a lace trim that matches the color and style of your snood, and sew it along the bottom edge with small, hidden stitches. The lace trim can add a touch of vintage charm to your snood, making it even more special.
3. Pom-pom detail
If you want to add a fun and playful element to your snood, consider attaching pom-poms along the edges. You can make these pom-poms yourself using yarn in coordinating colors. Simply attach them with a needle and thread, evenly spacing them around the edge of your snood. This whimsical detail will make your snood unique and eye-catching.
4. Tassels
For a bohemian touch, add tassels to the corners of your snood. You can make these tassels using matching yarn or contrasting colors for a pop of color. Attach them to the corners by folding a length of yarn in half, looping it through the corner, and pulling the ends through the loop. Secure with a knot and trim the ends to your desired length. Tassels can add movement and visual interest to your snood.
Remember, the finishing touches you add to your snood will give it that extra special something. Consider these options or let your creativity run wild to make your snood truly unique and personalized.
Blocking and Caring for Your Snood
Blocking is an essential step in finishing your snood. It helps to even out the stitches and give your project a more polished and professional look. To block your snood, you will need to wet it first. Fill a sink or basin with lukewarm water and add a small amount of gentle detergent. Gently submerge your snood in the water and let it soak for about 15 minutes. After soaking, remove the snood from the water and squeeze out the excess moisture. Do not wring or twist the snood, as this can cause the stitches to stretch or lose their shape.
Once your snood is damp, lay it flat on a clean towel or blocking board. Gently shape the snood into the desired size and shape, making sure the edges are straight and the stitches are even. Pin the edges of the snood to the towel or blocking board with rust-resistant T-pins. Allow the snood to dry completely before removing the pins. This can take anywhere from a few hours to overnight, depending on the thickness of the yarn and the humidity in your environment.
Caring for your snood
After blocking, it’s important to properly care for your snood to ensure its longevity. Depending on the yarn you used, you may need to hand wash your snood or machine wash it on a gentle cycle. Always refer to the yarn label for specific care instructions. When washing your snood, use a mild detergent and lukewarm water. Avoid using bleach or harsh chemicals, as they can damage the yarn fibers. Gently squeeze out the excess water and lay the snood flat to dry. Do not hang it, as this can cause the snood to stretch.
To keep your snood looking its best, avoid exposing it to excessive heat or direct sunlight, as this can cause the colors to fade. When not in use, store your snood in a cool, dry place to prevent any moisture or mold growth. If your snood becomes wrinkled, you can lightly steam it with an iron or a handheld steamer, keeping a safe distance to avoid damaging the yarn. With proper care, your snood will continue to keep you warm and stylish for many seasons to come.
Adding Personal Touches to Your Snood with Embellishments
When it comes to knitting a snood, the possibilities for adding personal touches and embellishments are endless. Whether you’re looking to create a cozy winter accessory or a stylish fashion statement, adding unique details to your snood can make it truly one-of-a-kind.
1. Beaded Accents: One way to add an elegant touch to your snood is by incorporating beads into your knitting pattern. You can choose beads in a complementary color or opt for a contrasting shade to make them stand out. Sewing beads onto your snood can create a subtle shimmer or a bold statement, depending on your preference.
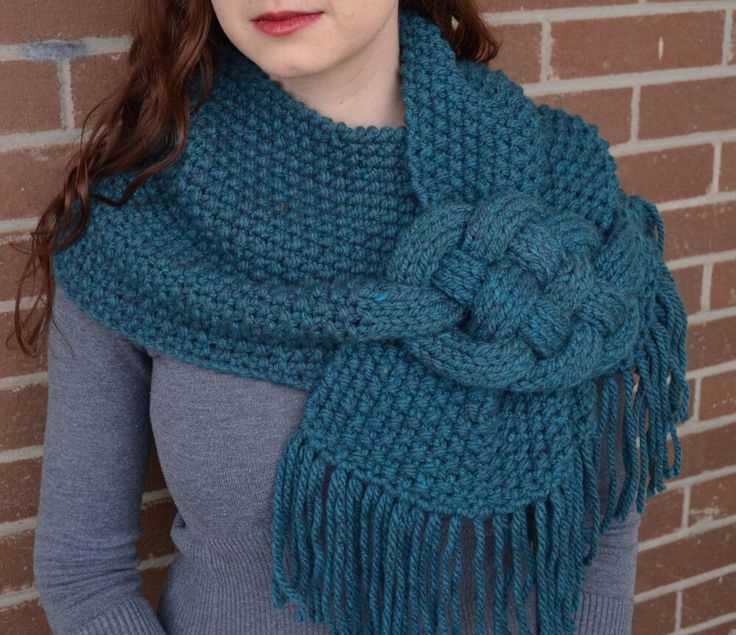
2. Fringe Detailing: Adding fringe to your snood can instantly give it a bohemian flair. You can create long or short fringe, depending on the look you want to achieve. Mixing different colors of yarn and textures can also add visual interest and create a unique design.
3. Embroidery: If you’re feeling particularly creative, consider adding embroidered details to your snood. You can use colorful threads to stitch intricate patterns or even personalize it with your initials. Embroidery allows you to unleash your creativity and make your snood a true reflection of your style.
4. Ribbons and Bows: Adding ribbons or bows to your snood is a great way to add a feminine touch. You can sew a ribbon along the edge of your snood or tie a bow to the side. This simple addition can instantly transform a plain snood into a chic and stylish accessory.
5. Appliques: Another way to personalize your snood is by adding appliques. You can knit or crochet small shapes, such as hearts or flowers, and sew them onto your snood. Appliques can add a playful and whimsical touch to your snood, making it truly unique.
Conclusion: Personalizing your snood with embellishments is a great way to showcase your creativity and add a personal touch to your accessory. Whether you choose to incorporate beads, fringe, embroidery, ribbons, bows, or appliques, the possibilities are endless. Let your imagination run wild and create a snood that reflects your unique style.
Exploring different snood styles and designs
Snoods are a versatile accessory that can add warmth and style to any outfit. There are many different styles and designs to choose from, allowing you to find the perfect snood to match your personal taste and preferences.
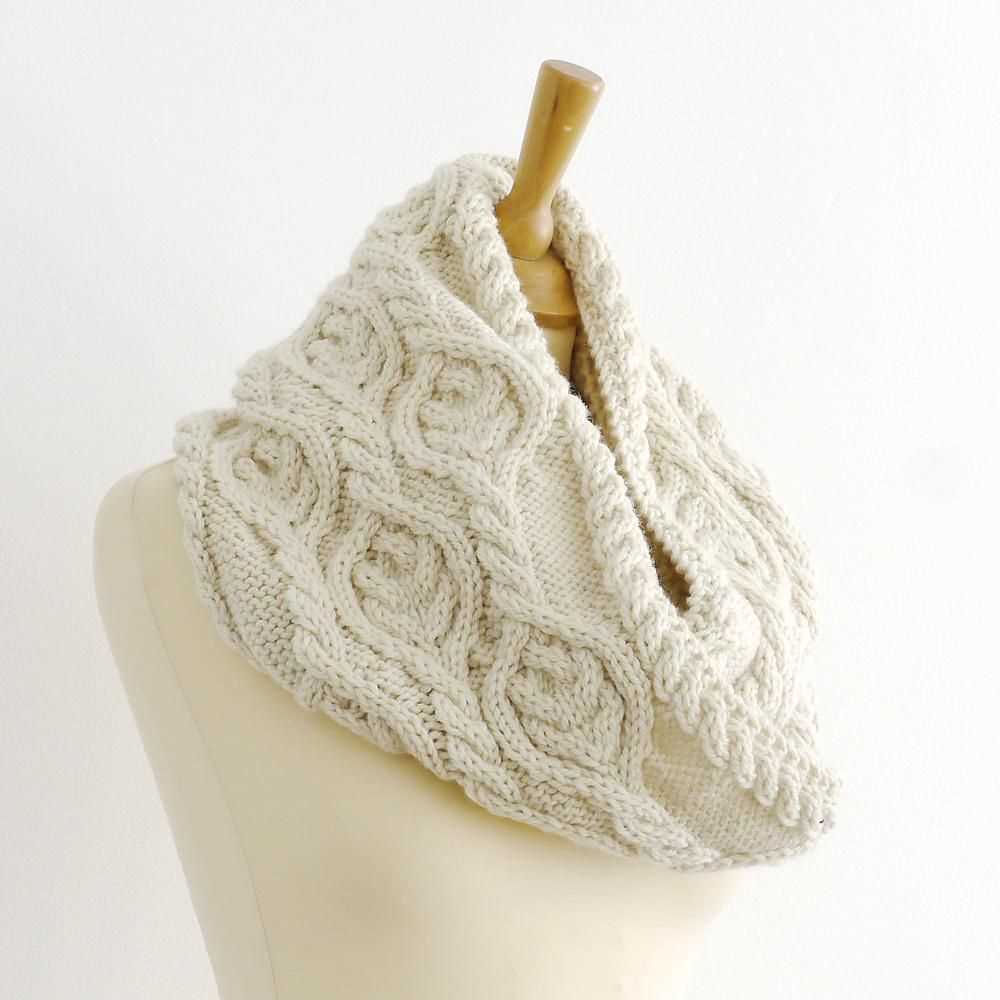
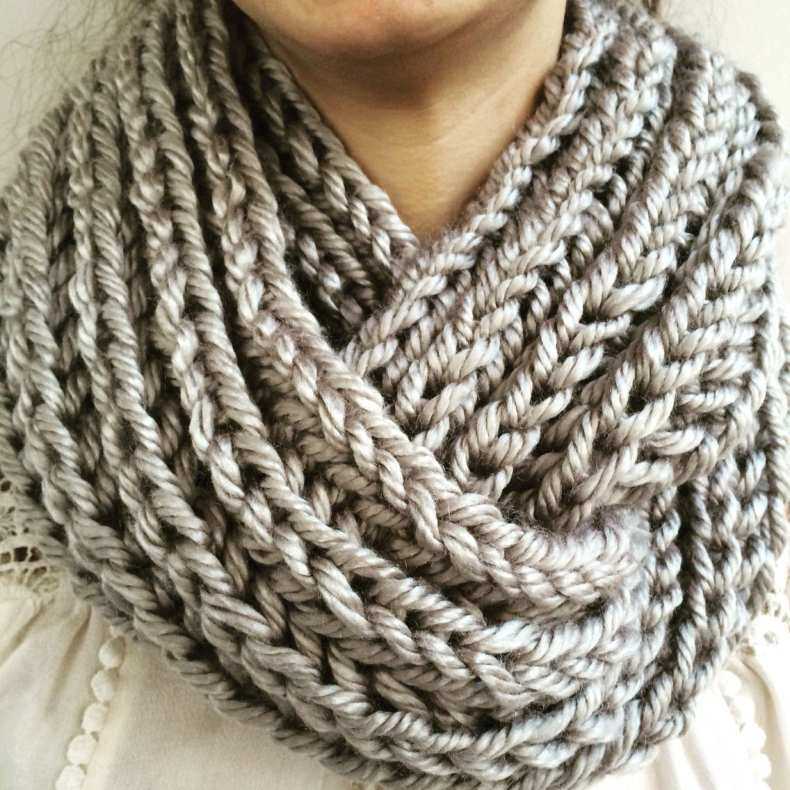
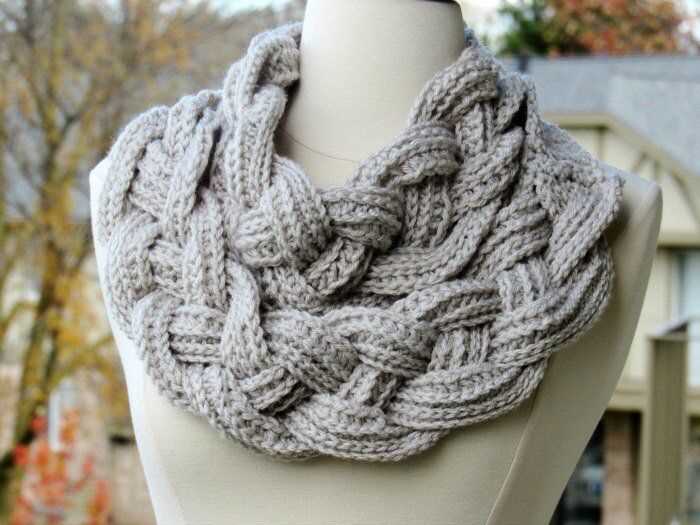
Chunky Knit Snood
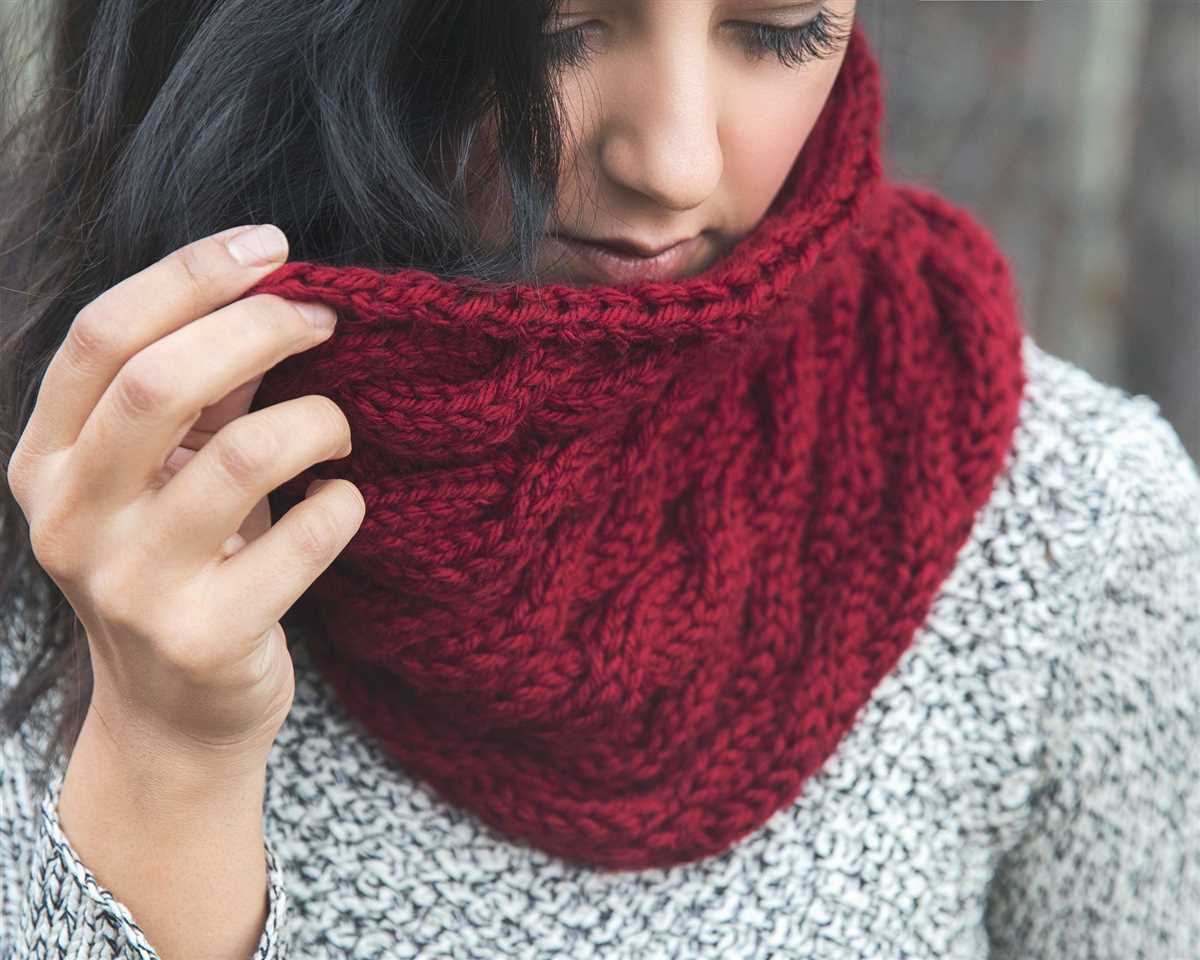
One popular snood style is the chunky knit snood. These snoods are made with thick, cozy yarn, and are perfect for keeping you warm during the colder months. Chunky knit snoods often feature intricate cable patterns or textured stitches, adding a unique touch to your winter wardrobe.
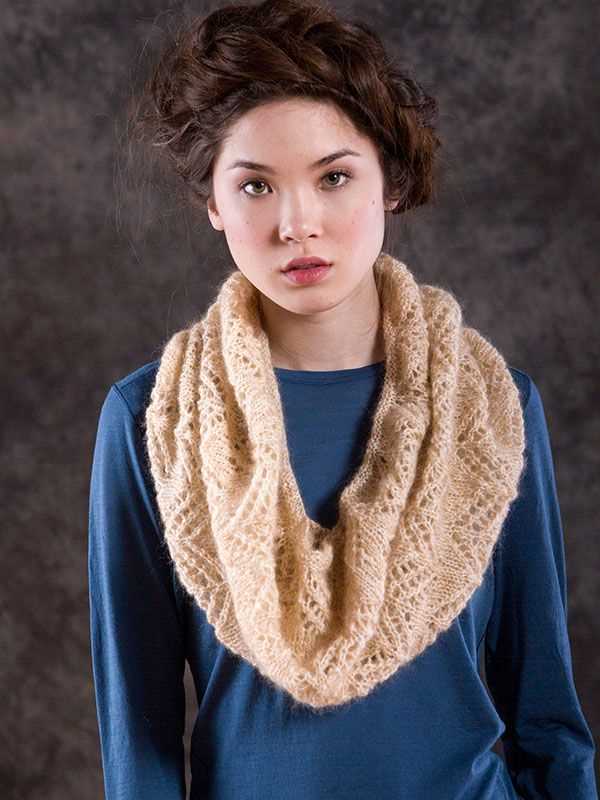
Lace Snood
If you prefer a lighter and more delicate snood, a lace snood might be the perfect choice for you. Lace snoods are made with fine, lightweight yarn and feature intricate lace patterns. These snoods can be dressed up or down, making them a versatile accessory for any occasion.
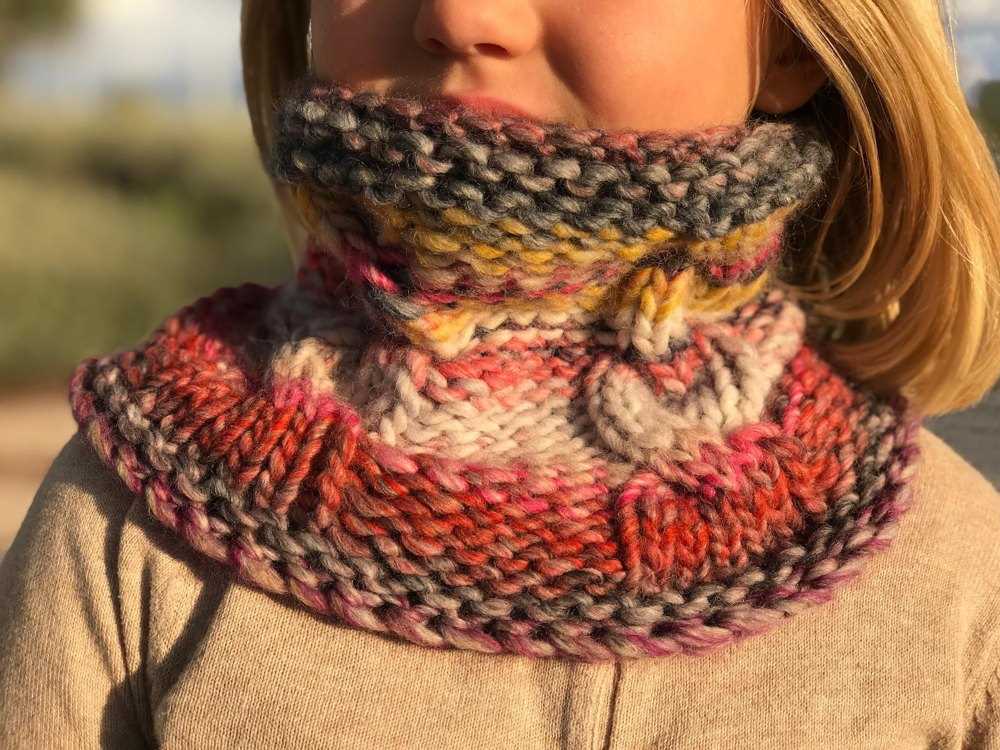
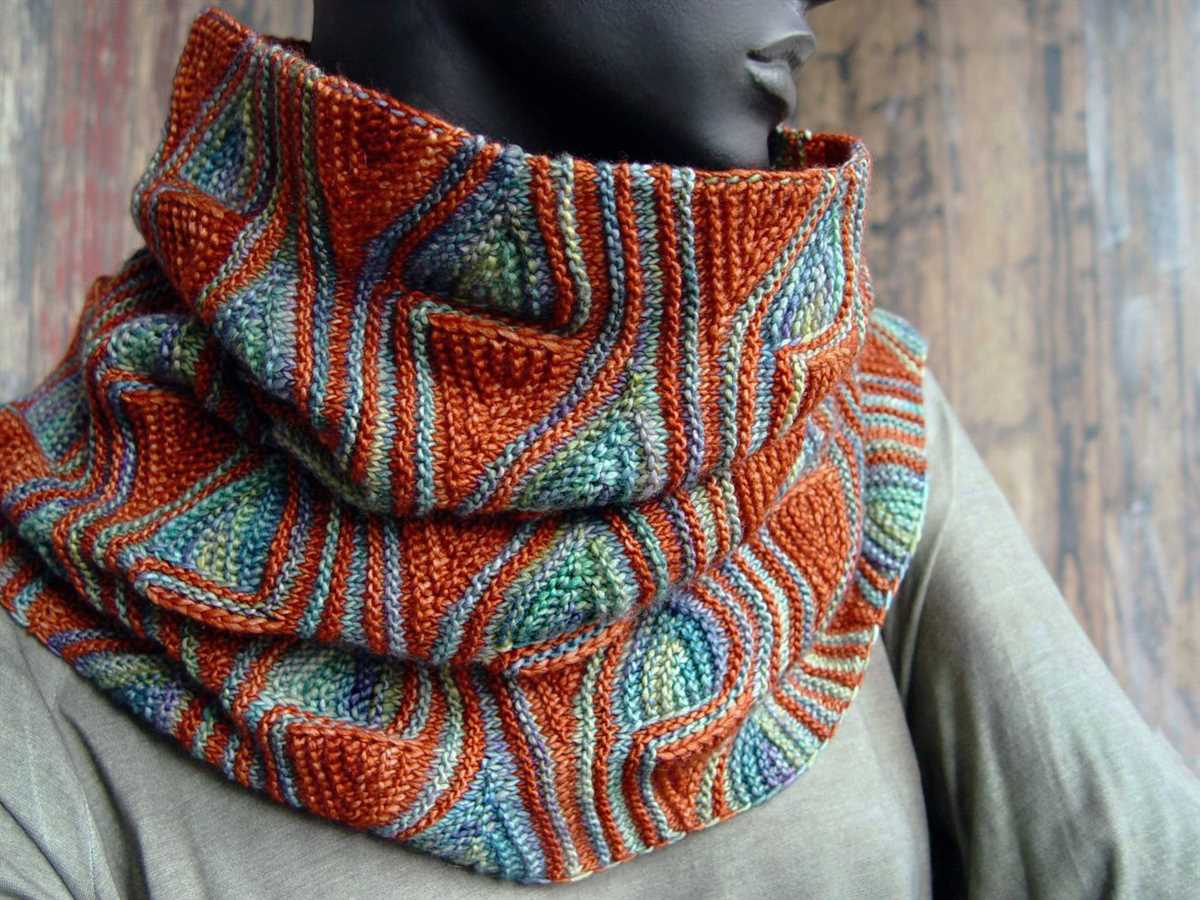
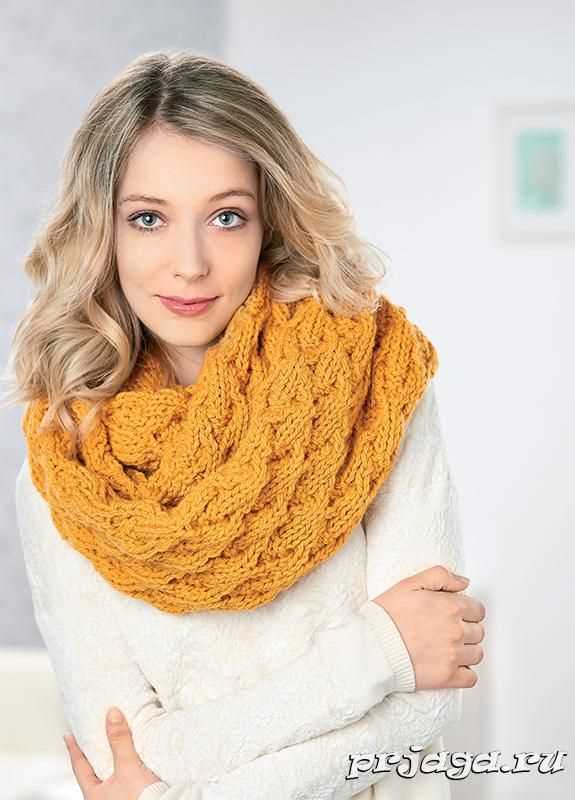
Colorful Snood
For those who love to add a pop of color to their outfits, a colorful snood is an excellent option. These snoods come in a wide range of vibrant hues and can be paired with neutral-toned outfits to create an eye-catching look. Whether you prefer bold and bright colors or soft pastel shades, there is a colorful snood out there to suit your style.
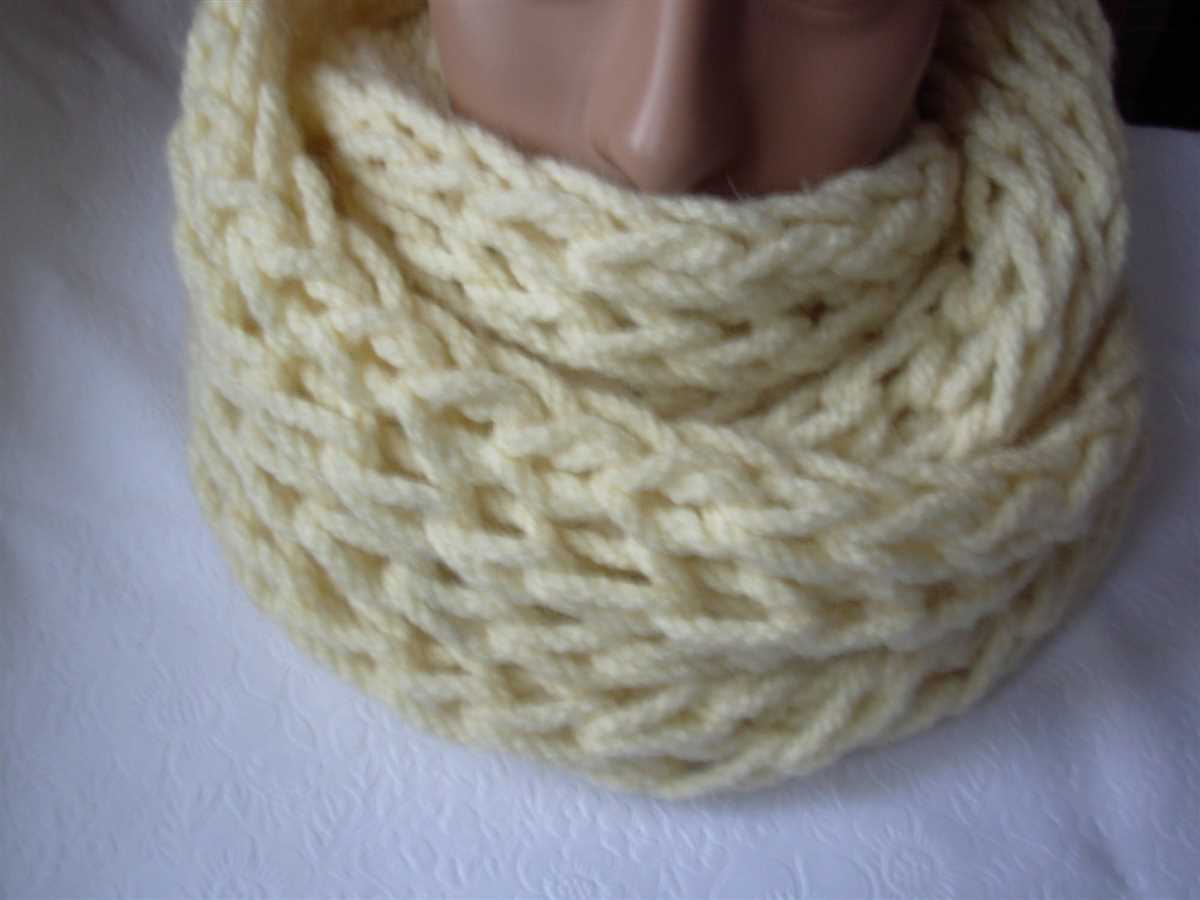
Cowl Snood
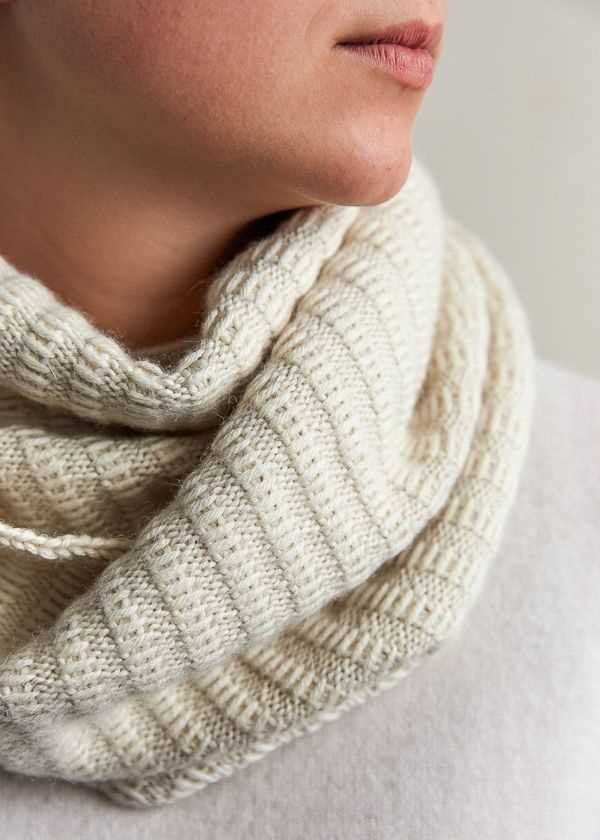
A cowl snood is a versatile style that can be worn in a variety of ways. These snoods are typically longer in length, allowing them to be wrapped around the neck multiple times or worn as a hood. Cowl snoods come in various designs, including ribbed, textured, or patterned, giving you plenty of options to choose from.
- Conclusion: When it comes to snood styles and designs, the options are endless. Whether you prefer a chunky knit snood, a delicate lace snood, a colorful snood, or a versatile cowl snood, there is sure to be a style that suits your personal taste and keeps you cozy and stylish all season long.
Conclusion
Knitting a snood can be a fun and rewarding project for both beginners and advanced knitters. With a variety of snood knitting patterns available, you can create a stylish and practical accessory to keep yourself warm and fashionable. Whether you prefer a simple and basic snood or a more complex and intricate design, there is a pattern out there for everyone.
For beginners, it is recommended to start with a basic snood pattern that uses simple stitches such as knit and purl. This will allow you to practice your knitting skills and become comfortable with the basic techniques before moving on to more advanced patterns. As you gain more experience and confidence, you can try out different stitch patterns and techniques to create unique and eye-catching snoods.
For advanced knitters, the possibilities are endless. You can experiment with different yarns, colors, and stitch patterns to create truly one-of-a-kind snoods. Advanced patterns may include lacework, cables, or intricate designs that require more attention to detail and skill. These patterns can be challenging but also very rewarding when completed.
No matter your skill level, knitting a snood can be a relaxing and enjoyable way to spend your time. It allows you to express your creativity and create something beautiful and functional. So grab your knitting needles and start exploring the wonderful world of snood knitting patterns!