
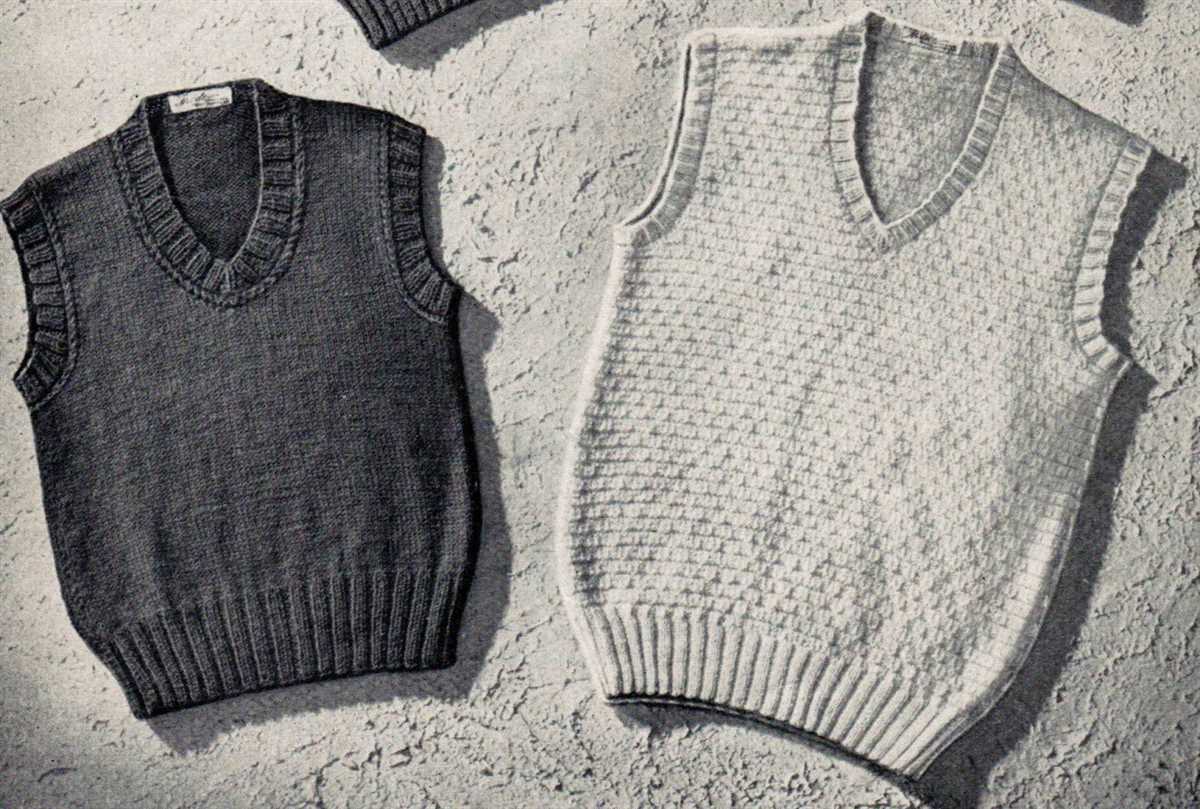
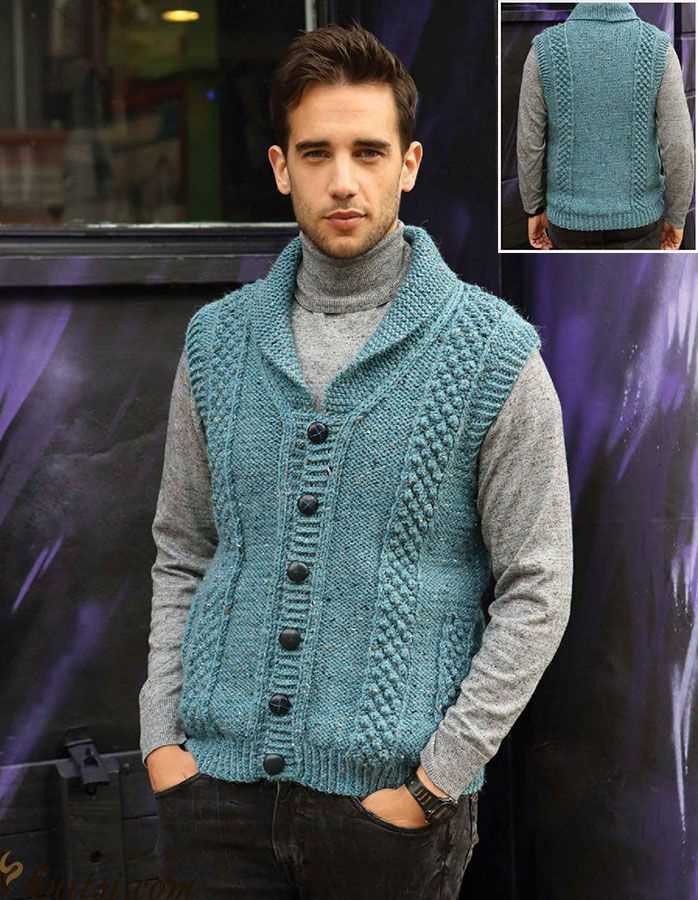
Knitting is a popular craft that allows you to create beautiful and cozy garments. One of the most versatile and stylish items you can make is a sleeveless vest. This versatile garment can be worn during any season and can be dressed up or down depending on the occasion.
This knitting pattern for a sleeveless vest is perfect for both beginner and experienced knitters. The pattern is simple to follow and includes clear instructions, making it a great project for anyone who wants to expand their knitting skills.
The sleeveless vest pattern utilizes basic knitting techniques, such as casting on, knitting, purling, and decreasing stitches. It also incorporates a ribbing design, which adds texture and stretch to the garment. The pattern provides measurements and step-by-step instructions for multiple sizes, making it easy to create a custom-fit vest.
Materials needed for this project:
- Worsted weight yarn
- Circular knitting needles
- Stitch markers
- Tapestry needle
- Scissors
Whether you’re a beginner knitter looking for a new project or an experienced knitter wanting to create a stylish garment, this knitting pattern for a sleeveless vest is a great choice. Grab your needles and get ready to knit up a cozy and fashionable vest in no time!
Materials needed
To knit the sleeveless vest, you will need the following materials:
- Yarn: Choose a yarn that is suitable for the vest pattern and your desired size. The pattern will typically specify the type and weight of yarn required. It is important to match the yarn weight and gauge recommended in the pattern to achieve the correct fit and look of the finished vest.
- Knitting needles: Select knitting needles that are appropriate for the yarn you have chosen and the pattern requirements. The size of needles will be indicated in the pattern. Double-pointed needles, circular needles, or straight needles can be used depending on the pattern instructions.
- Tape measure: This will be useful for measuring your gauge and ensuring the correct size of the vest as you knit.
- Stitch markers: These small, removable markers will help you keep track of stitches and pattern repeats.
- Scissors: A pair of sharp scissors will be needed for cutting yarn and trimming loose ends.
- Tapestry needle: This large-eyed needle is used for weaving in yarn ends and finishing off seams.
- Buttons or closures: If the pattern includes buttons or closures, make sure you have the required number and type specified in the instructions.
Once you have gathered all the necessary materials, you will be ready to start knitting your sleeveless vest! It’s always a good idea to read through the pattern instructions and check that you have everything you need before beginning.
Gauge
Gauge is an important aspect of knitting, as it determines the size and fit of the finished garment. It refers to the number of stitches and rows in a given measurement, usually 4 inches (10 cm), using a specific yarn and needle size. Knitting patterns often include a gauge requirement, which helps ensure that the final piece matches the intended measurements.
Why is gauge important?
Knitting with the correct gauge is crucial because it affects the overall size, drape, and fit of the finished item. If your gauge is too loose, your stitches will be larger, and the final piece will be too big. On the other hand, if your gauge is too tight, your stitches will be smaller, and the final piece will be too small. Ignoring the gauge can result in a poorly fitting garment that doesn’t look or feel right.
How to measure gauge?
To measure gauge, you will need to knit a swatch using the specified yarn and needle size in the knitting pattern. The swatch should be large enough to allow for accurate measurements, usually at least 6 inches by 6 inches (15 cm by 15 cm). Once you have finished knitting the swatch, lay it flat on a smooth surface and use a ruler to count the number of stitches and rows within the specified measurement.
Adjusting your gauge
If your gauge doesn’t match the pattern’s gauge, you may need to adjust your needle size. If your gauge is too loose, try knitting with a smaller needle size. Conversely, if your gauge is too tight, switch to a larger needle size. It may take a few tries to find the right needle size and achieve the correct gauge, but it is worth the effort to ensure a well-fitting finished garment.
Not all knitting projects require gauge
While gauge is important for many knitting projects, there are some instances where it may not be necessary. For example, when knitting a scarf or a blanket, the exact size and fit are not as critical as they are for garments. However, even in these cases, it can be helpful to determine your gauge to estimate the amount of yarn you will need for the project.
Size
The sleeveless vest knitting pattern is available in multiple sizes to ensure a perfect fit for everyone. Whether you are knitting for yourself or someone else, it’s important to take accurate measurements before starting the project.
To determine the correct size to knit, you will need to measure the bust circumference. It is recommended to measure over a well-fitting garment or directly on the body for accuracy. The pattern provides instructions for sizes ranging from small to extra-large, with bust measurements of 32-34 inches, 36-38 inches, 40-42 inches, and 44-46 inches respectively.
Size Chart:
| Size | Bust Circumference (inches) |
|---|---|
| Small | 32-34 |
| Medium | 36-38 |
| Large | 40-42 |
| Extra-Large | 44-46 |
It’s important to note that the sleeveless vest knitting pattern is designed to have a relaxed fit. If you prefer a more fitted look, you may want to consider choosing a size down or adjusting the pattern accordingly. Additionally, the pattern includes instructions on how to customize the length of the vest to your preference.
It’s always recommended to make a gauge swatch before starting your project to ensure that you achieve the correct tension. Following the size chart and making any necessary adjustments will help you create a sleeveless vest that fits perfectly and flatters your body shape.
Abbreviations
In knitting patterns, various abbreviations are often used to make the instructions shorter and more concise. These abbreviations represent specific knitting techniques, stitches, and actions that need to be performed. It is important to familiarize yourself with these abbreviations before beginning a knitting project, as they can help you understand the instructions and follow the pattern correctly.
Here are some commonly used knitting abbreviations:
- K – Knit stitch
- P – Purl stitch
- YO – Yarn over
- SSK – Slip, slip, knit
- K2tog – Knit two stitches together
- P2tog – Purl two stitches together
- PM – Place marker
- SM – Slip marker
- BO – Bind off
These abbreviations are just a few examples, and there are many more that you may come across in knitting patterns. It is important to refer to the pattern’s key or legend to understand the specific meaning of each abbreviation used. By understanding and utilizing these abbreviations, you can easily decipher knitting patterns and create beautiful garments or accessories.
Back Panel
The back panel of the sleeveless vest is an important component that adds structure and shape to the garment. It is typically worked in a single piece, starting from the bottom and working upwards. The back panel is where the majority of the stitch pattern is showcased, making it a key focal point of the vest.
To begin the back panel, cast on the required number of stitches based on your desired size and gauge. It is important to pay attention to the pattern instructions for any specific stitch counts or increases/decreases that may be necessary to achieve the desired fit.
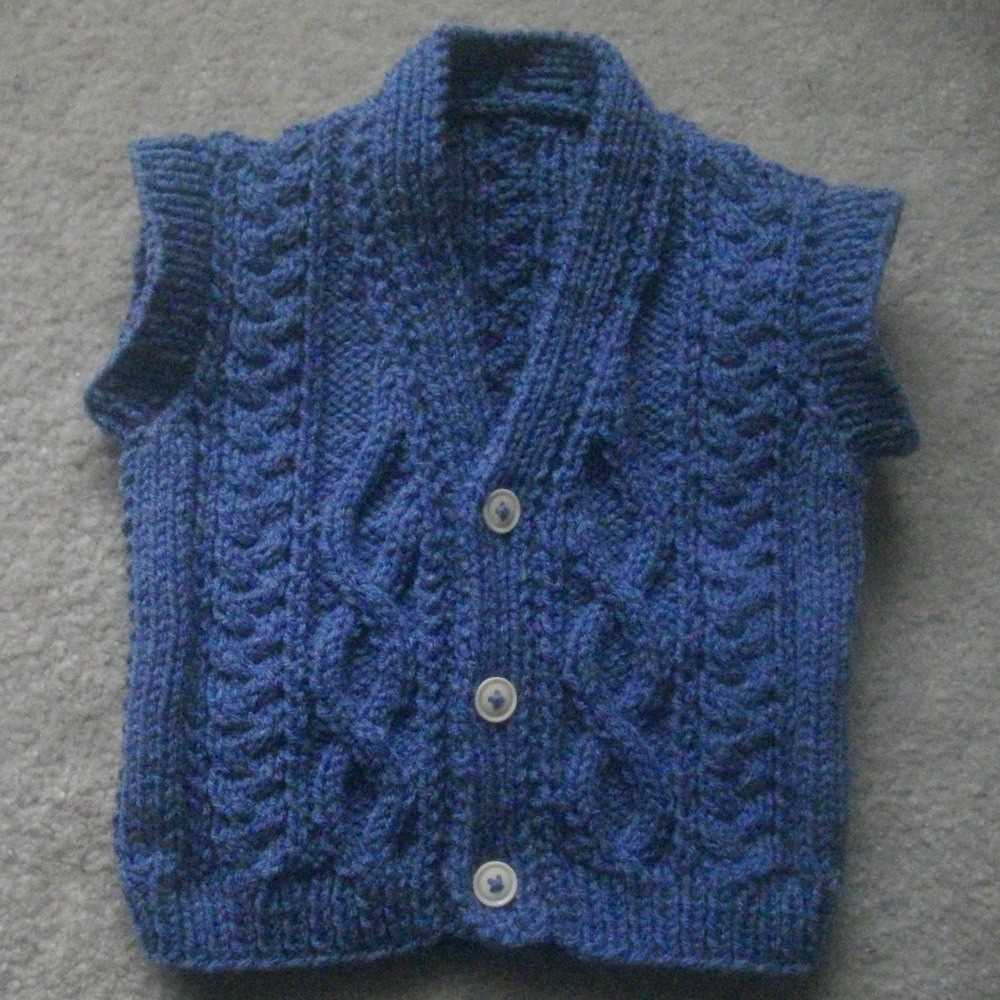
The stitch pattern for the back panel may vary depending on the design of the vest. Common stitch patterns include ribbing, cables, or lace motifs. This adds visual interest to the back of the vest and makes it stand out from the front panel and any other sections of the garment.
As you work the back panel, it is important to keep track of your rows and instructions to ensure accuracy and consistency in the pattern. A stitch marker can be helpful to mark the beginning of each row, especially if there are any shaping or pattern changes.
Once the back panel reaches the desired length, it is typically finished off with a bind off or a few rows of ribbing to create a clean edge. From there, you can move on to the next section of the vest, such as the shoulders or the front panels.
The back panel plays a crucial role in creating the overall shape and fit of the sleeveless vest. By following the pattern instructions and paying attention to the stitch pattern, you can create a beautiful and well-fitting garment that is sure to be a favorite in your wardrobe.
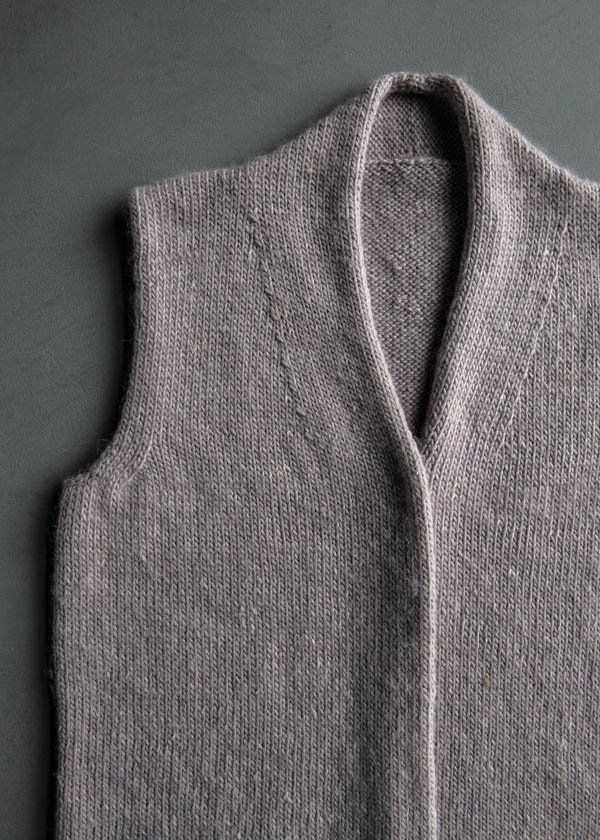
Front panels
The front panels of the sleeveless vest are an important part of the overall design. They give the vest structure and shape, as well as provide a decorative element. The front panels are worked separately from the back panel and are later sewn to the sides and shoulder straps.
To begin the front panels, cast on the required number of stitches using the specified yarn and needle size. If the pattern calls for any ribbing at the bottom or top of the panels, work the specified number of rows in the ribbing pattern.
Once the ribbing is complete, begin working the main pattern for the front panels. This can range from simple stockinette stitch to more intricate cable or lace patterns. Follow the instructions for the pattern, making sure to keep track of any shaping or stitch pattern changes.
As you work, remember to work any necessary increases or decreases to shape the front panels. These may be specified in the pattern or can be added for a custom fit. It’s important to keep track of these shaping rows to ensure that both front panels are worked the same.
Neck Shaping
In order to create the neck shaping for the sleeveless vest, the pattern utilizes decreases and bind offs. The specific instructions for the neck shaping are as follows:
1. Neck Shaping:
- At the beginning of each row, bind off a specific number of stitches to create the desired neckline width. This can be done by slipping the first stitch or using the bind off method of your choice.
- On the next row, continue working as established, following the pattern instructions for the main body of the vest.
- Repeat the bind off process at the beginning of each row until the required number of stitches have been decreased for the neck shaping.
2. Front Neck Shaping:
- After completing the specified number of rows for the neck shaping, divide the stitches in half to create the front neckline.
- Continue working each side of the front neckline separately, following the instructions for shaping the neckline.
- The shaping can be achieved by making additional decreases or bind offs at specific intervals, as outlined in the pattern.
By following these instructions, the knitter can create a nicely shaped neckline for the sleeveless vest. It is important to carefully read and understand the pattern before beginning the neck shaping to ensure accurate results. Adjustments can be made as desired to customize the fit and style of the vest.
Armhole Shaping
When creating a sleeveless vest, the armhole shaping is an important step to ensure a proper fit and comfortable arm openings. This shaping is typically done during the front and back pieces of the vest.
To begin the armhole shaping, you will need to mark the desired length of the armhole on the sides of the front and back pieces. This can be done by measuring down from the shoulder and marking the length using stitch markers or contrasting yarn.
Once the armhole length is marked, you will begin decreasing stitches to create the curved shape of the armhole. This is done by working a series of decreases evenly spaced along the armhole edge. The specific decreases used will depend on the knitting pattern you are following, but common methods include knitting two stitches together (k2tog) or slipping one stitch knitwise, knitting the next stitch, and then passing the slipped stitch over (ssk).
Continue to work the armhole shaping decreases on each row or round until the desired width of the armhole is reached. It is important to follow the pattern instructions carefully to ensure the correct number of decreases and maintain the proper stitch count. Once the armhole shaping is complete, you can continue working the rest of the vest pattern as instructed.
Finishing
Once you have completed knitting the sleeveless vest according to the pattern, it’s time to finish it off and give it a polished look. The finishing touches will make a difference in the overall appearance and fit of the vest.
First, weave in any loose ends of yarn using a tapestry needle. This will ensure that the vest doesn’t unravel or have any visible yarn tails. Make sure to weave in the ends securely and invisibly, so they don’t show on the right side of the vest.
Next, block the vest to give it the desired shape and size. Wet blocking or steam blocking can be used depending on the yarn used and the specific instructions of the pattern. Blocking helps to even out the stitches and give the garment a professional finish. Spread the vest out on a flat surface and gently shape it to the correct measurements, using pins or blocking wires if necessary.
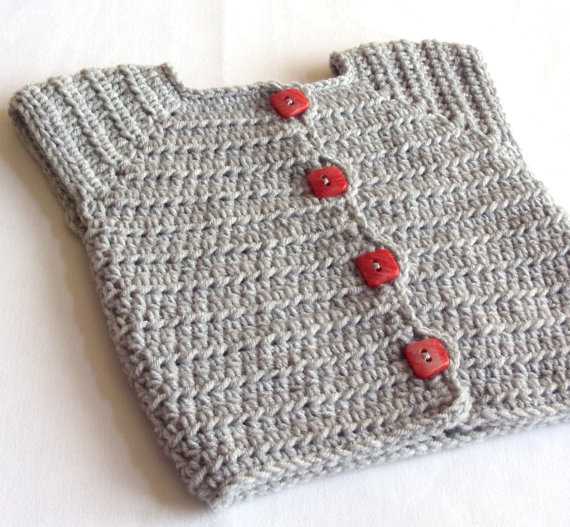
Once the vest is dry and blocked, you can proceed with the final finishing touches. This may include sewing on buttons, attaching a closure, or adding any desired embellishments. Follow the pattern instructions for the specific finishing details, such as buttonhole placement or stitch patterns for edgings.
Finally, give the vest a final inspection to make sure everything is in place and the seams are secure. Check for any loose stitches or areas that need reinforcement. Make any necessary adjustments or repairs before wearing or gifting the finished vest.
Variations and Styling Ideas
Once you have mastered the basic pattern for the sleeveless vest, you can experiment with different variations and styling options to create unique and personalized garments. Here are a few ideas to get you started:
1. Length Variations
Try adjusting the length of the vest to create different looks. A shorter length can give a more casual and sporty vibe, while a longer length can add elegance and sophistication. Experiment with different measurements to find the perfect length for your vest.
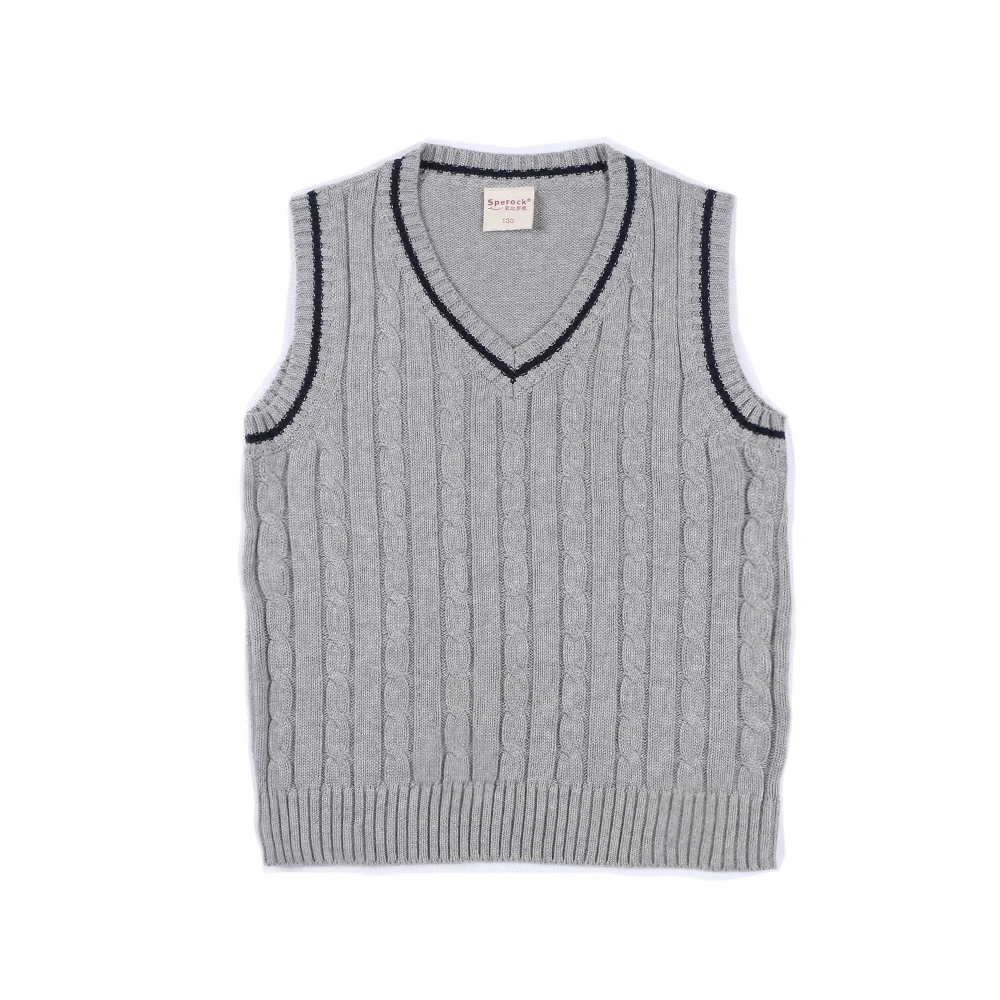
2. Neckline Options
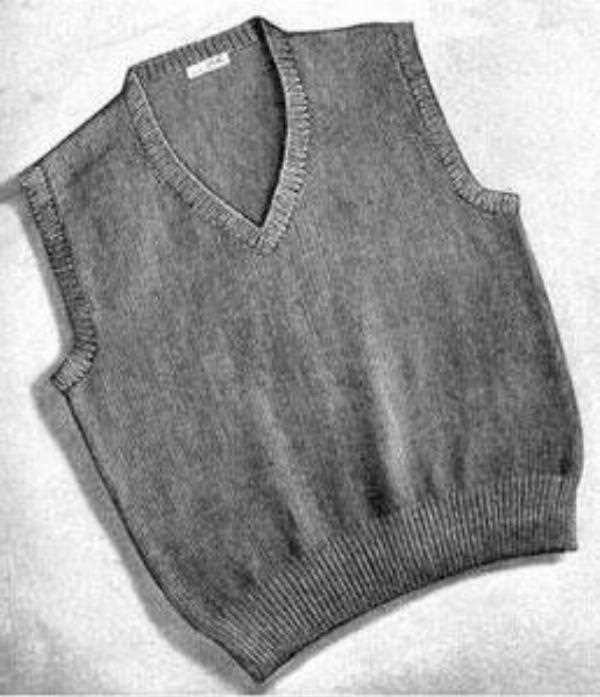
Instead of sticking to the traditional crew neck, consider exploring different neckline options. A V-neck can be flattering and elongating, while a boat neck can give a more feminine and retro look. Experiment with different shapes and sizes to find the neckline that suits you best.
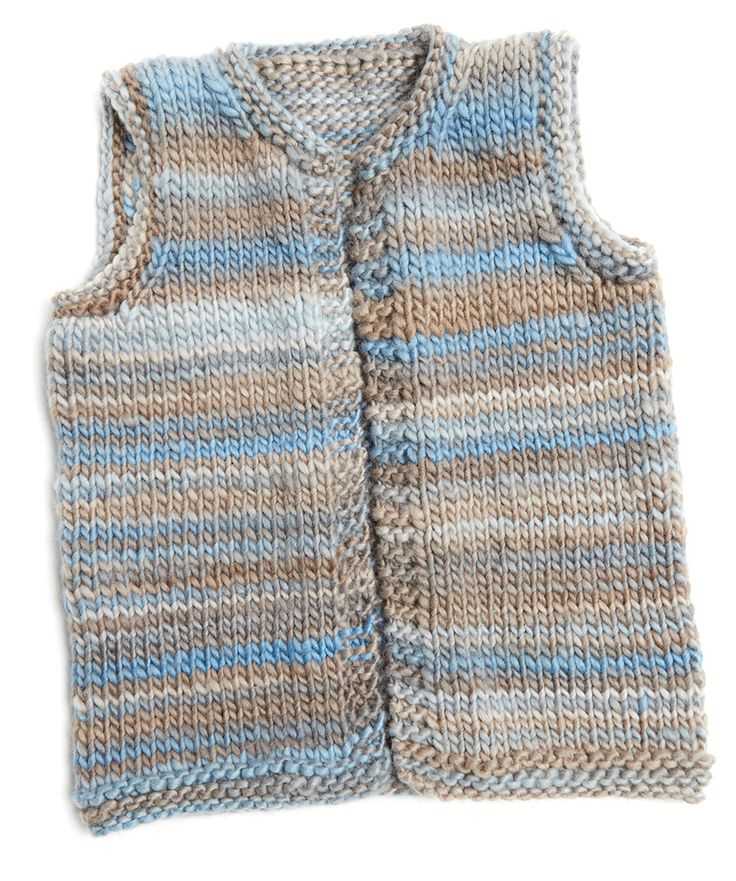
3. Color Choices
While the classic sleeveless vest is often knit in neutral colors, don’t be afraid to add some boldness and personality by choosing vibrant or unexpected hues. Play with different color combinations or try a gradient effect for a more dynamic look. Remember to consider your skin tone and personal style when selecting colors.
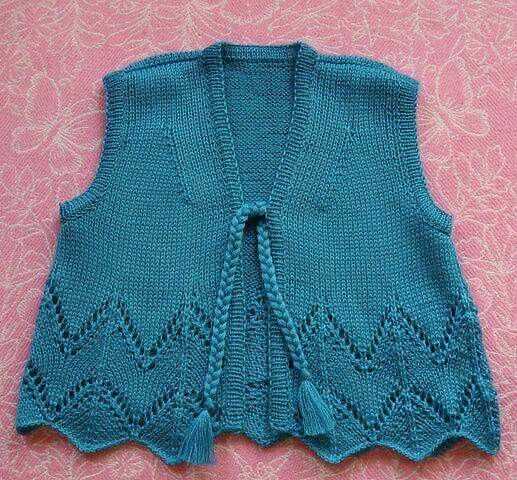
4. Texture and Stitch Patterns
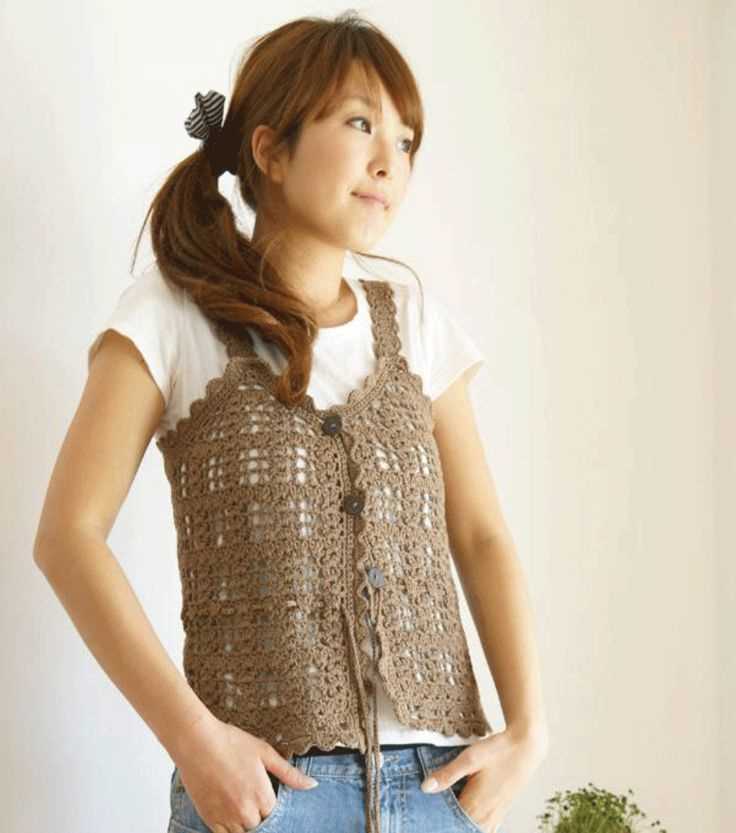
Explore different stitch patterns and textures to add visual interest to your vest. You can incorporate cable stitches, lace patterns, or even colorwork to create unique and eye-catching designs. Be sure to swatch and practice the stitch pattern before applying it to your vest.
5. Embellishments and Accents
Add personal touches to your vest by incorporating embellishments and accents. Consider adding buttons, beads, or embroidery details to create a one-of-a-kind garment. You can also experiment with different edging options to add a decorative touch to the hem or armholes.
Remember, the sky’s the limit when it comes to creating your own sleeveless vest. Use these variations and styling ideas as a starting point, but don’t be afraid to let your creativity take over and make the vest truly your own!