
If you’re in need of a cozy and stylish accessory to help keep you warm this winter, look no further than our free knitting pattern for a scarf. This pattern is perfect for knitters of all skill levels, from beginners looking to learn new stitches to experienced knitters looking for a quick and easy project.
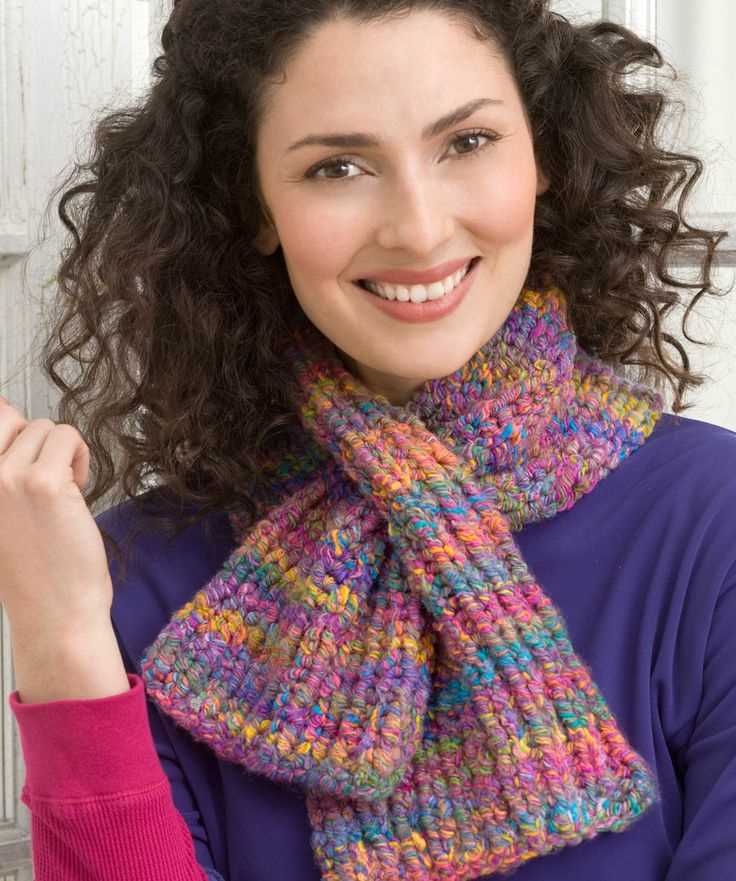
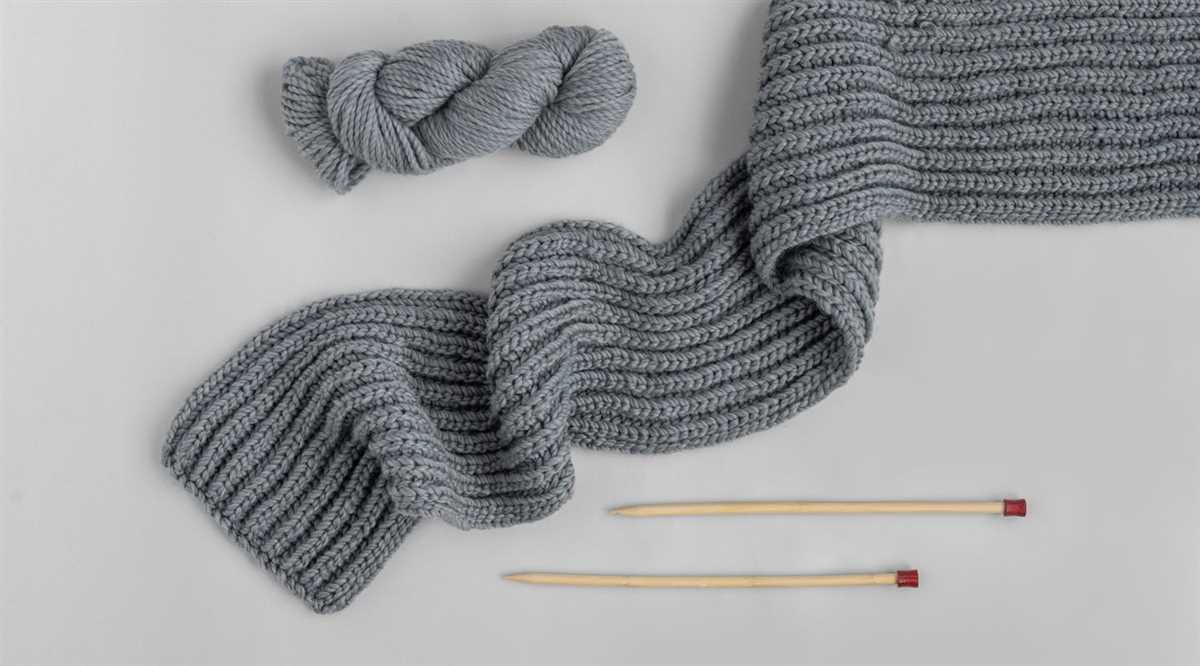
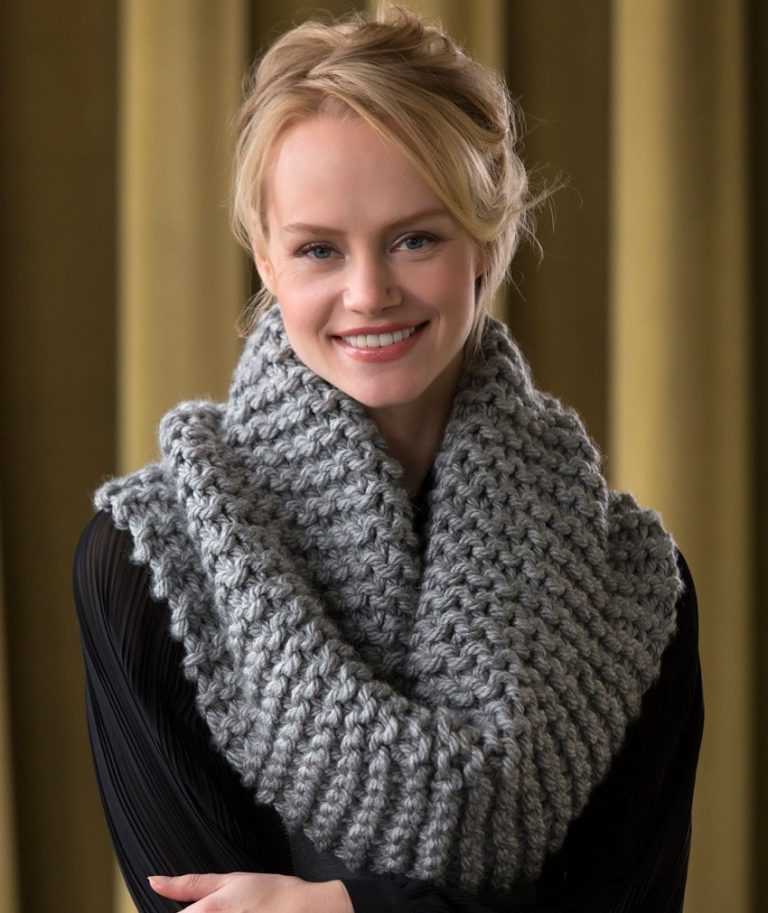
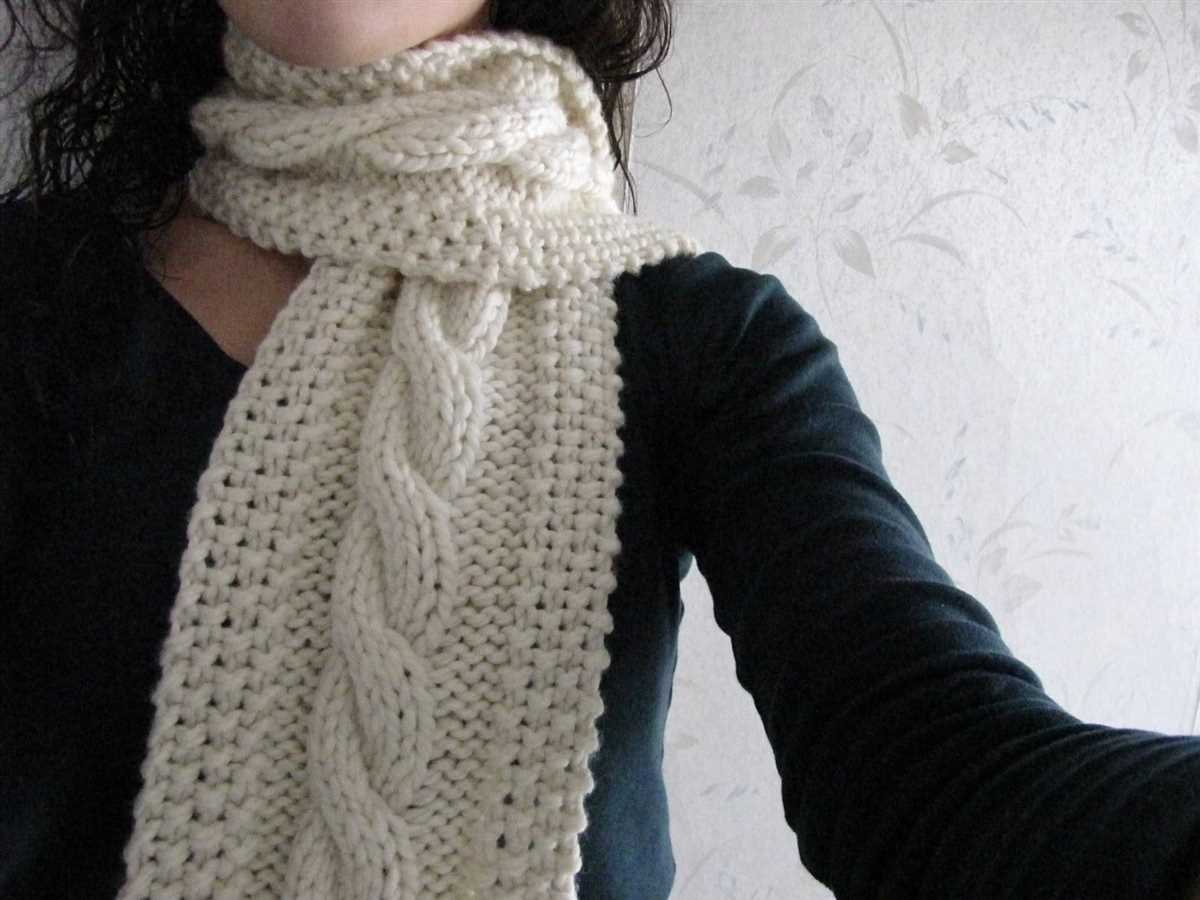
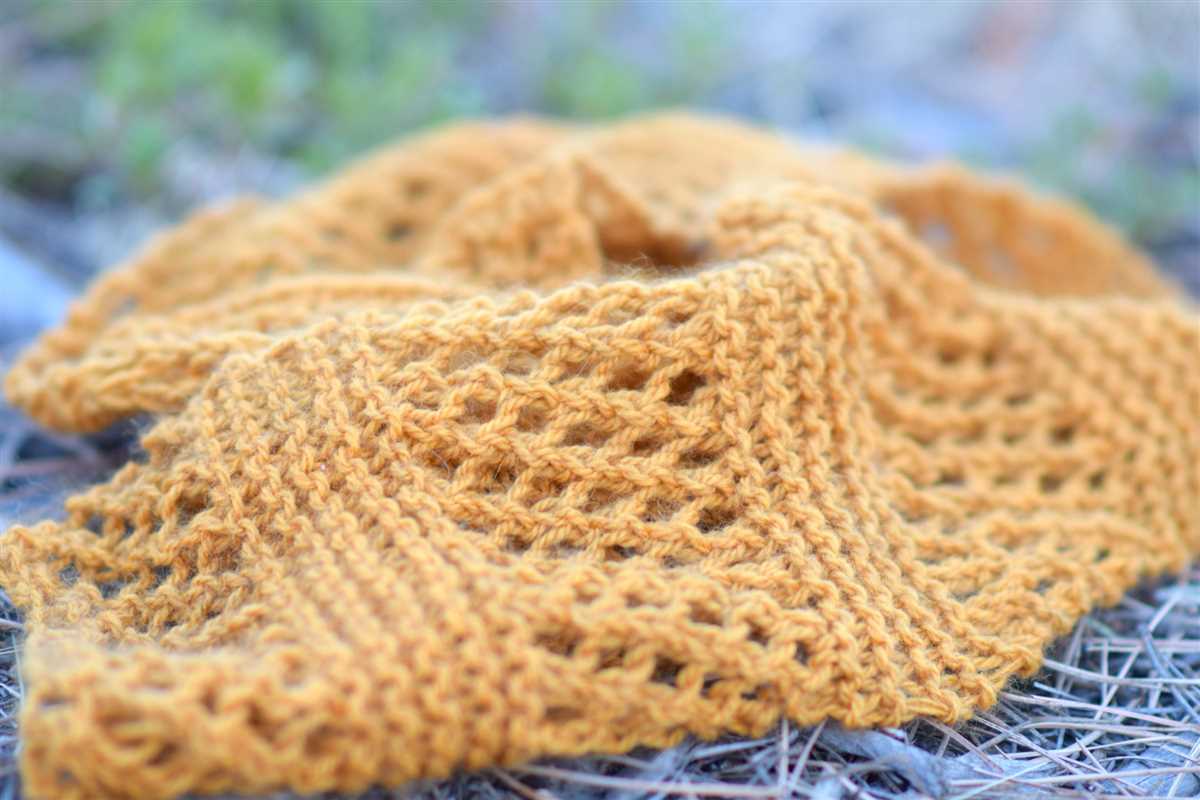
The scarf features a simple yet eye-catching ribbed pattern, created by alternating knit and purl stitches. The ribbing gives the scarf a stretchy and textured look, making it great for wrapping around your neck and keeping out the cold.
To create this scarf, you’ll need a pair of knitting needles and a skein of your favorite yarn. The pattern is easily adjustable, so you can make the scarf as long or as short as you’d like. Plus, the ribbed design ensures that it will stay in place and not bunch up while you’re wearing it.
Whether you’re knitting this scarf for yourself or as a gift for a loved one, we’re confident that you’ll love the simplicity and versatility of this pattern. So grab your needles and get ready to create a cozy accessory that you’ll be proud to wear all winter long.
Choose your materials
When it comes to knitting a scarf, one of the most important decisions you’ll need to make is choosing the right materials. The type of yarn you select will determine the final look and feel of your scarf, as well as its durability and warmth. There are various factors to consider, such as the fiber content, weight, and texture of the yarn.
Fiber content: Different types of yarn have different properties, so it’s important to choose one that suits your needs. If you’re looking for a soft and warm scarf, natural fibers like wool or alpaca can be a great choice. If you prefer a lightweight and easy-care option, acrylic or cotton yarn might be more suitable.
Weight: The weight of the yarn refers to its thickness. The weight will affect the overall appearance of your scarf, as well as the time it takes to knit. Bulkier, thicker yarns will create a chunkier texture and provide extra warmth, while finer yarns will result in a more delicate and lightweight scarf.
Texture: The texture of the yarn can add an interesting element to your scarf. Some yarns have smooth and even textures, while others have a more textured or boucle effect. Consider the desired look and feel of your scarf and choose a yarn with a texture that complements your style.
Overall, selecting the right materials for your knitting project is essential for achieving the desired outcome. Take the time to explore different options and consider your preferences and needs. By choosing the right yarn, you’ll be on your way to creating a beautiful and cozy scarf.
Casting on
Before you can start knitting your scarf, you first need to cast on your stitches. Casting on is the process of creating the first row of stitches on your knitting needle, which will become the foundation for the rest of your project. There are several different methods for casting on, but one of the most common and easy-to-learn methods is the long-tail cast on.
To begin the long-tail cast on, you’ll need to estimate the amount of yarn you’ll need by measuring a length that is approximately three times the width of your finished scarf. Make a slipknot at this point, leaving a tail that is about six inches long. Insert your knitting needle into the slipknot and pull the working yarn (the longer end of your yarn) to tighten the loop around the needle.
Next, hold the tail end of your yarn in your left hand and the working yarn in your right hand. With your right hand, use your thumb and index finger to pinch the yarn between them, creating a small triangle. Insert the tip of your right-hand needle into this triangle from front to back, and then bring the needle up and over the working yarn. This will create a loop on your right-hand needle. Repeat this process, bringing the needle up and over the working yarn each time, until you have cast on the desired number of stitches.
Once you have finished casting on, you are ready to start knitting your scarf. Make sure to keep the tension of your stitches consistent as you work, and don’t be afraid to practice the casting on process a few times before starting your project. Happy knitting!
Knit the first row
Before starting to knit the first row of your scarf, make sure you have all the necessary supplies ready. You will need your knitting needles, a ball of yarn in the color and thickness of your choice, and a pair of scissors. Once you have everything ready, you can begin.
To start, hold the knitting needles in each hand and make sure the yarn is attached to the ball. Take the working end of the yarn and make a slipknot by creating a loop and pulling the end through it. Slide this slipknot onto one of the knitting needles and tighten it by pulling on the working end.
Now, insert the other knitting needle into the slipknot from left to right, holding both needles parallel to each other. With your right hand, hold the working end of the yarn and wrap it around the back of the right-hand needle from right to left. Then, bring the working end of the yarn between the two needles, towards you.
With your right hand still holding the working end of the yarn, use the tip of the right-hand needle to catch the working end of the yarn and pull it through the loop on the left-hand needle, creating a new loop on the right-hand needle. Slide this new loop onto the right-hand needle and tighten it by pulling on the working end.
Repeat this process for each stitch until you have knitted the desired number of stitches for your scarf. Take your time and make sure each stitch is neat and even. Once you have knitted the first row, you can continue with the rest of the pattern or move on to the next row, following the instructions provided in the knitting pattern.
Creating a Rib Stitch Pattern
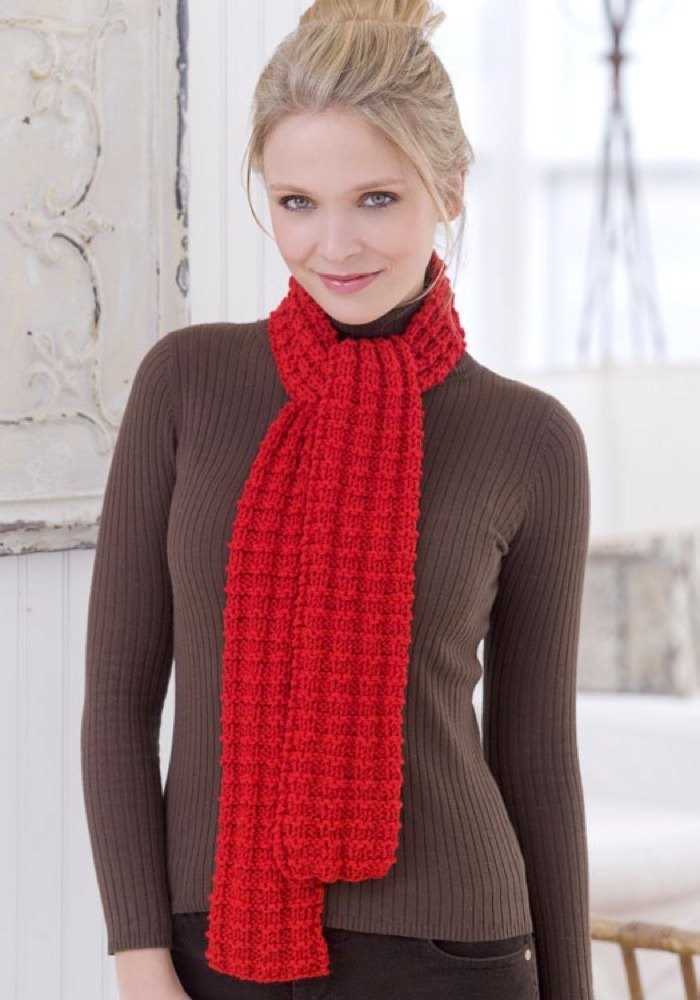
The rib stitch pattern is a classic and versatile knitting pattern that creates a textured fabric with alternating columns of knit and purl stitches. It is often used to create cuffs, hems, and borders on garments, as well as scarves and blankets. The rib stitch pattern is reversible, meaning it looks the same on both sides, making it a great choice for projects that will be seen from all angles.
To create a rib stitch pattern, you will need to alternate between knitting and purling stitches in a specific sequence. The most common rib stitch patterns are worked over an even number of stitches and use a combination of knit and purl stitches, such as a 1×1 rib or a 2×2 rib. A 1×1 rib consists of one knit stitch followed by one purl stitch, while a 2×2 rib consists of two knit stitches followed by two purl stitches.
Here is an example of a simple 1×1 rib stitch pattern:
- Row 1: *K1, p1* – repeat from * to end of row
- Row 2: *K1, p1* – repeat from * to end of row
- Repeat rows 1 and 2 for desired length
This pattern creates a fabric that is stretchy and has a lot of give, making it perfect for items that need to fit snugly, such as hats or socks. You can also experiment with different variations of the rib stitch pattern by using different numbers of knit and purl stitches and changing the sequence. This will create different effects and textures in your finished project.
Continue knitting in rib stitch
In order to continue knitting in rib stitch, you will need to follow the established pattern. Rib stitch involves alternating between knit stitches and purl stitches to create a textured and stretchy fabric. This technique is commonly used in scarves and other accessories.
To continue rib knitting, start by identifying the next stitch in the established pattern. If the previous stitch was a knit stitch, you will need to purl the next stitch. Conversely, if the previous stitch was a purl stitch, you will need to knit the next stitch.
Example:
If the established pattern is “K1, P2”, and you have just completed a knit stitch, the next step would be to purl two stitches. Following this, you would then continue with the established pattern of knitting one stitch and purling two stitches until the desired length of the scarf is reached.
Remember to maintain consistent tension and to check your work periodically to ensure that you are following the rib stitch pattern correctly. This will help to create an even and professional-looking finished scarf.
Switch to stockinette stitch
Once you have completed the ribbing section of your scarf, it’s time to switch to the stockinette stitch. The stockinette stitch is a basic knitting stitch that produces a smooth, flat surface on one side and a bumpy texture on the other side. It’s perfect for creating a classic and timeless look for your scarf.
To switch to the stockinette stitch, you will need to follow these simple steps:
- First, knit the first row of the stockinette stitch. This means that you will knit every stitch in the row.
- Next, purl the second row of the stockinette stitch. This means that you will purl every stitch in the row.
- Continue alternating between knitting and purling each row until you have reached your desired length for the scarf.
Remember to always knit the first row and purl the second row to maintain the stockinette stitch pattern. This will help you achieve the smooth and textured look of the stockinette stitch throughout your entire scarf.
Once you have completed the stockinette stitch section, you can continue with any other pattern or stitch design that you prefer to add more visual interest to your scarf. Don’t be afraid to experiment and get creative with different stitches and patterns to make your scarf truly unique!
Add a decorative border
Adding a decorative border to your knitted scarf can elevate its look and add an extra touch of style. There are various ways to incorporate a border into your knitting pattern, depending on the desired effect and the level of complexity you prefer.
One option is to use a contrasting color yarn to create a simple garter stitch or ribbed border. This can be done by picking up stitches along the edge of your scarf and knitting in the desired pattern for a few rows. This method is relatively easy and can be a great way to add a pop of color or texture to your scarf.
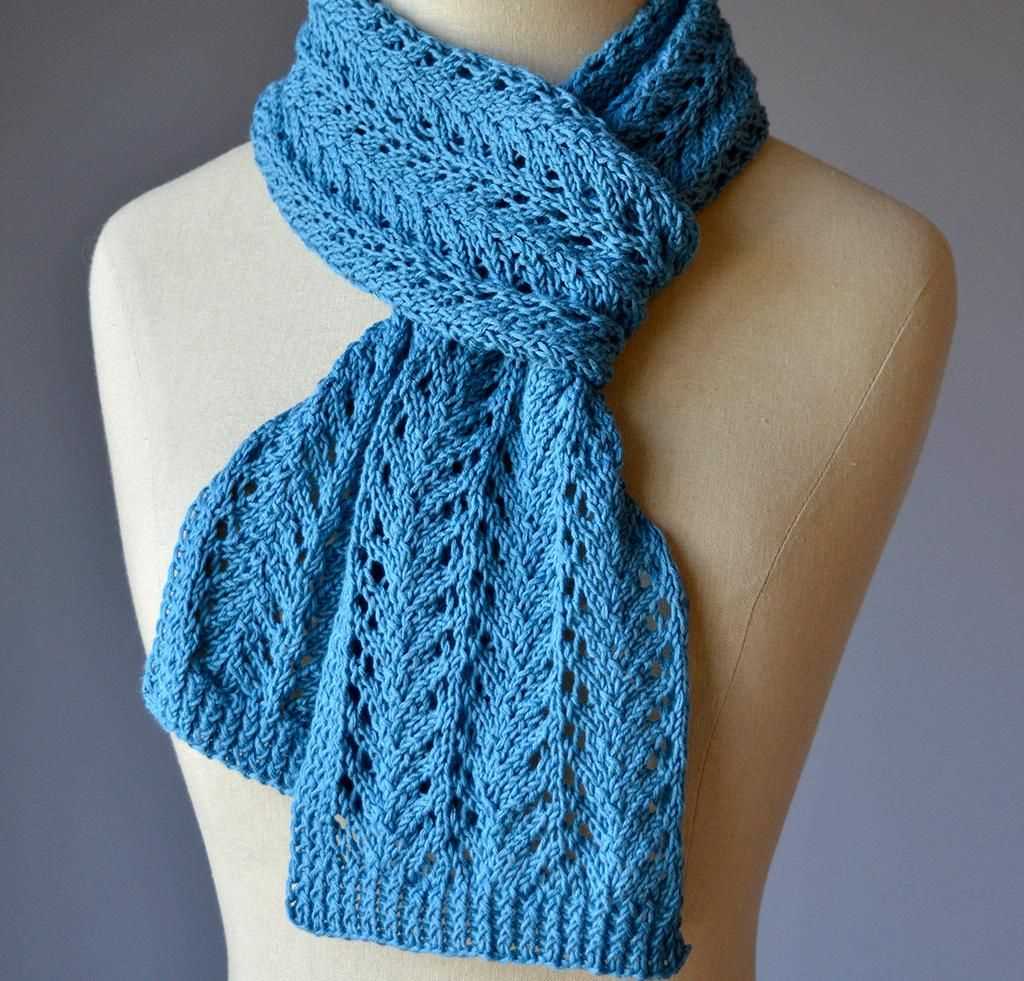
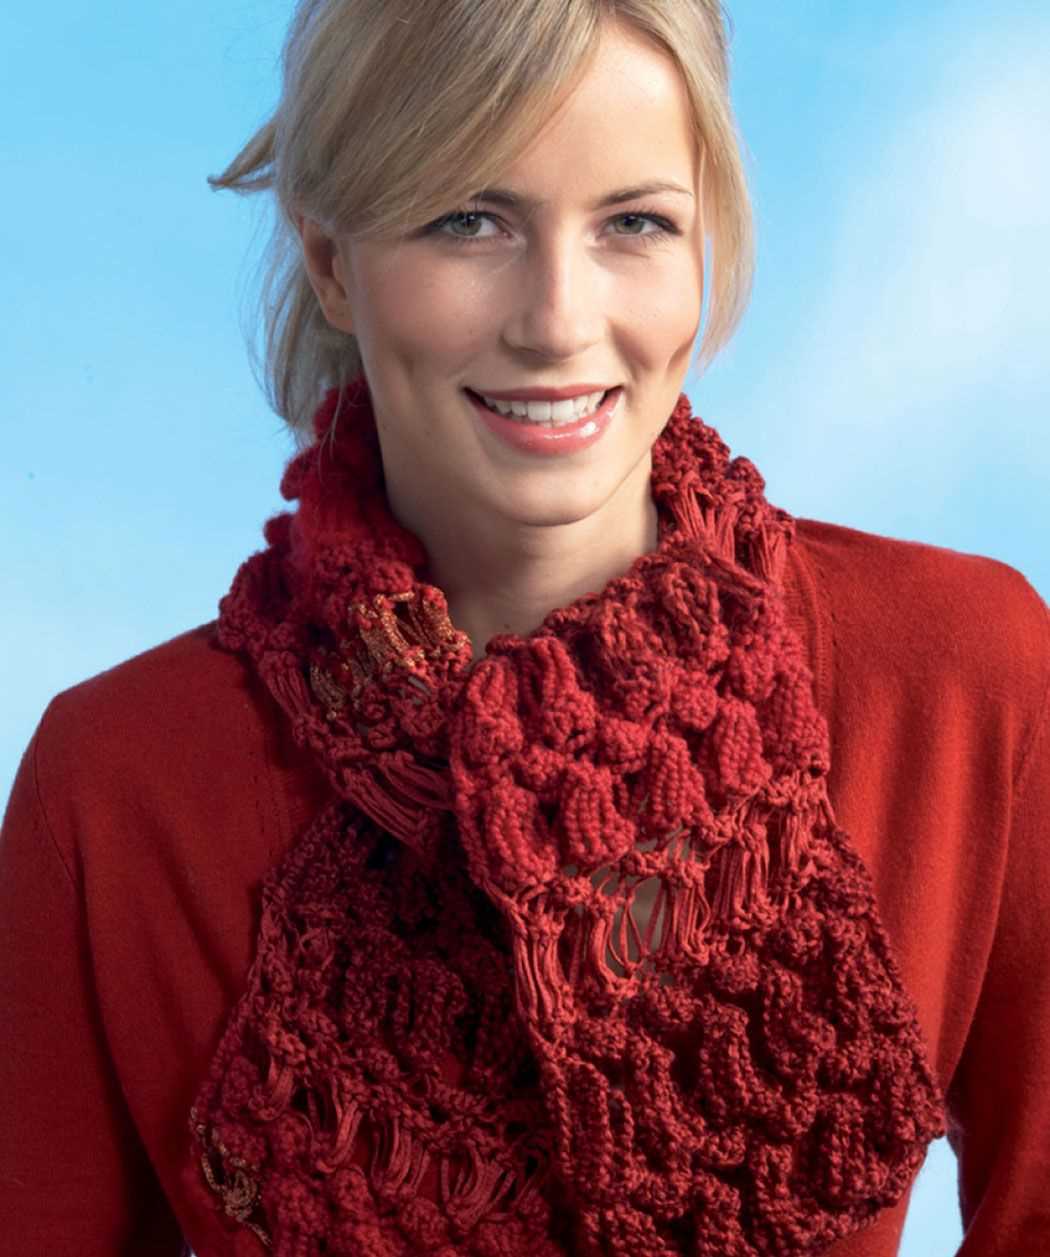
If you’re looking for a more intricate border, you can try a lace pattern. Lace borders are often delicate and feminine, adding an elegant touch to your scarf. There are countless lace patterns available online, ranging from simple to intricate designs. You can choose a lace pattern that complements the overall aesthetic of your scarf or experiment with different combinations to create a unique look.
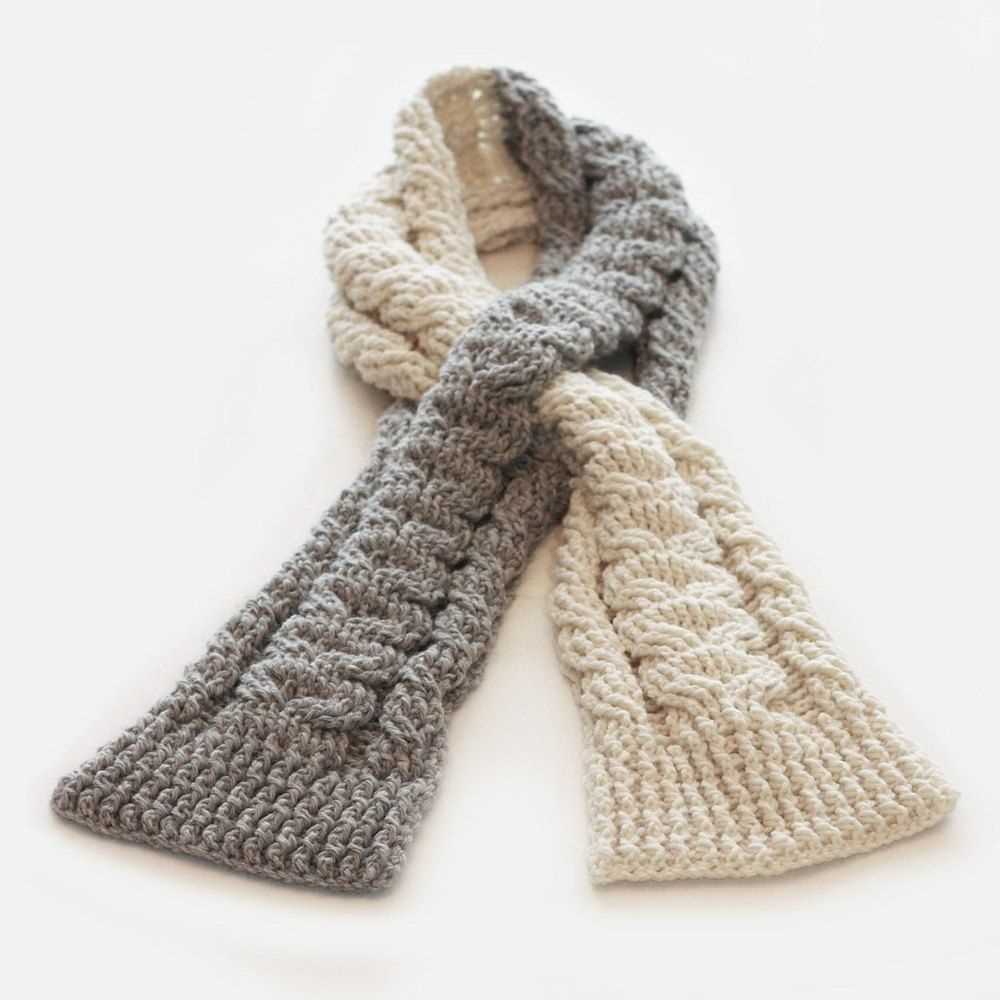
Another option for adding a decorative border is to incorporate cables or textured stitches. This can create a more structured and visually interesting edge to your scarf. Cables can be a bit more challenging to work with, as they involve crossing stitches over each other, but the results can be stunning. Textured stitches, such as seed stitch or moss stitch, can also add depth and dimension to your border.
Remember, when adding a decorative border to your scarf, it’s important to take into consideration the overall design and gauge of your knitting pattern. You want the border to complement the main body of the scarf and not overpower it. Experiment with different techniques and patterns to find the perfect border for your knitted scarf.
Knit the Final Rows
As you approach the end of your knitting project, it’s important to pay attention to the final rows to ensure a polished finish. Here are some tips and techniques to help you navigate this crucial stage.
1. Follow the Pattern
Whether you’re using a free knitting pattern or designing your own scarf, it’s essential to carefully follow the instructions for the final rows. Double-check the stitch count and make sure you understand any special instructions or stitch patterns that may be included.
2. Bind Off
Once you have completed the final rows, it’s time to bind off your work. Choose a bind-off method that matches the overall look and feel of your scarf. A basic bind-off works well for most projects, but you may want to experiment with different techniques, such as a stretchy bind-off or picot bind-off, to add a decorative touch.
3. Weave in Ends
After binding off, you’ll be left with a few loose ends hanging from your work. Take the time to weave in these ends using a tapestry needle. This will help secure your stitches and give your scarf a more professional appearance. Make sure to weave the ends in discreetly, so they are not visible from the right side of the fabric.
4. Block Your Scarf
Blocking is an important step in finishing your scarf. This process involves gently shaping and stretching the fabric to even out the stitches and give the scarf its final shape. Depending on the type of yarn you used, you can block your scarf by wetting it and laying it flat to dry or steam blocking it with a hot iron. Follow the yarn manufacturer’s recommendations for the best results.
With these tips in mind, you’re ready to tackle the final rows of your knitting project. Take your time, follow the pattern, and enjoy the process of bringing your scarf to completion. Soon, you’ll have a beautiful handmade accessory to keep you warm and stylish.
Bind off
After you have completed all the desired rows of your scarf, it is time to bind off. Binding off is the final step in finishing your knitting project. It creates a clean edge and prevents further unraveling of the stitches.
To bind off, you will need a pair of scissors to cut the yarn and a tapestry needle to weave in the loose ends. Begin by knitting two stitches. Then, insert the left-hand needle into the first stitch on the right-hand needle and pull it over the second stitch and completely off the needle. You now have one stitch on the right-hand needle.
Continue knitting one stitch and binding off the previous stitch until you have only one stitch left on the right-hand needle. Cut the yarn, leaving a long tail. Thread the tail through the tapestry needle and insert it into the last stitch, pulling it tight. Weave in the loose ends by passing the needle through the back of several stitches, trimming any excess yarn.
Finishing touches
Once you have finished knitting your scarf, it’s time to add some finishing touches to make it look even more beautiful. Here are a few options you can consider:
Blocking
Blocking: This is the process of shaping and stretching your finished knitting to even out the stitches and create a more professional look. To block your scarf, you will need to soak it in lukewarm water, gently squeeze out the excess water, and then pin it to a blocking board or mat in the desired shape. Leave it to dry completely before removing the pins.
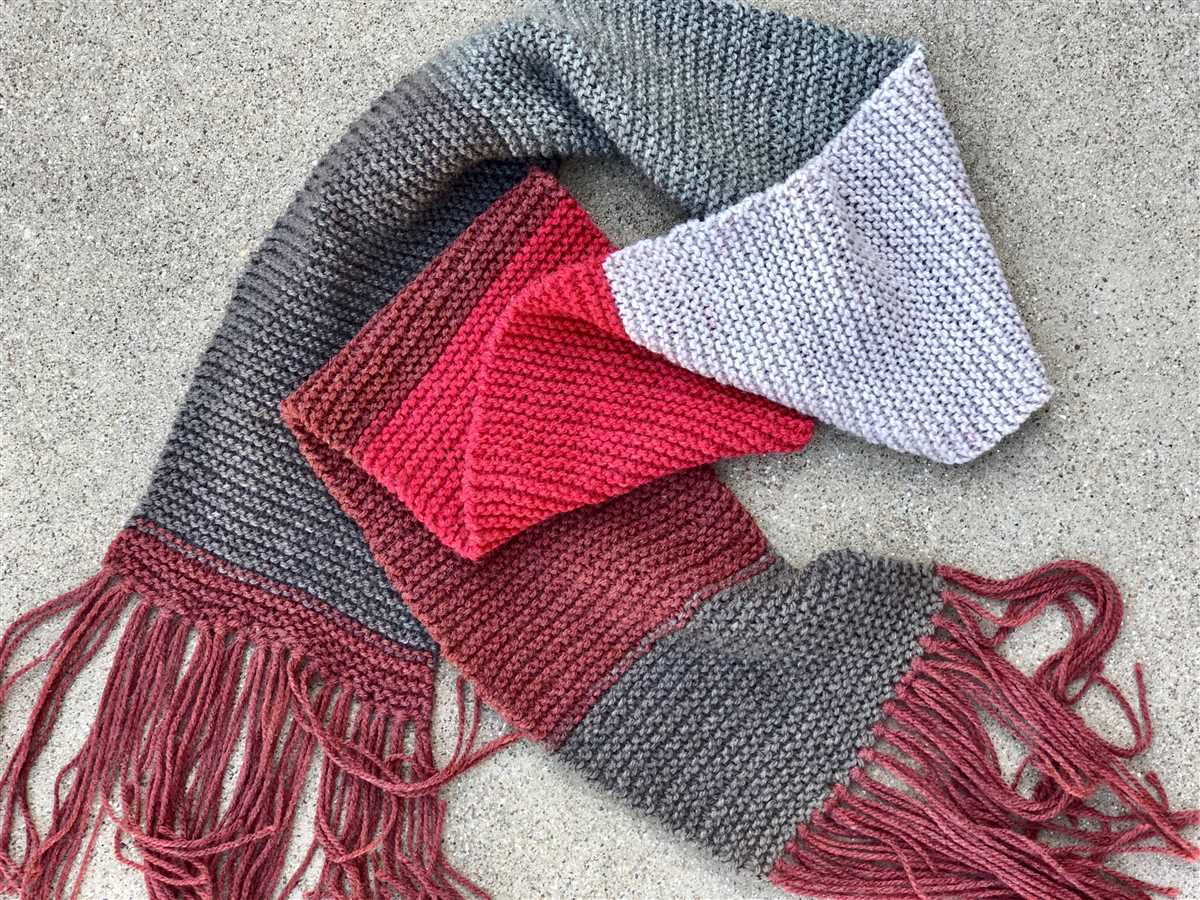
Fringe
Fringe: Adding a fringe to your scarf can give it a fun and playful look. To create a fringe, cut strands of yarn twice the length you want your fringe to be. Fold each strand in half and use a crochet hook or your knitting needle to pull the loop of the folded strand through the edge of your scarf. Pull the loose ends of the strand through this loop and tighten to secure. Repeat this process along the edge of your scarf until you have the desired amount of fringe.
Tassels
Tassels: Tassels are another way to add decorative elements to your scarf. To create tassels, cut a long piece of yarn and fold it in half. Insert the folded end into the edge of your scarf, creating a loop. Pull the loose ends of the yarn through this loop and tighten to secure. Repeat this process along the edge of your scarf until you have the desired amount of tassels.
With these finishing touches, your scarf will be ready to wear or give as a thoughtful gift. Remember to have fun and get creative with your choices to make your scarf truly unique.
Wrapping it up
Knitting a scarf can be a rewarding and enjoyable project, and with so many free knitting patterns available, there is no shortage of options to choose from. Whether you are a beginner or an experienced knitter, there is a pattern out there that will suit your skill level and personal style.
Remember to consider the type of yarn you want to use, as well as the desired length and width of your scarf. Additionally, don’t be afraid to experiment with different stitches and techniques to create a unique and personalized design.
When following a knitting pattern, make sure to read through the instructions carefully and fully understand the abbreviations and symbols used. Take your time and enjoy the process, and soon you will have a beautiful scarf to keep you warm and stylish.
So grab your knitting needles and yarn, find a pattern that catches your eye, and get started on your next knitting project today!