
Knitting is not only a relaxing and enjoyable hobby, but it is also a great way to create beautiful and festive decorations for the holidays. If you’re looking to add some extra charm to your Christmas projects, why not try incorporating holly leaves and berries?
Holly leaves and berries are iconic symbols of the holiday season, and adding them to your knitted pieces can instantly give them a festive touch. Whether you’re working on a scarf, hat, or even a Christmas stocking, knitting holly leaves and berries is a fun and creative way to make your project stand out.
In this article, we will provide you with a knitting pattern for holly leaves and berries, allowing you to easily incorporate them into your knitting projects. Don’t worry if you’re new to knitting or have never tried making holly leaves and berries before – this pattern is beginner-friendly and can be easily customized to fit your needs.
Materials needed
In order to create the knitting pattern for holly leaves and berries, you will need the following materials:
- Yarn: Choose green yarn for the holly leaves and red yarn for the berries. Make sure to select a yarn that is appropriate for your knitting needles and desired finished project.
- Knitting needles: Use appropriate knitting needles for the chosen yarn. The needle size will depend on the gauge you want to achieve and the thickness of your yarn.
- Tapestry needle: This needle will be used for weaving in ends and sewing any small pieces of the pattern together.
- Scissors: A pair of sharp scissors will be handy for cutting the yarn and trimming any excess.
- Stitch markers: Stitch markers can be useful for marking particular stitches or sections of the pattern.
- Stuffing: If you plan to make the holly berries three-dimensional, you will need some stuffing material such as fiberfill or scraps of yarn.
- Optional: If desired, you can also use safety eyes for attaching to the holly berries to give them a more realistic look.
Gauge and Needles
In order to achieve the correct size and tension for your holly leaves and berries, it is important to match the gauge stated in the knitting pattern. Gauge refers to the number of stitches and rows per inch or centimeters that are produced when knitting with a particular yarn and needle size. It is important to check your gauge before starting the project to ensure that your finished leaves and berries will have the correct measurements.
The knitting pattern for holly leaves and berries usually provides the recommended needle size to achieve the desired gauge. It is important to use the specified needle size or adjust your needle size accordingly if your gauge does not match. Using a smaller needle size will result in smaller leaves and berries, while using a larger needle size will result in larger leaves and berries.
How to check gauge

To check your gauge, you will need to knit a swatch using the specified needle size and yarn. The swatch should be approximately 4×4 inches (10×10 cm) in size. Cast on the recommended number of stitches and work in the specified stitch pattern for a few rows.
Once you have knitted the swatch, measure the number of stitches and rows within a 4×4 inch (10×10 cm) section. If the number of stitches and rows is greater than the gauge stated in the knitting pattern, it means your tension is too tight and you will need to switch to a larger needle size. If the number of stitches and rows is less than the gauge stated in the knitting pattern, it means your tension is too loose and you will need to switch to a smaller needle size.
Remember to always wash and block your swatch before measuring the gauge, as the yarn may change slightly after washing. Additionally, it is important to keep in mind that everyone knits differently, so it is essential to check your own gauge rather than rely solely on the needle size stated in the pattern. By ensuring that your gauge matches the pattern, you will be able to create holly leaves and berries that are the correct size as intended by the designer.
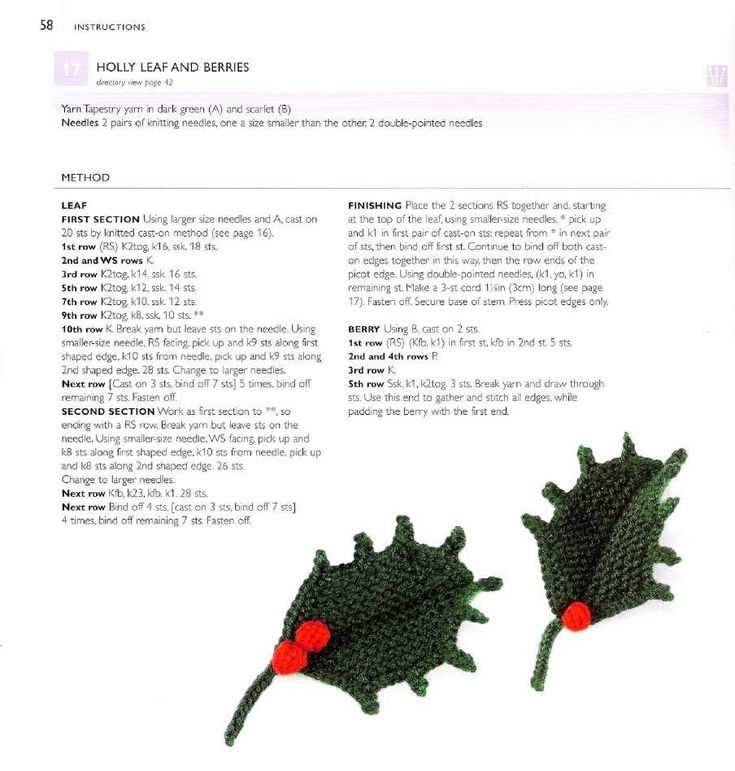
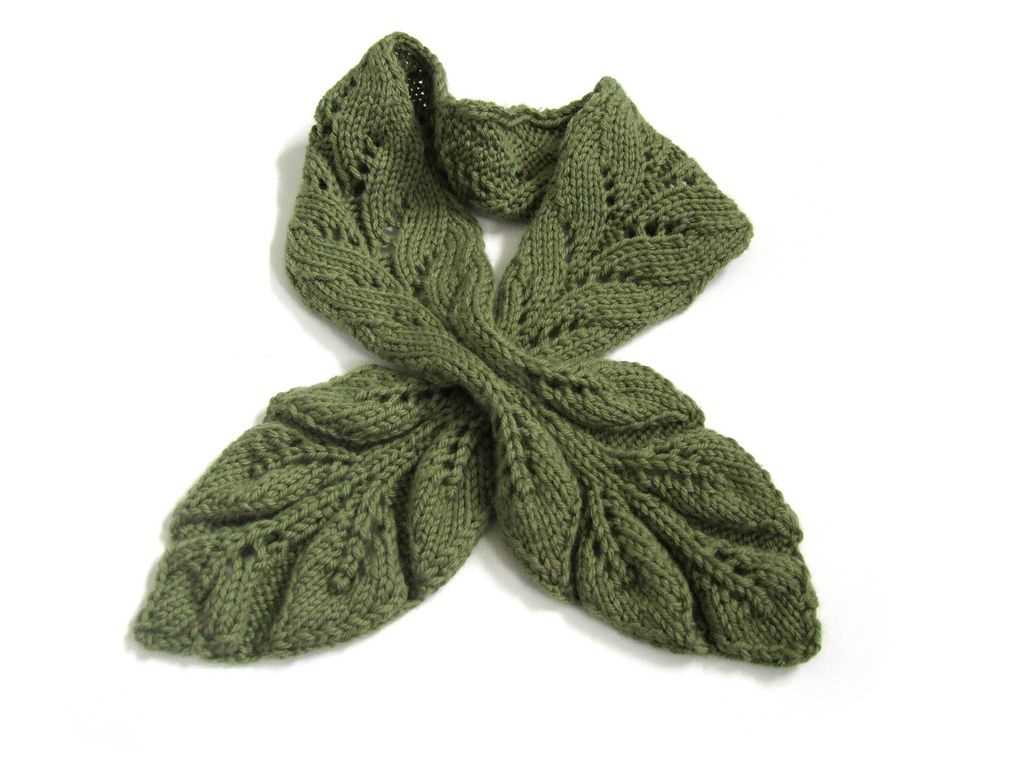
Basic leaf pattern
To create a basic knitted leaf pattern, you will need to follow a few simple steps. Start by casting on the desired number of stitches, typically between 8 and 12, depending on the size of the leaf you wish to create. To begin the leaf pattern, knit the first row using a knit stitch.
Next, you will need to shape the leaf by increasing and decreasing stitches. To achieve this, start by knitting the next row, but increase one stitch at the beginning and end of the row. This can be done by knitting into the front and back of the first and last stitch of the row. Repeat this pattern for several rows, gradually increasing the number of stitches as desired.
To create the tapered point of the leaf, you will need to decrease stitches. Start by knitting a row, but decrease one stitch at the beginning and end of the row. This can be done by knitting two stitches together. Repeat this decrease pattern for several rows until you have a narrow point at the end of the leaf.
Once you have reached the desired shape for your leaf, you can finish the pattern by knitting a few plain rows without any increases or decreases. At this point, you can bind off the stitches and weave in any loose ends.
This basic leaf pattern can be easily customized by adjusting the number of stitches, rows, and the placement of increases and decreases. You can also experiment with different yarn weights and colors to create unique and personalized leaf designs.
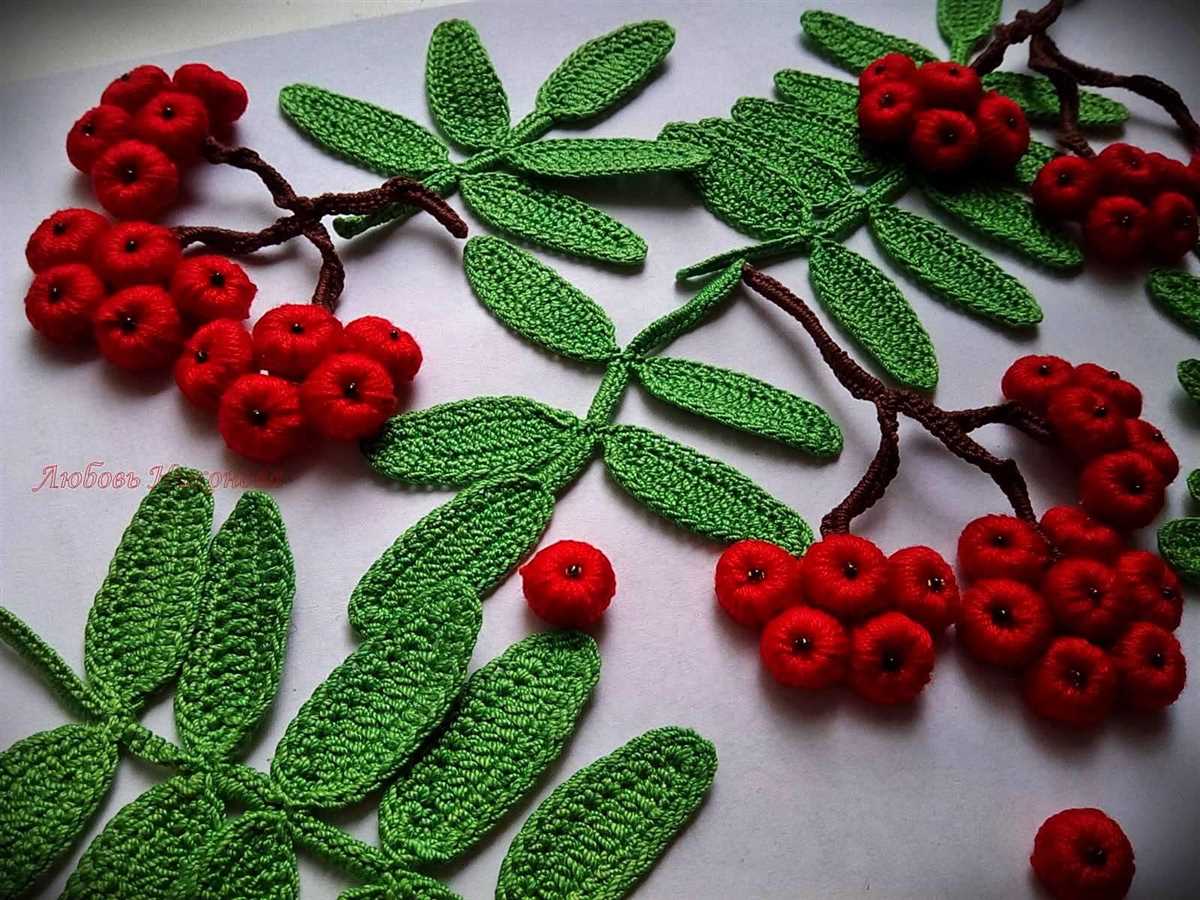
Advanced Leaf Variations
Holly leaf patterns offer a range of possibilities for advanced knitters looking to add a unique touch to their projects. By incorporating different stitch patterns and techniques, you can create beautiful variations that will make your knit items stand out.
Cable Leaves: To add texture and depth to your holly leaves, try incorporating cable stitches. With cable knitting techniques, you can create intricate twists and braids that resemble the veins of a real holly leaf.
Lace Leaves: For a delicate and airy look, lace stitch patterns can be used to create leaf motifs. These patterns often feature yarn overs and decreases to form intricate leaf shapes. The openwork created by lace knitting adds an elegant touch to your holly leaves.
Ribbed Leaves: Ribbing is another technique that can be used to create interesting leaf patterns. By alternating between knit and purl stitches, you can create raised ridges that mimic the veins of a leaf. Ribbed leaves can add texture and dimension to your knitting projects.
Colorwork Leaves: Experimenting with different colors can also create stunning leaf variations. Using stranded colorwork techniques, you can incorporate multiple colors into your holly leaves. This allows you to create vibrant and eye-catching designs that will make your knitting truly unique.
These are just a few examples of the advanced leaf variations that can be achieved when knitting holly leaves. By exploring different stitch patterns and techniques, you can create endless possibilities for your knitting projects. Don’t be afraid to experiment and let your creativity flow!
Leaf shaping techniques
When knitting holly leaves, it is important to create a realistic and natural shape. There are several techniques that can be employed to achieve this.
Increasing and decreasing stitches: To create the pointed shape of holly leaves, it is necessary to use increases and decreases. The most commonly used decrease in leaf patterns is the 2-together decrease, which involves knitting two stitches together to form one. This creates a subtle curve and helps form the tapering shape of the leaf. Increases, such as yarn overs or make one stitches, can be used to add width and fullness to the leaf.
Short rows: Short rows are another useful technique for shaping holly leaves. By working partial rows, you can create a curved edge that imitates the natural curve of a leaf. This technique is particularly effective for shaping the outer edges of the leaf, where it is typically curved upwards. Short rows can be worked using wrap and turn or even the German short row method.
Garter or ribbing: Different stitch patterns can also be employed to shape holly leaves. Garter stitch or ribbing can be used on the stem or base of the leaf to create a thicker and more pronounced shape. This adds dimensionality to the leaf and helps it stand out from the background in the finished piece.
Blocking: After the knitting is complete, blocking can help enhance the shape of the holly leaves. Blocking involves wetting the knitted piece, shaping it, and allowing it to dry in the desired shape. This can help smooth out any unevenness in the stitches and make the leaf appear more lifelike.
- Using increasing and decreasing stitches
- Utilizing short rows
- Incorporating garter or ribbing for added thickness and definition
- Blocking the finished piece for improved shaping
By employing these leaf shaping techniques, knitters can achieve realistic and detailed holly leaves that beautifully complement their knitted projects.
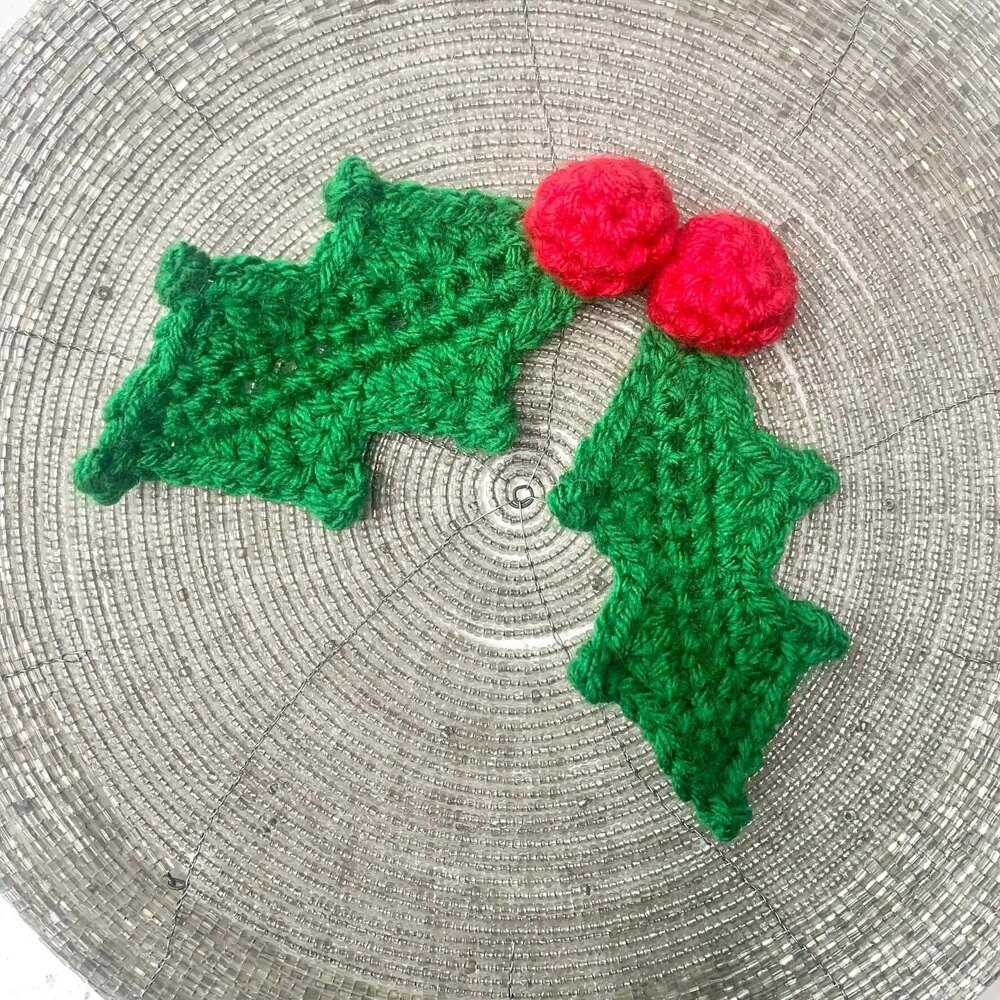
Making the berries
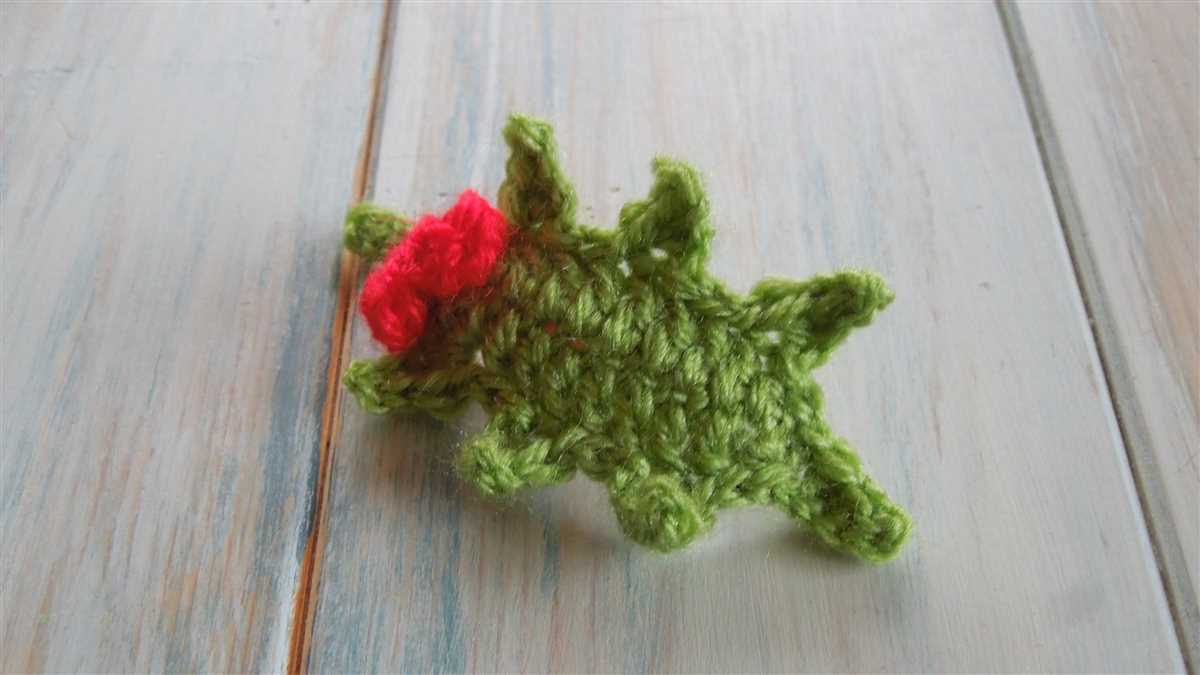
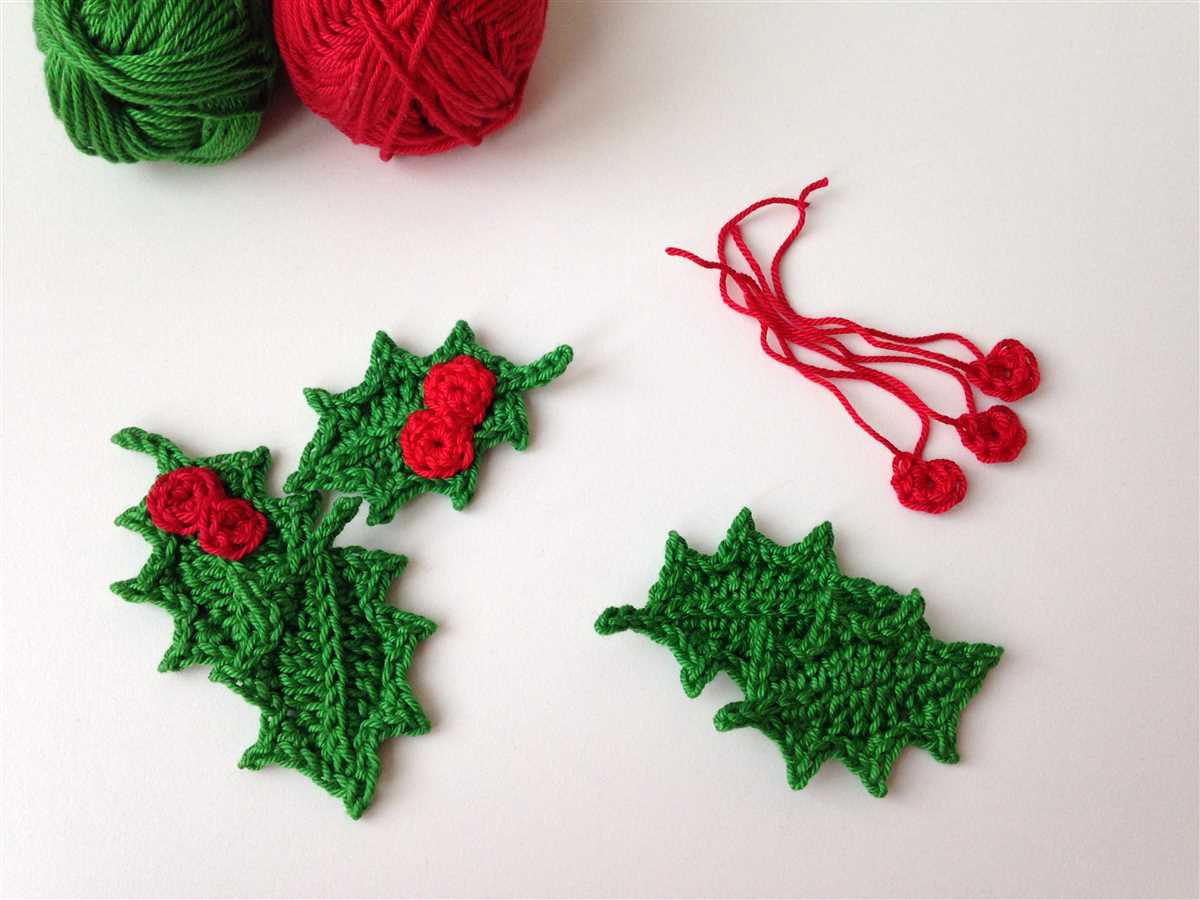
Once you have completed knitting the holly leaves, it’s time to move on to creating the berries. The berries are the small red fruits that typically grow alongside holly leaves. They add a pop of color and interest to your knitted holly leaf decorations.
To make the berries, you will need red yarn. The thickness of the yarn will depend on the desired size of your berries. Thicker yarn will create larger berries, while thinner yarn will create smaller berries. You can experiment with different yarn weights to achieve your desired effect.
To knit the berries, start by casting on a small number of stitches, such as 6-8 stitches. Then, work in the round using double-pointed needles or a set of circular needles with the magic loop technique. Knit each round until the berry reaches your desired size, usually around 1-2 inches in diameter.
Once the berry is the desired size, cut the yarn leaving a long tail. Thread the tail through a yarn needle, and then insert the needle through the live stitches on the knitting needle. Gently pull the needle out of the stitches, removing them from the knitting needle. Pull the yarn tight to close the top of the berry, and secure with a knot.
Repeat this process to create as many berries as you need for your holly leaf decorations. You can vary the size of the berries for added visual interest. Once you have completed making the berries, you can attach them to the holly leaves using a yarn needle and the long tail left from the berry. Position the berries where desired, and sew them securely to the holly leaves. Your knitted holly leaf decorations are now complete with the beautiful berries!
Leaf and Berry Arrangement
When creating a knitting pattern for holly leaves and berries, the arrangement of the leaves and berries is an important factor to consider. The placement of the leaves and berries can greatly affect the overall appearance of the finished project.
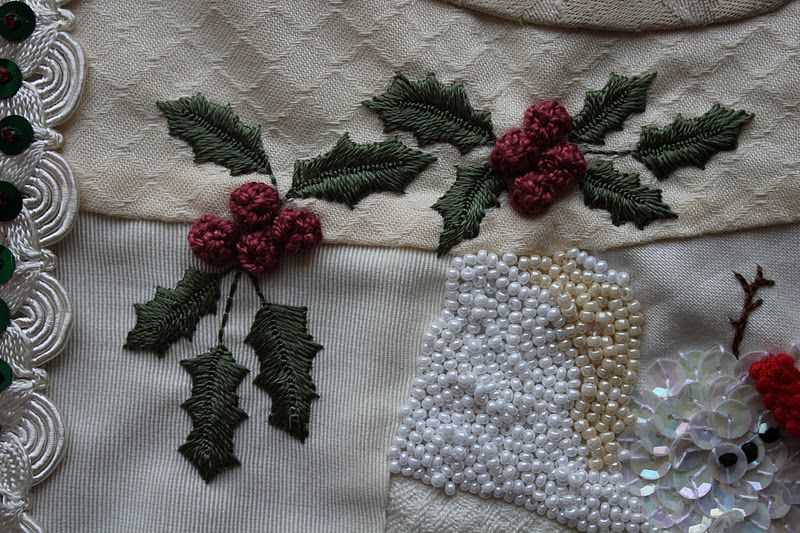
One common arrangement for holly leaves and berries is to place the leaves in a circular or semi-circular pattern. This creates a symmetrical and visually pleasing design. The berries can then be scattered throughout the arrangement, adding pops of color and creating a more realistic look.
Alternate Arrangement Options:
- Linear Arrangement: Rather than arranging the leaves in a circular pattern, they can be positioned in a straight line. This creates a more structured and modern look.
- Clustered Arrangement: For a more natural and organic feel, the leaves and berries can be clustered together in groups. This mimics the way holly grows in nature.
- Random Arrangement: For a whimsical and playful design, the leaves and berries can be randomly scattered across the knitting project. This creates a more abstract and artistic look.
Ultimately, the arrangement of the holly leaves and berries is a matter of personal preference and intended design. Experimenting with different arrangements can help you find the one that best suits your knitting project and desired aesthetic.
Finishing Touches
Once you have knitted your holly leaves and berries, it’s time to add the finishing touches to your project. These final steps will bring your knitting to life and create a beautiful and festive decoration.
1. Blocking
Blocking is an important step in knitting projects. It helps to even out your stitches and give your finished piece a polished look. To block your holly leaves and berries, wet them with water and gently shape them into the desired form. Pin them in place and allow them to dry completely. This will ensure that your leaves and berries have a clean and professional appearance.
2. Embellishments
Adding embellishments to your holly leaves and berries can enhance their visual appeal. You can use embroidery thread or yarn to create small veins on the leaves for a more realistic look. Additionally, you can attach small beads or sequins to the berries to make them sparkle. These extra touches will make your knitted holly leaves and berries stand out and add a touch of elegance to your finished project.
3. Assembly
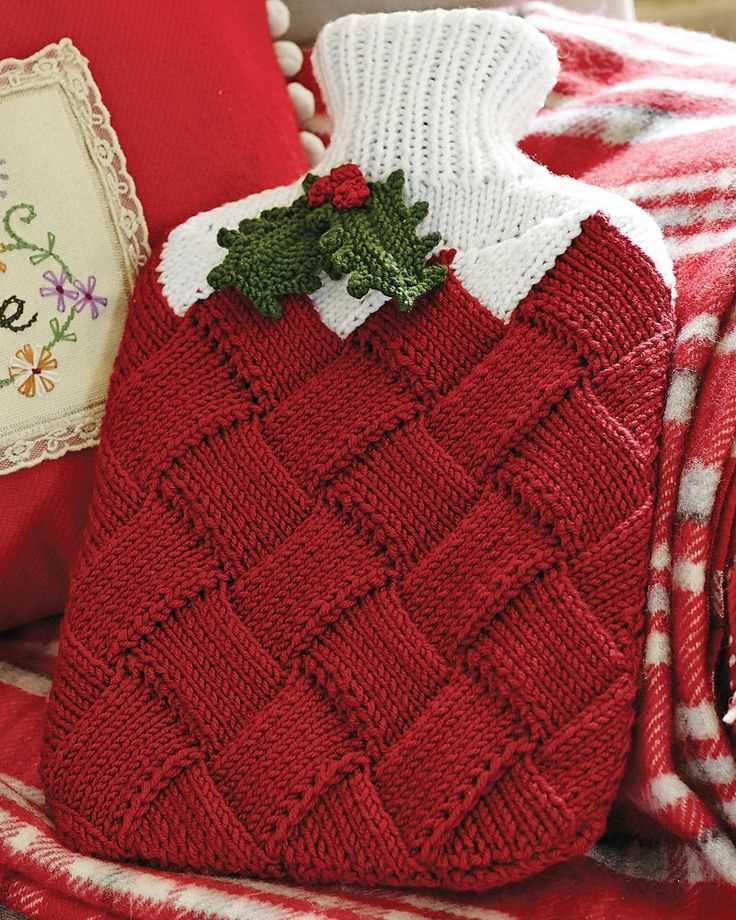
Once your holly leaves and berries are blocked and embellished, you are ready to assemble them into a beautiful arrangement. You can arrange the leaves and berries in a wreath or garland, or even attach them to a knitted accessory like a hat or scarf. Use a needle and thread to securely attach the leaves and berries together, making sure they are evenly spaced and positioned. By carefully assembling your knitted holly leaves and berries, you will create a stunning and festive decoration that will be a unique addition to your holiday festivities.
Tips and Troubleshooting
Knitting holly leaves and berries can be a fun project, but it’s not without its challenges. Here are some tips and troubleshooting advice to help you along the way:
Tips:
- Always start by reading the pattern thoroughly and familiarizing yourself with the techniques and stitches required.
- Use the suggested yarn and needle size to achieve the desired finished size and appearance.
- Take your time and practice the stitches before working on the actual project.
- If you’re a beginner, consider starting with a simpler pattern for holly leaves and berries before tackling more complex designs.
- Keep track of your progress by marking rows or using stitch markers, especially if the pattern requires repetition.
- Don’t be afraid to experiment with different colors and yarn types to create unique and customized holly leaves and berries.
Troubleshooting:
- If your holly leaves are curling at the edges, try blocking them to shape and flatten them.
- If your holly leaves are too loose or too tight, adjust your tension and consider using a different needle size.
- If you’re having trouble following the pattern, try breaking it down into smaller sections or seek help from online tutorials or knitting communities.
- If your holly berries don’t look round, ensure that you’re decreasing and shaping them correctly.
- If you run out of yarn in the middle of a project, join a new skein by weaving in the ends to prevent unraveling.
Note that troubleshooting may vary depending on the specific pattern you’re using, so always refer to the pattern instructions for additional guidance.
With these tips and troubleshooting advice in mind, you’re ready to tackle your knitting pattern for holly leaves and berries. Enjoy the process and create beautiful festive decorations!