
Looking for a stylish and cozy addition to your wardrobe? A shrug is the perfect solution! This versatile garment is a must-have for any knitter, as it can be worn in all seasons and complements a variety of outfits. Whether you’re a knitting novice or an experienced crafter, this knitting pattern for a shrug is beginner-friendly and allows you to create a beautiful piece that you’ll love to wear.
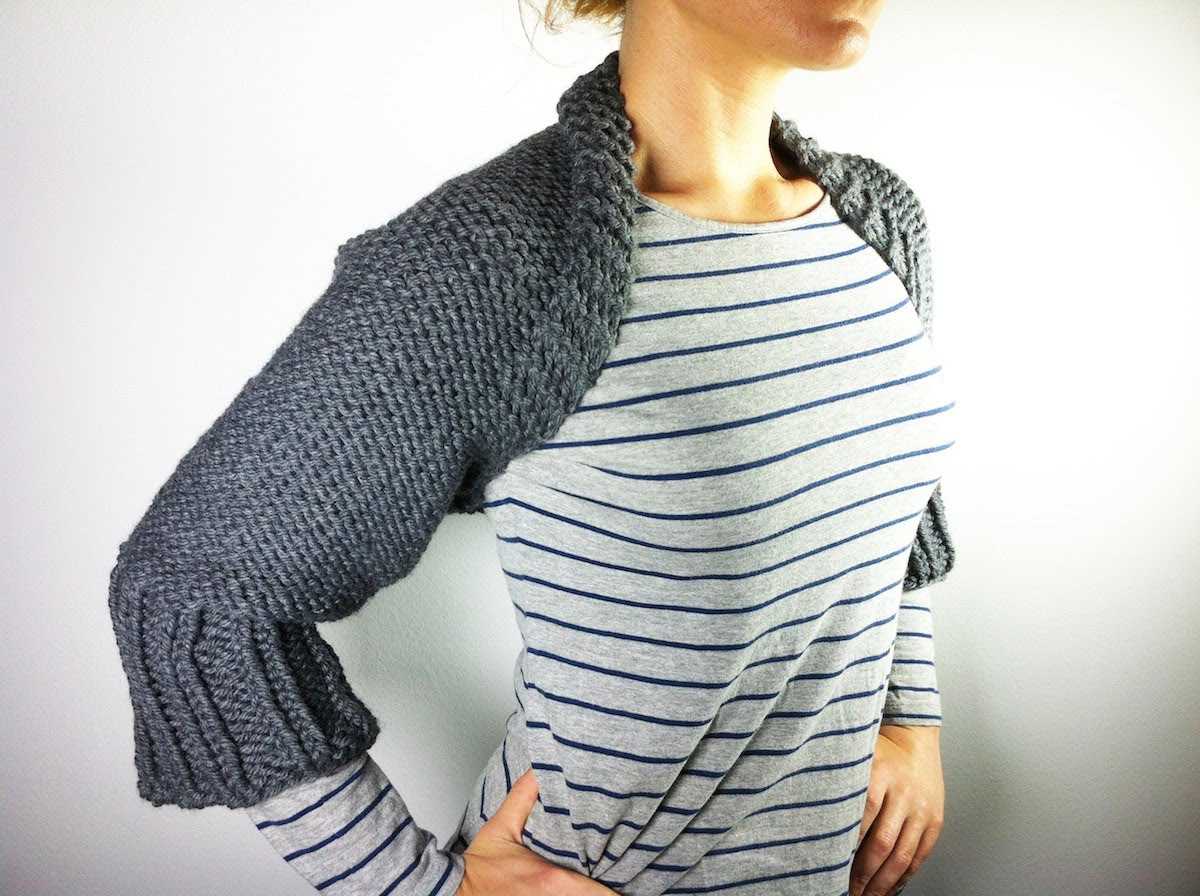
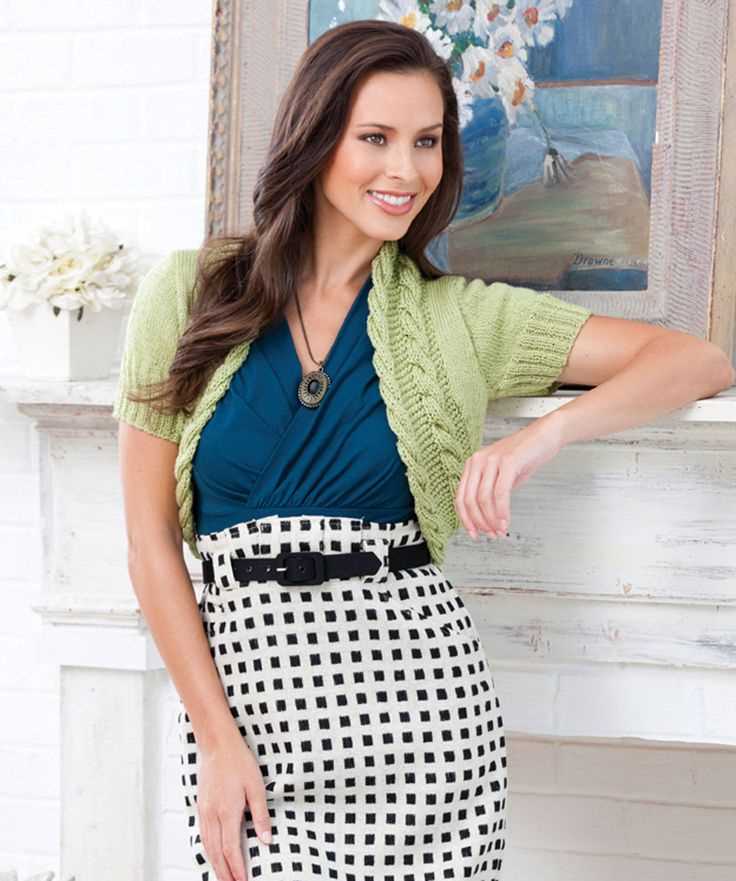
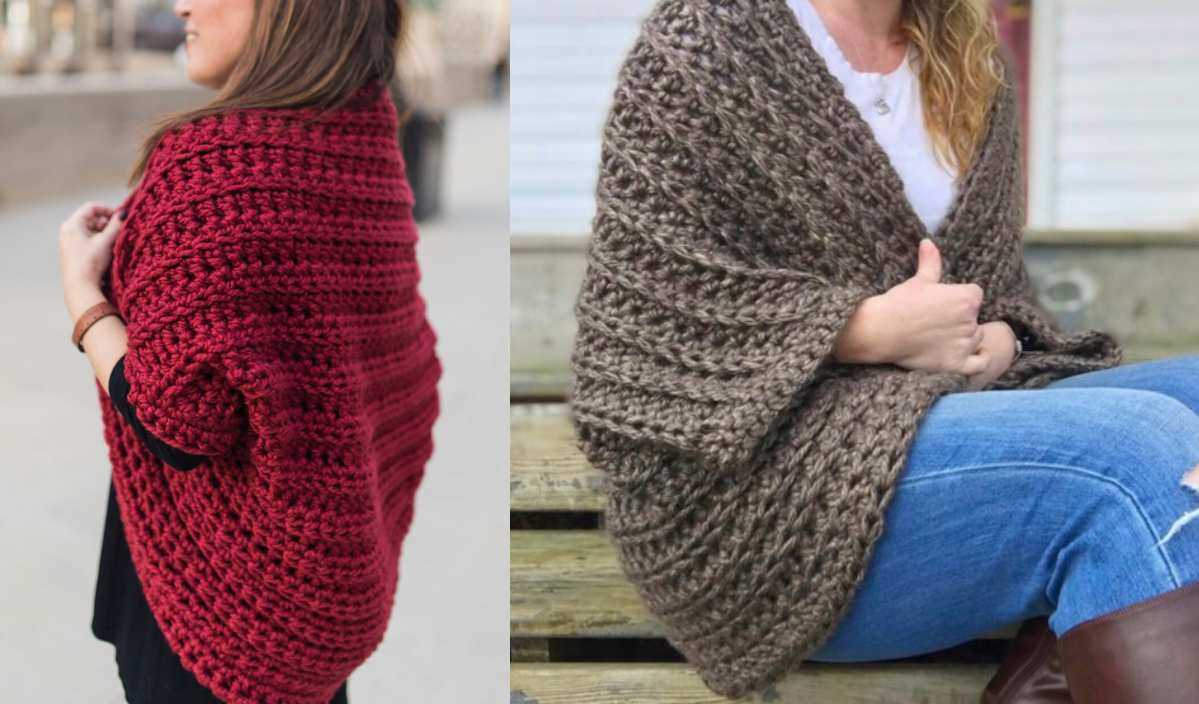
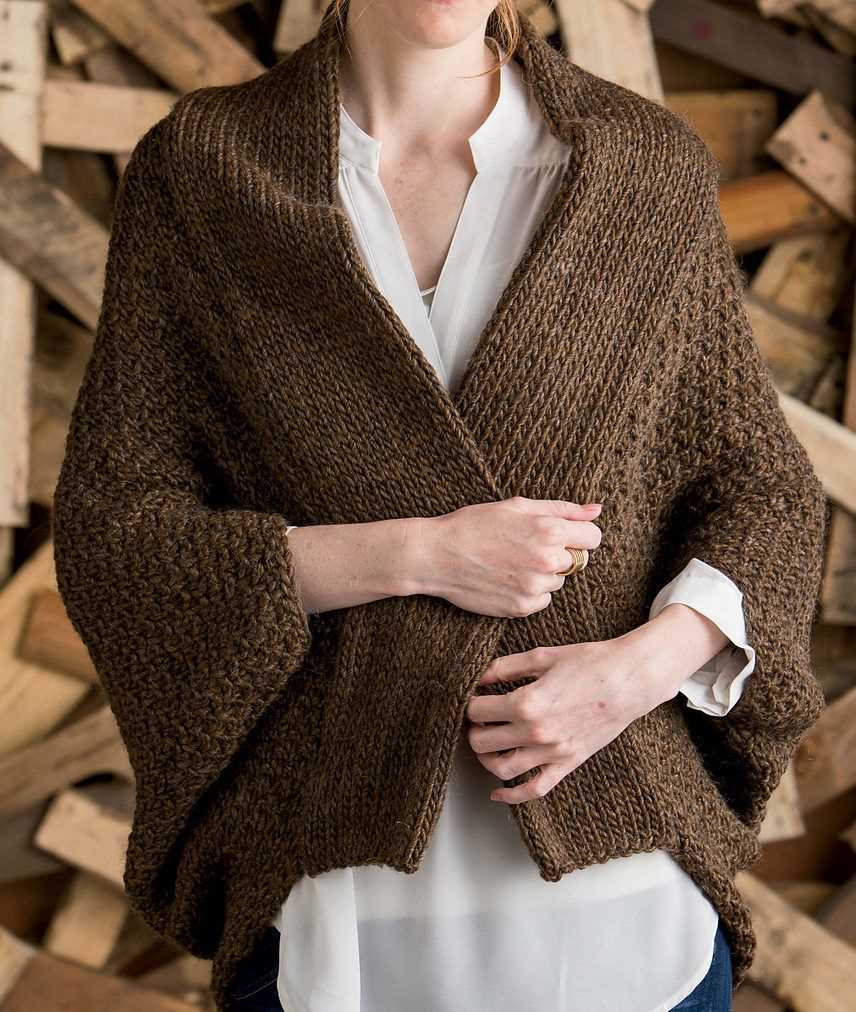
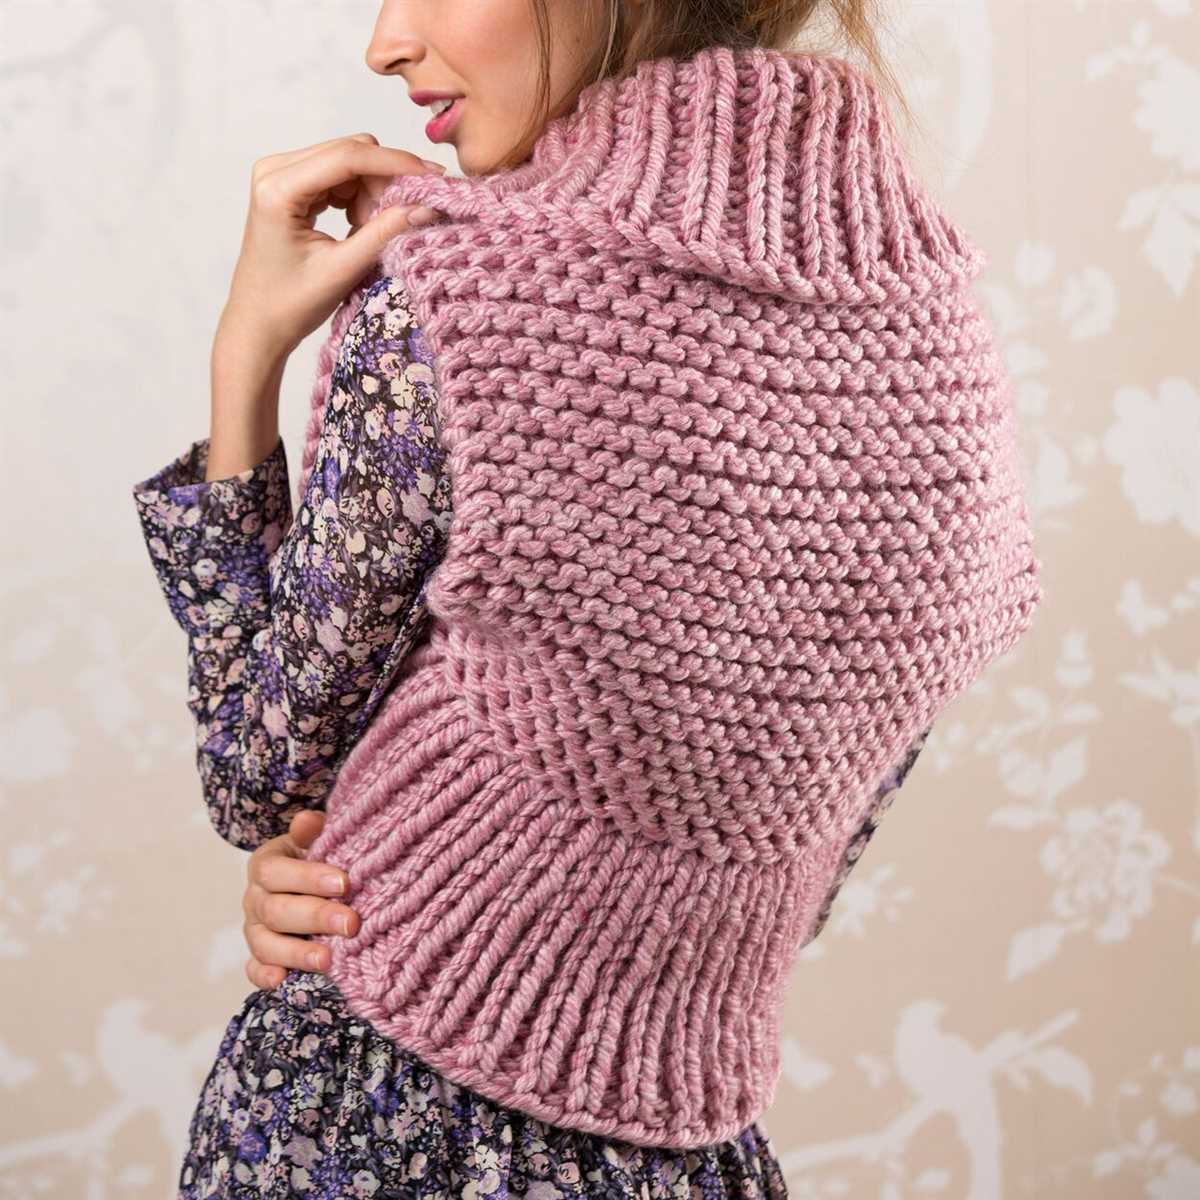
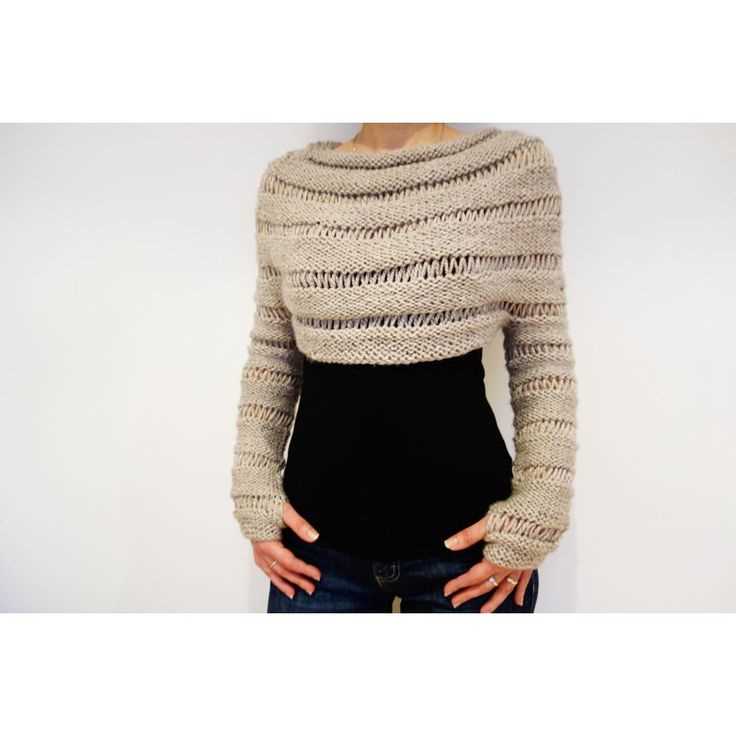
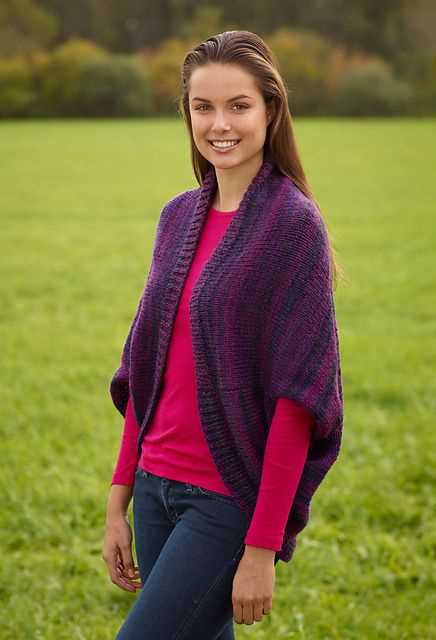
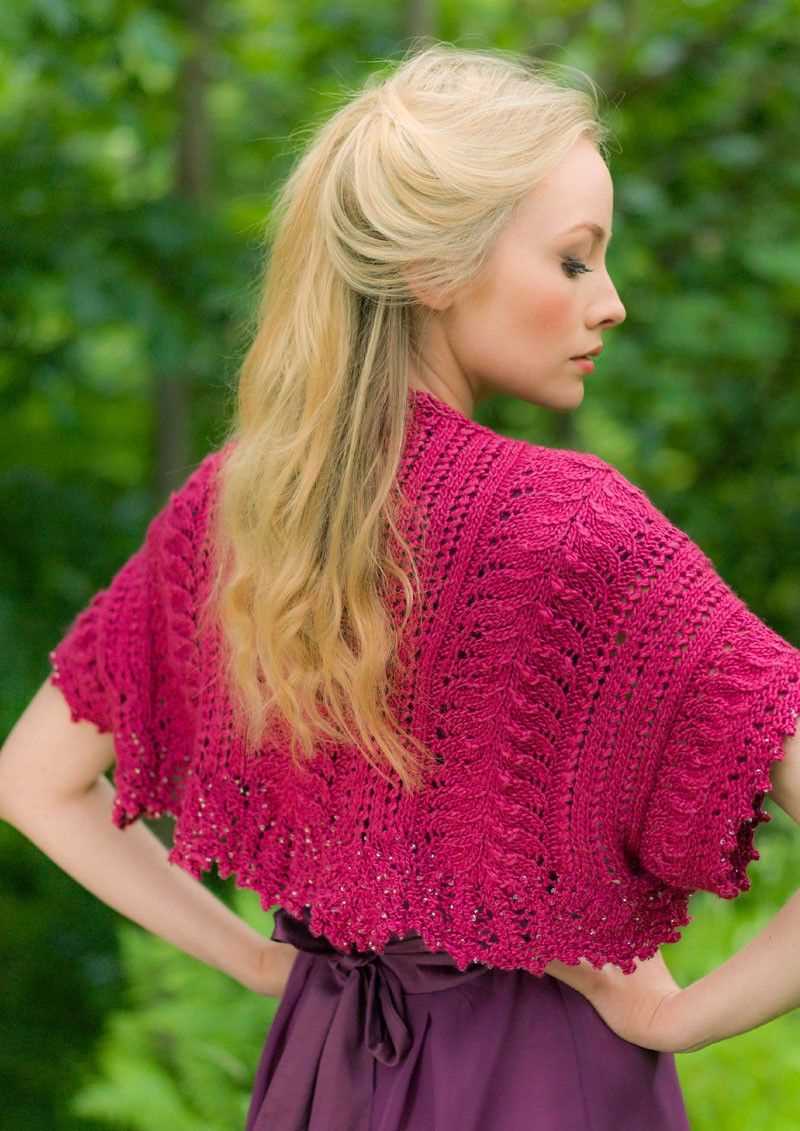
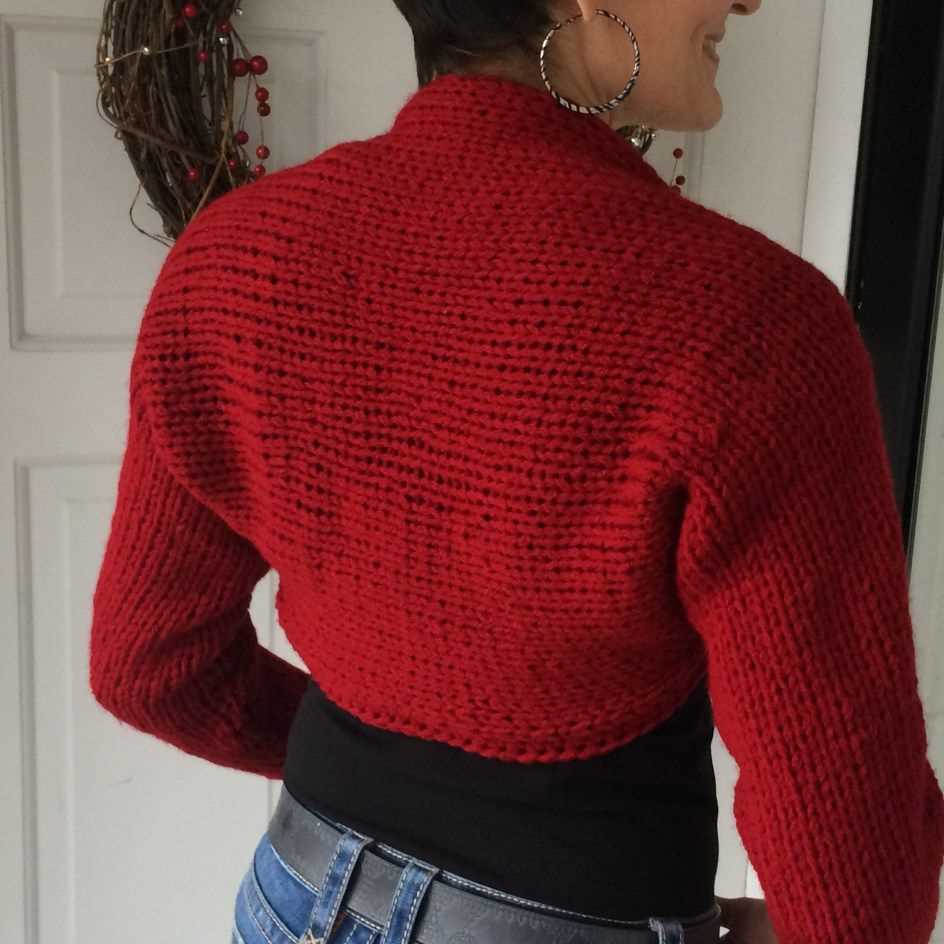
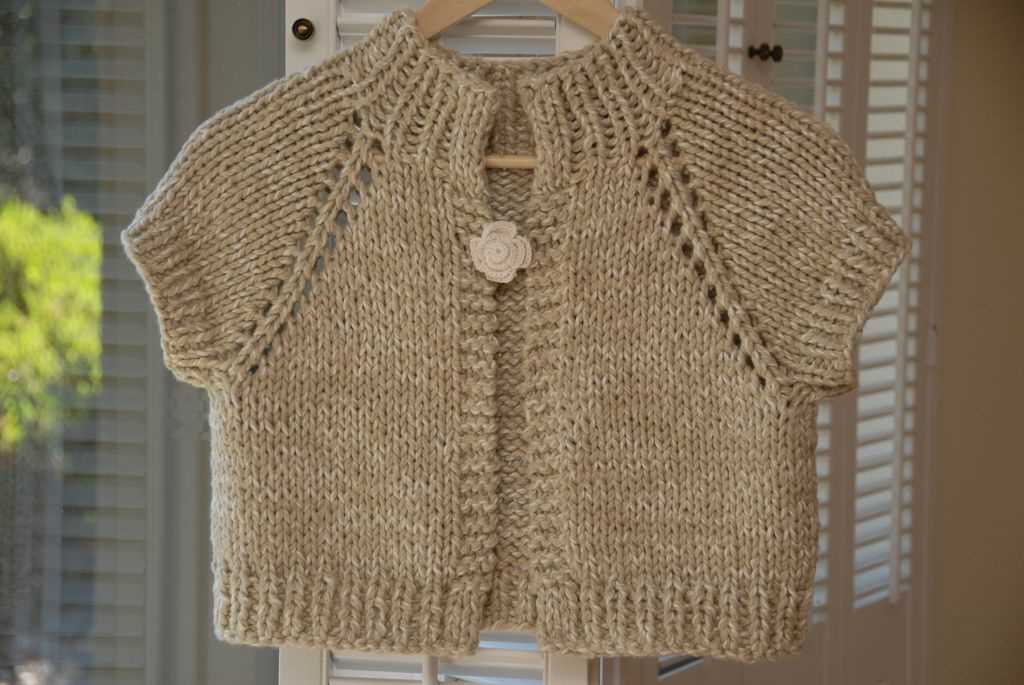
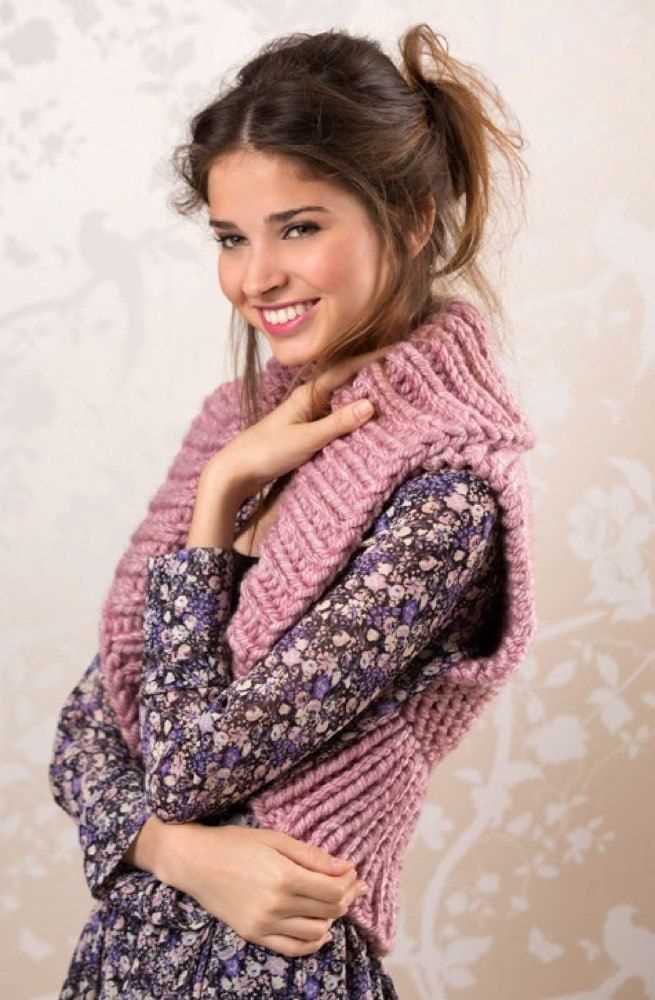
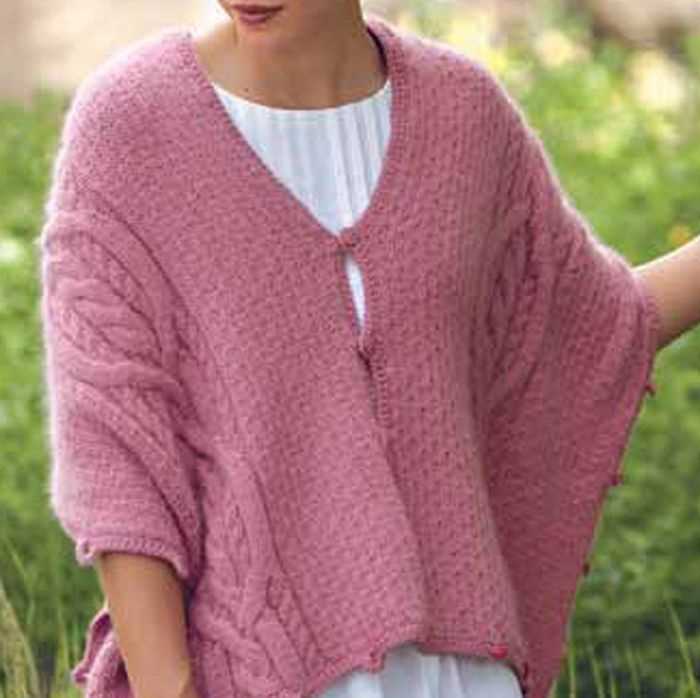
The shrug is an open-front, cropped cardigan that is typically worn over a blouse, dress, or tank top. It provides just the right amount of warmth without feeling heavy or bulky. With its short sleeves and relaxed fit, a shrug adds a touch of elegance and sophistication to any ensemble. Plus, it’s incredibly comfortable and easy to wear, making it a go-to choice for both casual and formal occasions.
This knitting pattern for a shrug is designed to be beginner-friendly, meaning that even if you’re new to knitting, you can still create a stunning garment. The pattern includes step-by-step instructions and helpful tips to guide you through the process. Additionally, it uses basic knitting techniques, such as knitting and purling, enabling you to practice and enhance your skills.
So, why wait? Grab your knitting needles and some yarn, and let’s get started on creating your very own shrug. With this pattern, you’ll have a stylish and cozy addition to your wardrobe in no time!
Materials
In order to knit the shrug, you will need the following materials:
- Yarn: Choose a yarn that is suitable for the pattern and the desired look of the shrug. Consider the weight of the yarn and the recommended gauge. You will need approximately [insert amount] yards of yarn.
- Knitting Needles: Use knitting needles that correspond to the recommended gauge for the pattern. The size of the needles will depend on the yarn and the desired drape of the fabric.
- Tapestry Needle: This needle will be used to weave in yarn ends and sew any parts of the shrug together.
- Stitch Markers: Stitch markers will help you keep track of your stitches and any pattern repeats. They can be especially useful when working on the sleeves or the edging of the shrug.
- Row Counter: A row counter will help you keep track of the number of rows you have knitted. This is especially important when working on the sleeves or any pattern repeats.
Make sure to gather all of these materials before you begin knitting the shrug. Having everything on hand will make the knitting process smoother and more enjoyable.
Gauge
When working on a knitting project, it is important to pay attention to the gauge. Gauge refers to the number of stitches and rows per inch in a knitted fabric. It determines how the finished piece will fit and look. To achieve the correct gauge, it is crucial to use the recommended yarn weight and needle size specified in the pattern.
The gauge is usually given as a measurement of stitches and rows over a 4-inch square. This can be easily measured by knitting a swatch using the recommended yarn and needle size. The swatch should be large enough to accurately measure the gauge. It is important to wash and block the swatch before measuring as this can affect the gauge. If the gauge is too loose, it means there are fewer stitches and rows per inch. If the gauge is too tight, there are more stitches and rows per inch.
Key Phrases:
- Gauge
- Number of stitches and rows per inch
- Recommended yarn weight
- Needle size
- Knitting a swatch
- Washing and blocking the swatch
In summary, achieving the correct gauge is essential for a well-fitting and visually appealing finished knitted piece. It is important to follow the recommended yarn weight and needle size specified in the pattern and to always knit a swatch to measure the gauge accurately. Taking the time to ensure the correct gauge will result in a successful knitting project.
Size
The size of the shrug can be easily adjusted by following the instructions given in the pattern. To ensure a proper fit, it is recommended to take accurate body measurements before starting the project. The pattern provides instructions for multiple sizes, including small, medium, large, and extra-large.
To determine the correct size, measure the circumference of your chest and choose the size that corresponds to your measurement. For example, if your chest measurement is 35 inches, you would select the size that fits a 34-36 inch chest.
It is important to note that different brands of yarn may result in variations in the final measurements of the shrug. To achieve the desired size, it is recommended to check your gauge by knitting a swatch using the recommended yarn and needle size. Adjust your needle size as necessary to match the gauge specified in the pattern.
For further customization, the pattern also provides instructions for adjusting the length of the shrug. Whether you prefer a cropped shrug or a longer length, the pattern allows you to easily modify the size to suit your personal preferences.
Abbreviations
In knitting patterns, abbreviations are commonly used to simplify the instructions and make them easier to read and follow. These abbreviations serve as a shorthand for different stitches, techniques, or directions. Understanding and being familiar with these abbreviations is essential for successfully completing a knitting project.
Here is a list of some commonly used abbreviations in knitting patterns:
- K: knit
- P: purl
- YO: yarn over
- K2tog: knit two stitches together
- SSK: slip, slip, knit
- P2tog: purl two stitches together
- PM: place marker
- SM: slip marker
- RS: right side
- WS: wrong side
These abbreviations are often found in knitting patterns alongside the specific instructions. They help to condense the information and make it easier to follow along. It is important to have a reference guide or a knitting abbreviations chart handy when working on a knitting project, especially if you are a beginner or unfamiliar with certain abbreviations.
Back Panel
The back panel of the shrug is worked in a simple stockinette stitch. Using the knitting pattern provided, you will start by casting on the required number of stitches. Typically, the back panel will require more stitches than the front panels to accommodate the width of the wearer’s back.
Row 1: Knit all stitches
Row 2: Purl all stitches
Repeat these two rows until the back panel measures the desired length, as specified in the pattern. Remember to periodically check your gauge to ensure the correct measurements.
Once the back panel is completed, you can set it aside and move on to working the front panels of the shrug. The back panel will be joined with the front panels during the finishing process. Be sure to follow the pattern instructions carefully to achieve the desired shape and fit for your shrug.
Sleeves
Sleeves are an important part of a knitted shrug, as they provide warmth and coverage for the arms. When knitting a shrug, it’s important to pay attention to the sleeve construction to ensure a comfortable fit and a flattering shape.
There are several different sleeve options when it comes to knitting a shrug. One popular choice is to knit the sleeves separately and then seam them onto the body of the shrug. This allows for more control over the fit and shape of the sleeves, as they can be easily adjusted during the seaming process. Another option is to knit the sleeves in the round, either from the cuff up or from the shoulder down. This creates a seamless sleeve that requires minimal finishing.
Set-in Sleeves
Set-in sleeves, also known as tailored sleeves, are a classic choice for a shrug. These sleeves are shaped to fit the natural curve of the shoulder and arm, creating a sleek and polished look. To knit set-in sleeves, you’ll need to work shaping decreases at regular intervals to create the sleeve cap. This can be a bit more challenging than other sleeve constructions, but it’s worth the effort for the professional finish it provides.
Raglan Sleeves
Raglan sleeves are another popular choice for a knitted shrug. These sleeves are created by knitting diagonally from the neckline to the underarm, which creates a distinctive diagonal seam that extends from the neckline to the underarm. Raglan sleeves are known for their relaxed fit and comfortable feel, making them a great choice for a casual or cozy shrug. They can be easily customized by adjusting the rate of increases or decreases along the raglan seam.
Ultimately, the choice of sleeve construction for your knitted shrug will depend on your personal preferences and the overall style you’re aiming for. Whether you opt for set-in sleeves or raglan sleeves, the most important thing is to ensure a comfortable fit and a flattering shape for your shrug. With a bit of planning and attention to detail, you’ll be able to create a beautiful shrug that you’ll love to wear.
Front Panels
The front panels are an essential part of the shrug knitting pattern. They add structure and shape to the garment, as well as provide the openings for the sleeves. To start knitting the front panels, you will need to cast on the required number of stitches, which is usually specified in the pattern.
Once you have cast on the stitches, you can begin working the pattern stitch for the front panels. This could be a simple stockinette stitch, or it could involve more intricate stitch patterns such as cables or lace. It’s important to follow the pattern instructions carefully to ensure that you achieve the desired look for your shrug.
As you are working on the front panels, you may also need to shape the garment by increasing or decreasing stitches. This is often done to create a gradual slope or to create a curved edge. The pattern will indicate when and how to make these shaping adjustments, usually through specific instructions or stitch charts.
In addition to the stitch pattern and shaping, you may also need to incorporate some finishing details into the front panels. This could include adding buttonholes, creating a decorative border, or attaching any necessary embellishments. These finishing touches can add a unique and personalized touch to your shrug.
Finishing touches
Once you have completed knitting the shrug, it’s time to add the finishing touches to make it look professional and polished. Here are a few steps you can take to ensure your shrug looks its best:
Blocking the shrug
Before adding any embellishments or finishing details, it’s important to block the shrug to give it a clean and even look. To block the shrug, you will need to wet it and then stretch it out to the desired shape and size. This will help smooth out any lumps or bumps and give the shrug a professional finish.
Adding a border
To give your shrug a finished look, consider adding a border around the edges. This can be done by picking up stitches along the edge of the shrug and knitting a few rows in a contrasting color or a different stitch pattern. This will help frame the shrug and give it a polished appearance.
Embellishments
If you want to add some extra flair to your shrug, consider adding embellishments such as buttons, beads, or embroidery. This can be done by sewing on the desired embellishments using a needle and thread. Make sure to choose embellishments that complement the style and color of your shrug.
Finishing off loose ends
Lastly, make sure to weave in any loose ends that may be left from changing colors or joining new yarn. This will help give your shrug a neat and tidy look. Use a tapestry needle to weave in the ends by threading them through the back of the stitches and cutting off any excess yarn.
Tips and Tricks
If you are new to knitting, don’t be intimidated by the thought of making a shrug. With the right knitting pattern and some helpful tips, you can create a beautiful shrug that you will be proud to wear. Here are some tips and tricks to help you along the way:
1. Choose the Right Yarn
Choosing the right yarn is crucial for the success of your project. Look for a yarn that is soft, lightweight, and breathable, as you don’t want your shrug to be too heavy or bulky. Wool-blend or cotton yarns are great options as they provide both warmth and comfort.
2. Gauge Matters
Always check your gauge before starting your project. The gauge refers to the number of stitches and rows per inch in the pattern. It is important to match the gauge stated in the pattern to ensure that your shrug will fit properly. If your gauge is too tight, use larger needles; if it is too loose, use smaller needles.
3. Read the Pattern Carefully
Before you start knitting, read the entire pattern. Pay attention to any special stitches or techniques that may be required. Take note of any stitch patterns or repeats that you need to follow. Understanding the pattern instructions beforehand will help you avoid mistakes and confusion as you work.
4. Use Stitch Markers
Stitch markers are your best friend when working on a shrug. They can help you keep track of stitch patterns and shaping details. Place a stitch marker at the beginning and end of each pattern repeat, as well as at any special points indicated in the pattern. This will make it easier to count stitches and ensure that your work is accurate.
5. Take Breaks
Knitting a shrug can be a time-consuming project, so don’t forget to take breaks. Knitting for long periods of time can strain your hands and wrists, leading to discomfort or injury. Remember to stretch and take breaks to rest your hands and relax your muscles. It’s better to take regular breaks and maintain good hand posture than to knit for long periods without pauses.
With these tips and tricks in mind, you are ready to start knitting your own shrug. Remember to be patient and enjoy the process. Before you know it, you’ll have a beautiful shrug to keep you warm and stylish.
Variations
There are countless variations you can make to this knitting pattern to suit your personal style and preference. Here are a few ideas to get you started:
- Longer Length: If you prefer a longer shrug, simply continue knitting additional rows before starting the armhole shaping. You can adjust the length according to your desired fit.
- Stripes: Add some color to your shrug by incorporating stripes. Alternate between two different colors or experiment with multiple colors for a unique look.
- Lace or Cable Details: For a more intricate design, consider adding lace or cable details to the back or sleeves of the shrug. This will add a touch of elegance and sophistication.
- Button or Tie Closure: Instead of leaving the shrug open, you can add buttons or ties to create a closure. This will provide a more fitted look and allow you to secure the shrug in place.
Remember, these are just a few suggestions to inspire your creativity. Feel free to experiment with different stitch patterns, yarns, and shaping techniques to create a shrug that is uniquely yours.
Q&A:
What is a shrug?
A shrug is a type of lightweight cardigan or jacket that typically has short or three-quarter length sleeves and is open in the front.
How long does it take to knit a shrug?
The time it takes to knit a shrug can vary depending on the complexity of the pattern and your knitting speed. On average, it may take a few days to a couple of weeks to complete a shrug.
Where can I find knitting patterns for shrugs?
You can find knitting patterns for shrugs in books, on knitting websites, or on online platforms such as Ravelry. Many pattern designers also sell their patterns on their own websites.
What skills do I need to knit a shrug?
To knit a shrug, you should have basic knitting skills such as casting on, knitting and purling stitches, increasing and decreasing stitches, and reading a knitting pattern. Some shrug patterns may also require skills like lace knitting or cabling.
Can I modify a shrug pattern to fit my size?
Yes, you can modify a shrug pattern to fit your size. You can adjust the number of stitches and rows, as well as the length of the sleeves and body, to customize the fit. Just make sure to check your gauge and make any necessary calculations before starting the modifications.