
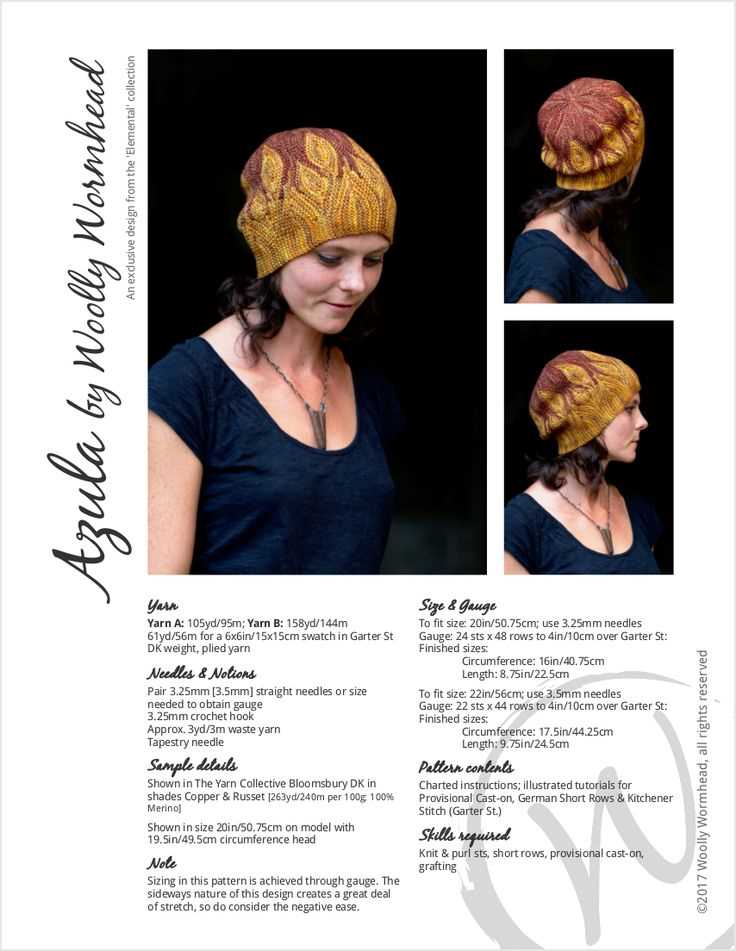
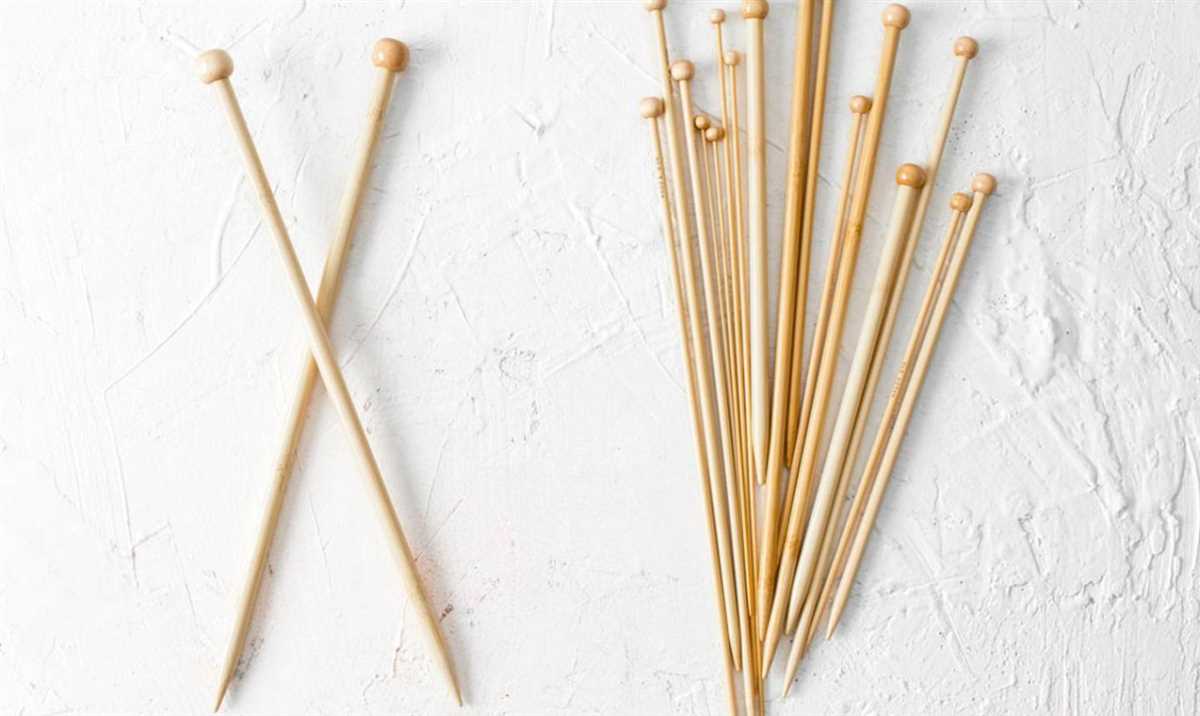
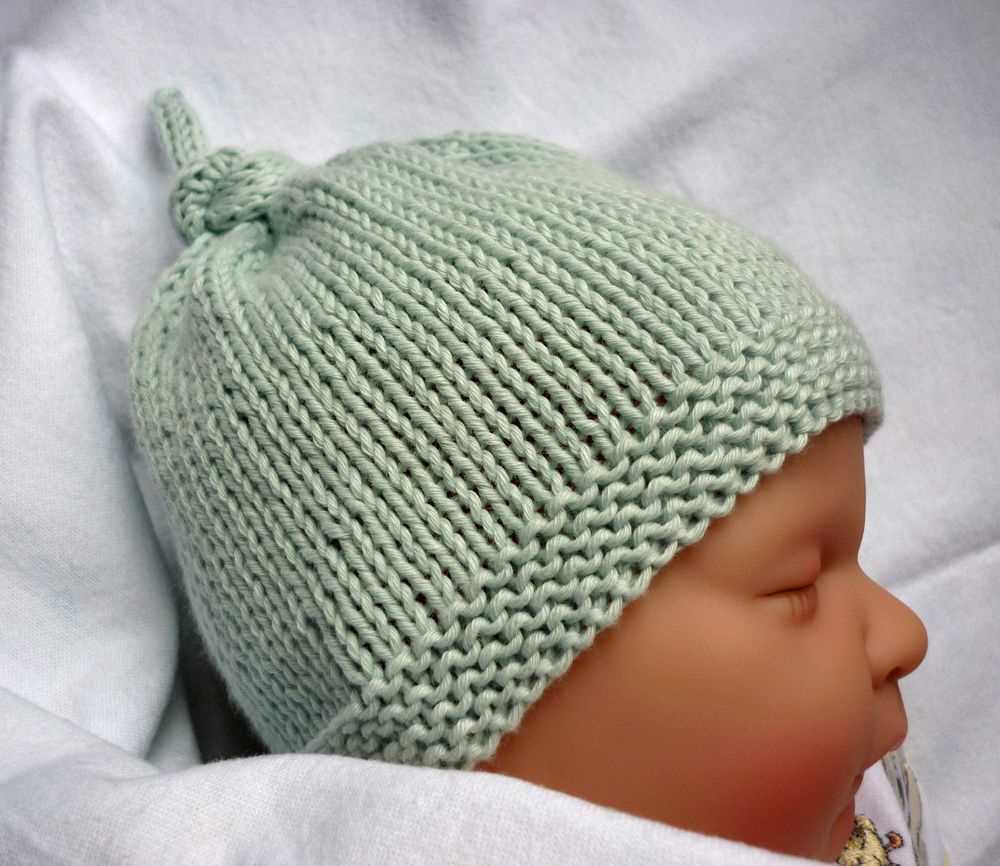
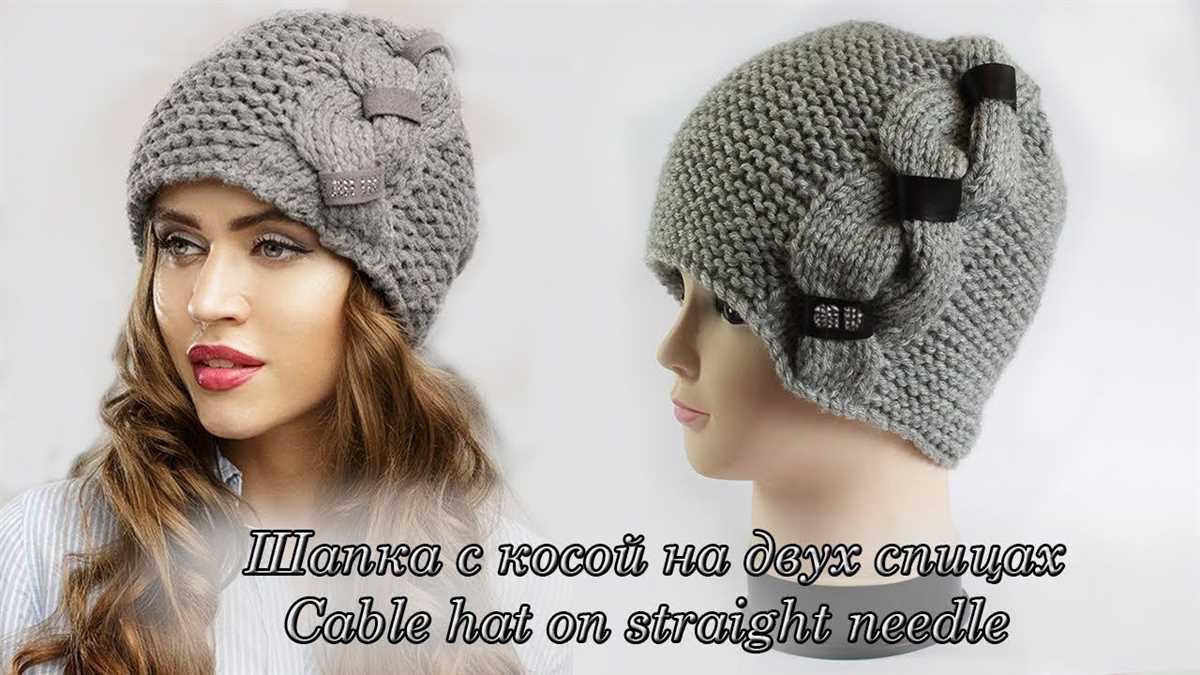
Knitting hats is a popular craft that allows for both creativity and functionality. Whether you’re a beginner or an experienced knitter, using straight needles for hat patterns can be a great option. Straight needles are easy to work with and provide a simple way to create beautiful hats.
When it comes to knitting hats with straight needles, there are various patterns available to suit different skill levels and styles. From basic ribbed patterns to intricate stitch designs, there is something for everyone. Using straight needles allows you to work on your project comfortably and at your own pace, as you don’t have to worry about managing multiple needles.
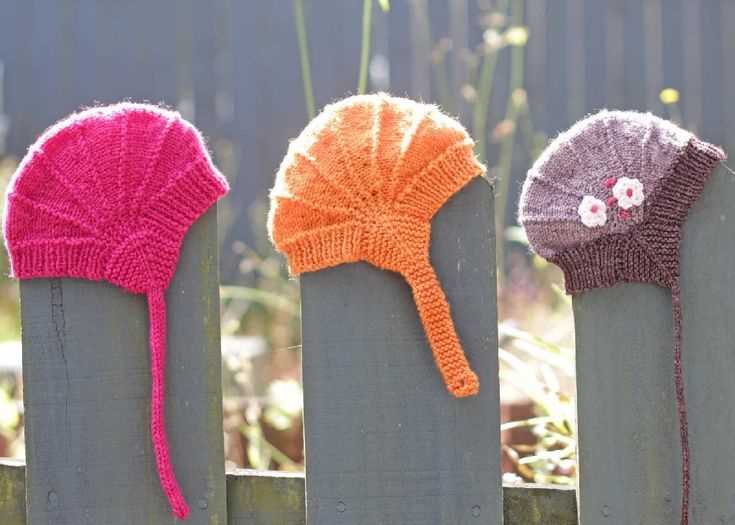
One of the advantages of knitting hats with straight needles is the versatility it offers. You can create hats of different sizes and styles, including slouchy beanies, snug-fitting caps, and stylish berets. With the right yarn and needle size, you can achieve the perfect texture and fit for your hat.
Benefits of Knitting Hats with Straight Needles

Knitting hats with straight needles offers several benefits that make it a popular choice among knitting enthusiasts. One of the main advantages is the simplicity and convenience it provides. Straight needles are easy to handle and maneuver, making them suitable for knitters of all skill levels.
Another benefit of using straight needles for knitting hats is the versatility it offers. With straight needles, you can create a wide range of hat patterns, from basic designs to more intricate and complex ones. The straight needle technique allows for greater flexibility and control, giving you the freedom to experiment with different stitches and patterns.
Cost-effectiveness is also a significant advantage of knitting hats with straight needles. Straight needles are generally more affordable compared to circular or double-pointed needles, making them a budget-friendly option for knitters. Additionally, knitting hats with straight needles requires less yarn, helping you save money on materials.
Moreover, knitting hats with straight needles allows for easy customization. You can easily adjust the size and fit of the hat by simply changing the number of stitches or rows. This makes straight needle knitting an ideal choice for making personalized hats for yourself or as gifts for friends and family.
In conclusion, knitting hats with straight needles offers simplicity, versatility, cost-effectiveness, and customization options that make it a popular and enjoyable technique among knitters of all levels.
Choosing the Right Yarn for Hat Knitting Projects
When it comes to knitting hats, choosing the right yarn is crucial for achieving the desired result. The yarn you select will not only affect the overall appearance of the hat but also its warmth, durability, and comfort. To ensure a successful knitting project, consider the following factors when choosing your yarn.
1. Fiber Content:

The fiber content of the yarn will determine its properties, such as softness, warmth, and drape. Some popular yarn fiber options for hats include wool, alpaca, acrylic, and blends. Wool is an excellent choice for cold weather hats as it provides excellent insulation and retains warmth. Alpaca yarn is known for its softness and warmth, making it suitable for winter accessories. Acrylic yarn is more affordable and easy to care for, making it a practical choice for everyday hats.
2. Weight and Gauge:
The weight of the yarn refers to its thickness, which affects the overall look and feel of the hat. Hats can be knit with various weights of yarn, from lightweight fingering yarn to chunky yarn. However, it’s important to match the yarn weight with the recommended gauge for the pattern you are using. Following the recommended gauge ensures that your hat will have the correct size and fit.
3. Color and Texture:
The color and texture of the yarn can greatly enhance the look of your hat. Solid or semi-solid colors can create a clean and classic look, while variegated or self-striping yarns can add visual interest and dimension to your knitting project. Additionally, the texture of the yarn, such as smooth, fluffy, or textured, can also influence the appearance of the finished hat.
4. Care Instructions:
Consider the care instructions for the yarn, especially if the hat will be worn frequently. Some yarns may require delicate handwashing, while others are machine washable. It’s important to choose a yarn that fits your lifestyle and maintenance preferences to ensure the longevity of your knitted hat.
By considering these factors, you can select the right yarn for your hat knitting projects, ensuring a hat that is not only beautiful but also functional and comfortable.
Essential Tools and Materials for Knitting Hats
When it comes to knitting hats, having the right tools and materials is essential to ensure a successful and enjoyable knitting experience. Whether you’re a beginner or an experienced knitter, here are some must-have items that you should have in your knitting toolbox.
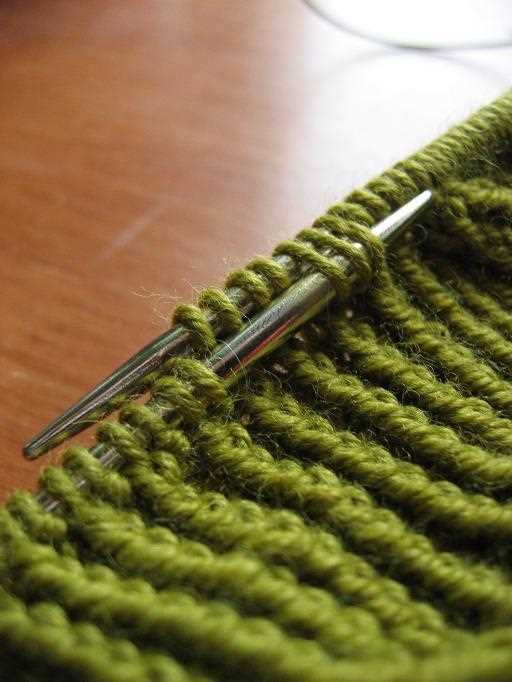
1. Knitting Needles:
One of the most important tools for knitting hats is a pair of knitting needles. While some knitters prefer to use circular needles, others prefer using straight needles. Straight needles are a great choice for those who are just starting out or prefer a more traditional knitting method. Make sure to choose needles that are the appropriate size for the yarn weight you are using.
2. Yarn:
Choosing the right yarn is crucial when knitting hats. Consider the intended use of the hat and the season it will be worn in. For warmer weather hats, choose a lightweight yarn that is breathable. For winter hats, opt for a thicker yarn that will provide warmth and insulation. It’s also important to consider the fiber content of the yarn, as this can affect the hat’s texture and elasticity.
3. Stitch Markers:
Stitch markers are small plastic or metal rings that can be placed on the knitting needles to mark specific stitches or sections of a pattern. They are particularly useful when working on patterns that require shaping or intricate stitch work. Stitch markers help you keep track of your progress and ensure that you are following the pattern correctly.
4. Tape Measure:
A tape measure is essential for measuring the circumference of the head and determining the appropriate size for the hat. It’s important to measure accurately to ensure a proper fit. Additionally, a tape measure can be useful for checking gauge and measuring the length of the hat during the knitting process.
5. Scissors:
Having a pair of sharp scissors is necessary for cutting yarn and trimming any loose ends. It’s important to have scissors that are dedicated solely to your knitting projects, as using them for other purposes can cause them to become dull or damaged. Keep your scissors handy so you can easily trim yarn as needed during the knitting process.
By having these essential tools and materials on hand, you’ll be well-equipped to start knitting your own hats. Whether you’re creating hats for yourself or as gifts for friends and family, these items will help you achieve beautiful and well-fitting results in your knitting projects.
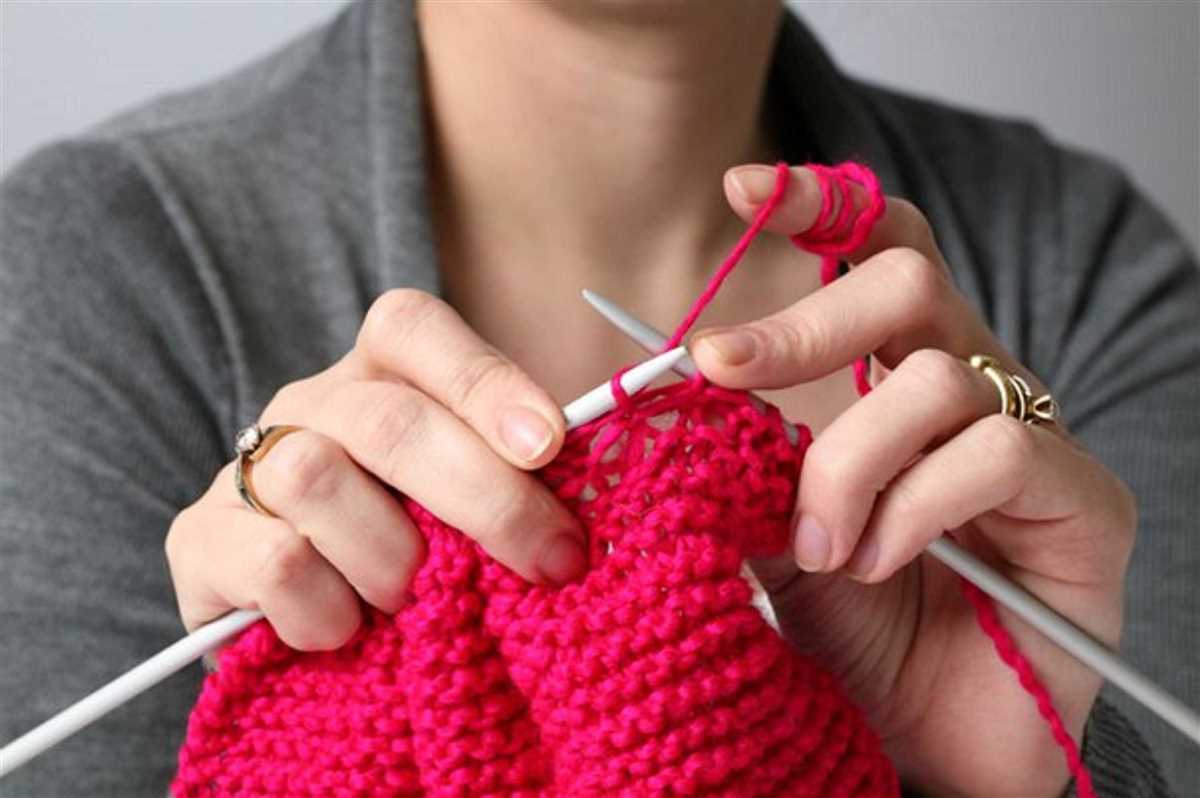
Getting Started: Casting on Stitches for a Knitted Hat
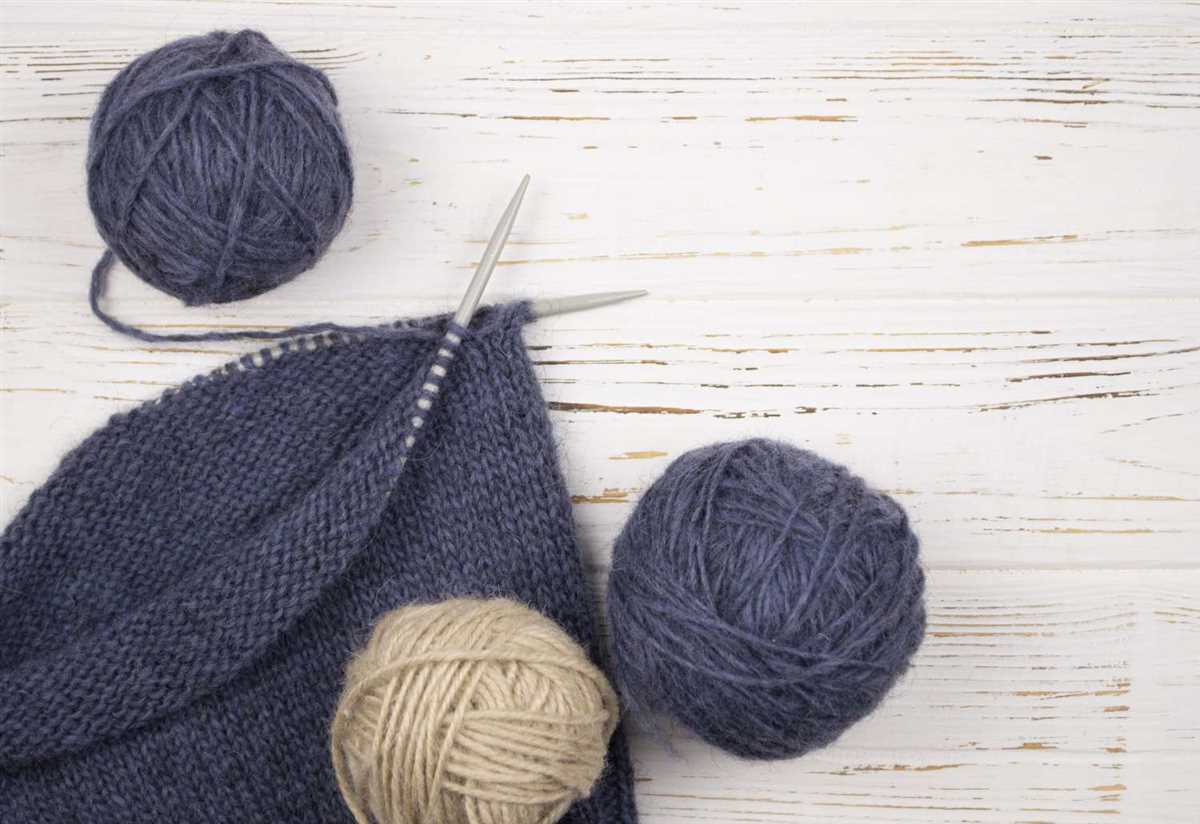
Before you begin knitting a hat, the first step is to cast on the necessary stitches. Casting on is the process of creating the foundation row of stitches that will be worked into the hat. There are several methods you can use to cast on stitches, but for knitting a hat with straight needles, the long-tail cast-on method is commonly used.
The long-tail cast-on method is a versatile and sturdy method that provides a neat and stretchy edge. To start, you will need a pair of straight knitting needles, a ball of yarn, and a pair of scissors. Begin by leaving a long tail of yarn, approximately three times the length of your desired hat width. This tail will be used to create the first row of stitches.
To cast on stitches using the long-tail method, follow these steps:
- Step 1: Make a slipknot by creating a loop with the yarn, crossing the tail end over the working end. Insert one of your knitting needles through the loop and pull the tail end to tighten the knot around the needle.
- Step 2: Place the needle with the slipknot in your right hand, and hold the other needle in your left hand.
- Step 3: Position the yarn so that it lies above the needle in your left hand, with the tail end over your index finger and the working end over your thumb.
- Step 4: With the needle in your right hand, bring it under the strand of yarn between your index finger and thumb, and then over the working end of the yarn.
- Step 5: Insert the needle through the loop on your left hand needle from front to back.
- Step 6: Slip the new stitch off the left hand needle, and you have successfully cast on one stitch.
- Step 7: Repeat steps 4-6 until you have cast on the desired number of stitches for your hat.
Once you have cast on the required number of stitches, you are ready to start knitting your hat. Whether you choose to follow a pattern or create your own design, the cast-on stitches serve as the foundation for your project. Take your time and practice the long-tail cast-on method to ensure a sturdy and well-finished edge for your knitted hat.
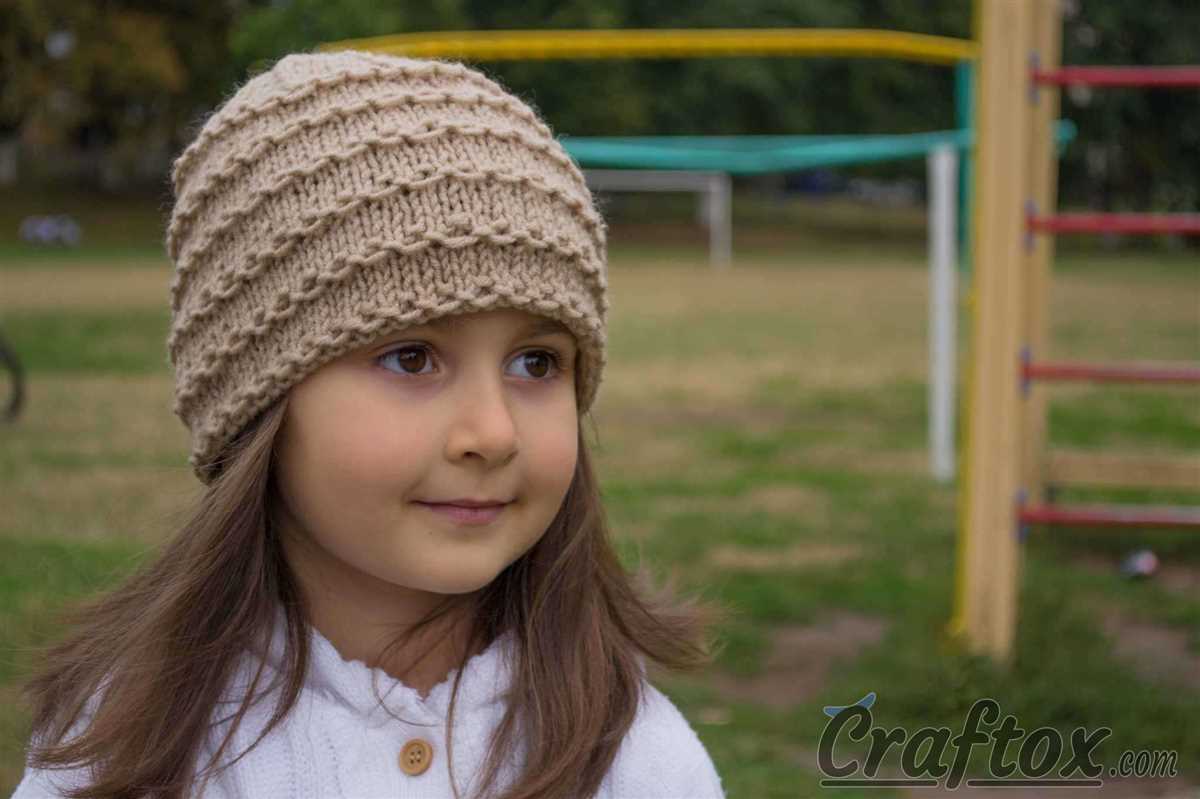
Basic Stitch Patterns for Knitting Hats
When it comes to knitting hats, there are endless stitch patterns to choose from. Whether you’re a beginner or an experienced knitter, it’s important to have a few basic stitch patterns in your repertoire. These patterns can be easily worked on straight needles, making them perfect for knitting hats.
Garter Stitch: The garter stitch is one of the simplest stitch patterns, making it ideal for beginners. It is created by knitting every row, resulting in a textured fabric with horizontal ridges. This stitch pattern is great for adding thickness and warmth to your hat.
Stockinette Stitch: The stockinette stitch is another basic stitch pattern that is commonly used for hats. It is formed by knitting one row and purling the next row. This creates a smooth and uniform fabric with a distinct “V” pattern on the right side. The stockinette stitch is versatile and works well with various hat designs.
Ribbing: Ribbing is a popular stitch pattern for hat brims or cuffs. It is usually worked in a combination of knit and purl stitches to create stretchy and elastic fabric. Common ribbing patterns include 1×1 rib (alternating one knit stitch and one purl stitch) and 2×2 rib (alternating two knit stitches and two purl stitches).
Seed Stitch: The seed stitch is a textured stitch pattern that creates a bumpy and reversible fabric. It is achieved by alternating between one knit stitch and one purl stitch on each row. The seed stitch is great for adding interest and visual appeal to your hat.
These are just a few basic stitch patterns that you can use for knitting hats on straight needles. Experiment with different combinations and variations to create unique designs. Remember, practice makes perfect, so keep knitting and exploring new stitch patterns!
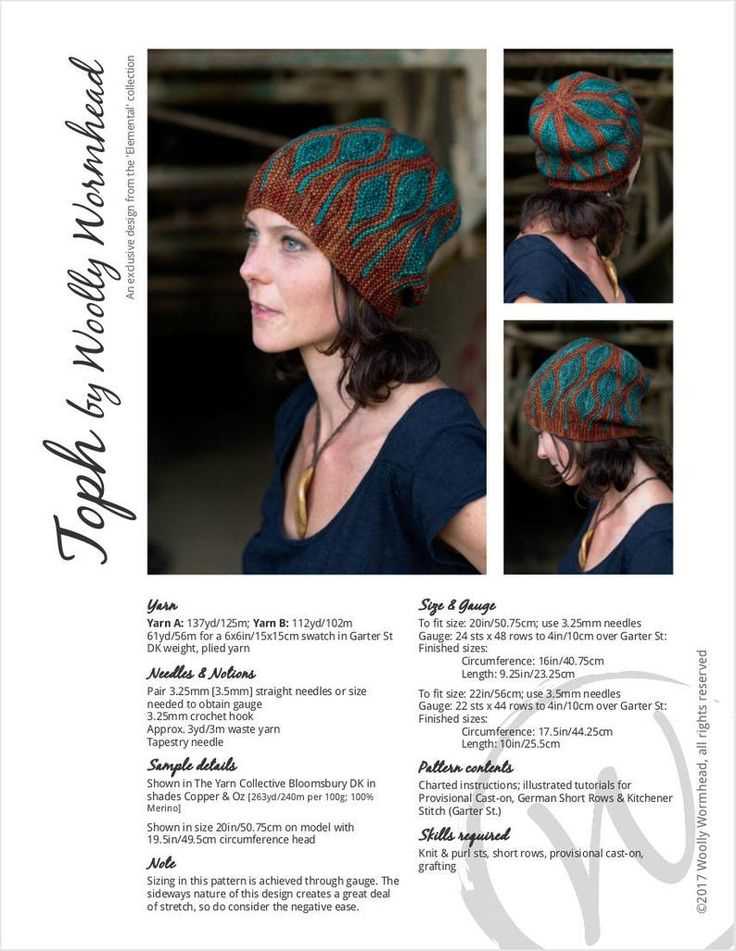
Adding Color and Patterns to Your Knitted Hats
Knitting hats using straight needles provides a great opportunity to experiment with different colors and patterns. By incorporating various colors and patterns, you can create unique and eye-catching hats that not only keep you warm but also showcase your personal style and creativity. Here are some ideas to help you add color and patterns to your knitted hats.
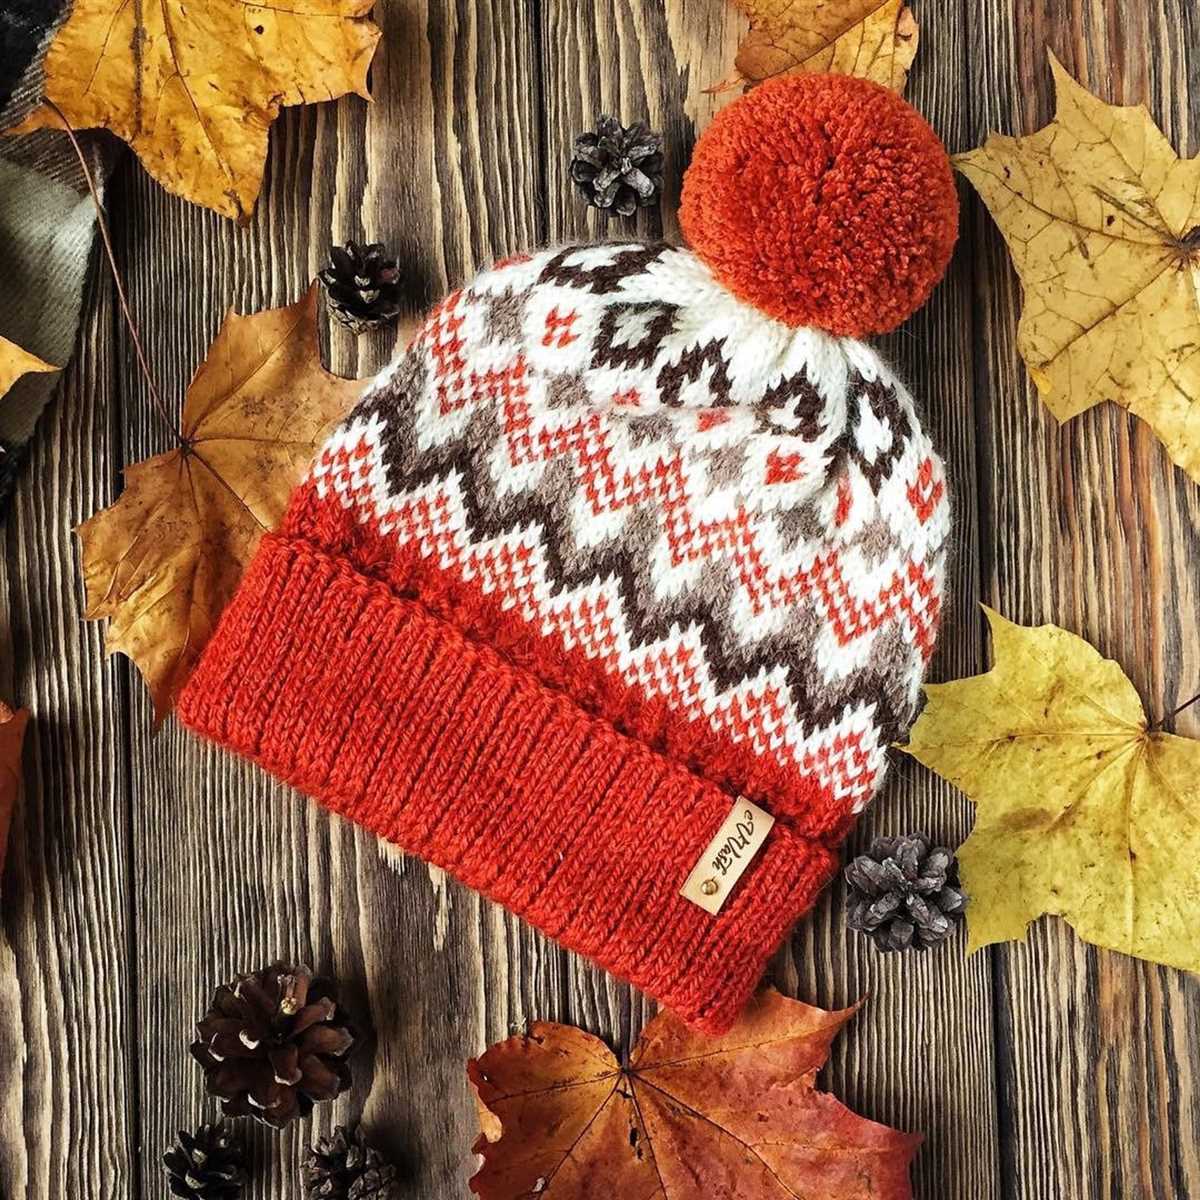
1. Stripes and Color Blocks
One simple way to add color to your knitted hats is by incorporating stripes or color blocks. You can choose contrasting or complementary colors to create bold and vibrant designs. Knitting stripes is fairly easy, as it involves changing yarn colors at the beginning of each row. Color blocks can be created by knitting with a different color for a certain number of rows before switching back to the main color.
2. Fair Isle and Intarsia
If you’re looking to add intricate patterns to your knitted hats, you can try techniques like Fair Isle and Intarsia. Fair Isle knitting involves knitting with multiple colors in a single row, creating beautiful motifs and patterns. Intarsia, on the other hand, involves using different colored yarns to create specific designs or images within your knitted fabric. Both techniques require some practice and attention to detail, but the results are well worth the effort.
3. Embroidery and Applique
An alternative way to add patterns to your knitted hats is through embroidery or applique. With embroidery, you can use different colored yarns or threads to create intricate designs on the surface of your knitted hat. Applique involves attaching pre-made fabric shapes or motifs onto your hat using stitching or fabric glue. These techniques allow for limitless possibilities in terms of adding personalized patterns and designs to your hats.
4. Buttons and Embellishments
In addition to using different colored yarns and techniques, you can also use buttons, beads, sequins, or other embellishments to add visual interest to your knitted hats. Sewing small buttons around the brim or attaching sequins to the body of the hat can instantly transform a simple design into a more unique and stylish piece. Just make sure to secure any embellishments properly to ensure that they don’t become loose or pose a choking hazard.
Conclusion:
With a little creativity and some basic knitting skills, you can easily add color and patterns to your knitted hats. Whether you choose to incorporate stripes, experiment with Fair Isle or Intarsia, add embroidery or applique, or use buttons and embellishments, the possibilities for creating personalized and eye-catching hats are endless. So don’t be afraid to get creative and have fun with your knitting projects!
Shaping the Crown of Your Knitted Hat
When it comes to knitting a hat, one of the most crucial steps is shaping the crown. This is the part of the hat that gives it its rounded shape and ensures a proper fit. There are several different methods for shaping the crown, but one of the most common techniques is decreasing the number of stitches as you work your way to the top of the hat.
To begin shaping the crown, you will need to decide how many stitches you want to decrease and how often you want to do the decreases. This will depend on the size of your hat and the stitch pattern you are using. A common method is to decrease in a regular pattern, such as every other row or every few stitches, until you have the desired number of stitches remaining.
One popular decrease method is the knit two together (k2tog) decrease. To do this, simply insert your right needle into the next two stitches on the left needle as if to knit, and then knit them together as one stitch. This will decrease the total number of stitches by one. Another common decrease method is the slip, slip, knit (ssk) decrease, which involves slipping two stitches knitwise, then transferring them back to the left needle, and finally knitting them together through the back loops.
If you prefer a more decorative crown, you can also experiment with different decrease patterns, such as centered double decreases or lace decreases. These can create interesting textures and shapes on the crown of your hat.
Remember to keep track of your decreases and adjust your stitch count as needed to maintain the correct pattern. Once you have completed the crown shaping, you can finish off your hat by gathering the remaining stitches and securing them tightly. This will give your hat a neat and tidy finish.
Overall, shaping the crown of your knitted hat is a crucial step in ensuring a proper fit and a finished look. Take the time to plan out your decreases and experiment with different patterns to create a hat that is both stylish and comfortable.
Finishing Techniques for Knitted Hats on Straight Needles
Knitting hats on straight needles can be a satisfying and rewarding project. However, once the knitting part is done, it’s important to know how to properly finish the hat to give it a polished and professional look. Here are some techniques to consider when finishing your knitted hat.
Seaming
Seaming is an essential step in finishing a knitted hat on straight needles. Once you have completed knitting all the necessary pieces of the hat, you will need to seam them together. One common method is the mattress stitch, which creates an invisible seam. To do this, line up the edges of the hat and use a tapestry needle to sew them together using a running stitch. This technique gives the hat a seamless appearance and ensures that the seam is not visible.
Blocking
Blocking is another important step in finishing a knitted hat on straight needles. This process helps to shape and even out the stitches, giving your hat a cleaner and more professional look. To block your hat, gently wet it with water and lay it flat on a towel. Use pins to stretch and shape the hat to the desired size and shape. Allow it to dry completely before removing the pins. Blocking can make a big difference in the final appearance of your knitted hat.
Finishing Touches
After seaming and blocking, you can add some finishing touches to enhance the overall look of your knitted hat. This can include adding a pom-pom to the top, attaching a decorative button or brooch, or even adding some embroidery or appliqué. These small details can really make your hat stand out and give it a personalized touch. Be creative and experiment with different embellishments to find the perfect finishing touch for your knitted hat on straight needles.
By following these finishing techniques, you can ensure that your knitted hat on straight needles looks polished, professional, and ready to wear. Take the time to seam your hat carefully, block it to shape, and add any desired finishing touches. With these steps, you’ll have a beautiful and unique hat that you can be proud of.
Tips and Tricks for Successful Hat Knitting
Knitting hats can be a fun and rewarding project, especially when using straight needles. Here are some tips and tricks to help you achieve success:
-
Choose the right yarn: Selecting the right yarn is crucial for hat knitting. Opt for a soft and warm yarn that is suitable for the hat pattern you are using. Consider the recommended gauge and weight of the yarn to ensure the best results.
-
Proper gauge: Pay attention to the gauge specified in the hat pattern, as it determines the size and fit of the finished hat. Swatch and adjust your tension accordingly to achieve the desired gauge and fit.
-
Use stitch markers: When knitting in the round, it can be helpful to place stitch markers between pattern repeats or at key points in the pattern. This will help you keep track of your progress and avoid mistakes.
-
Master the decreases: Hat patterns often include decreases to shape the crown. Take the time to familiarize yourself with the decrease stitches used in the pattern and practice them before starting. This will ensure clean and even decreases.
-
Blocking: Blocking your hat after knitting can improve the finished look and shape of the hat. Follow the recommended blocking instructions for your yarn and pattern to achieve the best results.
-
Get creative: While hat patterns provide a great starting point, don’t be afraid to get creative and add your own personal touch. Experiment with different stitch patterns, colorwork, or embellishments to make your hat truly unique.
With these tips and tricks in mind, you’ll be well on your way to successfully knitting hats using straight needles. Remember to have fun and enjoy the process of creating beautiful and functional accessories!