
If you’re looking for a cozy and stylish accessory to keep you warm during the colder months, look no further than a knitted wool hat. Not only will it keep your head and ears warm, but it will also add a touch of personality to your winter wardrobe. Whether you’re a seasoned knitter or a beginner, this hat pattern is perfect for anyone looking to create their own unique hat.
Knitting your own hat allows you to choose the yarn, color, and design that best suits your style. The versatility of a knitted wool hat means you can create a simple, classic design or experiment with more intricate patterns and textures. Plus, a knitted hat makes for a great handmade gift for loved ones.
This knitted wool hat pattern is suitable for knitters of all skill levels and can be easily customized to fit anyone’s head. The pattern includes step-by-step instructions, as well as helpful tips and tricks to ensure your hat turns out just right. So grab your knitting needles and let’s get started on creating a warm and fashionable accessory that will keep you cozy all winter long!
Knitted Wool Hat Pattern
Are you looking for a cozy and stylish hat to keep you warm during the winter months? Look no further! This knitted wool hat pattern is perfect for beginners and experienced knitters alike.
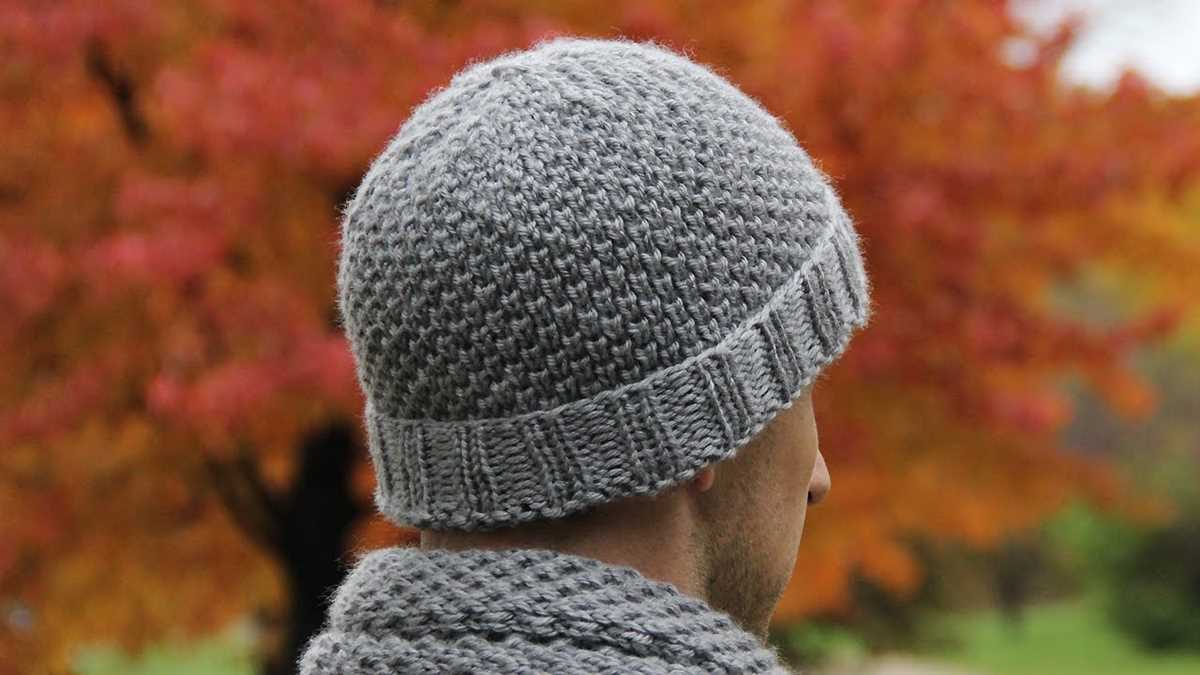
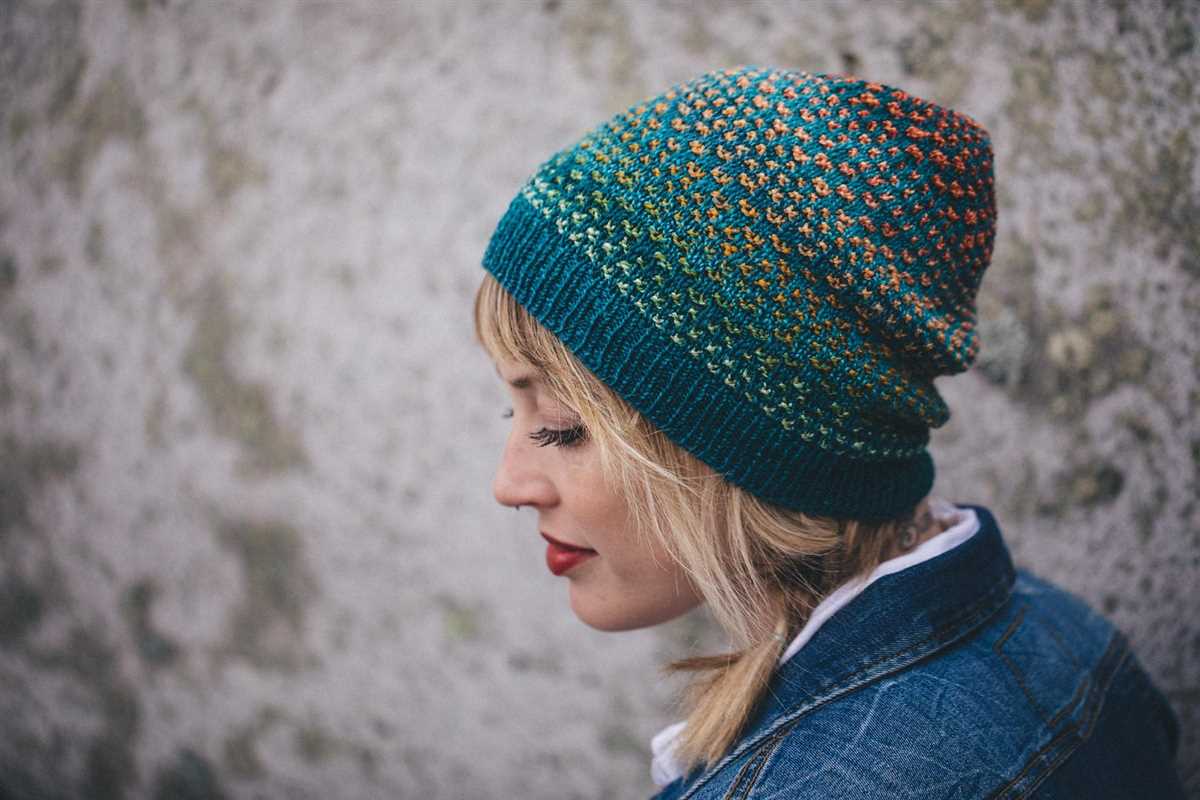
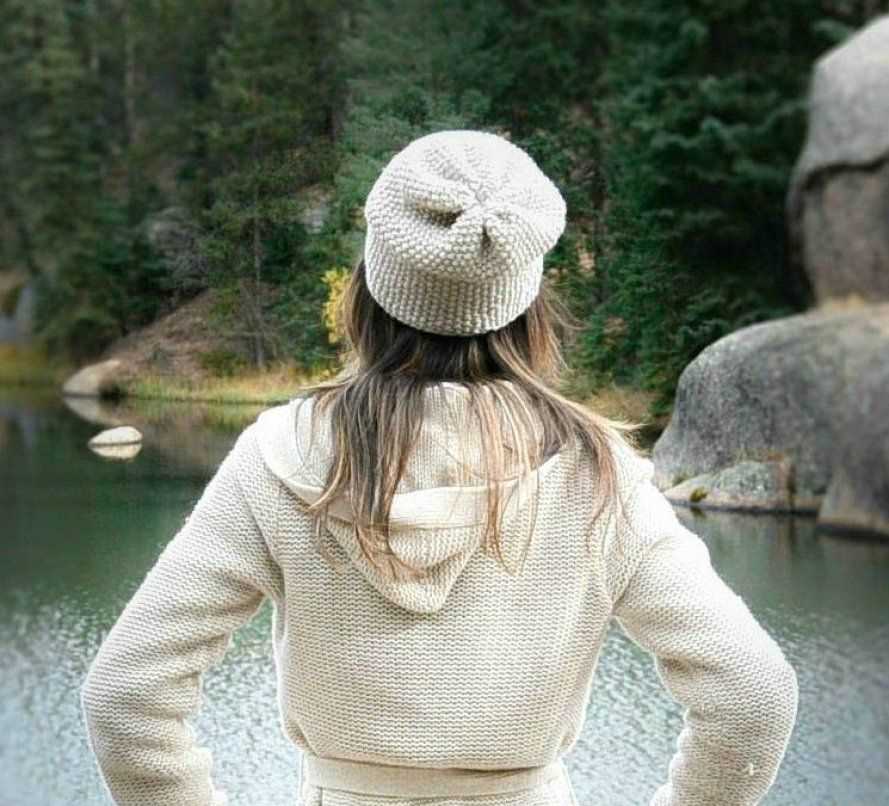
The pattern calls for a soft and warm wool yarn, making it ideal for those chilly days. The hat features a ribbed brim for a snug fit and a simple stockinette stitch for the body, giving it a classic and timeless look.
To get started, you will need the following materials:
- Wool yarn, in your preferred color
- Size US 8 (5mm) knitting needles
- A tapestry needle
Here is the step-by-step guide to knitting your own wool hat:
- Start by casting on 96 stitches using the long-tail cast-on method.
- Work in a K2, P2 rib pattern for the brim of the hat, repeating the pattern until the brim measures 2 inches.
- Switch to the stockinette stitch and continue knitting in the round until the hat measures approximately 8 inches from the cast-on edge.
- Decrease the stitches gradually by knitting two stitches together every eight stitches until you have 48 stitches remaining.
- Continue decreasing in this manner every other round until you have 12 stitches left.
- Cut the yarn, leaving a long tail. Thread the tail through the tapestry needle and pull it through the remaining stitches, removing them from the knitting needles.
- Secure the tail by weaving it through the stitches and trim any excess yarn.
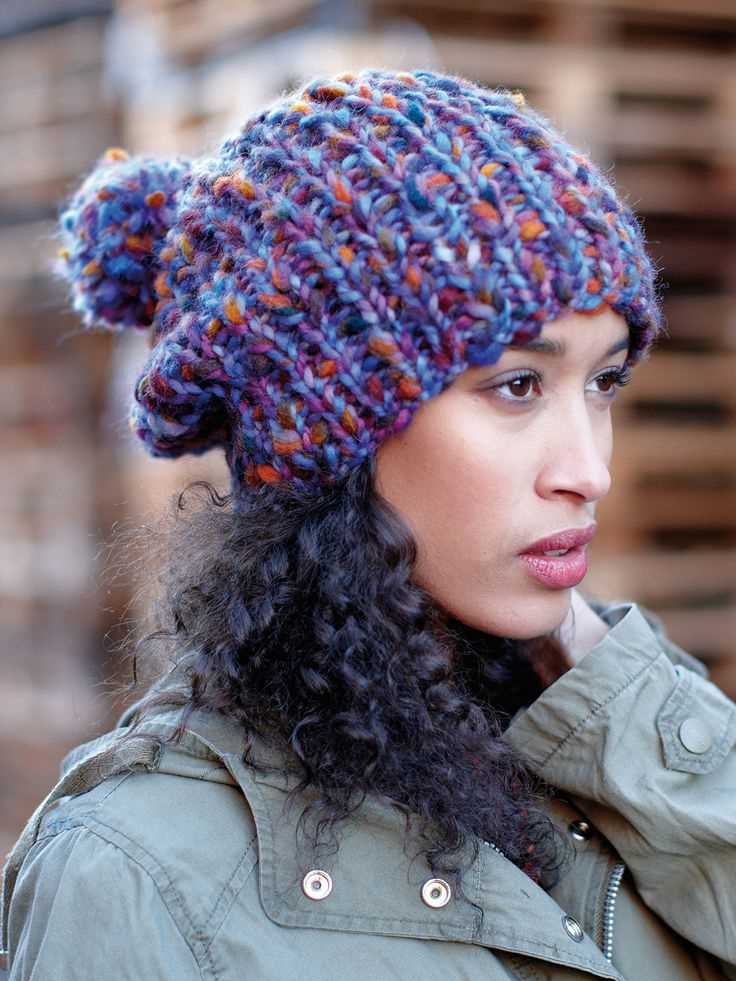
And voila! You have successfully knitted your own cozy and stylish wool hat. This pattern can be easily customized by changing the yarn color, adding a pom-pom, or incorporating a different stitch pattern.
Now you can stay warm and fashionable all winter long with your handmade knitted wool hat!
Materials Needed

In order to create a knitted wool hat, you will need several materials to get started. These materials include:
- Knitting Needles: You will need a pair of knitting needles, usually size 7 or 8, to create your hat.
- Wool Yarn: Choose a soft and warm wool yarn in the color of your choice. Make sure you have enough yarn to complete the hat.
- Tapestry Needle: A tapestry needle will be used to weave in ends and sew up any seams on your hat.
- Stitch Markers: Stitch markers are helpful for keeping track of your stitches and can be used to mark the beginning of each round.
- Measuring Tape: A measuring tape will be useful for checking your gauge and ensuring the hat will fit properly.
- Scissors: Keep a pair of scissors handy for cutting the yarn and trimming any excess.
These materials are essential for creating a knitted wool hat. With these tools in hand, you’ll be ready to start knitting and create a cozy hat to keep you warm during the colder months!
Casting On
When starting a knitting project, one of the first steps is to cast on. Casting on is the process of creating the first row of stitches on your knitting needle. This sets the foundation for your project and determines how many stitches you’ll have to work with. There are several different methods for casting on, but I’ll outline a simple method here.
Long Tail Cast On

The long tail cast on is a popular method because it creates a neat and sturdy edge. To begin, you’ll need to estimate the amount of yarn you’ll need for your cast on stitches. Measure out a length of yarn that is roughly three times the width of your finished project. Make a slip knot at the end of the yarn, leaving a long tail that is about as long as the width of your finished project.
Hold the knitting needle in your right hand and the slip knot in your left hand. Insert the needle into the slip knot, creating a loop around the needle. Bring the yarn over the needle from back to front, and then under the needle, creating a second loop. Insert the tip of the needle into the first loop, going from front to back, and bring the second loop through the first loop, creating a new loop on the needle. Continue this process until you have the desired number of stitches on your needle.
Once you’ve completed your cast on stitches, you’re ready to start knitting! This initial row of stitches will provide the foundation for your project, and you can begin following your chosen knitting pattern from here.
Knitting the Ribbing
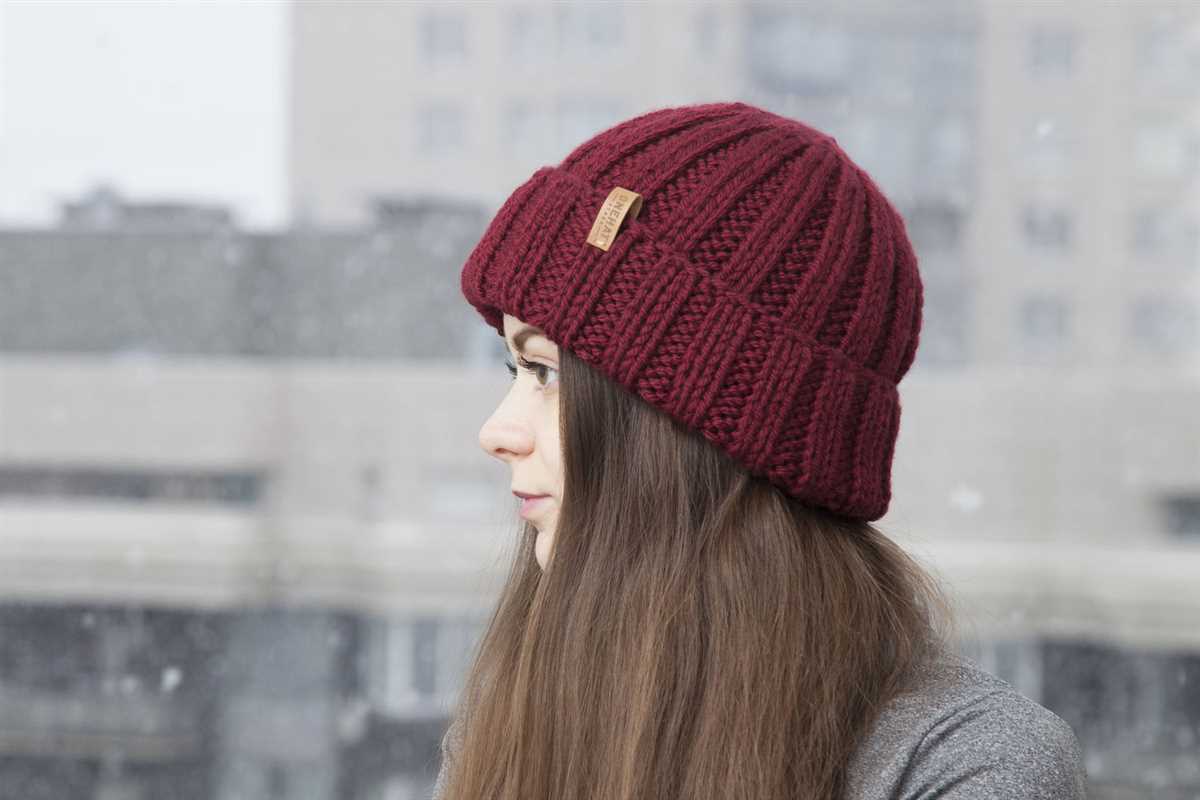
When knitting a hat, the ribbing is an important part of the pattern. It creates the stretchy band that fits snugly around the head and helps keep the hat in place. The ribbing is typically worked in a different stitch pattern than the main body of the hat, often a variation of knit and purl stitches.
To start knitting the ribbing, the first step is to cast on the required number of stitches using the desired method. The most common method for ribbing is the long-tail cast on, as it creates an elastic edge that matches the stretchiness of the ribbing. Once the stitches are cast on, they are divided onto double-pointed needles or a circular needle, depending on the preference of the knitter.
The ribbing is usually worked in a 1×1, 2×2, or 3×3 rib stitch pattern. In a 1×1 rib, one knit stitch is followed by one purl stitch, creating a neat and uniform ribbed fabric. In a 2×2 rib, two knit stitches are followed by two purl stitches, creating a wider ribbed texture. The same applies to a 3×3 rib pattern, where three knit stitches are followed by three purl stitches.
When knitting the ribbing, it is important to maintain an even tension throughout to ensure the band is not too tight or too loose. A tighter tension will create a more snug band, while a looser tension will result in a looser and less secure fit. The length of the ribbing is usually specified in the pattern, but it is typically between one to two inches.
Once the ribbing is complete, the pattern will instruct you on how to transition to the main body of the hat, which may involve changing stitch patterns, needle sizes, or adding increases or decreases. Following the specific instructions of the pattern will help ensure a successful and well-fitting knitted wool hat.
Body of the Hat
The body of the hat is where the majority of the knitting takes place. This is the area that will cover your head and keep it warm. To start, you will continue knitting in the round with the same stitch pattern that you used for the ribbing. This will give the hat a consistent look.
Depending on the pattern you are using, the body of the hat may involve different stitches or color changes. Some patterns may include complex cable or lace patterns, while others may be a simple stockinette stitch. Follow the instructions provided in your pattern to ensure you create the correct design.
If you are creating your own pattern, this is where you can get creative with your design. You can experiment with different stitch patterns, color changes, or even add embellishments like pom poms or buttons. This is your chance to make the hat unique and reflect your personal style.
As you continue knitting the body of the hat, make sure to periodically try it on to ensure it is the desired length. The length will depend on the style of hat you are making and the size of your head. Some hats may be slouchy and sit lower on the back of the head, while others may be more fitted and sit higher. Adjust the length accordingly.
Once the body of the hat is the desired length, you can proceed to the next step, which may involve decreasing stitches to shape the crown of the hat. Follow the pattern instructions or create your own shaping technique to achieve the desired fit.
Shaping the Crown
One of the key elements in knitting a hat is shaping the crown. This is where you decrease stitches to create the rounded top of the hat. The crown shaping is typically done in a series of rounds, gradually reducing the number of stitches as you go.
To start shaping the crown, you will first need to determine the number of stitches you want to decrease in each round. This will depend on the stitch pattern you are using and the desired fit of the hat. Common crown shaping methods include knitting two stitches together (k2tog) or slipping one stitch knitwise, knitting the next stitch, and then passing the slipped stitch over (ssk).
In a basic crown shaping pattern, you might start by knitting a round without any decreases to maintain the overall shape of the hat. Then, in the next round, you would work the specified number of decrease stitches evenly spaced throughout the round. Repeat this decrease round every few rounds until you have reached the desired number of stitches for the crown.
It’s important to keep track of your stitch count as you work the crown shaping. You can write down the number of stitches at the beginning of each round to make it easier to keep track.
Once you have completed the crown shaping, you can finish off the hat by cutting the yarn, leaving a long tail for seaming, and pulling it through the last stitch to secure it. You can then weave in any loose ends and block the hat to help it maintain its shape.
Shaping the crown is a critical step in knitting a hat, as it determines the overall fit and appearance of the finished product. By following a basic crown shaping pattern and keeping track of your stitch count, you can create a beautifully rounded crown for your knitted wool hat.
Finishing the Crown
Once you have completed the body of the hat, it’s time to finish off the crown. This is the top part of the hat that will sit on the wearer’s head. There are several techniques you can use to finish off the crown, depending on the look you want to achieve.
1. Decreasing stitches: One common method is to decrease the number of stitches as you work towards the top of the hat. This creates a tapered effect, giving the hat a rounded crown. You can use techniques such as knit 2 together (k2tog) or slip, slip, knit (ssk) to decrease the stitches evenly across each round.
2. Gathered top: Another option is to gather the remaining stitches together to create a gathered top. This can be done by threading a yarn needle with the yarn tail and weaving it through the remaining stitches. Once the stitches are secure, pull the yarn tight to gather the fabric and create a tassel-like effect.
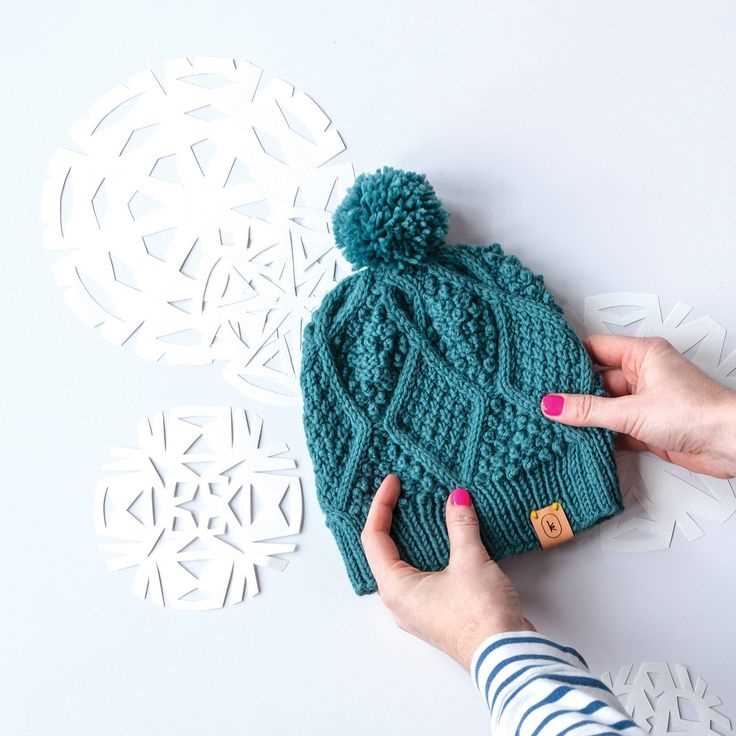
3. Pom-pom: If you want to add a fun and playful touch to your hat, you can attach a pom-pom to the crown. Pom-poms can be made using a pom-pom maker or by hand using cardboard circles. Simply attach the pom-pom to the top of the hat using a yarn needle and secure it tightly.
Experiment with different finishing techniques to find the one that suits your style and complements the design of the hat. Remember to weave in any loose ends and give the hat a final block to ensure it holds its shape. With these finishing touches, your knitted wool hat will be ready to keep you warm and stylish during the colder months!
Creating a Pom Pom (Optional)
Adding a pom pom to your knitted wool hat can be a fun and playful way to finish off your project. Here are some steps you can follow to create your own pom pom:
- Gather your materials: You will need a piece of cardboard or pom pom maker, a pair of scissors, and the same yarn you used to knit your hat.
- Create the pom pom base: Cut two cardboard circles or use a pom pom maker of your desired size. The size of the circles will determine the size of your pom pom.
- Wrap the yarn around the base: Take the yarn and start wrapping it around the cardboard circles, making sure to wrap it tightly. The more yarn you use, the fuller your pom pom will be.
- Tie the pom pom: Once you have finished wrapping the yarn, cut a separate piece of yarn and thread it through the center of the cardboard circles. Tie it tightly, making sure to secure all the yarn in place.
- Trim the pom pom: Carefully remove the cardboard circles and trim any uneven or excess yarn to create a neat and even pom pom shape.
- Attach the pom pom to your hat: Using the same yarn you used to knit the hat, thread it through the top of the hat and through the center of the pom pom. Tie a double knot to secure the pom pom in place.
With these simple steps, you can easily create your own pom pom to add a touch of style and playfulness to your knitted wool hat.
Blocking the Hat
Blocking is an essential step in the knitting process to ensure that your finished hat looks its best. It involves carefully shaping and stretching the knitted fabric to the correct size and shape. The blocking process helps to even out stitches, open up lace patterns, and give the hat a more professional and polished appearance.
Before you begin blocking, make sure you have the necessary supplies:
- Blocking mats or towels
- Pins (rustproof pins are best)
- Spray bottle filled with water
- Measuring tape
Here’s how to block your knitted hat:
- Start by soaking your hat in lukewarm water. Gently squeeze out any excess water, but avoid wringing or twisting the fabric, as this can cause it to lose its shape.
- Lay out your blocking mats or towels on a flat surface. Place your damp hat on top and gently stretch it to the desired size. Use your measuring tape to make sure it is evenly shaped.
- Pin the edges of the hat to the blocking mats or towels, being careful to maintain the correct shape. You can also use pins to open up any lace patterns or to define the ribbed brim of the hat.
- Mist the hat with water using the spray bottle. This will help the fibers relax and set into their new shape.
- Allow the hat to dry completely before unpinning it. This may take a day or two, depending on the thickness of the fabric and the humidity in the air.
Remember to always follow the specific blocking instructions for the yarn you are using, as different yarn fibers and blends may require different techniques.
By blocking your hat, you are taking the time to give it the care and attention it deserves. Your efforts will result in a beautifully shaped and finished accessory that you can be proud to wear or give as a gift.
Adding a Hat Band (Optional)
Once you have finished knitting the body of the hat, you may choose to add a hat band for extra style and functionality. A hat band can help secure the hat in place and prevent it from slipping off your head. It can also add a decorative touch to your finished hat, allowing you to personalize it and make it unique.
To add a hat band, you will need a contrasting color of yarn or a different texture yarn to create a visually appealing contrast. You can choose to knit the band in a ribbed pattern, which will give it a stretchy and comfortable fit. Alternatively, you can opt for a simple garter stitch or a seed stitch pattern for a more textured look.
Start by measuring the circumference of the hat using a tape measure or a piece of yarn. This will help you determine the length of your hat band. Once you have the measurements, cast on the required number of stitches and join them in the round. Knit the hat band in your chosen pattern for the desired length, keeping in mind the stretchiness of the ribbed pattern.
When you have reached the desired length, bind off the stitches and weave in any loose ends. You can then sew the hat band onto the body of the hat using a yarn needle and the same color yarn. Make sure to align the edges of the hat band with the lower edge of the hat for a neat finish.
By adding a hat band, you can elevate the look of your knitted wool hat and make it more versatile. Whether you choose a subtle and matching color or a bold and contrasting one, the hat band will give your hat a finished and polished appearance. Have fun experimenting with different patterns and colors to create a hat that reflects your personal style!
Customizing the Hat
When it comes to knitting a wool hat, one of the best parts is the ability to customize it to your own personal style. From choosing the color and yarn type to adding unique embellishments, there are countless ways to make your hat truly one-of-a-kind.
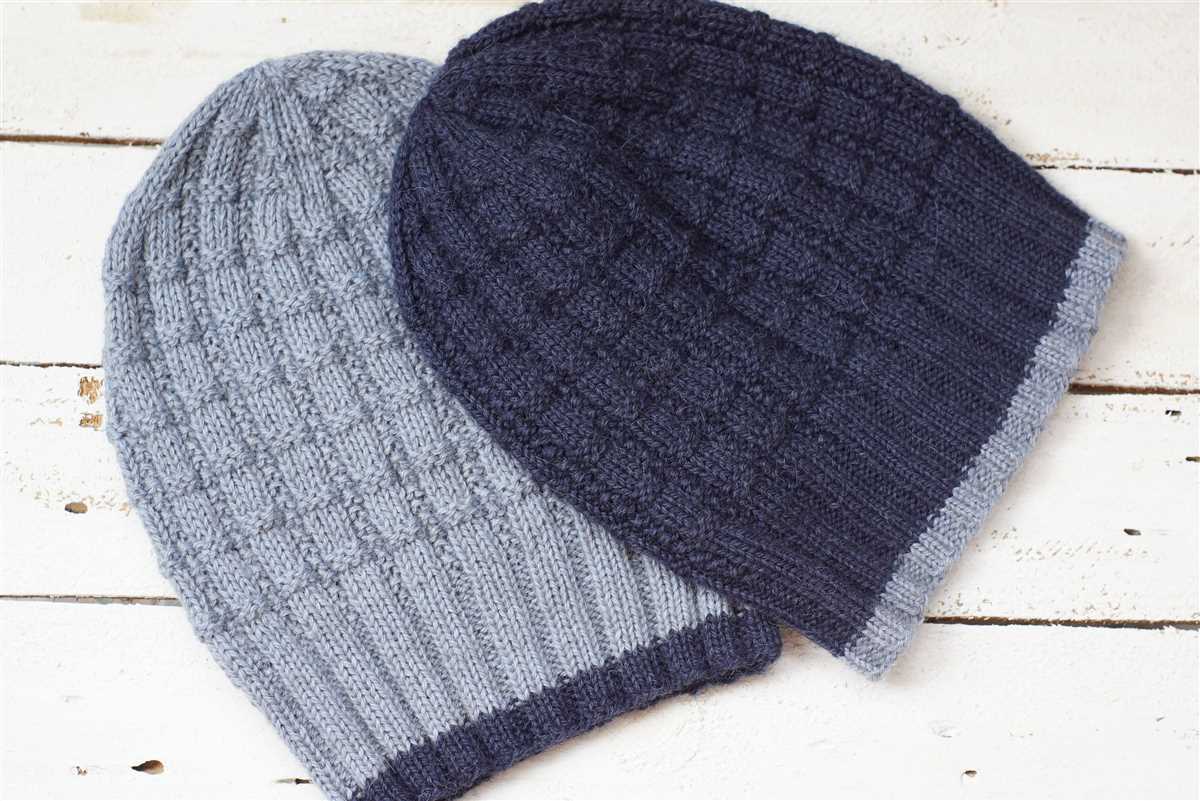
Color Choice: The first step in customizing your hat is selecting the color. Whether you prefer a bold and vibrant hue or a subtle and neutral tone, the choice is completely up to you. Consider your own personal style, as well as the intended recipient if you are knitting the hat as a gift. Remember, a bright pop of color can add a fun and playful touch to any winter outfit, while a classic shade like black or gray can easily match with anything in your wardrobe.
Yarn Type: Another important consideration is the type of yarn you will use for your hat. Different yarns have different properties, such as thickness, softness, and warmth. For a cozy winter hat, opt for a chunky wool yarn that will keep you nice and toasty in colder temperatures. Alternatively, if you prefer a lighter-weight hat, choose a finer yarn that will provide a more delicate and airy texture.
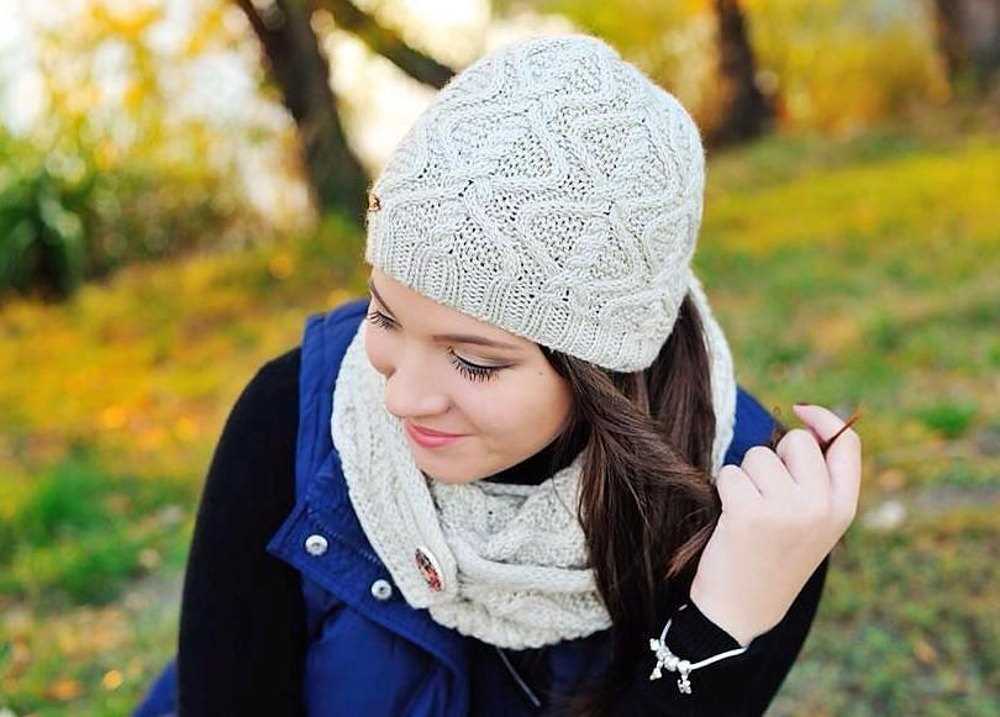
Embellishments: To truly make your hat unique, consider adding some embellishments. You can use contrasting yarn to create stripes or patterns, or even incorporate different knitting techniques like cables or lace for added texture. Additionally, you can sew on buttons, beads, or patches to give your hat a more personalized touch. Just make sure to secure any sewn-on items tightly to ensure they stay in place while wearing the hat.
Examples:
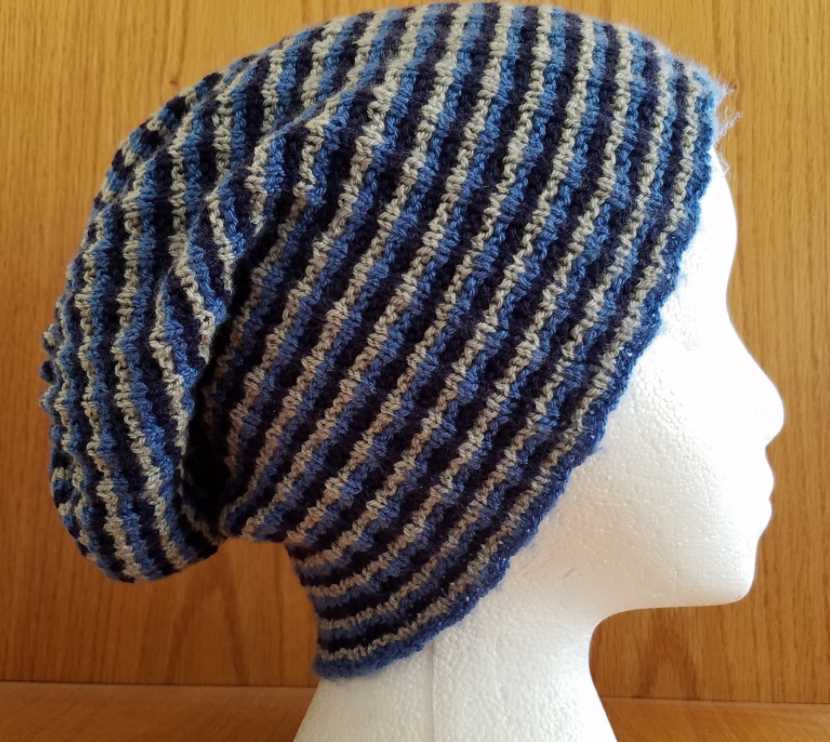
- Create a hat with a gradient effect by using different shades of the same color yarn.
- Add a pom-pom to the top of your hat for a playful and whimsical touch.
- Incorporate a cable pattern for added visual interest.
- Sew on a patch with a favorite logo or design to personalize the hat.
- Experiment with different stitches and textures to create a unique pattern.
Remember, the beauty of knitting is that you have complete control over the final product. So don’t be afraid to get creative and make your wool hat truly your own.
Troubleshooting Tips
When knitting a wool hat, it’s common to encounter certain issues that can affect the final result. Here are a few troubleshooting tips to help you overcome any problems you may face:
1. Gauge issues
One of the most common problems when knitting a hat is achieving the correct gauge. If your hat turns out too small or too large, it may be due to an incorrect gauge. Make sure to check your gauge before starting the project and adjust your needle size if needed. You can also try using a different yarn weight to achieve the desired size.
2. Uneven stitches
If you notice that your stitches are uneven or loose in certain areas of the hat, try adjusting your tension. A tight tension can cause the stitches to be too tight and difficult to work with, while a loose tension can result in loose and sloppy stitches. Experiment with different tension levels until you achieve consistent and even stitches throughout the entire hat.
3. Twisted or dropped stitches
Twisted or dropped stitches can be frustrating, but they can be fixed with a little patience. If you notice a twisted stitch, simply unravel the stitch and fix it by carefully inserting your needle through the loop in the correct orientation. To fix a dropped stitch, use a crochet hook or a spare knitting needle to pick up the dropped stitch and work it back up to the previous row.
4. Uneven shaping
When shaping the crown of the hat, it’s important to maintain an even decrease or increase pattern. If your shaping appears uneven, double check your stitch count and make sure you are following the pattern instructions correctly. Counting your stitches after each shaping round can help ensure that the hat is symmetrical and well-shaped.
By keeping these troubleshooting tips in mind, you can confidently tackle any issues that may arise while knitting your wool hat. Remember to practice and be patient, as knitting is a skill that improves with time and experience.
Final Thoughts
Knitting your own wool hat can be a fulfilling and enjoyable experience. Not only do you get to personalize your hat with your choice of colors and patterns, but you also get to create something that is both functional and aesthetically pleasing.
With the pattern provided above, you have a guide to help you create a knitted wool hat that will keep you warm and stylish. Remember to choose a yarn that is soft and warm, and to follow the pattern closely to ensure a well-fitted result.
In addition to the basic pattern, feel free to experiment with different stitches, add embellishments such as pom poms or buttons, or even create your own unique design. Knitting allows for endless creativity, so don’t be afraid to let your imagination run wild.
Key Takeaways
- Knitting your own wool hat allows for personalization and creativity.
- Choose a soft and warm yarn for a comfortable hat.
- Follow the pattern closely to ensure a well-fitted result.
- Experiment with different stitches and embellishments for a unique design.
Whether you’re a beginner or an experienced knitter, creating your own knitted wool hat is a rewarding project that can result in a practical and fashionable accessory. So grab your needles and yarn, and start knitting!