
Looking for a fun and practical knitting project? Why not try making a knitted soap saver? These handy little items are great for holding bars of soap and help to extend their life by preventing them from becoming soggy or melting away too quickly. Plus, they make for a great gift idea!
If you’re new to knitting, don’t worry – this pattern is beginner-friendly and easy to follow. All you need is some basic knitting skills and a few supplies, and you’ll be whipping up your first soap saver in no time. You can use any type of yarn you like, but it’s best to go for something durable, like cotton or linen, as these materials are great for absorbing water and drying quickly.
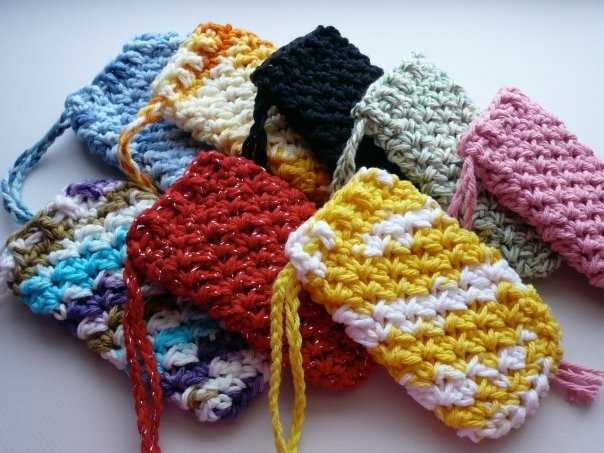
Not only will a knitted soap saver help to keep your soap dry and intact, but it also adds a touch of charm and personality to your bathroom decor. With so many different colors and stitch patterns to choose from, you can create a unique soap saver that reflects your own style and taste.
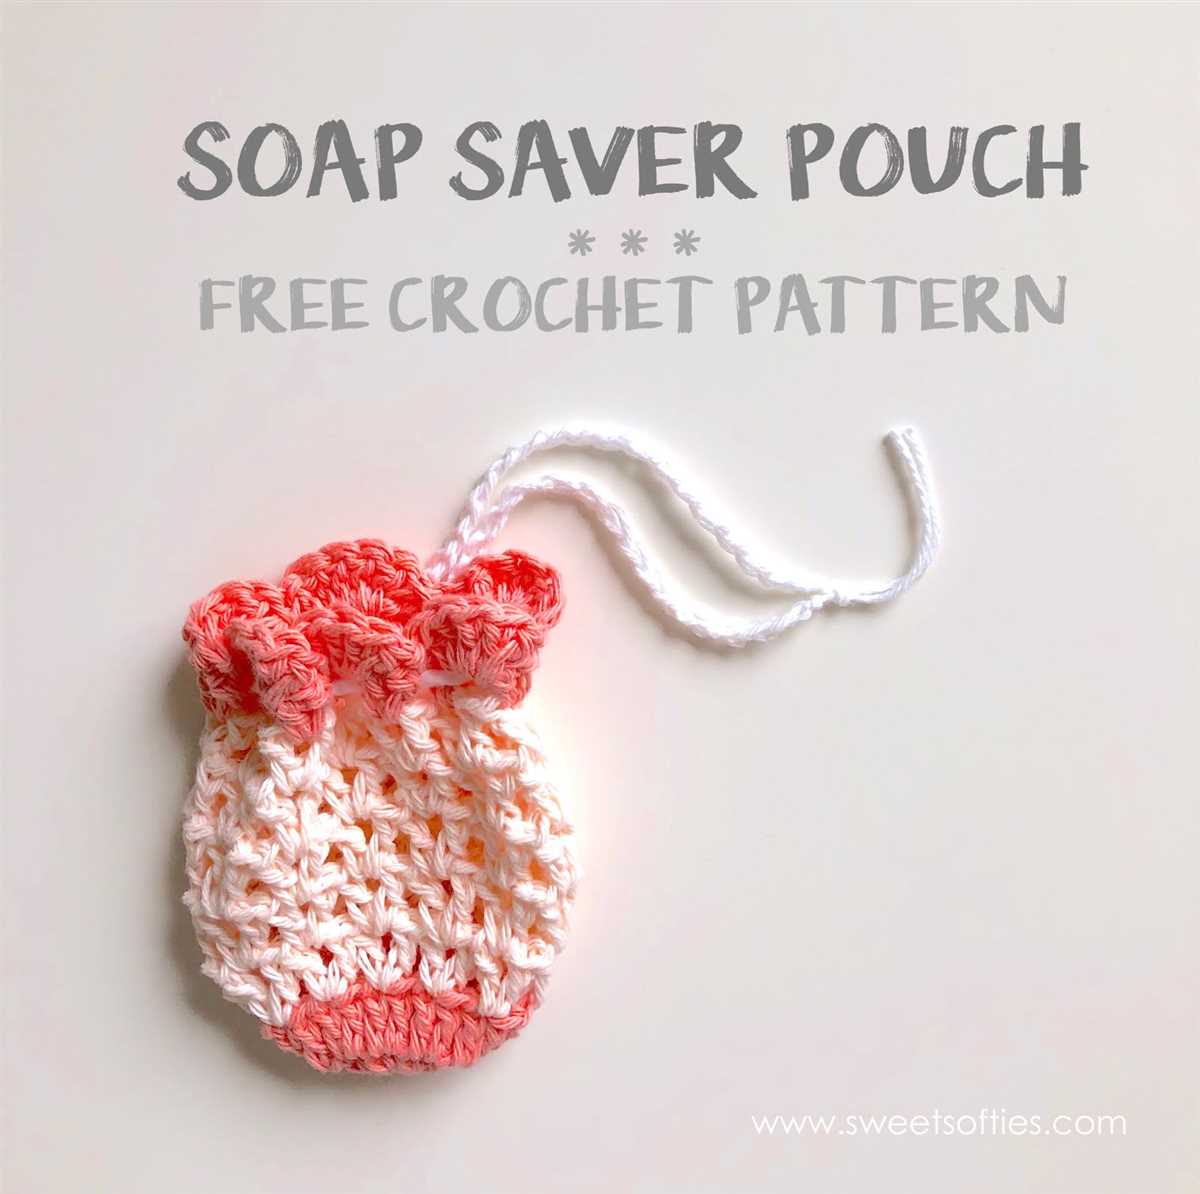
So why not give knitting a try and create a practical and beautiful soap saver? Follow our free pattern below to get started!
Knitted Soap Saver Free Pattern
If you love to knit and are looking for a fun and practical project, then this Knitted Soap Saver Free Pattern is perfect for you! This pattern allows you to create a small knitted pouch that is designed to hold and extend the life of your soap.
This pattern is great for beginners and can be completed using basic knitting stitches. It is a quick and easy project that can be finished in just a few hours. The pattern is also customizable, allowing you to adjust the size to fit your preferred bar of soap.
Materials required:
- Medium weight yarn
- Size 6 knitting needles
- Tapestry needle for weaving in ends
Instructions:
- Cast on 20 stitches.
- Knit every row until the length of the pouch reaches your desired size.
- Bind off all stitches.
- Using the tapestry needle, sew the sides of the pouch together, leaving a small opening at the top for the soap.
- Insert your soap into the pouch and pull the drawstring tight to secure it.
This Knitted Soap Saver Free Pattern is not only a practical and eco-friendly solution for extending the life of your soap, but it also makes a great gift for friends and family. You can easily customize the pattern with different colors and yarn types to create a unique and personalized soap saver. Happy knitting!
Why Use a Soap Saver?
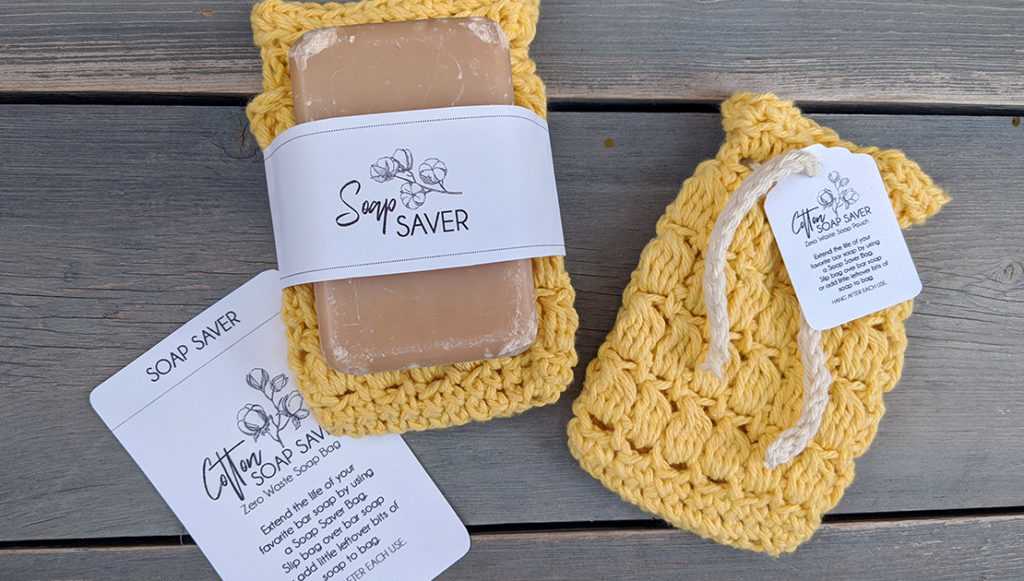
A soap saver is a simple but effective tool for extending the life of your soap. Instead of letting it sit in a puddle of water or soap dish, a soap saver allows your soap to dry faster and more evenly, preventing it from becoming mushy and wasting away.
Using a soap saver also helps to reduce waste. By preventing your soap from dissolving too quickly, you can make it last longer, saving money and reducing the amount of soap you need to buy.
Not only does a soap saver benefit your wallet and the environment, but it also offers some practical advantages. The textured fabric of a soap saver provides gentle exfoliation, helping to remove dead skin cells and leaving your skin feeling smoother and rejuvenated.
Additionally, a soap saver makes it easier to grip and handle your soap, especially when it becomes smaller and more slippery. This can be particularly helpful for people with limited mobility or grip strength.
Overall, using a soap saver is a simple yet effective way to prolong the life of your soap, reduce waste, and enhance your bathing experience. Plus, with the availability of free knitting patterns, you can even customize your soap saver to match your bathroom decor or personal style.
Materials Needed
In order to create a knitted soap saver, you will need a few materials to get started. Here is a list of what you will need:
- Yarn: Any type of yarn can be used for this project, but it is recommended to use a medium weight yarn to create a sturdy soap saver.
- Knitting Needles: A pair of size 6 knitting needles is ideal for this project.
- Tapestry Needle: This will be used to weave in the ends of the yarn and sew the soap saver together.
- Scissors: A pair of scissors will be needed to cut the yarn.
- Soap: You will need a bar of soap to place inside the soap saver once it is completed.
Once you have gathered all of these materials, you will be ready to start knitting your soap saver. Make sure to choose a yarn color and texture that you love, as the soap saver will add a decorative touch to your bathroom or kitchen sink.
Choosing the Right Yarn
When it comes to knitting soap savers, choosing the right yarn is key. The yarn you select will determine the durability, texture, and overall functionality of your soap saver. Here are some factors to consider when choosing the perfect yarn for your project.
Fiber Content
The first thing to consider is the fiber content of the yarn. Different fibers have different properties, so it’s important to choose one that suits your needs. Natural fibers like cotton, bamboo, and hemp are popular choices for soap savers as they are strong, absorbent, and environmentally friendly. Synthetic fibers like acrylic and nylon can also be used, especially if you’re looking for a yarn that is more durable and has stretch.
Texture
The texture of the yarn will affect the exfoliating properties of your soap saver. If you’re looking for a more gentle exfoliation, choose a yarn with a smoother texture. Yarns with a higher twist or a nubby texture will provide a more intense exfoliation. Consider the comfort level of the yarn against the skin and the desired level of exfoliation when making your decision.
Weight
The weight of the yarn, often indicated by a number such as worsted, sport, or bulky, will determine the thickness and density of your soap saver. Heavier weight yarns will create a thicker and more durable soap saver, while lighter weight yarns will produce a more delicate and lightweight result. Consider the level of durability you desire and the intended use of the soap saver when choosing the yarn weight.
Washing Instructions
Finally, consider the washing instructions for the yarn. Soap savers come into contact with water and soap regularly, so it’s important to select a yarn that can withstand frequent washing. Some yarns may require special care, such as hand washing or laying flat to dry, while others may be more machine washable. Make sure to choose a yarn that aligns with your desired maintenance routine.
- Consider the fiber content, texture, weight, and washing instructions when choosing the yarn for your soap saver.
- Natural fibers like cotton, bamboo, and hemp are popular choices for their strength and absorbency.
- Synthetic fibers like acrylic and nylon can be more durable and stretchy.
- Choose a yarn with the desired texture for the level of exfoliation you desire.
- The weight of the yarn will determine the thickness and density of your soap saver.
- Consider the level of durability and intended use when selecting the yarn weight.
- Make sure to choose a yarn that can withstand frequent washing and aligns with your desired maintenance routine.
Getting Started
Welcome to the world of knitting! If you’re new to knitting or looking for a quick and easy project, a knitted soap saver is a great place to start. This free pattern will guide you through the process of making a simple yet functional soap holder that will help extend the life of your soap.
Before you begin, gather all the necessary materials. You’ll need a pair of knitting needles, preferably size US 6 or 7, and about 50 yards of worsted weight cotton yarn. You can choose any color you like, but lighter colors tend to show off the texture of the stitches better.
Materials:
- Size US 6 or 7 knitting needles
- About 50 yards of worsted weight cotton yarn
Once you have your materials ready, it’s time to cast on. Using the long tail cast on method, cast on 24 stitches. This will be the width of your soap saver. If you want a larger or smaller soap saver, you can adjust the number of stitches accordingly.
Next, you will start knitting in a simple garter stitch pattern. This means knitting every stitch on every row. Knit every row until your work measures about 4 inches in length.
To finish off your soap saver, bind off all stitches. Cut the yarn, leaving a long tail for sewing up the seams. Fold your knitted rectangle in half with the right sides facing in and use the tail yarn to sew up the side seams. Leave the top open for inserting the soap.
And there you have it! Your knitted soap saver is complete and ready to use. Slip a bar of soap into the pocket, wet it, and enjoy the lather while the knitted texture gently exfoliates your skin. Happy knitting!
Casting On
Casting on is the first step in knitting and is essential to creating your knitted soap saver. There are several different methods you can use to cast on, but the most common method is the long-tail cast on.
To begin the long-tail cast on, you will first need to measure out a length of yarn. The general rule of thumb is to measure about 3 times the width of the finished piece you are knitting. This will give you enough yarn to create the foundation row and have some extra for weaving in the ends later.
Step 1:
- Make a slip knot at the end of the yarn, leaving a long tail. This slip knot will count as your first stitch.
- Hold the slip knot in your right hand, with the working yarn wrapped around your fingers.
- Insert the needle into the slip knot from left to right, going through the loop.
- With your left hand, grasp the working yarn and bring it over the needle towards you.
- With your right hand, use the needle to scoop up the working yarn, creating a new loop on the needle.
- Repeat steps 4 and 5 until you have cast on the required number of stitches for your soap saver pattern.
- Finally, tighten the stitches on the needle, making sure they are snug but not too tight.
Once you have cast on the required number of stitches, you are ready to begin knitting the soap saver. The casting on process creates the foundation row of stitches that will be the first row of your project.
Knitting the Body
Once you have completed the initial cast on and knitted the top band of the soap saver, it’s time to move on to the body. This is where the bulk of the knitting will take place, as you create the cozy pocket that will hold the soap.
To begin, continue knitting in the round, working in your chosen stitch pattern. This could be a simple stockinette stitch for a smooth finish, or a more intricate pattern to add texture and interest to the soap saver. Remember to keep an eye on your stitch count, as this will determine the size of your soap saver.
Row 1: Knit all stitches
Row 2: Purl all stitches
Row 3: Knit all stitches
Row 4: Purl all stitches
As you knit the body, you can start to visualize how your soap will fit inside the pocket. Make sure to leave enough space to comfortably accommodate the soap, but be mindful not to make the pocket too loose, as it may stretch out over time.
Continue knitting the body until you reach the desired length. This will depend on personal preference and the size of the soap you are using. On average, a soap saver will be around 4-6 inches in length, but feel free to adjust as needed.
Once you are satisfied with the length of the body, you can begin the finishing process, which will include binding off and weaving in any loose ends. With the body complete, your knitted soap saver is starting to take shape and will soon be ready for use.
Creating a Drawstring
Adding a drawstring to your knitted soap saver can be a great way to secure the soap inside and make it easier to handle. Here is a simple step-by-step guide on how to create a drawstring for your soap saver.
Materials:
- Yarn of your choice
- Knitting needles
- Tapestry needle
- Scissors
Instructions:
- Start by knitting the body of your soap saver, following the instructions of the pattern.
- Once you have finished knitting the body, leave a long tail of yarn before cutting it from the skein.
- Thread the long tail of yarn through the tapestry needle.
- With the tapestry needle, weave the yarn in and out of the stitches along the top edge of the soap saver. This will create a simple drawstring casing.
- Once you have gone all the way around, pull the yarn tight to gather the top edge of the soap saver.
- Tie a secure knot with the yarn to keep the drawstring in place.
- Trim any excess yarn with scissors.
And that’s it! Your knitted soap saver now has a drawstring that will help keep your soap secure and make it easier to handle. Enjoy your handmade soap saver!
Decreasing Stitches
In knitting, decreasing stitches is an important technique used to shape a knitting project. By decreasing stitches, you can create curves, angles, and tapered edges. There are several different methods for decreasing stitches, including knit two together (k2tog), slip, slip, knit (ssk), and purl two together (p2tog).
The most common method for decreasing stitches is the knit two together (k2tog) method. To do this, insert your right-hand needle through the next two stitches on the left-hand needle as if to knit. Wrap the yarn around the right-hand needle and pull the loop through both stitches, dropping them off the left-hand needle. This results in one stitch being decreased.
Another common method for decreasing stitches is the slip, slip, knit (ssk) method. To do this, slip the next two stitches individually from the left-hand needle to the right-hand needle as if to knit. Then, insert the left-hand needle into the fronts of both slipped stitches from left to right and knit them together. This also results in one stitch being decreased.
If you are working in a purl stitch, you can use the purl two together (p2tog) method to decrease stitches. To do this, insert your right-hand needle through the next two stitches on the left-hand needle as if to purl. Wrap the yarn around the right-hand needle and purl both stitches together. This decreases one stitch.
These are just a few of the common methods for decreasing stitches in knitting. The specific method you use will depend on your pattern and the desired outcome. It’s important to practice and become comfortable with these techniques to successfully shape your knitting projects.
Finishing Touches
When it comes to finishing touches on your knitted soap saver, there are several options to consider. One popular choice is to add a drawstring or loop closure at the top of the soap saver. This allows you to hang the soap saver in the shower or bathroom for easy access. To create a drawstring closure, simply leave a hole at the top of the soap saver and thread a ribbon or piece of yarn through it. For a loop closure, create a small loop of yarn and attach it to the top of the soap saver.
Another way to add a finishing touch is to embellish your soap saver with decorative details. You can create patterns, stripes, or other designs using different colors of yarn. You can also add buttons, beads, or other small embellishments to give your soap saver a unique and personalized look. These details can be added during the knitting process or sewn on afterwards.
To give your soap saver a professional and polished finish, consider blocking it after you have finished knitting. Blocking involves wetting the knitted piece and stretching it to the desired shape and size. This can help to even out any uneven stitches and give the soap saver a neat and tidy appearance. Once the soap saver is dry, it will hold its shape and be ready to use.
In summary, there are many ways to add finishing touches to your knitted soap saver. Whether it’s adding a drawstring closure, embellishing with decorative details, or blocking for a polished finish, these touches can elevate your soap saver from a simple practical item to a stylish accessory.
Blocking the Soap Saver

Once you have finished knitting your soap saver, it is important to block it to ensure that it retains its shape and size. Blocking is the process of shaping and smoothing the fabric by wetting it and then allowing it to dry in the desired shape.
Here is a step-by-step guide on how to block your knitted soap saver:
- Fill a basin or sink with lukewarm water and add a small amount of gentle soap. Make sure the soap is fully dissolved.
- Gently place the knitted soap saver into the water, making sure it is fully submerged. Let it soak for about 10 minutes.
- After soaking, carefully remove the soap saver from the water and gently press out any excess water. Do not wring or twist the fabric.
- Lay a clean towel flat on a table or countertop, and place the soap saver on top of it.
- Gently stretch and shape the soap saver to its desired size and shape. You can use pins to hold it in place if needed.
- Leave the soap saver to dry completely. This can take anywhere from a few hours to overnight, depending on the humidity and air circulation in the room.
- Once the soap saver is completely dry, remove any pins and give it a final smoothing and shaping with your hands.
- Your knitted soap saver is now blocked and ready to be used!
Blocking not only helps your soap saver maintain its shape, but it also evens out the stitches and enhances the overall appearance of the finished piece. It is a crucial step in the knitting process that should not be skipped. Happy blocking!
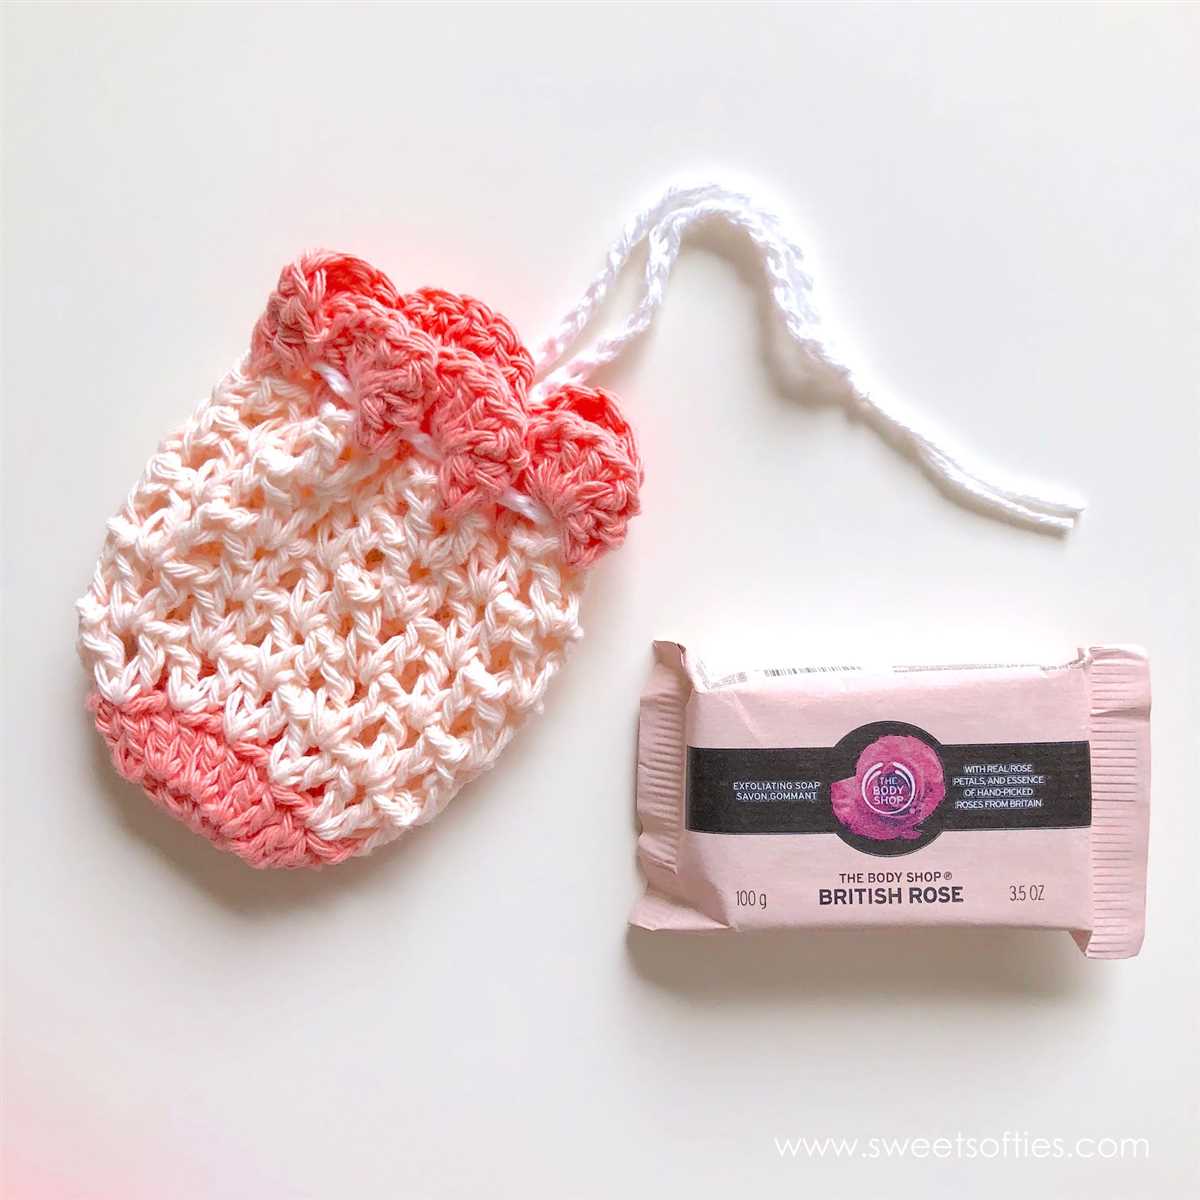
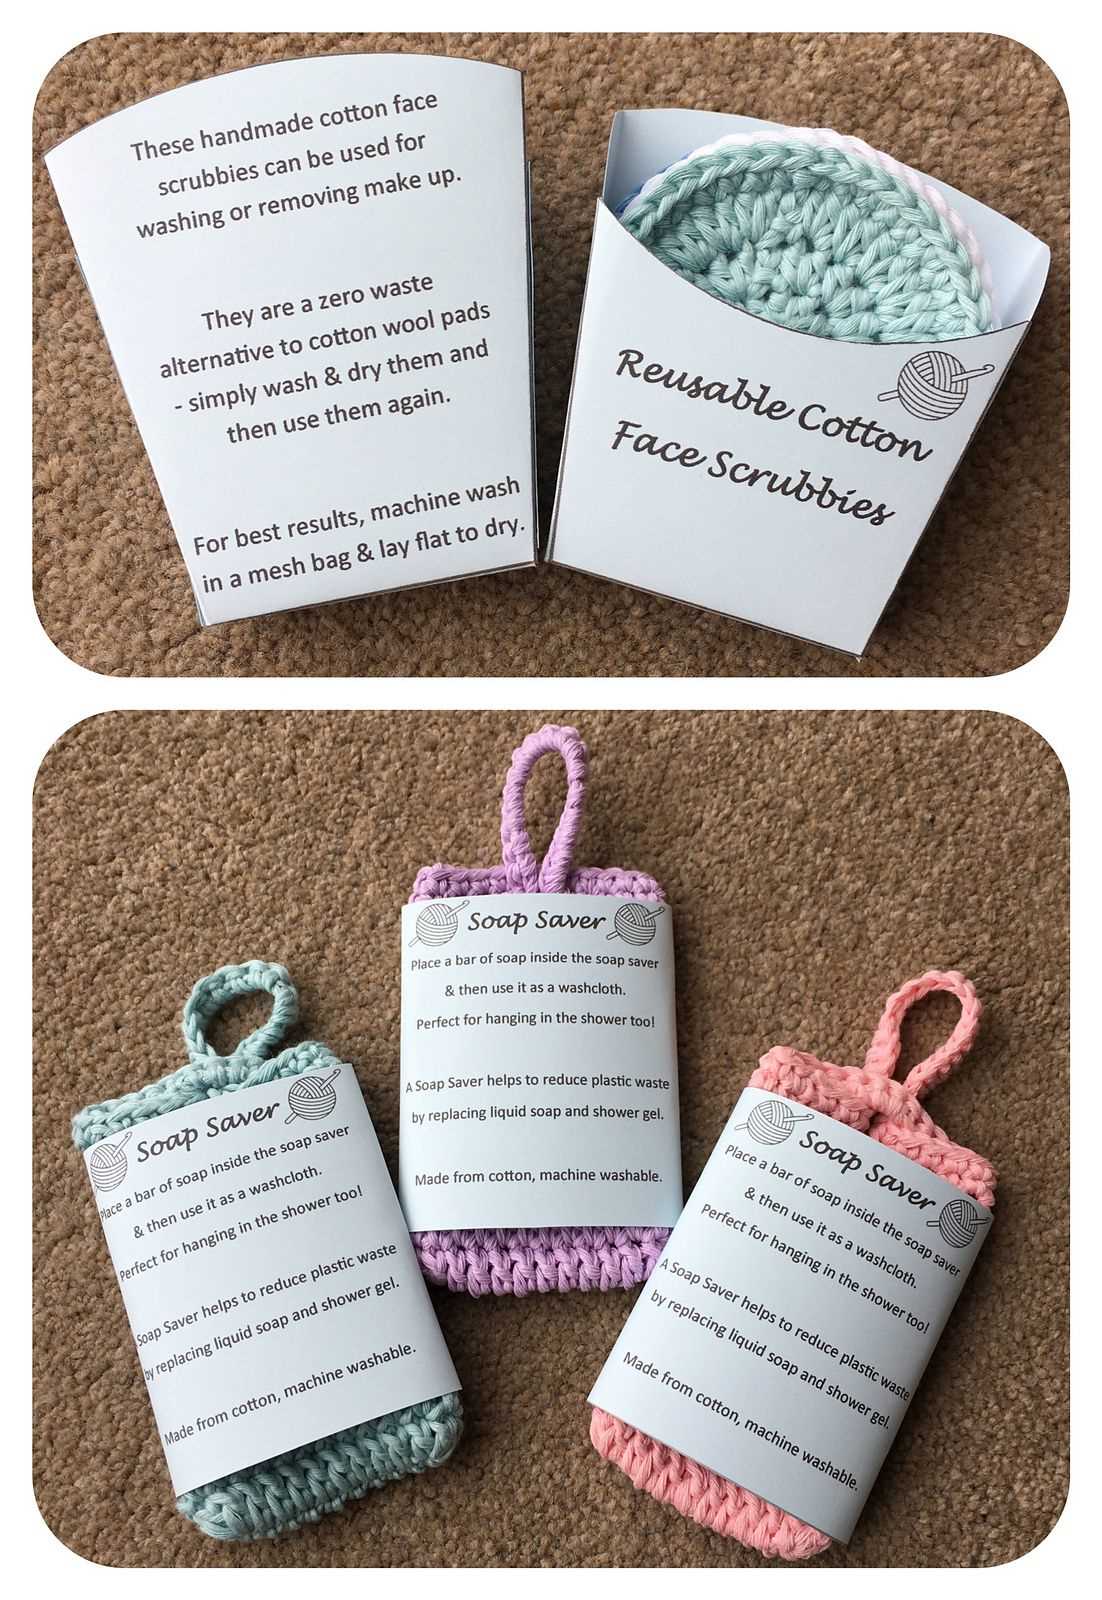
Using the Soap Saver
The Soap Saver is a great addition to your bathroom routine. It is a small knit pouch that holds your soap, allowing you to use every last bit without wasting any. To use the Soap Saver, simply insert your soap into the pouch and pull the drawstring tight to secure it in place.
Once your soap is secure in the Soap Saver, wet it under running water to create a lather. The knit texture of the pouch helps to exfoliate and cleanse your skin as you use the soap. The soap will last longer and you will be able to use it until it is completely gone.
One of the great benefits of using the Soap Saver is that it eliminates the need for a soap dish. The pouch can be hung in the shower or placed on a hook near the sink, keeping your soap within easy reach. It is also a hygienic option, as the soap dries quickly and doesn’t sit in a pool of water like it would in a traditional soap dish.
Another advantage of the Soap Saver is that it is reusable and easy to clean. Simply untie the drawstring, remove the used soap, and rinse the pouch under water. You can then hang it to dry or throw it in the washing machine for a deeper clean. With proper care, the Soap Saver can be used again and again, saving you money on soap in the long run.
Overall, the Soap Saver is a practical and eco-friendly solution for using and prolonging the life of your soap. It is a simple and affordable addition to your everyday routine that will help you get the most out of every soap bar.
Tips and Tricks
Here are a few tips and tricks to help you create the perfect knitted soap saver:
1. Use the right yarn: When choosing a yarn for your soap saver, opt for a cotton or bamboo blend. These yarns are absorbent and will help your soap last longer. Avoid using acrylic yarns as they do not absorb water well.
2. Choose the right needle size: The recommended needle size for this project is a US size 6 (4mm). However, you can adjust the needle size depending on your tension and desired gauge. Experiment with different needle sizes to achieve the perfect texture and fit for your soap saver.
- 3. Gauge matters: Make sure to check your gauge before starting the pattern. This will ensure that your soap saver fits snugly around the soap and does not stretch too much.
- 4. Add a loop: Consider adding a loop to your soap saver so that you can hang it in the shower. This will help the soap saver dry faster and prevent moisture buildup, prolonging the life of your soap.
- 5. Experiment with stitch patterns: While the pattern provided gives a basic stockinette stitch, feel free to experiment with different stitch patterns to create a unique texture for your soap saver.
- 6. Customize the size: If you want to make a larger or smaller soap saver, simply adjust the number of cast-on stitches. Keep in mind that the finished dimensions will vary depending on your yarn and needle size.
With these tips and tricks in mind, you’re ready to create your own knitted soap saver. Enjoy the process of making something useful and sustainable, while also adding a touch of handmade beauty to your bathroom!