
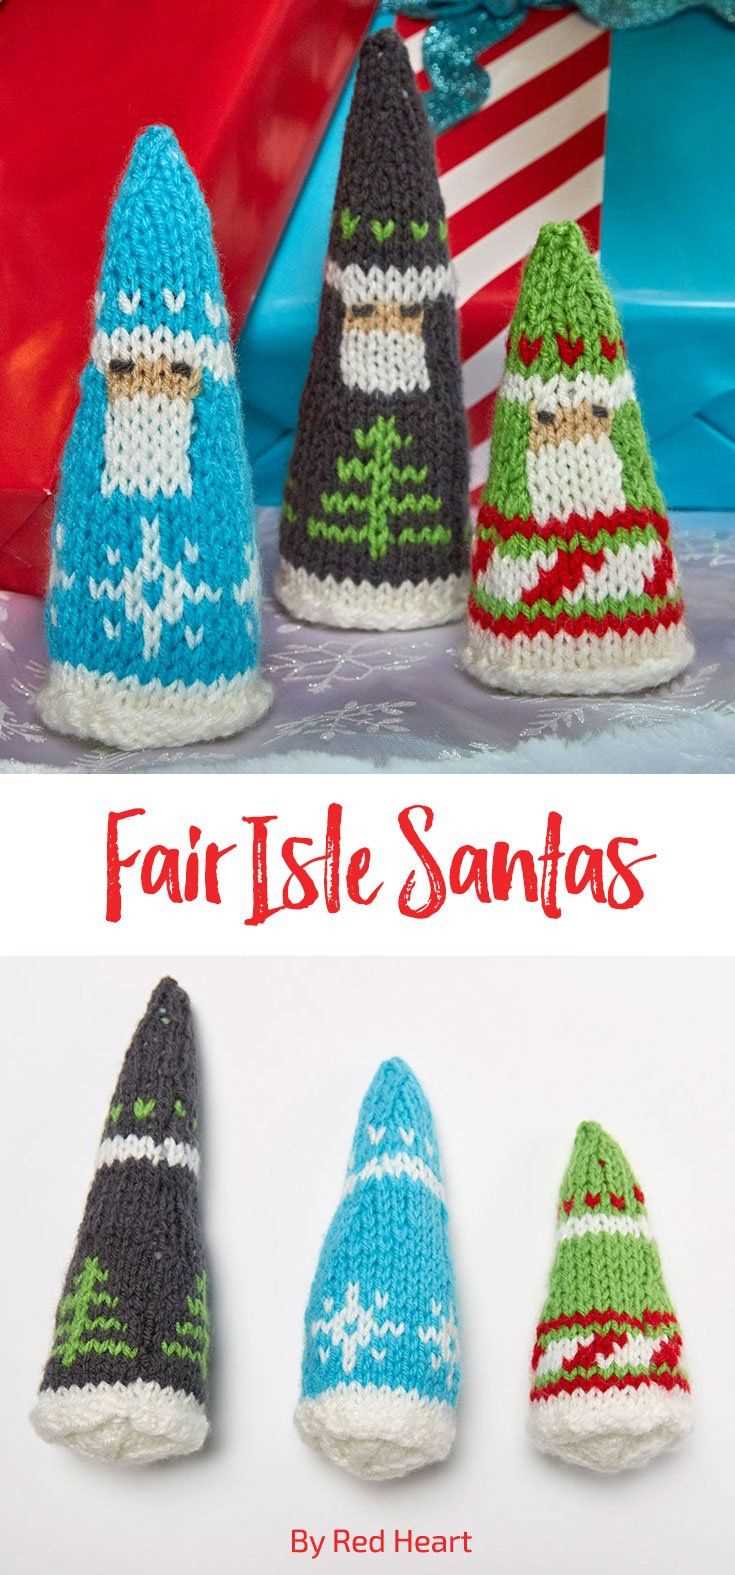
If you’re looking to add a touch of holiday cheer to your home decor or give a handmade gift to someone special this Christmas, these knitted Santa gnomes are a perfect project. Not only are they adorable and festive, but they’re also fun and easy to make. With just a few basic knitting skills, you’ll be able to create these whimsical little creatures in no time.
These knitted Santa gnomes make great ornaments for your Christmas tree, or you can scatter them throughout your home to add a festive touch to shelves, mantels, and more. They also make wonderful gifts for family and friends – who could resist the charm of these sweet little gnomes?
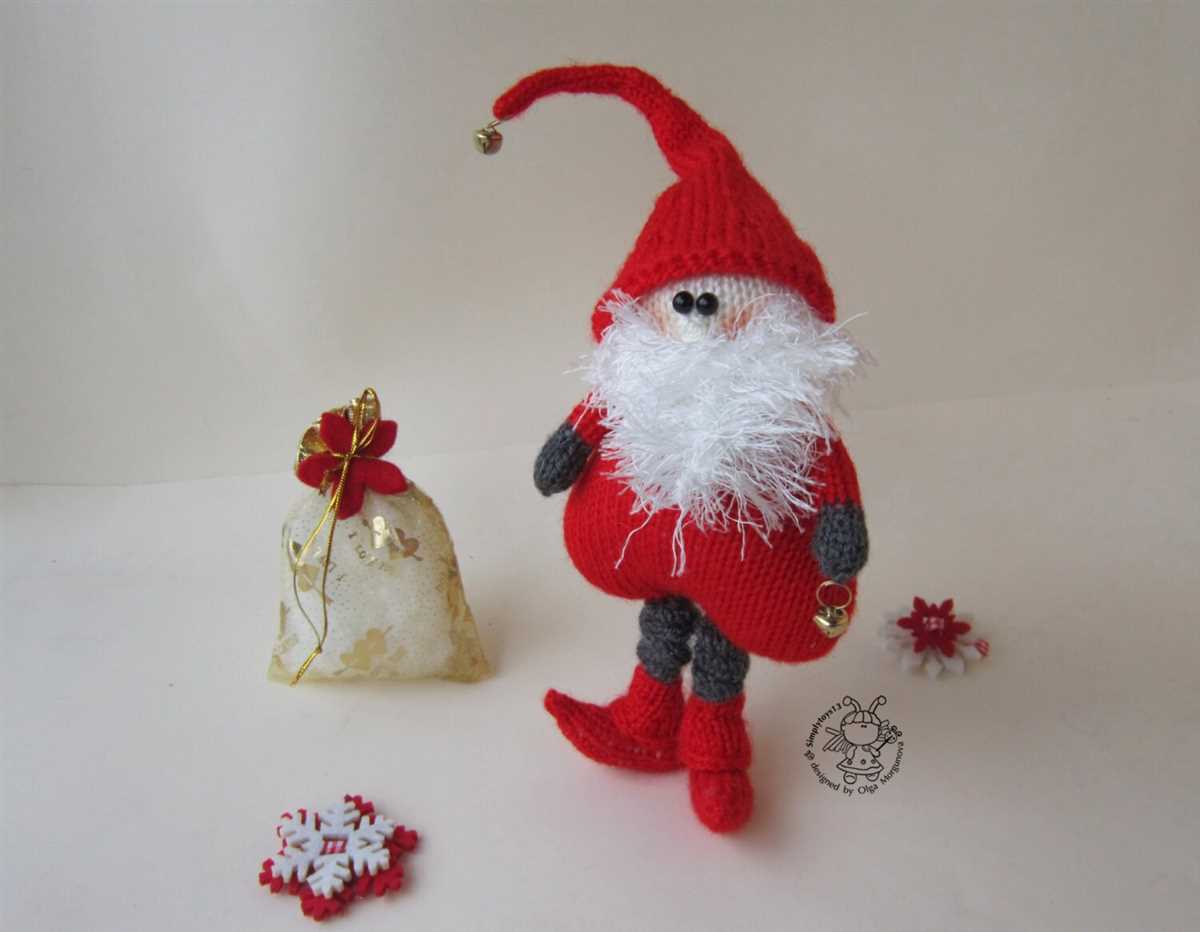
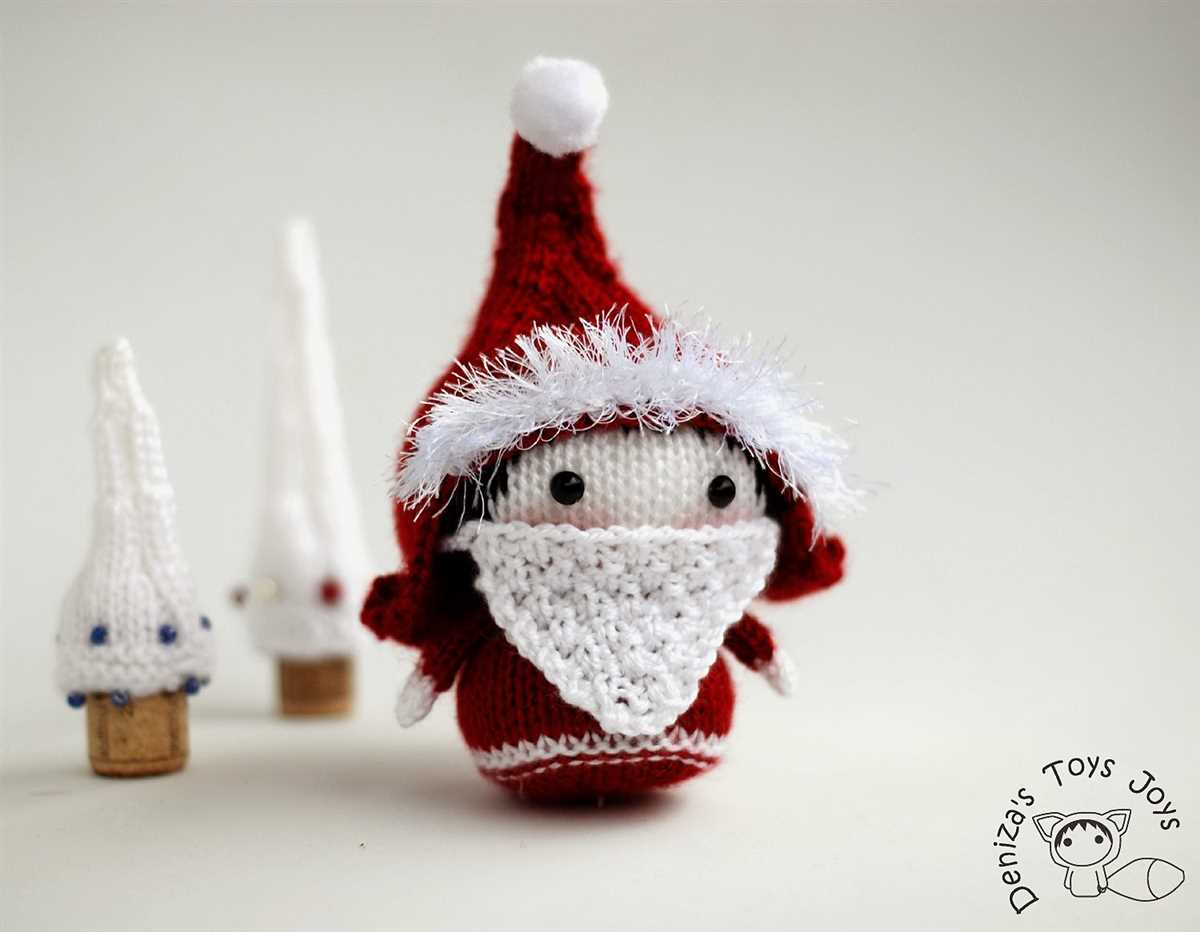
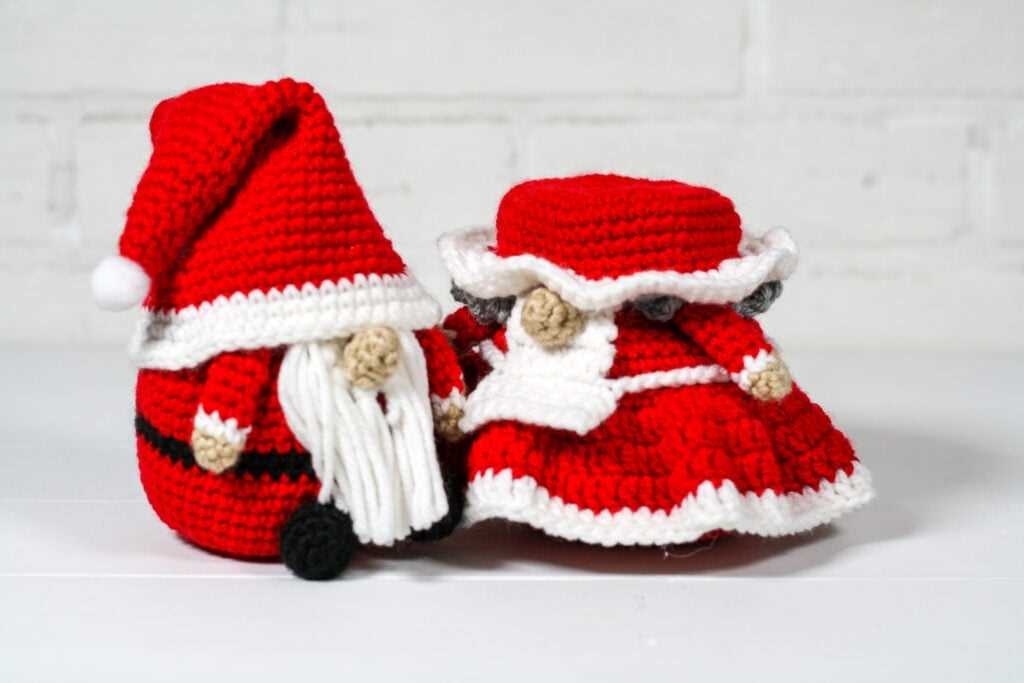
With this pattern, you’ll be able to create gnomes of different sizes, depending on your preference. You can make a larger gnome to sit by the fireplace or a smaller one to hang on your tree. The pattern includes instructions for knitting the body, hat, and beard separately, and then sewing them together to create the finished gnome. You can also get creative with the colors and accessories – maybe add a little knitted scarf or a tiny knitted sack of gifts.
What is a Santa gnome?
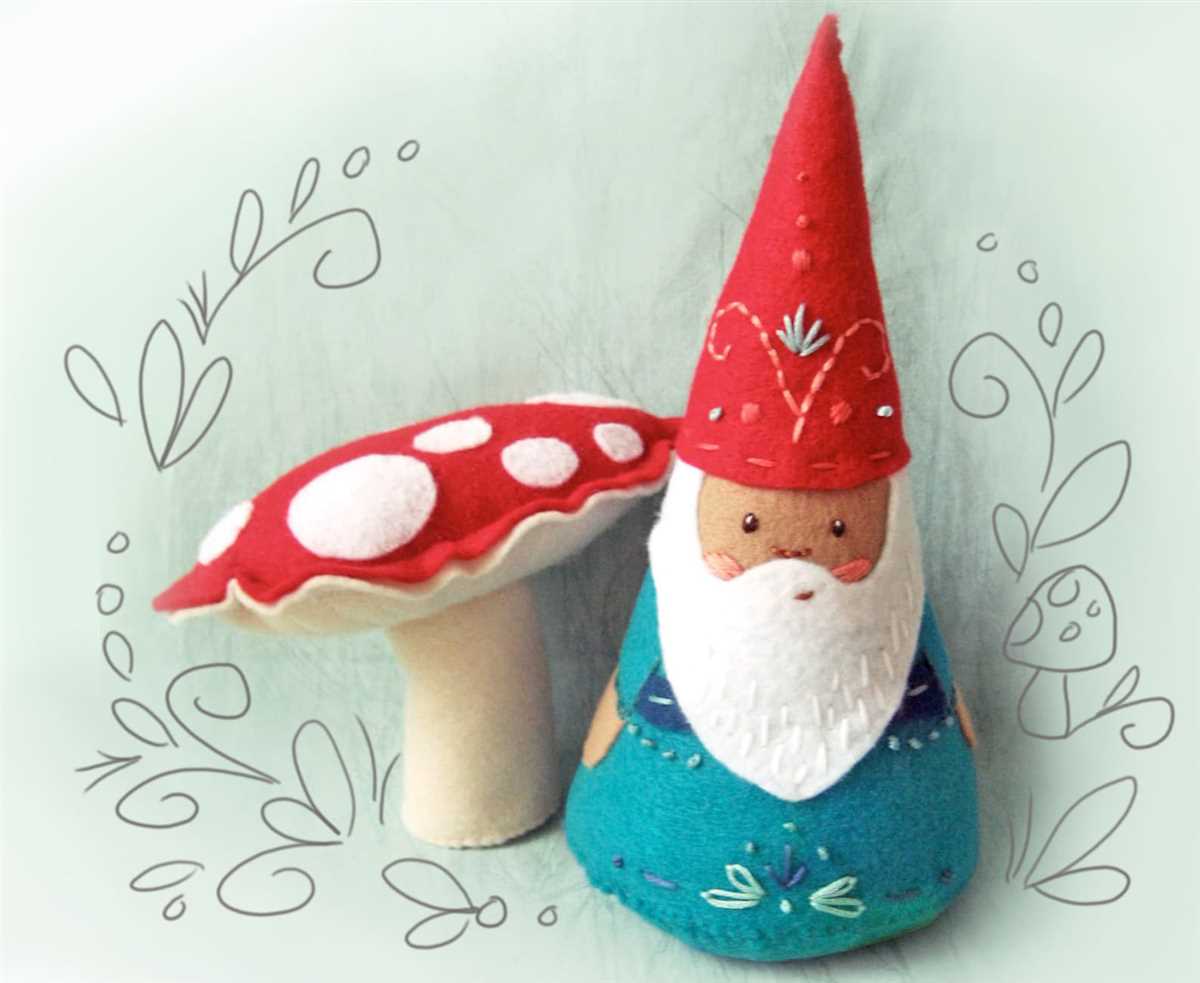
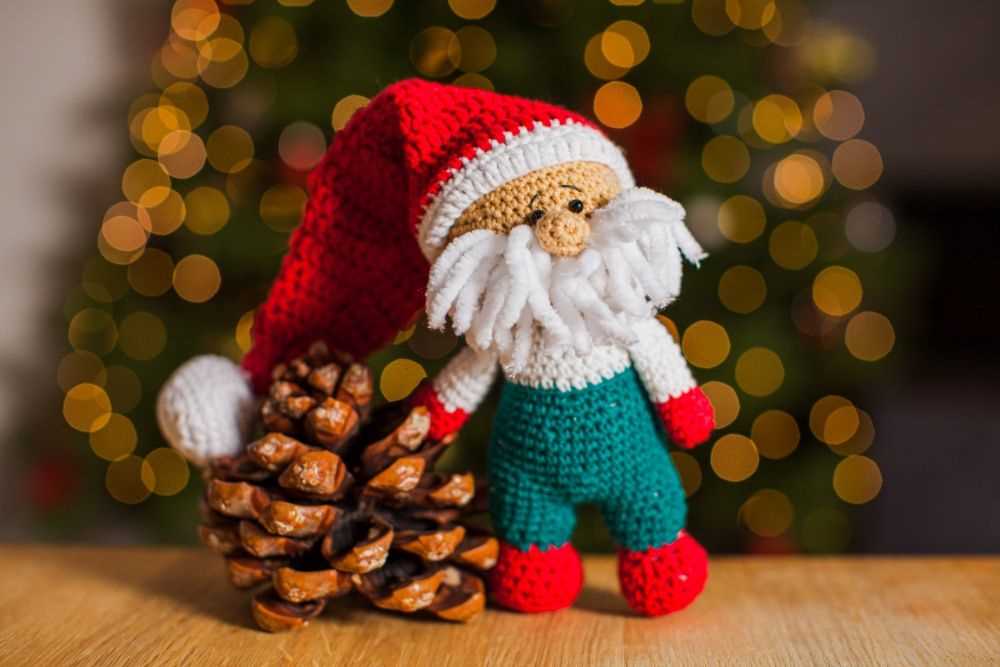
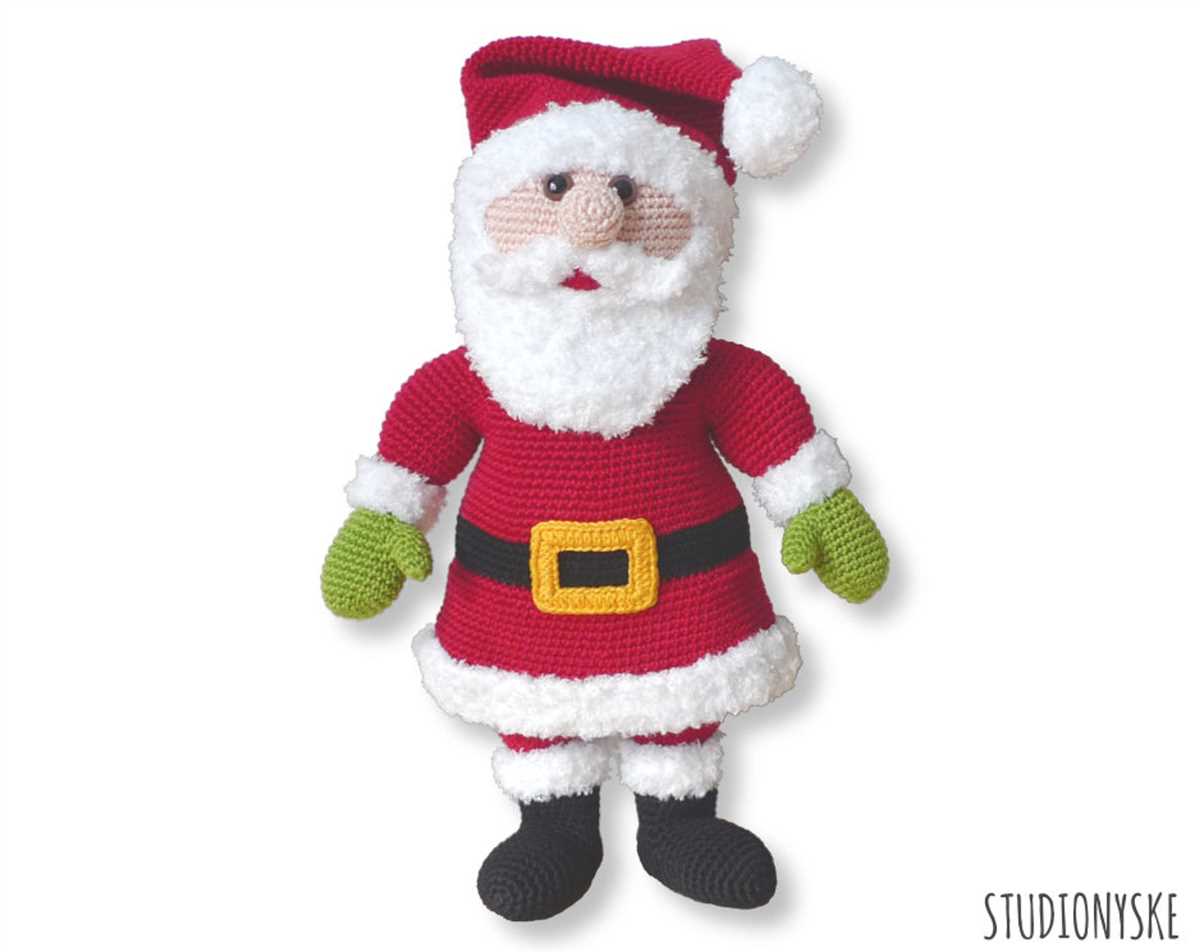
A Santa gnome is a small decorative figure that resembles a gnome or elf dressed in a Santa Claus costume. These adorable handmade creatures have become a popular symbol of Christmas and are often used as festive decorations, gifts, or toys.
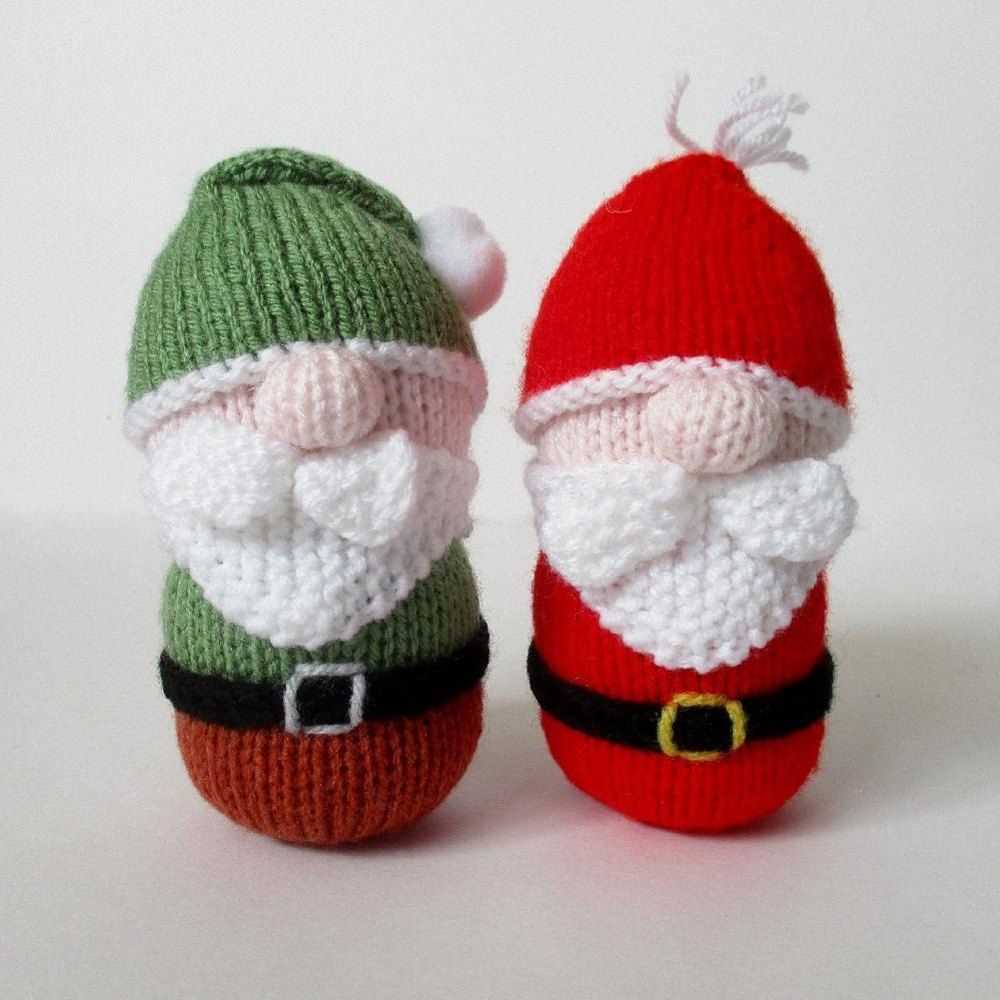
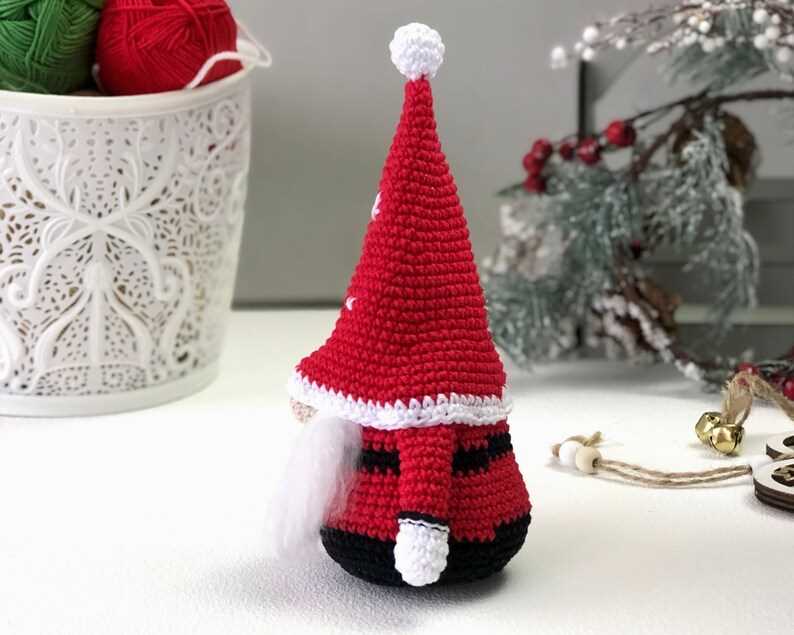
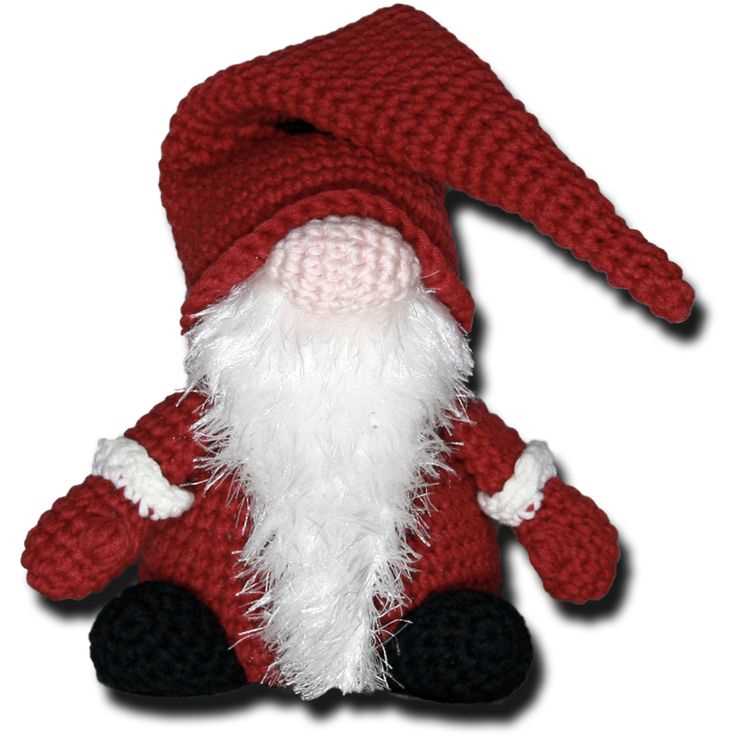
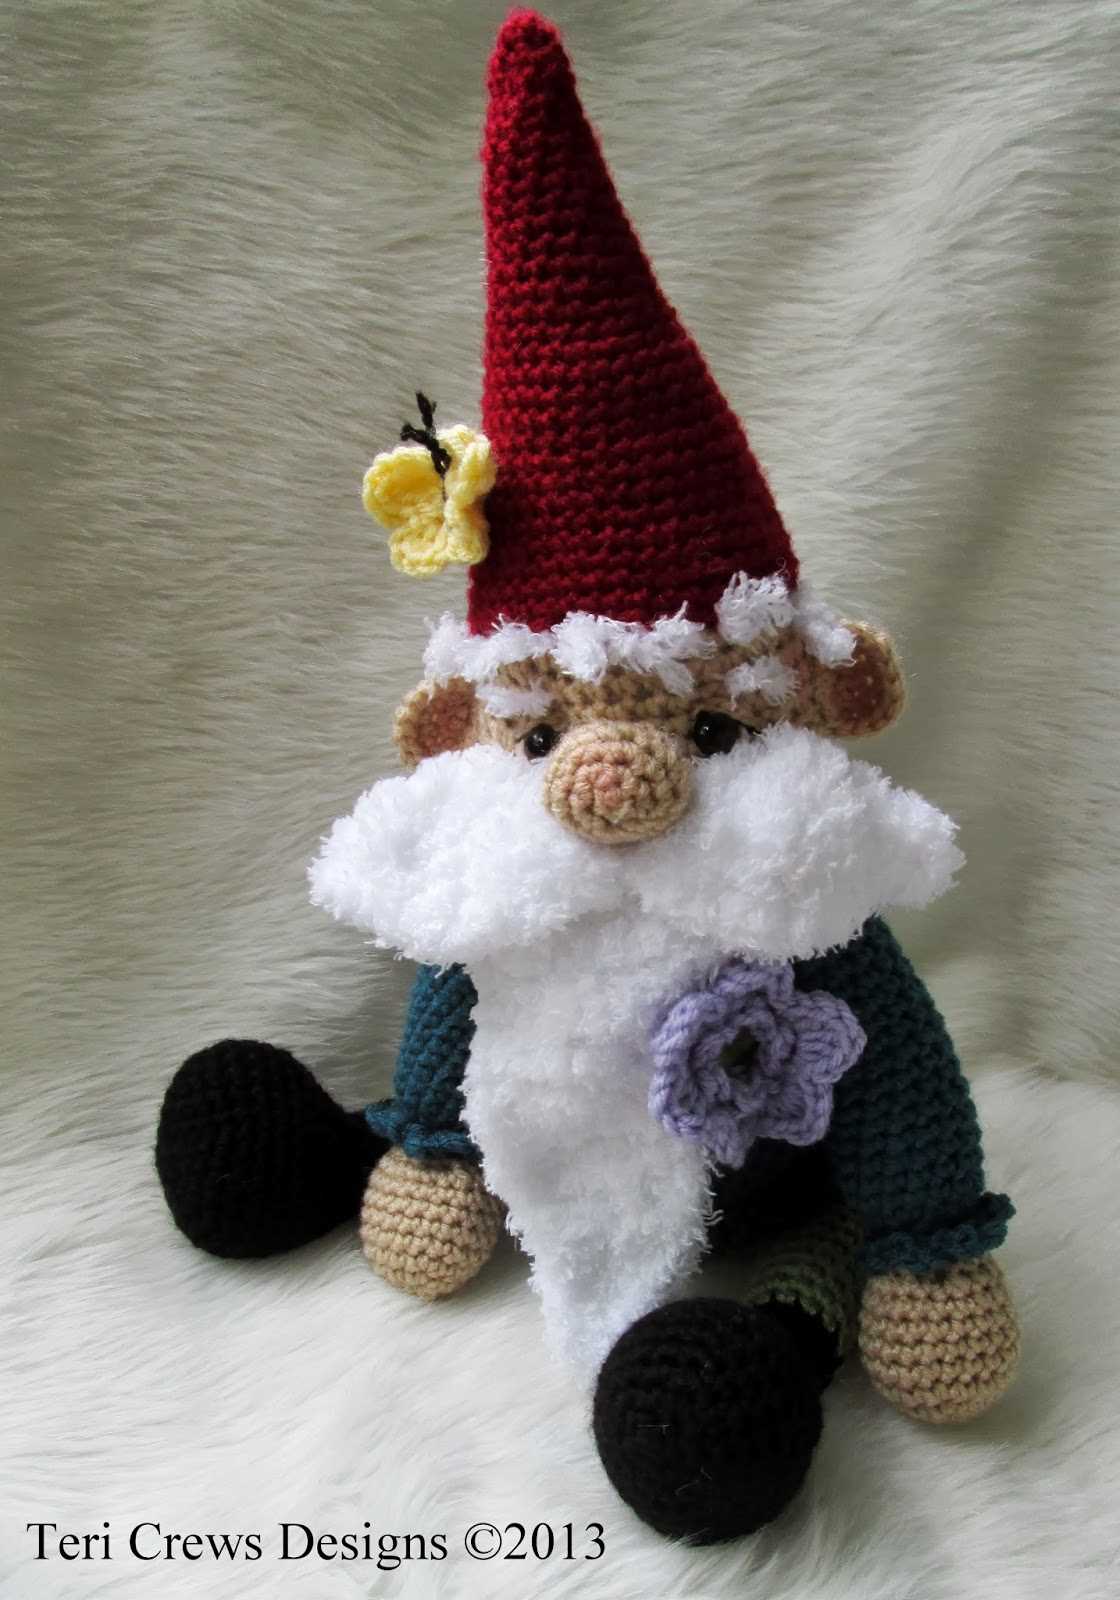
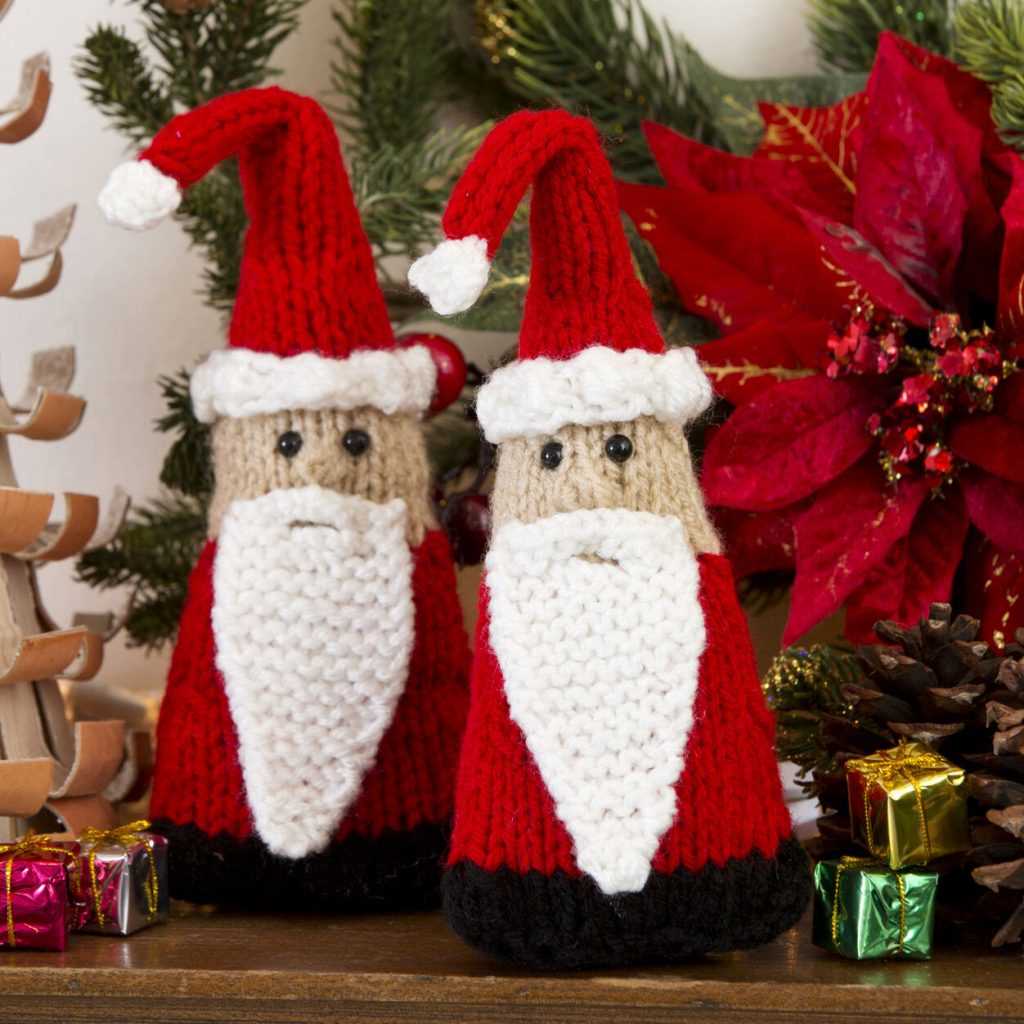
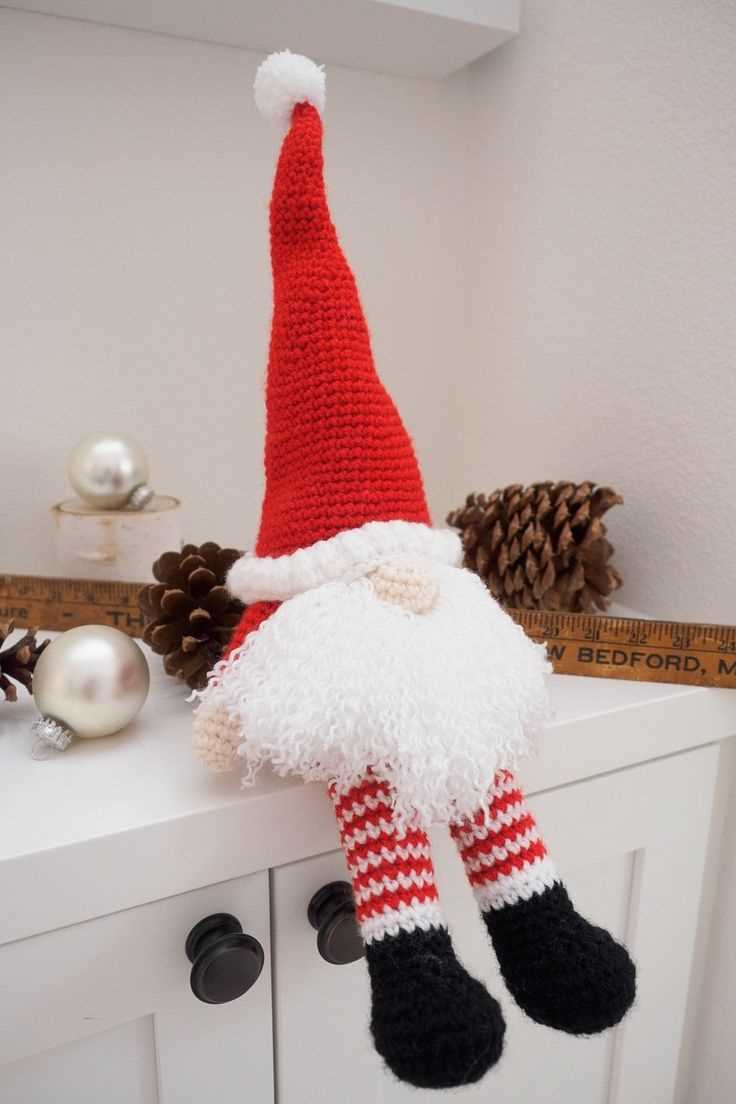
The Santa gnome typically features a long white beard, a pointy hat, and a round belly. They are often made with knitted fabric or felt and are usually stuffed with polyester fiberfill or other soft materials. The gnome’s face is usually embroidered or painted on, giving it a cute and whimsical appearance.
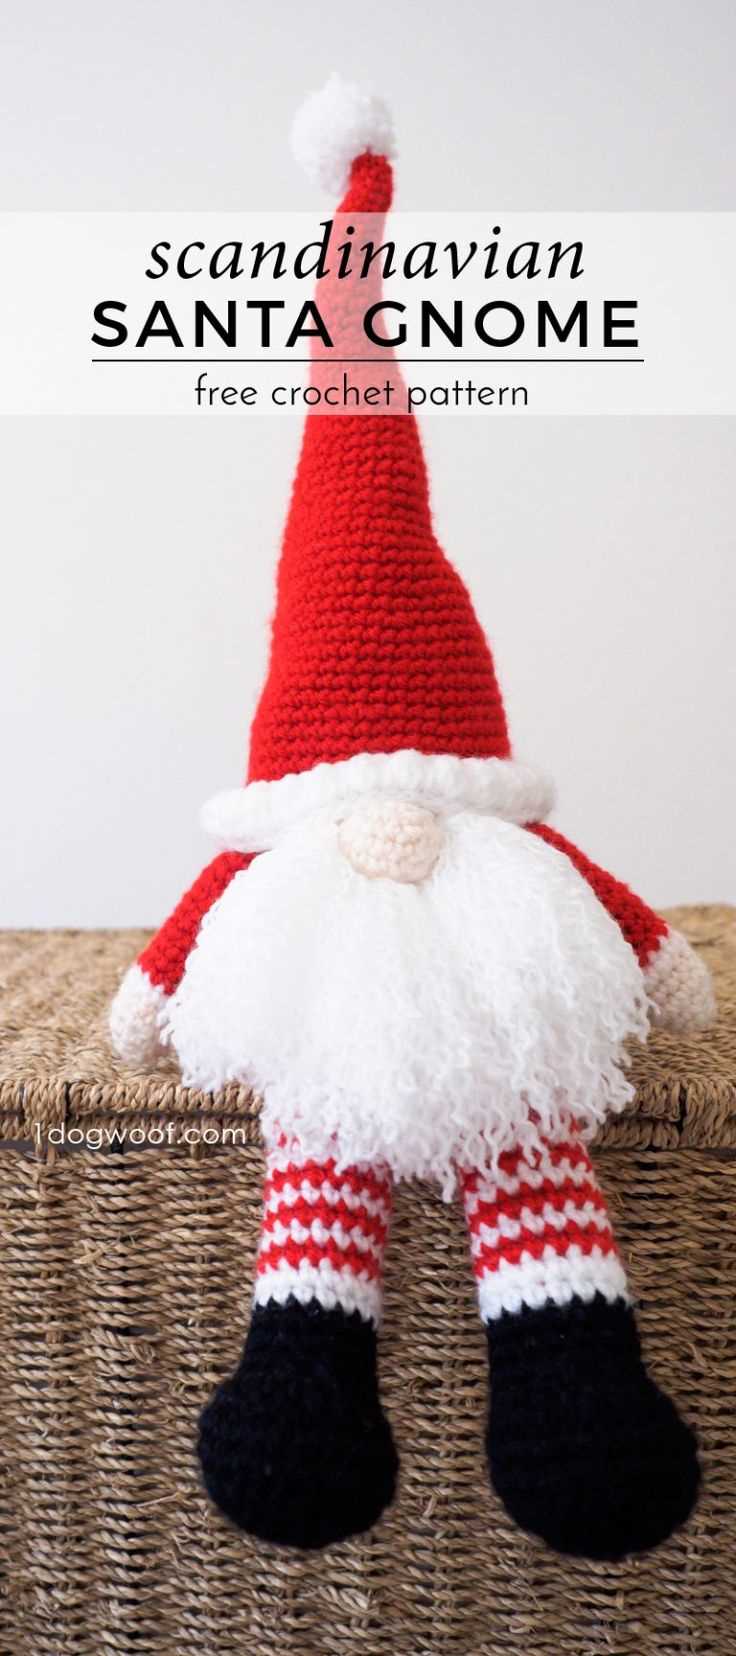
The origin of the Santa gnome can be traced back to Scandinavian folklore, where these mischievous creatures are believed to bring good luck and protect homes from evil spirits. Over time, they have evolved into beloved characters associated with the Christmas season.
History of knitted Santa gnomes
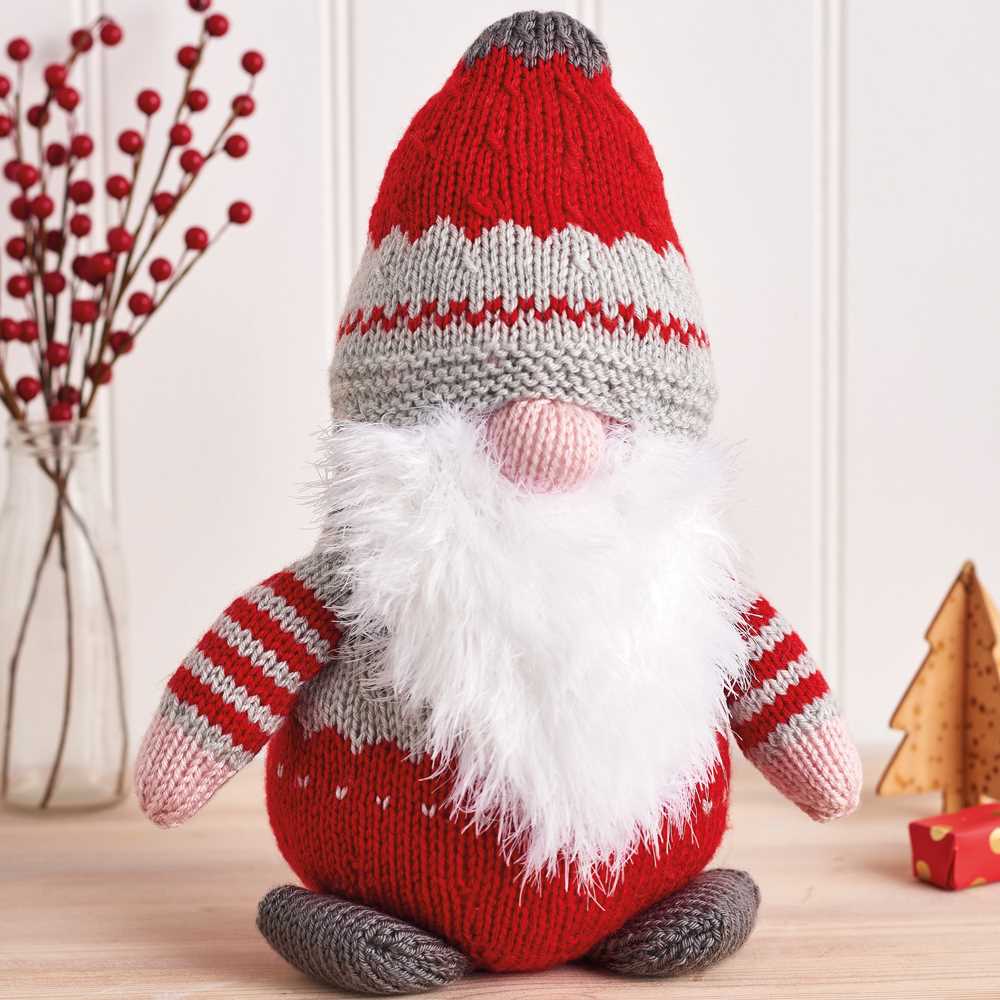
The tradition of knitted Santa gnomes can be traced back to the Scandinavian folklore and Christmas traditions. These whimsical creatures, also known as Tomte or Nisse, have been a part of the holiday season in Nordic countries for centuries.
In Scandinavian folklore, Santa gnomes are believed to be small, bearded creatures who live in attics or barns, and are responsible for bringing good fortune and protecting the household. They are known to be mischievous yet benevolent, and are often depicted wearing traditional knitted attire.
Knitting has been a popular craft in Nordic countries for generations, and it was only natural that the tradition of knitting Santa gnomes emerged. The gnomes are typically made using simple knitting techniques, such as knitting in the round and basic colorwork. The patterns for knitted Santa gnomes often include instructions for creating the gnomes’ distinctive pointy hats, long beards, and round bodies.
The popularity of knitted Santa gnomes has grown beyond Scandinavia and has become a beloved Christmas decoration in many other parts of the world. Crafters and knitting enthusiasts enjoy creating their own versions of these charming creatures, often adding their own personal touches and variations to the traditional patterns.
The knitted Santa gnomes not only bring a touch of whimsy to Christmas decor, but also serve as a reminder of the rich folklore and traditions of the Nordic countries.
Materials needed to knit Santa gnomes
To create adorable knitted Santa gnomes, you will need a few essential materials. These materials not only ensure the successful completion of the project but also play a significant role in achieving the desired results. Here is a list of the materials you will need to knit Santa gnomes:
- Yarn: Choose a quality, soft and thick yarn in red, white, and gray or black. The yarn should also be durable to ensure the longevity of the gnomes.
- Knitting needles: Select the appropriate knitting needles that are suitable for the chosen yarn thickness. This will ensure you have the right gauge and tension when knitting the gnomes.
- Tapestry needles: These needles come in handy for sewing and weaving in loose ends neatly.
- Stuffing: To give the Santa gnomes their adorable shape and form, you will need stuffing. Use soft stuffing material that is hypoallergenic and non-flammable.
- Scissors: A good pair of scissors is essential for cutting the yarn and trimming excess threads.
- Embroidery floss: For adding intricate details to the gnomes, you will need embroidery floss in various colors. This includes white, black, and any other colors you intend to use for the gnome’s hat or clothing accents.
- Buttons and beads: Decorative buttons and beads are optional but can add a charming touch to the gnome’s hat or clothing.
- Pom-pom maker: If you want to create a pom-pom for the gnome’s hat, a pom-pom maker will facilitate the process and ensure consistent and fluffier pom-poms.
With the right materials, you will be well-equipped to knit adorable Santa gnomes that are sure to bring holiday cheer to your home or make delightful gifts for loved ones.
Yarn
Crafting with yarn is a popular pastime for many people around the world. Yarn is a versatile material that can be used to create a wide variety of projects, from clothing and accessories to home decor and toys. Whether you’re an experienced knitter or just starting out, there are endless possibilities when it comes to working with yarn.
One of the most common uses for yarn is in the art of knitting. Knitting involves creating fabric by interlocking loops of yarn using knitting needles. With just a few basic stitches, you can create intricate patterns and designs. Knitted garments, such as sweaters, hats, and scarves, are not only functional but can also be stylish and fashionable. Knitting can be a relaxing and meditative activity, allowing you to create something beautiful with your own two hands.
Types of Yarn
- Worsted Weight Yarn: This is a medium-weight yarn that is commonly used for a wide range of projects.
- Fingering Weight Yarn: This is a lightweight yarn that is perfect for delicate projects such as socks and shawls.
- Bulky Yarn: This is a thick and chunky yarn that is great for making cozy blankets and warm winter accessories.
- Acrylic Yarn: This is a synthetic yarn that is often inexpensive and easy to care for. It comes in a wide range of colors and is great for beginners.
- Merino Wool: This is a soft and luxurious yarn that is perfect for creating cozy and warm garments.
When choosing yarn for your project, consider the fiber content, weight, and texture of the yarn. Different yarns have different properties and will yield different results in your finished project. Experiment with different types of yarn to find the ones that work best for you and your projects.
Whether you’re knitting, crocheting, or working on any other type of yarn project, the possibilities for creativity are endless. With a wide range of colors, textures, and fibers to choose from, you can create something unique and beautiful every time. So grab your needles or hook, choose your favorite yarn, and let your imagination run wild!
Knitting Needles
When it comes to knitting, one essential tool that every knitter needs is a good set of knitting needles. These simple yet indispensable tools come in different sizes and materials, allowing knitters to create various types of stitches and patterns. Knitting needles are typically made of metal, wood, or plastic, and each material offers its own unique benefits and characteristics.
One of the advantages of metal knitting needles is their smoothness, which allows the yarn to slide easily and quickly, making the knitting process faster. Metal needles are also known for their durability, making them a great choice for knitters who tend to knit with a lot of tension. On the other hand, wooden knitting needles are known for their warmth and natural feel. The wood’s slight grip on the yarn helps prevent stitches from sliding off accidentally, making them ideal for beginners or those who prefer a slower pace of knitting. Plastic knitting needles, on the other hand, are lightweight and often less expensive than metal or wooden ones. They are also less likely to cause hand fatigue, making them a popular choice for those who knit for long periods of time.
When choosing knitting needles, it is important to consider the type of yarn and project you will be working on. Thicker yarns tend to work better with larger-sized needles, while thinner yarns require smaller-sized ones. Additionally, the pattern you are following may also specify a specific needle size. Overall, finding the right knitting needles is a personal preference, and experimenting with different materials and sizes can help you discover what works best for you and your knitting projects.
Other Materials
While the main material for making knitted Santa gnomes is yarn, there are a few other materials that you may need or want to use in your project.
Stuffing
One essential material for making knitted Santa gnomes is stuffing. You will need to stuff the bodies and hats of the gnomes to give them their three-dimensional shape. There are different types of stuffing available, such as polyester fiberfill or wool roving. Choose a type of stuffing that is soft and pliable, and that will hold its shape well once stuffed into the gnome.
Embroidery Floss
Embroidery floss is another material that you may want to use when making knitted Santa gnomes. It can be used for embroidering the faces, adding details to the hats or clothing, or for creating other decorative elements. Choose embroidery floss in colors that complement the yarn you are using, and consider using different shades to add depth and dimension to your gnomes.
Decorative Accessories
To add even more charm to your knitted Santa gnomes, you can use decorative accessories. These can include small buttons for the eyes, a mini bell for the tip of the hat, or a tiny ornament or charm to hang from the gnome’s hand. Be creative and choose accessories that fit the personality and style of your gnomes.
Basic knitting techniques
Knitting is a popular craft that involves creating fabric by interlocking loops of yarn with knitting needles. To get started with knitting, it’s helpful to become familiar with some basic knitting techniques. Here are a few essential techniques to know:
Casting on:
Casting on is the first step in knitting. It involves creating the initial row of stitches on your knitting needle. There are several methods for casting on, including the long-tail cast on and the knit cast on. Each method produces a different edge and tension, so it’s worth experimenting to find the one that works best for your project.
Knit stitch:
The knit stitch is the most basic stitch in knitting. It creates a smooth and flat fabric. To knit a stitch, insert your right-hand needle into the front of the stitch on the left-hand needle, wrap the yarn around the right-hand needle, and pull the loop through the stitch. Repeat this process for each stitch on the left-hand needle.
Purl stitch:
The purl stitch is another basic stitch in knitting. It creates a bumpy texture on the fabric. To purl a stitch, insert your right-hand needle into the front of the stitch on the left-hand needle, bring the yarn to the front of the work, and wrap it around the right-hand needle. Then, pull the loop through the stitch and drop the old stitch off the left-hand needle.
- increase
- decrease
These techniques are the foundation of knitting and can be combined in various ways to create different stitch patterns and designs. With practice, you’ll become more comfortable with these techniques and be able to tackle more complex knitting projects.
Casting on
Casting on is the first step in starting a knitting project. It is the process of creating the first row of stitches on the knitting needle. There are many different methods for casting on, and the choice of method depends on the desired outcome and the type of project being worked on.
One common method of casting on is the long-tail cast-on. This method creates a stretchy edge and is often used for projects that require a neat and flexible start. To do the long-tail cast-on, you need to estimate the length of yarn needed for the desired number of stitches and leave a long tail before making the first stitch. The stitches are then created by looping the yarn around the thumb and working it onto the needle.
Another method of casting on is the knitted cast-on. This method creates a firm and sturdy edge and is often used for projects that require a more structured start, such as socks or sweaters. To do the knitted cast-on, you start by making a slip knot on the needle and then knit into this stitch. The new stitches are created by knitting into the previous stitches.
Whatever method of casting on is used, it is important to make sure that the stitches are not too tight or too loose. The tension of the cast-on stitches will affect the overall appearance and fit of the knitted piece. It is also important to count the number of stitches cast on accurately, as this will determine the width of the project.
Types of Casting On:
- Long-tail cast-on
- Knitted cast-on
- Cable cast-on
- Backward loop cast-on
- German twisted cast-on
Each method of casting on has its own advantages and disadvantages, and experienced knitters often have their preferred method for different types of projects. The choice of casting on method can also affect the overall look and feel of the finished item, so it is worth exploring different techniques and finding the one that works best for you.
Knit Stitch
The knit stitch is one of the basic stitches in knitting and is used to create the majority of knitted fabrics. It is a simple technique that involves inserting the right-hand needle into the front of a stitch on the left-hand needle, wrapping the yarn around the right-hand needle, and pulling the loop through. This creates a new stitch on the right-hand needle while dropping the previous stitch off the left-hand needle.
The knit stitch is typically abbreviated as ‘k’ in knitting patterns and is often used in combination with other stitches to create various patterns and textures. It is a versatile stitch that can be used to create smooth and flat surfaces, as well as raised and textured designs. It is commonly used for knitting sweaters, scarves, hats, and other garments.
When working the knit stitch, it is important to maintain an even tension to ensure that the stitches are not too tight or too loose. The size of the needles and the thickness of the yarn can also affect the final appearance of the knitted fabric. The knit stitch is easy to learn and is a fundamental skill for any knitter.
To create a knitted Santa gnome, the knit stitch can be used to create the body and hat of the gnome. The smooth and flat surface created by the knit stitch is perfect for the body, while the hat can be made with a combination of knit and purl stitches to create a ribbed texture. Adding details, such as a beard and hat pom-pom, can be achieved with different knitting techniques such as yarn-overs and decreases.
- The knit stitch is a basic stitch in knitting.
- It is used to create the majority of knitted fabrics.
- The stitch is created by inserting the right-hand needle into a stitch on the left-hand needle, wrapping the yarn around, and pulling the loop through.
- The knit stitch can be used to create smooth and flat surfaces, as well as raised and textured designs.
- It is commonly used for knitting garments such as sweaters, scarves, and hats.
- It is important to maintain an even tension when working the knit stitch.
- The size of the needles and yarn can affect the appearance of the finished fabric.
- The knit stitch is easy to learn and is a fundamental skill in knitting.
Purl Stitch

The purl stitch is a basic knitting stitch that creates a smooth and textured surface on the right side of the fabric. It is commonly used in knitting patterns to add variety and contrast to the traditional knit stitch. The purl stitch is the reverse of the knit stitch and is often used alongside it to create different stitch patterns and designs.
To create a purl stitch, the working yarn is brought to the front of the work, inserted into the next stitch from right to left, wrapped around the right-hand needle, and pulled through to the back of the work. This creates a loop on the right-hand needle, effectively switching the position of the stitches.
The purl stitch is recognized by its “bumpy” appearance on the right side of the fabric. When combined with knit stitches, it can create a ribbed effect or be used in more complex stitch patterns such as cables or lace. By varying the combination of knit and purl stitches, knitters can create intricate textures and designs in their projects.
When following a knitting pattern that includes purl stitches, it is important to pay attention to the pattern instructions and stitch abbreviations. Purl stitches are often abbreviated as “p” or “purl” in patterns, and the specific placement and combination of purl stitches will vary depending on the desired outcome.
Knitted Santa Gnome Pattern
If you’re looking to add a festive touch to your holiday decorations, why not try knitting your own Santa gnomes? These whimsical little characters are a fun and creative way to bring some cheer to your home during the holiday season. And the best part is, they’re relatively easy to make with a basic knitting pattern.
To get started, you’ll need some basic knitting supplies, including yarn in red, white, and flesh tones, as well as a set of double-pointed knitting needles. You’ll also need some stuffing material, such as polyester fiberfill, to give your gnomes their three-dimensional shape.
The first step in creating your knitted Santa gnome is to cast on your stitches and knit the body of the gnome in red yarn. You’ll then switch to white yarn to knit the gnome’s beard, and use flesh-toned yarn to create the gnome’s face. Once you’ve completed the knitting portion, it’s time to stuff your gnome and shape it into the desired form.
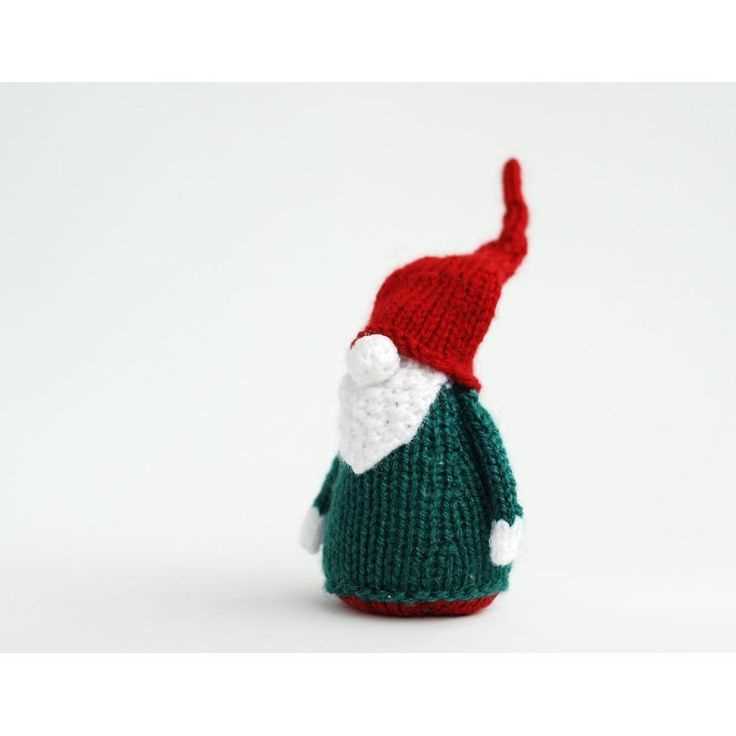
Next, you’ll move on to knitting the gnome’s signature pointed hat. This can be done in a contrasting color, such as green or blue, to add some visual interest to your gnome. You’ll also need to make a pom-pom for the top of the hat for an extra festive touch.
Once you’ve completed all the knitting and shaping, it’s time to add the finishing touches to your knitted Santa gnome. This can include embroidering the gnome’s facial features, such as the eyes and nose, and adding any additional accessories, such as a belt or a mini sack of gifts. Get creative and personalize your gnomes to make them truly unique.
Once you’ve mastered the basic knitted Santa gnome pattern, you can experiment with different variations and sizes to create a whole family of gnomes. These charming little creatures will add a touch of magic and whimsy to your holiday decorations and are sure to delight everyone who sees them.
Body
The body is the main part of the knitted Santa gnome. It is where all the details and features come together to create the character. The body is usually round in shape, resembling a small ball or sphere. It is knitted using a soft and fluffy yarn to give it a plush and cozy feel.
To start knitting the body, you will need to cast on a certain number of stitches and join them in the round. This can be done using double-pointed needles or circular needles, depending on your preference. As you knit, the body will gradually take shape and grow taller. You can adjust the size of the body by adding or reducing the number of rounds you knit.
Once the body is the desired height, you can start adding the details such as the face, arms, and hat. The face of the gnome can be created by embroidering or sewing on features like eyes, nose, and mouth. The arms can be knit separately and then attached to the body, or they can be knitted directly from the body using the magic loop technique.
Finally, the hat is added to complete the Santa gnome’s look. The hat is usually pointed and floppy, just like the traditional Santa hat. It can be knitted separately and then sewn onto the head, or it can be knitted directly from the body by working decreases to shape the point of the hat.
Overall, the body of the knitted Santa gnome is the foundation of the character. It is where the magic begins and where the personality of the gnome starts to come to life. By using the right yarn, stitches, and techniques, you can create a whimsical and adorable Santa gnome to decorate your home during the holiday season.
The Hat
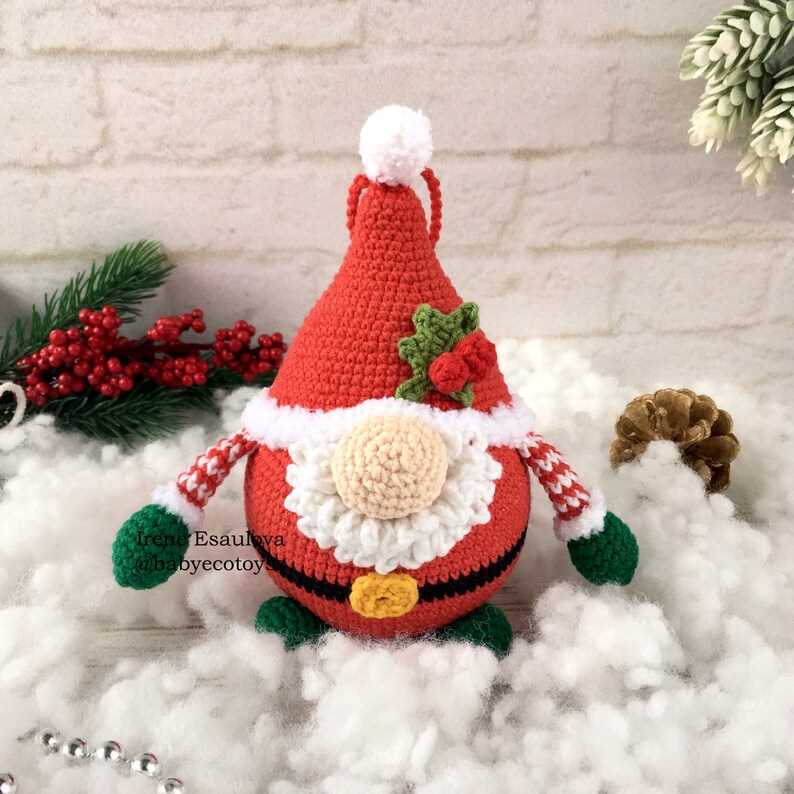
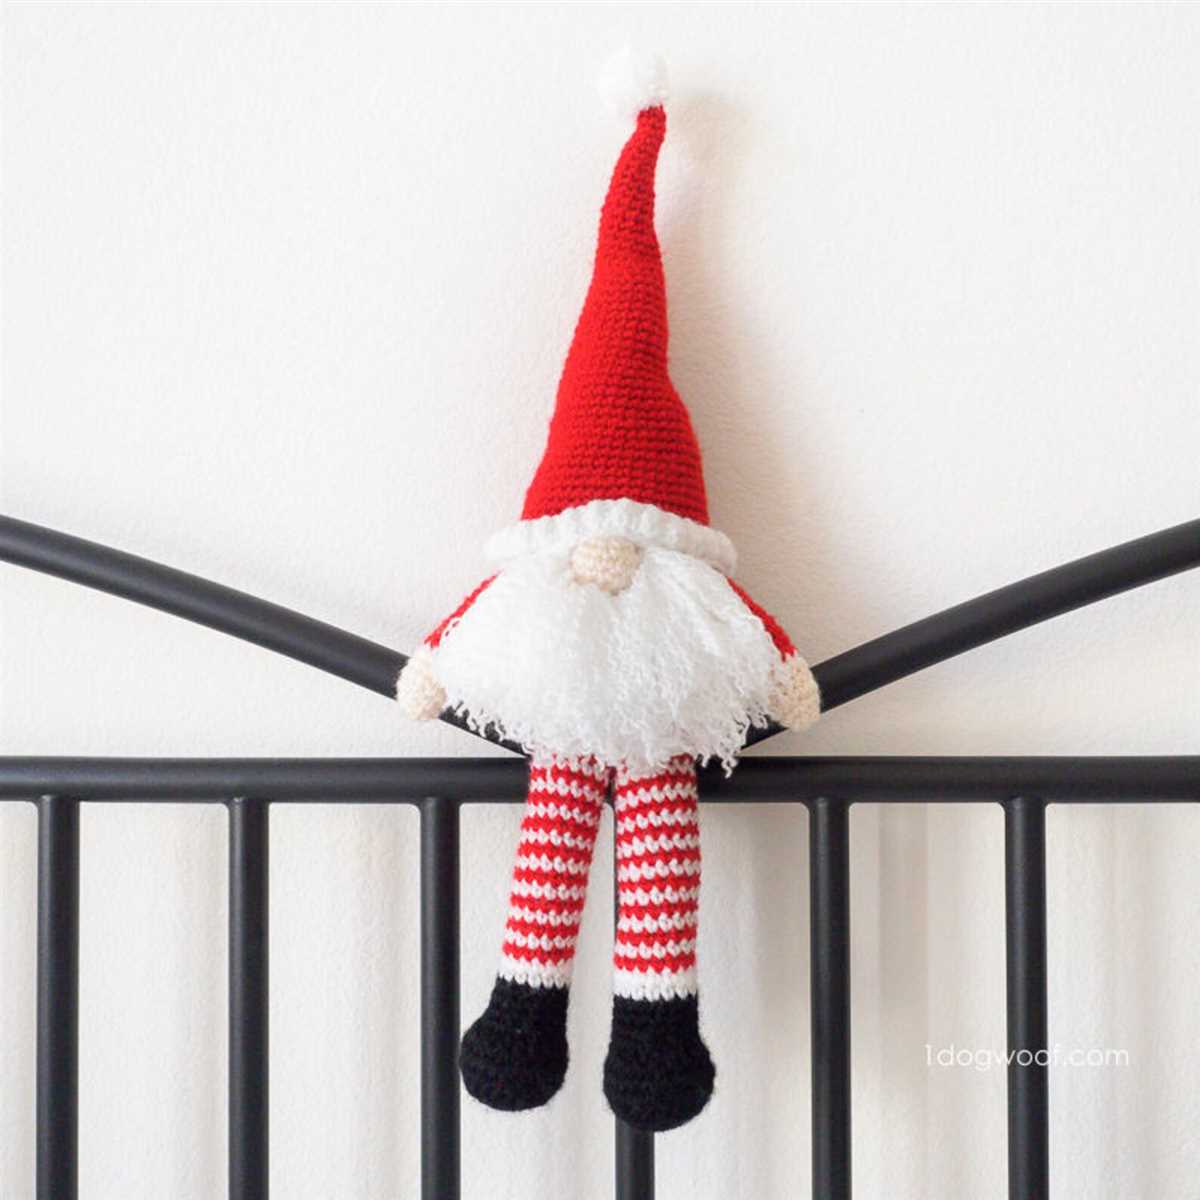
A very important part of the knitted Santa gnome is his hat. The hat is what gives him that festive and whimsical look. It is typically a cone-shaped hat, often seen in red and white stripes or solid red with a white pom-pom on top. The hat is usually slightly longer than the gnome’s body, giving it a pointy and elf-like appearance.
To knit the hat, you will need to follow a basic hat pattern and adjust it to the size and style you prefer. You can choose to knit the hat using a chunky yarn for a more cozy and textured look, or use a finer yarn for a more delicate and intricate design.
One popular pattern for the Santa gnome hat involves knitting in the round and using a combination of ribbing, stripes, and decreases to create the cone shape. You can also add embellishments like a fold-over brim, a tassel, or even some embroidery or appliqué to make it more personalized and unique.
If you are new to knitting or looking for a simpler option, there are also hat patterns available that are specifically designed for Santa gnomes. These patterns often include step-by-step instructions, diagrams, and even video tutorials to help you along the way.
The hat is the finishing touch that completes the look of the knitted Santa gnome. It adds that festive and jolly element, making the gnome the perfect decoration or gift for the holiday season. Whether you choose to knit a classic red and white striped hat or get creative with different colors and patterns, the hat is what truly brings the Santa gnome to life.