
If you enjoy knitting and want to add a personal touch to your dining table, why not try knitting your own placemats? Knitted placemats can be a fun and creative way to showcase your skills and add a cozy touch to your home decor.
There are many patterns available for knitted placemats, ranging from simple designs for beginners to more intricate patterns for experienced knitters. Whether you prefer a classic look or something more modern and trendy, you can find a pattern that suits your style.
Knitted placemats can be made using various techniques, such as knitting in the round or working flat. You can choose to use a single color or experiment with different colors and stitch patterns to create unique designs. The possibilities are endless!
In this article, we will explore different knitted placemat patterns, including step-by-step instructions and tips for customization. We will also discuss yarn choices and recommended needle sizes to help you create the perfect placemat for your dining table.
So, grab your knitting needles and get ready to dive into the world of knitted placemat patterns. Whether you’re a beginner or an experienced knitter, this article will provide you with all the information you need to get started on your next knitting project.
Knitted Placemat Pattern: Create Beautiful and Functional Table Decor

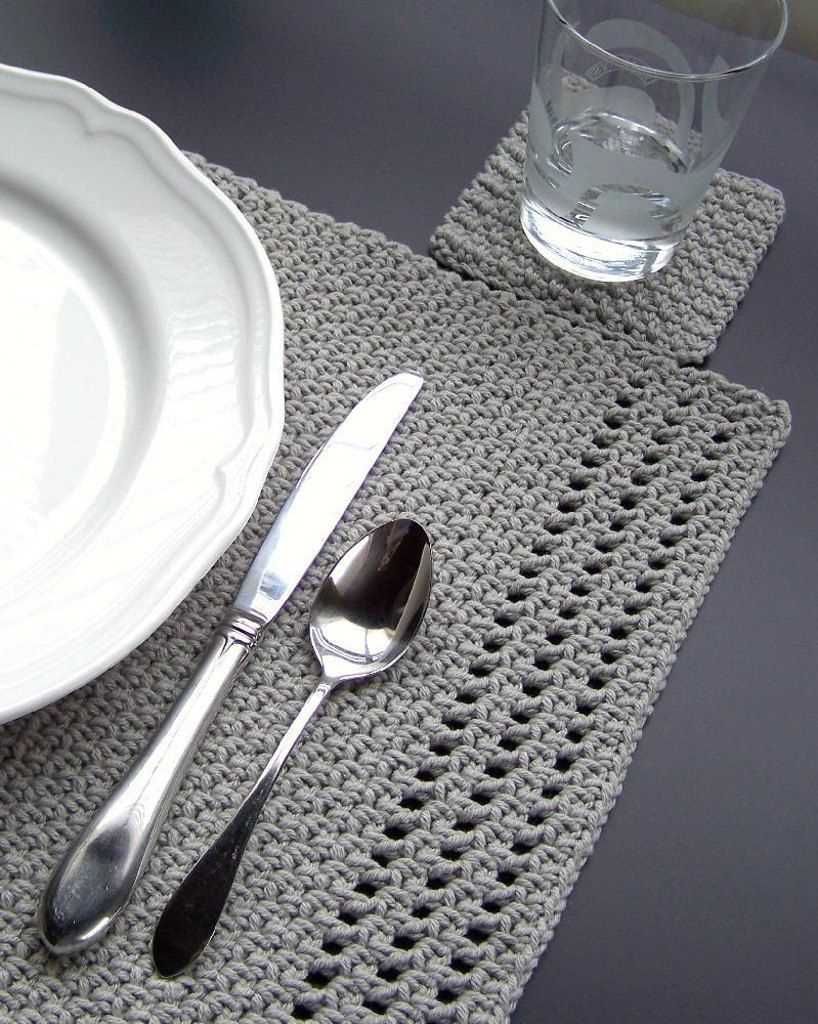
When it comes to table decor, a knitted placemat pattern can add both beauty and functionality to your dining experience. These handcrafted placemats not only protect your table surface from scratches and spills, but also provide an opportunity to showcase your knitting skills and personal style.
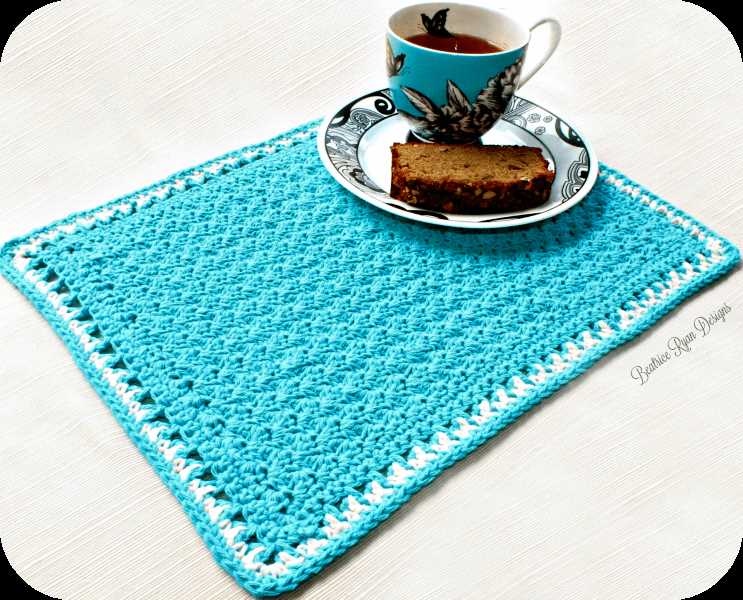
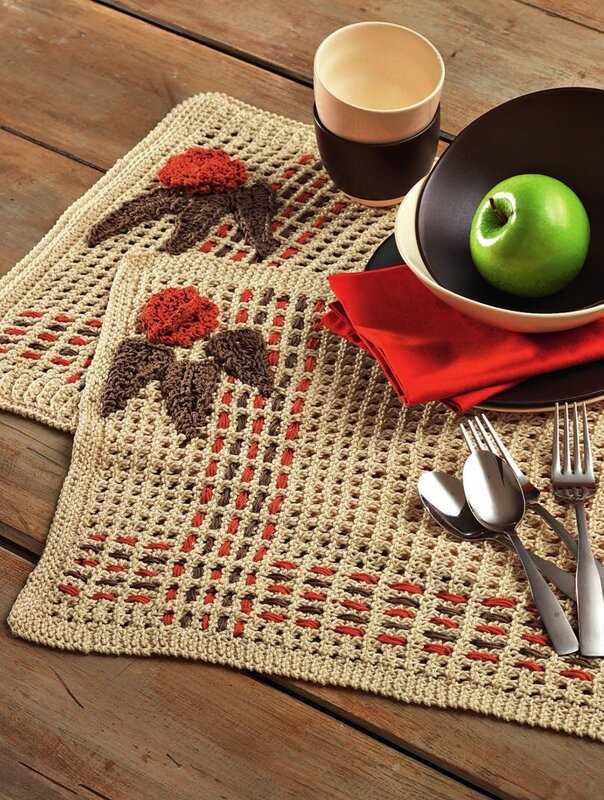
With a knitted placemat pattern, you can create unique and eye-catching designs that will make a statement on your table. Whether you prefer a simple and classic pattern or a more intricate and colorful design, there are countless options to choose from. You can experiment with different stitches, patterns, and colors to create a placemat that reflects your personal taste and complements the overall aesthetic of your dining area.
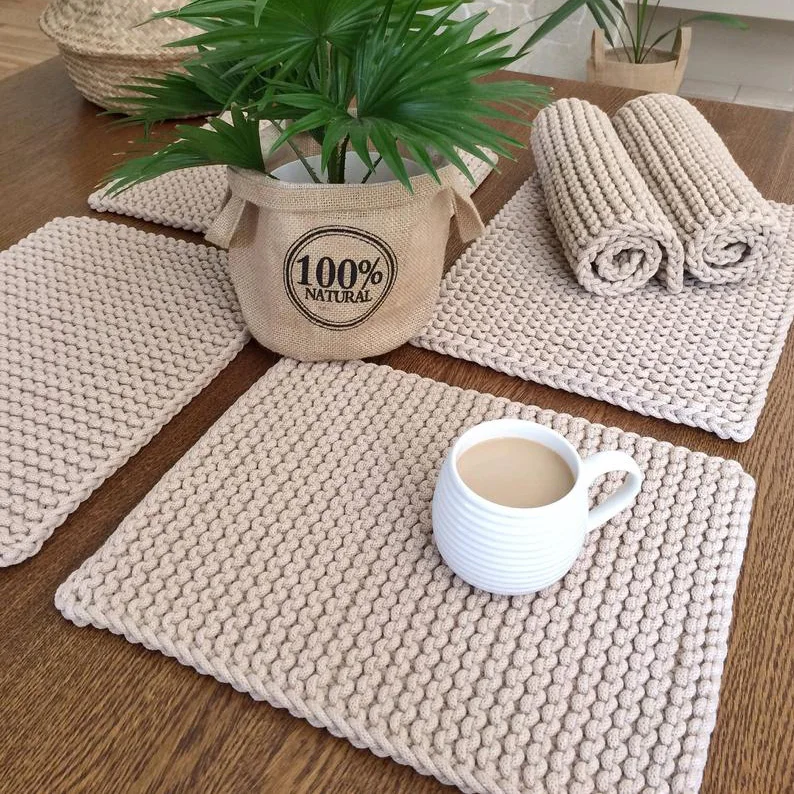
One advantage of using knitted placemats is their durability. Unlike disposable or plastic placemats, knitted ones can be reused for years, making them an eco-friendly choice. The thick and textured fabric of knitted placemats also provides a cushioning effect, ensuring that your plates and cutlery stay in place and reducing noise when setting down dishes.
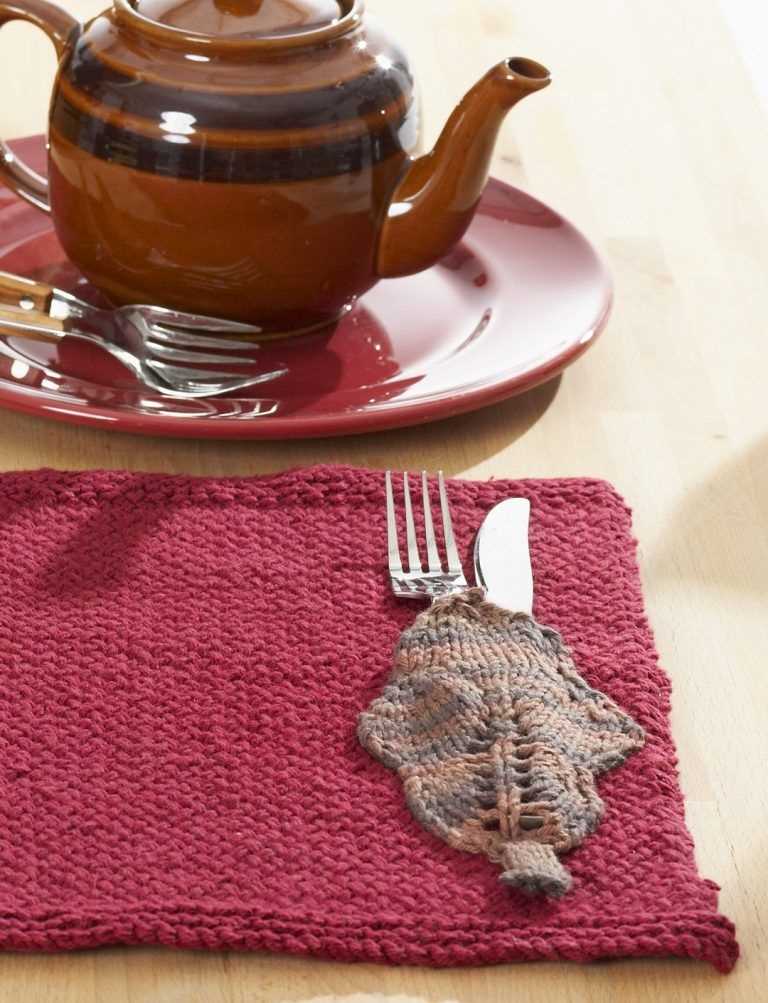
Knitted placemat patterns can also be a great way to add a touch of warmth and coziness to your dining table. The soft and tactile nature of knitted fabric can create a welcoming atmosphere, inviting your guests to sit back and enjoy their meal. Additionally, the insulation properties of the fabric can help protect your table from hot plates and bowls, preventing heat damage.
Whether you’re hosting a formal dinner party or enjoying a casual family meal, knitted placemats can elevate your table decor and enhance your dining experience. So why not give it a try and start creating your own beautiful and functional placemats using a knitted placemat pattern?
Benefits of Knitted Placemats:
- Protect your table surface from scratches and spills
- Showcase your knitting skills and personal style
- Create unique and eye-catching designs
- Durable and reusable
- Provide a cushioning effect and reduce noise
- Add warmth and coziness to your dining table
- Protect your table from hot plates and bowls
Materials Needed for Knitting
Knitting is a popular craft that requires a few basic materials to get started. Whether you’re a beginner or an experienced knitter, having the right tools and supplies is essential for a successful project.
To begin knitting, you will need:
- Yarn: Yarn is the main material used in knitting. It comes in a variety of colors, textures, and thicknesses. Choose a yarn that is suitable for the type of project you are planning to knit. For a knitted placemat, a medium-weight yarn would work well.
- Knitting Needles: Knitting needles come in different sizes and materials. The size of the needles depends on the type of yarn and the desired gauge. For a knitted placemat, you will need medium-sized needles, usually around US size 8-10 (5-6 mm).
- Tape Measure: A tape measure is essential for measuring your work and making sure it meets the desired dimensions. This is especially important in projects like placemats, where size and shape are important.
- Scissors: Scissors are used for cutting the yarn and any excess ends. Make sure to have a pair of sharp scissors that can easily cut through the yarn.
- Tapestry Needle: A tapestry needle is used for weaving in the loose ends of yarn and sewing pieces together. It has a large eye and a blunt tip, making it easier to work with yarn.
In addition to these basic materials, you may also want to have stitch markers, a stitch holder, and a row counter, depending on the complexity of your project. These tools can help you keep track of your stitches and make your knitting process smoother.
Choosing the Right Yarn for Your Placemat
Knitting a placemat can add a touch of warmth and style to your dining table. One of the most important factors to consider when knitting a placemat is the choice of yarn. The right yarn can make a big difference in the final look and feel of the placemat, as well as its durability and ease of care.
1. Fiber Content
The first thing to consider when choosing yarn for your placemat is the fiber content. Different fibers have different properties that can affect the performance of your placemat. For example, cotton yarn is a popular choice for placemats because it is durable, absorbent, and easy to care for. It can withstand frequent washing without losing its shape. On the other hand, wool yarn can add warmth and coziness to your table setting, but it may require more delicate care.
2. Weight
The weight of the yarn is another important factor to consider. Placemats are often knit with medium or heavy weight yarns to ensure that they have enough structure and stability. Lighter weight yarns may result in a more delicate and drapey placemat, but they may not hold up as well to regular use and washing.
3. Color and Texture
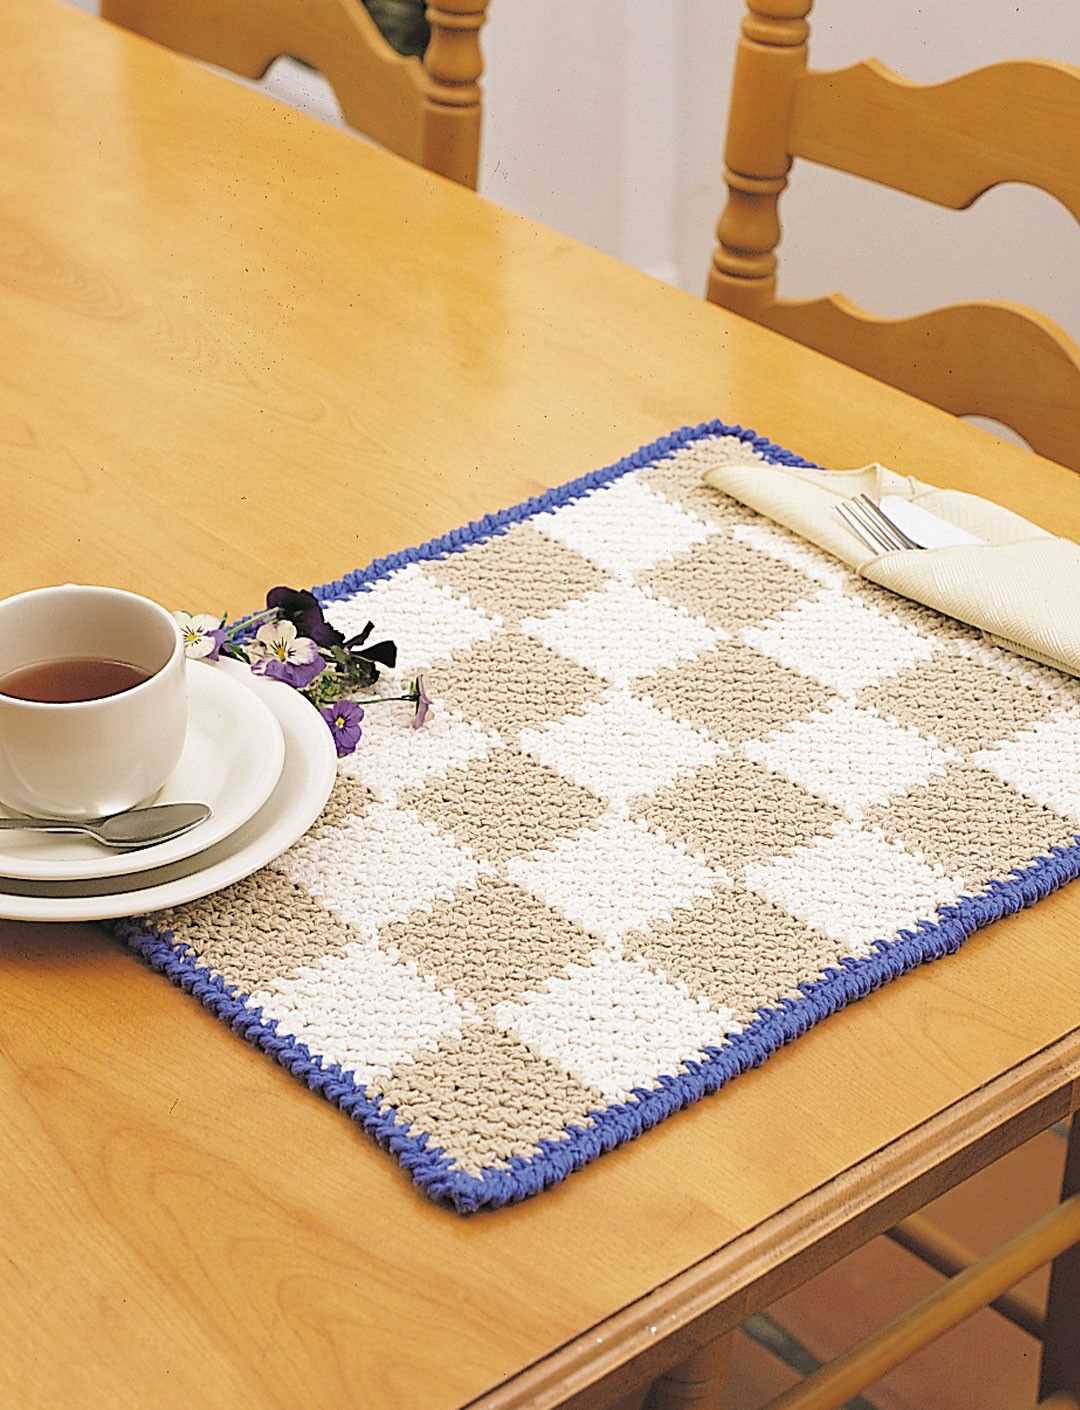
The color and texture of the yarn can also play a role in the overall aesthetic of your placemat. Consider the color scheme and style of your dining area when choosing yarn. Solid colors can create a classic and timeless look, while variegated or textured yarns can add visual interest and dimension to your placemat.
In conclusion, choosing the right yarn for your placemat is essential for achieving the desired look and function. Consider the fiber content, weight, color, and texture of the yarn to ensure that your placemat is not only visually appealing but also durable and easy to care for.
Selecting the Appropriate Knitting Needles
When it comes to knitting, selecting the appropriate knitting needles is essential for achieving the desired results. The right size and material can greatly impact the outcome of your project, whether you’re making a knitted placemat or any other knitted item.
Size: Choosing the correct needle size is crucial for obtaining the correct gauge and achieving the desired dimensions of your knitted piece. This is especially important for a knitted placemat pattern, where the size and shape play a significant role. Be sure to check the pattern instructions and gauge information before selecting your knitting needles.
Material: The material of your knitting needles also plays a role in the final outcome of your project. Different materials have different characteristics, which can affect the stitch definition, drape, and overall feel of the knitted fabric. Common knitting needle materials include metal, wood, and plastic. Each material has its own advantages and disadvantages, so consider your personal preferences and the requirements of your project before making a choice.
Level of Experience: Another factor to consider when selecting knitting needles is your level of experience. Beginners may find it easier to work with larger needles, as they provide better visibility of the stitches and are generally more forgiving. On the other hand, more experienced knitters may prefer smaller needles for finer and more intricate work. Consider your comfort level and the complexity of the pattern before choosing your needles.
In conclusion, selecting the appropriate knitting needles is an important step in any knitting project, including a knitted placemat pattern. Consider the size, material, and your level of experience to ensure the best possible outcome. Happy knitting!
Getting Started: Casting On Stitches

Before you start knitting your placemat, it’s important to cast on the required number of stitches. Casting on is the process of creating the foundation row of stitches that will form the beginning edge of your work. There are several methods you can use to cast on stitches, but one of the most common methods is the long-tail cast on.
To begin the long-tail cast on, you’ll need to estimate the length of yarn you’ll need for the number of stitches required. Leave a tail of yarn that is approximately three times the width of your finished placemat. Then, make a slipknot on your knitting needle and hold it with your dominant hand.
Next, bring the yarn end that is attached to the ball under the needle and over the tail. Use your thumb and index finger to hold the yarn in this position. Insert the needle into the loop on your thumb from front to back, and use your thumb and index finger to bring the yarn over the needle tip, creating a new loop.
Repeat this process for the required number of stitches, making sure to keep a consistent tension on the yarn. Once you have cast on all the stitches, you can begin knitting your placemat using your chosen stitch pattern. Remember to keep the tail of yarn loose, as this will allow you to stretch and block your finished placemat more easily.
In addition to the long-tail cast on, there are other methods you can use to cast on stitches, such as the cable cast on or the knitted cast on. It’s worth experimenting with different methods to see which one you prefer and which gives you the most consistent and professional-looking edge for your placemat project.
Knitting the Main Body of the Placemat
Once you have completed the border of your knitted placemat, you can move on to knitting the main body of the placemat. This is where you will create the majority of the fabric that will be used for the placemat. To do this, you will continue working in the stitch pattern that you have chosen, following the instructions and repeating the pattern as necessary.
Start by casting on the required number of stitches for your placemat pattern. This number will depend on the size of your placemat and the stitch pattern you are using. Make sure to use the appropriate size knitting needles for your chosen yarn and stitch pattern to ensure that your placemat has the desired drape and texture.
Row 1: Begin by working the first row of your chosen stitch pattern. This could be a simple knit and purl pattern, or a more intricate lace or cable pattern. Follow the instructions for the first row, making sure to read the pattern carefully and count your stitches to ensure accuracy.
Continue working in pattern: Repeat the established stitch pattern for the desired length of your placemat. This could be a specified number of rows or measured in inches or centimeters. Make sure to keep track of your progress and count your stitches periodically to ensure that you are maintaining the correct stitch count.
Finishing: Once you have reached the desired length for your placemat, finish by working the final row of your stitch pattern. Then, bind off all stitches to secure the fabric. Weave in any loose ends and block the placemat if necessary to give it a polished look and even shape.
Now that you have completed the main body of your knitted placemat, you can move on to any additional finishing or decorative details, such as adding an edging or embellishments. Follow the instructions for your chosen pattern to complete the placemat to your desired specifications.
Incorporating Patterns and Textures
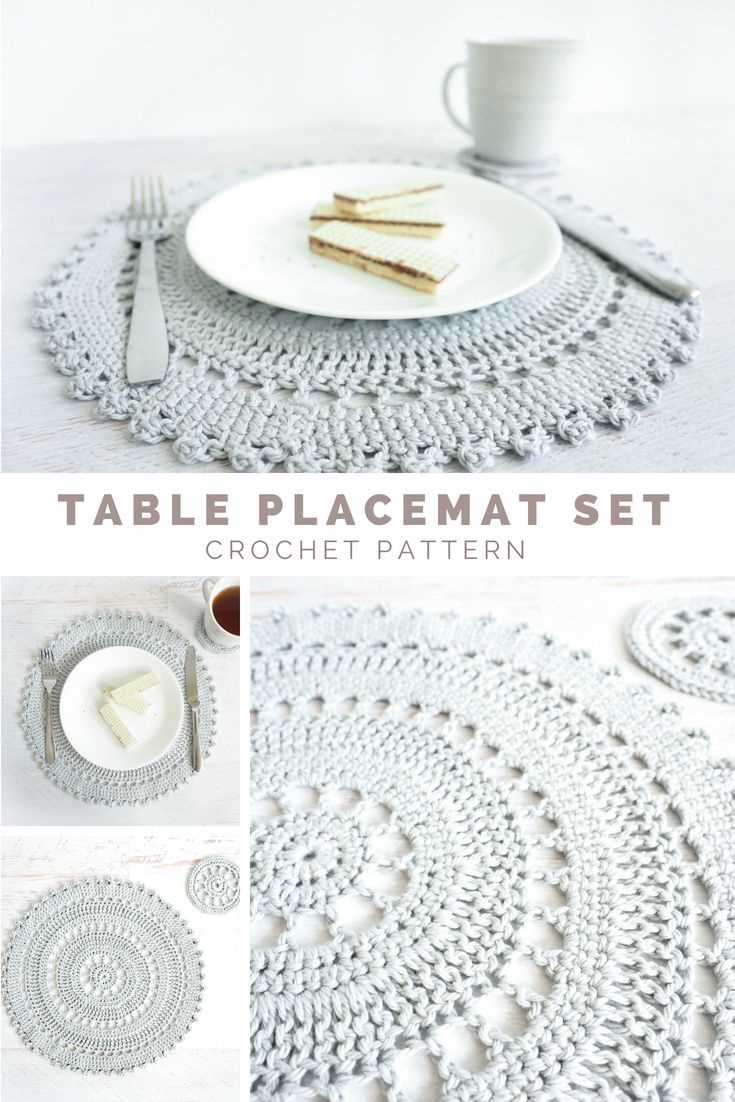
When it comes to knitting placemats, incorporating different patterns and textures can add an extra touch of elegance and uniqueness to your finished piece. A combination of various stitches and techniques can create a visually stunning design that not only protects your table but also serves as a beautiful centerpiece.
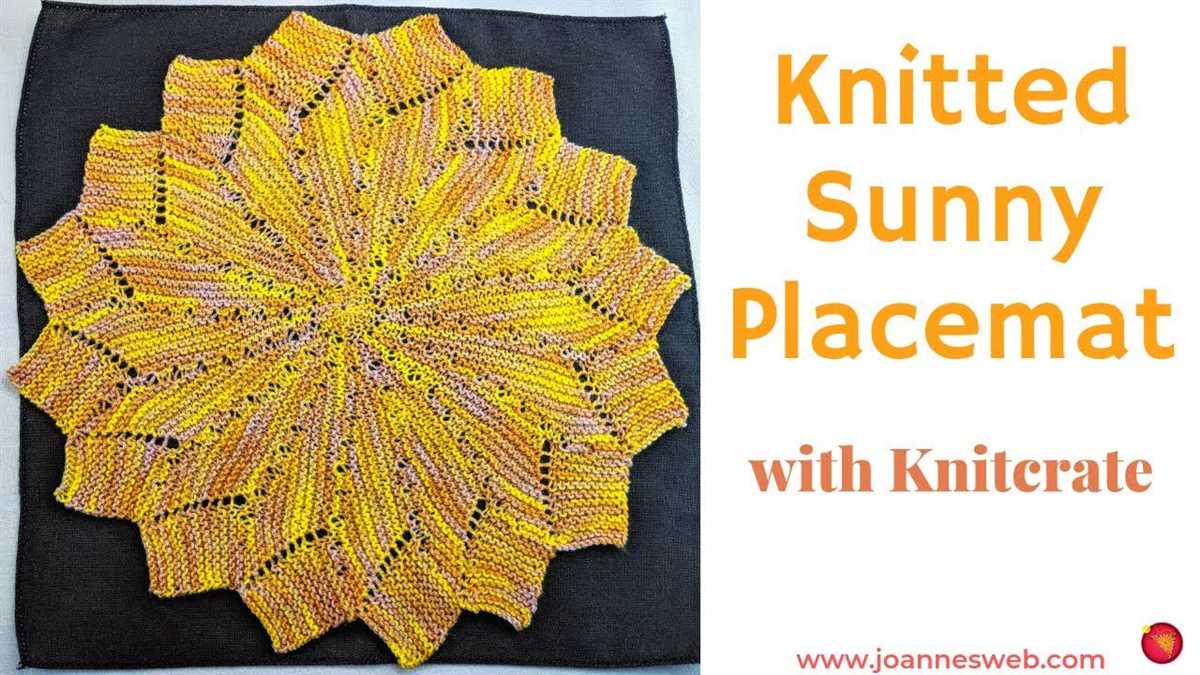
One way to incorporate patterns and textures is by using different stitch patterns. Whether it’s a simple garter stitch, a classic stockinette stitch, or a more intricate cable or lace pattern, each stitch creates its own unique texture that can add depth and interest to your placemat. You can experiment with different stitches to create a mosaic-like effect or create a repeating pattern that adds symmetry and continuity to the design.
Another way to incorporate patterns and textures is by playing with yarn choices. Different yarns have different textures, weights, and finishes, which can greatly affect the overall look and feel of your placemat. For example, a soft and fuzzy yarn can create a cozy and warm texture, while a smooth and shiny yarn can create a sleek and sophisticated look. By choosing yarns with different properties, you can create contrast and variation within your placemat design.
Additionally, you can also incorporate textures through embellishments and decorations. Adding buttons, beads, or other small trinkets can create interesting tactile elements that enhance the overall design. You can also experiment with different color combinations to create contrasting or complementary textures, playing with light and shadow to create a visually dynamic placemat.
Incorporating patterns and textures into your knitted placemats allows you to showcase your creativity and personal style. Whether you prefer a simple and minimalistic design or a bold and intricate pattern, there are endless possibilities to explore. So grab your needles, choose your favorite yarn, and start knitting your way to a beautiful and textured placemat that will surely impress!
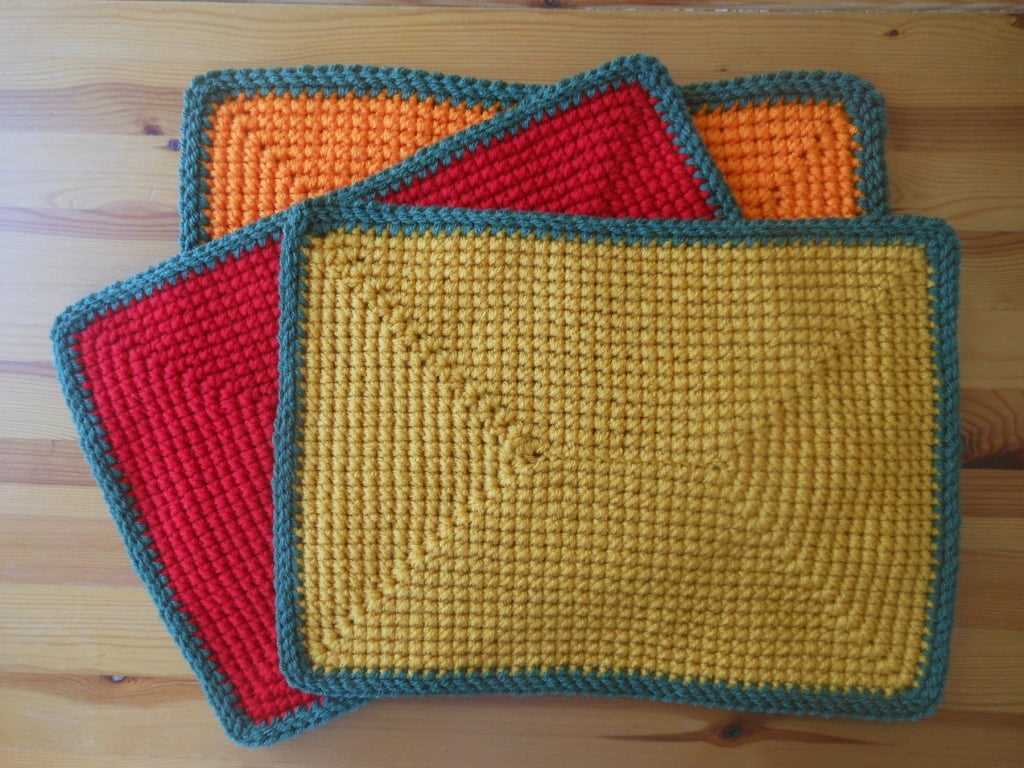
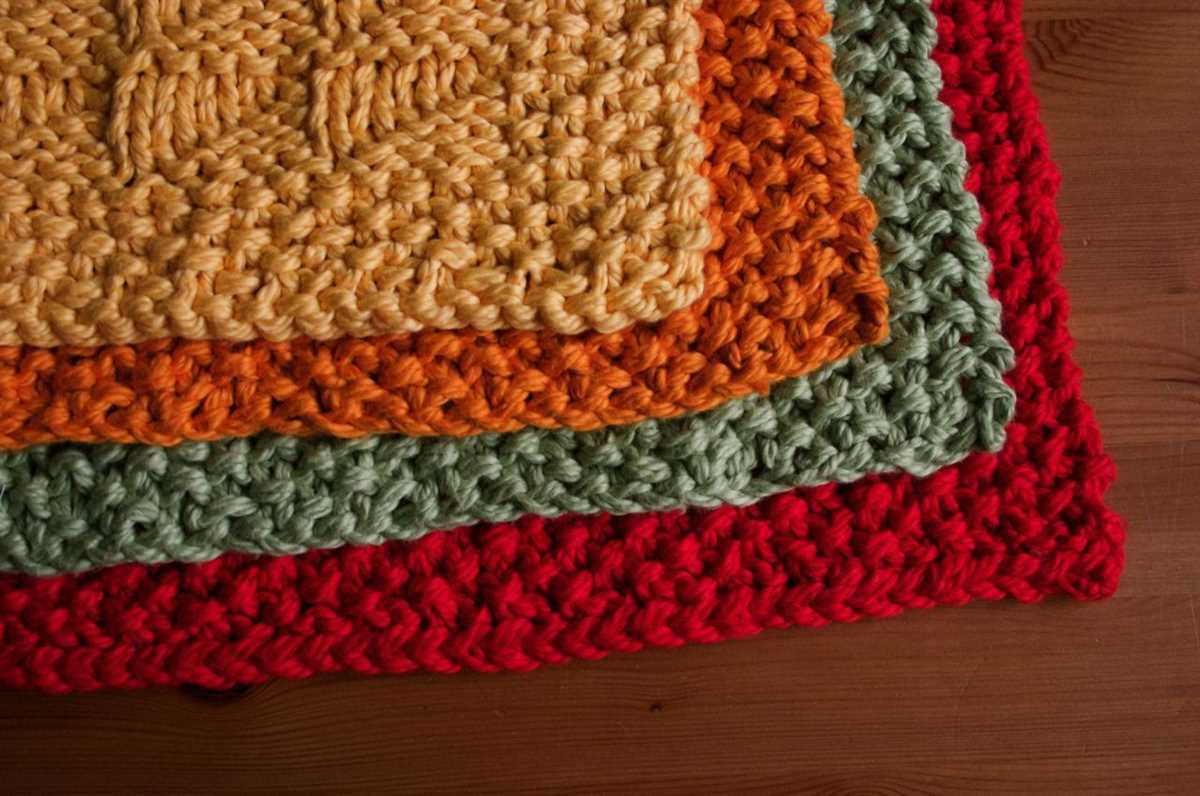
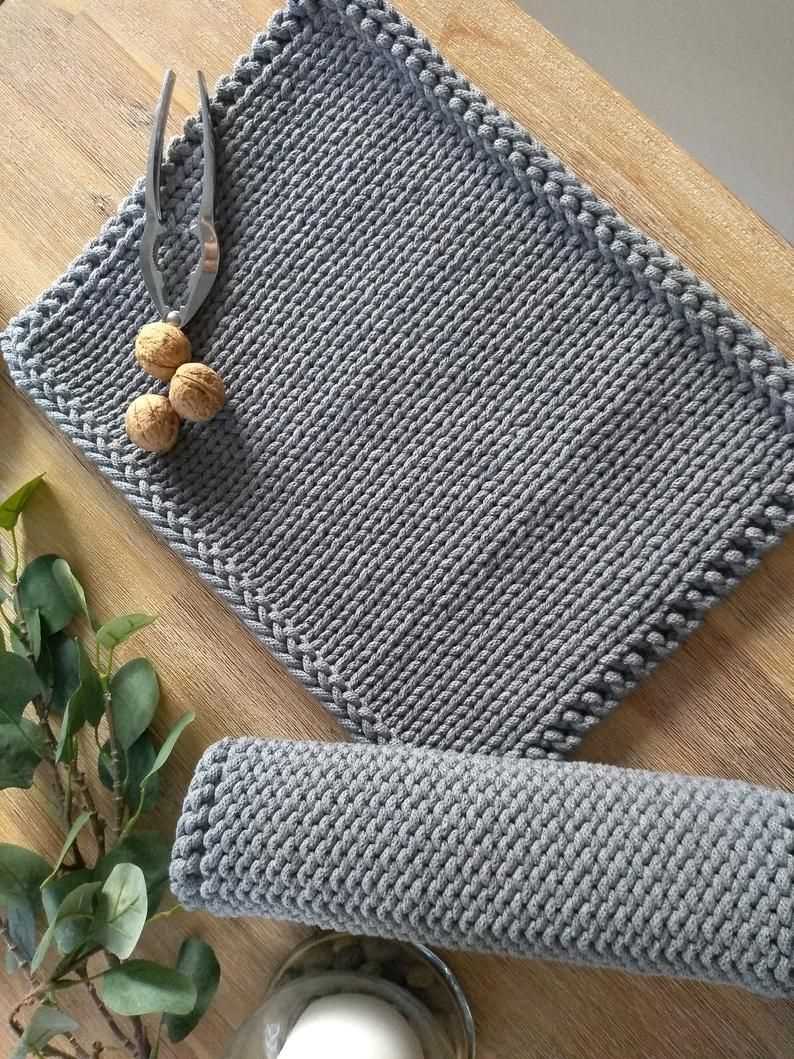
Adding Borders for a Finished Look

Once you have completed knitting your placemat, adding borders is a great way to give it a polished and finished appearance. Borders not only add an aesthetic touch to your creation but also help to stabilize the edges and prevent them from curling.
To add borders to your knitted placemat, you can follow these steps:
- Select the border design: You can choose from a variety of border designs depending on the look you want to achieve. Common options include garter stitch, seed stitch, ribbing, or a simple stockinette stitch.
- Measure your placemat: Before starting the border, measure the dimensions of your placemat to determine the length of the border you’ll need to knit. It’s essential to have accurate measurements to ensure a perfect fit.
- Pick up stitches: Using a smaller-sized knitting needle, pick up stitches along the edges of your placemat. The number of stitches you pick up will depend on your chosen border design and the gauge of your knitting.
- Knit the border: Once you have picked up the stitches, start knitting the border using your selected stitch pattern. Make sure to keep the tension consistent throughout to maintain an even and neat appearance.
- Bind off: When you have reached the desired length of the border, bind off your stitches. You can use the same bind-off method as you did for the main body of the placemat or try a different one to add some variation.
By adding borders to your knitted placemat, you can elevate its overall look and make it a standout piece on your dining table. Experiment with different stitch patterns and colors to create unique and personalized designs that reflect your style and taste.
Blocking and Finishing Your Knitted Placemat
After you have completed knitting your placemat, the next step is to block and finish it. Blocking is an important process that helps to shape and size your knitted piece, giving it a polished and professional look. Here are some steps to follow to block and finish your knitted placemat:
1. Soak your placemat: Fill a basin or sink with lukewarm water and add a small amount of wool wash or mild detergent. Gently place your placemat in the water and let it soak for about 15 minutes. This will help to relax the fibers and remove any excess dye or dirt.
2. Remove excess water: After soaking, carefully lift the placemat out of the water, being careful to support its weight. Squeeze gently to remove excess water, but avoid wringing or twisting, as this can cause the fibers to stretch or lose their shape.
3. Lay flat to dry: Lay your placemat flat on a clean, dry towel or blocking mat. Gently reshape it to the desired dimensions, ensuring that the edges are straight and the corners are square. Smooth out any wrinkles or lumps, and pin the edges in place using rust-resistant T-pins or blocking wires.
4. Let it dry completely: Allow your placemat to dry completely in a well-ventilated area, away from direct sunlight or heat sources. This process may take several hours or even a day, depending on the thickness and humidity of the yarn used.
5. Finish the edges: Once your placemat is dry, you can add a decorative or functional edge to finish it off. This can be accomplished using a crochet border, applied i-cord, or a simple whipstitch. Choose a method that complements the style and design of your placemat.
With these steps, you can ensure that your knitted placemat is blocked and finished to perfection. Enjoy using your handmade placemat for your next meal or as a thoughtful gift for a loved one!
Care Instructions for Your Handmade Placemat
Handmade placemats add a personal touch and unique charm to your dining table. To ensure that your knitted placemat stays in good condition and lasts for a long time, it is important to follow these care instructions:
1. Hand wash only: Due to the delicate nature of knitted items, it is best to hand wash your placemat. Fill a basin with lukewarm water and add a gentle detergent. Gently agitate the placemat in the soapy water, making sure to keep the water temperature consistent. Rinse with cool water and squeeze out excess water without wringing or twisting. Use a towel to gently pat the placemat dry.
2. Avoid machine drying: To prevent the placemat from losing its shape or shrinking, it is important to avoid machine drying. Instead, lay the placemat flat on a clean towel or drying rack, away from direct sunlight or heat sources. Allow it to air dry completely before using or storing.
3. Store properly: When not in use, store your knitted placemat in a clean and dry place. Avoid folding or creasing it to maintain its shape. You can roll it up gently and secure it with a ribbon or store it flat between layers of tissue paper.
4. Spot cleaning: In case of small stains or spills, it is best to spot clean the affected area. Use a mild detergent or spot remover specifically designed for delicate fabrics. Dab the stain gently without rubbing and rinse with cool water. Pat dry with a clean towel.
By following these care instructions, you can ensure that your handmade knitted placemat remains beautiful and functional for many meals to come.
Inspiration and Ideas for Customizing Your Placemat
Now that you have learned how to knit a basic placemat, it’s time to get creative and customize your design! Here are some inspiration and ideas to help you add your personal touch to your placemat:
1. Colorful Yarns
Instead of sticking to one color, experiment with different yarns to create a colorful and vibrant placemat. You can choose a gradient yarn for a beautiful ombré effect or mix and match different variegated yarns for a unique and eye-catching design.
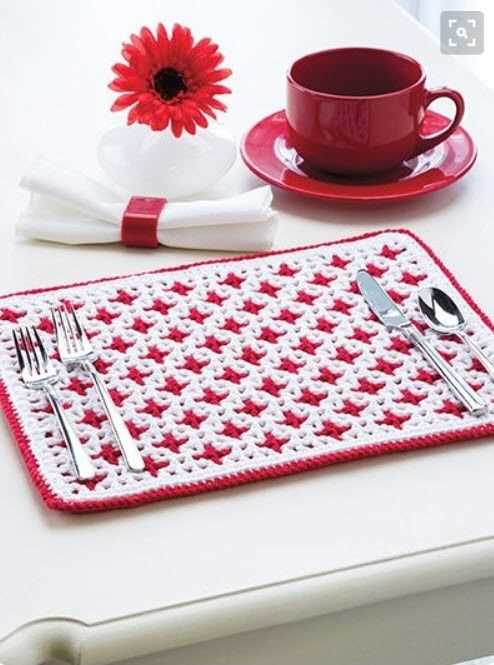
2. Stripes and Patterns
Add stripes or patterns like chevrons, polka dots, or cables to make your placemat more visually interesting. You can incorporate these patterns by alternating different colors or by using different stitch techniques. This will give your placemat a playful and textured look.
3. Embellishments
Consider adding embellishments to your placemat, such as buttons, beads, or appliques. These small details can elevate the overall look and add a touch of elegance or whimsy to your placemat.
4. Personalized Monograms

If you want to make your placemat truly one-of-a-kind, consider adding a personalized monogram. You can knit or embroider your initials, name, or even a favorite symbol into the placemat. This will make it a special and meaningful addition to your table setting.
With these ideas, you can create beautiful and customized placemats that reflect your personal style and add a touch of warmth and creativity to your dining experience!