
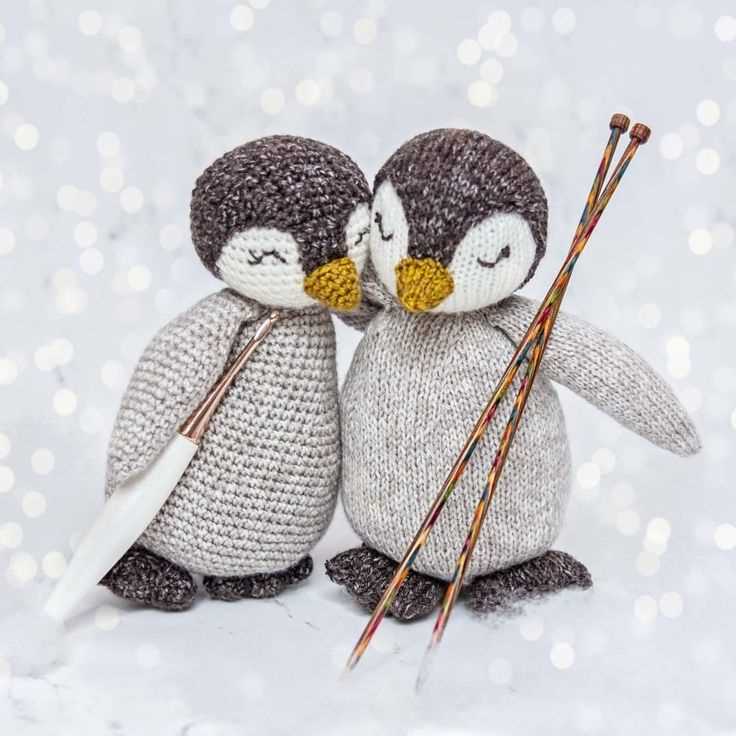
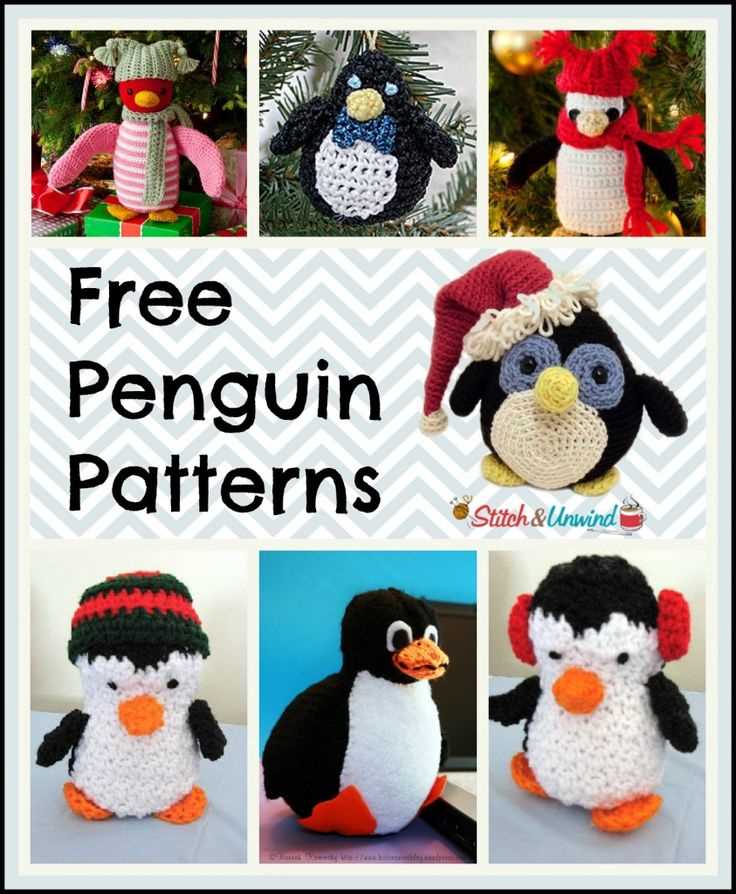
Do you love penguins? Are you a fan of knitting? If you answered yes to both of these questions, then you’re in for a treat! We have a free knitted penguin pattern that is sure to bring a smile to your face. Whether you’re a beginner or an experienced knitter, this pattern is perfect for anyone who wants to create their own adorable penguin.
Knitting is a wonderful hobby that allows you to relax and create something beautiful at the same time. And what could be more adorable than a knitted penguin? These cute little creatures make for great gifts or decorations, and with our free pattern, you can make as many as you want!
Our knitted penguin pattern is designed to be easy to follow, with step-by-step instructions and photos to guide you along the way. We’ve included everything you need to know, from choosing your yarn and needles to finishing touches like sewing on the eyes and beak. Even if you’re new to knitting, you’ll be able to complete this project with ease.
So why not give it a try? Download our free knitted penguin pattern today and start creating your own adorable penguins. Whether you keep them for yourself or share them with friends and family, these little creatures are sure to bring joy to anyone who sees them. Get your knitting needles ready and let’s get started!
Knitted Penguin Pattern Free
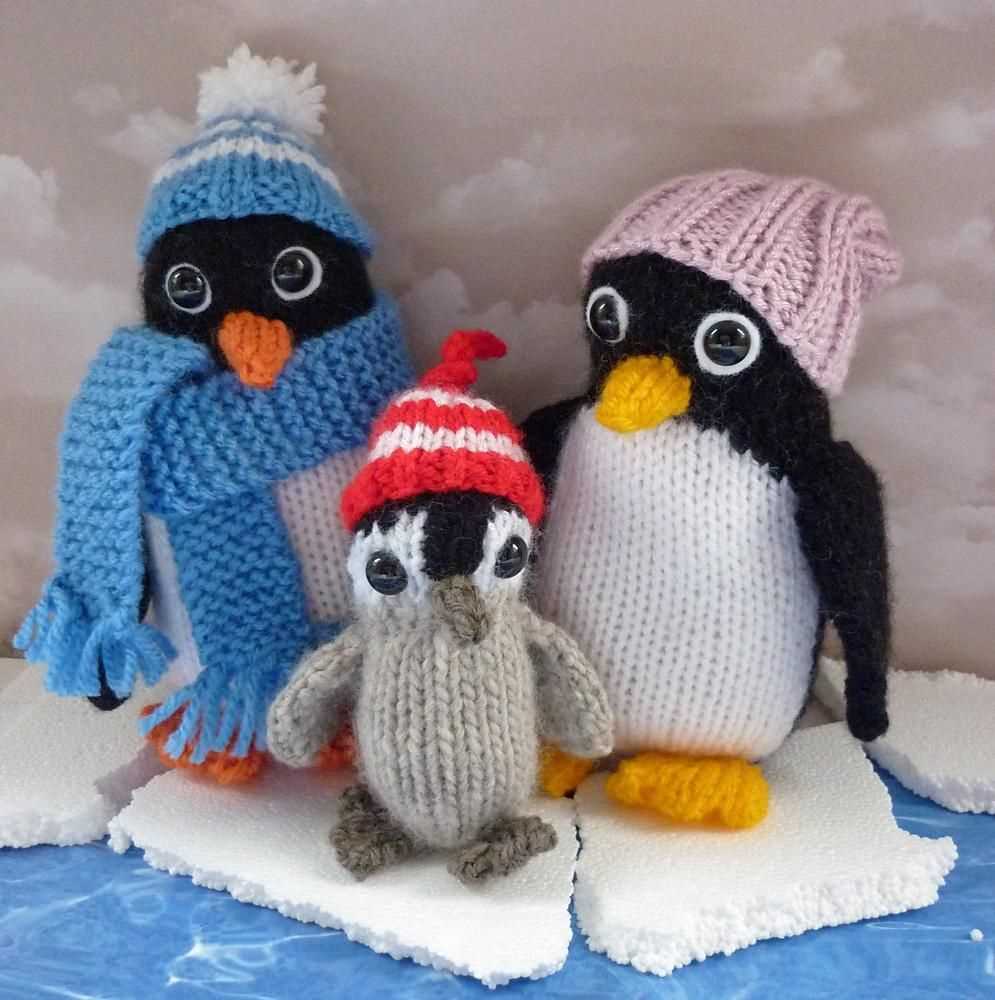
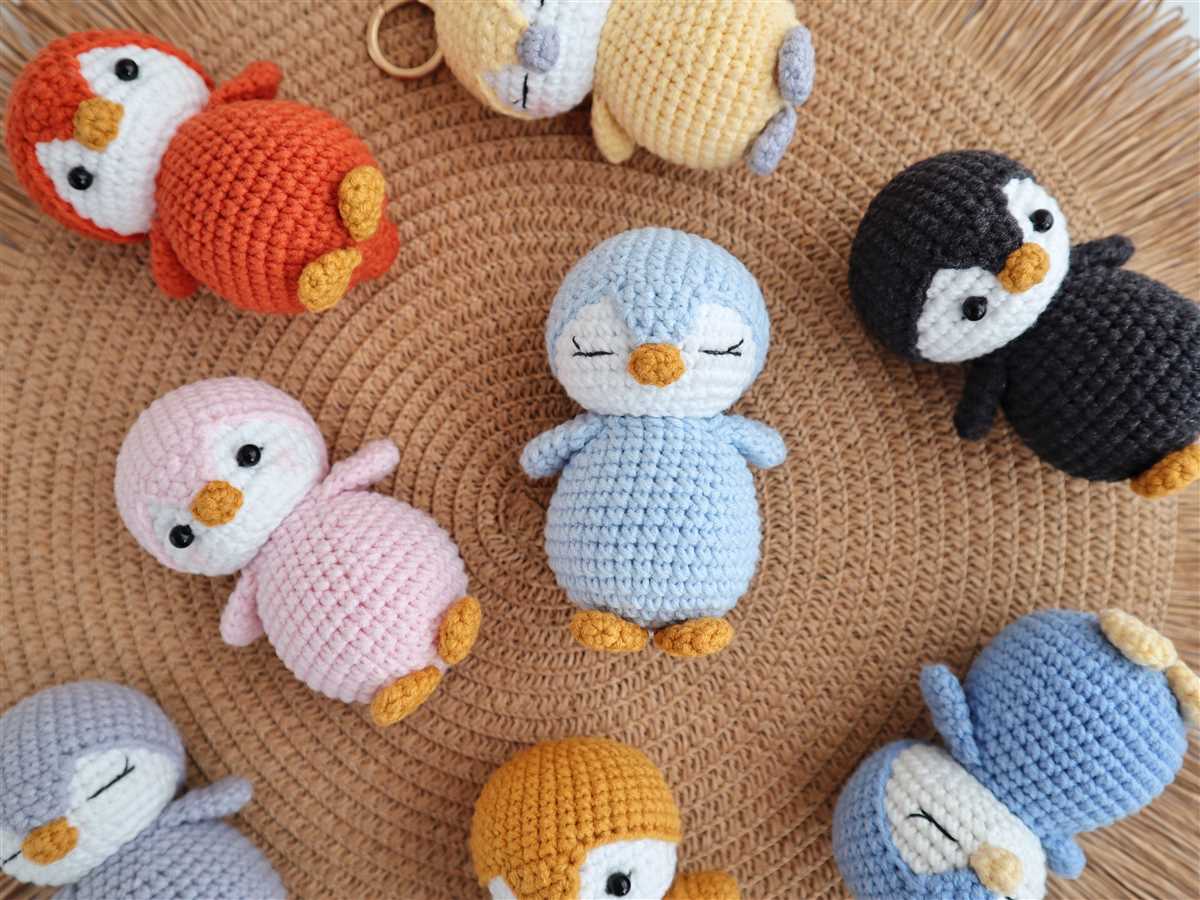
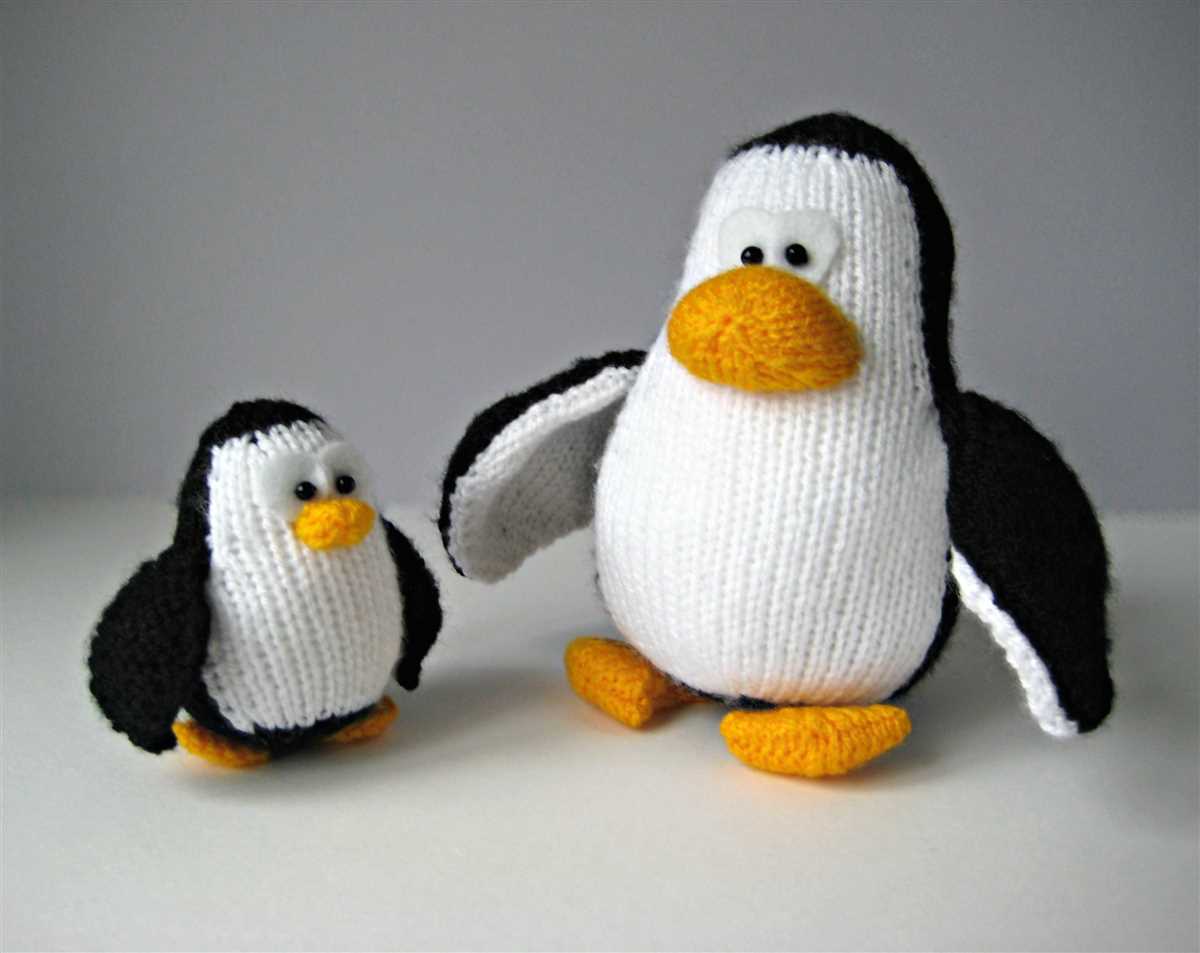
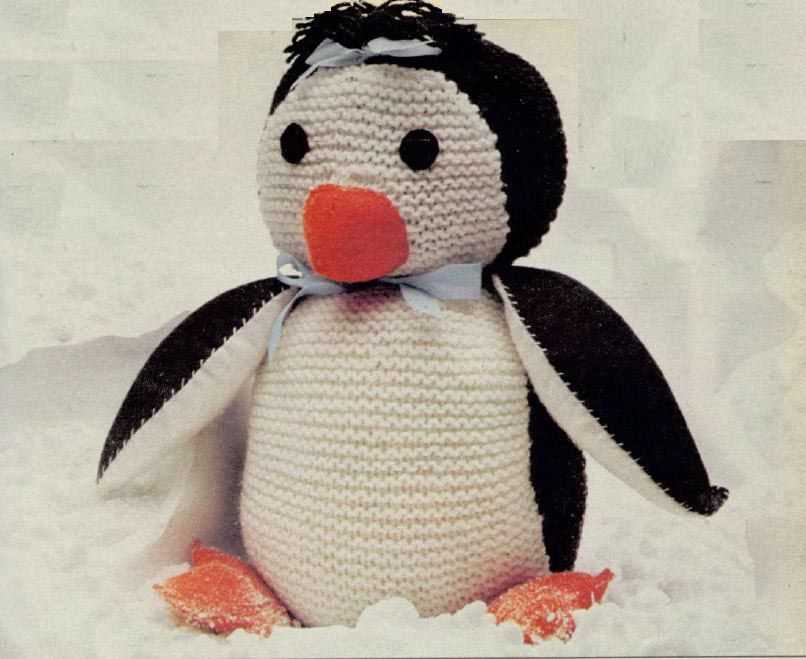
If you enjoy knitting and are looking for a fun and adorable project, a knitted penguin might be the perfect choice. With its black and white colors and cute shape, a knitted penguin makes a great toy, decoration, or gift. And the best part is, you can find many free patterns online to help guide you through the process.
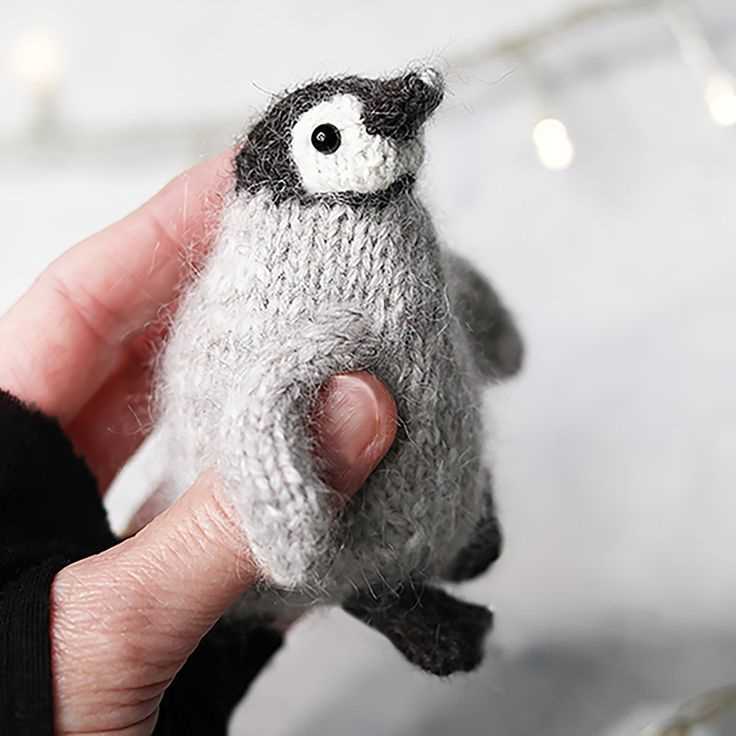
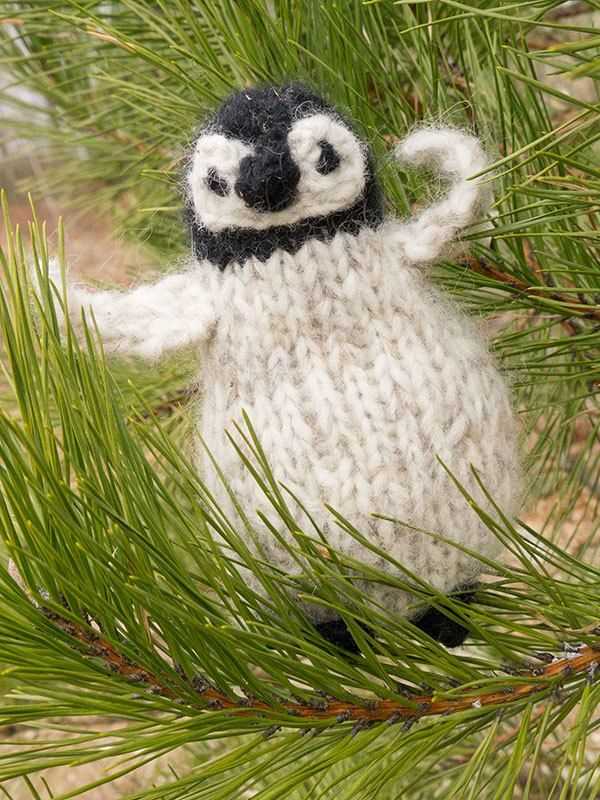
One popular knitted penguin pattern that is available for free is the “Tiny Penguin” pattern. This pattern provides step-by-step instructions on how to create a small, pocket-sized penguin. The pattern uses basic knitting stitches and techniques, making it suitable for knitters of all skill levels. With this pattern, you can create an adorable knitted penguin that can fit in the palm of your hand.
Materials and Tools

- Yarn in black and white colors
- Knitting needles (size may vary depending on the thickness of your yarn)
- Tapestry needle
- Fiberfill or stuffing
- Scissors
Instructions
- Start by casting on stitches using the black yarn to create the penguin’s body.
- Follow the pattern’s instructions to knit the body, head, wings, and feet separately.
- Once all the pieces are knitted, use the tapestry needle to sew them together.
- Stuff the penguin using fiberfill or stuffing to give it a plump and cuddly appearance.
- Finally, sew on small details like the eyes and beak using the white yarn, and your knitted penguin is complete!
Knitting a penguin can be a fun and rewarding project. It allows you to showcase your knitting skills while creating an adorable and unique item. Whether you are a beginner or an experienced knitter, finding a free knitted penguin pattern is a great way to get started and bring some cuteness into your life.
Materials Needed for the Knitted Penguin
Creating a knitted penguin requires a few essential materials to bring your adorable creation to life. Whether you are an experienced knitter or just starting out, having the right materials is crucial for a successful project. Here is a list of the materials you will need:
- Yarn: Choose black, white, and orange yarn to replicate the classic penguin colors. Opt for a medium weight yarn that will provide a good balance of softness and durability.
- Knitting Needles: Depending on your preferred method, you will need a pair of knitting needles in the appropriate size for your selected yarn. Check the yarn label for recommended needle size.
- Stuffing: To give your knitted penguin its shape and structure, you will need stuffing material. Polyester fiberfill is commonly used and provides a lightweight and fluffy result.
- Black Safety Eyes: To give your penguin that realistic look, use black safety eyes. Make sure they are the appropriate size for your pattern and securely attach them to the knitted body.
- Yarn Needle: A yarn needle with a large eye is essential for sewing together different parts of your penguin and weaving in loose ends.
- Scissors: Keep a pair of sharp scissors handy for cutting yarn and trimming any loose ends.
With these materials in hand, you are ready to start knitting your penguin! Make sure to gather all the necessary supplies before beginning your project to ensure a smooth and enjoyable knitting experience.
Steps to Create the Body of the Knitted Penguin
Creating the body of the knitted penguin is an essential part of the knitting process. Follow these steps to make a cute and cuddly penguin toy:
1. Gather the materials:
To get started, gather all the necessary materials for knitting the penguin’s body. You will need yarn in black and white colors, knitting needles appropriate for the yarn weight, stuffing material, a tapestry needle, and scissors.
2. Cast on the stitches:
- Using the black yarn, cast on the required number of stitches as indicated in the pattern. This will usually be based on the desired size of the penguin.
- Make sure to leave a long tail of yarn for seaming later.
3. Knit the body:
- Follow the pattern instructions to knit the body of the penguin in stockinette stitch or any other desired stitch pattern.
- Continue knitting until you reach the desired length for the body.
4. Shape the body:
- To give the penguin a tapered shape, you can decrease stitches gradually towards the bottom. This will create the penguin’s rounded belly.
- Follow the pattern instructions for any necessary decreases.
5. Bind off:
- Once the body is complete, bind off the stitches to secure them and prevent unraveling.
- Leave a long tail of yarn for seaming.
After completing these steps, you will have the body of the knitted penguin ready. From here, you can proceed to knit other parts such as the head, wings, and feet, and assemble them together to create a charming knitted penguin toy.
How to Knit the Head of the Penguin
Knitting the head of the penguin is an essential step in creating your knitted penguin toy. Follow these steps to knit the head of the penguin:
Materials Needed:
- Knitting needles (size will depend on the desired gauge)
- Yarn (black or white for the head, or any color you prefer)
- Tapestry needle
- Scissors
- Polyester fiberfill or other stuffing material
Instructions:
- Start by casting on the required number of stitches, which will depend on the size of the penguin head you want. It is recommended to start with around 8-12 stitches for a small penguin head.
- Work in the round, using the desired stitch pattern. Stockinette stitch is commonly used for a smooth finish, but any stitch pattern you prefer can be used. Knit every row if you prefer a garter stitch head.
- Continue knitting until the head reaches the desired length. This will depend on the proportions you want for your penguin toy. For example, if the body of the penguin is 10 inches long, you may want the head to be around 3-4 inches long.
- Once the head is the desired length, start decreasing stitches to shape the top. You can do this by knitting two stitches together at regular intervals, or by following a specific decrease pattern. This will create a rounded shape for the top of the head.
- When you have decreased enough stitches and the top of the head is closed, cut the yarn, leaving a long tail. Thread the tail through the tapestry needle, and slip the needle through the remaining stitches, pulling tight to close the top. Secure the end of the yarn inside the head.
- Leave an opening at the bottom of the head for stuffing. Use the tapestry needle to weave the yarn through the stitches, creating a drawstring effect. Pull tight to close the opening.
- Stuff the head firmly with polyester fiberfill or other stuffing material. Make sure to fill it evenly for a symmetrical shape.
- Once the head is fully stuffed, use the tapestry needle to close the bottom opening by weaving the yarn through the stitches and pulling tight.
- Trim any excess yarn and weave in the ends to secure them.
Following these steps will allow you to successfully knit the head of the penguin for your knitted toy. Once the head is complete, you can move on to knitting the body, wings, and other parts to assemble your adorable knitted penguin.
Creating the Wings for the Knitted Penguin
When knitting a penguin toy, one of the most important features to focus on is the wings. The wings give the penguin its characteristic look and add an extra level of cuteness to the finished toy. To create the wings, you will need to follow a specific pattern and use a variety of knitting techniques.
1. Gather the necessary materials
Before you begin knitting the wings, make sure you have all the necessary materials at hand. You will need a set of knitting needles, yarn in the desired color for the wings, a tapestry needle for sewing, and scissors to cut the yarn.
2. Start by casting on stitches
To begin creating the wings, you will first need to cast on a specific number of stitches. The exact number will depend on the size of your penguin toy and the desired size of the wings. Follow the pattern instructions for the recommended number of stitches to cast on.
3. Knit the wing pattern
Once you have cast on the stitches, you will need to follow the wing pattern to create the desired shape. This may involve knitting a combination of knit and purl stitches, increasing or decreasing stitches to shape the wing, and following a specific sequence of stitches to get the pattern right. Take your time and refer to the pattern instructions as needed.
4. Bind off stitches
After completing the wing pattern, you will need to bind off the stitches to create a finished edge. This is done by knitting the first two stitches, then passing the first stitch over the second stitch. Continue this process until all the stitches have been bound off. Cut the yarn, leaving a tail long enough for sewing.
5. Attach the wings to the penguin
Once you have completed both wings, it’s time to attach them to the penguin toy. Use a tapestry needle and the remaining yarn tail to sew the wings securely onto the body. Make sure the placement of the wings is symmetrical and matches the pattern instructions.
By following these steps, you can create beautiful wings for your knitted penguin toy. The wings will add a delightful touch to the finished product and make it even more adorable. Enjoy the process of knitting and creating your very own knitted penguin with wings!
Knitting the Tail for the Penguin
A crucial part of knitting a penguin is creating its adorable little tail. The tail adds a touch of charm to the finished toy and brings the character of the penguin to life. Here, we will guide you through the process of knitting the tail, step by step.
To begin, you will need the required materials, including the appropriate yarn and knitting needles. Refer to the pattern for this information. Once you have gathered your supplies, you can start knitting the tail.
Step 1: Cast on stitches
Using the specified yarn and needles, cast on the required number of stitches for the tail. The number of stitches can vary depending on the size of the penguin and the desired length of the tail. Make sure to leave a long tail of yarn for sewing later.
Step 2: Knit in stockinette stitch
Continue knitting in stockinette stitch for the desired length of the tail. This stitch pattern creates a smooth and neat-looking fabric, perfect for the penguin’s tail. Keep track of your rows to ensure a consistent length.
Step 3: Bind off stitches
Once you have reached the desired length, bind off your stitches to secure the tail. This will prevent the stitches from unraveling and provide a clean edge. Cut the yarn, leaving a long tail for sewing.
Step 4: Attach the tail to the penguin
Using the long tail of yarn left from casting on and binding off, sew the tail onto the penguin’s body. Make sure to position the tail in the center and sew it securely to ensure it stays in place.
Following these steps, you can successfully knit the tail for your penguin. It’s a fun and rewarding process that adds a delightful finishing touch to your knitted toy. Enjoy the process and watch as your penguin comes to life!
Adding the Eyes and Beak to the Penguin
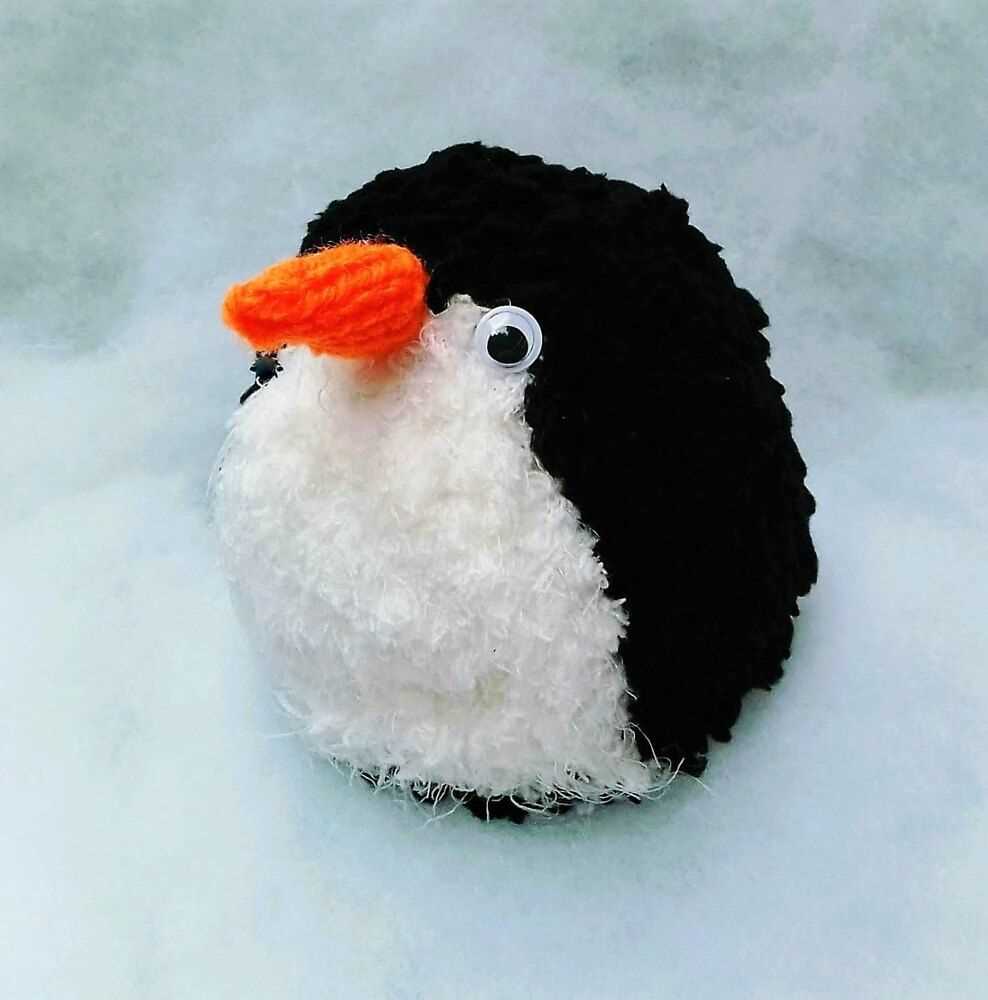
To create the eyes, you can use two small black beads or buttons. Choose ones that are just the right size for your penguin’s face. Sew them securely onto the front of the penguin’s head, making sure they are evenly spaced and aligned. This will give your penguin a cute and playful expression.
For the beak, you will need a small triangular piece of orange felt or fabric. Cut out the shape and carefully sew it onto the penguin’s face, just below the eyes. Make sure it is positioned correctly and securely attached, as this will be one of the main focal points of your penguin. The beak adds a splash of color and completes the penguin’s adorable appearance.
Remember, when adding the eyes and beak, take your time and pay attention to the details. These small elements can make a big difference in the overall look of your knitted penguin. Enjoy the process and have fun bringing your penguin to life!
Assembling the Different Parts of the Penguin
After knitting all the separate parts of the penguin, it’s time to put them together and bring your adorable penguin to life. The assembly process might seem a bit daunting, but with some patience and attention to detail, you will soon have a cuddly companion ready to join your knitted zoo.
Step 1: Start by attaching the penguin’s head to its body. Place the head on top of the body, aligning the stitches, and use a yarn needle to sew them together. Make sure to secure the stitches firmly to avoid any loose parts.
Step 2: Next, it’s time to attach the wings. Position the wings on either side of the penguin’s body, slightly towards the back. Sew them in place using the same color yarn as the body, making sure to secure the stitches tightly.
Step 3: Now, let’s move on to the beak and eyes of the penguin. Fold the beak in half, aligning the stitches, and sew it onto the front of the penguin’s head. Then, sew the eyes just above the beak, using small stitches to ensure they stay in place. You can use plastic safety eyes or stitch the eyes with black yarn, depending on your preference.
Step 4: Finally, it’s time to attach the feet to the bottom of the penguin. Position the feet beneath the body, aligning the stitches, and sew them securely in place. Take care to position them symmetrically to maintain the penguin’s balance.
- Check all the seams and make any necessary adjustments to ensure all parts are securely attached.
- Give your penguin a gentle shake to check for any loose parts that may need extra stitching.
- Trim any excess yarn and weave in all loose ends to give your penguin a polished look.
Once all the parts are assembled, your knitted penguin is ready to be displayed or cuddled. Enjoy the process of bringing your creation to life, and don’t forget to share your adorable penguin with others!
Adding Final Touches and Details to the Penguin
Once you have knitted the body, head, wings, and feet of your penguin following the free pattern, it’s time to add the final touches and details to bring your adorable penguin to life.
Eyes: Attach two small black beads or embroider two small black circles on the head of the penguin to create the eyes. You can use a contrasting color for the eyes if you prefer a different look.
Beak: Knit a small triangular piece using orange or yellow yarn, and attach it to the face of the penguin just below the eyes. You can sew it on or use fabric glue for a quicker solution. Shape the beak to give it a pointed or rounded appearance.
Wings: Sew the wings onto the sides of the body, slightly towards the back. You can fold the wings and attach them at a slight angle to create a more dynamic and playful look. Ensure that the wings are securely attached so they don’t come loose during play or handling.
Feet: Attach the feet to the bottom of the body. You can use a whipstitch or a similar sewing technique to securely attach the feet. Ensure that the feet are evenly positioned and facing forward to give your penguin balance and stability.
Finishing Touches: Give your penguin a personality by using embroidery thread to add eyebrows, a smile, or even rosy cheeks. You can also experiment with different colors for the body, wings, and feet to create a unique and personalized penguin.
By adding these final touches and details, you will transform a simple knitted penguin into a charming and delightful soft toy. Now, your penguin is ready for cuddles and playtime!
Tips and Tricks for Knitting the Penguin
If you’re looking to knit a penguin, you’re in for a fun and adorable project. Knitting toys can be a rewarding experience, and with the right techniques and tips, you can create a cute penguin that will be cherished by children and adults alike. Here are some tips and tricks to help you along the way.
1. Choose the right yarn: When knitting a penguin, it’s important to select a yarn that is soft, durable, and easy to work with. Look for a yarn that is suitable for toys and has good stitch definition. Acrylic or cotton yarns are often recommended for their durability and easy care.
2. Use safety eyes: Safety eyes are a popular choice for toy knitting, as they provide a professional finish and are securely attached. These plastic eyes come in various sizes and colors, so you can customize your penguin’s expression. Make sure to attach the eyes securely to prevent them from being a choking hazard.
3. Practice your shaping skills: Knitting a penguin involves shaping techniques, such as increasing and decreasing stitches to create the body, wings, and feet. Practice these techniques on smaller projects before tackling the penguin to ensure you’re comfortable with the stitches.
4. Follow the pattern closely: When knitting a penguin, it’s essential to follow the pattern closely to achieve the desired results. Read the instructions carefully and make sure you understand each step before proceeding. Take your time and double-check your work to avoid any mistakes.
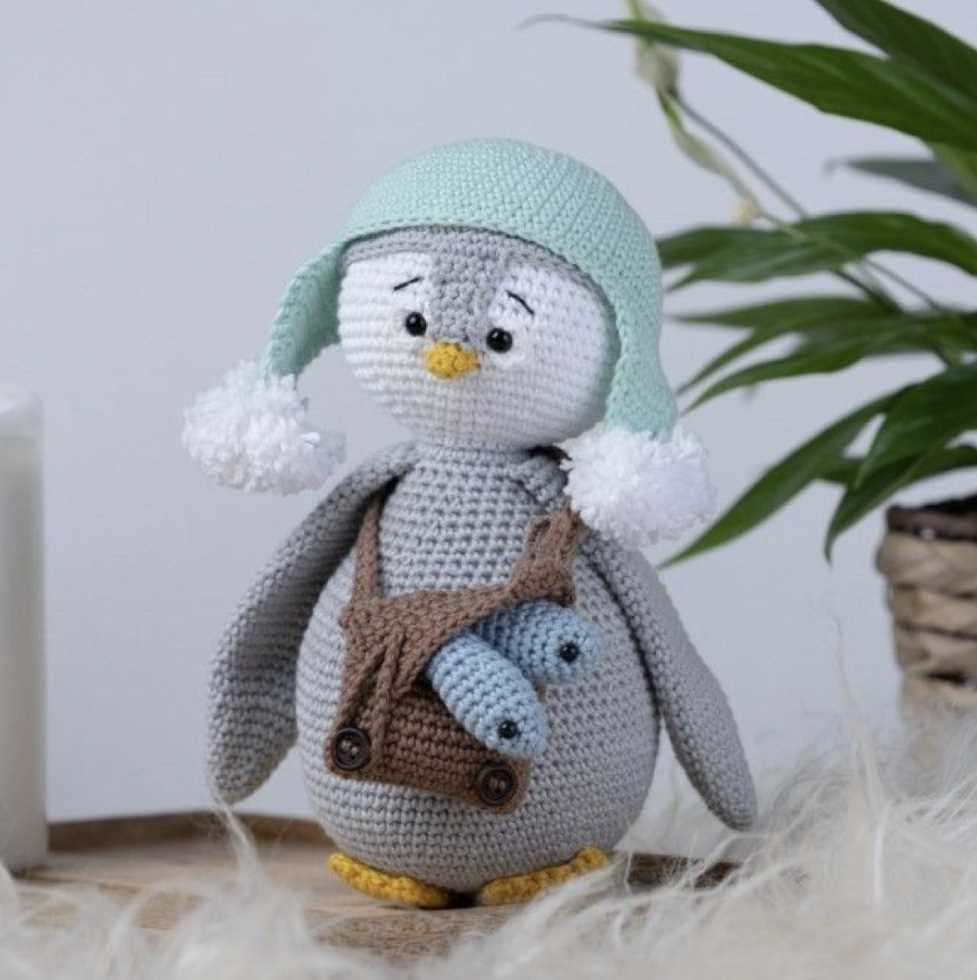
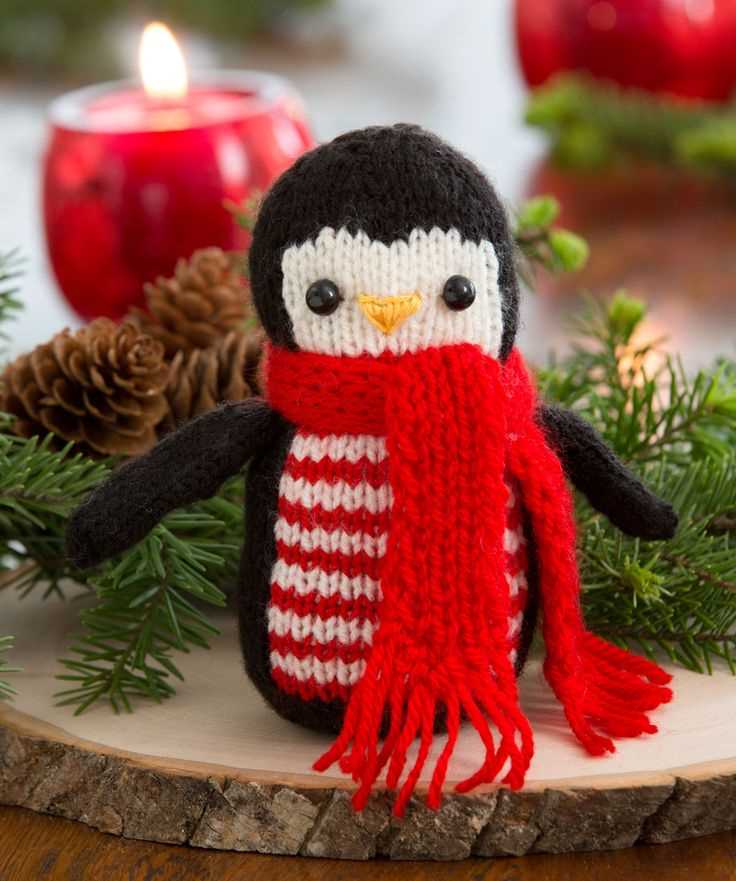
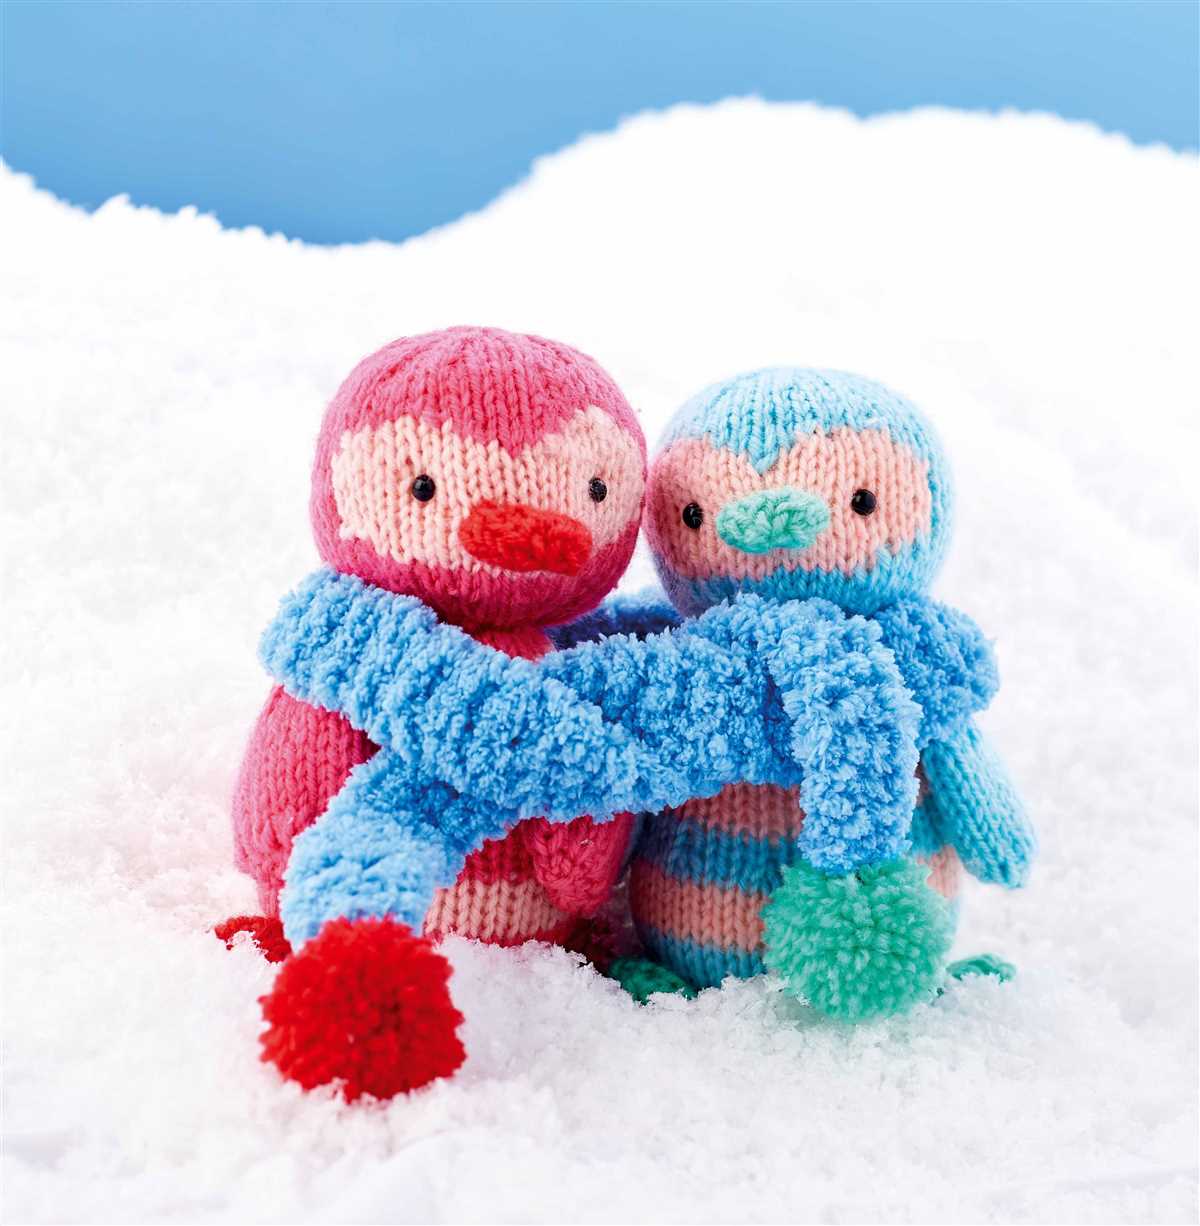
5. Embellish as desired: Once you’ve completed your knitted penguin, you can add some personal touches to make it even more special. Consider adding a scarf, a bowtie, or even a little hat. Use your creativity to bring your penguin to life!
6. Enjoy the process: Knitting is a hobby that brings joy and relaxation. Embrace the process of creating your knitted penguin and enjoy every stitch. Take breaks when needed, and remember that mistakes are part of the learning process. Have fun and be proud of your finished penguin!
Frequently Asked Questions about the Knitted Penguin Pattern
In this section, we will address some common questions that people may have about the knitted penguin pattern. If you don’t find the answer to your question here, feel free to reach out to us for further assistance.
1. Can I sell the finished knitted penguins?
Yes, you are allowed to sell the finished knitted penguins that you make from this pattern. However, we kindly ask that you give credit to the original pattern designer by mentioning their name or linking to their website or pattern when selling your creations online or offline.
2. Can I modify the pattern to create different sizes or variations of penguins?
Absolutely! The knitted penguin pattern can be easily modified to create different sizes or variations of penguins. You can experiment with different yarn weights, needle sizes, and knitting techniques to achieve the desired size and appearance for your penguins. Just have fun and let your creativity soar!
3. How long does it take to complete a knitted penguin?
The time it takes to complete a knitted penguin will vary depending on your knitting speed, experience, and the size of the penguin you are making. On average, it may take a few hours to a couple of days to complete a knitted penguin. However, this is just an estimate, and it may differ from person to person.
4. Can I share the knitted penguin pattern with others?
Yes, you can share the knitted penguin pattern with others. We encourage you to spread the joy of knitting by sharing the pattern with your friends, family, and fellow knitting enthusiasts. However, please make sure to give credit to the original pattern designer when sharing the pattern.
5. Where can I find the materials needed for the knitted penguin pattern?
You can find the materials needed for the knitted penguin pattern at your local yarn store or online retailers that specialize in knitting supplies. Some popular online platforms for purchasing knitting materials include Etsy, Amazon, and various knitting supply websites. Make sure to read the pattern carefully to determine the specific yarn weight, needle size, and additional materials required.
In summary, the knitted penguin pattern allows you to create adorable penguins using your knitting skills. You can sell the finished penguins while giving credit to the original pattern designer, modify the pattern to create different variations, and share the pattern with others. The time to complete a knitted penguin may vary, and you can find the necessary materials at local stores or online knitting supply platforms. Have fun and enjoy the process of knitting these charming creatures!
Q&A:
Where can I find a knitted penguin pattern for free?
You can find free knitted penguin patterns on various knitting websites, such as Ravelry, LoveKnitting, and AllFreeKnitting. These websites offer a wide range of patterns for different skill levels and styles, so you are sure to find the perfect knitted penguin pattern for your project.
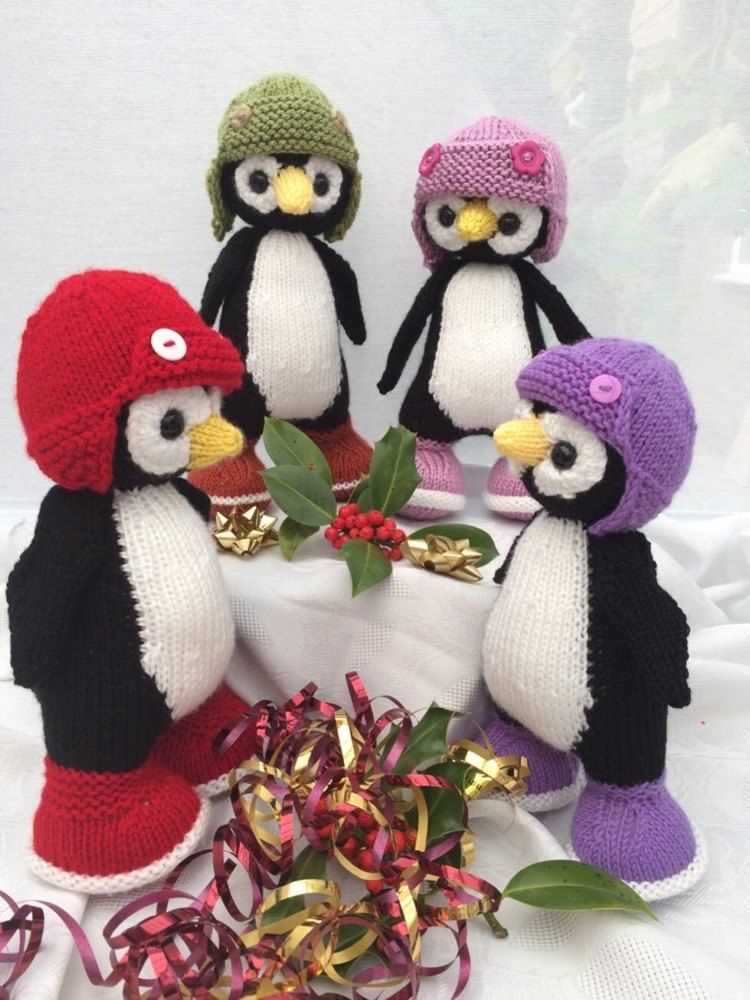
Can you recommend a specific knitted penguin pattern?
One popular knitted penguin pattern that many people recommend is the “Penguin Parade” pattern by Alan Dart. This pattern creates adorable little penguins with detailed features. You can find this pattern and many others by searching for “knitted penguin pattern free” on your favorite knitting websites.
Are there any beginner-friendly knitted penguin patterns available?
Yes, there are many beginner-friendly knitted penguin patterns available for free. These patterns typically use basic stitches and techniques, making them perfect for knitters who are just starting out. Look for patterns labeled as “easy” or “beginner” on knitting websites, and you’ll find plenty of options to choose from.
Can I resize a knitted penguin pattern to make it larger or smaller?
Yes, you can resize a knitted penguin pattern to make it larger or smaller. To do this, you will need to adjust your needle size and yarn weight accordingly. Keep in mind that changing the size of a pattern may also affect the overall look and proportions of the finished penguin. It’s a good idea to make a gauge swatch and compare it to the pattern’s gauge to ensure your resized penguin will turn out as desired.
Are there any knitted penguin patterns available for toys with movable parts?
Yes, there are knitted penguin patterns available that include movable parts, such as jointed arms and legs. These patterns often require additional materials, such as safety joints or buttons, to attach the movable parts securely. When searching for a pattern with movable parts, try using keywords like “jointed penguin” or “movable penguin” to find the desired pattern.
Where can I find a free knitted penguin pattern?
You can find free knitted penguin patterns on various knitting websites, such as Ravelry, LoveCrafts, and Knitting pattern Central. You can also try searching for specific patterns on search engines like Google or Pinterest.