
Knitting is a versatile and enjoyable hobby that allows you to create beautiful and personalized clothing items. One popular garment that you can make with knitting is a ladies vest. A knitted vest is not only stylish but also warm and cozy, making it a perfect addition to your fall or winter wardrobe.
If you are looking for a unique and customizable knitted ladies vest pattern, look no further. In this article, we will share a simple yet elegant vest pattern that is suitable for knitters of all skill levels. Whether you are a beginner or an experienced knitter, you can easily follow this pattern to create a stunning vest that fits you perfectly.
This pattern incorporates basic knitting techniques such as knitting, purling, and basic shaping. With just a few skeins of your favorite yarn and a pair of knitting needles, you can start creating this fashionable vest. The pattern includes instructions for different sizes, so you can easily adjust it to fit your measurements.
Knitted Ladies Vest Pattern
A knitted ladies vest is a versatile and stylish addition to any wardrobe. Whether you prefer a classic, timeless design or a more modern and trendy look, there are countless knitting patterns available to suit your personal style.
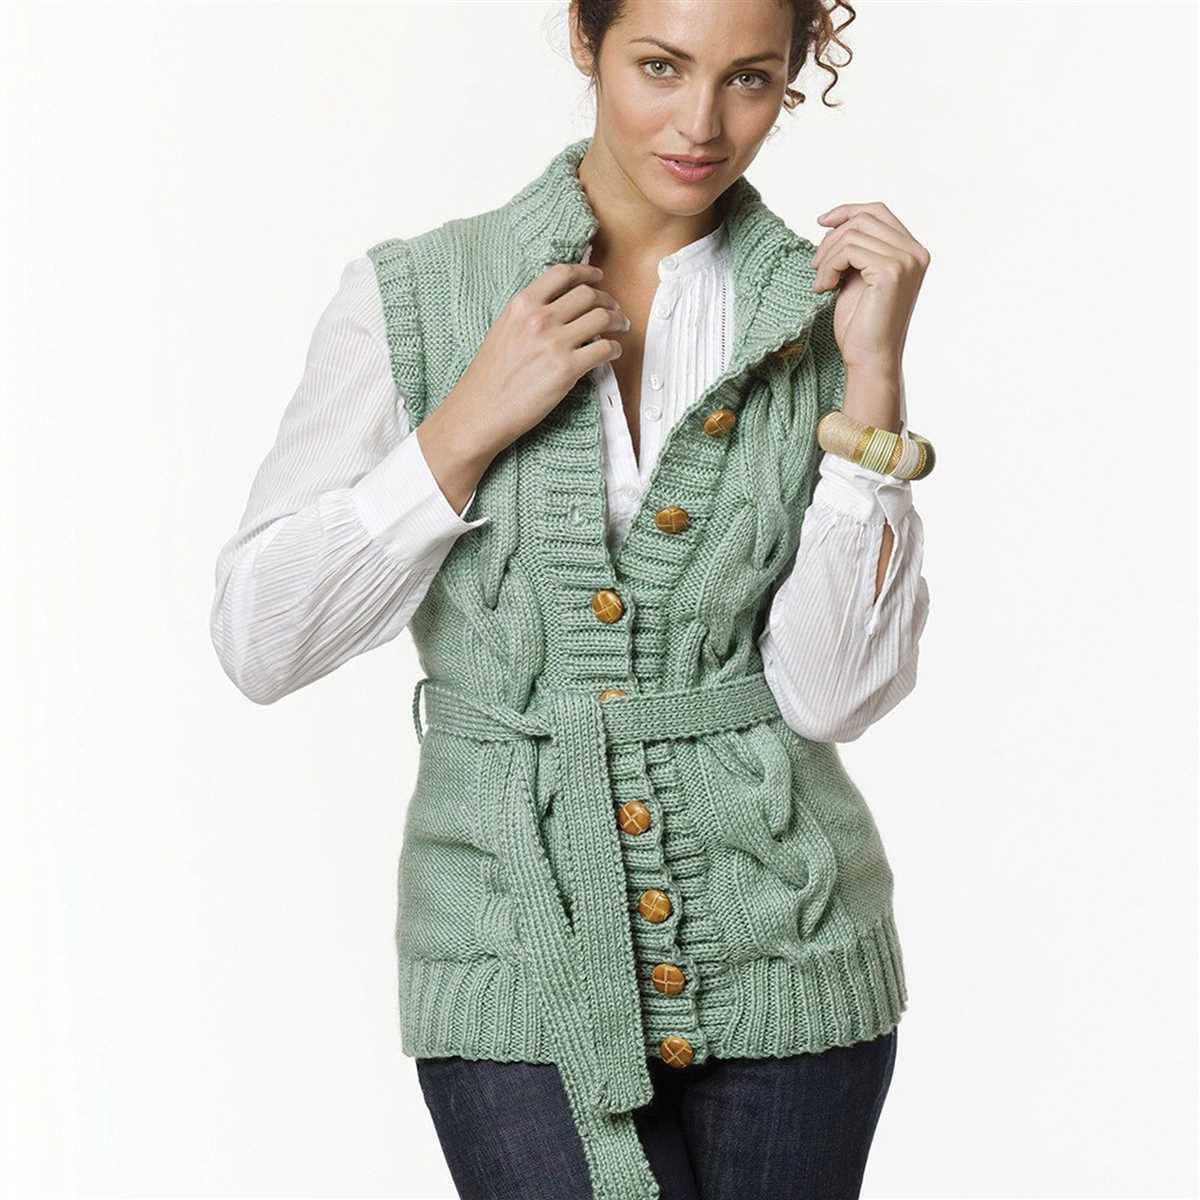
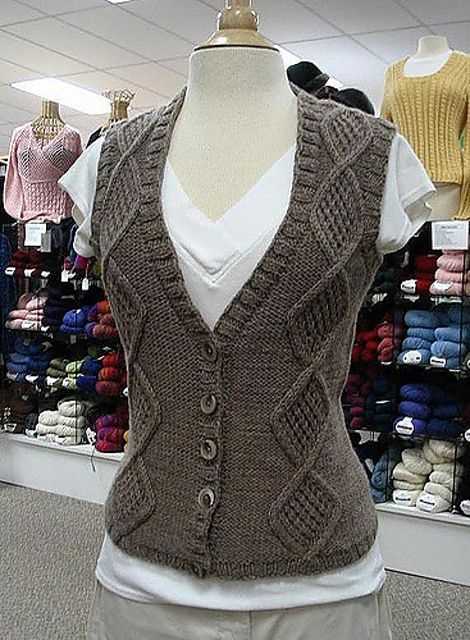
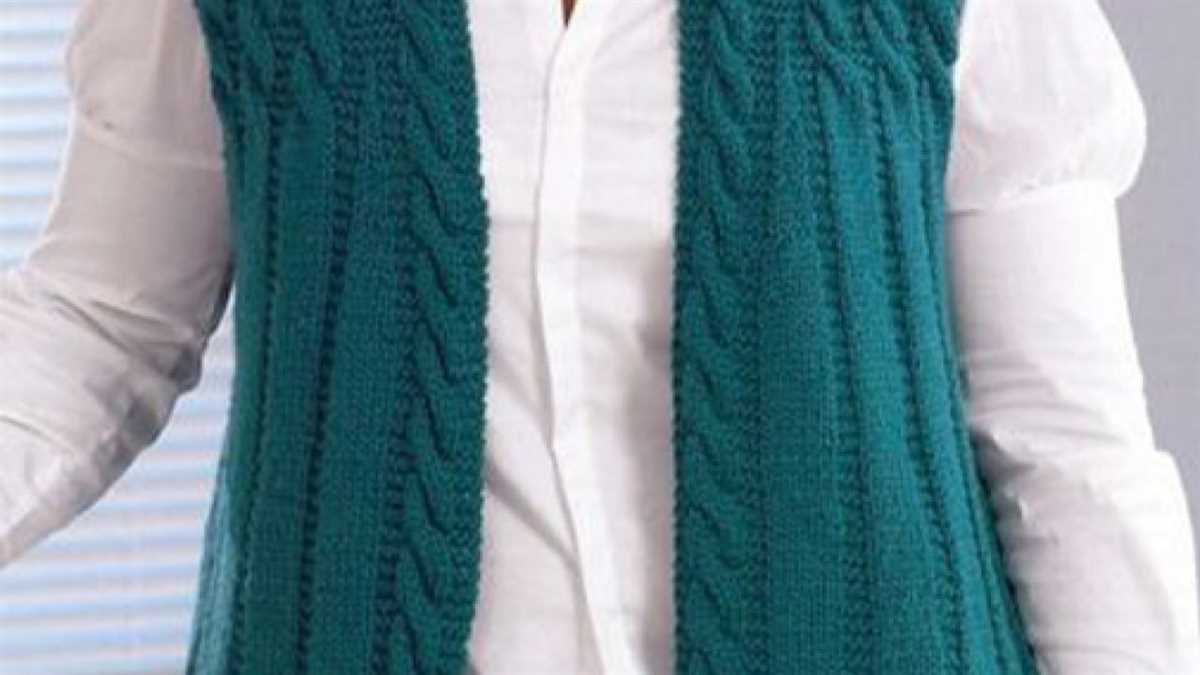
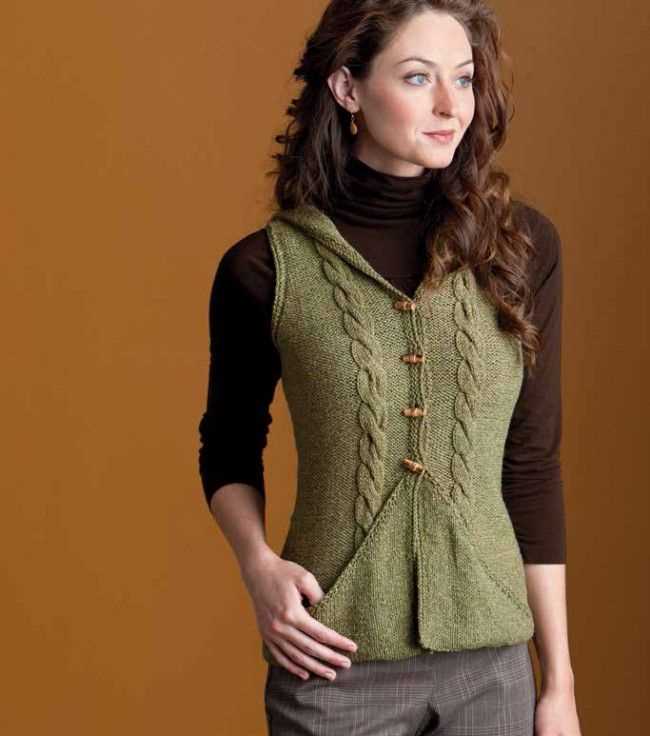
One popular knitted ladies vest pattern is the cable knit vest. This pattern features intricate cable stitches that create a beautiful textured design. The cable knit vest can be worn over a blouse or light sweater for a cozy and fashionable outfit. It is a great choice for both casual and dressy occasions.
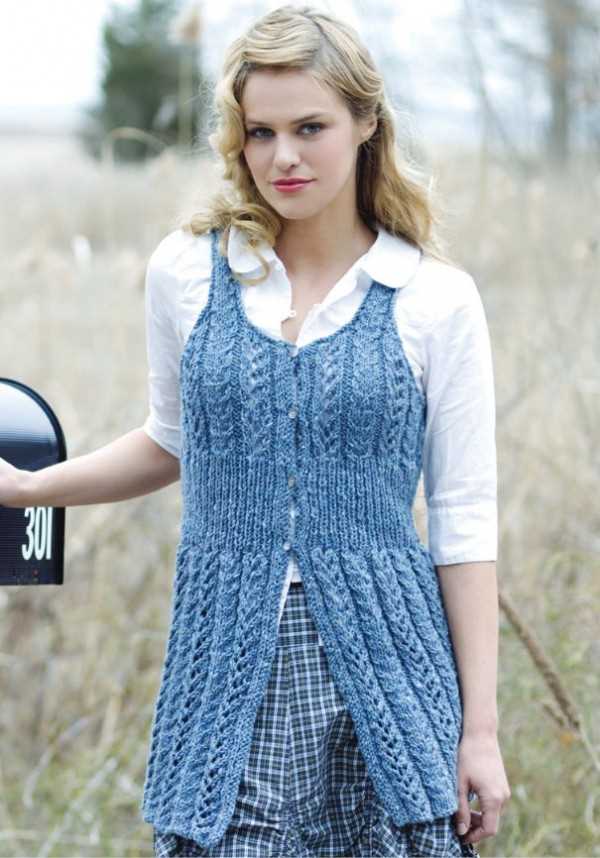
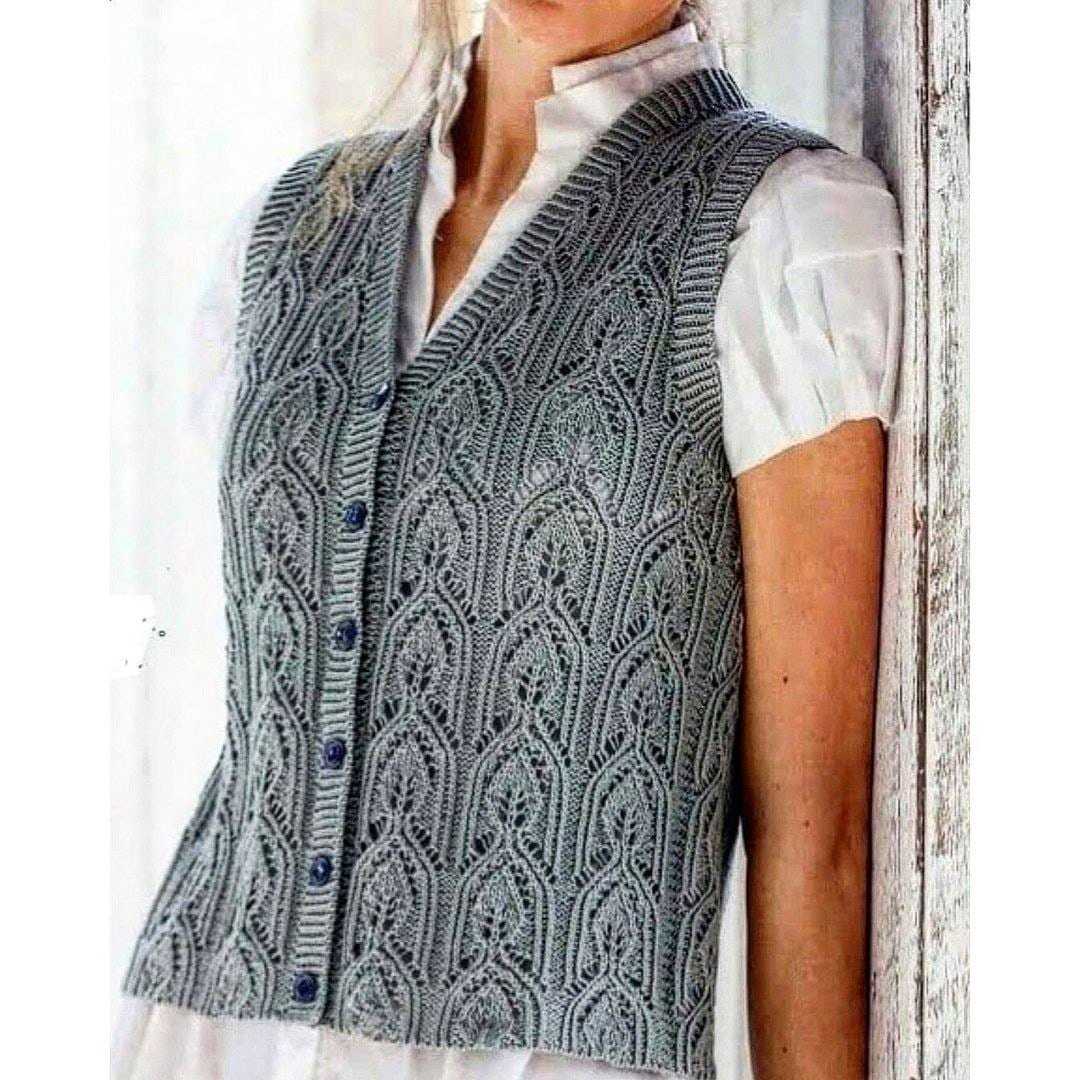
If you’re looking for something more lightweight and summery, a lace knit vest pattern may be the perfect option. The delicate lace stitches create an elegant and feminine look. This type of vest is often made with lightweight yarns such as cotton or linen, making it perfect for warmer weather.
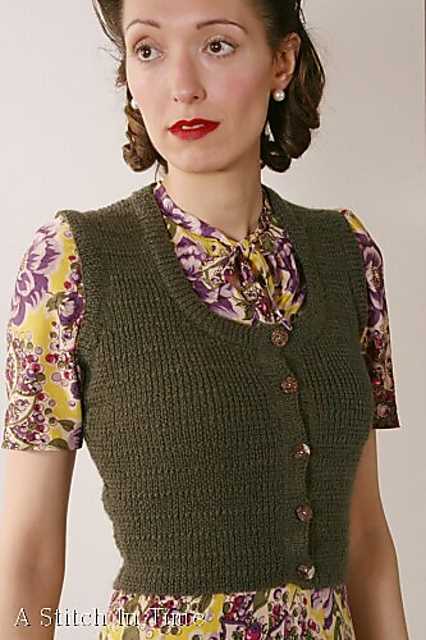
For those who prefer a simpler design, a basic stockinette stitch vest pattern is a great choice. This pattern is perfect for beginners as it involves simple knit and purl stitches. The stockinette stitch creates a smooth and even fabric, making it suitable for both solid and variegated yarns.
No matter which knitted ladies vest pattern you choose, it’s important to select the right yarn and needles for your project. Be sure to check the gauge of the pattern and make a swatch to ensure the correct sizing. Additionally, consider the desired drape and texture of the vest when selecting the yarn.
Materials Needed for Knitting a Ladies Vest
To start knitting a ladies vest, you will need a few essential materials. These materials include:
- Yarn: Choose a yarn that suits your taste and desired level of warmth. Opt for a yarn that is suitable for knitting vests and has the desired fiber content.
- Knitting Needles: Select the appropriate knitting needles for the yarn you have chosen. The size of the needles will depend on the gauge or tension required for the pattern.
- Tape Measure: This will help you measure yourself or the intended recipient to ensure the correct sizing for the vest.
- Stitch Markers: These are helpful for marking specific points in your knitting, such as the beginning of a round or the placement of certain stitches.
- Tapestry Needle: This needle is used to weave in loose ends of yarn and sew the final seams together.
- Scissors: You will need a pair of scissors to cut the yarn at various points during your knitting process.
- Buttons or Other Fasteners: If the vest pattern calls for buttons or other fasteners, make sure to have them on hand.
By having these materials ready, you will be well-prepared to start knitting your ladies vest. Enjoy the process of creating a beautiful and cozy garment!
Choosing Yarn for Your Knitted Vest
When it comes to knitting a vest, one of the most important decisions you will make is choosing the right yarn. The yarn you choose will not only determine the look and feel of your finished garment, but also how it will hold up over time. Here are some factors to consider when selecting yarn for your knitted vest.
Fiber Content
The first thing to consider when choosing yarn for your knitted vest is the fiber content. Different fibers have different qualities and will result in different end products. For a cozy and warm vest, wool or a wool-blend yarn would be a good choice. If you prefer something more lightweight and breathable, cotton or bamboo yarn could be the way to go. For a luxurious feel, consider using a silk or cashmere yarn. It all depends on the look and feel you want to achieve.
Weight
Another important factor to consider is the weight of the yarn. The weight of the yarn will determine the thickness and drape of your vest. If you want a lightweight and airy vest, you’ll want to choose a lace or fingering weight yarn. If you prefer something more substantial and cozy, a worsted or bulky weight yarn would be a better choice. Consider how you want your vest to feel and how it will be worn, and choose the appropriate weight of yarn accordingly.
Color
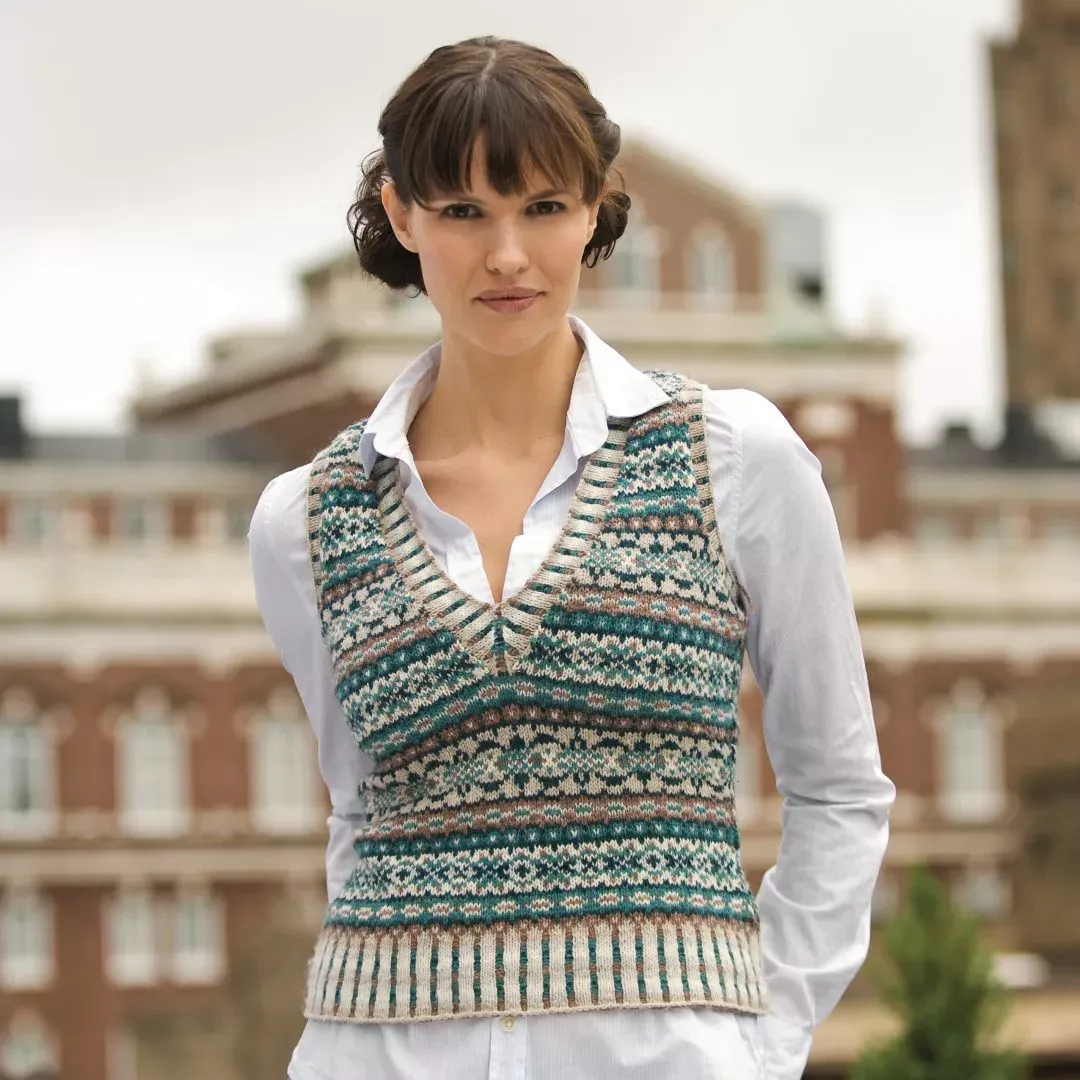
Color is another important consideration when choosing yarn for your knitted vest. The color you choose can greatly impact the overall look of your garment. If you want a classic and timeless vest, neutral colors like black, white, or gray would be a good choice. If you want something more vibrant and eye-catching, consider using bold and bright colors. You could also experiment with different color combinations, such as using multiple colors for a striped or color-blocked effect. The choice is yours, so have fun and let your personal style shine through.
Overall, choosing the right yarn for your knitted vest is a personal decision. Consider the fiber content, weight, and color that align with your preferences and the look you want to achieve. By selecting the perfect yarn, you’ll be well on your way to creating a beautiful and stylish knitted vest.
Knitting Needles for Your Ladies Vest

When it comes to knitting a ladies vest, choosing the right knitting needles is essential. The needles you use can greatly affect the outcome of your project, including the drape, texture, and overall look of the finished vest.
Size Matters: The size of your needles will determine the gauge of your knitting, which in turn affects the size and fit of your vest. Depending on the pattern and the desired thickness of your finished vest, you’ll need to select the appropriate needle size. Some patterns will specify the recommended needle size, while others will provide a gauge that you’ll need to match to achieve the desired size.
Additionally, the length of your needles is also important. For a ladies vest, using circular needles can be beneficial, as they allow you to easily try on your work in progress and adjust the fit as needed. If you prefer working with straight needles, ensure they are long enough to hold all the stitches comfortably, especially for larger sizes.
Material Matters: Knitting needles are available in a variety of materials, each offering its own unique benefits. Common options include bamboo, wood, metal, and plastic. Bamboo and wood needles are popular among knitters for their warmth, flexibility, and lightweight feel. Metal needles are another popular choice, as they provide a smooth surface for faster knitting. Plastic needles are often preferred by beginners due to their affordability and durability.
It’s important to consider your personal preferences and the specific characteristics of each material when selecting your knitting needles. If you’re unsure, experimenting with different materials can help you determine which ones you feel most comfortable and enjoy working with.
Getting Started: Casting On Stitches
Casting on stitches is the first step in knitting your ladies vest. It is the process of creating the foundation row of stitches that will form the base of your project. There are several ways to cast on stitches, but for this pattern, we will be using the long-tail cast on method.
Step 1: Measure the yarn
To begin, measure out a length of yarn that is approximately three times the width of your project. This will ensure that you have enough yarn to create the foundation row and work the first few rows of your vest.
Step 2: Create a slipknot
The slipknot will be the first stitch on your needle. To create a slipknot, hold the yarn in your hand and make a loop with the tail end of the yarn crossing over the working yarn. Slip this loop onto your knitting needle.
Step 3: Hold the yarn
Hold the knitting needle with the slipknot in your right hand, and use your left hand to hold the working yarn. The tail end of the yarn should be draped over your thumb, and the working yarn should be draped over your index finger.
Step 4: Form the stitch
Using the needle in your right hand, insert it into the loop of the slipknot from left to right. Bring the working yarn under and over the needle, creating a loop on the right-hand needle. Pull this loop through the slipknot, creating a new stitch.
Step 5: Repeat
Continue to form new stitches by repeating step 4 until you have cast on the required number of stitches for your vest pattern. Make sure to keep your stitches loose enough so that they can easily slide along the needle.
Step 6: Join in the round
If your vest pattern requires you to work in the round, you will need to join the cast on stitches to form a circle. To do this, simply slip the first stitch from your left-hand needle onto your right-hand needle, being careful not to twist the stitches. Now you are ready to begin knitting your ladies vest!
Knitting the Body of the Vest
Once you have completed the ribbing at the bottom of the vest, it’s time to move on to knitting the body. This is where you will start to see the shape of the vest take form.
To begin, you will continue knitting in your chosen stitch pattern until you reach the desired length for your vest. This could be anywhere from hip-length to slightly longer, depending on your personal preference. If you’re unsure about the length, it can be helpful to try on the vest as you go to see if it’s the right fit for you.
As you knit the body of the vest, make sure to keep track of your stitch count. Depending on the pattern, you may need to increase or decrease stitches to shape the armholes and neckline. Follow the instructions provided in the pattern to ensure that you are shaping the vest correctly.
If you’re feeling creative, you can also add some personalized touches to the body of the vest. This could include adding stripes, colorwork, or even a cable pattern. Just make sure to incorporate these design elements in a way that complements the overall shape of the vest.
Once you have reached the desired length and completed any necessary shaping, it’s time to bind off the stitches. This is usually done using a basic knit or purl bind off, depending on the stitch pattern you have been using. Make sure to bind off loosely to ensure that the bottom edge of the vest has some stretch to it.
With the body of the vest complete, you can now move on to knitting the armholes and neckline. These will be added separately and attached to the body of the vest later on. Stay tuned for the next section of the pattern, where we will cover these steps in detail.
Adding Shaping: Decreasing and Increasing Stitches
When knitting a ladies vest, it is important to add shaping to create a more flattering fit. This can be done by decreasing or increasing stitches at specific points in the pattern. Understanding how to do these stitches correctly will help you achieve the desired shape and size for your vest.
To decrease stitches, you can use techniques such as knitting or purling two stitches together, or slipping stitches to create a decrease. Knitting or purling two stitches together is done by inserting the right needle into two stitches at once and knitting or purling them as one stitch. This reduces the total number of stitches on your needle and creates a tapered effect. Slipping stitches is another technique used to decrease stitches. This involves transferring a stitch from the left needle to the right needle without knitting or purling it, effectively decreasing the stitch count.
Example: To decrease stitches, you can knit two stitches together (K2tog) at the beginning and end of a row, or at specific points as indicated in the pattern. This will create a gradual decrease in the width of your vest.
To increase stitches, you can use techniques such as yarn overs or knitting into the front and back of a stitch. Yarn overs are created by simply wrapping the yarn around the right needle before or after knitting a stitch. This adds an extra stitch to your work and creates an eyelet effect. Knitting into the front and back of a stitch involves inserting the right needle into the front of a stitch, knitting it, and then without removing the stitch from the needle, knitting into the back of the same stitch. This effectively increases the stitch count and creates a widening effect.
Example: To increase stitches, you can yarn over (YO) at the beginning and end of a row, or at specific points as indicated in the pattern. This will gradually increase the width of your vest.
By incorporating these decreasing and increasing techniques into your knitting, you can shape your ladies vest to fit your desired measurements. It is important to follow the pattern instructions carefully and keep track of your stitch count to ensure your shaping is done correctly. Happy knitting!
Creating the Armholes
Once you have finished knitting the back piece of the vest, it’s time to create the armholes. This step is crucial as it will determine the size and fit of the vest. Make sure to carefully follow the instructions to achieve the desired result.
1. Marking the armhole placement: Lay your knitted back piece flat on a surface. Using stitch markers or safety pins, mark the points where the armholes will be. Typically, the armholes are placed a few inches down from the shoulder seams, depending on the desired depth of the armhole.
2. Shaping the armholes: To begin shaping the armholes, you will need to decrease a certain number of stitches on each side of the marked points. This can be done by knitting two stitches together (k2tog) or by slipping one stitch knitwise, knitting the next stitch, and then passing the slipped stitch over the knit stitch (ssk). The pattern will provide specific instructions on the number of stitches to decrease and the type of decrease method to use. Repeat these decreases on both sides of the armhole markers.
Once you have completed the armhole shaping, continue knitting the remaining stitches until the desired length of the armhole is reached. The length can vary depending on the pattern and the desired fit of the vest. Make sure to carefully follow the pattern instructions for the correct length.
3. Binding off the armhole: Once the desired length is reached, it’s time to bind off the armhole stitches. To bind off, knit the first two stitches, then pass the first stitch over the second stitch as you would when binding off regular stitches. Continue this process until all the armhole stitches have been bound off. Cut the yarn, leaving a tail for weaving in later.
Repeat the same process for the other armhole, making sure to align the placement and shaping with the first armhole. Once both armholes are completed, you can proceed to the next steps of the pattern, such as knitting the front piece or joining the front and back pieces together.
Knitting the Front Panels of the Vest
When knitting the front panels of a vest, it is important to carefully follow the pattern instructions to ensure a proper fit and design. Start by casting on the required number of stitches using the suggested yarn and needle size. It may be helpful to use stitch markers to indicate the edges of the panels and to keep track of any shaping.
The pattern will typically include instructions for any shaping, such as increases or decreases, as well as any stitch patterns that should be used for the front panels. It is important to read and understand these instructions before beginning to knit. Remember to always knit a gauge swatch to ensure the correct tension and adjust needle size if necessary.
When working on the front panels, it may be necessary to divide the work into sections to create any necessary openings for the neckline or armholes. These sections can be worked separately and then joined together later. It is important to carefully follow the pattern instructions and use stitch holders or scrap yarn to hold the stitches that are not being actively worked on.
While knitting the front panels, it may also be necessary to work buttonholes or other closures. These should be carefully placed according to the instructions to ensure that the vest will fit properly when finished. It may be helpful to use stitch markers or safety pins to mark the placement of any closures as you work.
Overall, knitting the front panels of a vest requires careful attention to detail and following the pattern instructions. By taking the time to understand the shaping and stitch patterns, and by using any suggested techniques or tools, you can create a beautiful and well-fitting vest.
Knitting the Back Panel of the Vest
To begin knitting the back panel of the vest, you will first need to cast on the desired number of stitches using the recommended needle size. Make sure to take accurate measurements to ensure a proper fit. Once you have cast on the stitches, you can begin working in the desired stitch pattern.
To create the back panel, you will typically work in rows. This means that you will start at the bottom edge of the vest and work your way up to the armholes. It is important to follow the pattern instructions carefully to ensure that you are increasing or decreasing the correct number of stitches at the specified points.
As you work on the back panel, you may need to shape the armholes by binding off stitches at the beginning or end of certain rows. This will create the necessary openings for the arms to fit through. Again, it is crucial to follow the pattern instructions to ensure that the shaping is done correctly.
Depending on the pattern, you may also be instructed to incorporate various stitch patterns or techniques while knitting the back panel. This could include lace patterns, cables, or textured stitches. Follow the pattern instructions and refer to any stitch diagrams or charts provided to accurately create the desired design.
Finishing the Neckline and Shoulders
After completing the body of the knitted ladies vest, it is time to finish the neckline and shoulders. This is an important step that will give the vest its final shape and make it wearable.
To start, you will need to carefully pick up stitches around the neckline. This can be done by using a crochet hook or a smaller knitting needle. Start at one shoulder and work your way around, making sure to evenly space the stitches. This will create a clean and neat edge for the neckline.
Once all the stitches are picked up, you can start knitting the neckline ribbing. This can be a simple 1×1 or 2×2 rib, or you can get creative and try a different stitch pattern. The ribbing will help give the neckline some structure and prevent it from stretching out over time.
After finishing the neckline, it’s time to address the shoulders. You can either seam the shoulders together using a mattress stitch or a three-needle bind-off. Both methods will create a strong and seamless finished edge. Make sure to try the vest on as you seam the shoulders to ensure a good fit.
Once the neckline and shoulders are finished, give the vest a gentle blocking to even out the stitches and shape. Lay it flat on a blocking mat or towel, pin it into place, and let it dry. This will help the vest retain its shape and drape nicely on the body.
With the neckline and shoulders complete, your knitted ladies vest is now ready to be worn and enjoyed. Dress it up or down, layer it over a blouse or a t-shirt, and enjoy the cozy warmth and style that only a hand-knitted garment can provide.
Adding Buttons or Other Closures
When it comes to finishing your knitted ladies vest, adding buttons or other closures is an important step that can greatly enhance the overall look and functionality of the garment. Whether you prefer buttons, clasps, or toggles, there are several considerations to keep in mind.
Button Size and Quantity: The size and number of buttons you choose to add will depend on the style and design of your vest, as well as your personal preference. Smaller buttons are typically used for delicate, lightweight vests, while larger buttons can make a bold statement on chunky or oversized vests. Make sure to evenly space your buttons to ensure a balanced and professional look.
- Consider the positioning of the buttons – you can place them centrally or create a row of buttons set asymmetrically.
Closure Types: While buttons are a classic choice for closures, there are other options to consider. Clasps, toggles, or even zippers can add unique detail and functionality to your vest. Consider the aesthetic you are trying to achieve and choose a closure that complements the style of your vest.
- Toggles can give your vest a rustic or outdoorsy look, while clasps can add an elegant touch.
Blocking and Finishing Touches for Your Knitted Ladies Vest
Once you have completed knitting your ladies vest, the final steps involve blocking and adding the finishing touches to make it truly complete. These steps are essential to enhance the overall appearance and fit of your garment.
The first step is blocking, which involves setting the shape of your knitted vest. To block your vest, follow these steps:
- Gently soak your knitted vest in lukewarm water with a mild detergent for around 20 minutes.
- Drain the water and carefully press out the excess moisture from the vest, avoiding wringing or twisting.
- Lay your vest flat on a clean towel or blocking mat, making sure it is in the desired shape and measurements.
- Pin the edges and any specific areas that need shaping using rustproof T-pins or blocking wires.
- Leave the vest to dry completely, which can take anywhere from a few hours to a couple of days depending on the yarn and humidity levels.
Once your vest is blocked and dry, it’s time to add the finishing touches:
- Weave in any loose ends or yarn tails using a tapestry needle, ensuring they are securely hidden within the fabric.
- Sew on any buttons or fastenings according to your pattern or personal preference.
- Give the vest a final inspection for any visible mistakes or imperfections, and make any necessary corrections with a yarn needle.
Note: If desired, you can also add additional embellishments such as embroidered details, decorative stitches, or fringe, to make your vest unique and personalized.
With these blocking and finishing touches, your knitted ladies vest is ready to be worn and enjoyed. Remember to take proper care of your garment by following the recommended washing instructions and storing it appropriately to maintain its shape and quality.