
Cross stitch is a popular embroidery technique that involves creating a pattern by using small X-shaped stitches. Traditionally, cross stitch patterns are created on fabric using needle and thread. However, cross stitch can also be done using a different medium – knitting! Knitted cross stitch patterns have gained popularity in recent years, as they offer a unique and visually appealing twist on traditional cross stitch.
Knitted cross stitch patterns are created by working with multiple colors of yarn and following a chart or pattern that dictates which stitches to make and in what color. The end result is a knitted piece that resembles a cross stitch design, with blocks of color forming a picture or a pattern. These patterns can be used to create a variety of items such as blankets, scarves, and even garments like sweaters or socks.
One of the advantages of using knitted cross stitch patterns is the versatility they offer. Knitting allows for a wider range of color possibilities compared to traditional cross stitch on fabric. Knitters can choose from a vast selection of yarn colors and create intricate and vibrant designs that would be challenging to achieve with needle and thread. Additionally, the texture of knitted cross stitch patterns adds a unique dimension to the final piece, making it even more visually appealing.
Whether you’re an experienced knitter looking to try something new or a cross stitch enthusiast wanting to explore a different medium, knitted cross stitch patterns are a fun and creative way to incorporate this timeless embroidery technique into your knitting projects. With countless designs and endless color combinations to choose from, you’re sure to find a knitted cross stitch pattern that captures your imagination and allows you to create stunning and personalized knitted items.
Knitted Cross Stitch Pattern
Knitted cross stitch patterns are a popular way to add intricate, detailed designs to knitted items. These patterns are created by using different colors of yarn to create a pattern that resembles a cross stitch design. The end result is a beautiful, textured design that adds visual interest to any knitted piece.
Creating a knitted cross stitch pattern
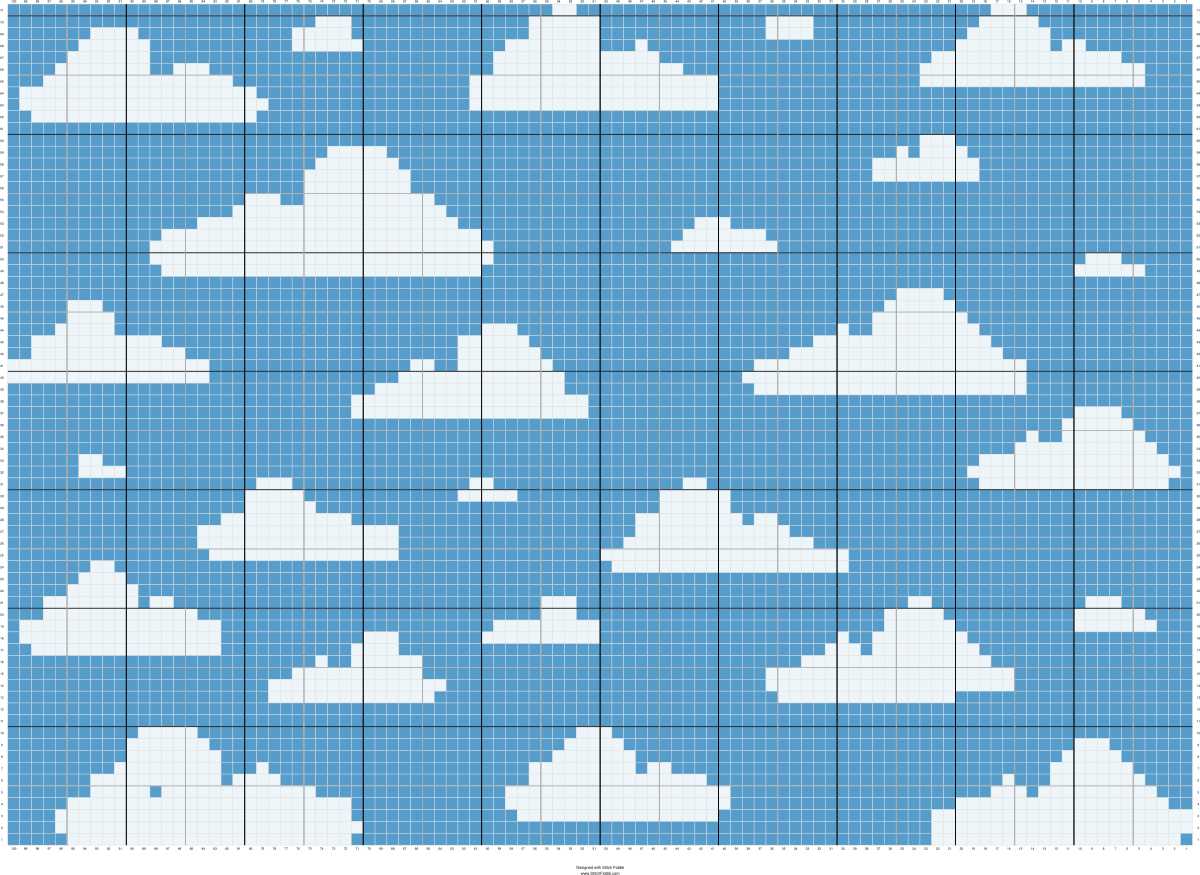
To create a knitted cross stitch pattern, you will need to follow a chart or pattern that indicates which color of yarn to use for each stitch. These patterns are often created on a grid system, with each square representing one stitch and each color represented by a different symbol or shade. By following the pattern and switching colors as indicated, you can create a design that resembles a cross stitch.
Using knitted cross stitch patterns
Knitted cross stitch patterns can be used in a variety of ways. Some knitters incorporate these patterns into their larger knitting projects, such as sweaters or blankets, to add a focal point or decorative element. Others use cross stitch patterns to create standalone items, such as scarves or dishcloths, that showcase the intricate design. Whatever the application, knitted cross stitch patterns are a versatile and creative way to add detail and interest to your knitting projects.
Exploring different cross stitch patterns
There are countless cross stitch patterns available, ranging from simple geometric designs to intricate floral motifs. You can find patterns online, in books, or even create your own. By experimenting with different patterns and color combinations, you can personalize your knitting projects and create unique and beautiful designs.
In conclusion, knitted cross stitch patterns are a creative and visually appealing way to add detail and interest to your knitting projects. Whether you incorporate these patterns into larger projects or create standalone items, the end result is sure to be a stunning piece that showcases your knitting skills and creativity.
What is Cross Stitching?
Cross stitching is a form of embroidery that involves creating patterns and designs using small X-shaped stitches. It is a popular craft that has been practiced for centuries and is enjoyed by both beginners and experienced stitchers.
This craft is often done on aida fabric, which is a special type of fabric with a grid of small holes that make it easy to create precise stitches. The design is typically charted on graph paper or in a pattern booklet, with each square on the graph representing a single stitch.
The process of cross stitching involves following the chart or pattern and counting the number of stitches needed for each section. The stitches are usually made using embroidery floss, which comes in a wide range of colors and can be easily threaded through a needle.
Once the design is complete, it can be framed or used to create various items such as pillows, wall hangings, or even clothing. Cross stitching allows for endless creativity and the ability to personalize your projects with unique colors, patterns, and motifs.
In addition to being a relaxing and enjoyable hobby, cross stitching also offers numerous benefits. It can improve hand-eye coordination, concentration, and patience. Many stitchers find it to be a meditative activity that helps reduce stress and promote mindfulness.
How to Knit Cross Stitch Patterns
Knitting cross stitch patterns is a fun and creative way to add texture and design to your knitting projects. It involves using a different color yarn to create small X-shaped stitches on top of your knitted fabric. Here are some steps to help you get started:
1. Choose a Pattern
Begin by finding a cross stitch pattern that you like. There are many resources available online where you can download and print patterns for free. Look for patterns that are suitable for knitting and check the difficulty level to make sure it matches your skill level.
2. Prepare Your Materials
Once you have chosen a pattern, gather the materials you will need. This includes yarn in different colors, knitting needles, a tapestry needle, and scissors. Make sure you have the correct needle size for the yarn you are using and that your tapestry needle has a large enough eye to thread your yarn through.
3. Start Knitting
Begin knitting your project as you normally would, following the pattern instructions. When you come to a section where you want to add a cross stitch, switch to the contrasting color yarn. Thread the yarn through the needle and bring it up from the back of the fabric to the front, creating an X shape. Be sure to leave a small tail of yarn on the back to secure the stitch.
4. Finishing touches
Once you have completed your cross stitch pattern, finish off your project by weaving in any loose ends of yarn on the back of the fabric. This will ensure that your stitches stay in place and give your project a neat and professional finish.
Knitting cross stitch patterns can be a relaxing and enjoyable way to add visual interest to your knitting projects. With a little practice, you can create beautiful designs that will impress your friends and family.
Choosing the Right Yarn for Cross Stitch Knitting
In cross stitch knitting, choosing the right yarn is essential to create a beautiful and durable finished product. The type of yarn you choose will impact the overall appearance, texture, and longevity of your project. It is important to consider several factors when selecting yarn for cross stitch knitting.
Type of Yarn
When choosing yarn for cross stitch knitting, it is important to consider the type of yarn. There are various types of yarn available in the market, such as wool, cotton, acrylic, and blends. Each type of yarn has its own unique characteristics and properties, which will affect the final result of your project. For example, wool yarn is known for its warmth and natural elasticity, while cotton yarn is lightweight and breathable. Acrylic yarn is often chosen for its affordability and easy care.
Weight of Yarn
Another important factor to consider when selecting yarn for cross stitch knitting is the weight of the yarn. Yarn weight refers to the thickness or thinness of the yarn, and it has a direct impact on the stitch definition, drape, and overall appearance of your project. The most commonly used yarn weights for cross stitch knitting are fingering, sport, and worsted. Fingering weight yarn is thin and results in delicate, lightweight fabrics, while worsted weight yarn is thicker and creates warmer and sturdier fabrics.
Color and Pattern
Color and pattern are also important considerations when choosing yarn for cross stitch knitting. The color of the yarn will determine the overall look and feel of your project. You can choose a solid color yarn for a classic and timeless look or opt for variegated or self-striping yarn for added visual interest. Additionally, consider the pattern you will be knitting, as some patterns may require specific color combinations or require yarn with good stitch definition to highlight intricate details.
Budget and Availability
Lastly, it is important to consider your budget and the availability of the yarn. High-quality yarns can be quite expensive, so it is important to set a budget and stick to it. Additionally, consider the availability of the yarn you have chosen. Some yarns may be limited in stock or only available in certain locations, so it is important to plan ahead and ensure you have enough yarn to complete your project.
By considering the type of yarn, weight, color and pattern, and budget and availability, you can choose the right yarn for your cross stitch knitting project. Remember to also consider the specific requirements of your pattern, such as gauge and fiber content, to ensure a successful outcome.
Essential Knitting Tools for Cross Stitching
When it comes to cross stitching, having the right tools is essential to ensure a successful and enjoyable knitting experience. Here are some of the essential knitting tools you will need for cross stitching:
1. Knitting Needles
Knitting needles are the most basic and essential tool for cross stitching. They come in various sizes and materials, such as plastic, metal, or bamboo. Choose the needle size that matches the thickness of your yarn, and consider using different needle sizes to achieve different stitch sizes for your cross stitch pattern.
2. Yarn
Yarn is the main material used in cross stitching. It comes in various colors and thickness, giving you endless possibilities for creating unique and beautiful cross stitch patterns. Choose a yarn that is soft and easy to work with, and consider the color and texture that will best complement your desired design.
3. Cross Stitch Pattern
A cross stitch pattern is essentially a chart or graph that guides you in creating your desired design. It is essential to have a clear and accurate cross stitch pattern to ensure that your stitches align correctly and create the desired image. You can find cross stitch patterns online, in books, or create your own using special software.
4. Scissors
A good pair of scissors is essential for cutting and trimming yarn when knitting. Choose a pair of sharp and precise scissors with comfortable handles that will allow you to easily cut and trim your yarn without causing any damage to your project.
5. Stitch Markers
Stitch markers are small, colored rings or clips that help you keep track of your stitches and patterns. They can be used to mark specific stitches or sections of your cross stitch pattern, making it easier to follow and prevent mistakes. Stitch markers come in various sizes and materials, so choose the one that works best for you.
6. Tapestry Needles
Tapestry needles are large-eyed needles with a blunt tip, perfect for weaving in loose ends and finishing touches in your cross stitch project. They are also used for making decorative stitches and adding embellishments to your design. Choose a tapestry needle with a large eye that can accommodate the thickness of your yarn.
7. Tape Measure
A tape measure is essential for measuring the size and dimensions of your cross stitch project. It helps ensure that your stitches align correctly and that the final piece meets your desired size. A retractable tape measure is convenient and easy to use for measuring both small and large projects.
With these essential knitting tools, you will be well-equipped to start your cross stitching journey and create beautiful and intricate cross stitch patterns. Remember to always choose high-quality materials and tools to ensure the best results in your knitting projects.
Tips for Reading Cross Stitch Patterns
Reading cross stitch patterns can sometimes be confusing, especially for beginners. However, with a few tips and some practice, you can easily understand and follow any cross stitch pattern. Here are some helpful tips to get you started:
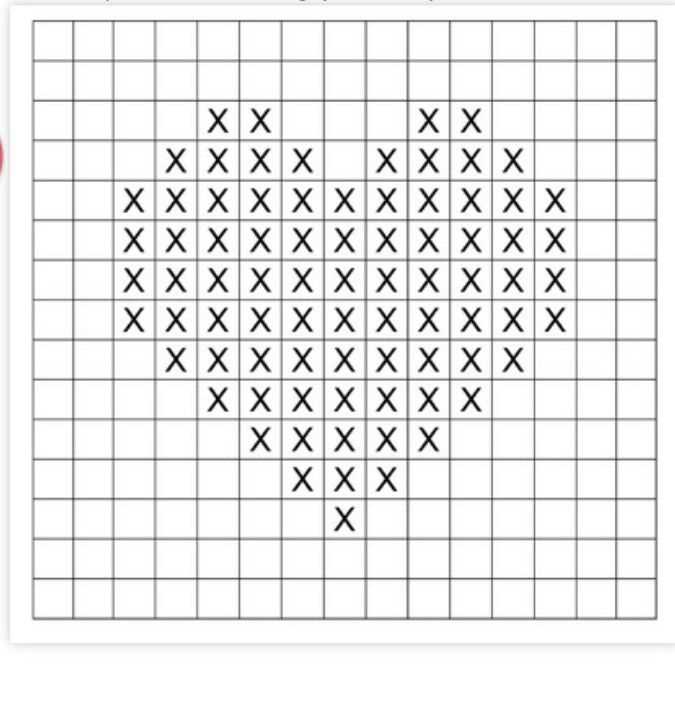
1. Familiarize yourself with the symbols
Each color on a cross stitch pattern is represented by a symbol. Before you begin stitching, take some time to study and familiarize yourself with the symbols used in the pattern. This will make it easier for you to read and follow the pattern instructions.
2. Understand the key
Most cross stitch patterns come with a key or legend that explains the symbols used in the pattern. Make sure to read and understand the key before you start stitching. The key will provide you with important information such as the DMC floss color numbers and the corresponding symbols.
3. Follow the chart from left to right
When reading a cross stitch pattern, always start from the left side of the chart and move towards the right side. This will help you keep track of your stitches and ensure that you are placing them in the correct position.
4. Use a highlighter or a pen
To make it easier to follow the pattern, you can use a highlighter or a pen to mark off each stitch as you complete it. This will help you keep track of your progress and prevent any mistakes.
5. Count carefully
Counting accurately is crucial when following a cross stitch pattern. Make sure to count the number of stitches in each row and column before you start stitching. This will help you avoid any errors and ensure that your design turns out just as the pattern intended.
By following these tips, you’ll be able to read and understand cross stitch patterns with ease. Remember to take your time and enjoy the process of creating beautiful cross stitch designs.
Creating Your Own Cross Stitch Knitting Patterns
Knitting is a popular hobby that allows for endless creativity and customization. One way to add a personal touch to your knitting projects is by creating your own cross stitch knitting patterns. With a little bit of planning and some basic tools, you can design unique patterns that reflect your personal style or match the theme of your project.
1. Choose a Design: The first step in creating your own cross stitch knitting pattern is to choose a design. This could be a simple geometric shape, a letter or number, a nature-inspired motif, or anything else that suits your taste. You can find inspiration from books, magazines, or online resources, or you can draw your own design.
2. Determine the Size: Once you have chosen a design, you need to determine the size of your pattern. Consider the size of your knitting project and how many stitches you want your pattern to cover. This will help you determine the number of rows and stitches you will need in your pattern.
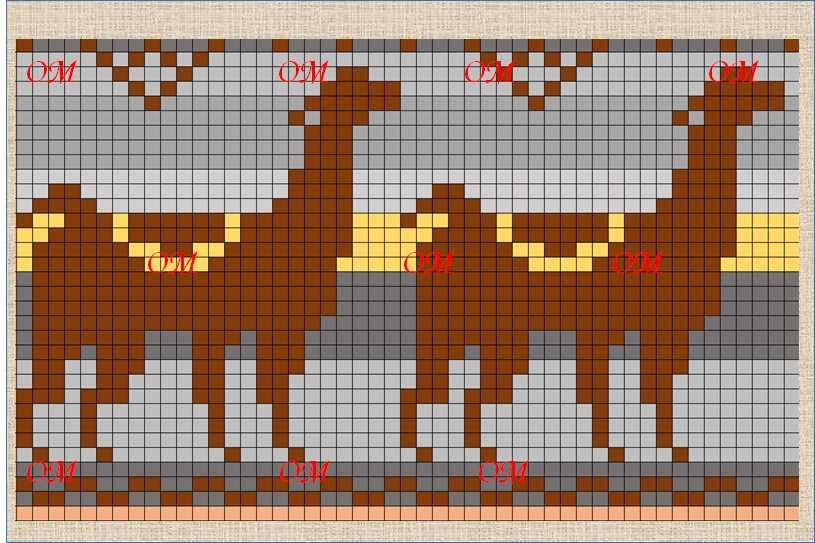
3. Grid and Chart: To create your pattern, you will need a grid and a chart. The grid will help you visualize the stitches, and the chart will serve as a guide for your knitting. You can create a grid by drawing lines on a piece of graph paper, or you can use specialized software or online tools to generate a digital grid.
4. Color Selection: Next, you will need to choose the colors for your pattern. Consider the color scheme of your knitting project and select yarn in the corresponding colors. You can use different shades of the same color or mix and match contrasting colors to create a vibrant and visually appealing pattern.
5. Start Stitching: Once you have your pattern charted and your colors selected, it’s time to start stitching. Follow the chart and use the appropriate color of yarn for each stitch. Pay attention to the tension and gauge of your knitting to ensure that your pattern turns out as desired.
6. Experiment and Adapt: Don’t be afraid to experiment and adapt your pattern as you go. You might find that certain stitches or colors work better than others, or you may want to add additional elements to your design. This is all part of the creative process, so have fun and let your creativity flow.
By creating your own cross stitch knitting patterns, you can add a unique touch to your knitting projects. Whether you’re making a sweater, a hat, or a scarf, your custom pattern will make your creation one-of-a-kind. So grab your knitting needles and get ready to unleash your creativity!
Common Mistakes to Avoid in Cross Stitch Knitting
Cross stitch knitting can be a fun and relaxing hobby, but there are a few common mistakes that beginners should avoid. By being aware of these mistakes, you can ensure that your finished projects turn out beautifully. Here are a few key mistakes to watch out for:
1. Skipping the Grid
One of the most important steps in cross stitch knitting is creating a clear and accurate grid. This grid serves as a guide for placing each stitch, and skipping this step can lead to misalignment and uneven patterns. Take the time to carefully mark and stitch the grid before beginning your project.
2. Using the Wrong Tension
Another common mistake in cross stitch knitting is using the wrong tension. The tension of your stitches should be consistent throughout your work, as this ensures that the pattern remains even and the final piece lies flat. Practice maintaining the correct tension by working on smaller projects before tackling larger ones.
3. Ignoring the Back
While the front of your cross stitch knitting may be the main focus, it’s important not to overlook the back. The back of your work should be tidy and free of loose threads or knots, as this can cause your finished piece to look messy and unprofessional. Take the time to neatly secure and trim threads as you work, and your finished project will be much neater overall.
4. Not Using a Hoop or Frame
Using a hoop or frame may seem unnecessary, but it can greatly improve the quality of your cross stitch knitting. Without a hoop or frame to hold your fabric taut, your stitches may become uneven and the overall pattern may be distorted. Invest in a good quality hoop or frame to ensure that your stitches are consistent and your finished piece looks its best.
5. Rushing the Finishing Process
Finally, it’s important not to rush the finishing process of your cross stitch knitting. Taking the time to carefully trim loose threads, block your piece, and finish off any edges will greatly improve the overall appearance and longevity of your project. Rushing through these final steps can lead to a less polished finished product.
By avoiding these common mistakes, you can ensure that your cross stitch knitting projects turn out beautifully and that you enjoy the process from start to finish.
Finishing and Blocking Your Cross Stitch Knitting Project
After you have completed your cross stitch knitting project, there are a few important steps to take in order to give it a polished and finished look. The finishing process involves securing loose ends, blocking the piece, and framing it if desired.
Securing Loose Ends: Before beginning the blocking process, it is important to secure any loose ends. This can be done by weaving the yarn tails through the stitches on the wrong side of the fabric. By doing so, you ensure that your project will not unravel over time.
Blocking: Blocking is a crucial step in giving your cross stitch knitting project a professional and polished appearance. To block your project, soak it in water for a short period of time. Afterwards, gently remove the excess water by rolling the fabric in a towel. Then, carefully stretch and shape the piece to its desired dimensions on a blocking board or foam mat. Use pins to hold the fabric in place while it dries. This step helps to even out stitches and create a smooth and straight fabric.
Framing: Once your project is dry, you may choose to frame it. Framing not only protects your work, but also allows you to showcase it as a decorative piece. You can select a frame that complements the colors and style of your project. Carefully place your blocked piece in the frame, ensuring that it is centered and straight. Use a backing board, mat, and glass to fully enclose the fabric. Finally, secure the frame and display your finished cross stitch knitting project with pride.
What Can You Make with Knitted Cross Stitch Patterns?
Knitted cross stitch patterns offer a unique and versatile way to create stunning and intricate designs. Whether you’re an experienced knitter or just starting out, these patterns can be used to make a wide range of beautiful and functional items.
1. Scarves and Wraps: One popular project using knitted cross stitch patterns is making scarves and wraps. By incorporating the patterns into the knitted fabric, you can create eye-catching and personalized accessories to keep you warm and stylish during the colder months.
2. Blankets and Throws: Knitting a blanket or throw using cross stitch patterns can result in an heirloom-quality piece that adds warmth and beauty to any living space. These patterns allow you to create intricate motifs and designs that can be enjoyed for generations.
3. Cushion Covers: Add a touch of elegance and uniqueness to your home decor by knitting cushion covers with cross stitch patterns. Whether you prefer traditional or modern designs, these covers can be customized to match your personal style and lend a cozy and artistic element to any room.
4. Bags and Purses: Knitted cross stitch patterns can also be used to create one-of-a-kind bags and purses. From totes to clutches, incorporating these patterns into your knitted accessories adds a special touch and sets them apart from store-bought options.
5. Clothing: Upgrade your wardrobe with knitted clothing pieces that feature cross stitch patterns. Sweaters, cardigans, and even skirts can be enhanced with these patterns to create unique and eye-catching fashion statements.
6. Baby Items: Knitting cross stitch patterns onto baby items such as blankets, hats, and booties is a great way to welcome a new arrival or create a thoughtful baby shower gift. The intricate designs add a touch of charm and sweetness to these precious items.
7. Home Decor Items: From pillowcases to table runners, knitted cross stitch patterns can be incorporated into various home decor items. These patterns add a touch of texture and visual interest, allowing you to customize your living space to reflect your personal style.
In conclusion, knitted cross stitch patterns offer endless possibilities for creativity and personalization. With these patterns, you can make a wide range of items, from accessories to home decor pieces, that are not only functional but also showcase your knitting skills and artistic vision.
Tips for Adding Embellishments to Your Knitted Cross Stitch Projects
When it comes to adding embellishments to your knitted cross stitch projects, there are a few tips and tricks that can help you achieve the best results. Whether you’re looking to add a touch of sparkle, texture, or dimension to your knitting, these tips will help you take your projects to the next level.
1. Choose the Right Embellishments
First and foremost, it’s important to choose the right embellishments for your knitted cross stitch project. Consider the overall design and theme of your project and select embellishments that complement it. For example, if you’re knitting a Christmas-themed project, you might opt for metallic thread or beads to add a festive touch.
2. Plan Ahead
Before adding embellishments, it’s a good idea to plan ahead and envision where and how you want to incorporate them into your knitting. This will help you determine the best placement and ensure that the final result is balanced and visually appealing. You can make a rough sketch or mark the areas where you plan to add embellishments.
3. Consider Texture and Dimension
Embellishments can add texture and dimension to your knitted cross stitch project. Consider using yarns with different thicknesses or textures, such as metallic or mohair yarn, to create interesting visual effects. You can also experiment with different stitches, like bobbles or cables, to add texture to your knitting.
4. Use the Right Tools and Techniques
When adding embellishments to your knitted cross stitch project, it’s important to use the right tools and techniques. Use a needle appropriate for the size of your embellishments, such as a beading needle for adding beads. You may also need a crochet hook or a tapestry needle to help with attaching the embellishments securely to your knitting.
5. Secure Your Embellishments
To ensure that your embellishments stay in place, it’s important to secure them properly. Thread your yarn or thread through the stitches or fabric of your knitted project multiple times to reinforce the attachment. Knot the ends securely and weave them in to hide any loose ends.
Adding embellishments to your knitted cross stitch projects can elevate the overall look and feel of your work. By following these tips, you’ll be able to add an extra touch of creativity and personalization to your knitting.
Resources for Knitted Cross Stitch Patterns
When it comes to finding knitted cross stitch patterns, there are several resources available to help you get started on your project. Whether you’re a beginner or an experienced knitter, these resources offer a wide range of patterns to suit your skill level.
Online websites: There are many websites dedicated to knitting that provide knitted cross stitch patterns. These websites offer a variety of patterns, from simple designs for beginners to intricate patterns for advanced knitters. Some websites even offer free patterns that you can download and use for your projects. You can search for specific patterns or browse through the website’s collection to find inspiration for your next knitting project.
Knitting books: Knitting books are a great resource for finding knitted cross stitch patterns. These books often include step-by-step instructions and charts that guide you through the knitting process. They also provide a variety of patterns for different skill levels and styles. You can find knitting books at local bookstores, online retailers, or your local library.
- Knitting magazines: Knitting magazines are another excellent resource for knitted cross stitch patterns. These magazines often feature new and trendy knitting patterns, including cross stitch designs. They also provide helpful tips and techniques for knitters of all skill levels. Subscribing to a knitting magazine can keep you updated on the latest knitting trends and provide you with a regular supply of new patterns to try.
- Online knitting communities: Joining online knitting communities can connect you with other knitters who share your interest in cross stitch. These communities often have forums or groups where members can share and discuss knitting patterns, including knitted cross stitch patterns. They can provide helpful advice, feedback, and inspiration for your projects.
- Local knitting stores: Local knitting stores often have a selection of knitting patterns available for purchase. They may carry knitted cross stitch pattern books or have individual patterns for sale. Visiting your local knitting store can also give you the opportunity to seek advice from knowledgeable staff and connect with other knitters in your area.
With the help of these resources, you can easily find a variety of knitted cross stitch patterns to suit your preferences and skill level. Whether you prefer online resources, books, magazines, online communities, or local knitting stores, there is a wealth of inspiration and information available to enhance your knitting projects.
Inspiration for Your Next Cross Stitch Knitting Project
Knitting is not just a hobby; it’s a form of art that allows you to create beautiful designs with a needle and thread. Cross stitch knitting is a popular technique that combines the precision of knitting with the decorative element of cross stitching. If you’re looking for inspiration for your next cross stitch knitting project, look no further! Here are some ideas to get you started:
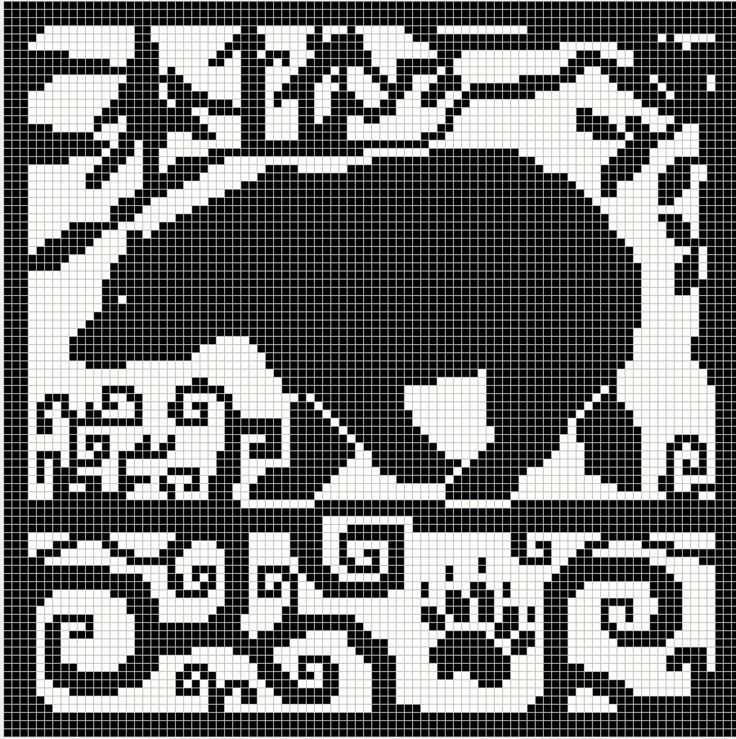
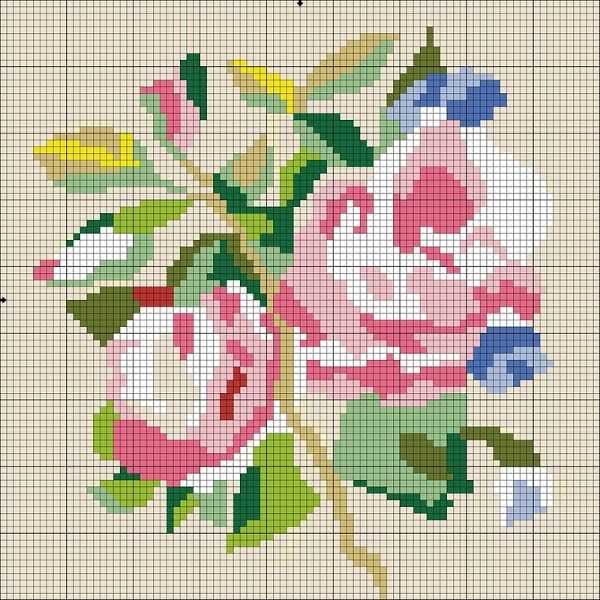
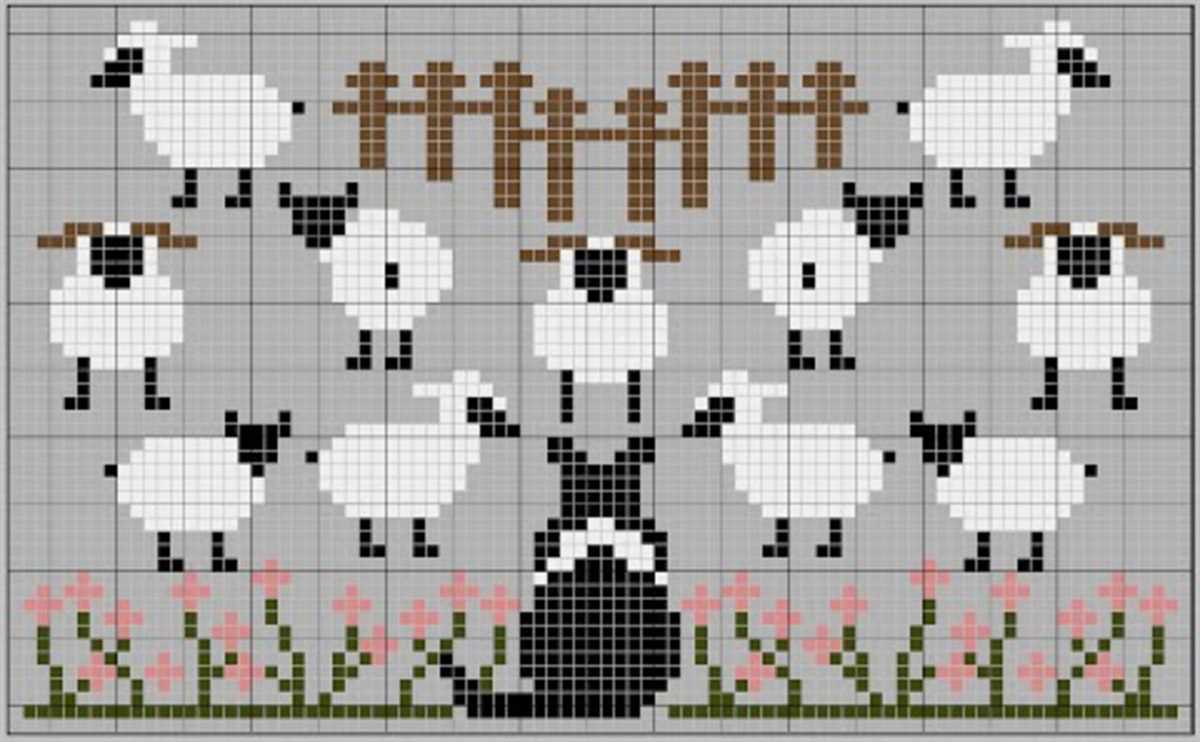
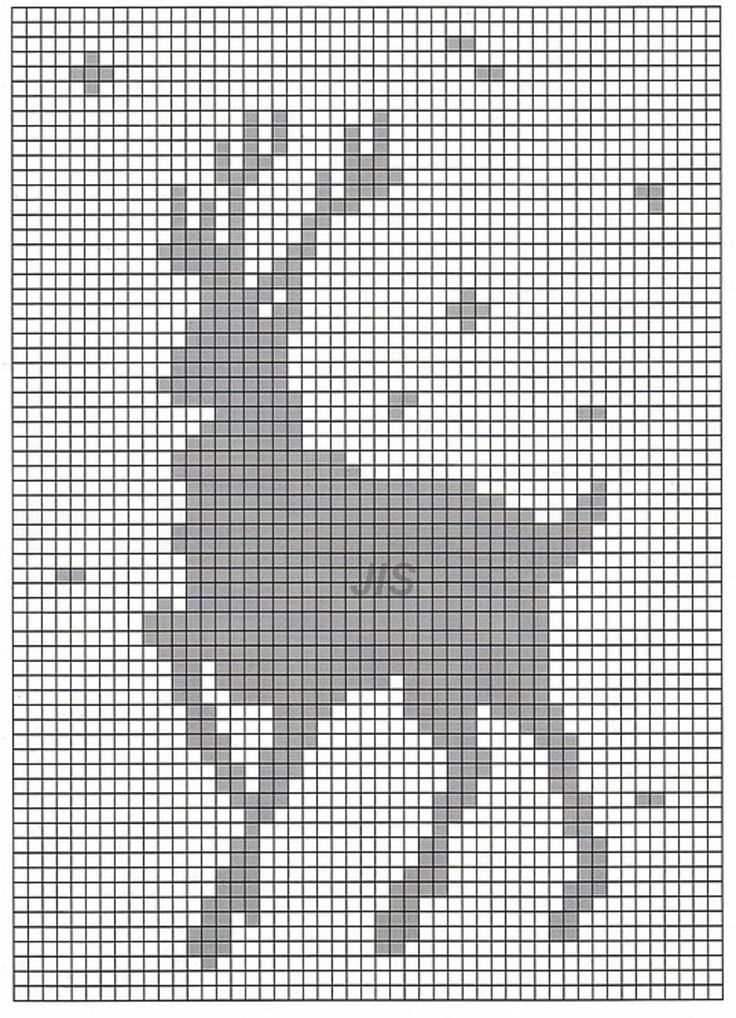
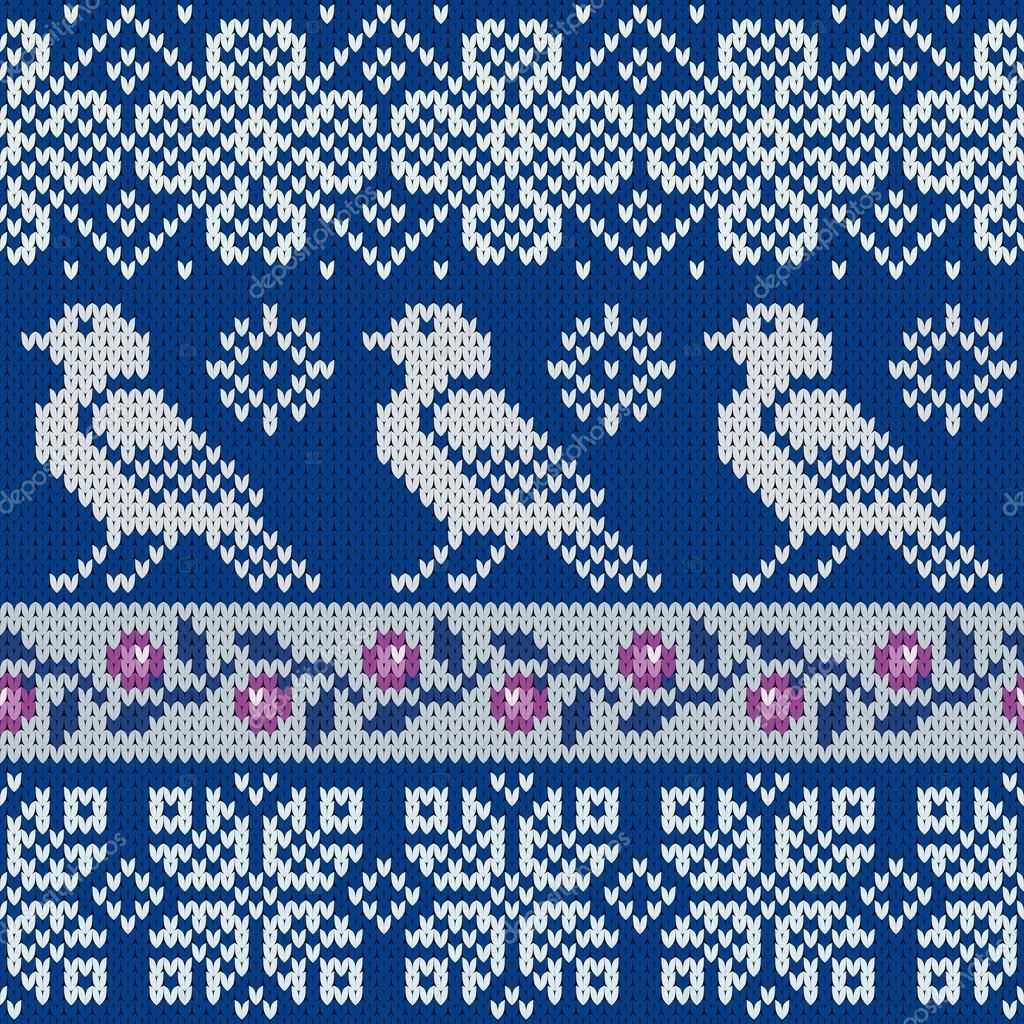
1. Nature-inspired patterns: Bring the beauty of the outdoors into your knitting project with nature-inspired patterns. You can create floral designs, animal motifs, or even landscapes. Think of birds, butterflies, and flowers, and let your imagination run wild.
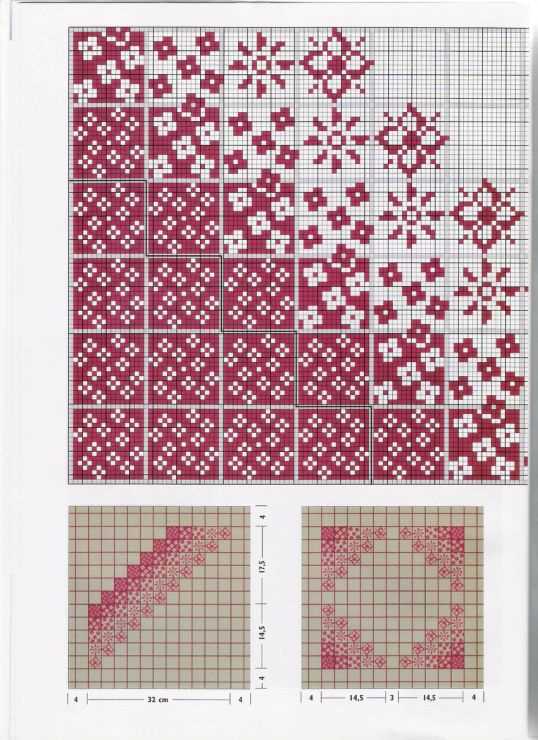
2. Geometric patterns: If you prefer a more structured and modern look, try incorporating geometric patterns into your cross stitch knitting project. Squares, triangles, and chevron patterns can create a bold and eye-catching design.
3. Personalized patterns: Cross stitch knitting allows you to personalize your projects by adding initials, names, or even quotes. Create a customized gift for a loved one or add a personal touch to an accessory you’ll wear with pride.
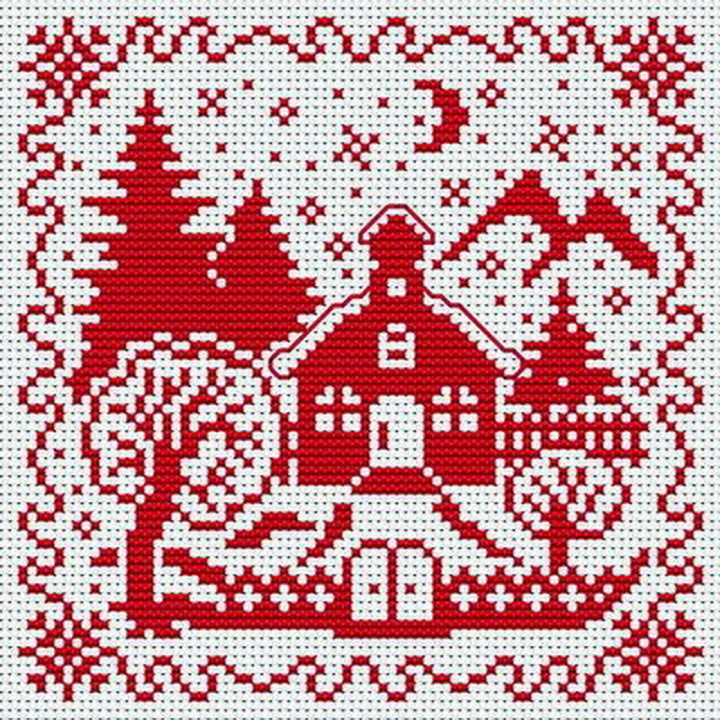
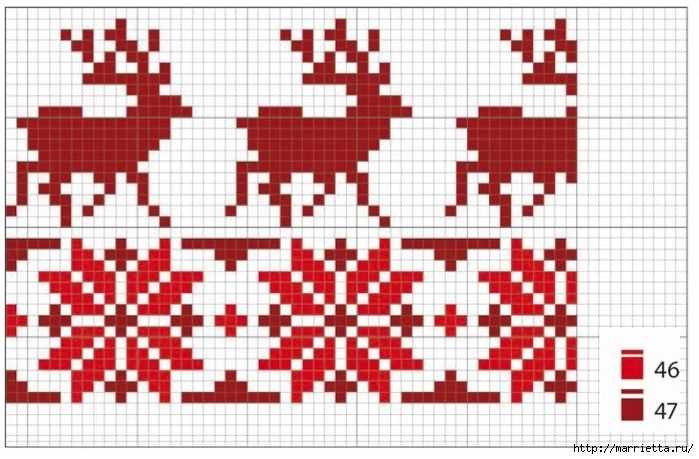
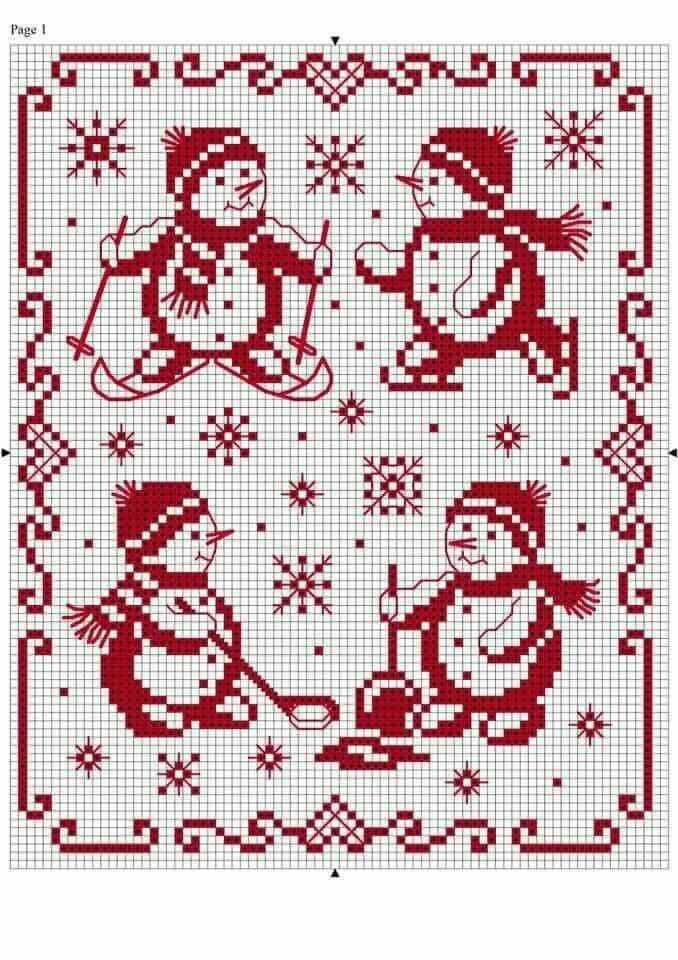
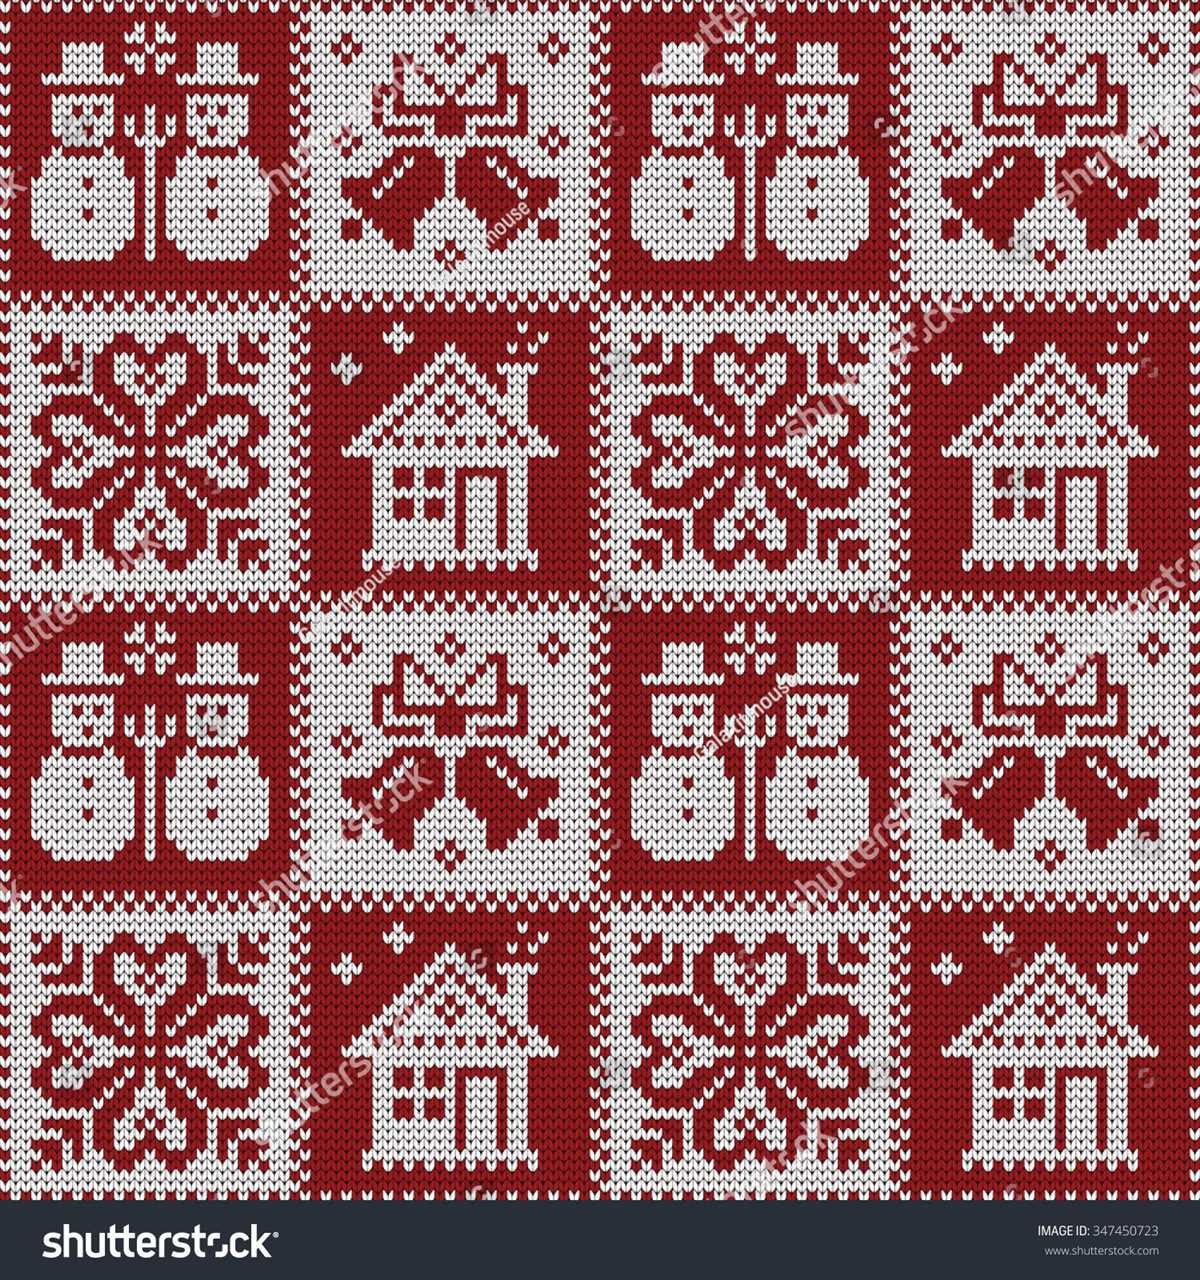
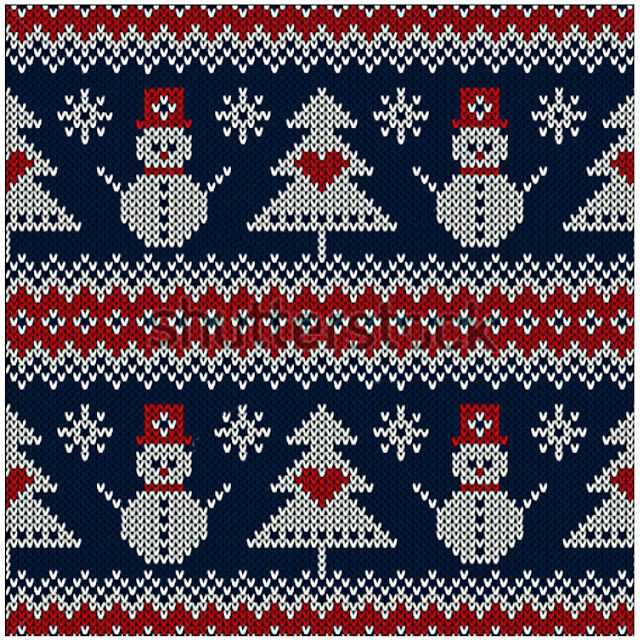
4. Seasonal patterns: Embrace the spirit of each season by incorporating seasonal patterns into your cross stitch knitting. Snowflakes for winter, flowers for spring, sunsets for summer, and falling leaves for autumn can add a touch of seasonality to your project.
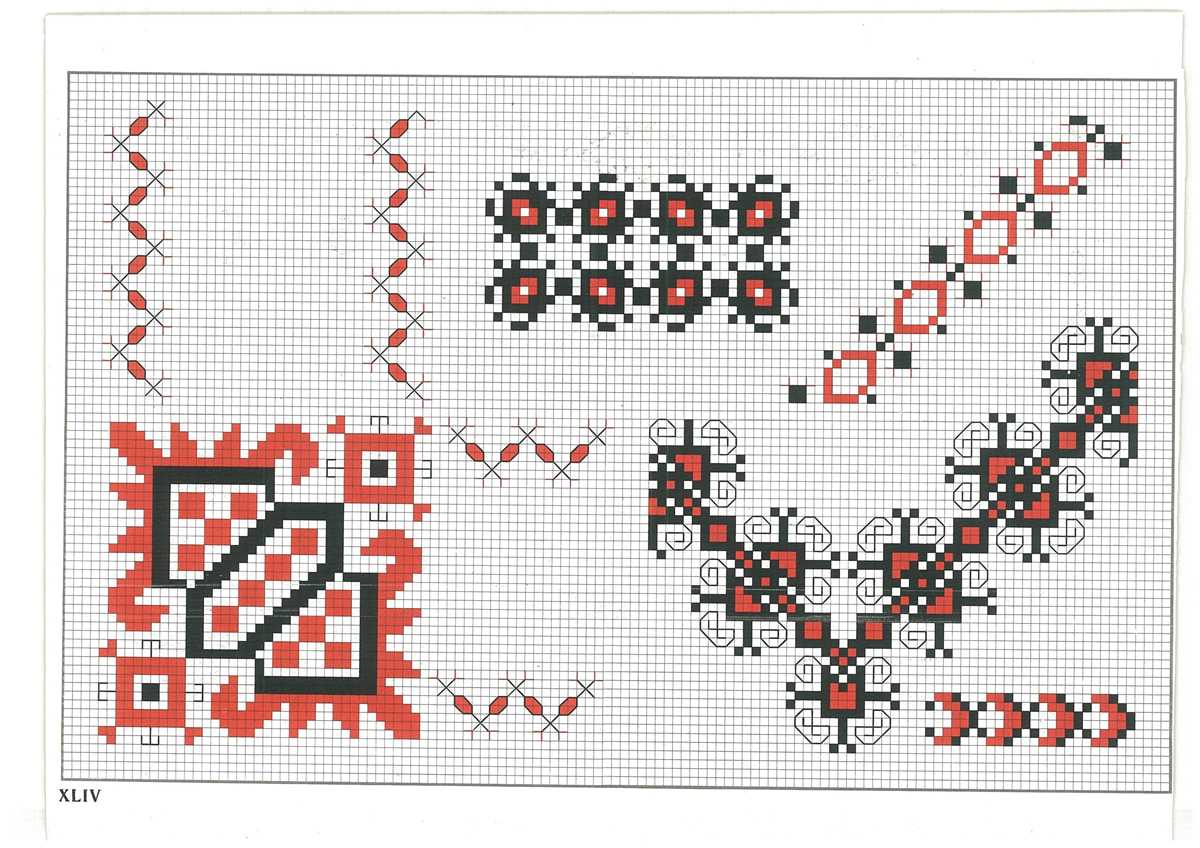
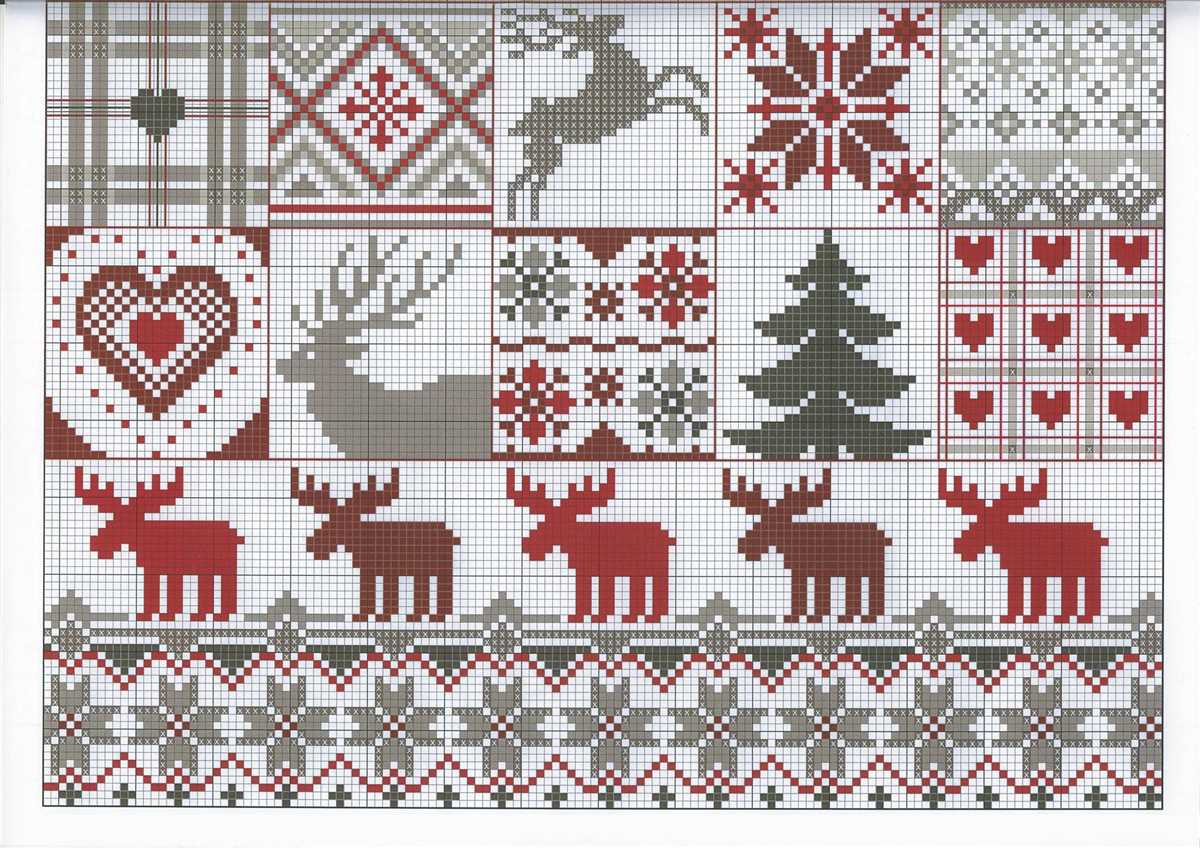
5. Ethnic patterns: Explore the rich cultural heritage of different ethnicities by incorporating their traditional patterns into your cross stitch knitting project. Whether it’s Nordic, Indian, or African designs, you’re sure to create something unique and beautiful.
Remember, cross stitch knitting is a versatile technique that allows you to create endless possibilities. Whether you’re a beginner or an experienced knitter, these ideas will surely inspire your next project. So grab your needles, choose a pattern, and let your creativity shine!