
Are you tired of the same old winter hats? Why not try something new and unique with a knitted cow hat! This adorable and fun pattern is perfect for anyone who wants to add a touch of whimsy to their winter wardrobe. Whether you’re knitting it for yourself or as a gift, this cow hat will always bring a smile to your face!
Knitting your own cow hat is easier than it looks. Even if you’re a beginner, you can tackle this project with a little bit of patience and determination. With simple techniques and basic knitting stitches, you’ll be able to create this charming hat in no time. The best part? You can customize it to your own liking by choosing different colors and adding embellishments like a cute pair of ears or even a pair of big, googly eyes!
Not only is a knitted cow hat perfect for keeping warm during those chilly winter months, it’s also a great conversation starter. Imagine walking down the street and having people stop you to compliment your unique and adorable hat. It’s sure to turn heads and brighten up even the dreariest of days. Plus, if you have kids, they’ll love wearing this hat and pretending to be their favorite barnyard animal.
Knitted Cow Hat Pattern: A Fun and Unique Project for Knitters
Are you a knitter looking for a fun and unique project? Look no further than the knitted cow hat pattern! This pattern is perfect for knitters of all skill levels and is sure to bring a smile to your face.
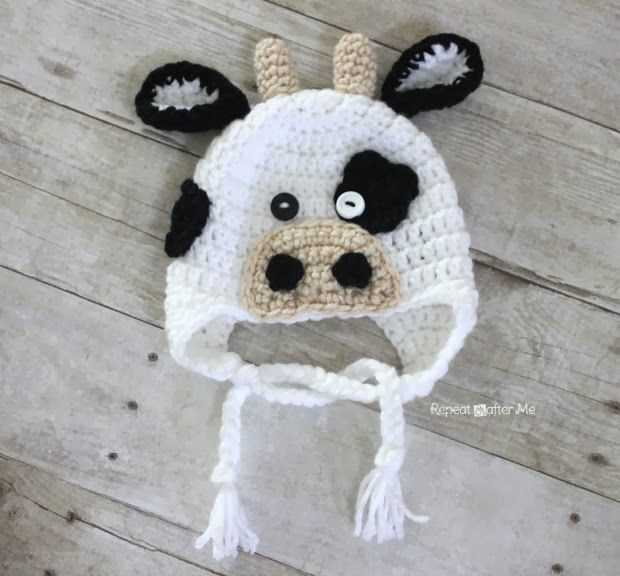
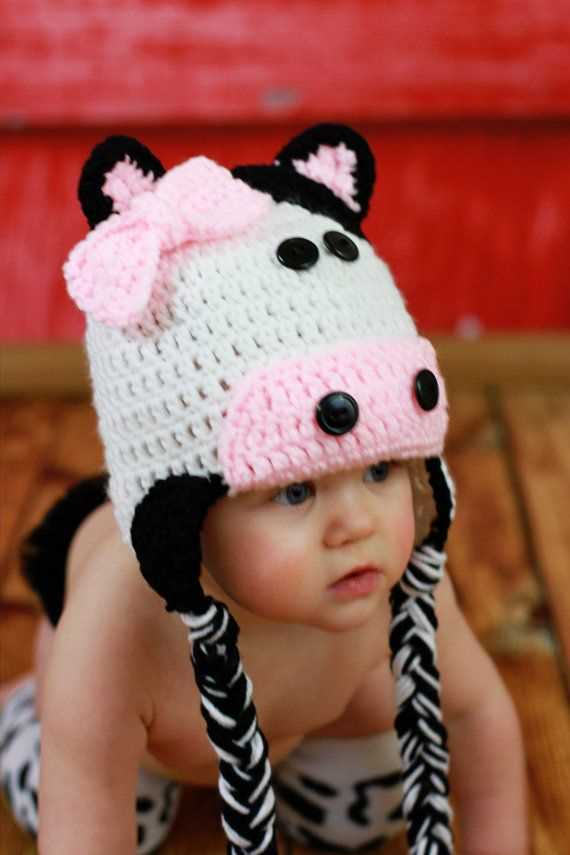
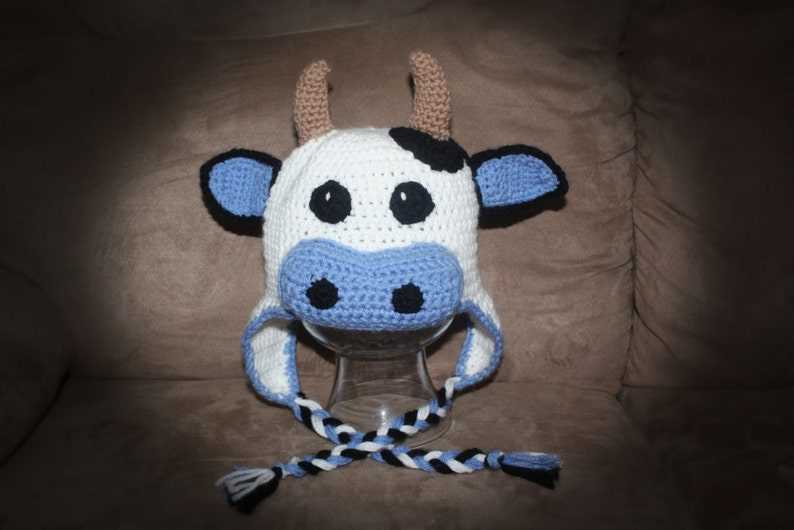
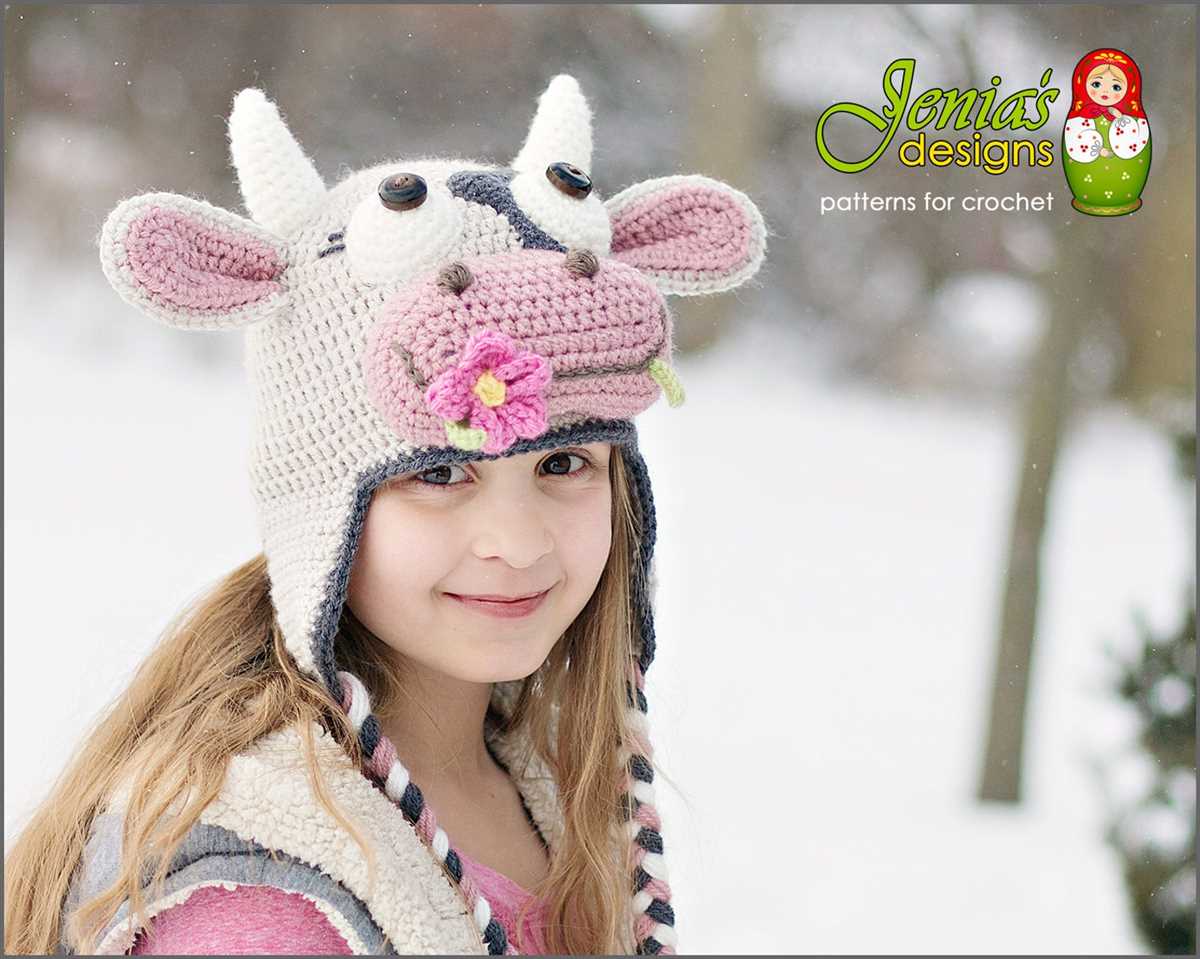
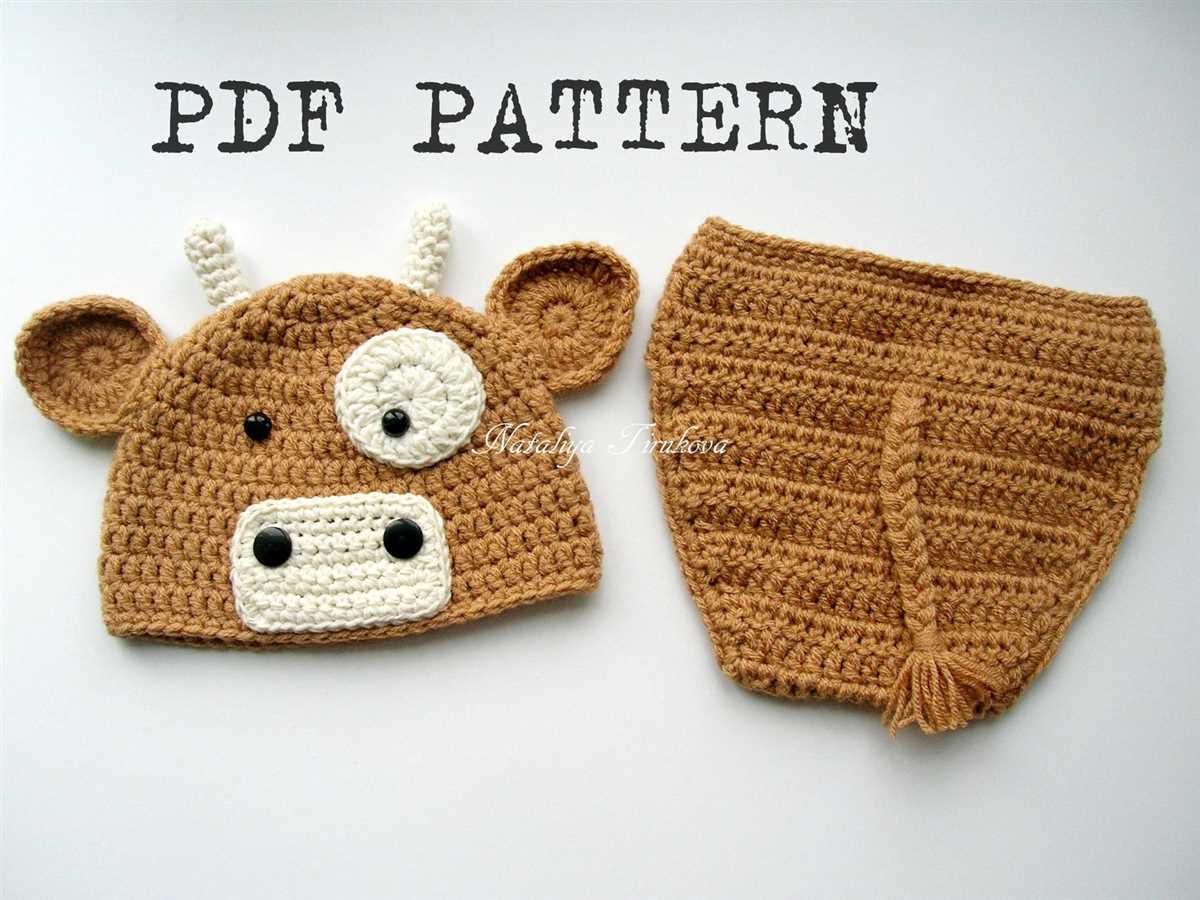
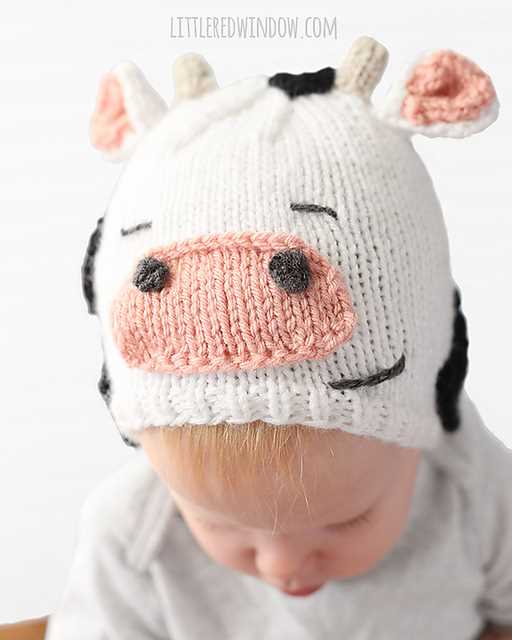
The knitted cow hat pattern is a playful and whimsical design that is sure to turn heads. The hat features a cow face complete with cute little ears and a snout. It’s a great way to show off your love for all things bovine and add a touch of fun to your winter wardrobe.
Materials Needed:
- Yarn: You will need one skein of black yarn for the cow’s spots, one skein of white yarn for the cow’s face, and a small amount of pink yarn for the cow’s snout.
- Size 8 knitting needles
- Tapestry needle
- Scissors
- Pom-pom maker (optional)
Instructions:
- Start by casting on 96 stitches using the black yarn.
- Knit in a 1×1 rib stitch for 2 inches.
- Switch to the white yarn and knit in a stockinette stitch for 4 inches.
- Switch back to the black yarn and knit in a 1×1 rib stitch for 1 inch.
- Continue knitting in this pattern, alternating between the white and black yarn, until the hat measures approximately 7 inches from the cast-on edge.
- Switch to the pink yarn and knit in a stockinette stitch for 1 inch to create the cow’s snout.
- Switch back to the black yarn and knit in a 1×1 rib stitch for 1 inch.
- Bind off all stitches and weave in any loose ends.
- If desired, use a pom-pom maker to create a pom-pom for the top of the hat.
Once you’ve finished knitting the hat, you can wear it proudly or give it as a special gift to a fellow cow lover. The knitted cow hat pattern is a fun and unique project that will surely bring a smile to your face every time you wear it.
Understanding the Knitted Cow Hat Pattern: Materials and Tools Required
The knitted cow hat pattern is an adorable and fun project for knitters of all skill levels. Whether you’re making it as a gift or for yourself, it’s important to gather all the necessary materials and tools before you begin.
To complete the cow hat pattern, you will need the following materials:
- Yarn: Choose a soft and comfortable yarn in the colors of your choice. Worsted weight yarn is recommended for this pattern.
- Knitting needles: Use circular needles in a size appropriate for your chosen yarn. The size will depend on your gauge and the desired fit of the hat.
- Stitch markers: These will help you keep track of your stitches and any pattern repeats.
- Tapestry needle: This will be used for weaving in ends and finishing touches.
- Scissors: A pair of sharp scissors will be handy for trimming excess yarn.
In addition to these materials, you may also want to have a stitch counter, a row counter, and a measuring tape on hand to help you stay organized and ensure accurate measurements throughout the project.
Once you have gathered all the materials, you will be ready to start your knitted cow hat pattern. It’s important to read through the entire pattern before you begin to familiarize yourself with the instructions and any special techniques or stitches that may be required. Having a clear understanding of the pattern will make the knitting process smoother and more enjoyable.
Step-by-Step Guide: Getting Started with the Knitted Cow Hat Pattern
Knitting a cow hat can be a fun and rewarding project for knitters of all skill levels. Whether you’re a beginner or an experienced knitter, this step-by-step guide will help you get started with the knitted cow hat pattern.
Before you begin, gather all the necessary materials. You will need:
- Yarn in cow-inspired colors, such as black and white
- Knitting needles in the appropriate size for your chosen yarn
- A tape measure
- A yarn needle
Once you have your materials ready, it’s time to cast on. Follow the pattern instructions to cast on the required number of stitches. Pay attention to any specific cast on methods mentioned in the pattern.
After you have cast on, you can begin working the main body of the hat. This typically involves knitting in the round, so make sure you are familiar with circular knitting techniques. Follow the pattern instructions for the specific stitch pattern and color changes required to create the cow pattern.
Continue working the main body of the hat until you have reached the desired length. Use a tape measure to check your progress and ensure that the hat will fit comfortably.
Once the main body is complete, it’s time to shape the crown of the hat. This is usually done by decreasing stitches gradually to create a tapered effect. Follow the pattern instructions for the specific decrease method and rate.
Finally, when you have finished shaping the crown, bind off your stitches and weave in any loose ends using a yarn needle. Give your hat a gentle blocking if necessary, and it’s ready to be worn or gifted!
Note: This guide assumes some basic knowledge of knitting techniques. If you’re new to knitting, consider taking a beginner’s knitting class or consulting online tutorials to familiarize yourself with the necessary skills.
Choosing the Right Yarn and Needles for the Knitted Cow Hat
When it comes to knitting a cow hat, one of the first things you need to consider is the type of yarn you will use. The choice of yarn will not only affect the final look and feel of the hat, but also its warmth and durability. It is important to choose a yarn that is both soft and cozy, as well as strong enough to withstand regular use.
Wool yarn is a popular choice for knitting cow hats. It is known for its warmth and insulation properties, making it perfect for keeping your head protected from the cold. Wool yarn is also durable and can withstand frequent washing, which is essential for a hat that will be worn often.
Another option to consider is acrylic yarn. Acrylic yarn is lighter and softer than wool, making it more comfortable to wear. It is also less expensive and comes in a wide range of colors, allowing you to create a cow hat that matches your style and preferences.
When it comes to needles, the size you choose will depend on the type of yarn you’ve selected and the desired gauge for your hat. If you’re using a thicker yarn, such as a chunky wool, you will need larger needles to create a looser fabric. On the other hand, if you’re using a thinner yarn, like a fingering weight, you will need smaller needles to create a tighter fabric.
It’s important to check the recommended needle size on the yarn label and to swatch before starting your project to ensure that you achieve the correct gauge for your cow hat.
Overall, choosing the right yarn and needles for your knitted cow hat is essential to achieve the desired look, comfort, and durability. Consider the properties of different yarn types and match them with the appropriate needle size to create a hat that you will love to wear and show off.
How to Cast on Stitches for the Knitted Cow Hat Pattern
Before you can start knitting the cow hat pattern, you will need to cast on the necessary number of stitches. Casting on is the process of creating the foundation row of stitches that you will be working with. In this case, the number of stitches you cast on will depend on the size of the hat and the gauge you are using.
To cast on stitches for the knitted cow hat pattern, you can use the long-tail cast on method. This method creates a neat and flexible edge that is perfect for hats. To begin, measure a tail of yarn that is approximately three times the width of the hat. Hold the yarn in your left hand and create a slipknot by making a loop with the tail end over the working end of the yarn. Slip this loop onto your knitting needle and snug it up.
Step 1: Hold the knitting needle with the slipknot in your right hand. With your left thumb, hold the tail end of the yarn and wrap it over your left index finger.
Step 2: With your right hand, bring the needle under the yarn on your left index finger, over the yarn on your left thumb, and then back under the yarn on your left index finger. This creates a loop on your needle.
Step 3: With your right thumb and index finger, grasp the loop on the right needle and pull it through the loop on the left index finger. This creates a new stitch on your right needle.
Step 4: Repeat Steps 2 and 3 until you have cast on the desired number of stitches for your cow hat pattern.
Once you have cast on the stitches, you are ready to start knitting the cow hat pattern. Following the pattern instructions, you will work each row to create the hat’s body, shaping, and any additional design details. Happy knitting!
Knitting Techniques: Ribbing, Stockinette Stitch, and Fair Isle
When it comes to knitting, there are several techniques that every knitter should know. Ribbing, stockinette stitch, and Fair Isle are three popular techniques that can add texture and visual interest to your projects. Whether you’re a beginner or an experienced knitter, mastering these techniques will open up a world of possibilities for your creations.
Ribbing
Ribbing is a versatile technique that is often used for the cuffs, hems, and collars of garments such as sweaters and hats. It creates a stretchy and flexible fabric that is ideal for these areas, as it allows the garment to fit snugly without restricting movement. Ribbing is achieved by alternating knit and purl stitches in a specific pattern, such as 1×1 ribbing (knit 1, purl 1) or 2×2 ribbing (knit 2, purl 2).
Stockinette Stitch
The stockinette stitch is one of the basic stitches in knitting, and it creates a smooth and flat fabric with a distinct “V” pattern on one side and a bumpy texture on the other side. It is commonly used for the main body of garments, as it has a sleek and polished appearance. To achieve the stockinette stitch, knit all the stitches on the right side and purl all the stitches on the wrong side of the fabric.
Fair Isle
Fair Isle, also known as stranded colorwork, is a technique that involves knitting with two or more colors in a single row. It originated in the Fair Isle region of Scotland and is characterized by its intricate and colorful patterns. In Fair Isle knitting, the unused colors are carried across the back of the work, while the main color is knit to create the design. This technique requires concentration and careful tension management to ensure an even and consistent fabric.
Whether you’re looking to add texture to your project with ribbing, create a smooth and polished fabric with stockinette stitch, or incorporate intricate colorwork with Fair Isle, these knitting techniques will enhance your skills and allow you to explore new creative possibilities.
Creating the Cow Pattern: Intarsia and Duplicate Stitch
When it comes to creating the cow pattern for a knitted cow hat, two popular techniques are often used: Intarsia and Duplicate Stitch. Both methods allow you to incorporate a cow design into your knitting project, but they differ in terms of complexity and appearance.
Intarsia: The intarsia technique involves using different colors of yarn to create the desired design. To create a cow pattern, you would start by choosing the colors you want for the cow’s spots, face, and ears. With intarsia, you would knit each section of color separately, wrapping the new yarn around the previous one to avoid holes and create a clean design. This technique can be more challenging, especially for beginners, as it requires managing multiple balls of yarn and twisting the strands at color changes.
Duplicate Stitch: Duplicate stitch, also known as Swiss darning, is a simpler technique that involves embroidering the cow pattern on top of the knitted fabric. Using a contrasting color of yarn, you would follow the chart or pattern for the cow design, stitching over the existing stitches to create the desired image. Duplicate stitch is a great option for adding a cow pattern to a finished knitted hat or for those who prefer a less complicated method. It allows for more flexibility and precision, as you can easily adjust the size and placement of the design.
Whether you choose to use intarsia or duplicate stitch to create your cow pattern, both techniques offer unique challenges and opportunities for customization. Whichever method you go with, the end result will be a charming and whimsical cow hat that is sure to turn heads.
Shaping the Crown: Decreases and Shaping Techniques
When knitting a cow hat, one of the key elements is shaping the crown. This is where the hat tapers towards the top, creating a snug and comfortable fit. There are various techniques and decrease stitches that can be used to achieve the desired shape.
Decrease Stitches: One commonly used decrease stitch in hat shaping is the knit two together (k2tog) stitch. This involves knitting two stitches together as if they were one stitch. This creates a decrease and helps shape the crown. Another decrease stitch that can be used is the slip, slip, knit (ssk) stitch. This involves slipping two stitches knitwise one at a time, then knitting them together through the back loop. Both of these decrease stitches are commonly used in hat patterns to shape the crown.
Shaping Techniques: In addition to using decrease stitches, there are also shaping techniques that can be used to create the desired crown shape. One technique is to work evenly spaced decrease rounds, gradually reducing the number of stitches in each round. This can be done by dividing the stitches evenly and making the decreases in the same spots on each round. Another shaping technique is to incorporate short rows. Short rows involve knitting partway across a row, then turning the work and knitting back in the opposite direction. This can create a curved or slanted shape, adding interest to the crown of the hat.
Overall, when knitting a cow hat, it is important to pay attention to the crown shaping to ensure a proper fit. By using decrease stitches and shaping techniques, you can create a hat that is both stylish and comfortable to wear. Experiment with different techniques and find the ones that work best for your knitting style and desired hat shape.
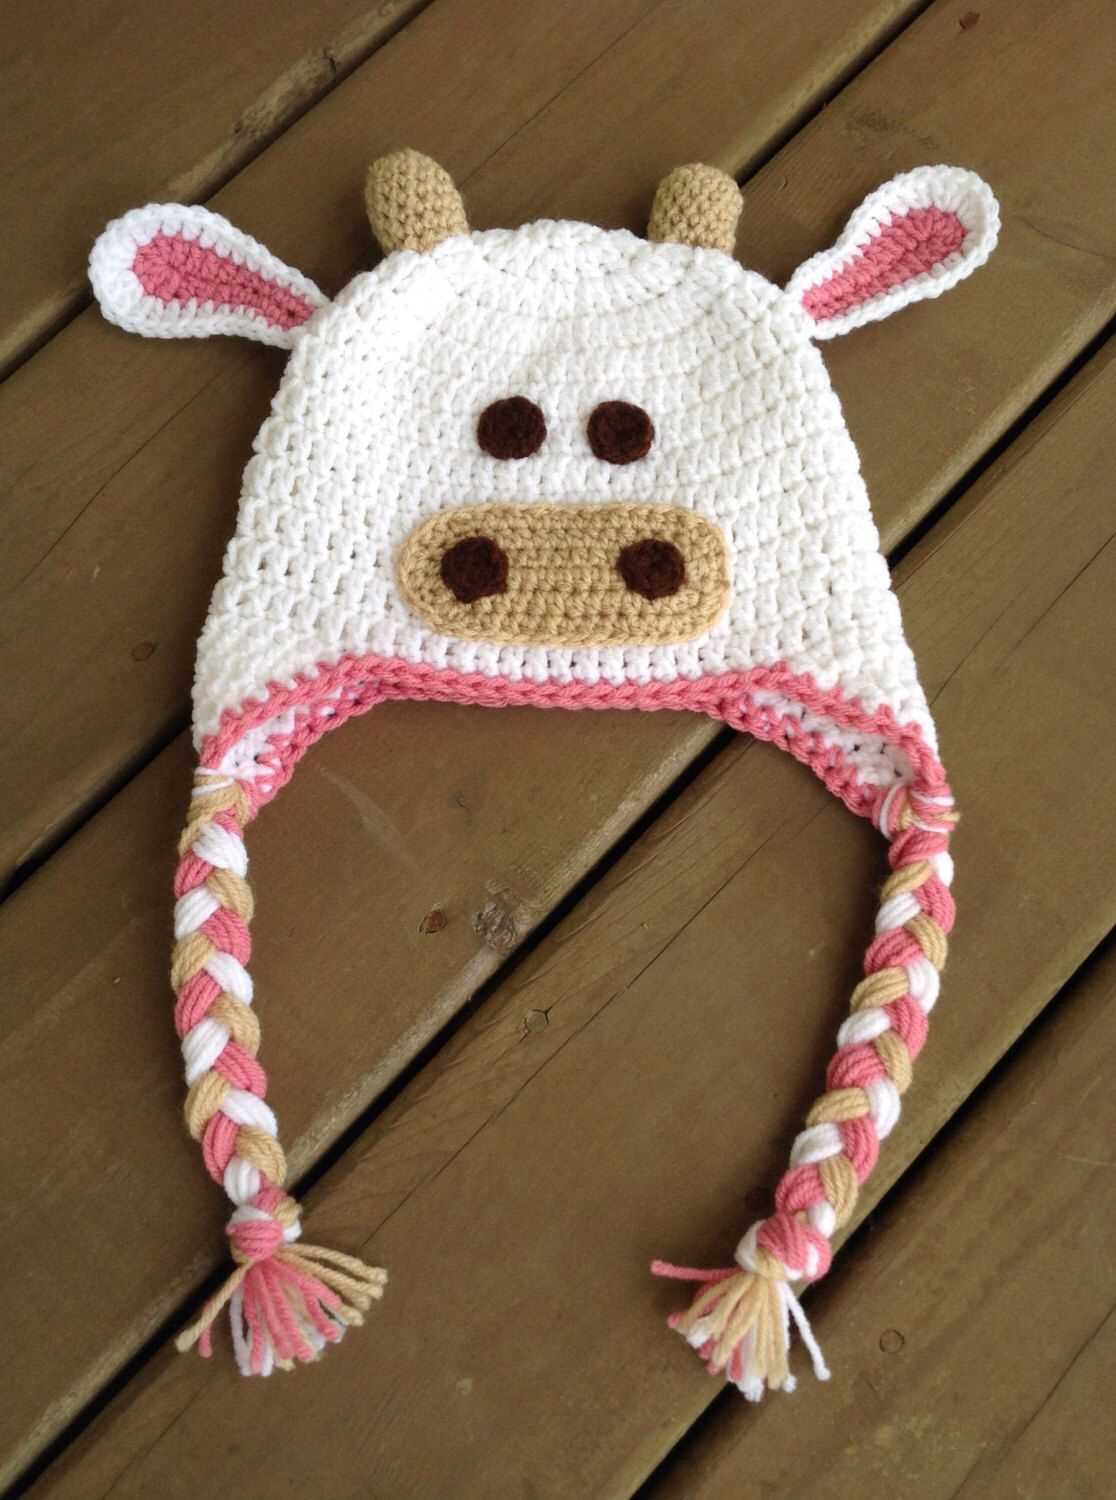
Adding the Ear Flaps and Tassels for a Fun Finishing Touch

Once you have completed knitting the main body of the cow hat, it’s time to add the ear flaps and tassels for a fun and playful finishing touch. The ear flaps will not only add an adorable detail to the hat but also provide extra warmth for the wearer’s ears.
To create the ear flaps, you will need to pick up stitches along the sides of the cow hat. Use a crochet hook or a smaller knitting needle to pick up stitches evenly along the edge. Make sure to count your stitches to ensure that you have an even number for both ear flaps. Once you have picked up the stitches, you can begin knitting the ear flaps in a pattern of your choice.
For a simple garter stitch ear flap:
- Knit the first row of picked-up stitches.
- Purl the second row.
- Continue alternating between knitting and purling rows until the ear flap reaches your desired length.
Repeat this process for the second ear flap.
After knitting the ear flaps, it’s time to add the tassels. Tassels are a playful addition that will bring the cow hat to life. To create tassels, cut several strands of yarn of equal length, about twice the desired length of the tassel. Take a group of strands and fold them in half. Insert the folded end through a stitch at the corner of the ear flap and pull the loose ends through the folded end loop to create a knot. Repeat this process for each tassel, evenly distributing them along the edges of the ear flaps.
Blocking and Finishing: Tips for a Professional-looking Knitted Cow Hat
After completing the knitting portion of your cow hat, it’s important to give it a finishing touch to ensure a professional-looking result. This can be achieved through blocking and careful finishing techniques. In this guide, we will explore some tips and tricks to help you achieve the desired look for your knitted cow hat.
Blocking
Blocking is a crucial step in the finishing process that helps to shape and even out the stitches in your cow hat. Start by soaking your hat in lukewarm water for about 20 minutes. Gently squeeze out the excess water without wringing or twisting the hat. Lay a clean towel on a flat surface and place the hat on top. Using rust-proof pins, gently stretch and shape the hat to the desired size and shape. Take care to maintain the correct measurements and proportions of the hat. Leave the hat to dry completely, preferably overnight. Once dry, remove the pins and admire the beautifully blocked cow hat.
Finishing Techniques
- Weaving in Ends: After blocking, you may have loose ends from joining new yarn or changing colors. Use a yarn needle to carefully weave in these ends on the inside of the hat. This will ensure a clean and tidy finish.
- Seaming: If your cow hat has multiple panels or sections, you will need to seam them together. Use a mattress stitch or an appropriate seaming technique to join the pieces seamlessly. Take your time and work methodically to achieve a professional-looking seam.
- Add Embellishments: To make your cow hat stand out, consider adding embellishments such as buttons, pompoms, or braids. Choose materials that complement the color and style of your hat, and carefully sew them on using a matching yarn or thread.
- Cleaning and Care: It’s important to provide proper care for your knitted cow hat to maintain its appearance. Follow the care instructions for the type of yarn used, and store the hat in a cool and dry place when not in use.
By following these blocking and finishing techniques, you can transform a simple knitted cow hat into a professional-looking accessory that is sure to impress. Take your time, pay attention to detail, and enjoy the process of creating a beautiful hat to keep you warm and stylish.
Kow Hat Variations: Customizing Your Knitted Cow Hat Pattern
Once you have mastered the basic cow hat pattern, you can start customizing it to make your hats truly unique. Here are some ideas for variations you can try:
- Color Variations: Experiment with different colors of yarn to create a cow hat that matches your style or wardrobe. You can use traditional black and white for a classic look, or add pops of color with a vibrant yarn. Get creative and make it your own!
- Ear Flap Variations: Instead of the standard cow ears, you can try adding ear flaps to your hat. These flaps will not only keep your ears warm, but also add an extra element of style. You can knit them in contrasting colors or incorporate different stitch patterns.
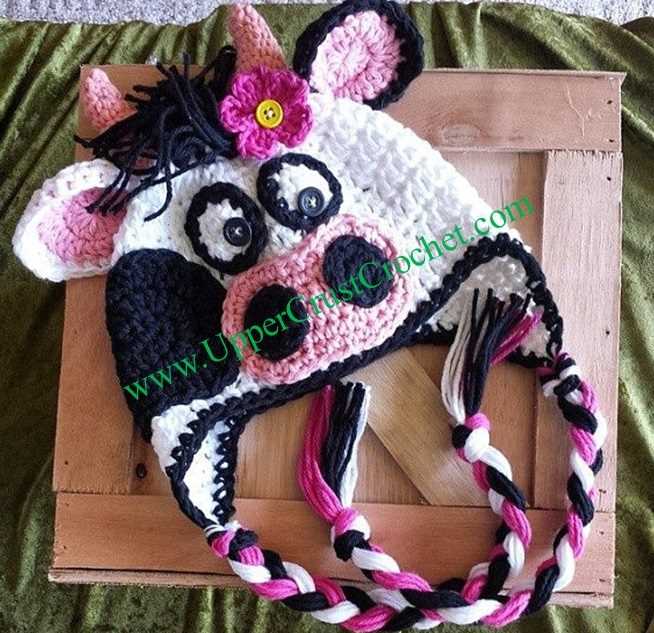
- Embroidery and Appliques: Personalize your cow hat by adding embroidered details or fun appliques. You can stitch on the cow’s face, spots, or even a cute little nose. Use different colors and textures of yarn for a playful and whimsical touch.
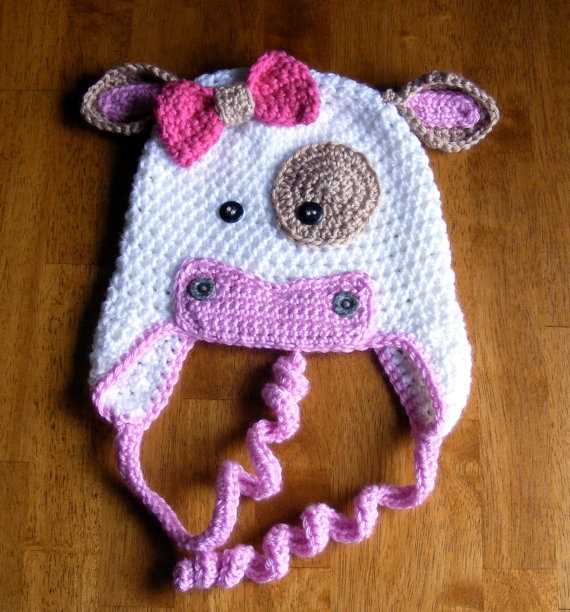
- Accessories: Add some flair to your cow hat by attaching accessories like pom-poms, bows, or flowers. These small embellishments can make a big difference in the overall look of your hat. Get creative and have fun with it!
Remember, the sky’s the limit when it comes to customizing your knitted cow hat. Don’t be afraid to try new things and make it your own. Whether you’re knitting a cow hat for yourself or as a gift, these variations will add a personal touch and make it even more special. So grab your yarn and needles, and start exploring the endless possibilities!