
Knitting is not just about creating practical and cozy items – it’s also a great way to explore interesting and intricate patterns. One such pattern that has gained popularity in recent years is the knitted corkscrew pattern. This pattern creates a unique and eye-catching texture that can be used in a variety of projects.
The knitted corkscrew pattern is characterized by its twisted and spiral-like design, which resembles the shape of a corkscrew. The pattern is created by working a combination of knit and purl stitches in a specific sequence, resulting in a textured fabric that has a three-dimensional quality.
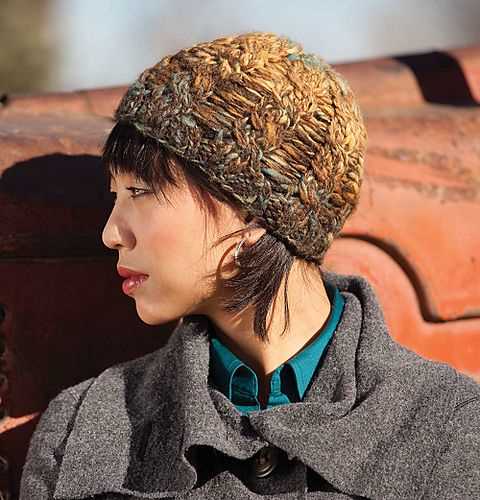
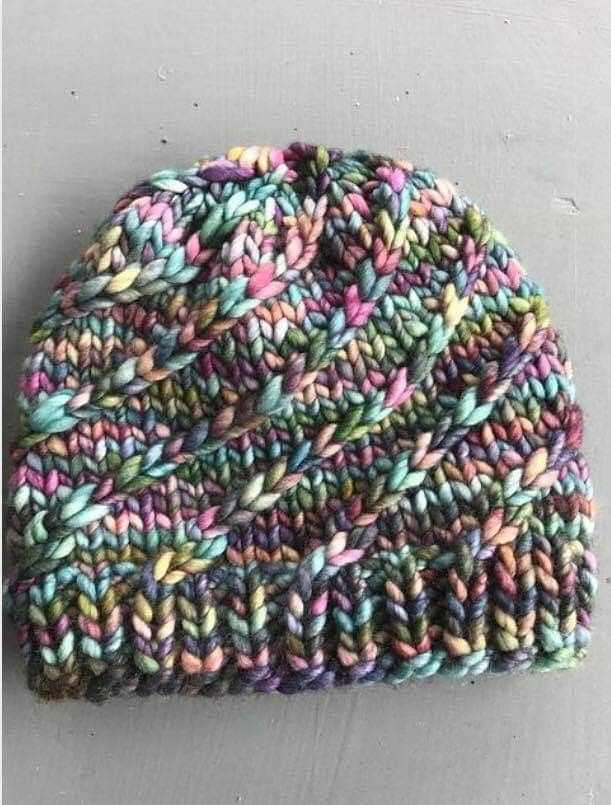
The knitted corkscrew pattern can be used to add a touch of whimsy and personality to your projects. It looks particularly stunning in accessories such as scarves, hats, and mittens, as well as in home decor items like blankets and pillows. The pattern can be worked in a single color or in multiple colors for added visual interest.
If you’re looking to challenge your knitting skills and create a truly unique and eye-catching project, give the knitted corkscrew pattern a try. With its twisted and spiral-like design, this pattern is sure to turn heads and impress everyone who sees it.
Knitted Corkscrew Pattern
Knitting is a popular craft that allows you to create beautiful and unique designs. One pattern that is gaining popularity is the knitted corkscrew pattern. This pattern creates a fun and textured look that resembles a corkscrew, adding a playful element to any knitting project.
To create the knitted corkscrew pattern, you will need to have a basic understanding of knitting techniques such as knitting, purling, and increasing stitches. The pattern involves creating a series of twisted stitches that give the appearance of a corkscrew. These twisted stitches are achieved by knitting or purling the stitch out of order, creating a twist in the fabric.
When working on the knitted corkscrew pattern, it is important to use a yarn that has good stitch definition, as this will enhance the twisted stitches and make the corkscrew pattern more prominent. Using a solid color yarn can also help showcase the texture of the pattern. Additionally, it is helpful to use a set of double-pointed needles or a circular needle to accommodate the increased number of stitches as the corkscrew pattern progresses.
To start the knitted corkscrew pattern, you will cast on a multiple of stitches, usually around 8 or 12. Then, you will follow a series of row instructions that involve knitting, purling, and increasing stitches to create the corkscrew effect. The pattern will typically include both right and left twists, alternating rows to create the full corkscrew effect.
Whether you are knitting a scarf, hat, or sweater, the knitted corkscrew pattern can add a unique touch to your project. With its playful and textured look, it is sure to stand out and impress. So grab your needles and yarn, and give this fun pattern a try!
Choosing Yarn and Needles

When it comes to knitting the corkscrew pattern, choosing the right yarn and needles is essential. The yarn you choose will determine the overall look and feel of the finished project, so it’s important to consider its weight, fiber content, and color.
Weight: The weight of the yarn refers to its thickness. For the corkscrew pattern, it is best to choose a medium-weight yarn such as DK (double knitting) or worsted weight. This will ensure that the stitches are defined and the pattern stands out.
Fiber Content: The fiber content of the yarn will affect the drape and texture of the finished project. For the corkscrew pattern, it is recommended to use a soft and elastic yarn such as merino wool or a wool blend. This will allow the corkscrews to hold their shape and provide a comfortable feel.
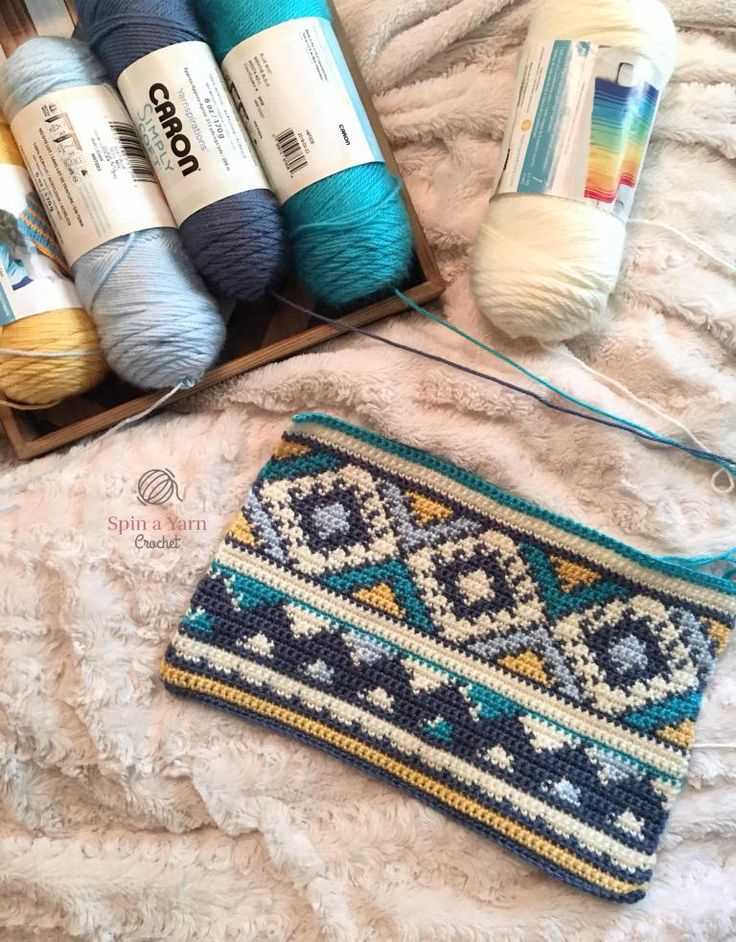
Color: The color of the yarn is a personal choice, but it can greatly impact the overall look of the pattern. For a classic and timeless look, neutral shades such as gray or cream are a safe choice. However, if you want to add a pop of color and make a statement, you can opt for vibrant shades or even variegated yarns.
Choosing Needles
When choosing needles for the corkscrew pattern, it is important to consider their size and material. The size of the needles will determine the gauge of your project, while the material will affect the texture and stability of your stitches.
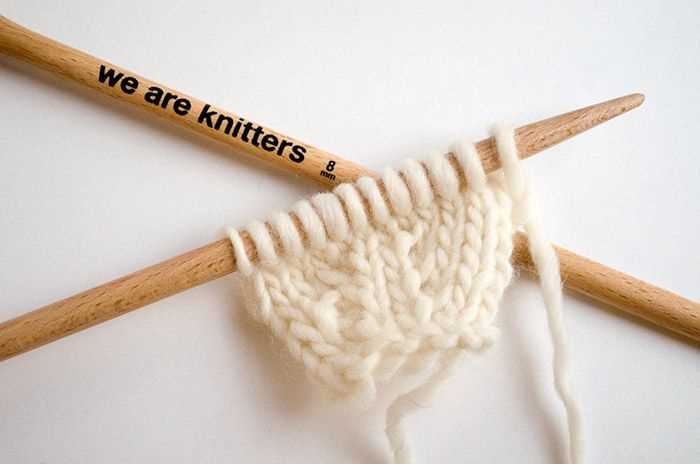
Size: The size of the needles you choose will depend on the weight of the yarn and the desired gauge. Typically, for a medium-weight yarn, it is recommended to use needle sizes between US 6 to US 8 (4.0mm to 5.0mm). However, it is always a good idea to swatch and check your gauge to ensure that you achieve the desired measurements.
Material: Needles can be made from various materials, including metal, wood, and plastic. Each material has its own advantages and disadvantages. Metal needles are durable and smooth, allowing stitches to glide easily. Wood needles are lightweight and provide a natural feel. Plastic needles are affordable and lightweight, but may not be as durable. It’s a personal preference which material to choose, so you might want to try different types to find your favorite.
Basic Stitch for Corkscrew Pattern
In order to create a knitted corkscrew pattern, you will need to become familiar with the basic stitch that forms the foundation of the pattern. This stitch is simple and repetitive, but it creates a unique and eye-catching texture that is characteristic of the corkscrew pattern.
To begin, you will need to cast on an even number of stitches onto your knitting needle. The number of stitches you cast on will depend on the desired width of your project. Once you have cast on, you can begin the first row of the stitch.
The basic stitch for the corkscrew pattern is a combination of knit and purl stitches. To create this stitch, you will alternate between knitting and purling each stitch across the row. This means that you will knit one stitch, then purl the next, and continue this pattern until you reach the end of the row.
Row 1: *Knit 1, purl 1; repeat from * to end of row.
After completing the first row, you will repeat this same pattern for each subsequent row. By knitting and purling every other stitch, you will create a ribbed effect that gives the corkscrew pattern its unique texture.
It is important to note that the corkscrew pattern can be worked over any number of stitches and rows, so you can adjust the pattern to fit your project. Whether you are knitting a scarf, hat, or sweater, the basic stitch for the corkscrew pattern will remain the same.
Starting the Pattern
Before knitting the corkscrew pattern, it is important to gather all the necessary materials. You will need a set of knitting needles in the appropriate size for your chosen yarn, as well as a skein of yarn in the color of your choice. Additionally, you may want to have a stitch marker and a yarn needle on hand for any necessary finishing touches.
To begin the pattern, cast on the desired number of stitches. This will depend on the width of the project you are working on. You may need to refer to a pattern or calculate the number of stitches based on the gauge of your yarn and needles.
Once you have cast on, you can start working the first row of the corkscrew pattern. The pattern consists of a repeating sequence of stitches, so it is helpful to keep track of your progress with a stitch marker or by writing down the pattern.
- Row 1: Knit.
- Row 2: Purl.
- Row 3: Knit 2, yarn over, repeat to end.
- Row 4: Purl.
Continue repeating rows 1-4 until you have reached the desired length of your project. This simple corkscrew pattern creates a beautiful texture that is perfect for scarves, blankets, or other cozy items.
Increasing Stitches
When knitting a corkscrew pattern, increasing stitches is an essential technique to create the unique spiraling effect. There are several methods for increasing stitches, each with its own advantages and appearance. Understanding how to increase stitches correctly will ensure that your knitted corkscrew project turns out beautifully.
1. Knit Front and Back (KFB): This is a commonly used method for increasing stitches and creates a subtle raised stitch. To execute a KFB, knit the next stitch as usual but do not slide it off the left needle. Instead, insert the right needle into the back loop of the same stitch and knit it again. Then, slide the stitch off the left needle. This will create two stitches from one.
2. Make One (M1): The M1 increase is another popular method that creates a nearly invisible increase. To make an M1 increase, insert the left needle from front to back under the horizontal strand between the two stitches on the right needle. Knit into the back loop of this strand, creating a new stitch.
Other methods for increasing stitches include yarn overs (YO), which create a decorative eyelet, and lifted increases such as knit into the front and back of the same stitch (KFBF). Experimenting with different increase techniques can add texture and visual interest to your corkscrew pattern.
Creating Corkscrew Shape
In order to create the corkscrew shape in a knitted pattern, there are several techniques that can be employed. One method is to use increases and decreases strategically to achieve the desired shape. By increasing stitches in one section while simultaneously decreasing in another, the fabric can twist and spiral, mimicking the appearance of a corkscrew.
Step 1: To begin creating the corkscrew shape, determine where you want the spiral to start and end. This will guide the placement of the increases and decreases throughout the pattern.
Step 2: Next, start knitting the pattern, making sure to follow the specific instructions for increases and decreases at the designated points. The increases can be made by knitting into the front and back of a stitch, while the decreases can be achieved through techniques such as knitting two stitches together or slipping stitches.
Step 3: Continuously adjust the number and placement of the increases and decreases as indicated in the pattern to create the desired corkscrew effect. This may involve increasing and decreasing more frequently in certain sections to create tighter twists, or spacing them out to create a more gradual spiral.
Step 4: Throughout the pattern, pay close attention to how the fabric is twisting and spiraling. Make adjustments as necessary to ensure a consistent and defined corkscrew shape. This may involve ripping back and reknitting certain sections to achieve the desired result.
Step 5: Once the knitting is complete, block the finished piece to help set the corkscrew shape and enhance its appearance. This can be done by wetting the piece and gently shaping it into the desired shape, then allowing it to dry completely.
Overall, creating a corkscrew shape in a knitted pattern requires careful attention to increases and decreases, as well as a keen eye for shaping and adjusting the fabric as needed. With practice and patience, a beautifully twisted corkscrew pattern can be achieved.
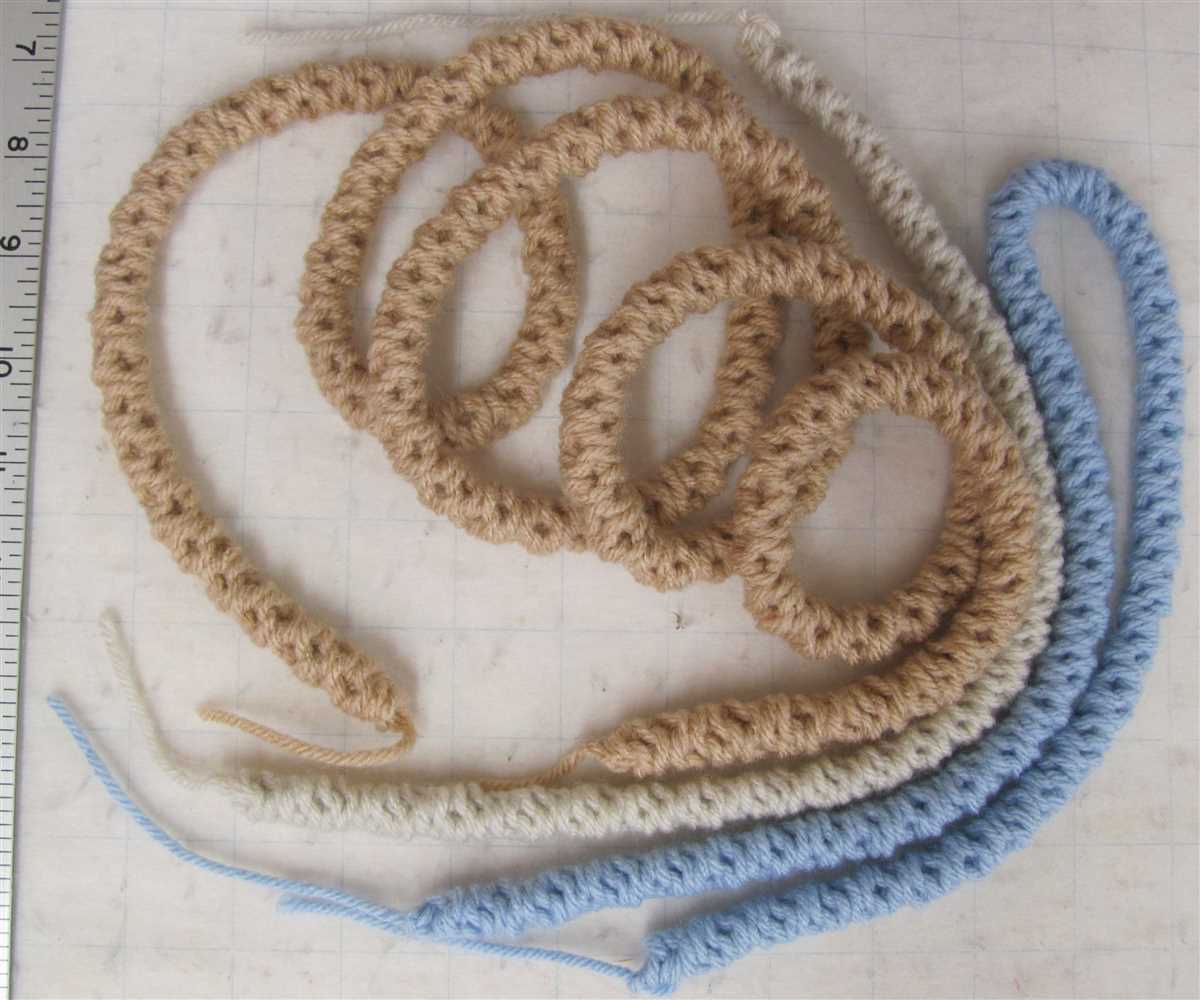
Turning the Corkscrew
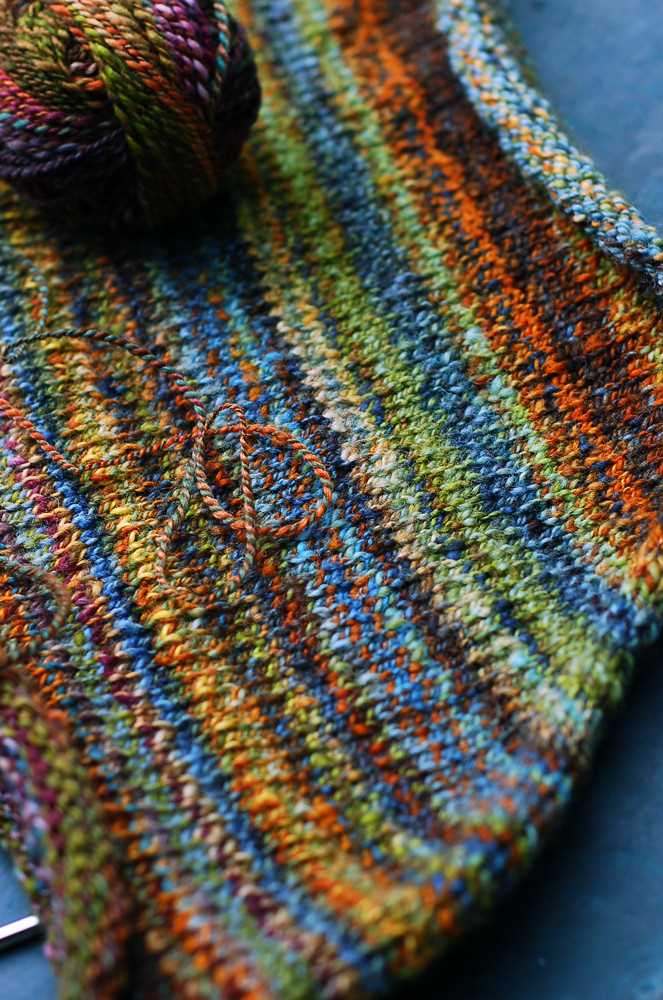
Knitted corkscrew pattern is a popular knitting technique that creates a textured and twisted design. It is often used in scarves, blankets, and other accessories to add visual interest and depth. Turning the corkscrew pattern involves a series of knitting and purling stitches, creating a spiral effect that resembles a corkscrew.
To begin the corkscrew pattern, you will need to cast on an even number of stitches. This will ensure that the pattern works correctly and maintains its symmetry. Once you have cast on, you can start the pattern by knitting the first row, alternating between knit and purl stitches.
Row 1: Knit 1, purl 1, repeat to the end of the row.
After completing the first row, you will continue to repeat the pattern, alternating knit and purl stitches, for the desired length of your project. This will create the twisted and textured corkscrew effect. It is important to maintain an even tension while knitting to ensure that the pattern is consistent throughout.
Row 2 and following rows: Repeat Row 1 (knit 1, purl 1) until the desired length is achieved.
If you want to add more complexity to the corkscrew pattern, you can experiment with different stitch combinations, such as adding yarn overs or decreases. These variations can create even more intricate designs and add personal flair to your project.
Knitting the corkscrew pattern requires attention to detail and a basic understanding of knitting techniques. With practice and patience, you can create beautiful and unique knitted items using this versatile pattern.
Adding Decorative Details
When knitting the corkscrew pattern, there are various ways to add decorative details to enhance the overall design. These details can contribute to the texture, color, or shape of the finished piece. Here are some ideas on how to incorporate decorative elements into your knitted corkscrew pattern:
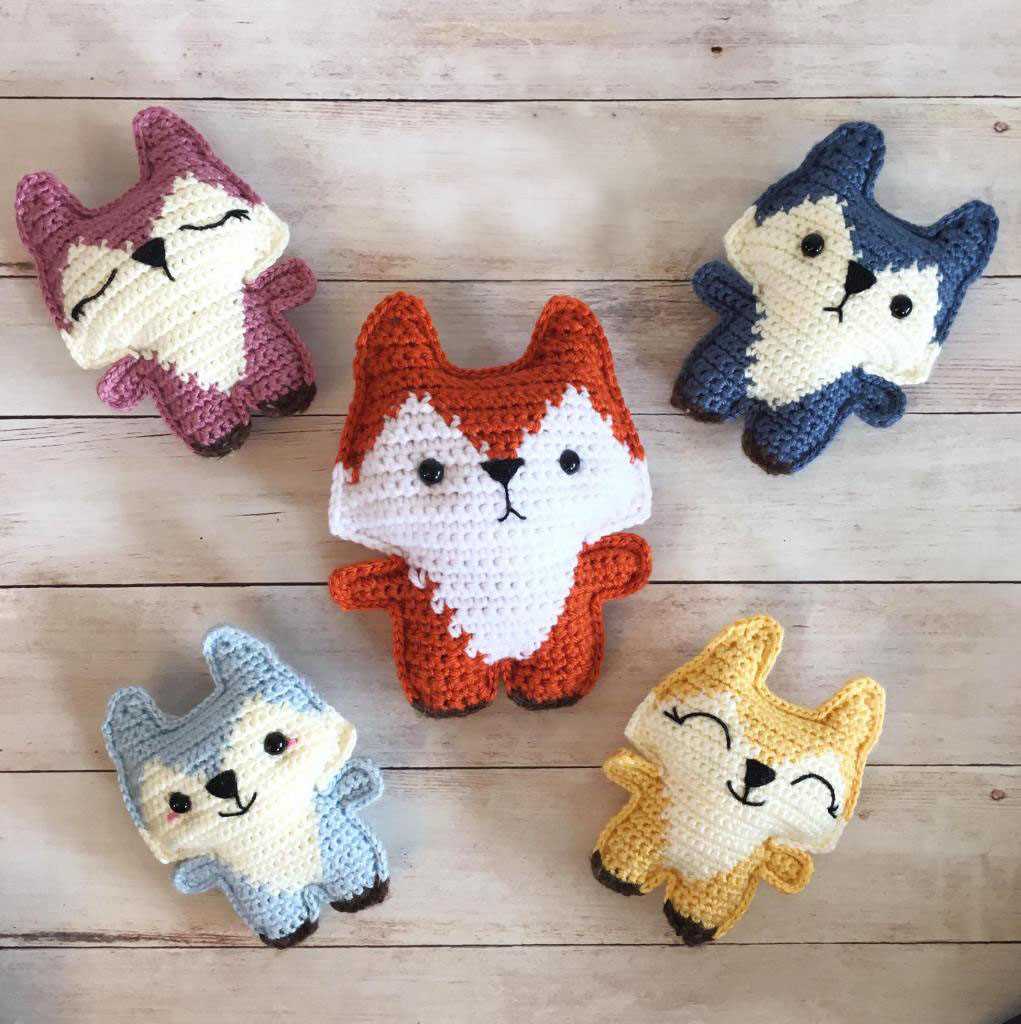
1. Color Contrasts
One way to make your corkscrew pattern stand out is by using contrasting colors. You can choose two or more colors that complement each other, and alternate them in specific sections of the pattern. This will create a bold and eye-catching effect that highlights the corkscrew design.
For example: You can use a vibrant red yarn for the corkscrew sections and pair it with a neutral white yarn for the background. This will make the corkscrews pop, creating a striking visual contrast.
2. Embellishments
Adding embellishments can elevate the look of your knitted corkscrew pattern. You can sew on beads, sequins, or small buttons along the edges of the corkscrew sections or at the center of each spiral. These embellishments will add sparkle and dimension to your finished piece.
For example: Sewing on small pearl beads along the outer edge of each corkscrew spiral will give your knitted pattern an elegant and sophisticated touch.
3. Texture Variations
Playing with different textures can bring visual interest to your corkscrew pattern. You can alternate between smooth and textured stitches, such as ribbing, cables, or lace, to create a dynamic pattern with varying surface designs.
For example: Knitting the corkscrew sections in a simple stockinette stitch and incorporating a cable twist in the background will give your pattern a unique texture contrast.
4. Shape Manipulation
You can experiment with the shape of the corkscrews themselves to add a distinctive element to your pattern. By altering the size, length, or angle of the corkscrew spirals, you can create a truly individualized design.
For example: Knitting longer and more elongated corkscrew spirals will give your pattern a whimsical and playful look.
By incorporating these decorative details into your knitted corkscrew pattern, you can create a unique and visually captivating design that showcases your creativity and knitting skills.
Joining the Corkscrews
Once you have completed knitting the corkscrews, it’s time to join them together to create a beautiful finished product. There are several methods you can use to connect the corkscrews, depending on the look and feel you want to achieve.
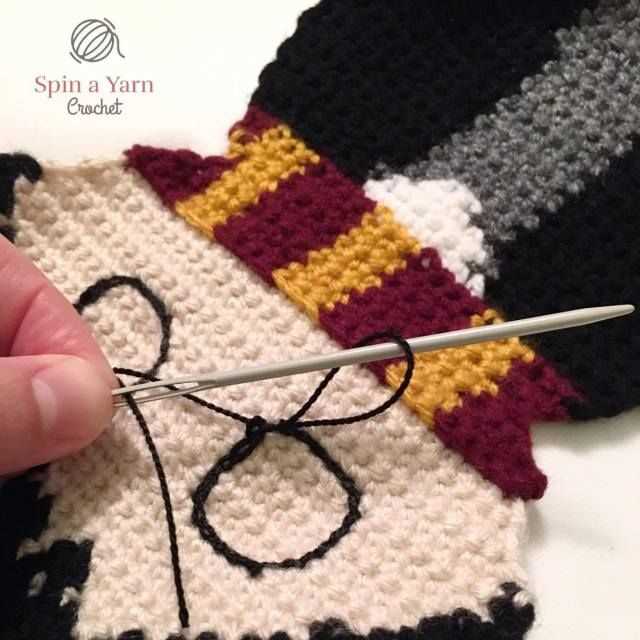
One common method is to sew the corkscrews together using a tapestry needle and matching yarn. Thread the needle with the yarn and start by aligning two corkscrews side by side, with the right sides facing each other. Insert the needle through the outer loop of the first corkscrew and then through the corresponding loop of the second corkscrew. Continue this way, stitching the corkscrews together until you have joined them all. Make sure to sew securely, but also be careful not to pull too tightly and distort the shape of the corkscrews.
Sewing in a spiral pattern
If you want to create a more decorative effect, you can try sewing the corkscrews together in a spiral pattern. Start by aligning two corkscrews side by side, with the right sides facing each other. Insert the needle through the outer loop of the first corkscrew and then through the corresponding loop of the second corkscrew. Instead of continuing in a straight line, bring the needle back to the first corkscrew and insert it through the next loop in a clockwise direction. Repeat this process, creating a spiral pattern as you sew the corkscrews together. This method can create an interesting visual effect, and it also allows for more flexibility in shaping the final product.
Using a crochet hook

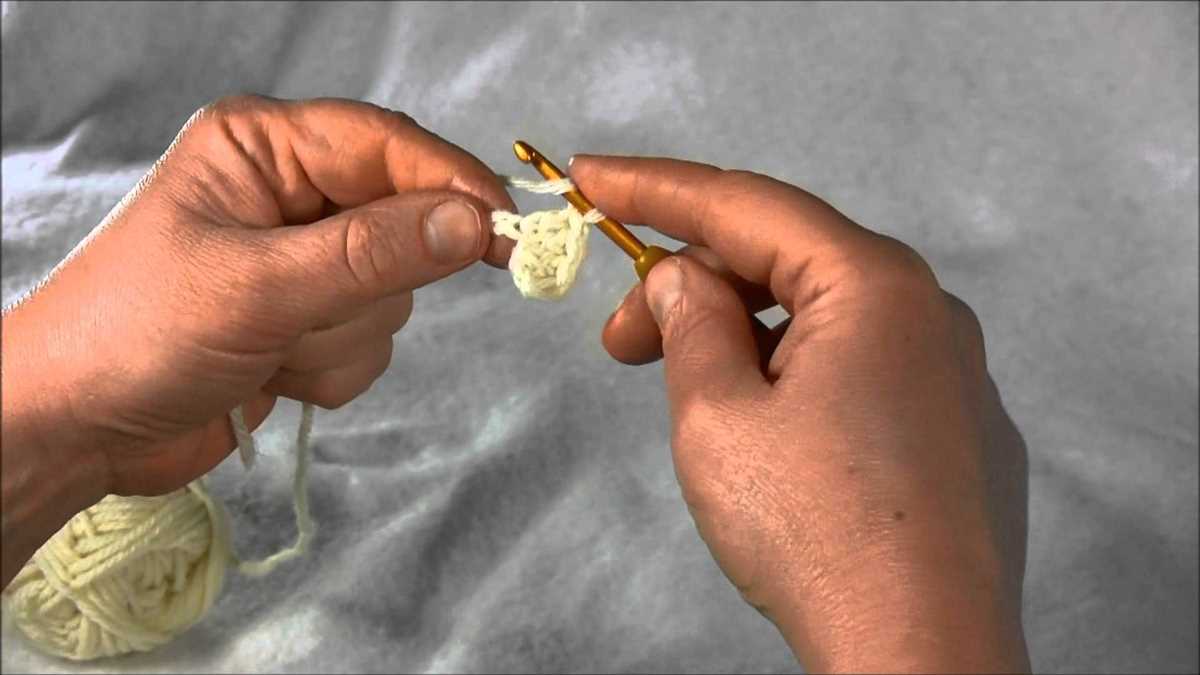
Another option for joining the corkscrews is to use a crochet hook. Start by aligning two corkscrews side by side, with the right sides facing each other. Insert the crochet hook through the outer loop of the first corkscrew and then through the corresponding loop of the second corkscrew. Yarn over and pull the yarn through both loops on the hook. Continue this way, crocheting the corkscrews together until you have joined them all. This method creates a secure and durable connection between the corkscrews, and it also adds a decorative crochet edge to the finished project.
Regardless of the method you choose, take your time and make sure to join the corkscrews evenly and securely. This will ensure that your finished knitted corkscrew project looks polished and professional.
Finishing Off
When you have completed knitting the corkscrew pattern, it is time to finish off your project. This involves securing the stitches and weaving in the loose ends to give your knitted item a clean and polished look.
To secure the stitches, use a yarn needle to thread the working yarn through the remaining stitches on your knitting needles. Make sure to go through each stitch at least once to prevent them from unraveling. Once all the stitches are secured, pull the working yarn tight to close up any gaps.
Next, you will need to weave in the loose ends of yarn. Thread the loose end onto a yarn needle and carefully weave it in and out of the stitches on the wrong side of your knitted piece. Be sure to go in different directions to securely hide the loose end. Once the end is woven in, trim off any excess yarn.
If you are making a project that requires multiple pieces to be sewn together, such as a garment or a blanket, you will need to seam the pieces together. This can be done using a mattress stitch, which creates an invisible seam. Follow the pattern instructions to determine the best method for seaming your project.
Finally, give your finished knitted item a gentle block to even out the stitches and help it hold its shape. This can be done by soaking it in lukewarm water, squeezing out the excess water, and then laying it flat to dry. You can also use steam to shape the item by holding a steam iron a few inches away from the fabric and letting the steam gently shape the stitches.
Pattern Variations
The knitted corkscrew pattern is very versatile and can be modified in various ways to create different looks and textures. Here are some pattern variations that you can try:
- Alternate Colors: Instead of using a solid color, you can alternate between two or more colors to create a striped effect. This can be done by changing colors after a certain number of rows or by using the intarsia technique to knit in different colors.
- Lace Inserts: To add a bit of elegance to the corkscrew pattern, you can incorporate lace inserts. This can be achieved by knitting lace panels and then sewing them onto the corkscrew fabric.
- Ribbon Embellishment: For a decorative touch, you can thread a ribbon through the eyelets of the corkscrew pattern. This can be done by knitting the eyelets slightly larger to accommodate the ribbon or by using a crochet hook to thread the ribbon through afterwards.
- Ribbing: If you prefer a more structured look, you can add ribbing to the edges of the corkscrew pattern. This can be done by knitting a few rows of ribbing before starting the corkscrew pattern or by picking up stitches along the edges and knitting ribbing afterwards.
- Altered Stitch Patterns: The corkscrew pattern can be combined with other stitch patterns to create unique designs. For example, you can alternate between the corkscrew pattern and a simple seed stitch to create a textured fabric.
With these pattern variations, you can personalize the knitted corkscrew pattern and create garments and accessories that are truly unique. Whether you prefer a simple monochrome corkscrew pattern or a bold striped design, the possibilities are endless!