
Are you looking for a stylish accessory to keep you warm this winter? Look no further than the knitted cloche hat pattern. This fashionable and versatile hat is not only a practical choice for keeping your head cozy, but also adds a touch of vintage elegance to any outfit.
Whether you’re a beginner knitter or a seasoned pro, this free pattern is suitable for all skill levels. With detailed instructions and helpful tips, you’ll be able to create your own unique cloche hat in no time. And the best part? It won’t cost you a dime! Simply follow the instructions and use your favorite yarn to get started on this fun and rewarding project.
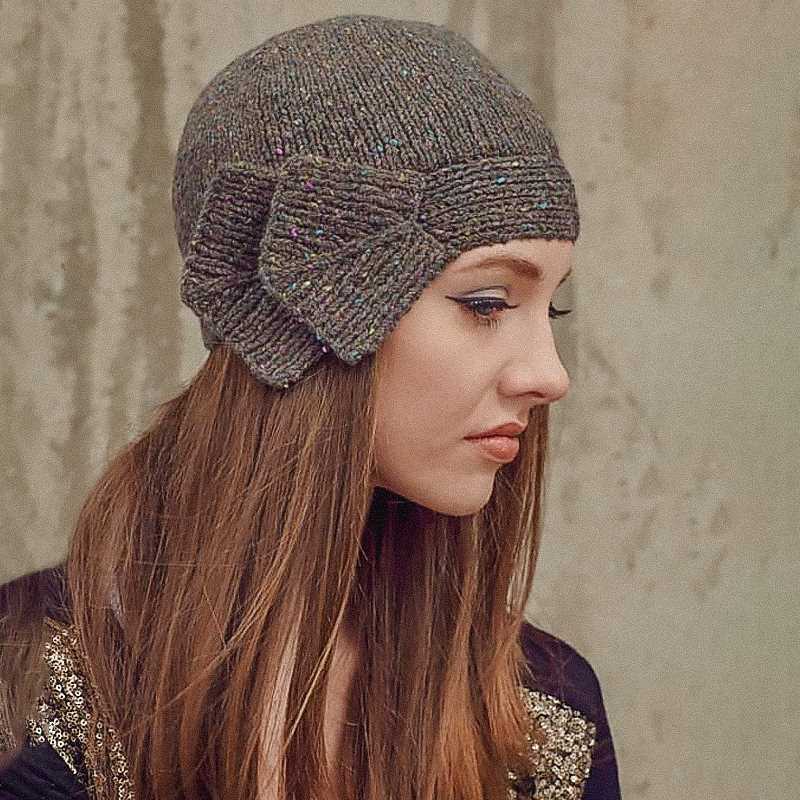
The knitted cloche hat pattern offers endless possibilities for customization. Choose from a wide range of colors, yarn weights, and stitch patterns to create a hat that suits your personal style. Add a decorative flower or bow for a feminine touch, or keep it simple with a classic ribbed pattern. The choice is yours!
Knitted Cloche Hat Pattern Free
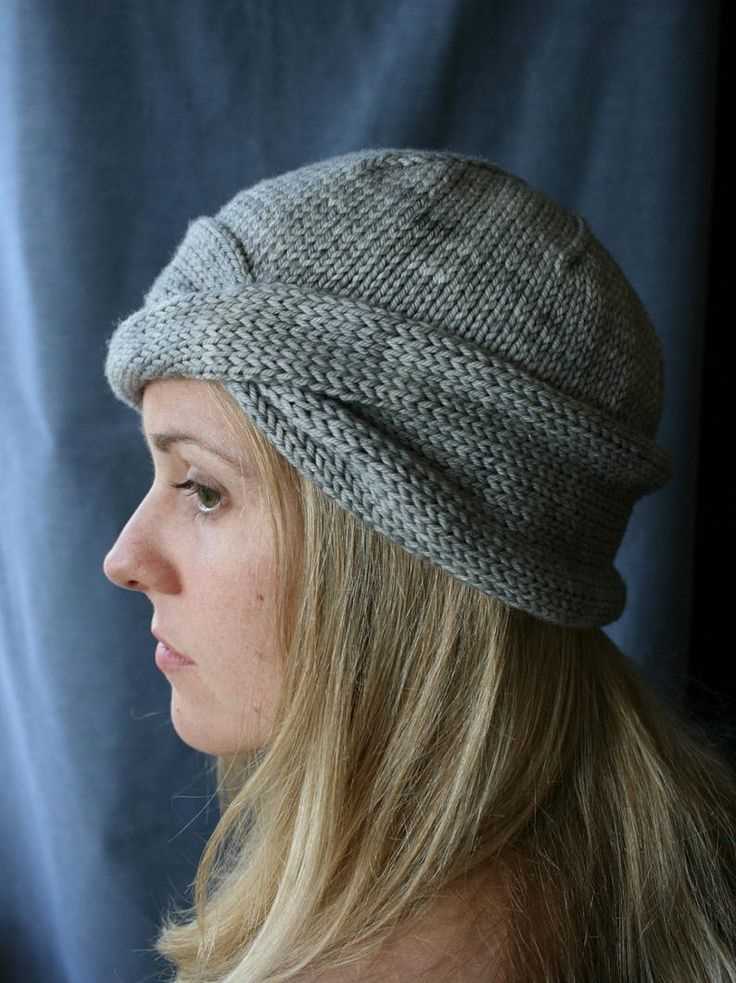
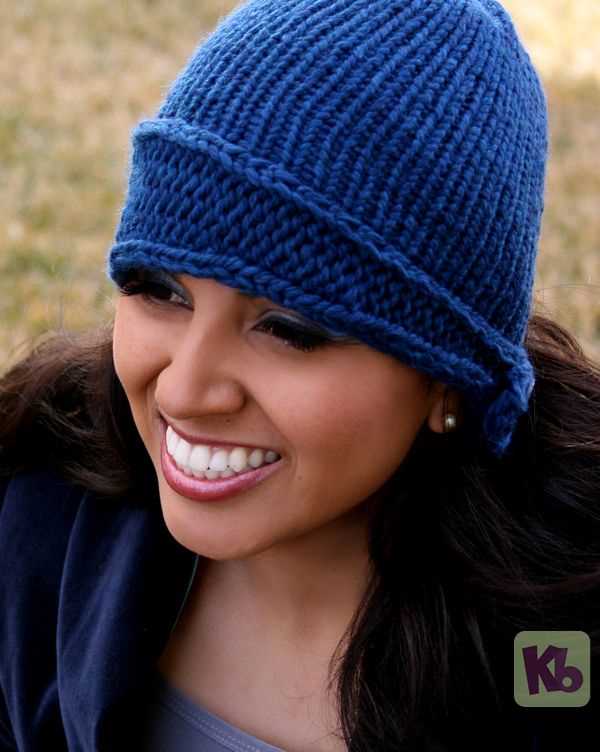
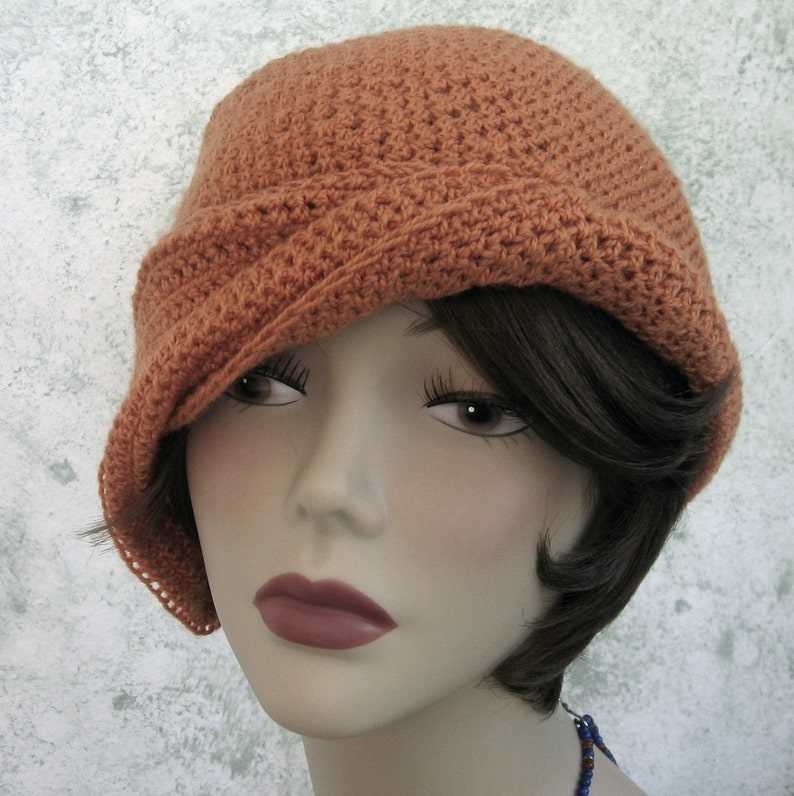
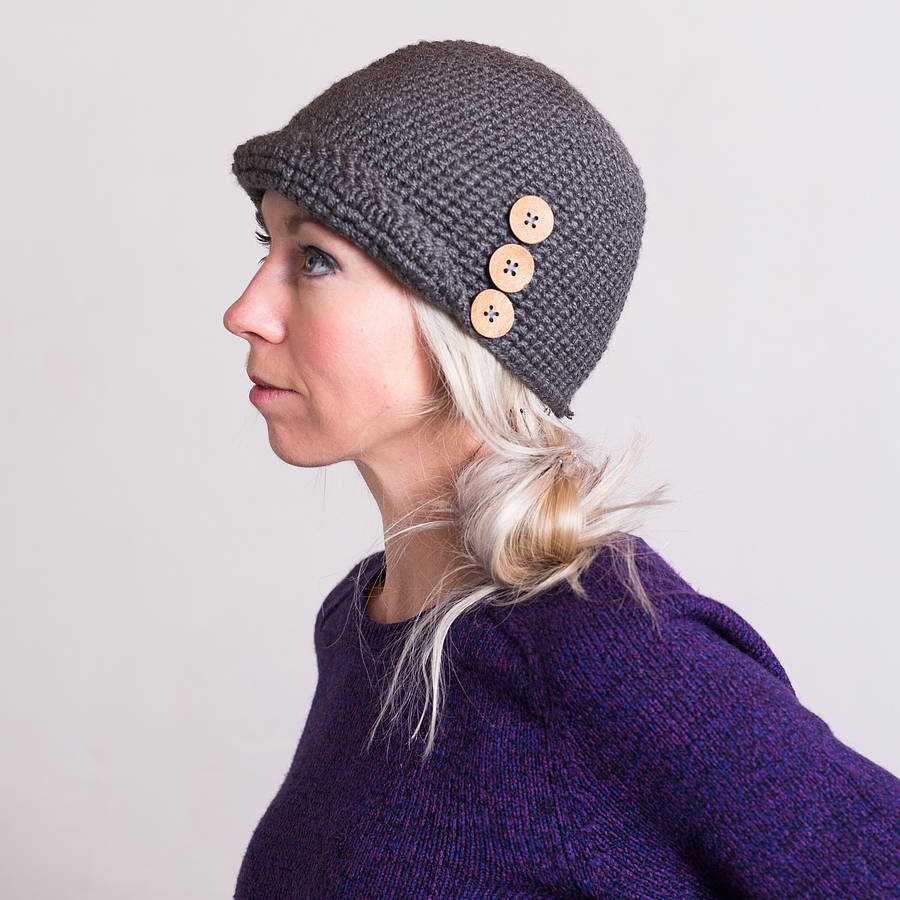
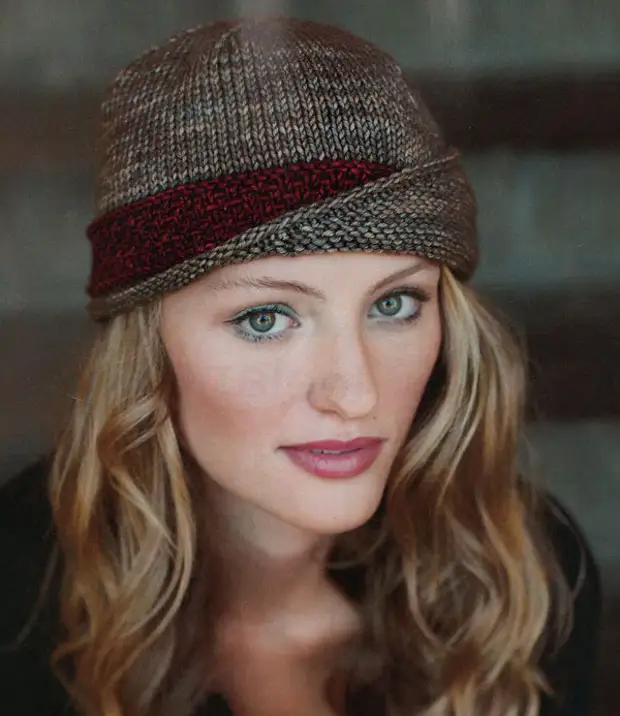
If you are looking for a stylish hat to knit, then the knitted cloche hat pattern is a perfect choice. This pattern is available for free and can be easily found online. The cloche hat is a classic design that has been popular for many years. It features a round crown and a brim that usually curves downwards. The hat fits snugly on the head, making it perfect for keeping warm in cold weather.
To knit a cloche hat, you will need a few basic knitting skills and materials. The pattern will typically specify the type of yarn and needle size that you should use. You will also need a set of double-pointed needles or a circular needle, depending on your preference. The pattern will provide detailed instructions on how to knit the hat, including the stitches and techniques to use.
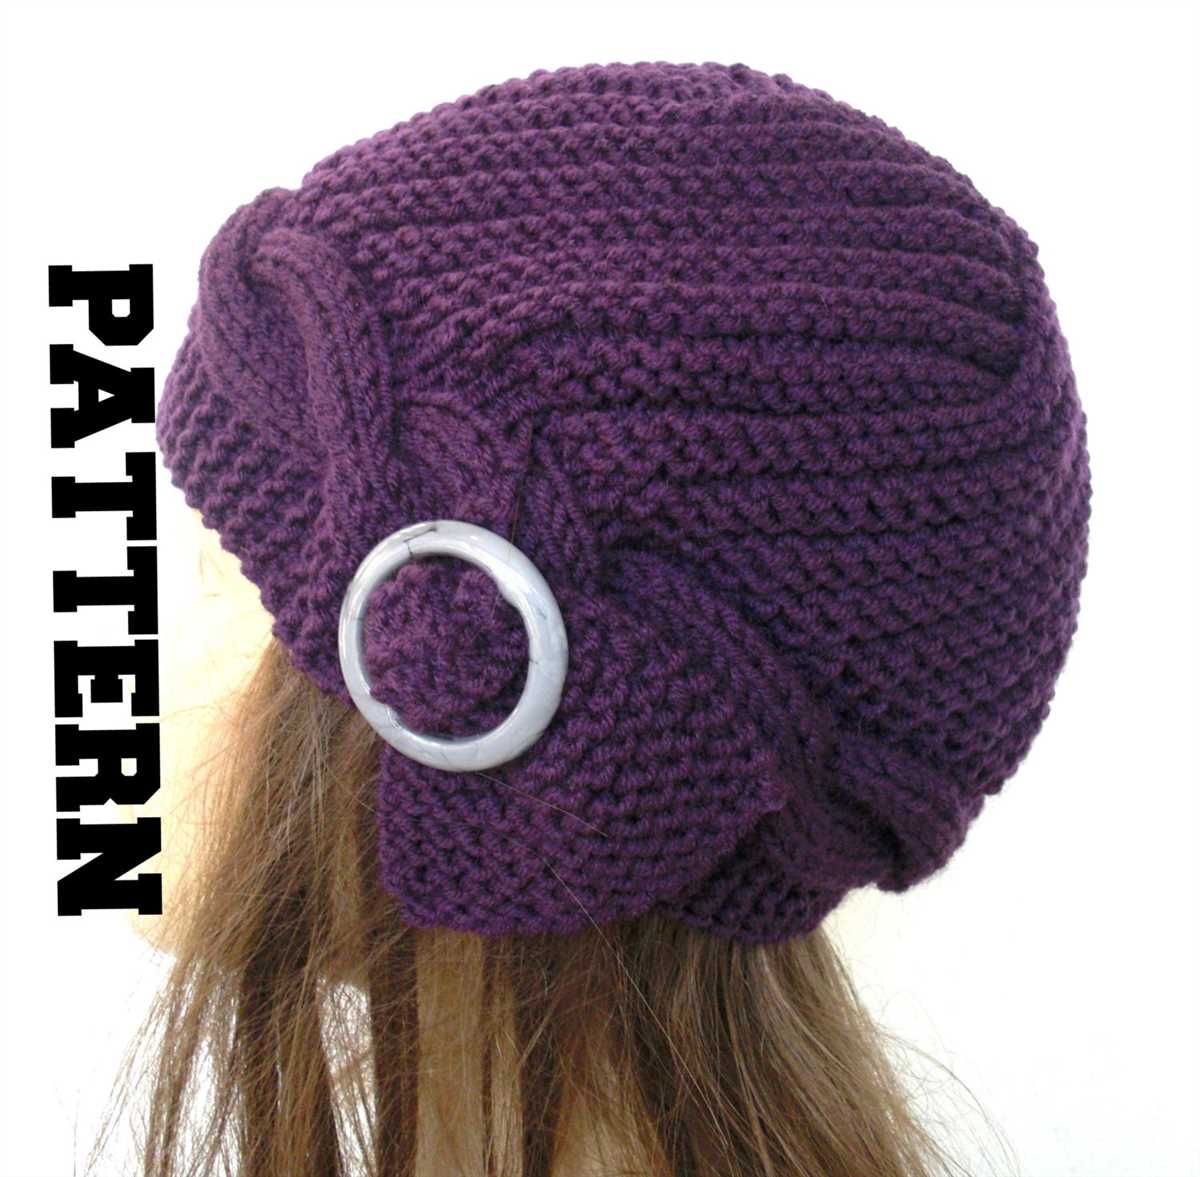
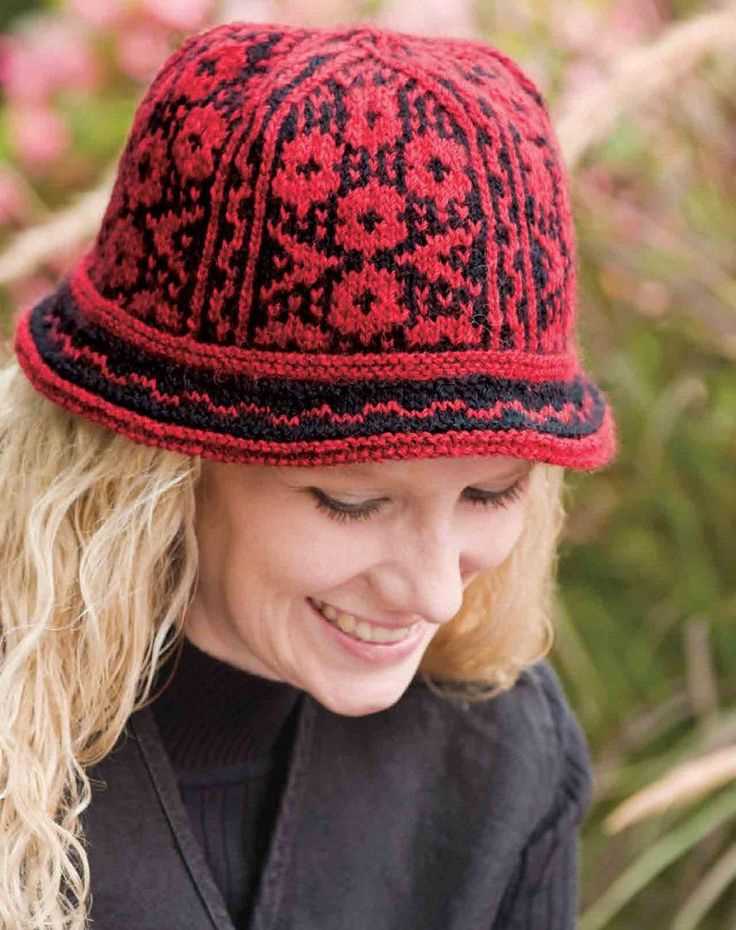
The great thing about the knitted cloche hat pattern is that it allows for creativity and customization. You can choose different colors and yarn types to create a hat that matches your style. You can also add embellishments such as ribbons, buttons, or flowers to make the hat even more unique. The pattern is versatile and can be adjusted to fit different head sizes, making it suitable for both adults and children.
Knitting a cloche hat can be a fun and rewarding project. The pattern provides a great opportunity to learn new knitting techniques and create something beautiful with your own hands. Whether you are an experienced knitter or a beginner, the knitted cloche hat pattern is a great choice for your next knitting project. So why not give it a try and create a stylish hat that will keep you warm and fashionable all winter long?
Materials needed for the knitted cloche hat
Before you start knitting your own cloche hat, make sure you have all the necessary materials ready. Here is a list of items you will need:
- Yarn: Choose a soft and warm yarn that is suitable for knitting hats. You can go for wool, acrylic, or a blend of different fibers.
- Knitting Needles: Select the appropriate size of knitting needles based on the gauge specified in the pattern. A set of circular needles or double-pointed needles can be used, depending on your preference.
- Tape Measure: This will help you measure your head circumference and ensure accurate sizing of the hat.
- Stitch Markers: These markers are useful for indicating different sections or stitches in your knitting. They help you keep track of your progress and avoid any mistakes.
- Tapestry Needle: This needle is used for weaving in loose ends of yarn and finishing touches.
- Scissors: You will need scissors to cut the yarn and trim any excess thread.
- Buttons, Ribbons, or Embellishments: Depending on your personal style and the hat pattern, you might want to add decorative elements to your cloche hat. Pick out buttons, ribbons, or other embellishments that complement the hat design.
Once you have gathered all the necessary materials, you are ready to start knitting your cloche hat. Follow the pattern instructions and enjoy the process of creating a beautiful and cozy accessory to keep you warm during the colder months.
Choosing the right yarn for the project
In order to create a beautiful and perfectly-fitting knitted cloche hat, it is essential to choose the right yarn for your project. The yarn you select will determine the overall look, feel, and durability of the hat, so it is important to consider a few key factors before making your decision.
1. Fiber content: The fiber content of the yarn will have a significant impact on the finished hat. Wool, for example, is warm and insulating, making it a great choice for winter hats. Cotton, on the other hand, is lightweight and breathable, which is ideal for hats worn in warmer weather. Take into account the season and climate in which the hat will be worn, and choose a yarn with a fiber content that aligns with those needs.
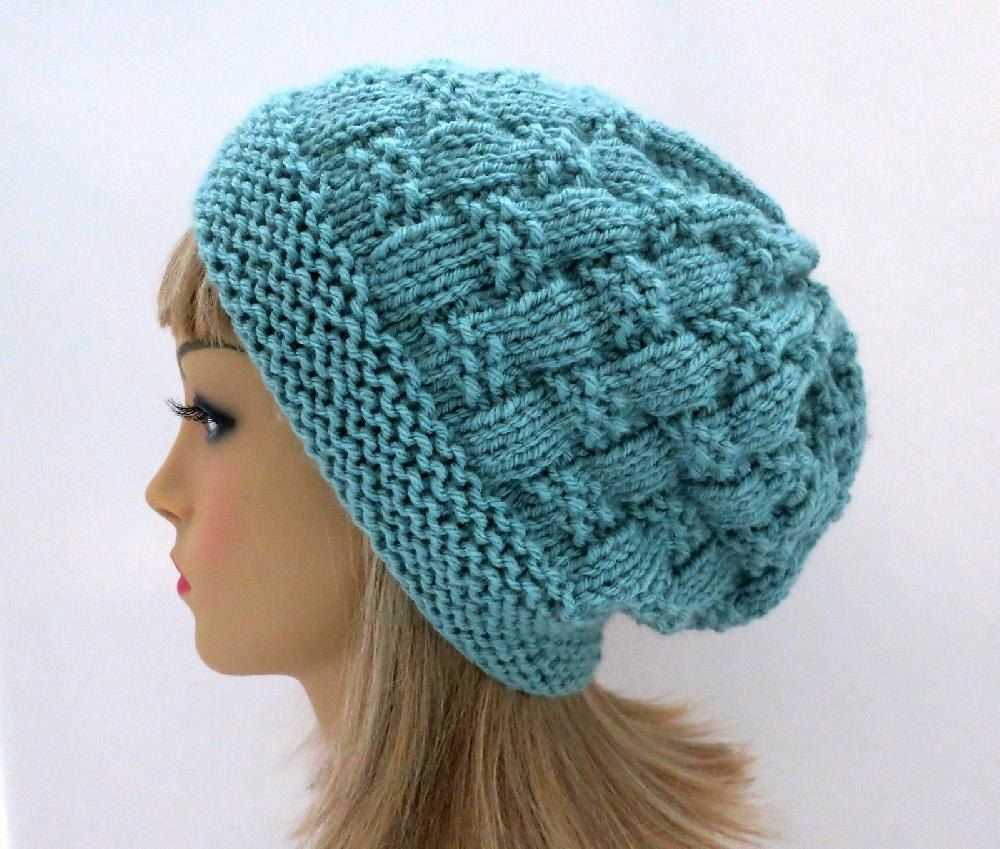
2. Weight and gauge: The weight and gauge of the yarn will determine the overall thickness and appearance of the knitted fabric. For a cloche hat, which typically has a more fitted and structured style, you will likely want to choose a yarn that is on the thicker side. This will help to create a hat with a sturdier and more defined shape. Be sure to check the pattern you are using for the recommended gauge, and select a yarn that matches or is close to that gauge.
3. Color and texture: The color and texture of the yarn will also play a role in the overall aesthetic of the hat. Look for a color that complements your personal style and matches well with your existing wardrobe. Additionally, consider the texture of the yarn – whether it is smooth, fuzzy, or has a unique texture – and how that will affect the look and feel of the finished hat.
By carefully considering these factors and choosing the right yarn for your knitted cloche hat project, you will be well on your way to creating a beautiful and stylish accessory to keep you warm and fashionable. Happy knitting!
Selecting the appropriate knitting needles
When it comes to knitting, selecting the appropriate knitting needles is crucial for achieving the desired results. The type of needles you choose can impact the overall look and feel of your knitted project. There are various factors to consider when selecting knitting needles, including the material, size, and style.
Material: Knitting needles can be made from a variety of materials, such as bamboo, metal, wood, or plastic. Each material has its own unique qualities and benefits. Bamboo needles, for example, are lightweight and warm to the touch, making them comfortable to use for long periods of time. Metal needles, on the other hand, are durable and allow for smoother and faster knitting.
Size: The size of your knitting needles is determined by the diameter of the needle shaft. The size of the needles you choose depends on the thickness of the yarn you are using and the desired tension of your finished project. The larger the needle size, the larger the stitches will be, resulting in a looser and airier fabric. Conversely, smaller needle sizes produce tighter and denser stitches.
Style: Knitting needles come in various styles, including straight, circular, and double-pointed. Straight needles are the most traditional and are used for knitting flat projects, such as scarves or blankets. Circular needles are used for knitting in the round and can be used for both flat and tubular projects. Double-pointed needles have points on both ends and are primarily used for small projects, such as socks or mittens.
Ultimately, the choice of knitting needles depends on personal preference and the specific requirements of your project. It is always recommended to have a variety of needle sizes and styles in your knitting collection to accommodate different yarn weights and project types.
Casting on and starting the cloche hat
Once you have gathered all the necessary materials, including your chosen yarn and knitting needles, you can begin casting on and starting your cloche hat. The casting on process is important as it is the foundation of your project and sets the stage for the rest of the knitting.
To cast on, hold the knitting needle with your dominant hand and create a slipknot by making a loop with the yarn. Insert the needle through the loop and tighten the slipknot. This will be your first stitch. Continue casting on by making additional loops, using the slipknot as your base.
Next, you will need to determine the number of stitches required for your specific pattern. Follow the instructions provided in your chosen knitted cloche hat pattern to know how many stitches to cast on. This number will vary depending on the size of the hat and the desired gauge.
Once you have cast on the required number of stitches, you can begin working the first row of your cloche hat. This may involve different knitting techniques, such as knit stitches or purl stitches, depending on the pattern. Follow the instructions carefully to ensure you are working the correct stitches and creating the desired texture.
To help you stay organized and keep track of your progress, you can use stitch markers to mark certain sections of your hat or to indicate any pattern repeats. This can be especially helpful if your cloche hat pattern includes lace or cable designs.
Remember to take your time and double-check your work as you go along. Starting the cloche hat with a solid foundation and accurate stitch count will ensure a successful outcome and a beautiful finished product.
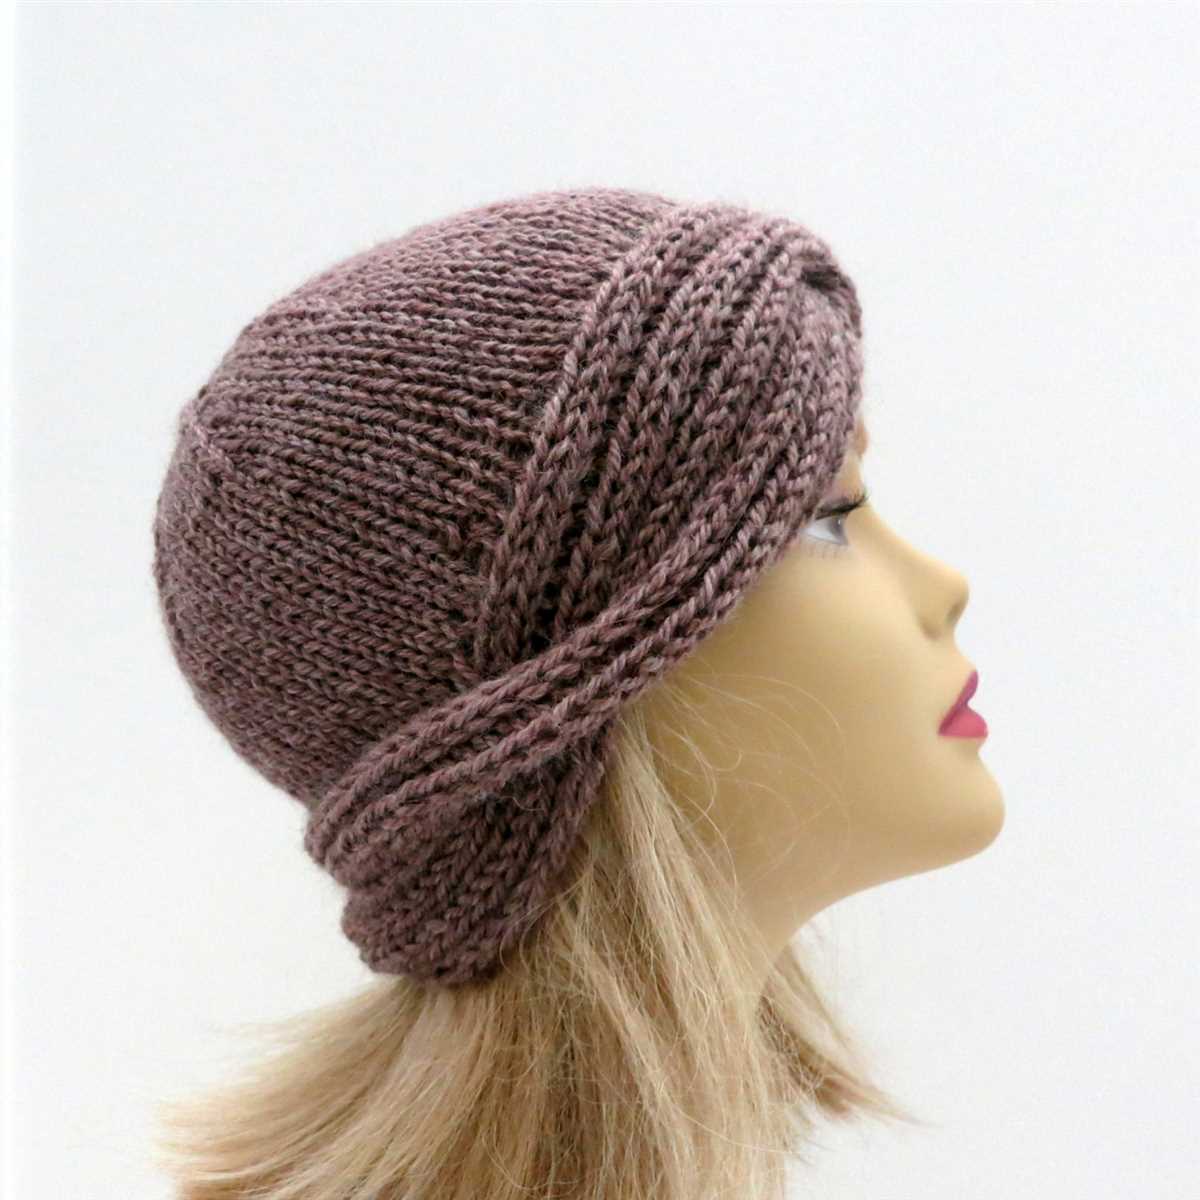
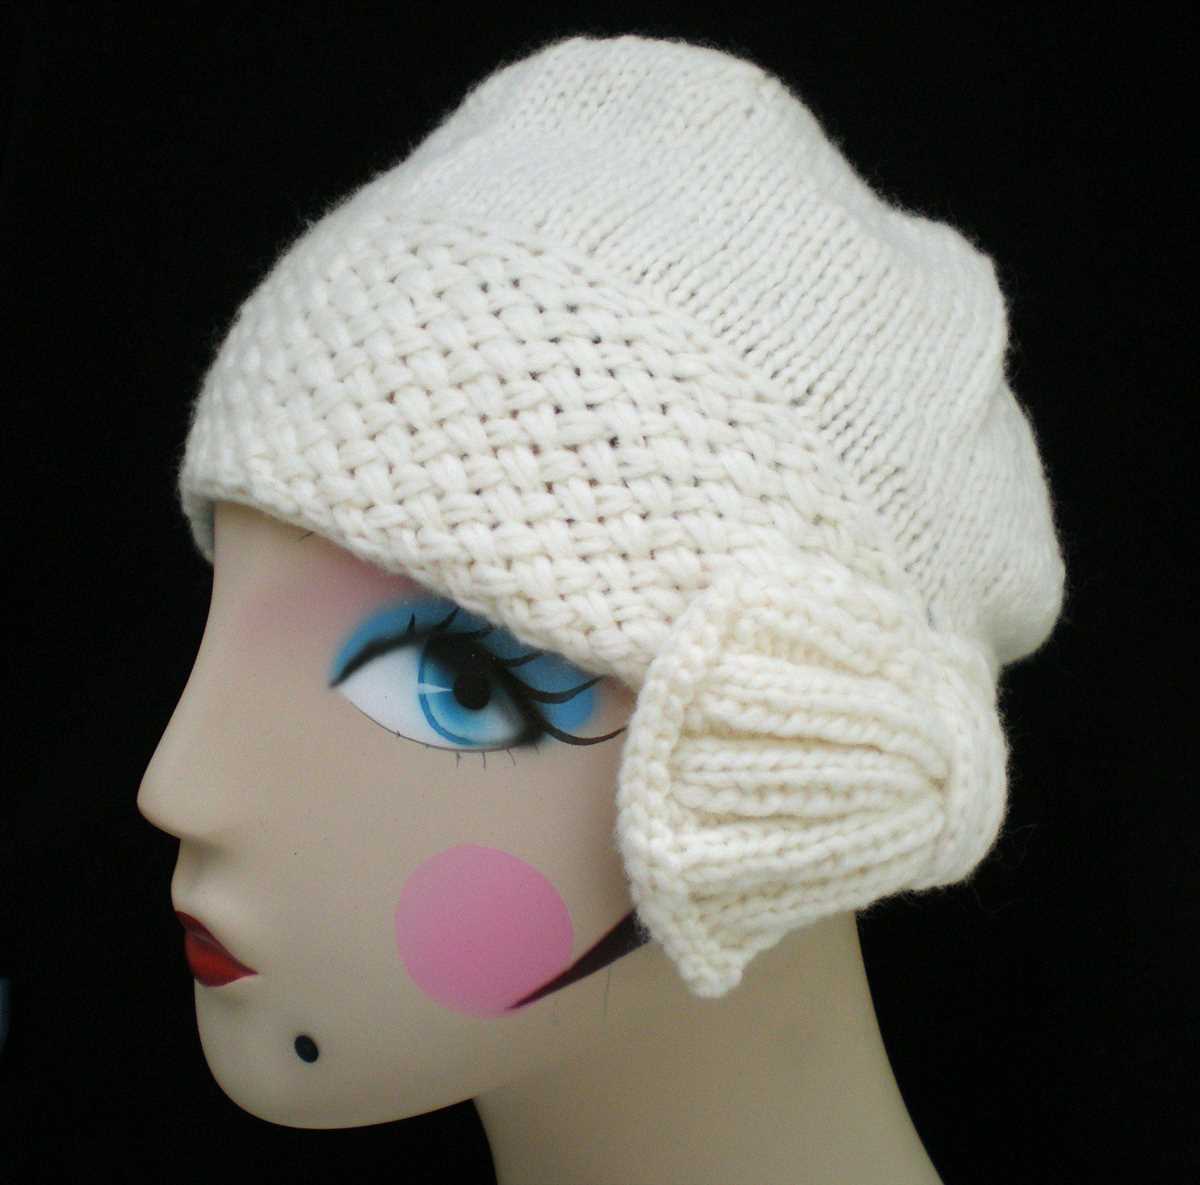
Working the ribbing for the brim
The ribbing for the brim of the knitted cloche hat is an important part of the overall design. It adds structure and elasticity to the hat, ensuring a snug fit and keeping it securely in place. To work the ribbing, you will need to follow a specific pattern of knit and purl stitches.
Begin by casting on the required number of stitches, as specified in the pattern. Most cloche hat patterns will use a multiple of 2 stitches for the ribbing. Once you have cast on, you are ready to start the ribbing.
Typically, the ribbing pattern for the brim will be a combination of knit and purl stitches. This creates a textured pattern that stretches well and provides a nice contrast to the body of the hat. Follow the pattern instructions to determine the exact stitch sequence for the ribbing.
Example ribbing pattern:
- Row 1: *K1, p1* repeat to end of row
- Row 2: *P1, k1* repeat to end of row
- Repeat rows 1 and 2 for desired length of ribbing
Continue working the ribbing pattern for the specified number of rows or until the ribbing reaches the desired length. Remember to keep track of your stitch count and pattern repeats to ensure an even and consistent ribbing.
Once the ribbing is complete, you can move on to the next step in the pattern, which may involve transitioning to a different stitch pattern or shaping the hat. The ribbing sets the foundation for the brim and adds a polished touch to the overall design of the knitted cloche hat.
Shaping the cloche hat body
When creating a knitted cloche hat, one of the most important elements is shaping the body of the hat. This is what gives the hat its distinct and fashionable silhouette. There are several shaping techniques that can be used to achieve the desired shape.
Decreasing for a tapered crown
To create a tapered crown, you will need to decrease the number of stitches gradually. This is typically done by knitting two stitches together at regular intervals. The exact pattern will depend on the desired shape and size of the hat, but a common technique is to knit two stitches together at the beginning and end of each row, until the desired number of stitches remain.
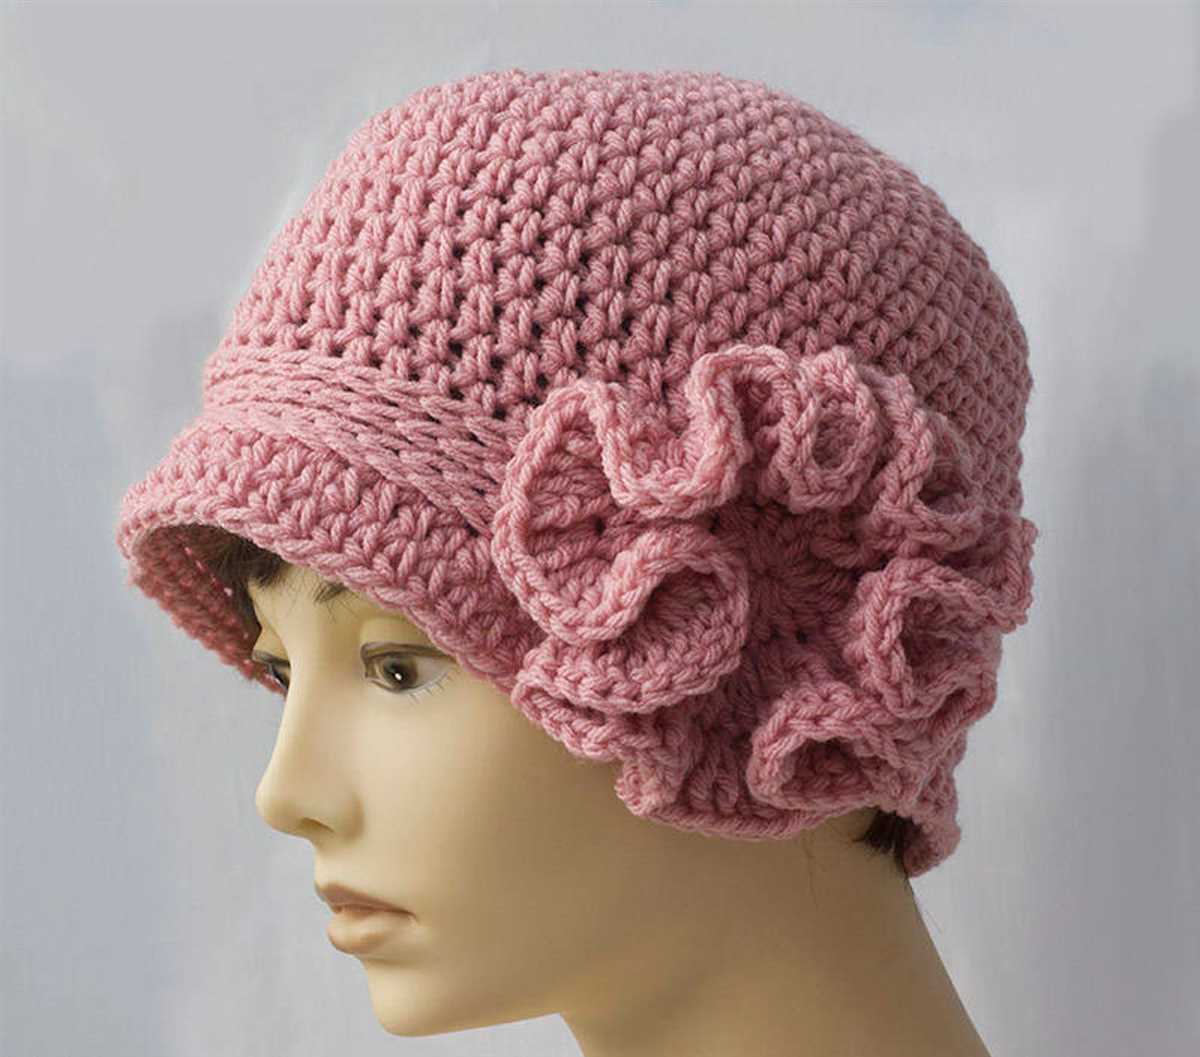
Increasing for a flared brim
The brim of the cloche hat is often flared, creating a whimsical and feminine look. To achieve this, you will need to increase the number of stitches gradually. This can be done by knitting into the front and back of a stitch, which will effectively increase the stitch count. The increases can be evenly spaced or concentrated in certain areas, depending on the desired shape and style.
It is important to carefully follow the pattern instructions for shaping the cloche hat body, as this will ensure the desired shape and fit. By using the appropriate decreasing and increasing techniques, you can create a beautiful and unique cloche hat that will be both stylish and cozy.
Creating the crown decreases
Once you’ve completed the main body of the cloche hat, it’s time to start decreasing the stitches to create the crown. This will give the hat its characteristic shape and allow it to fit snugly on the head.
To begin the crown decreases, you’ll need to divide the stitches evenly around the circular needle. This can be done by placing markers at equal intervals. Make sure to position the markers in a way that easily allows you to keep track of your decreases.
Step 1: Decrease round
On the first decrease round, work to 2 stitches before the marker, then knit the next 2 stitches together. Repeat this decrease for each marker on the needle until you have completed one full round. This will decrease the total number of stitches by half.
Step 2: Knit one round
After completing the decrease round, work one round without any decreases. This will maintain the current stitch count and give the hat some stability before proceeding with further decreases.
Step 3: Repeat steps 1 and 2
Continue alternating between the decrease round and the knit round until you have reached the desired number of stitches for your hat. As you decrease, the hat will gradually take on its cloche shape. Keep track of your progress by counting the stitches and adjusting the number of decrease rounds as needed.
Once you have completed all the necessary decrease rounds, you can finish off the hat by binding off the remaining stitches or following any additional instructions provided in the pattern. Your knitted cloche hat is now ready to be worn and enjoyed!
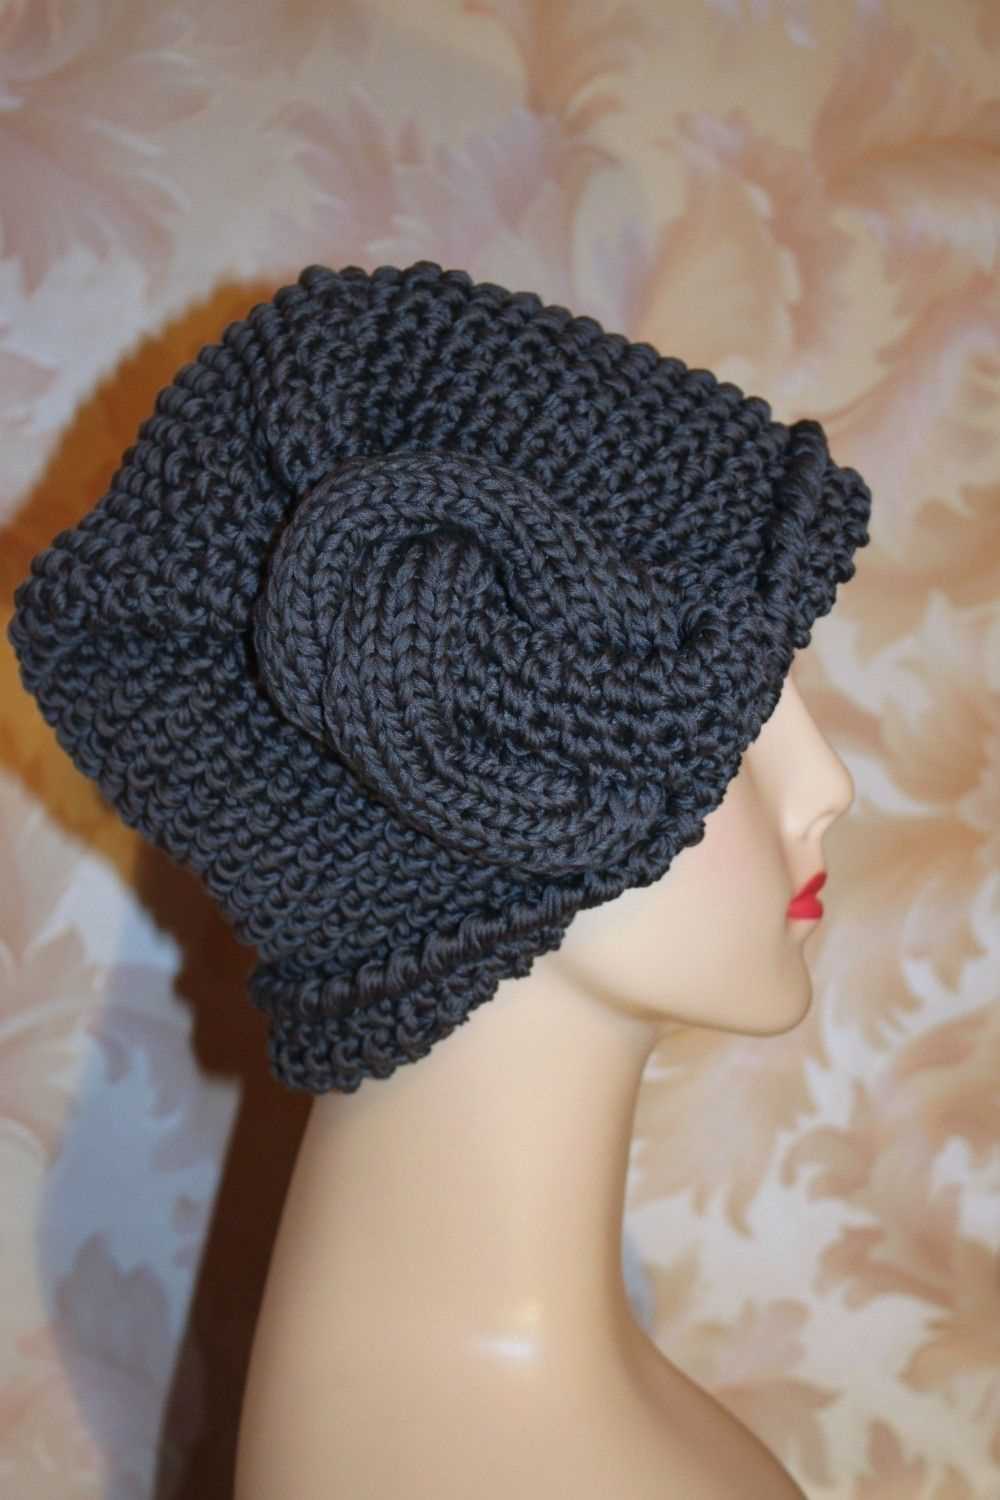
Finishing the hat with a top knot or flower
After completing the main body of the cloche hat, you can add a beautiful finishing touch by attaching a top knot or flower to the hat. This will not only add an extra element of style to the hat but also make it more personalized and unique.
If you prefer a more playful and whimsical look, you can opt for a top knot. To make a top knot, simply take a small amount of yarn in a contrasting color and tie it into a knot at the top of the hat. You can then trim the ends of the yarn to your desired length, creating a cute and fun top knot on the hat.
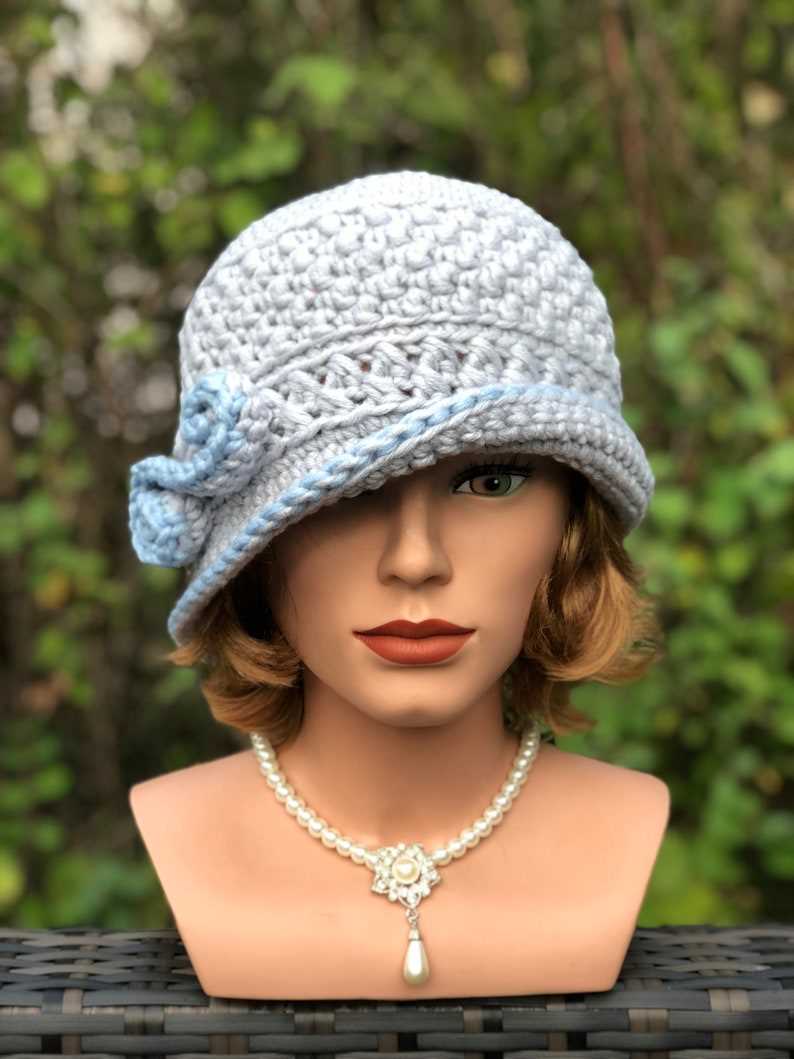
On the other hand, if you want a more feminine and elegant look, you can choose to attach a flower to the hat. There are numerous flower patterns available online that you can use to create a crochet or knitted flower. Once you have made the flower, you can sew it onto the side or front of the hat using a needle and thread. This will add a delicate and intricate touch to the hat, making it perfect for special occasions or dressier outfits.
Blocking and shaping the knitted cloche hat
Once you have finished knitting your cloche hat, the next step is to block and shape it to give it a finished and polished look. Blocking is the process of wetting the hat and stretching it into the desired shape. This helps to even out stitches and give the hat its final shape.
To begin the blocking process, fill a basin or sink with lukewarm water and add a small amount of gentle soap. Gently place the knitted hat into the water, making sure it is completely submerged. Allow the hat to soak for a few minutes to ensure the fibers are fully saturated.
After soaking, carefully remove the hat from the water and gently squeeze out any excess moisture. Lay a clean towel on a flat surface and place the hat on top. Start shaping the hat by gently stretching it in the desired direction, being careful not to distort the stitches. You can use pins or blocking wires to help hold the shape as it dries.
Once the hat is in the desired shape, leave it to air dry completely. This may take several hours or even overnight, depending on the thickness of the yarn and the humidity in the air. Avoid placing the hat in direct sunlight or using heat sources such as a hairdryer, as this can damage the fibers.
After the hat is completely dry, remove any pins or blocking wires and give it a final inspection. If there are any uneven or misshapen areas, you can gently re-block them using the same process. Once you are satisfied with the shape, your knitted cloche hat is ready to wear or gift to someone special!
Styling and Wearing the Finished Cloche Hat
Once you have completed your knitted cloche hat, it’s time to style and wear it with confidence. The cloche hat is a versatile accessory that can be paired with a variety of outfits and worn for different occasions. Here are some tips on how to style and wear your cloche hat:
1. Casual Chic
For a casual and chic look, pair your knitted cloche hat with a pair of jeans, a cozy sweater, and ankle boots. Opt for earthy tones or neutral colors to create a harmonious and effortless ensemble. The cloche hat will add a touch of sophistication to your casual outfit.
2. Vintage Glam

The cloche hat became popular in the 1920s and is often associated with vintage fashion. Embrace the vintage glam by pairing your cloche hat with a tailored dress, stockings, and Mary Jane shoes. Opt for bold colors or patterns to make a statement and channel the elegance of the past.
3. Winter Warmth
In colder months, your knitted cloche hat can provide both style and warmth. Pair it with a cozy coat, a chunky scarf, and knee-high boots for a winter-ready look. Choose a cloche hat in a thick, warm yarn and consider adding a lining to protect your head from the cold.
4. Special Occasions
A knitted cloche hat can also be worn for special occasions. Pair it with a festive dress, statement jewelry, and heels for a glamorous look. Opt for a cloche hat with embellishments or a metallic thread for a touch of elegance that will complement your outfit.
Remember to embrace your personal style and have fun experimenting with different outfits and accessories. The cloche hat is a versatile and unique accessory that can elevate any outfit and add a touch of charm to your look.
Conclusion
The knitted cloche hat is a stylish and versatile accessory that can be paired with a variety of outfits and worn for different occasions. Whether you’re going for a casual chic look or embracing vintage glam, the cloche hat adds a touch of sophistication and elegance to your outfit. Experiment with different styles and have fun wearing your knitted cloche hat with confidence!