
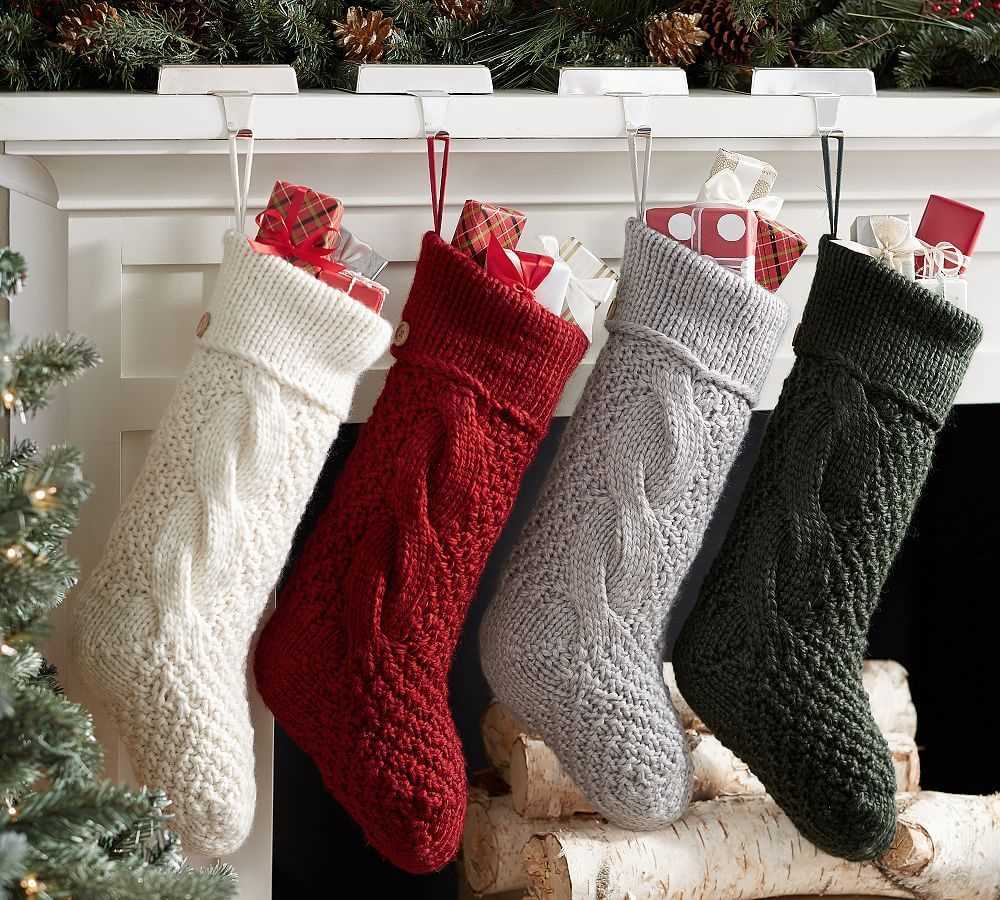
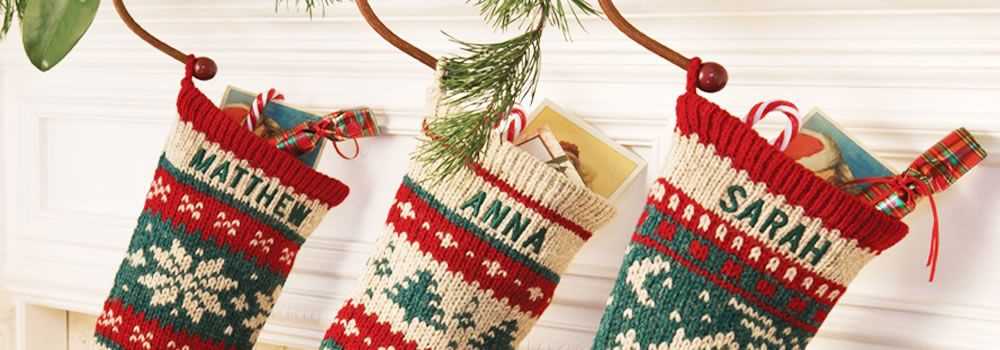
Christmas is the perfect time to showcase your knitting skills and bring a touch of homemade charm to your holiday decorating. One popular tradition that has been passed down through generations is the hanging of stockings. These stockings can be personalized to reflect your own style and interests, and what better way to add a festive touch than with a knitted Christmas stocking pattern featuring an angel?
Knitted Christmas stockings are not only decorative, but also functional. They provide a special place to tuck away small gifts and surprises for loved ones. And what better guardian angel for these treasures than a hand-knitted angel stocking? Whether you hang it on the mantle, the tree, or a bedpost, this stocking is sure to bring warmth and joy to your holiday celebrations.
The knitted Christmas stocking pattern angel is relatively easy to follow, making it suitable for beginners as well as experienced knitters. The body of the stocking is worked in a basic stocking stitch, while the angel is created with simple increases and decreases to form the wings and body. The pattern also includes instructions for adding an adorable halo and embellishments such as a halo, harp, or trumpet, allowing you to personalize your angel stocking to your liking.
Knitted Christmas Stocking Pattern Angel
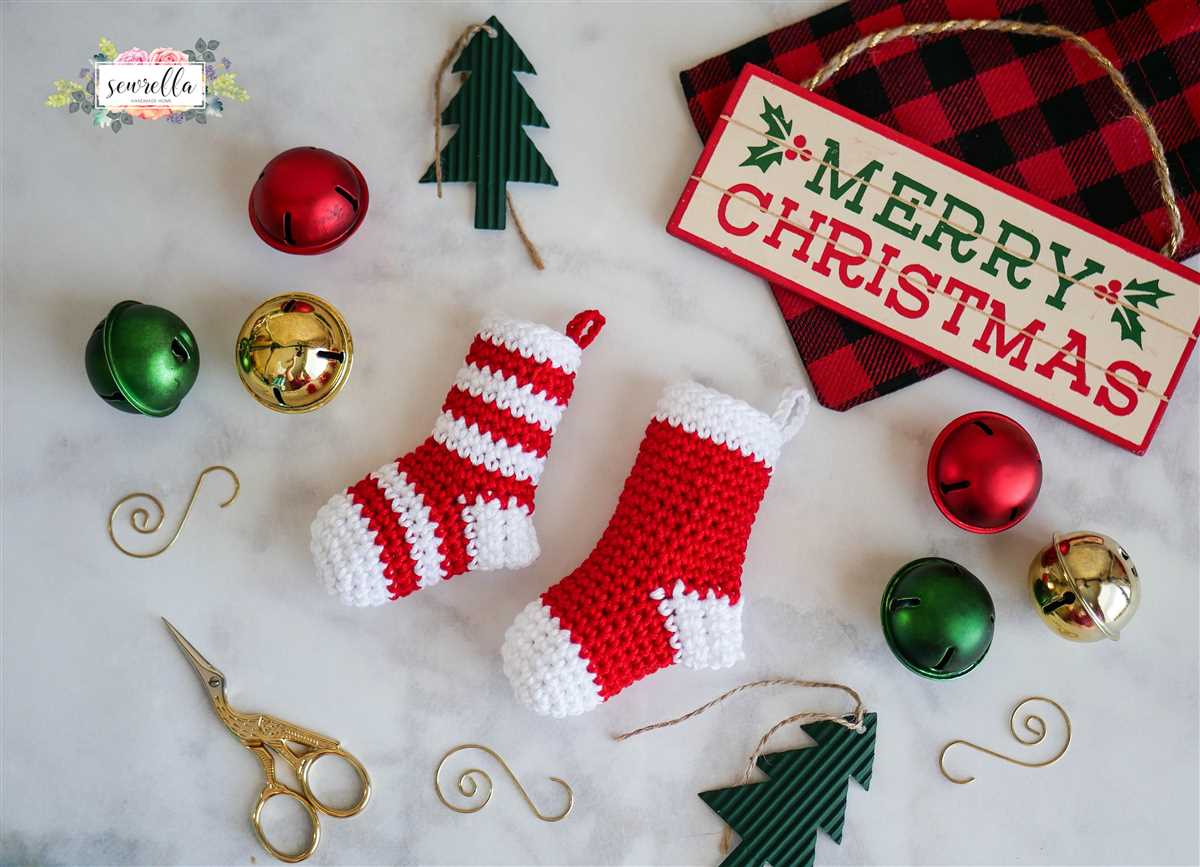
Are you looking for a unique and festive way to decorate your home for the holiday season? Why not try knitting your own Christmas stockings? With a knitted Christmas stocking pattern angel, you can create a beautiful and personalized decoration that will add a touch of charm and whimsy to your holiday decor. Whether you hang them by the fireplace or use them as gift bags, these knitted stockings are sure to be a hit.
To start knitting your Christmas stocking, you will need some basic knitting skills and materials. You will need a set of knitting needles, some yarn in your chosen color, and a pattern to follow. The knitted Christmas stocking pattern angel typically includes instructions for creating the body of the stocking, as well as the angel motif that will be featured on the front.
Once you have gathered your materials and chosen your pattern, you can begin knitting your Christmas stocking. Start by casting on the required number of stitches for the stocking body and follow the pattern’s instructions for knitting the desired length. After you have completed the body of the stocking, you can move on to knitting the angel motif. This may involve using different colors of yarn or incorporating stitch patterns to create the desired angel design.
When you have finished knitting the angel motif, you can then proceed to finish the stocking by knitting the heel, toe, and cuff. Once all the knitting is complete, you can add any additional embellishments, such as buttons or ribbons, to give your stocking a personal touch. Finally, weave in any loose ends and block your stocking to give it a polished and professional finish.
Knitting your own Christmas stocking with a pattern featuring an angel motif is a fun and creative way to add a personalized touch to your holiday decor. Not only will you have a unique decoration, but you can also enjoy the satisfaction of creating something beautiful with your own two hands. So gather your knitting needles and get ready to bring some holiday magic into your home with a knitted Christmas stocking pattern angel.
Materials Needed
Before you start knitting your Christmas stocking angel, make sure you have all the necessary materials. Below is a list of the items you will need:
Yarn
- Main Color Yarn: This will be the primary color of your stocking angel. Choose a soft and cozy yarn in a color that matches your Christmas theme.
- Contrast Color Yarn: This will be used for the wings and other details. Select a contrasting color that complements the main color.
Knitting Needles
- Size 6 (4mm) Double-Pointed Needles: These needles will be used for the body and main parts of the angel.
- Size 4 (3.5mm) Double-Pointed Needles: These needles will be used for the wings and smaller details.
Other Materials
- Stitch Markers: These will help you keep track of your stitches and pattern repeats.
- Tapestry Needle: This needle is used for weaving in ends and sewing up seams.
- Scissors: A pair of sharp scissors will be needed to cut the yarn.
- Stuffing: You will need some stuffing to fill the angel’s body and wings and give them a nice shape.
Once you have gathered all the materials, you will be ready to start knitting your beautiful Christmas stocking angel. Enjoy the process and have fun bringing the holiday spirit into your home!
Knitting Techniques
In knitting, there are various techniques used to create the desired patterns and textures in the fabric. These techniques involve manipulating the stitches and yarn in specific ways to achieve different effects. Here are some commonly used knitting techniques:
1. Knit and Purl Stitches
Knit and purl stitches are the foundation of knitting. The knit stitch is created by inserting the right-hand needle into the front of the stitch on the left-hand needle, wrapping the yarn around the right-hand needle, and pulling it through to create a new stitch. The purl stitch is created by inserting the right-hand needle into the back of the stitch on the left-hand needle, wrapping the yarn around the right-hand needle, and pulling it through to create a new stitch.
2. Cables
Cables are created by crossing stitches over each other, creating a twisted effect in the fabric. This technique involves temporarily holding some stitches on a cable needle while knitting the others, and then crossing the stitches in a specific pattern to create the desired cable design.
3. Lace Knitting

Lace knitting involves creating intricate, openwork patterns by increasing and decreasing stitches in specific ways. This technique creates beautiful, airy designs in the fabric, often resembling lace. Lace knitting requires careful attention to the pattern and precise execution of the stitches.
4. Colorwork
Colorwork techniques, such as Fair Isle and Intarsia, involve using multiple colors of yarn to create patterns in the fabric. Fair Isle is a technique where two or more colors are used in each row, with the unused colors carried along the back of the work. Intarsia, on the other hand, involves working with separate sections of color, using bobbins or small balls of yarn to create distinct shapes and motifs.
5. Provisional Cast-On
A provisional cast-on is used when you want to create a temporary cast-on edge that can be easily undone later. This technique is often used when knitting items like scarves or shawls that require a seamless join at the end. The provisional cast-on is typically achieved using a waste yarn, which is later removed to reveal live stitches that can then be joined to another section of knitting.
These are just a few examples of the many knitting techniques that can be used to create beautiful and unique designs. Whether you’re a beginner or an experienced knitter, learning and mastering these techniques will open up a world of possibilities for your knitting projects.
Choosing Yarn and Needles
When it comes to knitting a Christmas stocking pattern featuring an angel, choosing the right yarn and needles is crucial. The yarn you select will determine the overall look and feel of your stocking, while the needles will affect the size and tension of your stitches.
First and foremost, consider the fiber content of the yarn. For a traditional look and feel, opt for a soft and cozy wool or wool-blend yarn. This will not only give your stocking a warm and festive touch, but it will also provide excellent stitch definition and durability. If you prefer a more modern or colorful stocking, consider using a machine-washable acrylic or acrylic-blend yarn, as these options come in a wide variety of vibrant colors and are easy to care for.
Needle size also plays a crucial role in achieving the desired look and gauge. The size of your needles will vary based on the weight of your yarn and personal knitting tension. Generally, a size US 7 (4.5mm) or US 8 (5mm) needle is suitable for worsted weight yarn, while a size US 6 (4mm) or US 7 (4.5mm) needle is appropriate for DK (double knit) weight yarn. Be sure to check the recommended needle size on the yarn label and make a gauge swatch before starting your project to ensure the correct fit and appearance of your Christmas stocking.
Additionally, you may want to consider using double-pointed needles for knitting in the round, as this technique is commonly used for constructing stockings. Double-pointed needles allow you to comfortably knit in a circular motion and create a seamless finished product. Alternatively, if you prefer to knit using circular needles, make sure to use a long enough cable length to accommodate the circumference of your stocking.
Creating the Angel Design
When it comes to knitting a Christmas stocking with an angel design, there are several steps involved in creating the pattern. The first step is to choose the colors of yarn that you want to use for the angel design. Traditionally, white and gold are popular choices for an angel motif, but you can also get creative and use different colors to make your stocking unique.
Once you have chosen the colors, you will need to create a chart or pattern for the angel design. This can be done on graph paper or using a computer program. The chart will help you visualize how the angel will look on the stocking and guide you as you knit the design. It will include symbols or colors to represent each stitch and row of the design.
To start knitting the angel design, you will need to cast on the desired number of stitches for the width of your stocking. Then, using the chart as a guide, you will follow the instructions row by row to create the angel design. This may involve knitting, purling, and adding or subtracting stitches to create the desired shape and details of the design.
As you knit, you may need to switch colors to create different parts of the angel, such as the wings, halo, or dress. You can do this by simply joining a new strand of yarn and knitting with it for the desired number of stitches. Be sure to weave in any loose ends as you go to prevent them from unraveling.
Once you have finished knitting the angel design, you can continue knitting the rest of the stocking in a solid color or with a different pattern if desired. Finally, you will need to sew the sides of the stocking together and add a loop for hanging. Then, you can proudly display your knitted Christmas stocking with its beautiful angel design.
Casting On
Before you can start knitting your Christmas stocking pattern with an angel design, you’ll need to cast on your stitches. This is the process of creating a row of loops on your knitting needle to form the foundation of your project. There are several methods you can use to cast on, but the most common one for beginners is the long-tail cast on method.
To begin, measure out a length of yarn that is about three times the width of your desired finished stocking. Make a slipknot at the end of the yarn and place it on your needle. Hold the needle in your right hand with the slipknot on the left. With your left hand, bring the tail end of the yarn over your thumb and hold it in place with your palm.
Next, insert your right needle under the loop on your left thumb from front to back. With your right hand, bring the working yarn (the end attached to the ball) under and over the right needle, creating a loop with the working yarn. Slip this loop onto your left needle, keeping it loose but not too loose. Repeat this process until you have cast on the desired number of stitches for your stocking pattern.
You can find detailed step-by-step instructions and video tutorials online to help you practice and perfect your casting on technique. Once your stitches are cast on, you’ll be ready to begin knitting your Christmas stocking with an angel design.
Knitting the Stocking Body
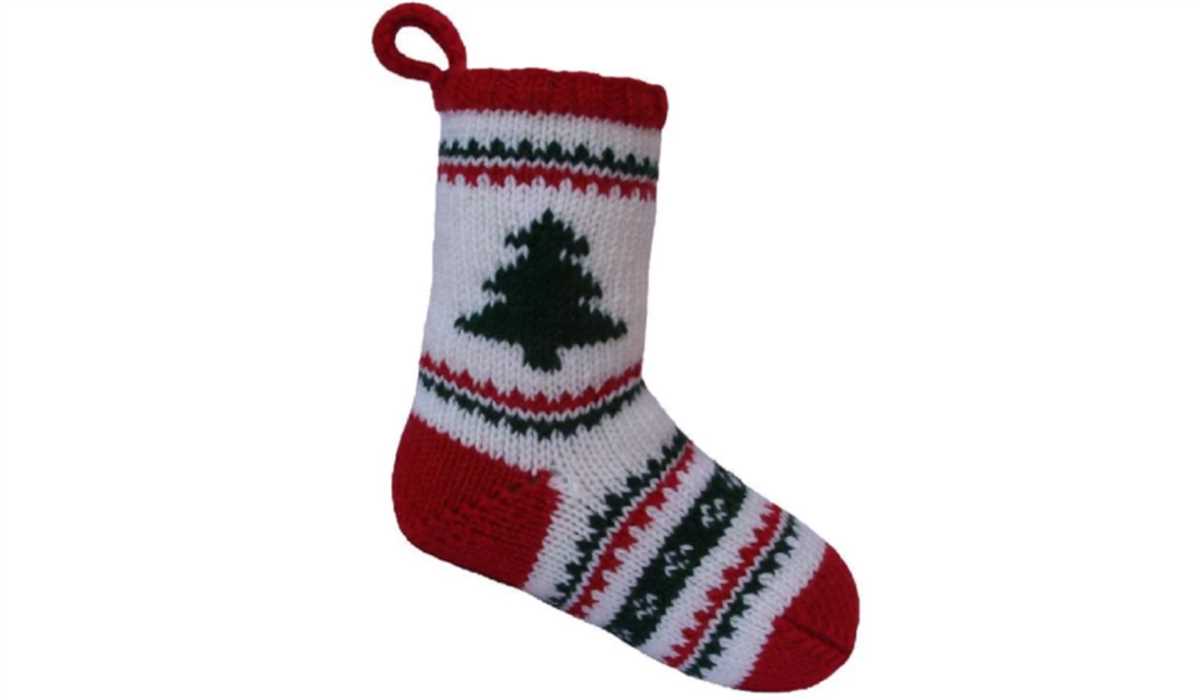
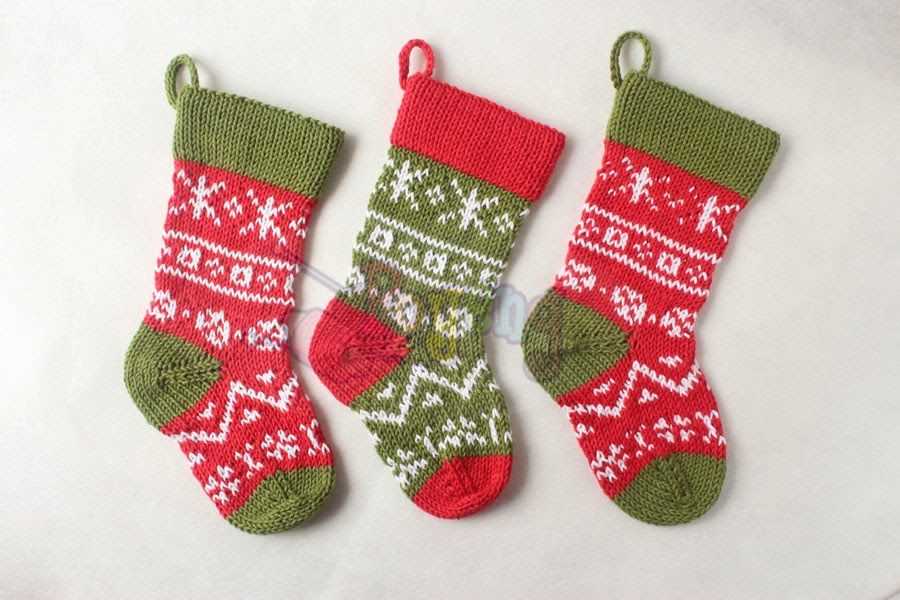
Once you have finished knitting the cuff of your Christmas stocking, it’s time to move on to the body. The body of the stocking is typically knit in a combination of traditional fair isle patterns and other decorative stitches to create a beautiful and unique design. Here’s how you can knit the stocking body:
- Start by selecting the colors of yarn you would like to use for the body of your stocking. You can choose traditional Christmas colors like red, green, and white, or get creative and use any colors you prefer.
- Begin knitting the body of the stocking using the main color yarn. You can use either circular knitting needles or double-pointed needles, depending on your preference.
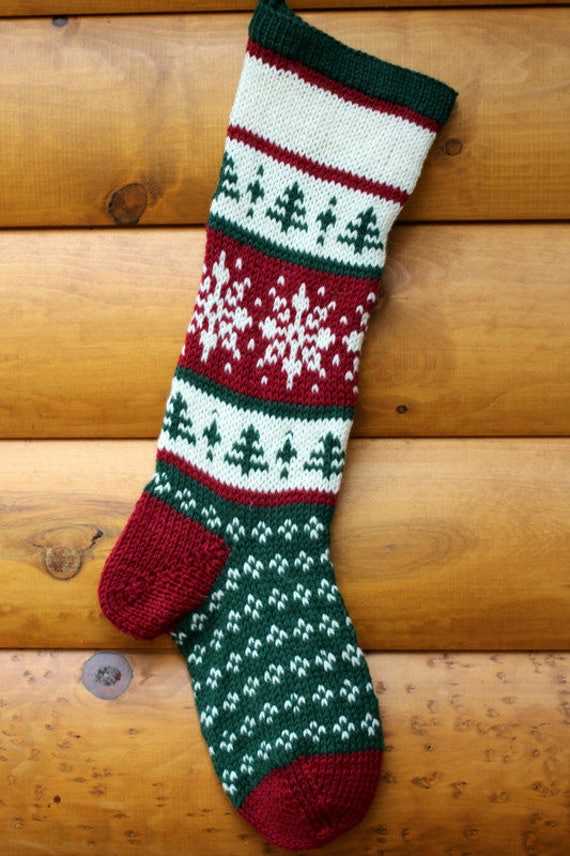
- Depending on the design you have chosen, you may need to switch between different colors of yarn as you work the fair isle patterns. Follow the pattern instructions carefully to ensure you are using the correct colors at the right time.
- Continue knitting in the round until the body of the stocking reaches your desired length. Keep in mind that you will need to leave enough space at the top of the stocking for the decreases that will create the toe.
- Once you have reached the desired length, it’s time to start shaping the toe of the stocking. This is typically done by decreasing stitches evenly around the stocking.
- Follow the pattern instructions to shape the toe of the stocking. This may involve decreasing stitches every few rounds until you have a small enough stitch count to close off the toe.
- Finish knitting the body of the stocking by closing off the toe. This can be done by either grafting the stitches together using the Kitchener stitch or by binding off the remaining stitches and seaming the toe closed.
With the body of your stocking complete, you can now move on to knitting the heel and adding any additional decorative elements. Stay tuned for the next section of this pattern to learn how to complete your knitted Christmas stocking with an angel motif!
Shaping the Heel and Toe
When knitting a Christmas stocking with an angel design, it’s important to properly shape the heel and toe to ensure a comfortable and well-fitted finished product. The heel and toe sections are key areas that need to be carefully crafted to provide the necessary structure and comfort for the foot.
Shaping the Heel:
To shape the heel, you will need to alternate between decreasing and knitting regular rows. Start by knitting the desired number of stitches for the heel flap, usually about one-third of the total number of stitches on the needles. Then, work a series of decreases on both sides of the flap to create the curved shape of the heel. This can be done by knitting two stitches together at the beginning and end of each row, until the desired number of stitches remain.
Once the heel has been shaped, you can continue knitting the rest of the stocking in the main pattern. The shaped heel should provide a comfortable fit for the foot and ensure that the stocking stays in place when hung on the fireplace.
Shaping the Toe:
To shape the toe, you will need to decrease the number of stitches in a specific pattern to create a rounded and tapered shape. This can be done by dividing the stitches evenly onto two needles and then working a series of decreases at the beginning and end of each needle, usually every other row. The decreases can be done by knitting two stitches together or by using a specific decrease technique, such as the kitchener stitch.
As you shape the toe, it’s important to regularly try on the stocking to ensure that it fits comfortably and snugly. Adjustments can be made by decreasing more or fewer stitches, depending on the desired fit.
Adding the Angel Design
Once you have completed the basic knitted Christmas stocking pattern, it’s time to add the angel design. This design will give your stocking a festive and angelic touch, perfect for the holiday season.
To create the angel design, you will need to gather the following materials: a contrasting color of yarn for the angel, a pair of knitting needles, a yarn needle, and a copy of the angel design chart.
Step 1: Choose the Contrasting Yarn Color
Start by selecting a contrasting color of yarn for the angel design. This color should stand out against the main color of the stocking. Consider using metallic or sparkly yarn for an extra festive look.
Step 2: Knit the Angel Design
Using the angel design chart as a guide, follow the chart to knit the angel design onto the stocking. Each square on the chart represents one stitch and one row. Use the contrasting yarn color to knit the stitches according to the chart.
If you’re new to knitting charts, it may take some practice to get used to reading and following them. Take your time and refer to the chart key for any symbols or abbreviations you may be unfamiliar with.
Step 3: Finishing Touches
Once you have completed the angel design, take a step back and admire your work! If there are any mistakes or areas that need fixing, use the yarn needle to carefully weave in the ends or make corrections.
If desired, you can also add additional embellishments to the angel design. Consider using small beads or sequins to add some sparkle, or embroidery floss to add details such as facial features or wings.
With the angel design in place, your knitted Christmas stocking is now complete! Hang it up with pride and enjoy the festive and angelic touch it brings to your holiday decor.
Finishing Touches
Once you have completed knitting your angel pattern, it’s time to add the finishing touches to make it truly festive and beautiful. Here are a few suggestions to bring your knitted Christmas stocking angel to life:
1. Embellishments:
Add small embellishments like sequins, beads, or rhinestones to the angel’s dress or wings. This will add sparkle and glamour to your creation.
2. Ribbon or lace:
Attach a delicate ribbon or a lace trim to the edge of the angel’s dress or wings. This will give it an elegant and ethereal touch.
3. Halo:
No angel is complete without a halo. Create a small halo using gold or silver wire and attach it to the top of the angel’s head. This will add a celestial aura to your knitted creation.
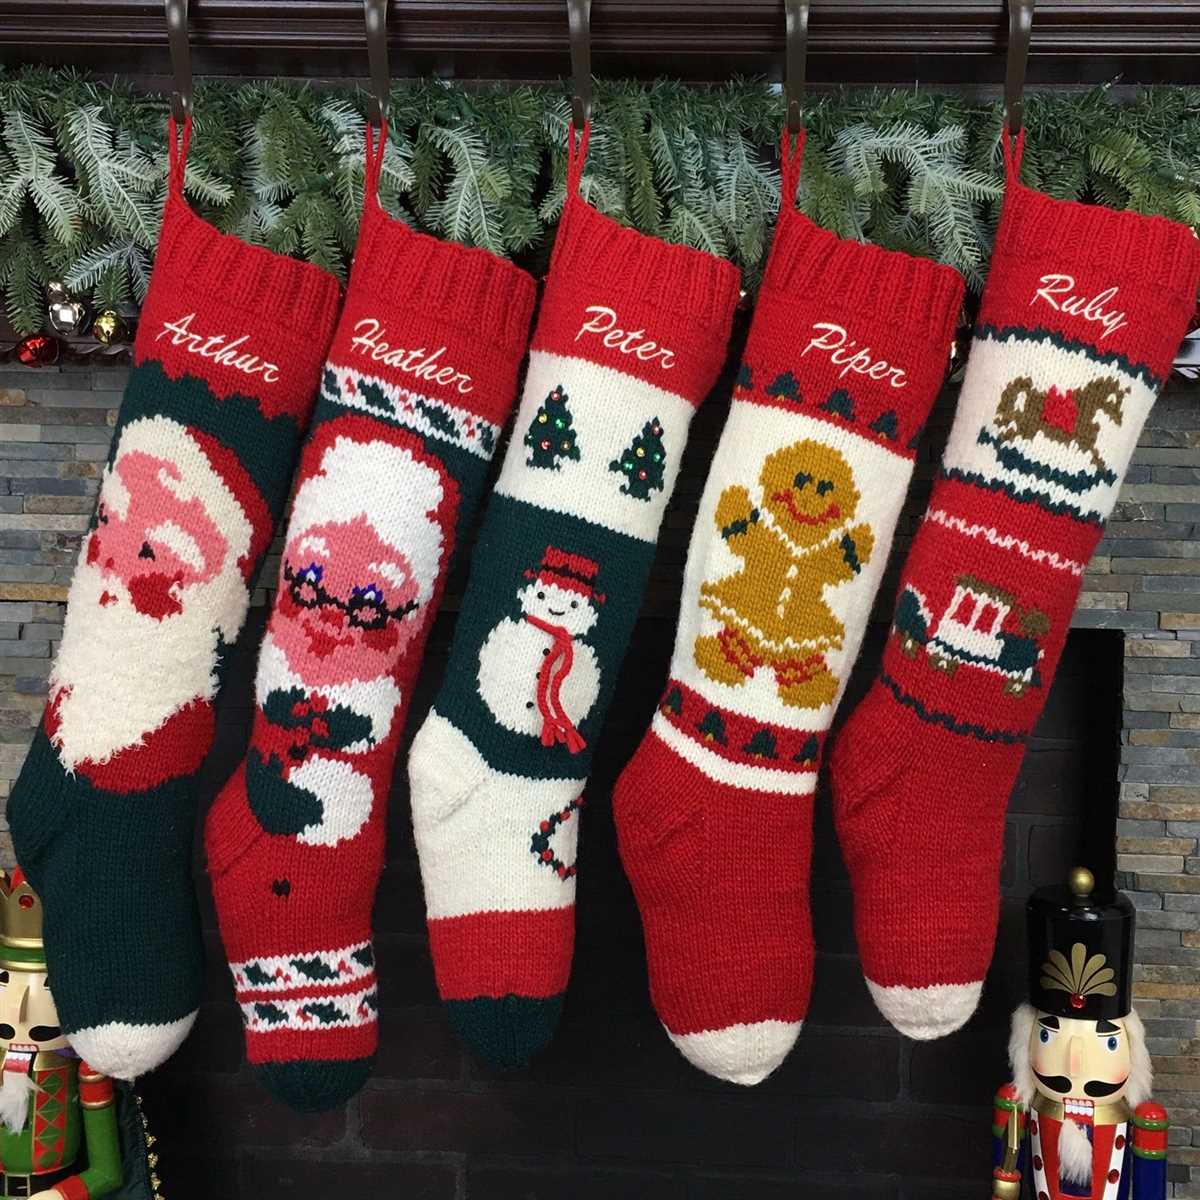
4. Personalization:
Add a personalized touch to your knitted angel by embroidering a name or initial on the angel’s dress. This will make it a special gift for a loved one or a cherished decoration for your own home.
With these finishing touches, your knitted Christmas stocking angel will truly shine and become a cherished part of your holiday decor. Enjoy the process of adding these final details and let your creativity soar!