
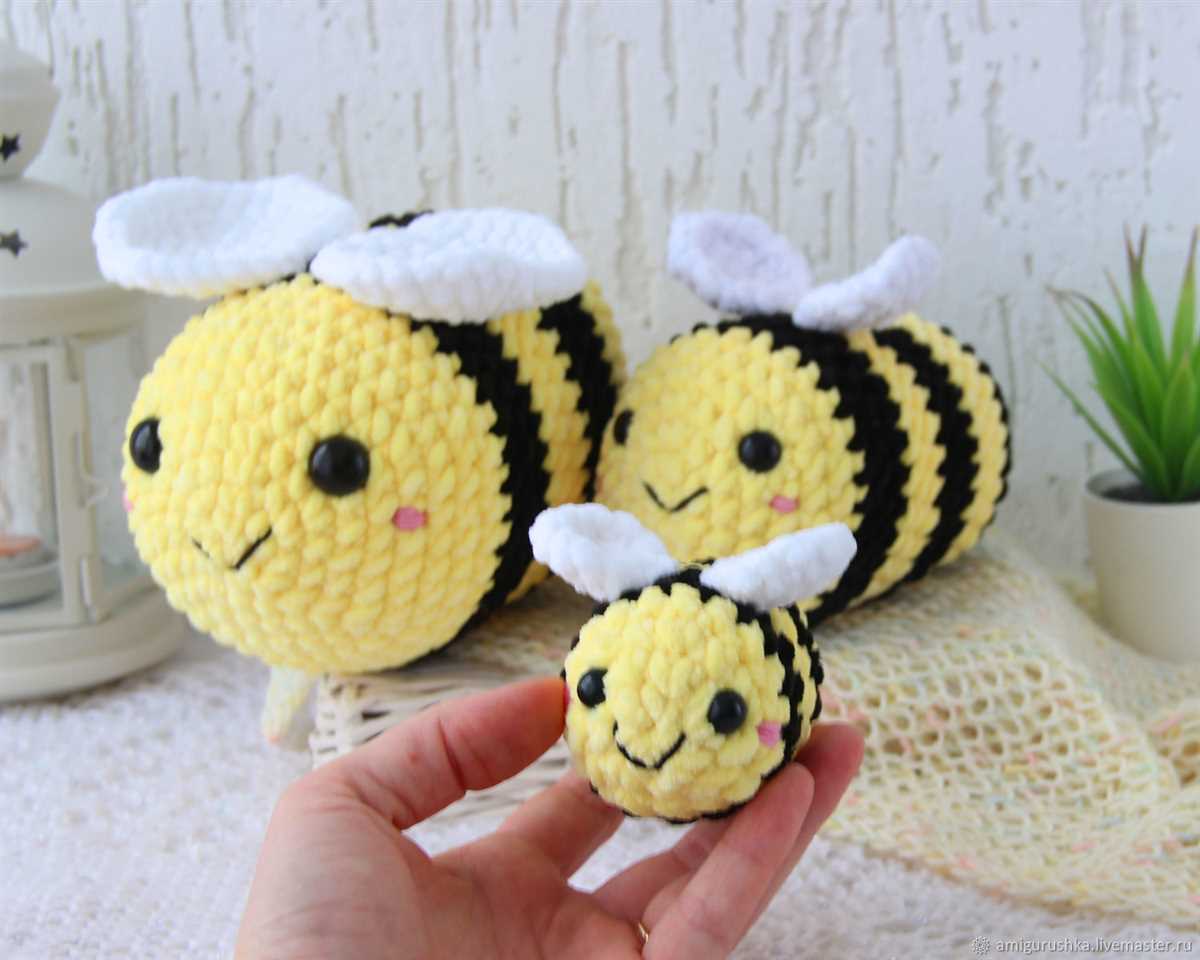
Are you looking for a cute and cuddly toy to knit? Look no further than this adorable knitted bee plush pattern. Whether you’re an experienced knitter or just starting out, this pattern is perfect for all skill levels.
The bee plush pattern is not only a fun project to work on, but it also makes for a great gift for children and bee lovers alike. With its vibrant colors and soft texture, it’s sure to bring joy to anyone who receives it.
What’s great about this pattern is that it’s customizable and allows you to get creative with different yarn colors and textures. You can make a bold and bright bee or opt for a more subtle and natural look. The possibilities are endless!
So grab your knitting needles and get started on this adorable knitted bee plush pattern. It’s the perfect project to keep you entertained and to create something truly one-of-a-kind.
Knitted Bee Plush Pattern
Are you looking for a cute and cuddly toy to make? Why not try knitting your own bee plush! This knitted bee pattern is both adorable and fun to create. Whether you’re an experienced knitter or a beginner, this pattern is perfect for you.
Materials:
- Knitting needles (size may vary depending on yarn)
- Yarn in black, yellow, and white
- Stuffing
- Tapestry needle
- Scissors
Instructions:
- Start by casting on stitches in yellow yarn to create the bee’s body.
- Continue knitting in stockinette stitch until the body is the desired length. Switch to black yarn for the last few rows to create stripes.
- Next, knit the wings separately. Use white yarn and follow the pattern provided to create the shape of the wings.
- Once the body and wings are complete, it’s time to assemble the bee. Sew the wings onto either side of the body using a tapestry needle and matching yarn.
- Stuff the bee with your chosen stuffing material, making sure to fill it evenly.
- Finish off the bee by sewing up the bottom, ensuring that the stuffing is secure inside.
- Add any additional details such as embroidered eyes or a smiling mouth using black yarn.
This knitted bee plush pattern is a great project for both kids and adults. It makes a lovely gift or a cute addition to your own collection. Have fun knitting these adorable bees and enjoy the satisfaction of creating something special with your own hands!
Materials Needed for Knitted Bee Plush
Creating a knitted bee plush can be a fun and satisfying project. To get started, you will need a few materials to ensure your bee turns out just right.
1. Yarn
Choose a yellow yarn for the body of your bee. Opt for a soft, thick yarn that will give your plush a plush and cuddly feel. Additionally, you will need black yarn for the stripes and other details of the bee.
2. Knitting Needles
A pair of knitting needles in a size suitable for your chosen yarn is necessary for this project. Check the yarn label for recommended needle size, and ensure your needles match or are close to the suggested size.
3. Stuffing
To give your bee its plush and puffy shape, you will need stuffing. Look for polyester fiberfill, which is commonly used in amigurumi and plush toys. Alternatives like cotton stuffing or yarn scraps can also be used.
4. Safety Eyes
To add a touch of realism and cuteness to your bee, you can use safety eyes. These plastic eyes have a locking mechanism to ensure they stay securely attached to your plush. If you prefer, you can also embroider or sew on eyes using black yarn.
5. Yarn Needle and Scissors
A yarn needle is essential for sewing up any seams and attaching any additional parts to your bee plush. Make sure it has a large eye to accommodate the thickness of your yarn. Scissors will be needed for cutting the yarn and trimming any excess.
6. Bee Pattern
A bee pattern will guide you through the steps and techniques to successfully create your knitted bee plush. You can find patterns online or in knitting books. Choose a pattern that suits your skill level and preferences.
With these materials in hand, you are ready to knit your very own bee plush. Enjoy the process and have fun bringing your adorable bee to life!
How to Choose the Right Yarn for Your Knitted Bee
When it comes to knitting a bee plush, choosing the right yarn is crucial. The right yarn can make your project look more realistic, soft, and durable. Here are some key factors to consider when selecting yarn for your knitted bee:
Type of Yarn
One of the first things to consider is the type of yarn you want to use for your knitted bee. Acrylic yarn is a popular choice for beginners as it is affordable, easy to work with, and comes in a wide range of colors. However, if you want a more luxurious and natural look, you can opt for cotton or wool yarn.
Weight of Yarn
The weight of the yarn is another important factor to consider. The weight refers to the thickness of the yarn and can range from lace weight to super bulky. For a small bee plush, you might want to choose a lighter weight yarn to achieve finer details. On the other hand, if you want a larger plush, you can choose a thicker yarn for a more substantial and cuddly feel.
Color
When choosing the color of your yarn, consider the natural colors of a bee. Black, yellow, and white are classic choices, but you can also play with different shades and variegated yarns to add more depth and texture to your knitted bee.
Texture
The texture of the yarn can greatly impact the look and feel of your knitted bee. Smooth, plied yarns can create a polished and uniform appearance, while fuzzy or boucle yarns can give your bee a more textured and fluffy look. Consider the desired effect you want to achieve and choose a yarn with the appropriate texture.
Quantity
Lastly, make sure to calculate how much yarn you will need for your project. The pattern you are using should indicate the approximate yardage required. It’s always better to have some extra yarn on-hand to avoid running out in the middle of your project.
By considering these factors and choosing the right yarn for your knitted bee, you can ensure that your finished plush will be both visually appealing and enjoyable to touch.
Knitting Needles and Tools You’ll Need for the Bee Plush
Creating your own knitted bee plush can be an enjoyable and rewarding project. To get started, you’ll need a few essential knitting needles and tools. These items will help you achieve the desired result and make the process easier.
1. Knitting Needles: The first thing you’ll need is a pair of knitting needles. Since the bee plush is a relatively small project, you’ll want to use smaller sized needles. A set of US size 5 (3.75mm) double-pointed needles (DPNs) is recommended for this pattern. DPNs are ideal for working on small projects in the round, such as the bee’s body and head.
2. Yarn: Another essential item is the yarn. For the bee plush, you’ll need yellow yarn for the body and black yarn for the stripes and details. Worsted weight yarn is commonly used for this type of project, as it provides the right thickness and texture for a plush toy. Make sure to choose high-quality yarn that is soft to the touch and durable.
3. Stitch Markers: Stitch markers are crucial for keeping track of your stitches and rounds. You’ll need them to mark the beginning of each round when working in the round with DPNs. These can be simple plastic rings or locking markers that can easily be moved as you progress through the pattern.
4. Yarn Needle: A yarn needle, also known as a tapestry needle, is essential for weaving in loose ends and sewing up any seams. You’ll use it to sew the bee’s parts together and secure any loose yarn tails. Choose a yarn needle with a large eye for easy threading and a sharp point for neat and precise stitching.
5. Stuffing: Lastly, you’ll need stuffing material to give your bee plush its soft and cuddly shape. Polyester fiberfill is commonly used for stuffing amigurumi toys. Make sure to use a hypoallergenic and washable stuffing that will hold its shape over time.
In conclusion, having the right knitting needles and tools is essential for creating your own knitted bee plush. By using the recommended materials and following the pattern instructions, you’ll be able to bring your adorable bee plush to life. Get ready to enjoy the process of knitting and create a charming toy that will bring joy to anyone who sees it!
Basic Knitting Techniques for the Bee Plush Pattern
When making the knitted bee plush pattern, there are several basic knitting techniques that will be used. These techniques include casting on, knitting, purling, increasing, decreasing, and finishing off. By mastering these techniques, you will be able to create an adorable bee plush toy.
Casting On:
To begin the bee plush pattern, you will first need to cast on. This is the process of creating the first row of stitches on your knitting needle. You can use any cast on method you prefer, such as the long tail cast on or the knitted cast on. Make sure to cast on the required number of stitches stated in the pattern.
Knitting and Purling:
The main stitches used in the bee plush pattern are knitting and purling. Knitting is when you insert your right-hand needle through the front of a stitch on the left-hand needle, wrap the yarn around the right-hand needle, and pull it through to create a new stitch. Purling is similar to knitting, but instead of inserting the needle through the front of the stitch, you insert it through the back. In the bee plush pattern, knitting and purling will be used to create the different sections of the bee’s body and wings.
Increasing and Decreasing:
Throughout the pattern, you will need to increase and decrease stitches to shape the bee’s body and head. Increasing is done by knitting or purling into the front and back of a stitch, which creates an extra stitch. Decreasing is done by knitting or purling two stitches together, which decreases the total number of stitches. These techniques will be used to shape the bee’s body and create its round head.
Finishing Off:
Once you have completed all the necessary knitting for the bee plush pattern, you will need to finish off your work. This involves cutting the yarn, leaving a long tail, and pulling it through the last stitch to secure it. You can then weave in any loose ends using a tapestry needle to complete your bee plush toy.
By mastering these basic knitting techniques, you will be well-equipped to create a beautiful knitted bee plush toy. Follow the pattern instructions carefully and take your time to ensure your stitches are even and consistent. Happy knitting!
Step-by-Step Instructions for Body and Wings of the Bee Plush
In this tutorial, we will walk you through the step-by-step process of creating the body and wings of a knitted bee plush. Follow these instructions carefully to ensure a successful creation of your adorable bee plush.
Body
To start, cast on the required number of stitches using yellow yarn and your preferred knitting needles. This will form the body of the bee plush.
Next, proceed with knitting in stockinette stitch until the body measures the desired length. Remember, stockinette stitch consists of knitting one row and purling the next row. Repeat this pattern until the desired length is achieved.
- Once you have reached the desired length, bind off all stitches, leaving a long tail of yarn for sewing the body closed later on.
- Using a darning needle, thread the tail of yarn through the stitches on the knitting needle, removing the stitches from the needle as you go.
Wings
Now, let’s move on to creating the wings of the bee plush. Using white yarn and your knitting needles, cast on the required number of stitches.
Begin by knitting in garter stitch, which consists of knitting every row. Continue this pattern for the desired length of the wings.
- Once the wings have reached the desired length, bind off all stitches and cut the yarn, leaving a tail for sewing. Repeat this process to create the second wing.
- To attach the wings to the body, position them on either side of the bee’s body and use the yarn tails to securely sew them in place.
And there you have it! You have successfully completed the body and wings of your knitted bee plush. Now you can move on to creating the other parts of the bee, such as the head, eyes, and antennae, to complete your adorable bee plush.
Adding Details to Your Knitted Bee Plush
When making a knitted bee plush, adding details is what brings it to life and makes it truly special. Whether you’re knitting for yourself or for someone else, these small touches can make a big difference in the final result. Here are some ideas for adding details to your knitted bee plush:
1. Embroidered Facial Features
One way to add personality to your knitted bee plush is by embroidering its facial features. Use black yarn to create the bee’s eyes by making small satin stitches. You can also use yellow or white yarn to embroider a smile or a surprised expression. Experiment with different stitches to create different expressions and give your bee a unique look.
2. Antennae
No bee would be complete without its iconic antennae. Knit two small tubes using black yarn and sew them securely onto the bee’s head. To make them stand upright, you can insert a wire or pipe cleaner inside the tubes before sewing them on. This will give your bee plush a playful touch and add to its overall charm.
3. Stripes and Patterns
Add some visual interest to your bee plush by incorporating stripes or patterns into its body. You can achieve this by using different colored yarns or by working in different stitch patterns. For example, you could knit the bee’s body in yellow and then add black stripes using duplicate stitch. Get creative and have fun experimenting with different combinations!
4. Wings
To give your knitted bee plush a realistic touch, consider adding wings. Knit two small triangular shapes using white or translucent yarn, and attach them to the bee’s body. You can sew them on flat or fold them slightly for a more three-dimensional effect. The wings can be a simple accent or a focal point, depending on your preference.
Remember, adding details to your knitted bee plush is all about personalization and making it your own. Don’t be afraid to get creative and try different techniques to bring your bee to life!
Making the Antennae and Face of the Bee Plush
Creating the antennae and face of the bee plush is an important step in bringing the toy to life. These details add personality and charm to the finished product, giving it a unique and adorable look. Follow these steps to make the antennae and face of your knitted bee plush:
1. Knitting the Antennae
- Start by selecting a contrasting color of yarn for the antennae. This will make them stand out and add visual interest.
- Using the specified knitting needles and pattern, cast on the required number of stitches to create the length of the antennae.
- Follow the pattern instructions for knitting the rows, including any increases or decreases if necessary to shape the antennae.
- Continue knitting until the desired length is reached, and then bind off the stitches to secure the antennae.
2. Attaching the Antennae
- Once the antennae are complete, use a tapestry needle to sew them securely onto the head of the bee plush.
- Position the antennae evenly on either side of the head, making sure they are securely attached and won’t easily come off during play.
3. Creating the Face
- Embroider the face of the bee plush using black yarn or embroidery floss.
- Start by stitching the eyes, using French knots or small straight stitches to create two dots. Position them in the upper portion of the head, leaving enough space for the future placement of the mouth.
- Next, embroider the mouth using a simple backstitch or satin stitch. You can create a smile or other desired expression to give the bee plush a friendly and playful look.
Carefully control the tension of the stitching to ensure the face details are neat and evenly spaced. Take your time and make any adjustments as needed to achieve the desired outcome. Once the antennae and face are complete, your knitted bee plush will be one step closer to being finished!
Assembling the Different Parts of the Knitted Bee Plush
Once you have all the different parts of your knitted bee plush ready, it’s time to assemble them together to bring your adorable toy to life. Here’s a step-by-step guide to help you with the process.
1. Sew the Body Parts
Start by sewing the body parts of the bee plush together. Take the main body piece and the front and back wings, align them properly, and use a yarn needle to stitch them together. Make sure to match the stitches and maintain an even tension to ensure a neat finish. Once you have sewn the wings to the body, set it aside.
2. Attach the Head
Next, it’s time to attach the head to the body. Align the head piece with the body, making sure the front of the head is facing forward. Use the same yarn needle and stitch the head to the body, making sure to secure it firmly. You can add a small amount of stuffing to the head before closing it up if you want a plumper effect.
3. Add the Legs
Now, take the leg pieces and sew them to the bottom of the body. You can align them evenly on both sides or create a slightly staggered appearance. Stitch the legs securely to ensure they can withstand playtime adventures and cuddles.
4. Embroider the Face
To give your bee plush a cute and expressive face, use embroidery thread to embroider the eyes, mouth, and any other desired facial features. You can follow the pattern or get creative and add your own personal touch. Secure the embroidery by weaving the thread through the back of the stitches to prevent unraveling.
Once you have completed these steps, your knitted bee plush is ready to make anyone smile with its adorable appearance. Enjoy your finished creation and have fun displaying it or gifting it to someone special!
Tips and Tricks for Finishing and Sewing the Bee Plush
Creating a knitted bee plush can be a fun and rewarding project, but finishing and sewing it together can sometimes be a bit challenging. Here are some helpful tips and tricks to ensure your bee plush turns out beautifully:
1. Take your time with sewing
Sewing the different pieces of the bee plush together is a crucial step in the finishing process. It’s important to take your time and sew each piece securely to ensure that the plush doesn’t fall apart. Use a strong and durable thread, and consider using a double stitch for added strength.
2. Use a ladder stitch for invisibility
When sewing the different parts of the bee plush together, it’s best to use a ladder stitch. This stitch creates an invisible seam, making it look like the pieces are seamlessly connected. Take small, invisible stitches on the inside of the plush to achieve the best results.
3. Stuff the plush evenly
Proper stuffing is key to achieving a well-shaped and cuddly bee plush. Make sure to carefully stuff each part of the plush to ensure even distribution of filling. This will prevent any lumps or empty spots in the finished toy. Use small amounts of stuffing at a time and distribute it as evenly as possible.
4. Use safety eyes or embroider the eyes
If you want to add eyes to your bee plush, you have a couple of options. Safety eyes are a popular choice as they are secure, easy to attach, and give the plush a more professional look. However, if you prefer a softer appearance, you can embroider the eyes using black yarn or thread. Be sure to position the eyes symmetrically for a balanced look.
5. Finish with a final grooming
Once your bee plush is sewn and stuffed, take some time to give it a final grooming. Smooth out any wrinkles or creases, adjust the stuffing if necessary, and make sure all the seams are properly hidden. This extra step will give your bee plush a polished and professional finish.
With these tips and tricks, you’ll be able to successfully finish and sew your knitted bee plush. Enjoy the process and marvel at your adorable creation once it’s complete!
Common Mistakes to Avoid When Knitting the Bee Plush
Knitting the bee plush can be a fun and rewarding project, but it’s important to be aware of some common mistakes that can occur. By avoiding these mistakes, you can ensure that your finished bee plush turns out beautifully.
1. Incorrect gauge
One of the most common mistakes knitters make when following a pattern is not achieving the correct gauge. Gauge refers to the number of stitches and rows per inch in the knitted fabric. It’s important to take the time to swatch and check your gauge before starting the project. Failing to match the gauge specified in the pattern can result in a bee plush that is either too small or too large.
2. Miscounting stitches
Another frequently encountered mistake is miscounting stitches. This can happen when you become distracted or lose focus while knitting. It’s crucial to double-check your stitch count at the end of each row or round to make sure you haven’t accidentally added or skipped any stitches. Miscounting stitches can throw off the overall shape and symmetry of the bee plush.
3. Using the wrong yarn or needle size
Using the wrong yarn or needle size can have a significant impact on the final result of the bee plush. If you choose a yarn that is too thick or too thin for the pattern, the proportions of the bee may be off, and it may not hold its shape properly. Additionally, using the wrong needle size can affect the tension of your knitting and result in a finished bee plush that looks different from the original design.
4. Ignoring finishing techniques
Finishing techniques, such as seaming, weaving in ends, and stuffing, are often overlooked but are essential for achieving a polished final product. Ignoring these finishing techniques can result in an unevenly stuffed bee plush or loose ends that unravel over time. Make sure to carefully follow the pattern’s instructions for finishing to ensure that your bee plush looks its best.
| Mistake | Solution |
|---|---|
| Incorrect gauge | Take the time to swatch and check your gauge before starting the project. Adjust your needle size if necessary. |
| Miscounting stitches | Double-check your stitch count at the end of each row or round to ensure accuracy. |
| Using the wrong yarn or needle size | Choose a yarn and needle size that match the specifications provided in the pattern. |
| Ignoring finishing techniques | Follow the pattern’s instructions for finishing to achieve a polished final product. |
Ideas for Customizing Your Knitted Bee Plush
If you’ve knitted your own bee plush using a pattern, you know how satisfying it is to see your creation come to life. But why stop there? There are plenty of ways to customize your knitted bee plush to give it a unique and personal touch. Whether you’re making it for yourself or as a gift for someone else, here are some ideas to add some extra flair to your creation.
1. Embroidered Details
Adding embroidered details to your knitted bee plush is a great way to make it stand out. You can add a simple smiley face or get more creative by embroidering patterns or intricate designs on its wings. Use different colors of embroidery floss to make the details pop and bring your bee to life.
2. Accessories
If your knitted bee plush needs a little something extra, consider adding some accessories. You can knit a tiny hat or scarf to keep it warm, or even create a mini backpack for it to carry around. Think about the personality of your knitted bee and choose accessories that reflect its style.
3. Custom Colors
While most bees are known for their black and yellow stripes, there’s no rule saying your knitted bee has to follow the same pattern. Get creative with colors and experiment with different combinations. You could create a blue and green bee, or a pastel-colored bee for a softer look. The choice is yours!
4. Add a Personal Touch
If you’re making the knitted bee plush as a gift for someone, consider adding a personal touch. You could embroider their initials on the wings or add a small heart charm with their name. These personal touches show that you’ve put thought into the gift and make it even more special.
With these ideas, you can take your knitted bee plush to the next level and create a one-of-a-kind toy or gift. Whether you’re adding embroidery, accessories, custom colors, or a personal touch, your knitted bee plush is sure to bring joy and delight to anyone who sees it.
Frequently Asked Questions About Knitted Bee Plushes
Here are some frequently asked questions about knitted bee plushes:
Q: What materials do I need to knit a bee plush?
To knit a bee plush, you will need the following materials:
- Yarn in yellow and black colors
- Knitting needles in the appropriate size
- Fiberfill or stuffing
- Embroidery floss in black and white colors
- Yarn needle
- Scissors
Q: Do I need to know advanced knitting techniques to make a bee plush?
While some basic knitting skills are required to make a bee plush, it does not require advanced techniques. If you are familiar with basic knitting stitches like knit and purl, you should be able to make a bee plush with the help of a pattern.
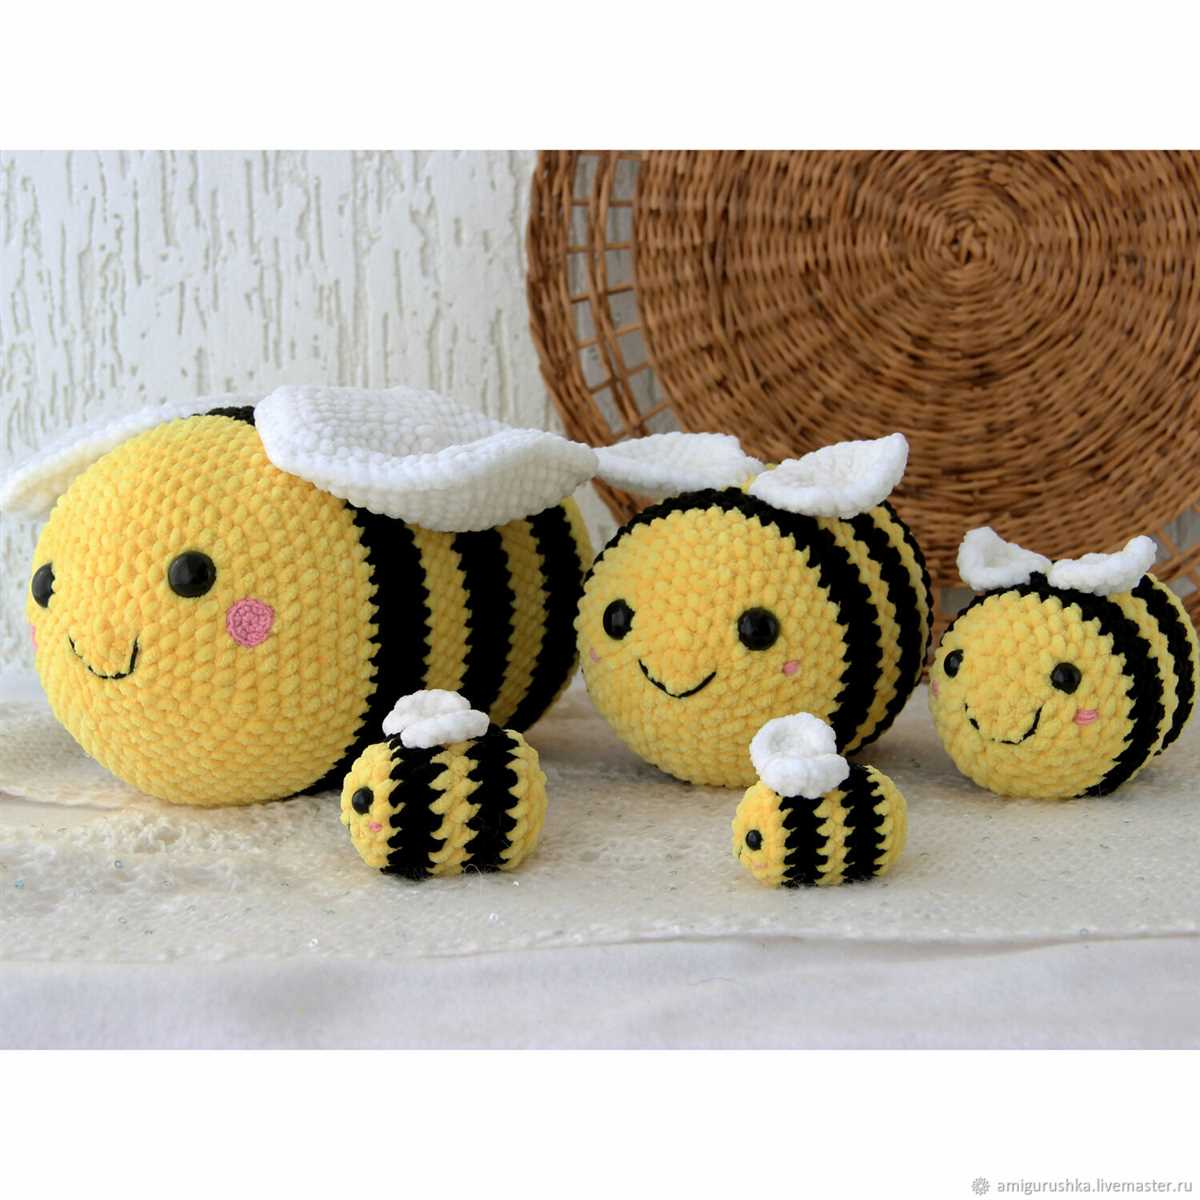
Q: Can I customize the size of the bee plush?
Yes, you can customize the size of the bee plush by using different sizes of knitting needles and adjusting the number of stitches and rows in the pattern. Keep in mind that changing the size may also require adjusting the amount of yarn needed.
Q: Can I sell bee plushes made from this pattern?
While you can sell bee plushes made from this pattern, it is always a good idea to check the licensing and terms of use for the pattern. Some patterns may have restrictions on selling finished products.
Q: Are bee plushes suitable for children?
Bee plushes can be suitable for children, but it is important to make sure they are made with child-safe materials and construction techniques. Be cautious of any small parts that could pose a choking hazard.
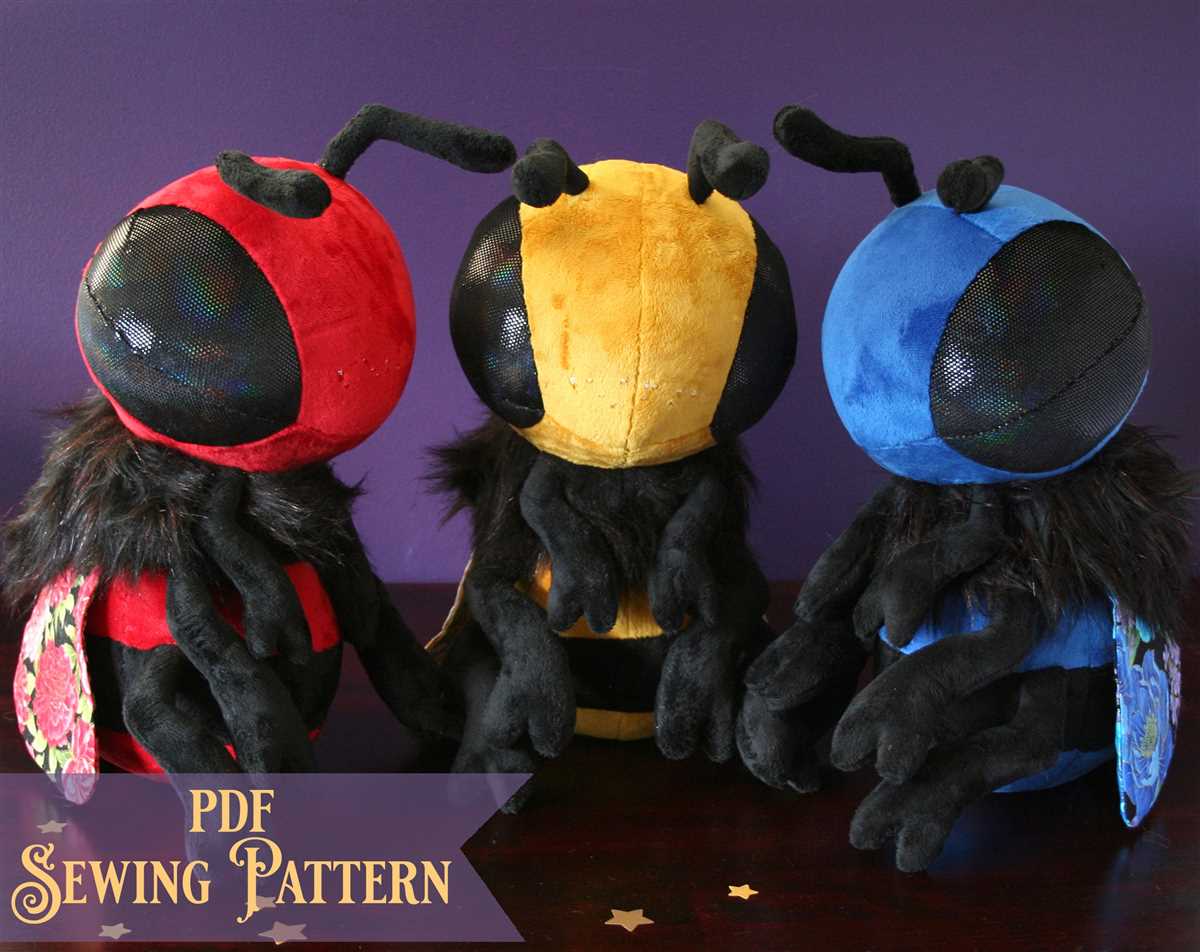
Q: Can I modify the bee plush pattern to make other insect plushes?
Yes, you can definitely modify the bee plush pattern to make other insect plushes. By changing the colors and adding or removing certain features, you can create a variety of insect plushes such as ladybugs, butterflies, or dragonflies.
Q: Where can I find more knitted toy patterns?
There are many resources available for finding knitted toy patterns. You can search online knitting communities, knitting books, or look for specific knitting pattern websites. Additionally, many social media platforms have groups and hashtags dedicated to knitting where you can find inspiration and pattern recommendations from fellow knitters.
In conclusion, knitting bee plushes can be a fun and rewarding project. With the right materials, basic knitting skills, and a pattern, you can create adorable bee plushes to enjoy or gift to others. Consider customizing the size and exploring other insect plush variations to add your personal touch to the project. Just remember to follow any licensing restrictions and ensure that any plushes made for children are safe and age-appropriate.
Q&A:
What is a knitted bee plush pattern?
A knitted bee plush pattern is a set of instructions that guide you on how to create a soft toy in the shape of a bee using knitting techniques.
How many knitted bee plush patterns are there?
There are many knitted bee plush patterns available, but it can vary depending on where you look. It’s always a good idea to browse different sources to find the one that suits your needs.
Are knitted bee plush patterns difficult to follow?
The difficulty of knitted bee plush patterns can vary, depending on your knitting skills and the complexity of the pattern. Some patterns may be more beginner-friendly, while others may require more advanced techniques.
Where can I find a knitted bee plush pattern?
You can find knitted bee plush patterns in various places, including knitting books, online knitting communities, and craft websites. There are also many free patterns available for download.
Can I customize a knitted bee plush pattern?
Yes, you can customize a knitted bee plush pattern to your liking. You can change the colors, add embellishments, or modify the size of the toy by adjusting the pattern instructions.
Where can I find a knitted bee plush pattern?
You can find a knitted bee plush pattern on various knitting websites, online marketplaces, or craft stores. Some popular websites that offer free or paid patterns include Ravelry, Etsy, and LoveKnitting.
What materials will I need to make a knitted bee plush?
To make a knitted bee plush, you will need yarn in yellow, black, and white colors, knitting needles, stuffing material, yarn or embroidery thread for the details, and a tapestry needle.