
Knitted banners are a popular way to add a touch of cozy warmth to any space. Whether you’re decorating for a holiday, a special event, or just want to add a personalized touch to your home, a knitted banner is a perfect choice. Not only are they easy to make, but they also offer endless possibilities for customization and creativity.
One of the great things about knitted banners is that you can use any combination of colors, patterns, and textures to create a unique and eye-catching design. From simple stripes to intricate lacework, the options are limitless. You can choose to knit your banner using a single color and let the texture of the stitches speak for themselves, or you can experiment with bold color choices to make a statement.
Knitted banners can be used to decorate a variety of spaces, from a mantel or a wall to a door or a window. They can add a touch of warmth and charm to a nursery, a living room, or even a kitchen. You can hang them individually or string them together to create a longer banner. The possibilities are endless, and the result is always stunning.
In this article, we will explore different knitted banner patterns, from simple designs for beginners to more intricate patterns for experienced knitters. We will provide step-by-step instructions, as well as tips and tricks for customizing your banner to suit your personal style. So grab your knitting needles and let’s get started!
Knitted Banners in Modern Interior Design
In today’s modern interior design, knitted banners have become a popular choice for adding warmth, texture, and a touch of handmade charm to any space. These banners can be used in various rooms, including living rooms, bedrooms, nurseries, and even offices, to enhance the overall aesthetic and create a cozy atmosphere.
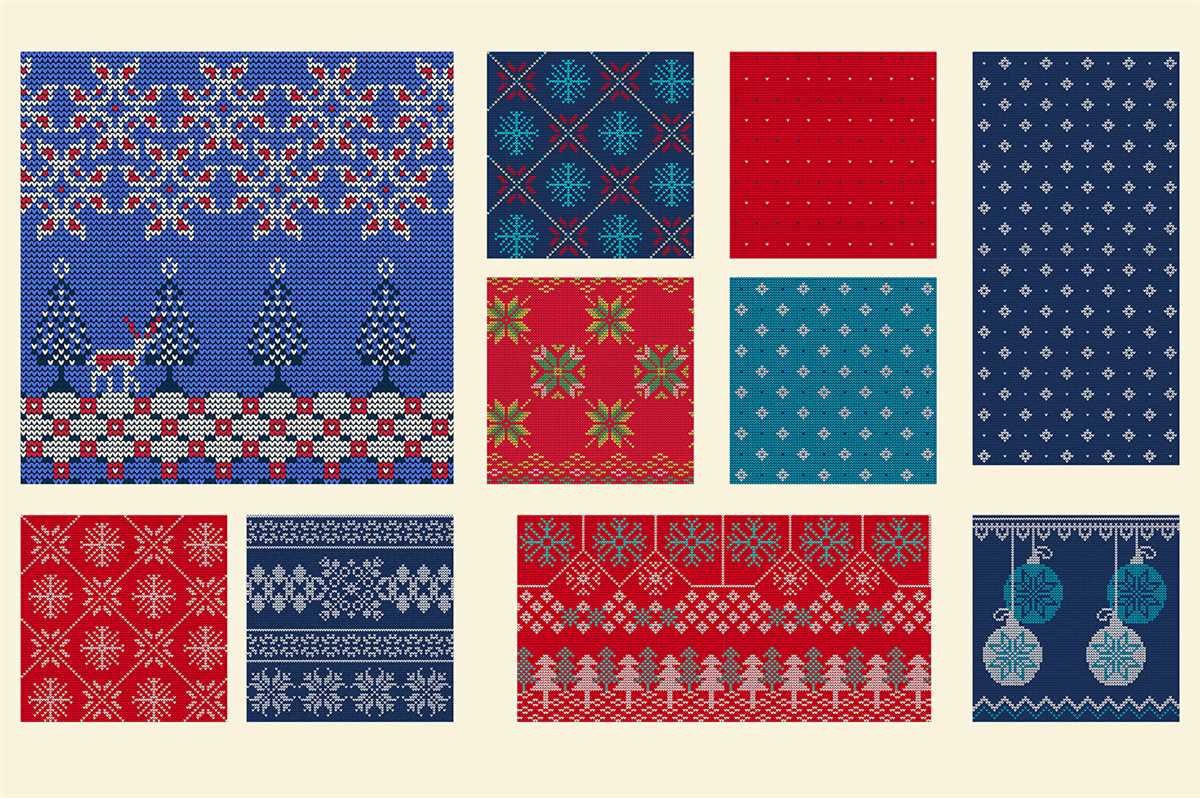
1. Versatile Design: Knitted banners come in a wide range of designs, colors, and patterns, making them suitable for any interior style. Whether you prefer a minimalist, Scandinavian look or a bohemian, eclectic vibe, there is a knitted banner to match your aesthetic. You can choose from geometric patterns, nature-inspired motifs, or even personalize it with your own custom design.
2. Texture and Warmth: One of the main advantages of knitted banners is the texture they bring to a space. The intricate patterns and soft texture of the knitted fabric add depth and visual interest to the walls. Moreover, the warm and cozy feel of knitted banners makes them perfect for creating a welcoming and comfortable ambiance.
3. Unique Artistic Expression: Knitted banners offer a unique opportunity to showcase your artistic expression. They can be used as a creative outlet to experiment with different knitting techniques, color combinations, and patterns. Each banner becomes a one-of-a-kind piece of art that reflects the personality and style of the maker.
4. Easy to Install: Knitted banners are lightweight and easy to install, allowing you to quickly refresh the look of a room without much effort. You can hang them on the wall using hooks or adhesive strips, or even display them on a decorative rod. They can be easily moved and rearranged, giving you the flexibility to change the look of your space whenever you desire.
5. Handmade Quality: Knitted banners add a touch of handmade quality to modern interior design. In a world dominated by mass-produced items, these handcrafted pieces stand out and bring a sense of authenticity and uniqueness to a space. Additionally, supporting local artisans and small businesses that create knitted banners adds an ethical and sustainable aspect to your interior design choices.
Advantages of using knitted banners for decoration
Knitted banners are a unique and creative way to add a touch of warmth and coziness to any space. With their intricate patterns and soft textures, these banners can instantly transform a plain wall into a focal point of visual interest.
One of the major advantages of using knitted banners for decoration is their versatility. They can be used in a variety of settings, such as homes, offices, cafes, and event venues. Whether you want to create a cozy atmosphere in your living room or add a personal touch to your workspace, knitted banners can be the perfect solution.
- Customizability: Knitted banners can be customized to suit any style or theme. Whether you prefer simple geometric patterns or intricate designs, there are countless options to choose from. You can also select the colors that match your existing decor or create a unique color scheme that complements your space.
- Durability: Knitted banners are made from high-quality materials, such as wool or acrylic yarn, which ensures their durability and longevity. Unlike paper or fabric banners, they are less likely to tear or fade over time, making them a cost-effective choice for long-term decoration.
- Texture and warmth: The soft and cozy texture of knitted banners adds an extra layer of warmth and comfort to any space. They can make a room feel more inviting and create a cozy ambiance, especially during the colder months.
- Eco-friendly: Knitted banners are often handmade using sustainable and eco-friendly materials. By choosing knitted banners over disposable or non-recyclable decor options, you can contribute to a more sustainable and environmentally friendly lifestyle.
In conclusion, knitted banners offer a unique and customizable decoration option for any space. With their versatility, durability, texture, and eco-friendly nature, they can enhance the visual appeal and ambiance of any room or venue.
Choosing the right materials for a knitted banner
When it comes to creating a knitted banner, choosing the right materials is essential to ensure a high-quality and visually appealing finished product. The materials you select will determine the durability, texture, and overall appearance of the banner, so it’s important to consider your options carefully.
Yarn: The type of yarn you choose will greatly influence the look and feel of your knitted banner. Opt for a yarn that is sturdy, yet soft to the touch. Natural fibers like cotton or wool are ideal choices as they provide excellent durability while also offering a nice drape. Consider the desired color scheme and select yarns in coordinating shades to achieve a cohesive design.
Needles: The size and material of your knitting needles will affect the overall tension and gauge of your project. For a knitted banner, it’s recommended to use larger-sized needles to create a loose fabric with a more open texture. Circular or straight needles made from bamboo or metal are popular choices due to their smooth surface and comfortable grip.
Additional materials: Depending on the design of your knitted banner, you may need additional materials such as embellishments or backing fabric. If you plan to add decorative elements like beads or sequins, make sure to choose materials that can be easily attached to the knitted fabric. For the backing, consider using a sturdy fabric that complements the yarn colors and provides structural support.
Overall, taking the time to carefully select the right materials for your knitted banner will ensure a successful and visually appealing project. Experiment with different yarns, needles, and additional materials to find the perfect combination that brings your creative vision to life.
Types of yarn suitable for knitted banners
When choosing the yarn for knitted banners, it is important to consider both the aesthetic and functional aspects of the project. Different types of yarn have unique qualities that can enhance the overall appearance and durability of the banner.
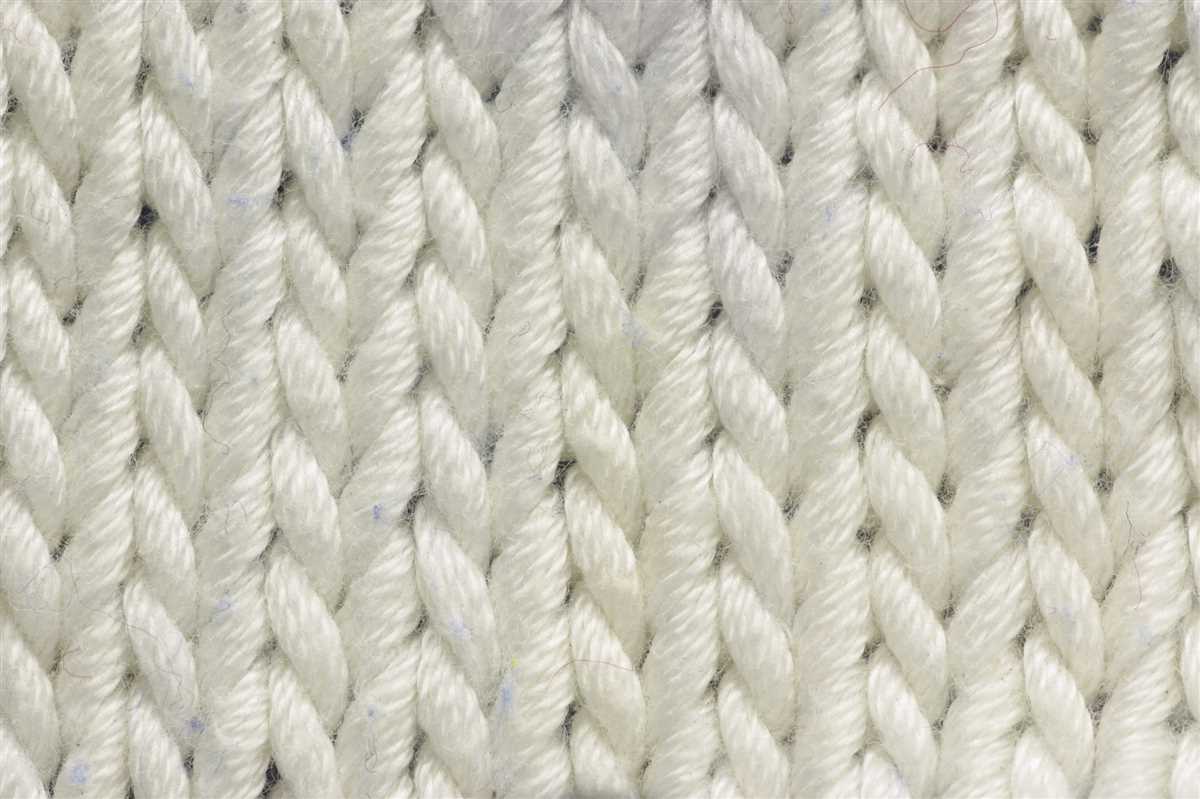
Wool: Wool yarn is a popular choice for knitted banners due to its natural insulating properties and excellent durability. It is available in a wide range of colors and textures, providing endless possibilities for creative designs. Wool also has the ability to retain its shape well, making it ideal for banners that will be displayed for extended periods of time.
Cotton: Cotton yarn is another suitable option for knitted banners. It is known for its softness, breathability, and absorbency, making it a preferred choice for banners that will be used outdoors. Cotton is also easy to work with and comes in a variety of weights, making it suitable for different knitting techniques and designs.
Acrylic: Acrylic yarn is a budget-friendly option that offers a wide range of colors and textures. It is lightweight, durable, and resistant to fading, making it an excellent choice for knitted banners that will be exposed to sunlight. Acrylic yarn is also easy to care for and machine washable, making it suitable for banners that may require frequent cleaning.
Bamboo: Bamboo yarn is a natural and sustainable option for knitted banners. It has a soft and silky texture, which gives the banner an elegant and luxurious appearance. Bamboo yarn is also known for its moisture-wicking properties, making it a good choice for banners that will be displayed in humid environments.
Blend: Many yarns on the market are a blend of different fibers, combining the best qualities of each type. A blend of wool and acrylic, for example, may offer the softness and warmth of wool with the affordability and durability of acrylic. Choosing a blended yarn can provide the benefits of multiple fibers and meet specific project requirements.
- Wool: natural insulating properties, excellent durability
- Cotton: softness, breathability, absorbency
- Acrylic: budget-friendly, wide range of colors, lightweight, resistant to fading
- Bamboo: soft and silky texture, moisture-wicking properties
- Blend: combines the best qualities of different fibers
Selecting the appropriate knitting needles for the project
Choosing the right knitting needles is essential in achieving the desired outcome for your project. The size and material of the needles can greatly affect the look and feel of the final product.
Size: The size of the knitting needles is determined by the diameter of the needle shaft. It is usually measured in millimeters or in US sizes. The size of the needles will determine the gauge of your stitches and the overall size of the finished project. Different yarn weights typically require different needle sizes, so be sure to check the recommended needle size on your yarn label.
Material: Knitting needles come in a variety of materials, each with its own unique characteristics. Common needle materials include bamboo, wood, metal, and plastic. Bamboo and wood needles are lightweight and have a natural feel, making them great for beginners or those with sensitive hands. Metal needles, on the other hand, are more durable and have a slick surface, making them ideal for fast knitting. Plastic needles are budget-friendly and lightweight, but may not be as durable as other materials.
When selecting knitting needles for your project, consider the size and material that will work best for the yarn weight, stitch pattern, and your personal preferences. It’s also a good idea to have a variety of needle sizes and materials in your collection to accommodate different projects and techniques.
Understanding the basics of knitting for a banner
If you’re looking to create a knitted banner for a special event or occasion, it’s important to understand the basics of knitting in order to successfully complete the project. Knitting a banner requires a combination of knitting techniques and design skills to achieve the desired result.
Choosing the right yarn: The first step in knitting a banner is selecting the appropriate yarn for your project. Consider the size, weight, and texture of the yarn to ensure it will hold up well as a banner. Additionally, choose a yarn color that complements the theme or message of the banner.
Selecting a pattern: Once you have your yarn, it’s important to find a suitable pattern for your knitted banner. Look for patterns that are specifically designed for banners or search for stitch patterns that can be adapted for a banner size. Consider the complexity of the pattern and your knitting skill level to ensure it’s achievable.
Calculating measurements: Before you start knitting, calculate the desired size and dimensions of your banner. Measure the area where the banner will be displayed to determine the width and height. Keep in mind that the knitted fabric will stretch, so factor in a little extra length to accommodate this.
Knitting techniques: Knitting a banner involves basic knitting techniques such as casting on, knitting, purling, and binding off. Familiarize yourself with these techniques if you’re a beginner or brush up on your skills if you’re more experienced. Additionally, you may need to learn how to create lettering or other designs using intarsia or duplicate stitch techniques.
Finishing touches: Once you’ve completed the knitting portion of your banner, you’ll need to finish it off. This may involve blocking the fabric to shape it properly and make it more visually appealing. You may also need to add additional embellishments such as tassels or fringe to enhance the banner’s overall aesthetic.
In conclusion, understanding the basics of knitting for a banner involves choosing the right yarn, selecting a pattern, calculating measurements, mastering knitting techniques, and adding finishing touches. By properly executing each step, you’ll be able to create a beautiful and personalized knitted banner for your special event or occasion.
Learning different knitting stitches and techniques
Knitting is a popular craft that allows you to create beautiful and functional items with just a pair of knitting needles and some yarn. One of the joys of knitting is learning different stitches and techniques, as they can add texture, color, and complexity to your projects. Whether you’re a beginner or an experienced knitter, there are always new stitches and techniques to explore.
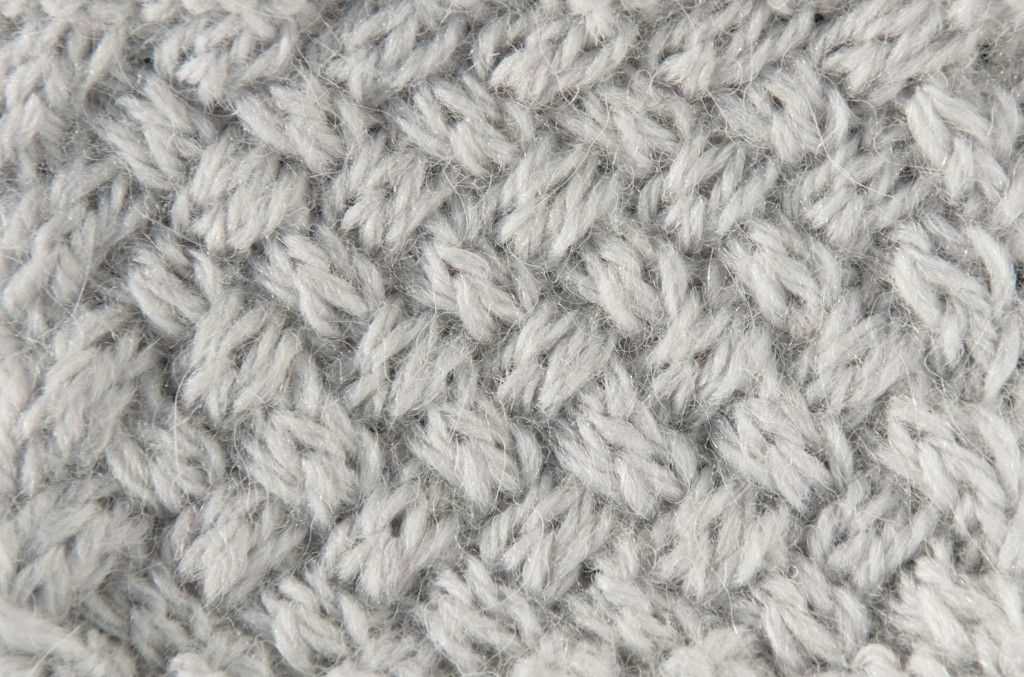
Basic stitches: Before diving into more advanced techniques, it’s important to master the basic stitches. The knit stitch and the purl stitch are the foundation of knitting, and learning how to do them correctly will give you a strong base for learning other stitches. These stitches create different textures on the fabric, with the knit stitch being smooth and the purl stitch being bumpy.
Cable knitting: Cable knitting is a technique that creates twisted patterns resembling woven cables. It involves crossing stitches over each other to create intricate designs. It may seem complicated at first, but with practice and patience, you can master this technique. Cable knitting can add visual interest to sweaters, scarves, and other garments.
Lace knitting: Lace knitting is a technique that creates delicate, openwork patterns with holes and decorative motifs. This technique requires you to knit or purl stitches together and create yarnovers to make the holes in the fabric. Lace knitting is often used in shawls, wraps, and lightweight garments to add an elegant and airy feel.
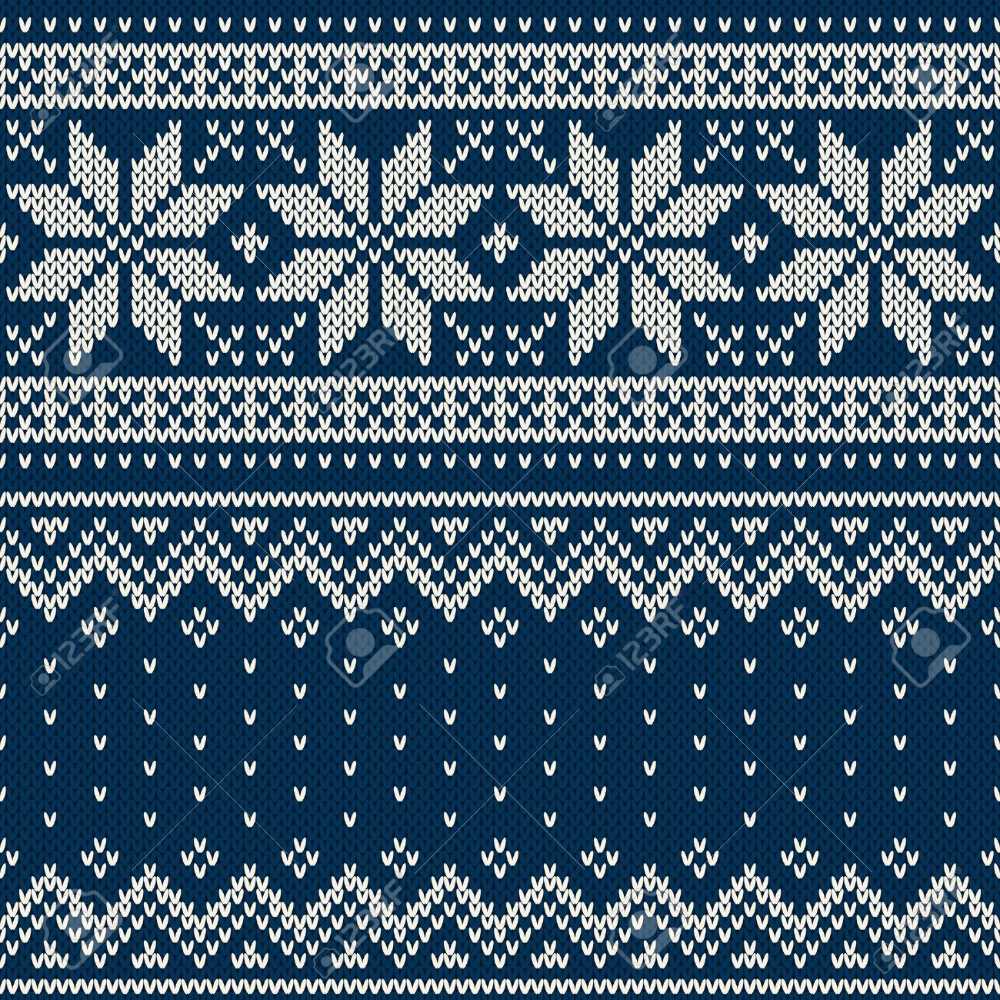
Fair Isle knitting: Fair Isle knitting, also known as stranded knitting, is a traditional technique that originated in the Fair Isle of Scotland. It involves working with two or more colors in a single row to create intricate patterns and designs. This technique requires you to carry the unused yarn across the back of the work, resulting in a double-layered fabric that is warm and cozy.
Brioche knitting: Brioche knitting is a reversible knitting technique that creates a fabric with a unique, ribbed texture. It involves working with yarn overs and slipped stitches to create a thick and squishy fabric. Brioche knitting can be a bit challenging for beginners, but once you get the hang of it, you can create stunning projects with intricate stitch patterns.
Creating a knitting pattern for the banner
Knitting a banner can be a fun and creative project that allows you to showcase your knitting skills and add a personal touch to your space. To create a knitting pattern for the banner, there are a few key steps to follow.
1. Choose your design and measurements
Start by deciding on the design and measurements of your banner. Consider the purpose of the banner and the space where it will be displayed. You can choose a simple design with just a few colors or go for a more intricate pattern with different stitch techniques. Measure the area where the banner will hang to determine the size of your knitting project.
2. Select the appropriate knitting needles and yarn
Once you have your design and measurements in mind, select the appropriate knitting needles and yarn. The needle size will depend on the thickness of the yarn you choose and the desired tension of your knitting. Consider using a smooth and sturdy yarn that will hold its shape well for the banner. You may also choose yarn colors that complement your design.
3. Create a swatch and calculate your gauge
Before starting your banner, create a swatch using the chosen yarn and needles to determine your knitting gauge. This will help you calculate the number of stitches and rows needed for your pattern. Follow the pattern instructions for the swatch and use a ruler or tape measure to measure the gauge. Adjust your needle size if needed to match the gauge specified in your knitting pattern.
4. Write out the pattern instructions

Once you have determined your gauge, write out the pattern instructions for your banner. Include the stitch techniques, the number of stitches and rows, and any color changes or special instructions. Make sure to write in a clear and concise manner, using abbreviations and symbols commonly used in knitting patterns. Consider including a chart or diagram if it helps visualize the pattern.
5. Test the pattern and make adjustments
Before starting on your final banner, it’s a good idea to test the pattern by knitting a small sample or a swatch. This will allow you to check for any mistakes in the pattern or any areas that may need adjustments. Make note of any changes or improvements and update your pattern instructions accordingly.
Once you have your knitting pattern for the banner finalized, you can start on your project. Take your time, enjoy the process, and don’t be afraid to make changes along the way to create a truly unique and beautiful knitted banner.
Step-by-step guide to knitting a simple banner
In this step-by-step guide, we will walk you through the process of knitting a simple banner. This project is perfect for beginners and can be completed in just a few hours. Follow along to create a beautiful knitted banner to display in your home or give as a thoughtful handmade gift.
Materials you will need:
- Yarn in your desired colors
- Knitting needles (size will depend on the yarn you choose)
- Tapestry needle
- Scissors
Step 1: Choose your yarn and needles
Start by selecting the yarn and needles you want to use for your banner. Make sure the yarn is suitable for knitting and choose needles that are appropriate for the yarn’s thickness. Read the ball band on the yarn to determine the recommended needle size.
Step 2: Cast on
To start your banner, cast on the desired number of stitches using the long tail cast-on method. The number of stitches will depend on the width of your banner. For a basic banner, you can cast on around 30-40 stitches.
Step 3: Knit the body of the banner
Once you have cast on, you will begin knitting the body of the banner. Use the basic knit stitch to create rows of stitches. Continue knitting in this manner until your banner reaches the desired length. You can create stripes or other patterns by switching colors or using different stitch patterns.
Step 4: Bind off
When your banner has reached the desired length, it’s time to bind off. Knit the first two stitches, then use the left needle to lift the first stitch over the second stitch and off the right needle. Continue this process until you have only one stitch remaining. Cut the yarn, leaving a long tail, and pull it through the last stitch to secure it.
Step 5: Finishing touches
Once your banner is off the needles, it’s time to add any finishing touches. Use a tapestry needle to weave in any loose ends of yarn and trim them close to the banner. You can also add fringe, tassels, or other embellishments to personalize your banner.
That’s it! With these simple steps, you can create your own knitted banner to add a touch of handmade beauty to any space. Experiment with different colors, stitch patterns, and sizes to make each banner unique. Happy knitting!
Casting on and starting the knitting process
Before you can begin knitting your banner, you need to cast on. Casting on is the process of creating the first row of stitches on your knitting needle. There are many different methods for casting on, but a commonly used method is the long-tail cast on. To do this, you’ll need to estimate the amount of yarn you’ll need for the width of your banner, plus some additional length for the tail. Once you have the correct amount of yarn, you can begin casting on by creating a slipknot and placing it on your knitting needle. Then, using both hands, you’ll work the yarn around your thumb and index finger to create a loop, slipping the needle through the loop to create another stitch. Repeat this process until you have cast on the desired number of stitches for your banner.
Once you have cast on, you can start the actual knitting process. Knitting involves creating fabric by interlocking loops of yarn. To knit, you’ll need to hold your knitting needle with the cast on stitches in your dominant hand and the empty needle in your non-dominant hand. With the working yarn attached to the stitch on the right-hand needle, you’ll insert the left-hand needle into the first stitch on the right-hand needle from left to right. Then, wrap the working yarn around the right-hand needle counterclockwise, and use the right-hand needle to pull that loop of yarn through the stitch, creating a new stitch on the right-hand needle. Repeat this process for each stitch on the left-hand needle until all stitches have been transferred to the right-hand needle.
To create the knitted fabric for your banner, you’ll need to repeat the knitting process row by row. Each row will have a set number of stitches, and you’ll need to follow a specific pattern or design to create the desired image. This could include different colors of yarn, different types of stitches, or variations in the knitting technique. As you work through each row, you’ll use the empty needle to hold the stitches you’ve already knitted, while the working yarn is attached to the stitch on the right-hand needle. With practice and concentration, you’ll be able to create a beautiful knitted banner using these techniques.
Creating the main body of the banner
Once you have gathered all the necessary materials and tools, you can start creating the main body of the knitted banner. This part usually consists of several panels that are later sewn or stitched together to form the final design. Follow these steps to create the main body:
Step 1: Choose your pattern
Start by deciding on the pattern or design you want to incorporate into your knitted banner. Consider using charts or written instructions to guide you through the process. You can choose a simple pattern for beginners or challenge yourself with more intricate designs.
Step 2: Cast on the stitches
Once you have your pattern, cast on the required number of stitches onto your knitting needles. Make sure to leave a long tail for later seaming purposes. The number of stitches will depend on the size and width of your banner.
Step 3: Knit the first row
Now, you can start knitting the first row of your banner. Follow the pattern instructions carefully, making sure to create the desired stitches and pattern as indicated. Pay attention to any color changes or stitch variations that may be required.
Step 4: Repeat the pattern
Continue knitting the subsequent rows, repeating the pattern as instructed. Use stitch markers if necessary to keep track of any pattern repeats or specific sections.
Step 5: Shape the edges
Depending on your desired look, you may need to shape the edges of your banner. This can be done through decreases or increases, using specific stitch patterns and techniques. Refer to your pattern or design for any shaping instructions.
Step 6: Bind off
When you have reached the desired length for your banner, it’s time to bind off the stitches. Follow the pattern instructions for the appropriate bind-off technique. Make sure to leave a long tail again for seaming.
Following these steps will help you create the main body of your knitted banner. Remember to take your time and enjoy the process of knitting, as it can be a relaxing and rewarding activity. Once you have completed the main body, you can move on to embellishing and finishing touches.
Adding designs and patterns to the knitted banner
When it comes to creating a knitted banner, adding designs and patterns can take it to the next level. There are several ways to incorporate unique and eye-catching designs into your knitted project.
1. Colorwork:
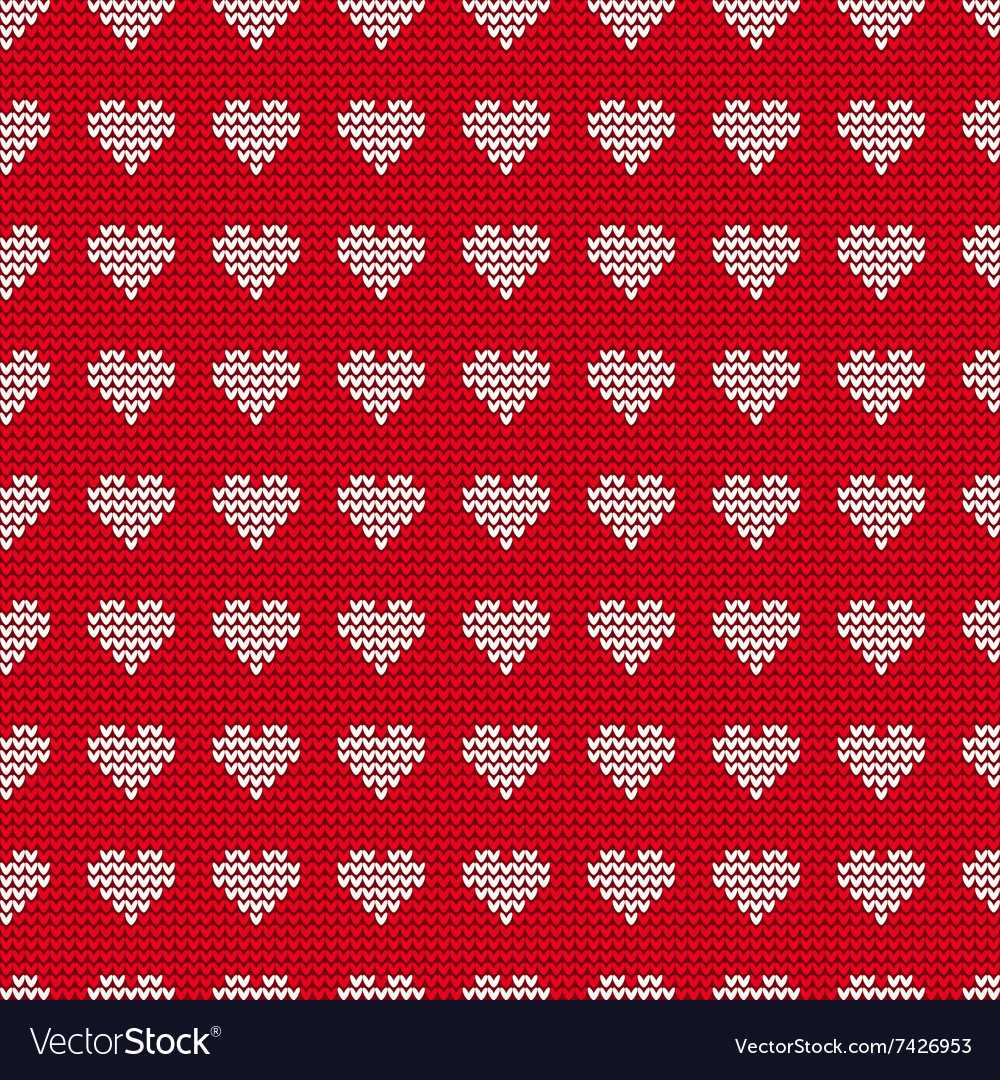
Colorwork is a popular technique for adding patterns to a knitted banner. It involves using multiple colors of yarn to create intricate designs. Fair Isle and intarsia are two common colorwork techniques that can be used to create geometric shapes, pictures, or even words on your banner.
2. Embroidery:
Another way to add designs to your knitted banner is through embroidery. This technique involves using a needle and thread to create decorative stitches on the knitted fabric. You can use embroidery to add flowers, animals, or other detailed designs to your banner.
3. Applique:
Applique is the process of attaching separate pieces of fabric or knitted material onto the banner. This technique allows you to add different textures and colors to your design. You can create applique shapes, such as letters or symbols, and then sew or glue them onto the knitted fabric.
4. Lace patterns:
Lace patterns can add a delicate and intricate touch to your knitted banner. They can be created using lace knitting techniques, such as yarn overs and decreases, to form decorative holes and patterns. Lace patterns can be used to create borders, edging, or even the main design of the banner.
Incorporating designs and patterns into your knitted banner can make it stand out and become a visually pleasing piece of art. Whether you choose to use colorwork, embroidery, applique, or lace patterns, each technique adds its own unique touch to the overall design.
Incorporating colorwork into the banner

Colorwork is a technique in knitting that allows you to add different colors to your project, creating beautiful patterns and designs. Incorporating colorwork into your knitted banner can help make it more visually appealing and eye-catching.
There are several ways you can incorporate colorwork into your banner. One popular method is using stranded knitting, also known as Fair Isle knitting. With this technique, you hold two different colored yarns at the same time and create a pattern by knitting with both yarns throughout the design. This can result in intricate patterns and motifs on your banner.
Another option is intarsia knitting, where you use different colored yarns to create blocks or shapes within your design. This technique is great for creating geometric patterns or adding images or letters to your banner.
When incorporating colorwork into your banner, it’s important to choose colors that complement each other and enhance the overall design. Consider using a color palette that matches the theme or purpose of your banner. You can also experiment with different color combinations to create a unique and eye-catching effect.
To help guide you in incorporating colorwork, you can use knitting charts or patterns specifically designed for stranded or intarsia knitting. These charts give you a visual representation of the pattern and help you keep track of which colors to use and where to use them.
In summary, incorporating colorwork into your knitted banner can add visual interest and make it stand out. Whether you choose stranded knitting or intarsia knitting, be sure to select colors that work well together and match the theme of your banner. With a little bit of planning and practice, you can create a beautiful and unique knitted banner that showcases your colorwork skills.