
If you’re looking for a fun and festive fall project, look no further than this knit pumpkin pattern. Knitting in the round allows you to create a seamless and beautiful finished product. Whether you’re a beginner or an experienced knitter, this pattern is perfect for you.
This pattern calls for worsted weight yarn and size 8 double-pointed needles. The finished pumpkin will measure approximately 4 inches in diameter, making it a great addition to your autumn decor. You can easily customize the size of your pumpkin by adjusting the yarn weight and needle size.
This pattern uses a combination of knit and purl stitches, as well as simple increases and decreases. While some experience with knitting in the round is helpful, this pattern is still manageable for beginners. The result is a cute and cozy pumpkin that you can display year after year.
Gather your supplies and get started on this fun and festive knitting project. Whether you’re knitting pumpkins for yourself or as gifts for friends and family, this pattern is sure to bring joy and autumn spirit to your crafting. So grab your needles and get ready to create your very own knitted pumpkin masterpiece!
Materials
In order to knit a pumpkin in the round, you will need several materials. Here is a list of the essential items you will need:
- Yarn: Choose a yarn in a pumpkin orange color. Worsted weight yarn is recommended for this project.
- Knitting needles: You will need a set of double-pointed or circular knitting needles in the appropriate size for your chosen yarn.
- Tapestry needle: This will be used for weaving in the loose ends of yarn.
- Stuffing: To give your knitted pumpkin its shape, you will need some stuffing material, such as polyester fiberfill or wool roving.
- Stitch markers: These will help you keep track of your stitches and rounds as you knit in the round.
- Scissors: You will need a pair of scissors to cut the yarn and trim any excess.
- Optional embellishments: If desired, you can add additional decorations to your knitted pumpkin, such as a stem or leaves. These can be made from yarn or other materials of your choice.
Having these materials on hand will ensure that you have everything you need to successfully complete your knitted pumpkin in the round project.
Choosing the right yarn and needles for your knit pumpkin pattern
When it comes to knitting a pumpkin pattern in the round, choosing the right yarn and needles is essential to achieve the desired texture and size. The type of yarn and needles you select will greatly influence the final outcome of your project, so it’s important to consider a few factors before diving in.
Yarn weight: The weight of the yarn you choose can have a significant impact on how your knit pumpkin will turn out. For a chunkier and more substantial pumpkin, opt for a bulky or super bulky weight yarn. If you prefer a smaller and more delicate pumpkin, choose a lighter weight yarn such as DK or sport weight.
Yarn texture: The texture of the yarn will determine the overall look and feel of your pumpkin. A smooth or slightly textured yarn will give your pumpkin a polished and clean appearance, while a fuzzy or textured yarn can add a playful and whimsical touch. Consider the effect you want to achieve and select a yarn that complements your vision.
Needle size: The choice of needle size is crucial for achieving the correct gauge and size of your knit pumpkin. To create a tight and dense fabric, opt for smaller needles. If you prefer a looser and more open texture, choose larger needles. Keep in mind that the needle size should be appropriate for the yarn weight you’ve selected to ensure a balanced finish.
Circular or double-pointed needles: Knitting a pumpkin pattern in the round can be done using either circular needles or double-pointed needles. The choice between the two depends on your personal preference and knitting technique. Circular needles are ideal if you prefer to knit without a seam, while double-pointed needles offer more flexibility and allow for intricate shaping of the pumpkin’s curves.
By carefully considering the yarn weight, texture, needle size, and type of needles you use, you can ensure that your knit pumpkin turns out just the way you envision it. Take your time to experiment and find the perfect combination that will make your pumpkin project a true work of art.
Getting started
If you’re looking to knit a pumpkin in the round, this pattern will guide you through the process. Before you begin, gather all the necessary materials: yarn, knitting needles, stitch markers, a tapestry needle, and a pair of scissors.
Yarn: Choose a yarn that is suitable for the project. It should be bulky or super bulky weight to create a sturdy pumpkin. You can choose any color you like – traditional orange or a more unique shade.
Needles: Use circular needles that are the appropriate size for your yarn. The length of the needles should be long enough to accommodate the number of stitches that you will be casting on.
Stitch markers: These markers will help you keep track of your stitches and rounds. You can use traditional stitch markers or even scraps of yarn in a contrasting color.
Tapestry needle: This needle will be used for seaming your pumpkin at the end. It should have a large eye and a blunt tip to make weaving in ends easier.
Scissors: You will need a pair of scissors to cut the yarn at various points in the pattern. Choose a sharp pair that are comfortable to hold.
Once you have all the necessary materials, you are ready to begin knitting your pumpkin in the round. Follow the instructions and enjoy the process of creating a cozy fall decoration.
Creating the Foundation
To start knitting the pumpkin in the round, you will need a set of double-pointed needles or a circular needle, depending on your preferred knitting method. Choose a size that will give you the desired gauge for your project. You will also need a stitch marker to keep track of your rounds.
Step 1: Cast on the required number of stitches for your pattern. This will form the base of the pumpkin. If the pattern does not specify a specific cast on method, you can use the long tail cast on.
Step 2: Join the round by bringing the first and last stitch of the cast on row together. Make sure not to twist the stitches when joining. Place a stitch marker to mark the beginning of the round. This will help you keep track of your progress as you knit.
Step 3: Start knitting the first round according to the pattern instructions. If the pattern calls for a specific stitch pattern or increase/decrease method, make sure to follow it. If there are no pattern instructions for the first round, simply knit all stitches.
Step 4: Continue knitting each round according to the pattern instructions. Pay attention to any stitch pattern changes, increases, or decreases as specified. It is helpful to use a row counter or keep track of your rounds on a piece of paper to ensure accuracy.
Step 5: Once you have completed the required number of rounds or achieved the desired size for your pumpkin, you will be ready to move on to the next steps of the pattern, such as shaping and finishing.
Knitting in the round
Knitting in the round is a technique that allows you to create seamless projects, such as hats, socks, and sweaters, without the need for seams. Instead of working back and forth in rows, you knit in a continuous spiral, using circular knitting needles or double-pointed needles.
One of the main advantages of knitting in the round is that it eliminates the need to sew seams, which can be time-consuming and can sometimes affect the overall look and fit of the project. With knitting in the round, you can create beautifully finished pieces that are smooth and seamless.
There are different ways to knit in the round, depending on the size and shape of your project. If your project is small, such as a hat or a pair of socks, you can use circular knitting needles. These needles have a flexible cable connecting two needles, allowing you to work in a continuous circle.
For larger projects, such as a sweater, you may need to use double-pointed needles. These needles have points at both ends, allowing you to work with several needles at once to hold the stitches. As you progress in your knitting, you will transfer the stitches from one needle to the next, forming a continuous spiral.
When knitting in the round, you will need to use a different technique for certain stitches, such as purling. Instead of bringing the yarn to the front and purling as you would in flat-knitting, you will need to hold the yarn at the back of the work and purl the stitches. This creates a seamless appearance.
Key Benefits of Knitting in the Round
- Seamless finish: Knitting in the round eliminates the need for sewing seams, resulting in a smooth and seamless finish.
- Efficient: Knitting in the round allows you to work faster, as you don’t need to turn your work at the end of each row.
- Portable: Projects knit in the round are often smaller and more compact, making them easier to carry around and work on while on the go.
- Versatility: Knitting in the round opens up a wide range of possibilities for creating different types of projects, from hats and scarves to sweaters and dresses.
Overall, knitting in the round is a valuable technique to learn as a knitter. It offers many benefits and allows for greater creativity in your projects.
Working the increases
When knitting the pumpkin pattern in the round, it is important to understand how to work the increases in order to achieve the desired shape. There are several methods for increasing stitches, but for this pattern, we will be using the knit front and back (kfb) increase.
To work the increases, you will need to identify the stitches where the increases should be placed. In this pattern, the increases are evenly spaced around the pumpkin. Once you have identified the stitches, you will insert the needle into the stitch as if to knit, but instead of knitting it normally, you will leave the stitch on the left-hand needle. Then, you will knit into the back leg of the same stitch, creating a new stitch.
Each increase will create two new stitches, one on either side of the original stitch. This will result in the overall stitch count increasing and the pumpkin shape becoming rounder. It is important to keep track of the number of increases made, as they will determine the final size of the pumpkin.
If you are unsure about how to work the increases, it may be helpful to practice the technique on a small swatch before beginning the actual pumpkin. Once you feel comfortable with the technique, you can proceed with confidence and create a beautiful knit pumpkin in the round.
Shaping the Pumpkin

Once you have completed the initial rounds of knitting in the round, it’s time to shape the pumpkin. This involves decreasing stitches to create the characteristic rounded shape. There are several ways to do this, depending on the pattern you are following. One common method is to knit two stitches together (K2tog) at regular intervals throughout the round. This will decrease the total number of stitches and create a more rounded shape.
Another technique for shaping the pumpkin is to use a series of short rows. This involves knitting a certain number of stitches, then turning the work and knitting back in the opposite direction before continuing around in the round. By working these short rows, you can create a slightly asymmetrical shape that mimics the natural contours of a pumpkin.
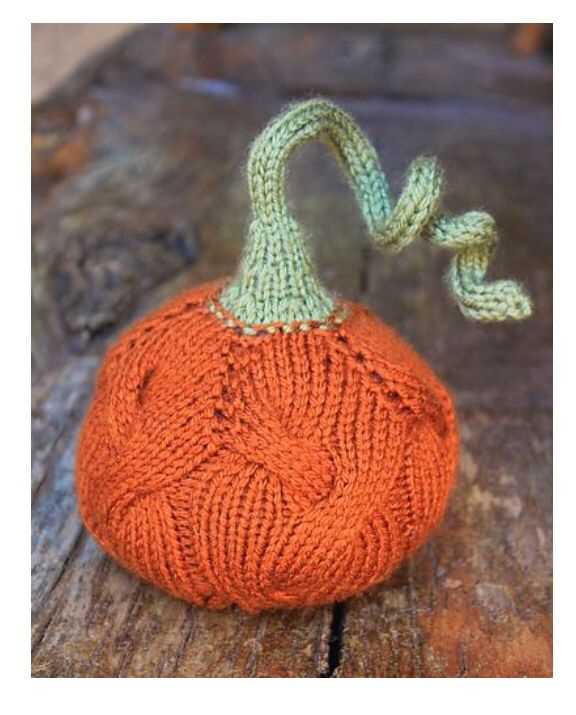
If you prefer a more textured pumpkin, you can also incorporate different stitch patterns into your shaping. For example, you could alternate between knitting and purling stitches, or work a cable pattern on certain sections of the pumpkin. These variations will create a more detailed and visually interesting finished pumpkin.
As you shape the pumpkin, it’s important to keep track of your stitch count and follow the pattern instructions closely. This will ensure that your pumpkin turns out the right size and shape. Take your time and enjoy the process of creating your own knitted pumpkin masterpiece!
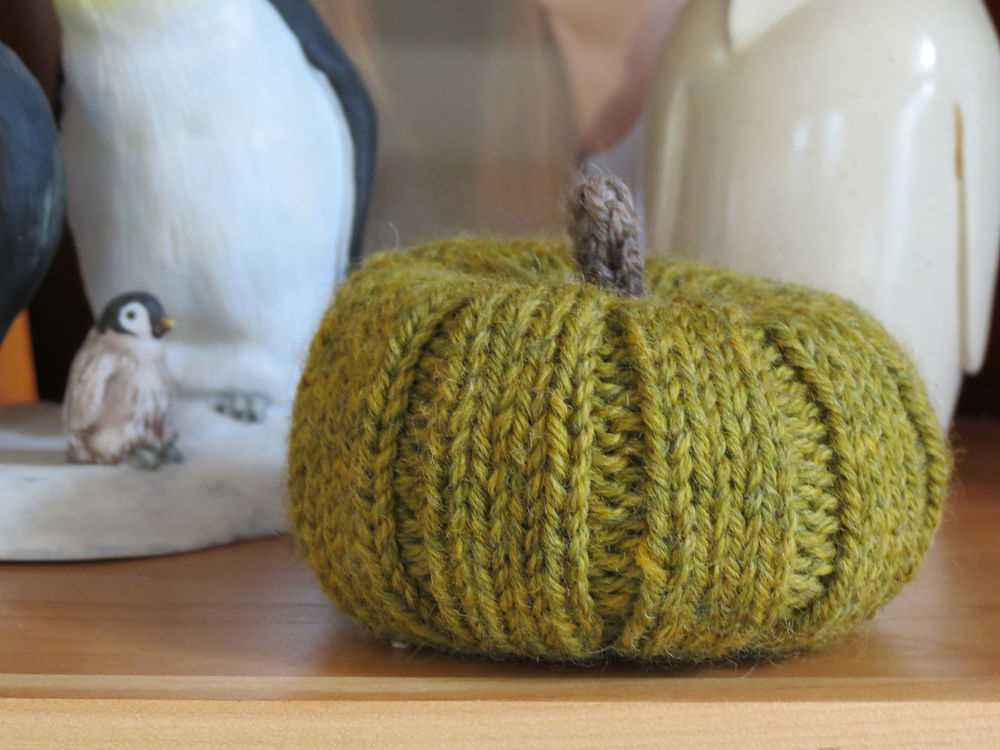
Creating the ridges
To create the ridges on the knit pumpkin in the round, you will need to alternate between knitting and purling. This will give the pumpkin texture and depth.
Step 1: Begin by knitting a round. This will form the base row for the ridges.
Step 2: On the next round, purl all the stitches. This will create a row of bumps on the surface of the pumpkin.
Step 3: Repeat steps 1 and 2 for the desired number of ridges. The number of ridges will depend on the size and shape of the pumpkin.
Tips:
- Keep track of the number of rounds knitted and purled to ensure an even number of ridges.
- Remember to maintain the correct tension while knitting and purling to create uniform ridges.
- If you prefer deeper or shallower ridges, you can adjust the number of rounds knitted and purled accordingly.
By following these steps, you can easily create the ridges on your knit pumpkin in the round, adding a unique and textural element to your finished piece.
Finishing touches
Once you have completed knitting your pumpkin in the round, it’s time to add some finishing touches to make it look even more festive. Here are a few ideas to consider:
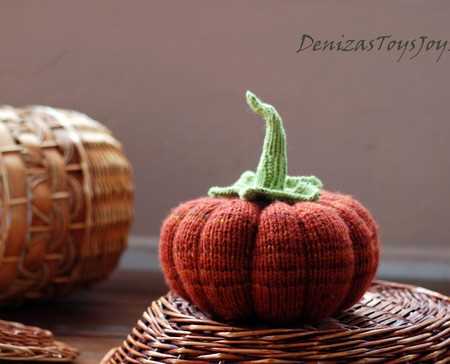
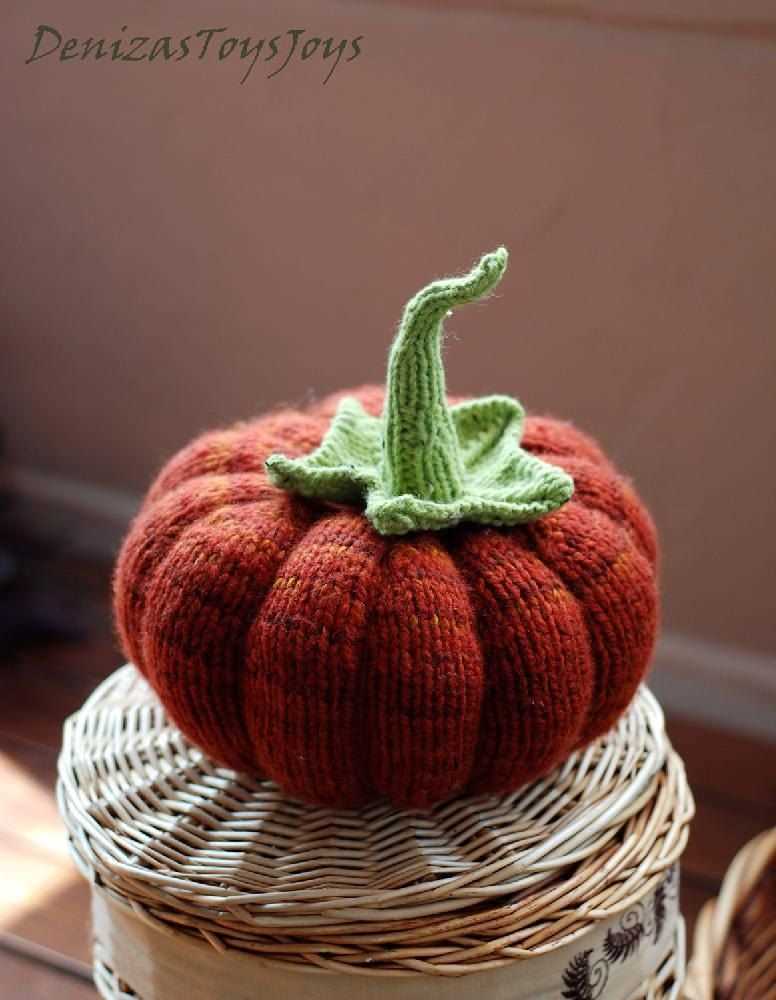
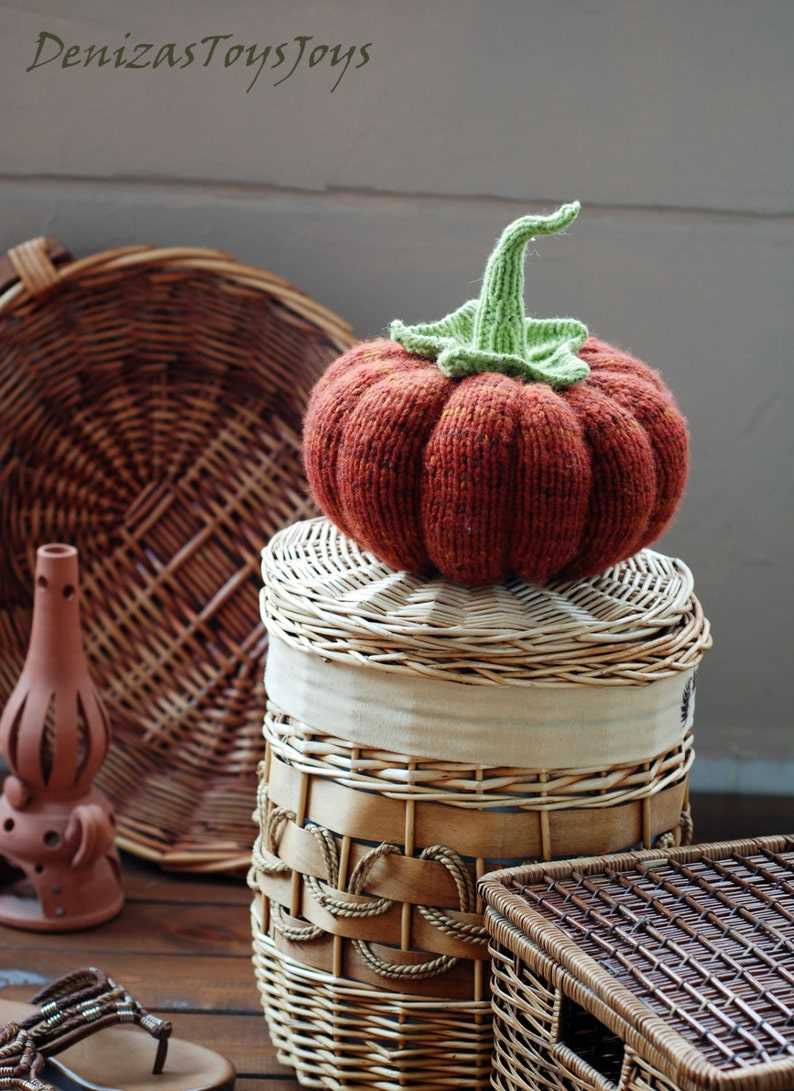
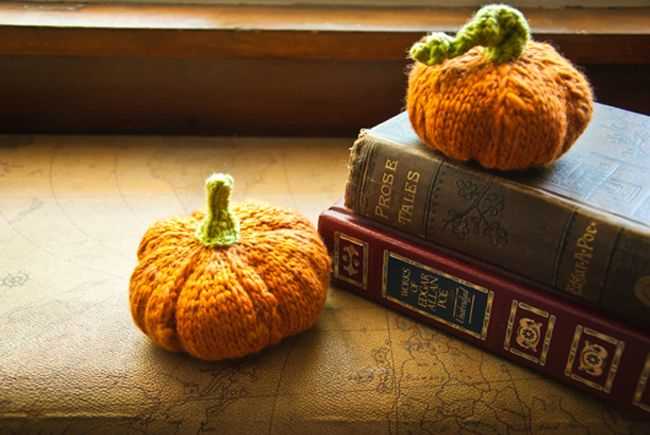
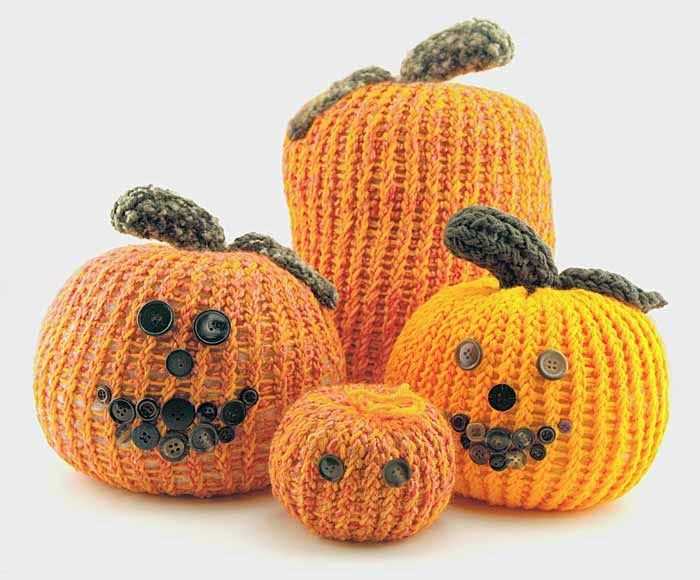
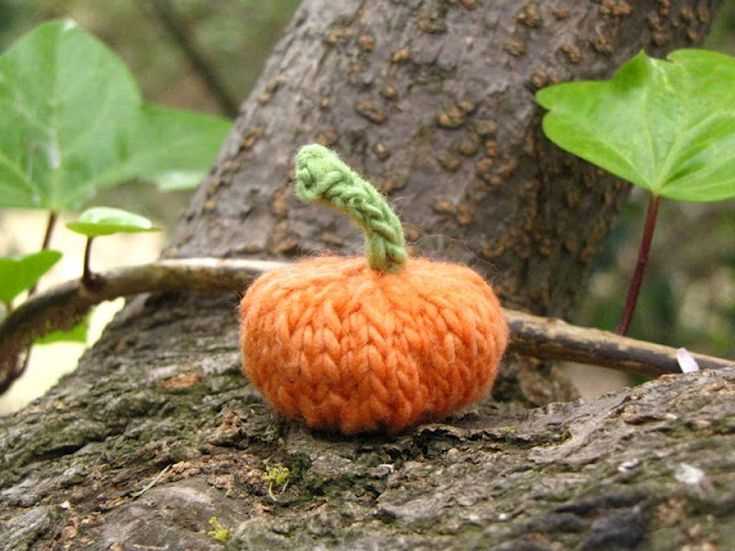
- Adding a stem: A pumpkin wouldn’t be complete without a stem. You can create one using either the same yarn you used for the pumpkin itself or a contrasting color. Knit a small tube or use i-cord to make a stem and attach it to the top of the pumpkin.
- Embroidering a face: To give your pumpkin some personality, you can embroider a face using black yarn or embroidery floss. You can use French knots for the eyes and a series of straight stitches for the mouth. Get creative and give your pumpkin a happy, spooky, or silly expression.
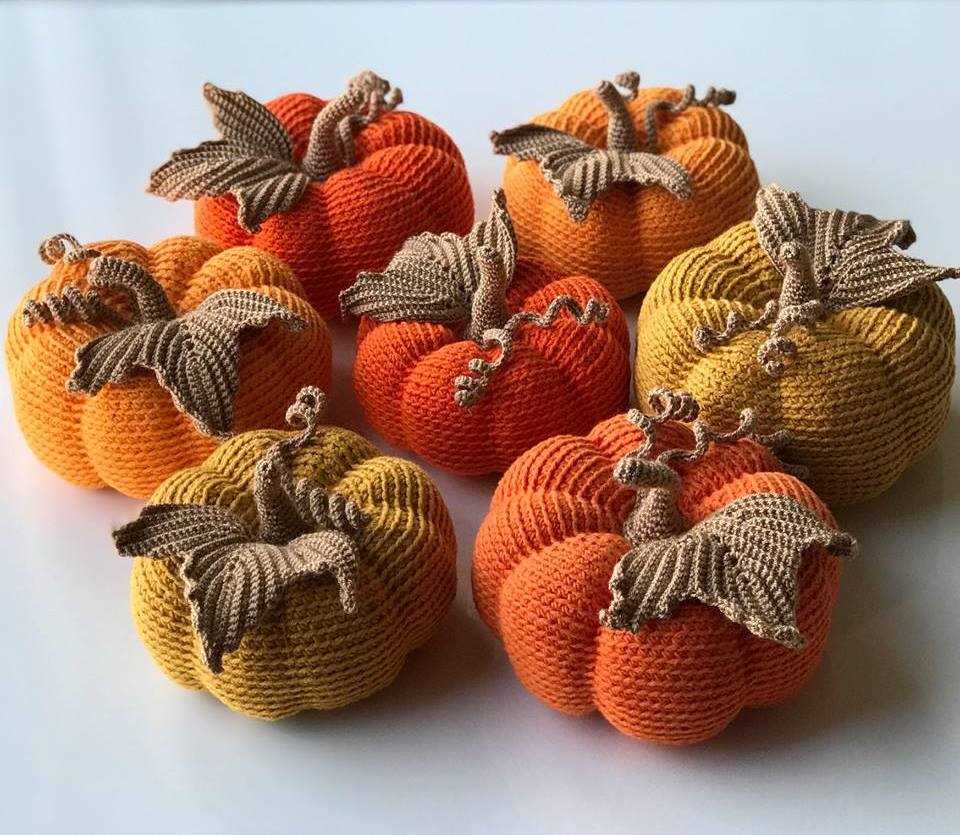
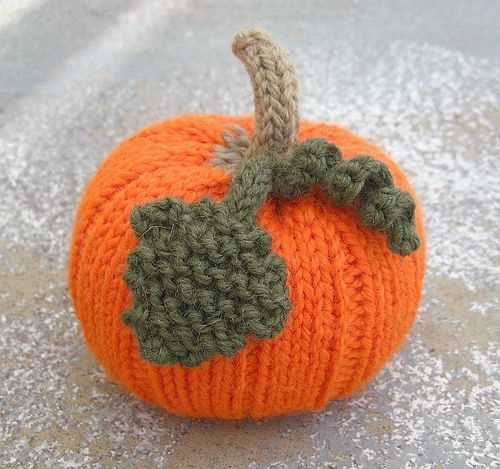
- Adding a leaf: To make your pumpkin look more realistic, you can knit or crochet a leaf using green yarn and attach it near the stem. There are many different leaf patterns available online. Choose one that complements the size of your pumpkin and sew it into place.
- Stuffing and shaping: To give your pumpkin a plump and rounded shape, stuff it with fiberfill or another suitable filling material. Be sure to distribute the stuffing evenly to avoid lumps and bumps. Once your pumpkin is nicely stuffed, shape it by gently squeezing and molding it until you achieve the desired form.
By adding these finishing touches to your knitted pumpkin, you can create a charming and festive decoration that will enhance any autumn or Halloween display. Remember to personalize your pumpkin and have fun with it!
Adding a Stem
After you have completed knitting the body of the pumpkin in the round, it’s time to add the stem. The stem will give your pumpkin a more realistic and three-dimensional look. There are different ways to create a stem, and here we will discuss two common methods.
Method 1: I-cord Stem
An I-cord stem is created by knitting a small tube that resembles a cord. To make an I-cord stem, you will need double-pointed needles and a small amount of yarn in a contrasting color. Here are the steps:
- Cast on 3 stitches onto one of the double-pointed needles.
- Slide the stitches to the other end of the needle, without turning the work.
- Knit the 3 stitches.
- Repeat steps 2 and 3 until the stem reaches the desired length.
- Bind off the stitches and weave in any loose ends.
Once you have finished creating the I-cord stem, you can sew it onto the top of the pumpkin using a tapestry needle and the same yarn used for the stem.
Method 2: Crocheted Stem
If you prefer to crochet, you can make a stem using a crochet hook and the same yarn used for the pumpkin. Here is a simple crocheted stem pattern:
- Make a slip knot and crochet a chain of 5 stitches.
- Turn the work and single crochet into the second chain from the hook.
- Continue to single crochet in each chain across.
- At the end of the row, chain 1 and turn the work.
- Single crochet in each stitch of the previous row.
- Repeat step 5 until the stem reaches the desired length.
- Fasten off and weave in any loose ends.
To attach the crocheted stem to the pumpkin, you can use a tapestry needle and the same yarn used for the stem. Sew the stem onto the top of the pumpkin and make sure to secure it tightly.
Optional Embellishments
Once you have finished knitting your pumpkin in the round, you can add optional embellishments to give it a personalized touch. Here are some ideas to consider:
1. Embroidery Details
You can use embroidery thread to add intricate details to your pumpkin. Consider stitching on a face, such as eyes, a nose, and a mouth, or adding fun designs, like swirls or stars. Using contrasting colors can make your pumpkin really stand out.
2. Buttons
Adding buttons to your knit pumpkin can create a unique and whimsical look. You can sew on buttons as eyes or use them to create a pattern, such as a checkerboard design. Choose buttons in different sizes and colors to add depth and interest to your pumpkin.
3. Ribbons or Bows
Attaching a ribbon or bow to the stem of your pumpkin can give it a festive and decorative touch. Use a ribbon in a coordinating color to tie a bow around the stem, or attach a longer ribbon that can be tied into a decorative knot or looped around the pumpkin.
4. Beads or Sequins
For a more glamorous look, you can add beads or sequins to your knit pumpkin. Use a needle and thread to attach these embellishments, either randomly or in a specific pattern. This can create a sparkling effect and make your pumpkin shine.
5. Felt or Fabric Appliques
You can cut out small shapes or designs from felt or fabric and then sew them onto your pumpkin. This can add texture and dimension, as well as personalize your pumpkin with specific motifs. Consider appliques of leaves, stars, or even Halloween-themed shapes like bats or witches.
Remember, these embellishments are optional and are up to your personal preference. Feel free to get creative and experiment with different techniques to make your knit pumpkin truly one-of-a-kind.
Enjoy your knitted pumpkin!
Congratulations on completing your knitted pumpkin! Now it’s time to enjoy the fruits of your labor and add a touch of autumn to your home. Whether you’re a seasoned knitter or a beginner, this project is sure to bring you joy and a sense of accomplishment.
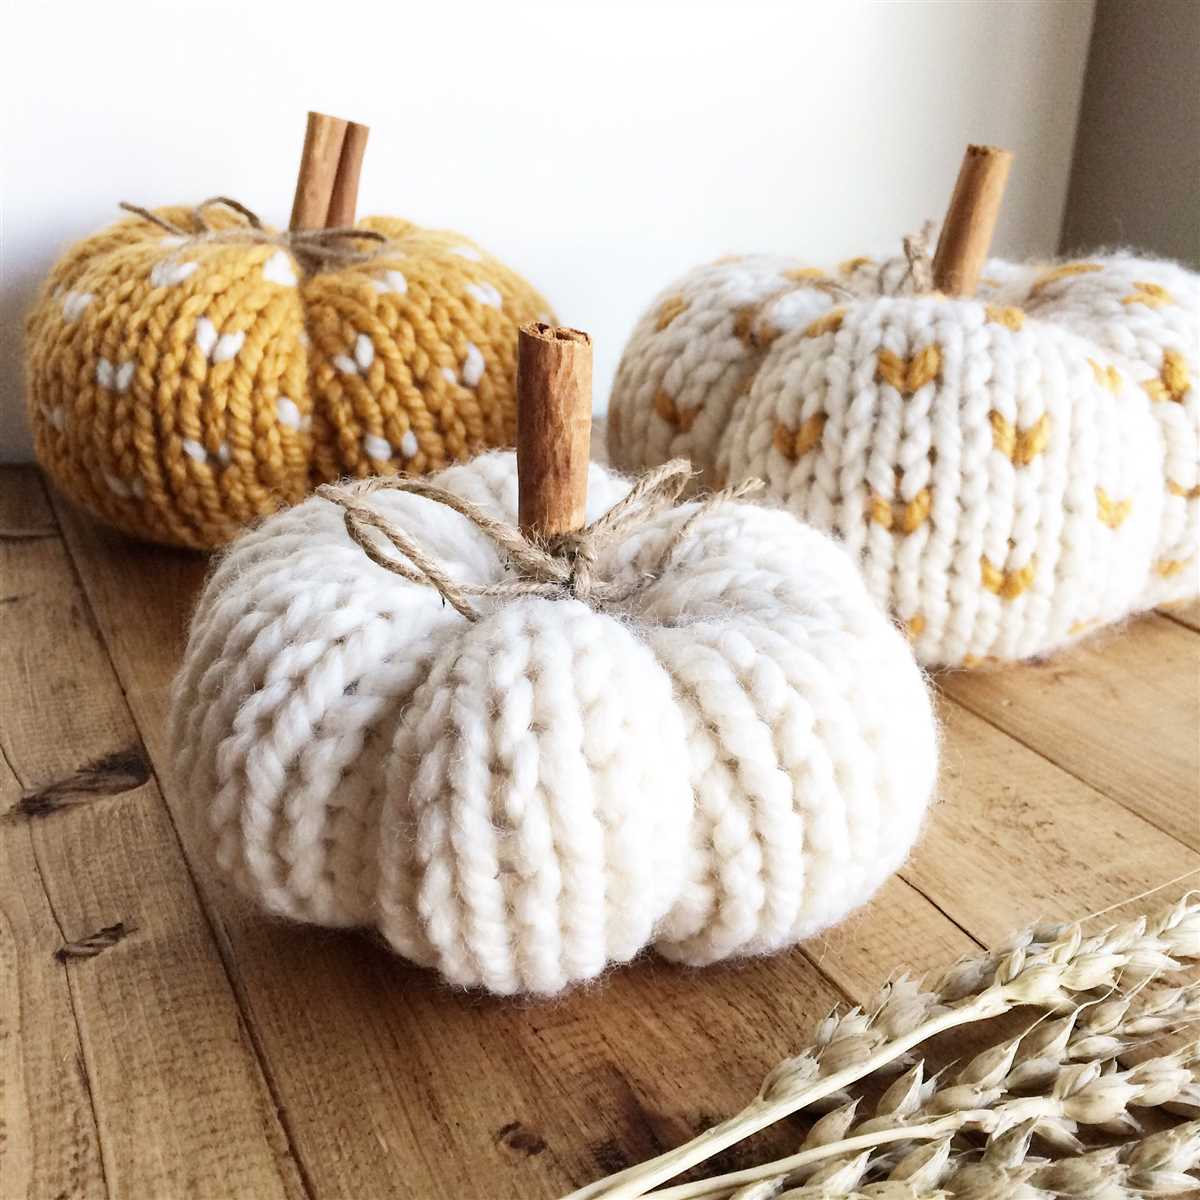
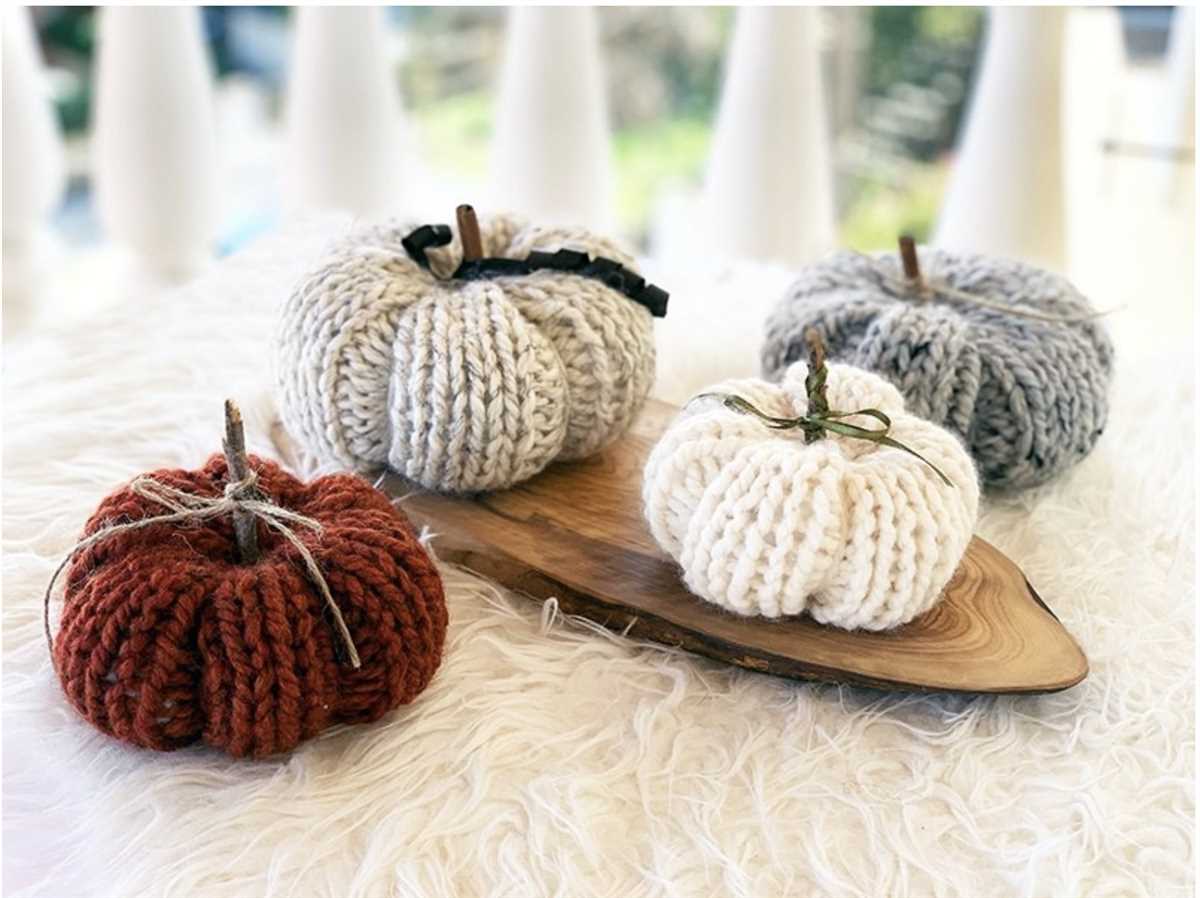
Add a festive touch to your fall decorations:
- Place your knitted pumpkin on your mantel or use it as a centerpiece for your Thanksgiving table.
- Pair it with other seasonal items like dried leaves, pinecones, or mini gourds for a charming display.
- Hang a few knitted pumpkins from a string of fairy lights to create a cozy atmosphere.
Spread the love:
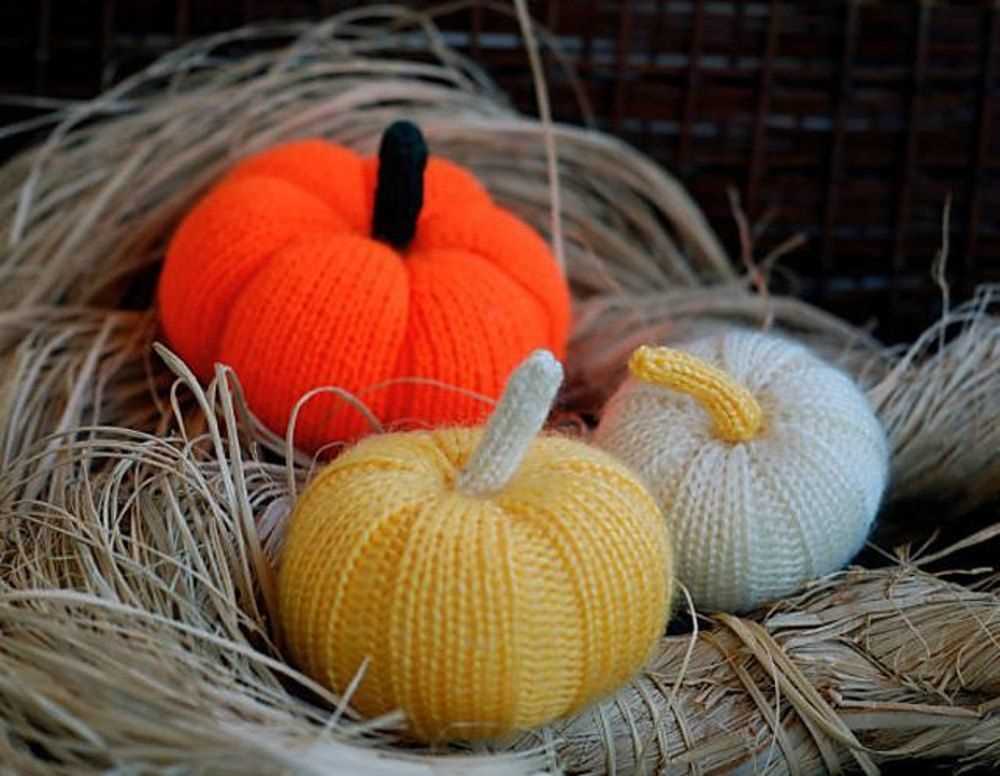
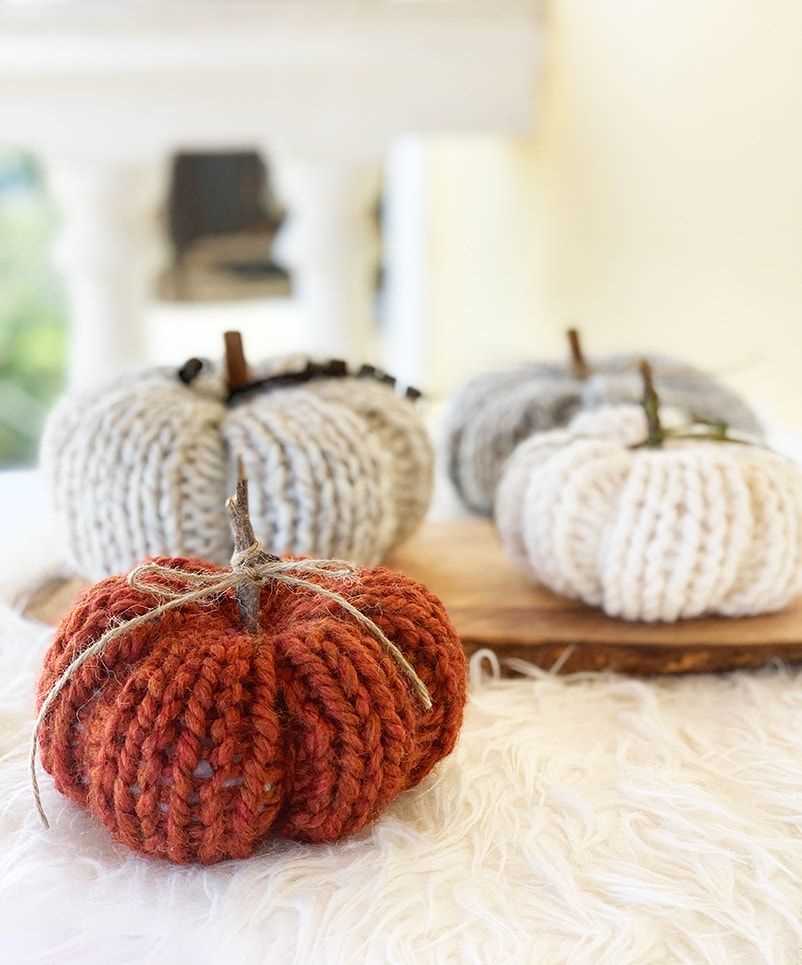
- Knit more pumpkins in different sizes and colors to create a whole patch of knitted goodness.
- Share your pattern with friends and family who might be interested in knitting their own pumpkins.
- Donate some of your knitted pumpkins to a local charity or nursing home to bring a smile to someone’s face.
Experiment with different patterns:
- Explore different stitch patterns and textures to create unique pumpkins.
- Try knitting a striped pumpkin or incorporating cables for added interest.
- Use different weights of yarn to change the size and look of your pumpkins.
Keep learning and exploring:
Now that you’ve successfully completed a knitted pumpkin in the round, don’t stop there! Keep expanding your knitting skills and trying new patterns and techniques. The world of knitting is vast and full of possibilities.
Remember to have fun and enjoy the process. Happy knitting!