
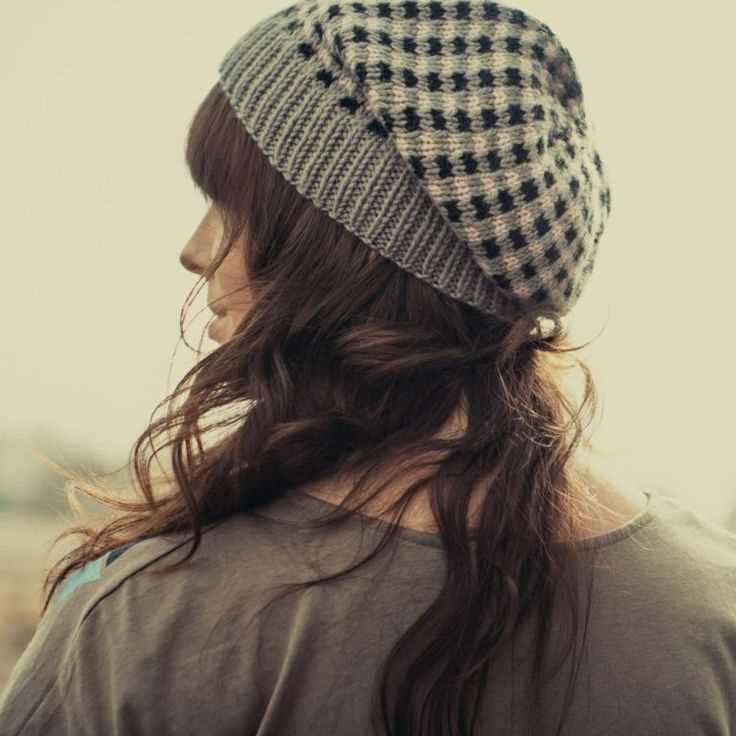
If you’re looking for a fun and trendy knitting project, look no further than the knit plaid hat pattern. Plaid patterns are all the rage right now, and what better way to embrace this trend than by adding a cozy hat to your wardrobe? Whether you’re a beginner knitter or an experienced pro, this pattern is perfect for anyone looking to create a stylish accessory.
The knit plaid hat pattern features a classic plaid design with a twist. Using different colored yarns and a simple knit and purl stitch, you’ll be able to create a hat that is both unique and fashionable. This pattern is also highly customizable, allowing you to choose your preferred yarn weight and adjust the size to fit your head perfectly.
Not only is this pattern easy to follow, but it also works up quickly, making it a great project for those wanting to practice their knitting skills. With just a few simple techniques, you’ll be able to create a hat that will impress your friends and keep you warm all winter long. So grab your knitting needles and get ready to create a stylish plaid hat!
Knit Plaid Hat Pattern
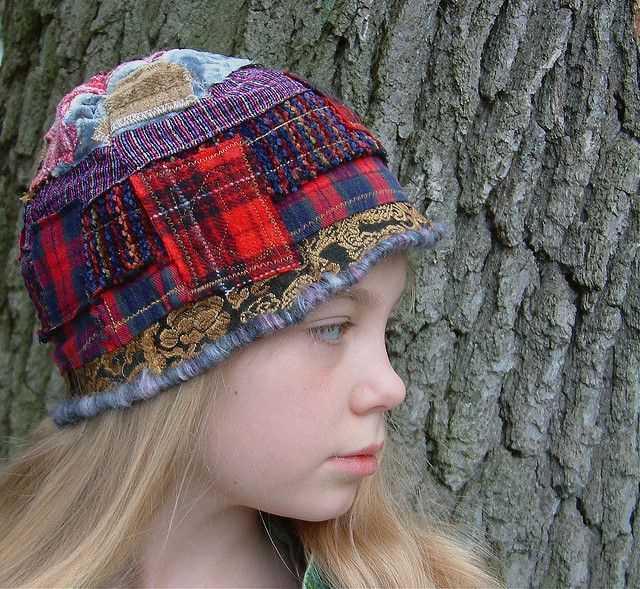
A knit plaid hat is a stylish and cozy accessory that can be worn during the colder months. With its classic pattern, it adds a touch of sophistication to any outfit. Whether you’re new to knitting or a seasoned knitter, this pattern is suitable for all skill levels.
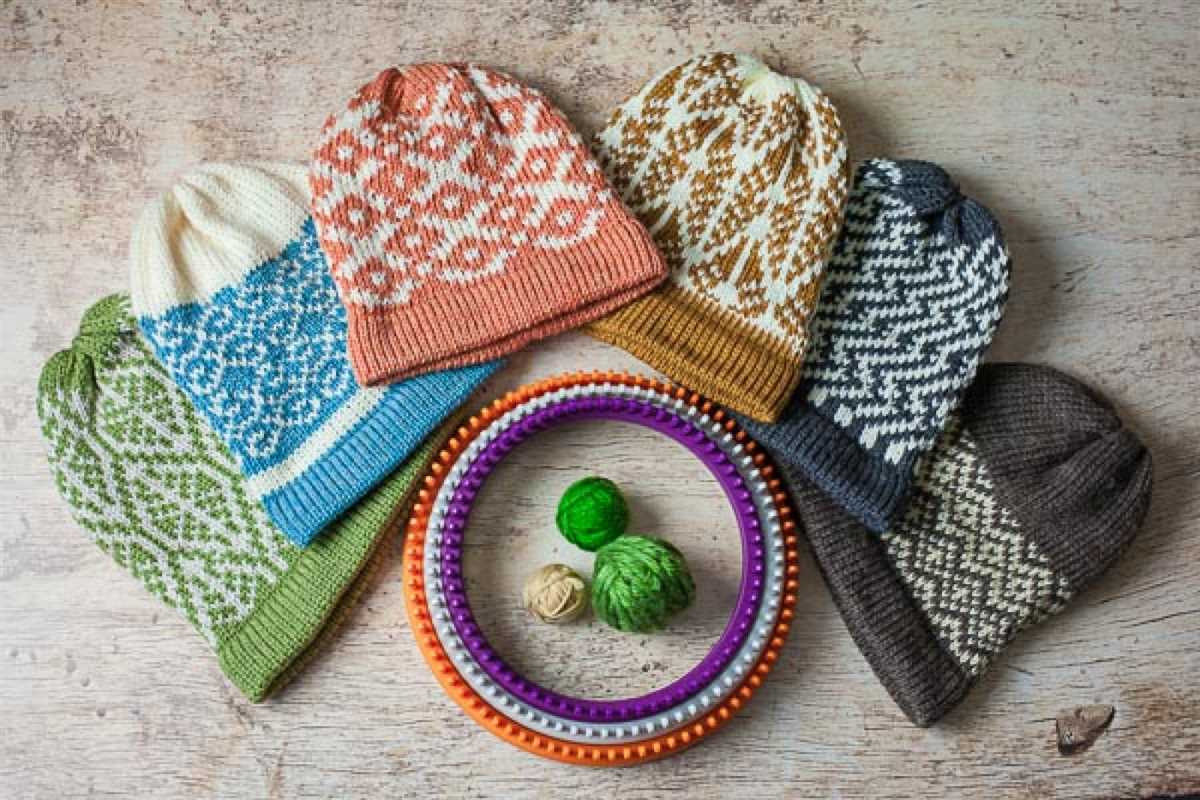
To create a knit plaid hat, you’ll need a few basic knitting supplies, including knitting needles, yarn in different colors, and a measuring tape. Start by selecting your desired colors for the plaid pattern. Traditionally, plaid patterns consist of three colors, but feel free to experiment and customize your hat with more or less.
Instructions:
- Cast on the desired number of stitches, depending on the circumference of the hat you want to knit. A standard adult hat usually requires around 80-100 stitches.
- Begin knitting in the round, using a circular needle or double-pointed needles. Make sure to join the round and create a seamless base for your hat.
- Knit several rows in the main color to create the base of your hat.
- Now, it’s time to start the plaid pattern. Choose one of the contrasting colors and knit several rows in this color. You can use a simple knit or purl stitch to create the pattern.
- Once you’ve completed a few rows in the contrasting color, switch to the next color in your plaid pattern and continue knitting. Repeat this process until you’ve created the desired plaid pattern.
- Continue knitting in the plaid pattern until your hat reaches the desired length. You can personalize the length based on your preference, whether you prefer a shorter beanie style or a slouchier hat.
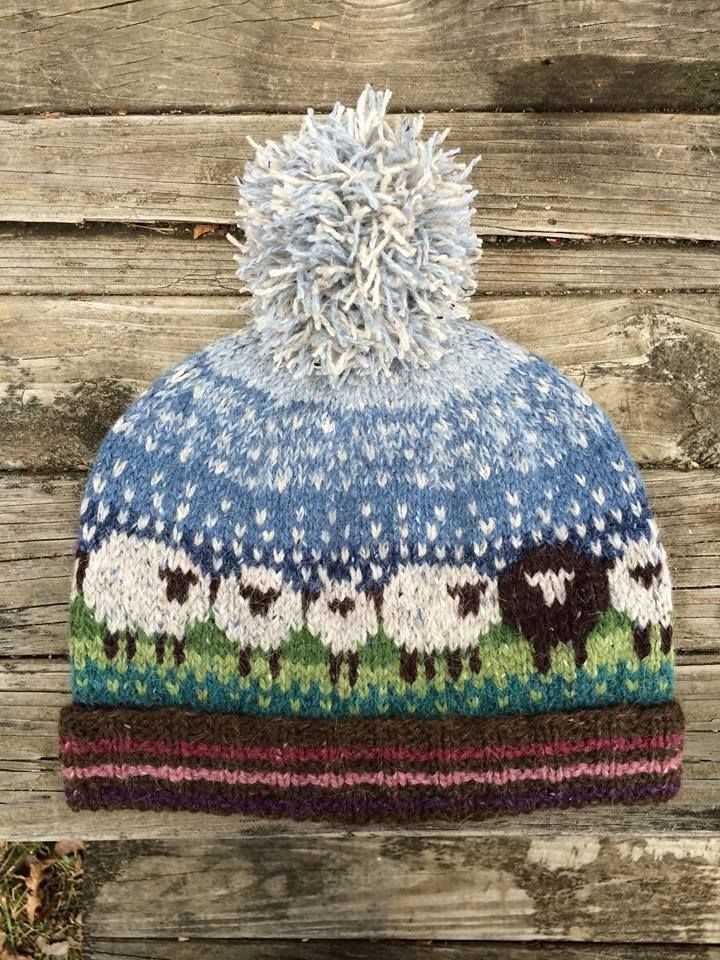
- Finally, finish off your hat by binding off the stitches and weaving in any loose ends. Optionally, you can add a pom-pom or a ribbed brim to complete your knit plaid hat.
Once you’ve completed your knit plaid hat, you’ll have a trendy and unique accessory to wear or gift. Experiment with different color combinations and variations of the plaid pattern to make each hat one-of-a-kind. Whether you choose to wear it yourself or give it as a gift, this knit plaid hat is sure to impress!
Materials Needed
To knit a plaid hat, you will need the following materials:
- Yarn: Choose a soft and warm yarn in three different colors. The plaid pattern will be created by alternating between the three colors. Each color should be a different shade or hue to create contrast. You will need approximately 100 grams of each color.
- Knitting Needles: Use a pair of knitting needles in the appropriate size for your desired gauge. Check the yarn label for recommended needle size or use a size that gives you the desired fabric tension.
- Tapestry Needle: This needle will be used for weaving in ends and sewing the seams of the hat.
- Stitch Markers: These small rings or clips will help you keep track of specific stitches or sections of the pattern.
- Scissors: You will need a pair of scissors to cut the yarn and trim any excess threads.
- Measuring Tape: Use a measuring tape to gauge your progress and determine the correct size of the hat.
- Pom-pom Maker (optional): If you want to add a pom-pom to the top of your hat, you can use a pom-pom maker to create the perfect fluffy accessory.
Make sure you have all these materials before you start knitting your plaid hat. It’s important to have everything prepared to ensure a smooth and enjoyable knitting process.
Choosing Yarn Colors
When it comes to knitting a plaid hat, choosing the right yarn colors is crucial. The colors you select will determine the overall look and feel of the hat, so it’s important to consider a few factors before making your decision.
1. Complementary Colors
One approach to selecting yarn colors for a plaid hat is to choose complementary colors. Complementary colors are hues that are opposite each other on the color wheel, such as blue and orange or green and red. By using complementary colors, you can create a visually striking plaid pattern that is sure to make a statement.
2. Analogous Colors
If you prefer a more subtle and cohesive look, you may want to consider using analogous colors. Analogous colors are hues that are next to each other on the color wheel, such as blue and purple or yellow and orange. This color scheme can result in a harmonious and balanced plaid pattern.
3. Neutral Colors
If you’re unsure about which colors to choose or you prefer a more versatile option, neutral colors can be a great choice. Neutrals such as black, gray, and white can be combined with any other color to create a timeless and elegant plaid design. They also provide a nice contrast to more vibrant or saturated colors.
Ultimately, the choice of yarn colors for your plaid hat will depend on your personal preferences and the look you want to achieve. Whether you go for complementary colors, analogous colors, or neutrals, have fun experimenting and creating a unique and stylish knit plaid hat!
Gauge and Needle Size
When it comes to knitting a plaid hat, the gauge and needle size are crucial factors that will determine the final outcome of your project. The gauge refers to the number of stitches and rows that you need to achieve in a given measurement. It is essential to match the gauge stated in the pattern to ensure that your hat will fit properly.
Before you begin knitting, it is recommended to create a swatch using the specified needle size and stitch pattern. This will help you determine if you need to adjust your needle size to obtain the correct gauge. Keep in mind that everyone’s tension may vary, so it’s crucial to double-check your gauge to avoid disappointment.
Typically, the pattern will indicate the recommended needle size to achieve the correct gauge. This can vary depending on the yarn weight and the desired fabric density. It’s always advisable to use the needle size stated in the pattern as a starting point. However, if your gauge swatch doesn’t match the required measurements, you may need to go up or down a needle size to obtain the desired gauge.
Remember, achieving the correct gauge is essential for a well-fitting plaid hat. It will determine the size, drape, and overall appearance of your project. So, take your time to create a gauge swatch and adjust your needle size if necessary. Doing so will ensure that your plaid hat turns out just as you envisioned!
Casting On
To begin the long-tail cast on, first, make a slipknot by forming a loop with your yarn. Leave a long tail of yarn hanging from the loop – this tail will be used to create your first row of stitches. Hold the slipknot on one needle, and place the other needle into the loop of the slipknot.
Step 1: Hold the needle with the slipknot in your right hand, and the empty needle in your left hand. The slipknot should be on your right-hand needle.
Step 2: Using your left thumb and index finger, make a “V” shape with the yarn, with the tail end of the yarn (the long tail) on top and the working end of the yarn (the end attached to the ball of yarn) on the bottom. Hold the “V” shape with your left hand.
Step 3: Insert the right-hand needle into the “V” from back to front, going under the bottom half of the “V” and over the top half.
Step 4: With your right-hand needle, scoop up the working end of the yarn (the end attached to the ball of yarn) and bring it through the “V” to the back of the needle, creating a loop on the right-hand needle.
Step 5: Place the loop on the right-hand needle, onto the left-hand needle. This creates your first cast-on stitch.
Continue repeating steps 3-5 until you have cast on the desired number of stitches for your plaid hat pattern. Once you have cast on all the stitches, you can begin knitting the next row of your pattern.
- Tips:
- It can be helpful to leave a long tail of yarn when casting on, as this will make it easier to weave in the ends later.
- Make sure to maintain an even tension when casting on, so that your stitches are not too tight or too loose.
- Practice the long-tail cast on a few times before starting your plaid hat, to get comfortable with the technique.
Ribbing
When knitting a plaid hat, one of the most important elements to consider is the ribbing. Ribbing refers to the pattern used at the brim of the hat, which helps to provide a snug fit and prevent the hat from slipping off. It is typically knitted using a combination of knit and purl stitches.
Types of Ribbing: There are various types of ribbing that can be used, such as 1×1 ribbing, 2×2 ribbing, or even 4×4 ribbing. These numbers denote the number of knit stitches and purl stitches repeated in the pattern. For example, 1×1 ribbing alternates between one knit stitch and one purl stitch, while 2×2 ribbing alternates between two knit stitches and two purl stitches.
Ribbing is not only functional but also adds a decorative touch to the hat. It creates a stretchy fabric, making it easier for the hat to fit a range of head sizes. Additionally, ribbing can add texture and visual interest to the finished hat, especially when different colors or yarns are used.
For a plaid hat, it is recommended to use a ribbing pattern that complements the overall design of the hat. This could involve using a contrasting color or a different ribbing pattern than the body of the hat. Experimenting with different ribbing techniques can help create a unique and visually appealing design.
Advantages of Ribbing:
- Ribbing adds stretch and flexibility to the hat, allowing it to comfortably fit various head sizes.
- It helps to keep the hat securely in place, preventing it from sliding off.
- By using different ribbing patterns, you can create unique and visually interesting designs.
- Ribbing can be easily customized by incorporating different colors or yarns.
| Common Ribbing Patterns |
|---|
| 1×1 Ribbing |
| 2×2 Ribbing |
| 3×1 Ribbing |
| 4×4 Ribbing |
Switching Colors
Switching colors while knitting a plaid hat can add an interesting and dynamic element to your project. Whether you want to create a traditional plaid pattern or experiment with different color combinations, understanding how to switch colors seamlessly is an essential skill.
Choosing the right yarn: When selecting yarn for your plaid hat, consider using yarn that is specifically designed for colorwork. This type of yarn has a consistent thickness and works well for creating clean color transitions. It also comes in a wide range of colors, allowing you to explore different combinations and create unique plaid patterns.
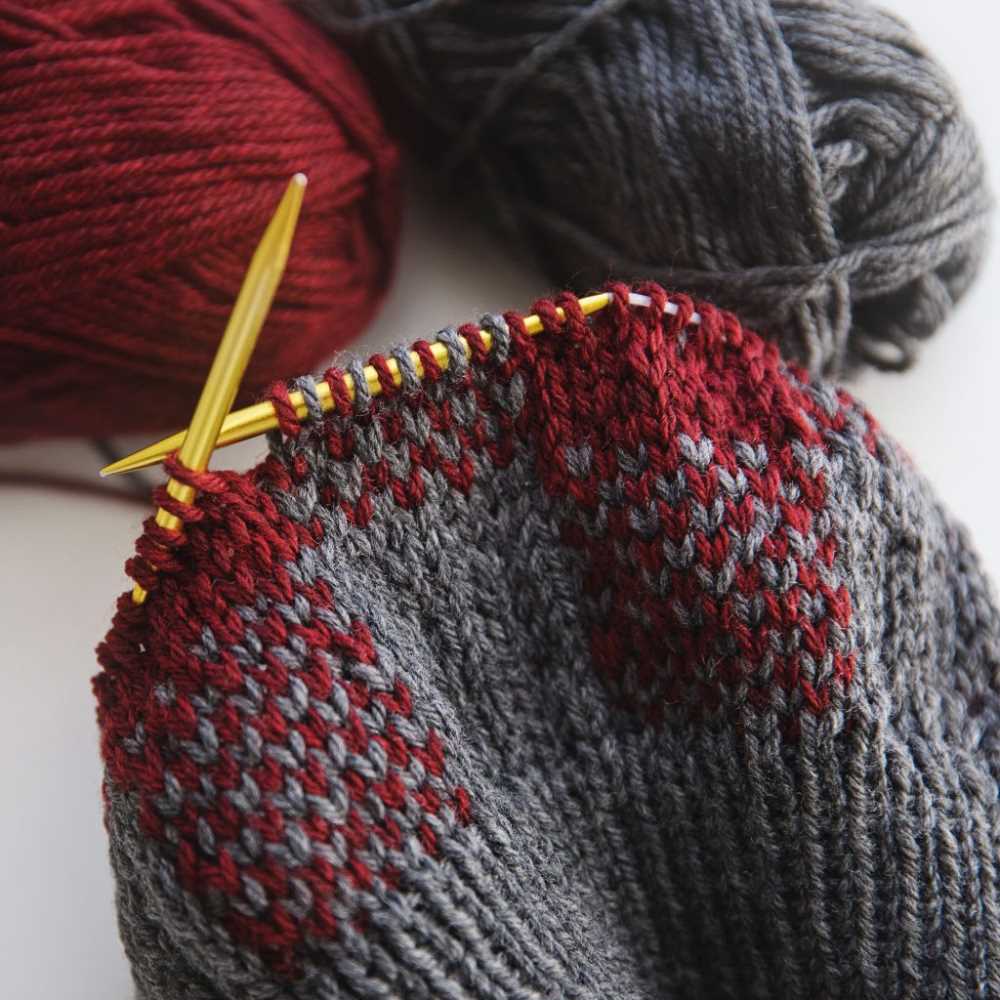
Techniques for switching colors: There are several techniques you can use to switch colors while knitting your plaid hat. One common method is the “stranded” or “Fair Isle” technique, where you carry the unused color along the back of your work. This creates floats on the wrong side of your project, but it produces a neat and even colorwork on the right side.
- Intarsia: Intarsia is another technique that you can use to switch colors in your plaid hat. This method involves knitting with separate balls of yarn for each color section, twisting the yarns at the color change to prevent holes. This technique is ideal for large color blocks and can be used to create bold and distinct plaid patterns.
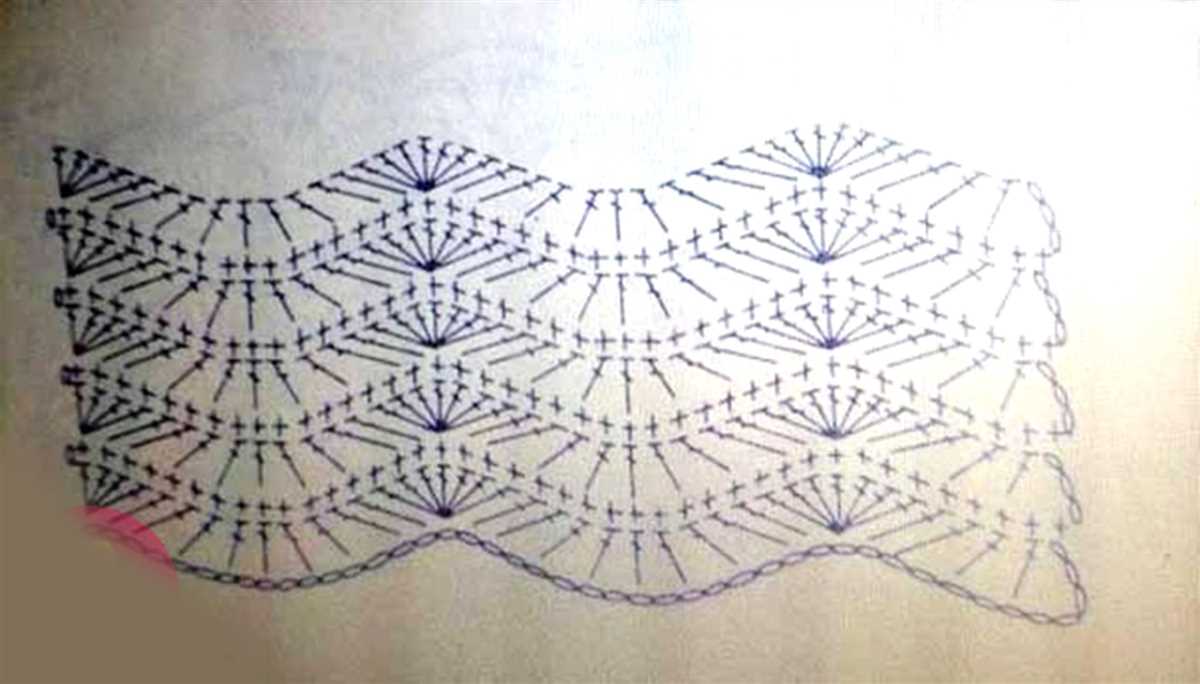
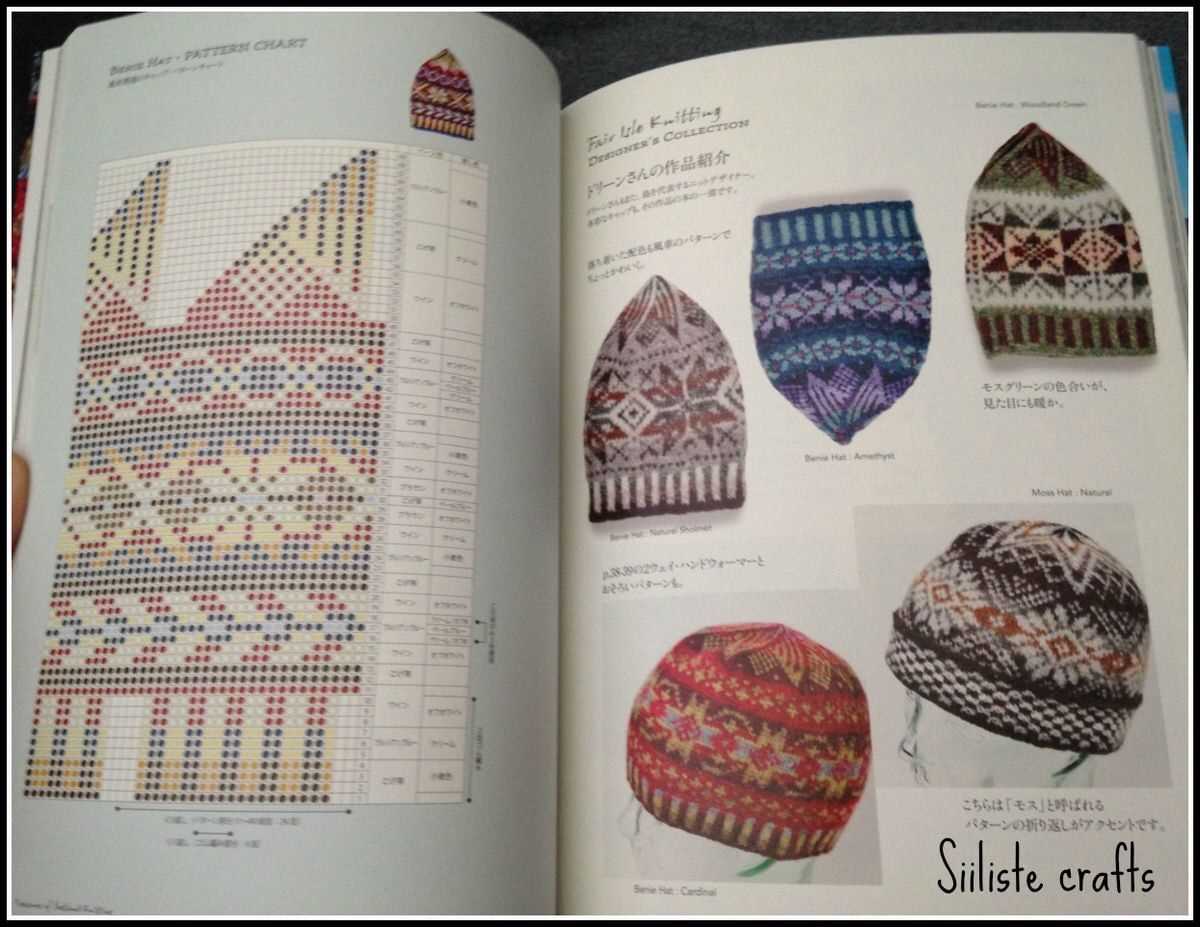
Planning your color changes: Before you start knitting your plaid hat, it’s essential to plan your color changes carefully. You can create a color chart or use knitting software to visualize your plaid pattern and determine where to switch colors. This will help you maintain an even distribution of colors and achieve the desired plaid effect.
Keeping your tension consistent: When switching colors, it’s important to pay attention to your tension. Make sure to carry the yarn loosely along the back of your work, avoiding overly tight or loose floats. Consistent tension will help ensure that your plaid pattern looks uniform and professional.
Experimenting with color combinations: Switching colors gives you the opportunity to experiment with different color combinations and create unique plaid patterns. Don’t be afraid to mix and match colors that you might not typically pair together. Play with contrast, saturation, and hue to achieve the desired effect and make your plaid hat truly one-of-a-kind.
Knitting the Plaid Pattern
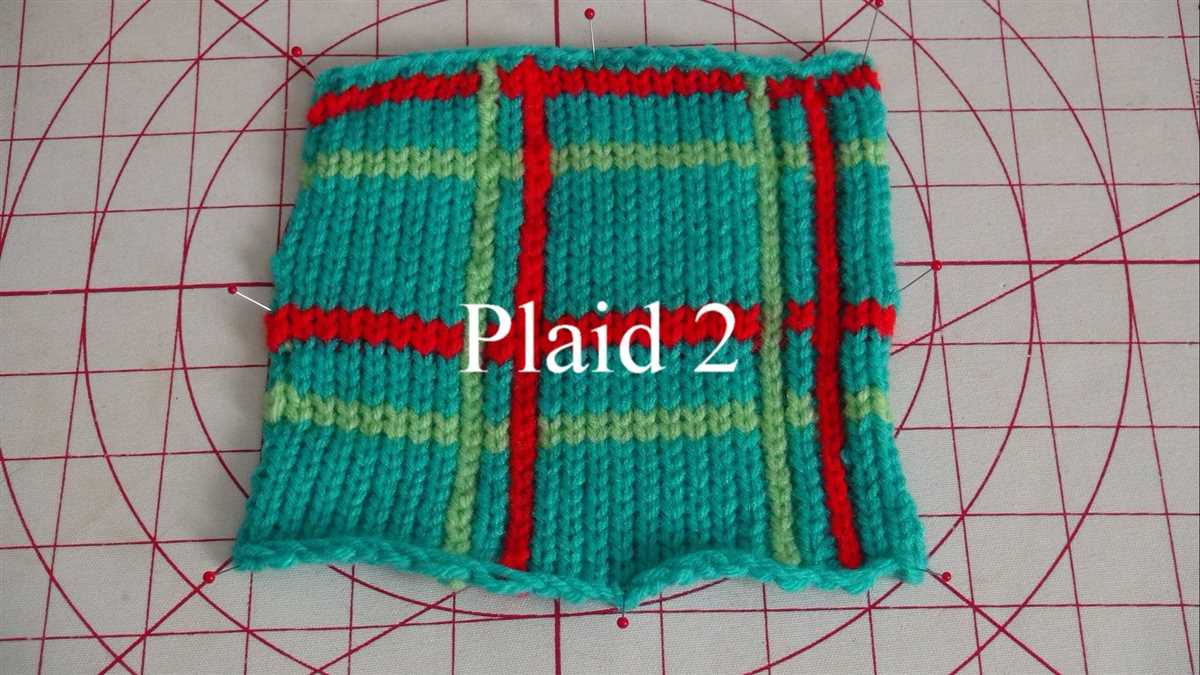
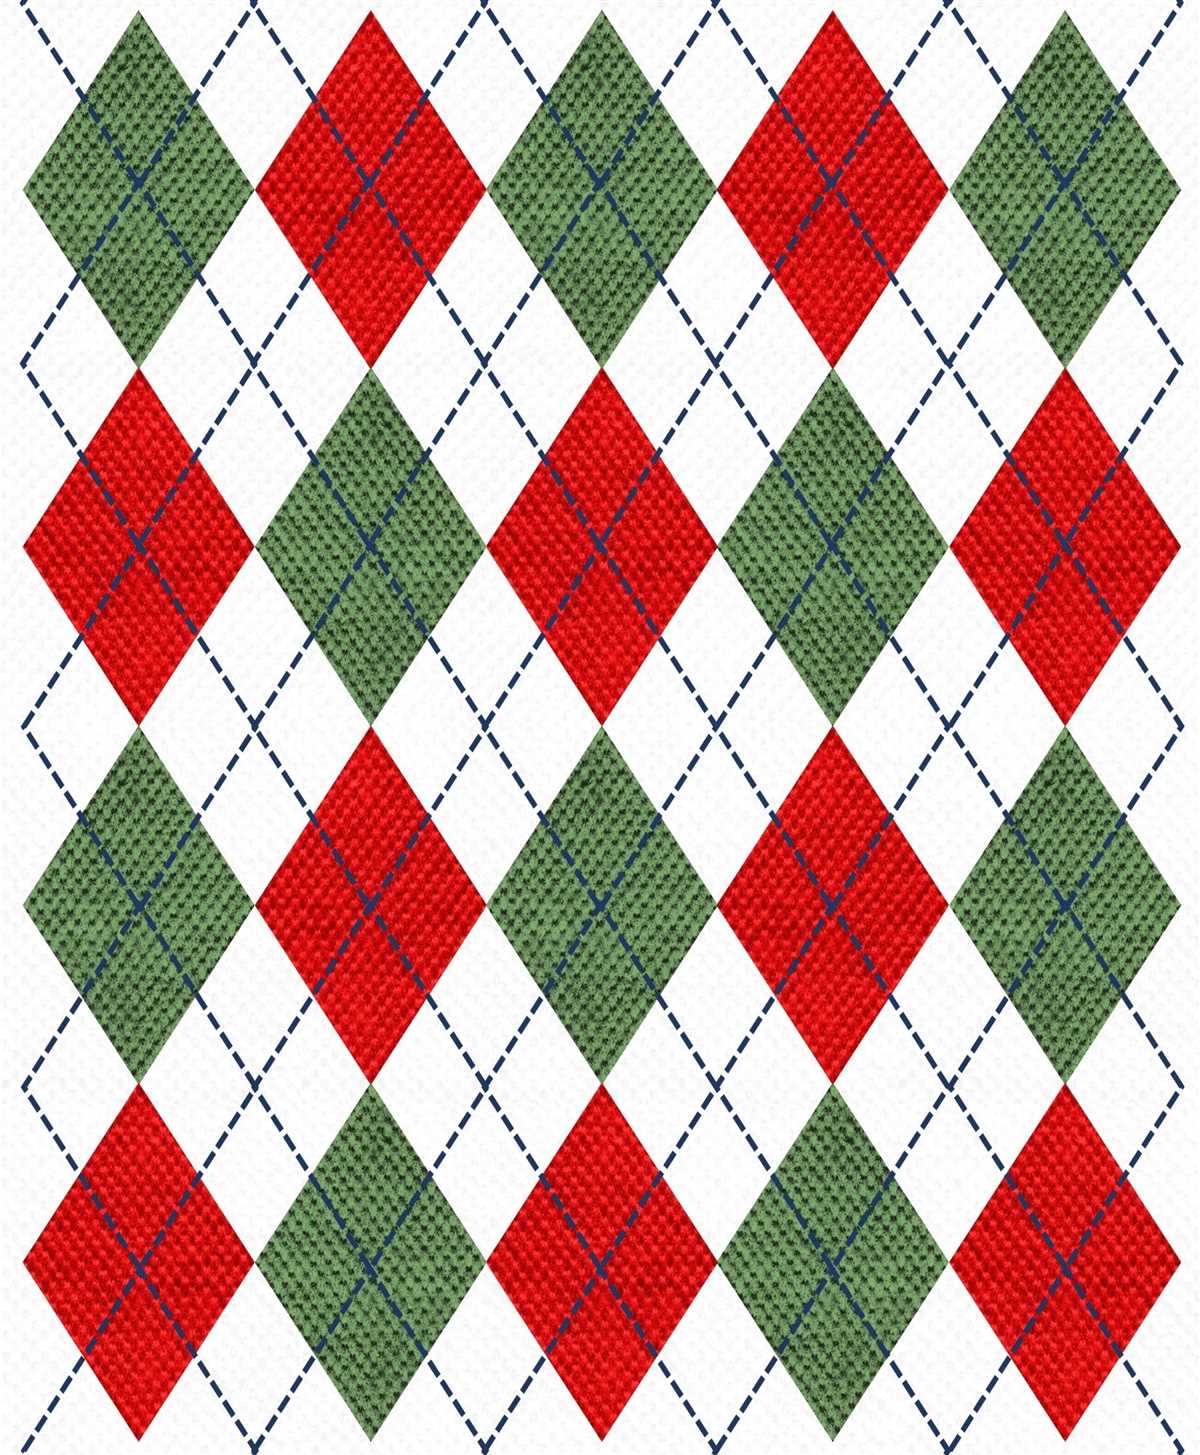
Knitting a plaid pattern can add a stylish and eye-catching design to any knitted project. The plaid pattern consists of intersecting lines in different colors that create a checkered effect. By incorporating this pattern into your knitting, you can create a unique and personalized item.
The plaid pattern can be achieved using colorwork techniques such as stranded knitting or intarsia. Stranded knitting is a method where multiple colors are used in the same row, with the unused colors carried behind the work. Intarsia, on the other hand, involves using separate bobbins or balls of yarn for each color block, and the yarn is not carried across the back of the work.
To knit the plaid pattern, start by choosing your colors. Traditionally, plaid patterns include a dominant color (usually a darker shade) and two or more contrasting colors. Once you have chosen your colors, cast on the required number of stitches and work the desired number of rows in your dominant color.
Next, you will begin incorporating the contrasting colors to create the plaid pattern. Depending on the specific pattern you are following, you may need to switch between colors every few rows or every few stitches. It is important to keep your tension consistent and to carry the yarn not in use loosely across the back of the work to avoid any puckering or pulling.
If you are new to colorwork knitting, it may be helpful to practice on a small swatch before starting your project to familiarize yourself with the technique and ensure that you are achieving the desired tension. Additionally, following a pattern or chart can be useful to keep track of the color changes and stitch pattern.
Once you have completed the plaid pattern, you can continue knitting your project, whether it is a hat, scarf, or sweater. The plaid design will add visual interest and make your knitted item stand out. With practice and experimentation, you can create a variety of different plaid patterns and incorporate them into your knitting projects.
Shaping the Top
When knitting a plaid hat, shaping the top is an important step. This is where you decrease the number of stitches gradually to create the rounded shape of the hat. There are different methods for shaping the top, and the one you choose will depend on the desired look and style of your hat.
METHOD 1: Decreasing stitches evenly
This method involves evenly distributing the decreases around the top of the hat. To achieve this, divide the number of stitches you have by the number of decrease rounds you want to make. For example, if you have 80 stitches and want to make 8 decrease rounds, you would decrease 10 stitches evenly on each round.
METHOD 2: Decreasing stitches in a pattern
If you want to add some visual interest to your hat, you can choose to decrease stitches in a pattern. This could be as simple as knitting two stitches together, or you could use more intricate stitch patterns to create unique designs. Just make sure to plan your decreases accordingly, so they fit in with the overall pattern of your hat.
METHOD 3: Decreasing stitches in sections
Another option is to divide the top of your hat into sections and decrease the stitches in each section. This can create a more tailored look and allows you to play with different stitch patterns and textures. For example, you could decrease stitches in the front section of the hat while keeping the back section plain or vice versa. This method offers a lot of versatility for customization.
Regardless of the method you choose, remember to keep track of your decreases and adjust your stitch count accordingly to maintain the desired shape and size of your hat. Happy knitting!
Switching to Double Pointed Needles
When you reach a point in your knit plaid hat pattern where you need to decrease the number of stitches on your circular needles, it may be time to switch to double-pointed needles (DPNs). DPNs are shorter needles with points at both ends, allowing you to work in the round with a smaller circumference.
Why switch to DPNs?
Switching to DPNs is necessary when the number of stitches on your circular needles becomes too few to comfortably fit around the cable. This usually happens when you are shaping the crown of a hat or knitting smaller items such as socks or mittens.
When switching to DPNs, you will distribute the stitches evenly onto three or four needles. This allows you to work with a smaller number of stitches at a time, making it easier to maintain an even tension. You will continue knitting in the round as before, using one needle to knit with and the others to hold the remaining stitches.
Here is a step-by-step guide to switching to DPNs:
- Divide your stitches evenly onto three or four DPNs. An easy way to do this is to divide the total number of stitches by the number of needles. For example, if you have 60 stitches and are using four DPNs, you would distribute 15 stitches onto each needle.
- Hold the first needle with the working yarn attached in your right hand, and begin knitting as you would with circular needles. The other needles will be used to hold the rest of the stitches.
- As you work, make sure to keep your tension even and avoid any gaps between the needles. This can be achieved by gently pulling the first stitch on each needle tighter.
- Continue knitting in the round, alternating between needles, until you have completed all the required decreases or reached the desired length.
- To switch back to circular needles, simply knit the stitches from the DPNs onto one needle, and continue knitting as before.
Switching to DPNs may seem intimidating at first, but with a few practice rounds and some patience, it becomes a natural part of knitting small-circumference projects. So don’t be afraid to give them a try and expand your knitting skills!
Decreasing for Crown
Once you have completed the desired length for your knit plaid hat, it’s time to start decreasing for the crown. This part of the pattern helps shape the top of the hat and create a snug fit. Follow these steps to decrease:
1. Decrease Round: Begin by knitting two stitches together throughout the round. This will reduce the number of stitches on your needles.
2. Continue Knitting: After the decrease round, continue knitting the remaining stitches in the pattern as established for a few more rounds. This will maintain the plaid pattern and provide a consistent look to the hat.
3. Repeat Decrease Rounds: Repeat the decrease round at regular intervals, usually every other round or as specified in your pattern. This will further reduce the number of stitches and shape the crown of the hat.
4.Finishing: When you have only a few stitches left on your needles, cut the yarn leaving a long tail. Thread the tail through a yarn needle and slip the needle through the remaining stitches. Pull tight to close the top of the hat. Secure the yarn by weaving it through the stitches on the inside of the hat.
By following these steps, you can create a beautifully shaped crown for your knit plaid hat. Experiment with different decrease patterns, such as knit two together (K2tog) or slip slip knit (SSK), to achieve the desired look for your hat. Don’t forget to measure your gauge and adjust the decreases accordingly if needed. Happy knitting!
Finishing the Hat
Once you have finished knitting your plaid hat pattern, it’s time to put the finishing touches on it. The final steps of hat-making are crucial in ensuring that your hat looks polished and professional. Here are some important things to keep in mind when finishing your knit hat:
Blocking and shaping:
Before you start any further finishing techniques, it’s essential to block and shape your hat. This step helps to even out any uneven stitches and give your hat a more defined shape. To block your hat, dampen it with water and gently stretch it into the desired shape. You can use a hat blocking form or a balloon to help maintain the shape while it dries.
Seaming:
If you knitted your hat in separate pieces, you’ll need to seam them together. Use the mattress stitch or any other method that will create an invisible seam. Carefully align the edges of the hat pieces and use a tapestry needle to sew them together. Take your time with this step to ensure that the seams are neat and strong.
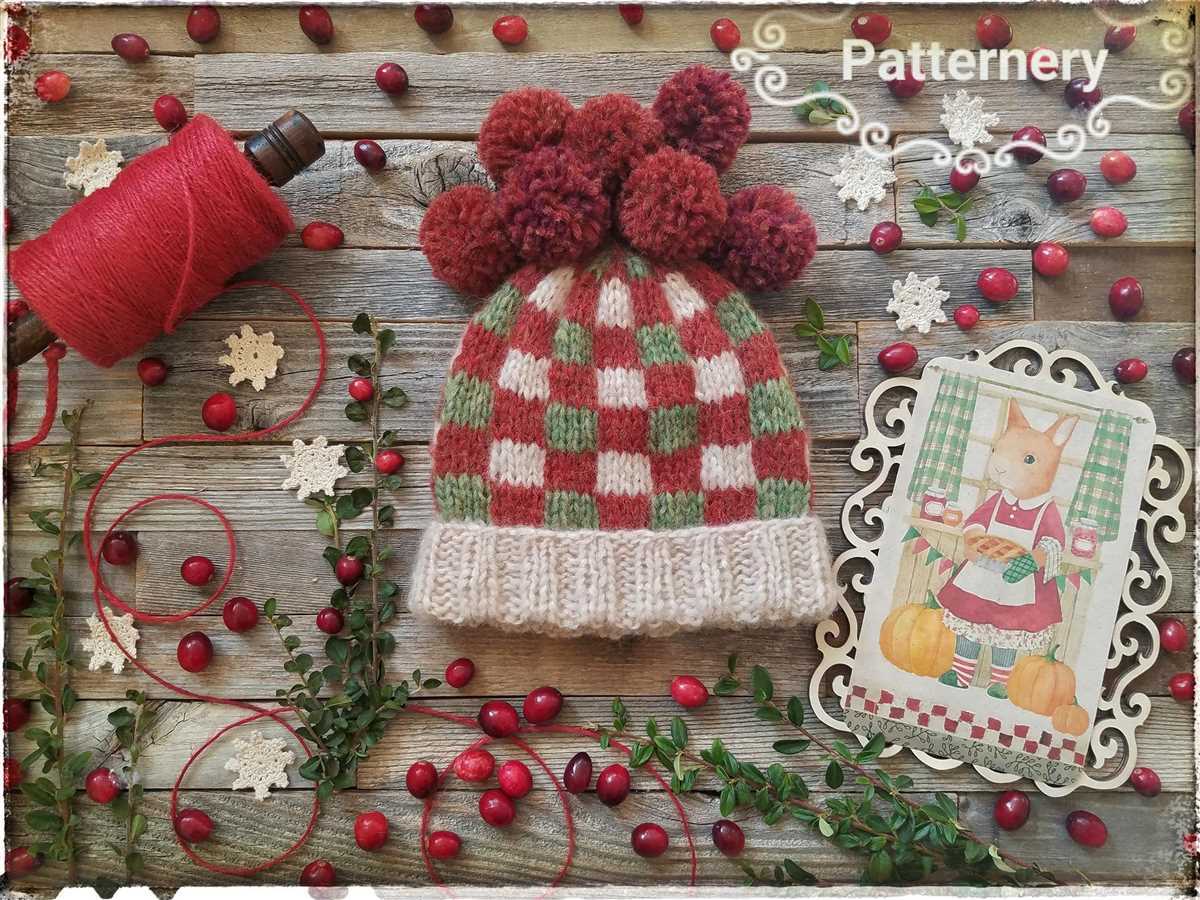
Adding a pom-pom or tassel:
To add a playful and stylish touch to your hat, consider attaching a pom-pom or tassel. You can make these using yarn in contrasting colors or using a faux fur pom-pom. Sew it securely to the top of the hat, making sure it is centered and snug.
Finishing the edges:
To give your hat a clean and professional look, finish the edges. You can achieve this by knitting a ribbed or garter stitch border, or by adding a crocheted edge. This will prevent the edges from curling and add a nice finishing touch to your hat.
By following these steps, you can take your knit plaid hat from a simple knitting project to a finished, stylish accessory. The finishing touches will make all the difference in the final look of your hat and help showcase your knitting skills.
Variations and Embellishments
To add more personalization and flair to your knitted plaid hat, there are several variations and embellishments that you can consider. Here are a few ideas to get you started:
- Color choices: Experiment with different color combinations to create unique plaid patterns. You can stick to traditional tartan colors or go for bold and unexpected combinations.
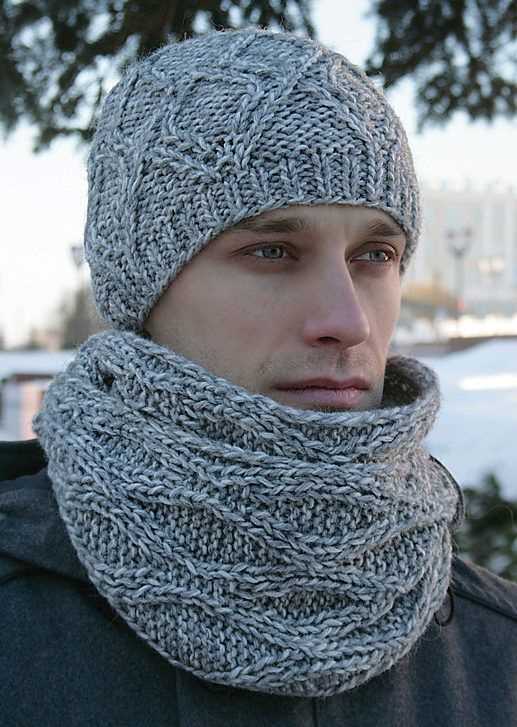
- Additional stitch patterns: Incorporate different stitch patterns, such as cables or lace, to add texture and interest to your hat.
- Pom pom or tassel: Attach a pom pom or tassel to the top of your hat for a fun and playful touch.
- Button accents: Sew on buttons in coordinating colors to add a decorative element to your hat.
- Faux fur trim: Attach a strip of faux fur to the brim of your hat for a cozy and luxurious look.
With these variations and embellishments, you can truly make your knitted plaid hat one-of-a-kind. Get creative and have fun exploring different options to make your hat reflect your personal style.