
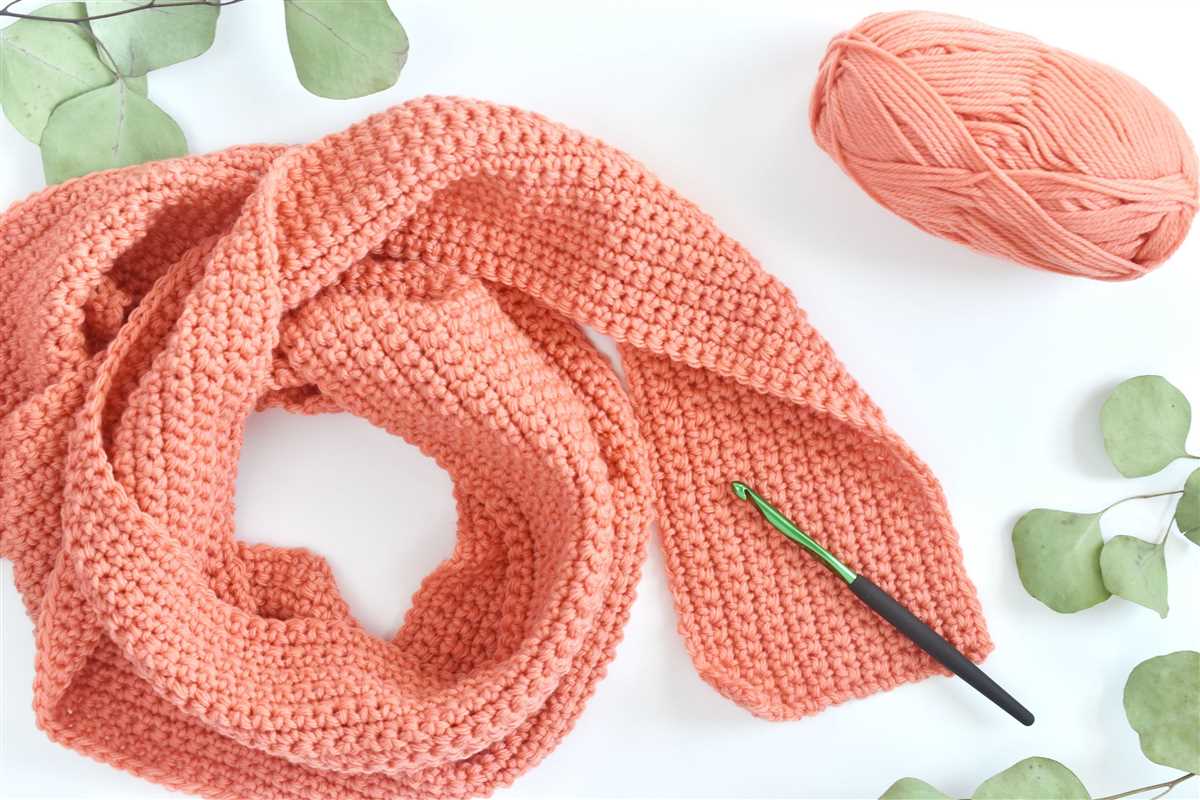
Knitting your own scarf is a rewarding and enjoyable project that allows you to create a unique accessory. With the right pattern, you can knit a beautiful scarf that suits your personal style.
If you’re looking for a free knit pattern for a scarf, you’re in luck! There are plenty of resources available online that offer free patterns for scarves of various styles and designs. Whether you’re a beginner knitter or an experienced one, you can find a pattern that suits your skill level and preferences.
One of the advantages of knitting your own scarf is that you can choose the yarn and color that you love. You can also experiment with different stitches and patterns to create a one-of-a-kind scarf. With a free knit pattern, you can get started on your knitting project without breaking the bank.
So, if you’re ready to unleash your creativity and create your own scarf, check out the numerous resources online that offer free knit patterns. Whether you prefer a simple garter stitch or a more complex lace pattern, you’re sure to find a pattern that inspires you. Happy knitting!
What is a knit pattern scarf?
A knit pattern scarf is a type of scarf that has a unique design or pattern created using knitting techniques. Knitting is a method of creating fabric by interweaving yarn or thread in a series of loops. This craft can produce a wide range of textures and patterns, allowing for endless possibilities when it comes to creating scarves.
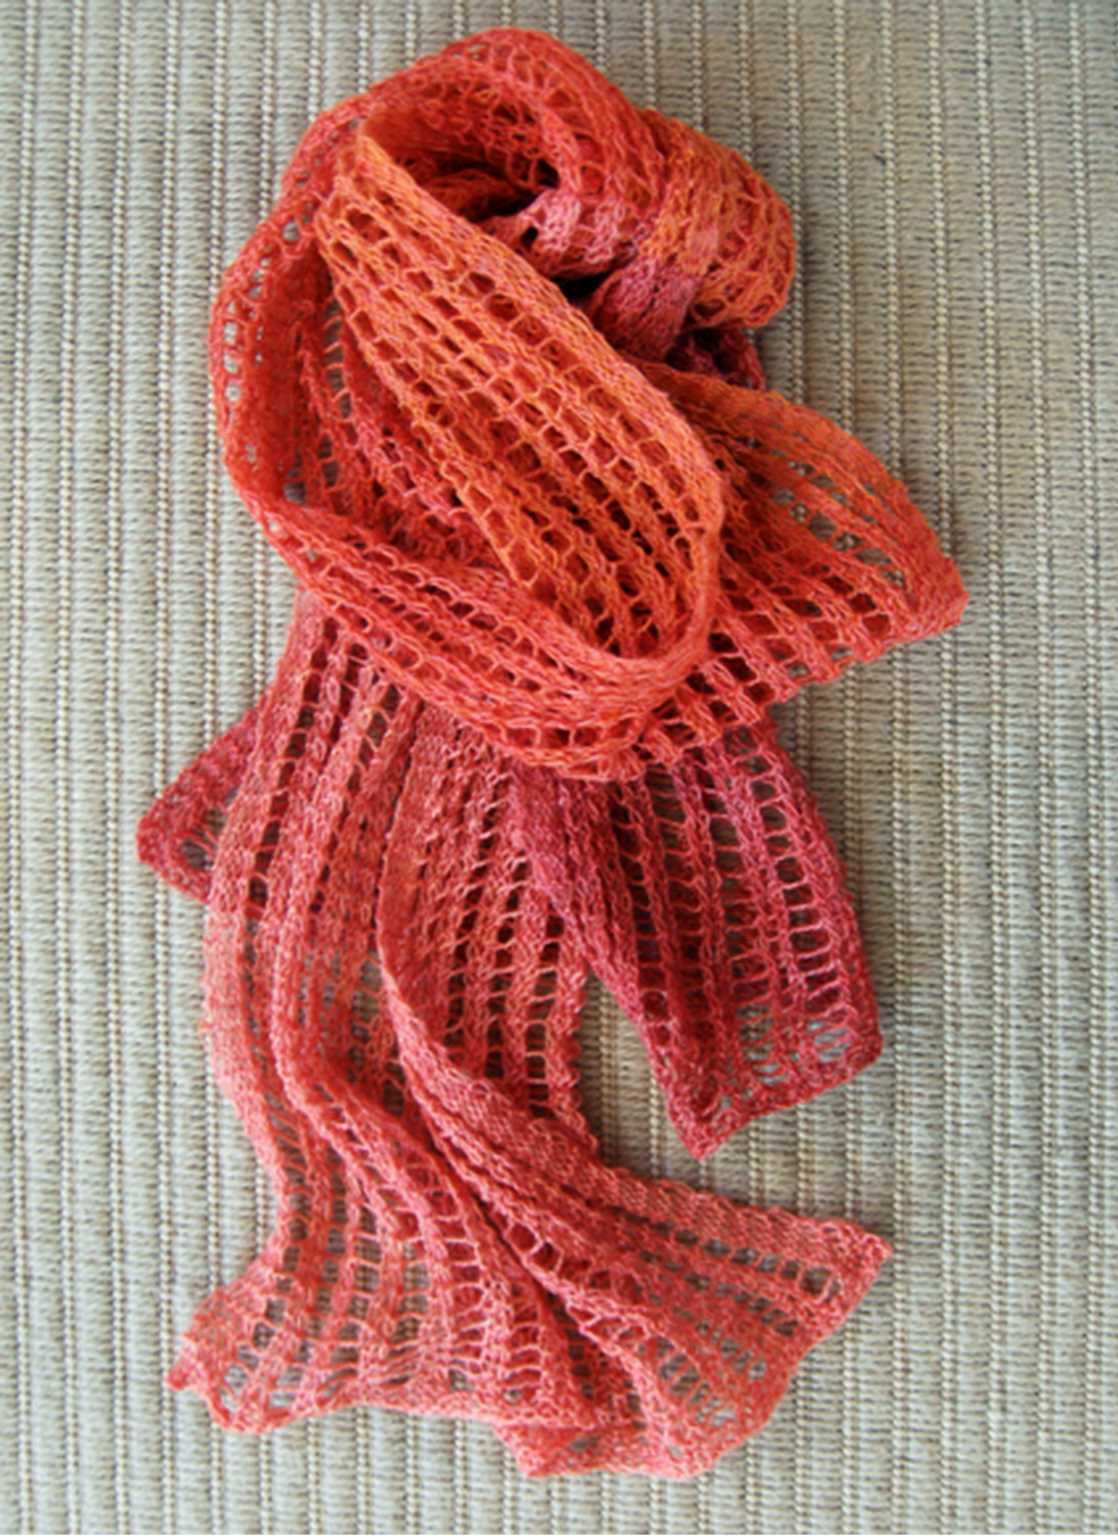
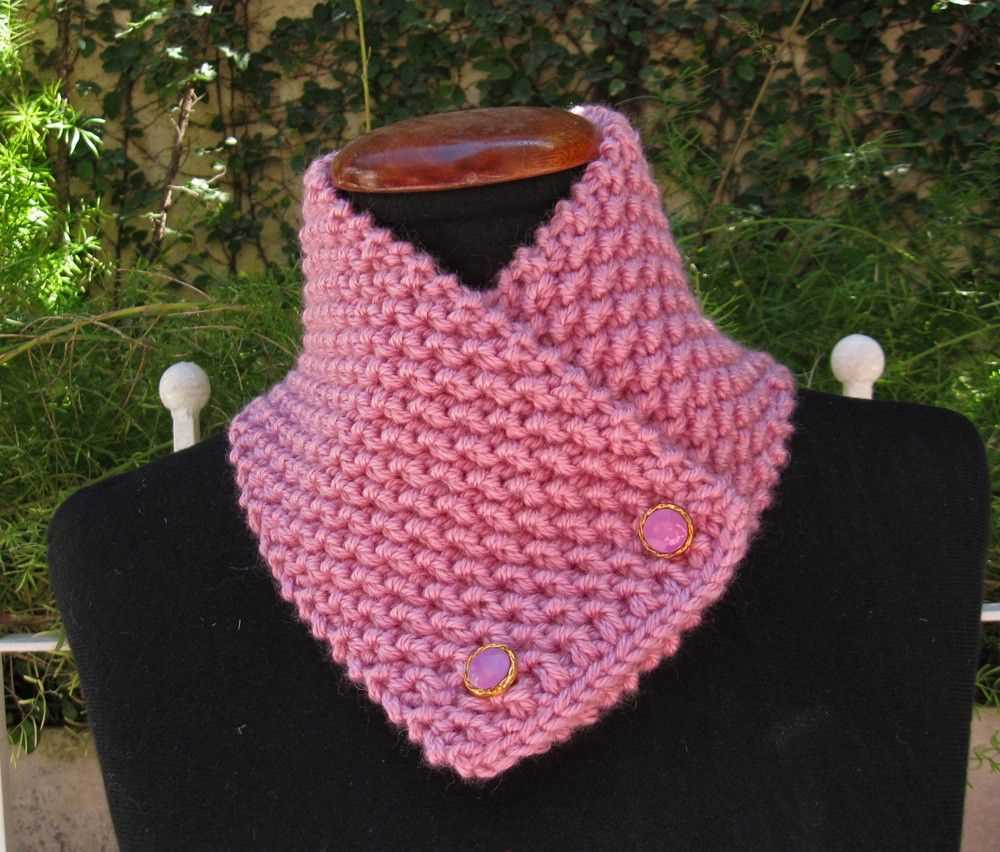
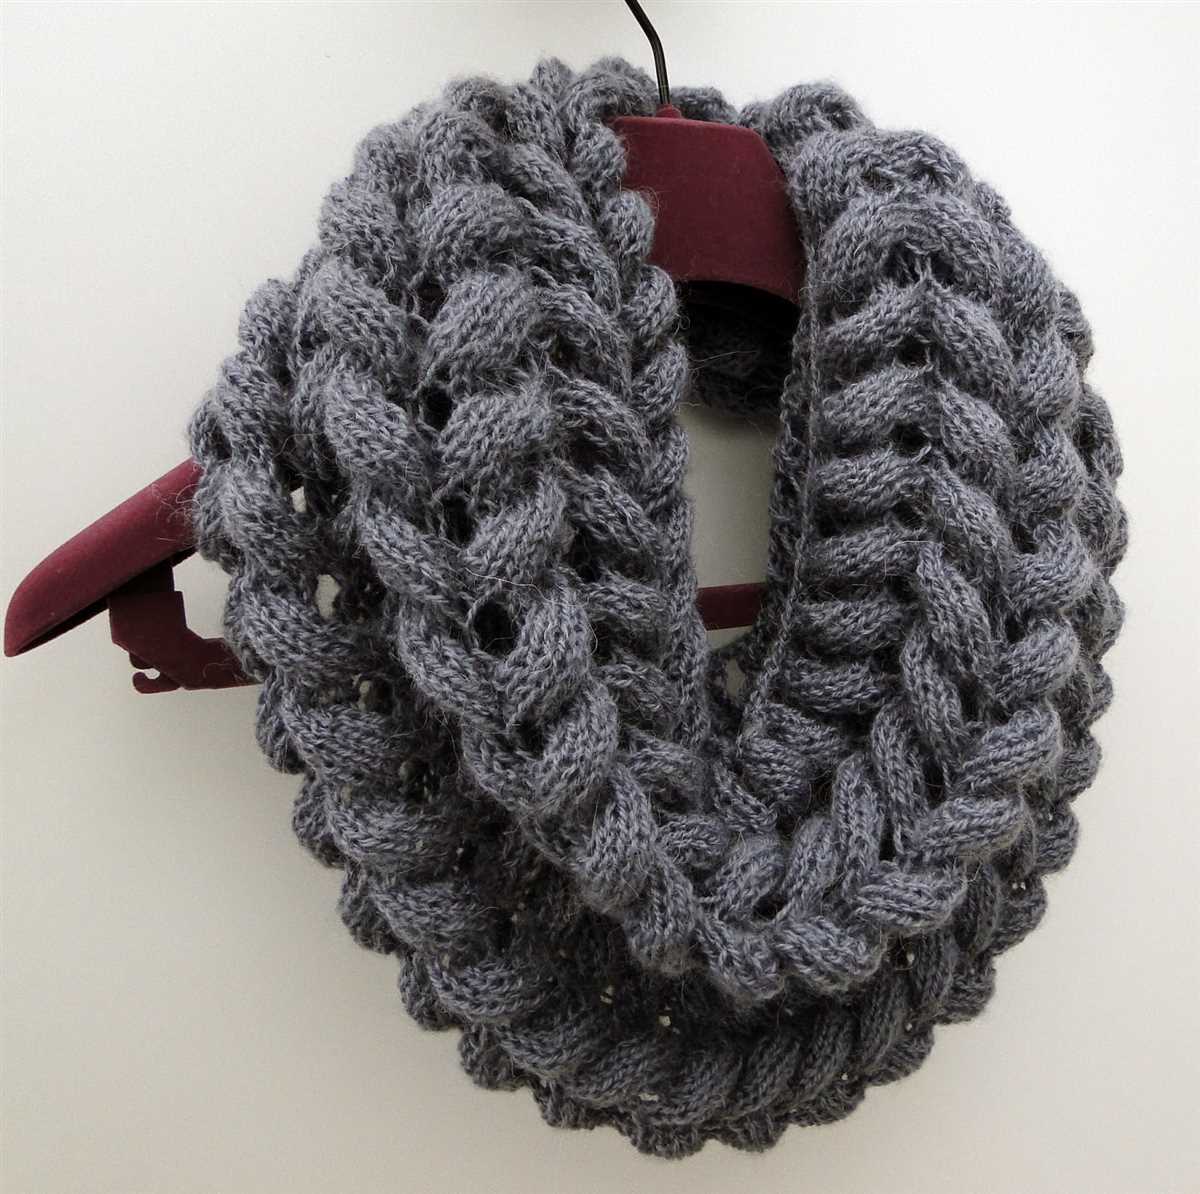
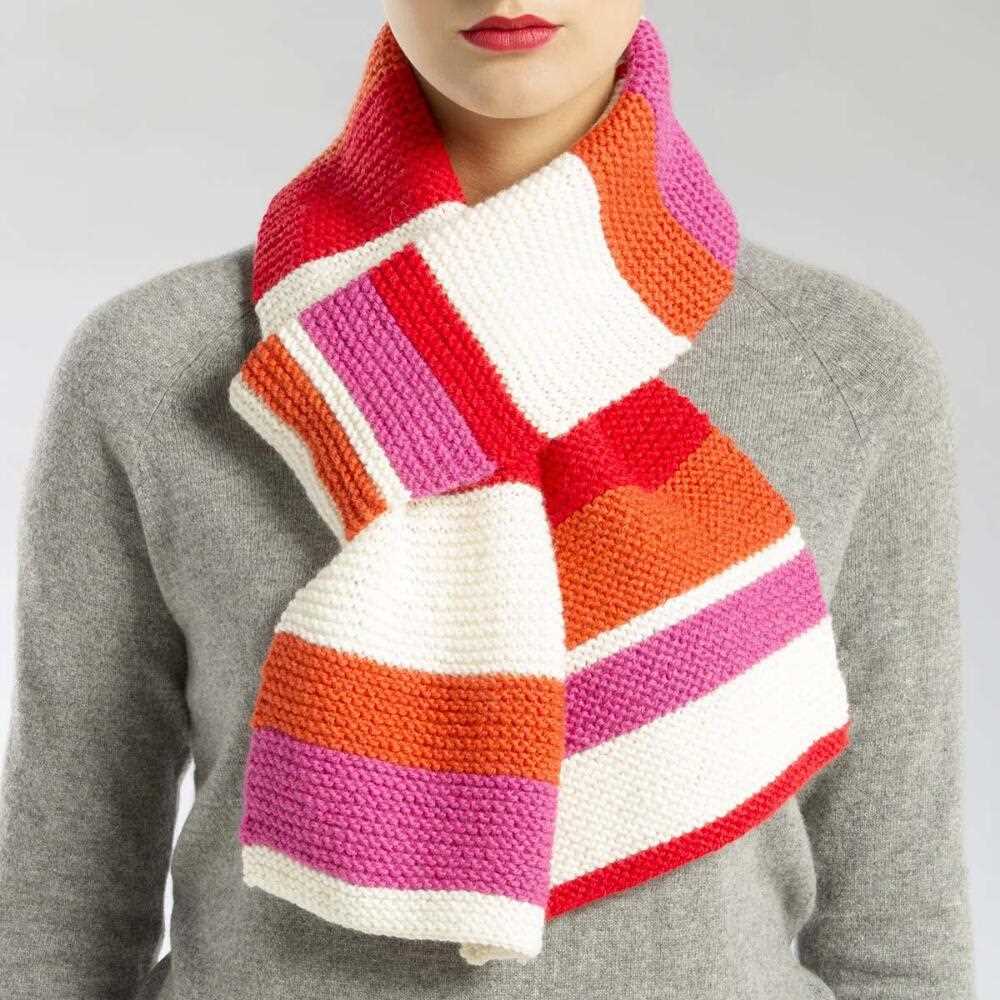
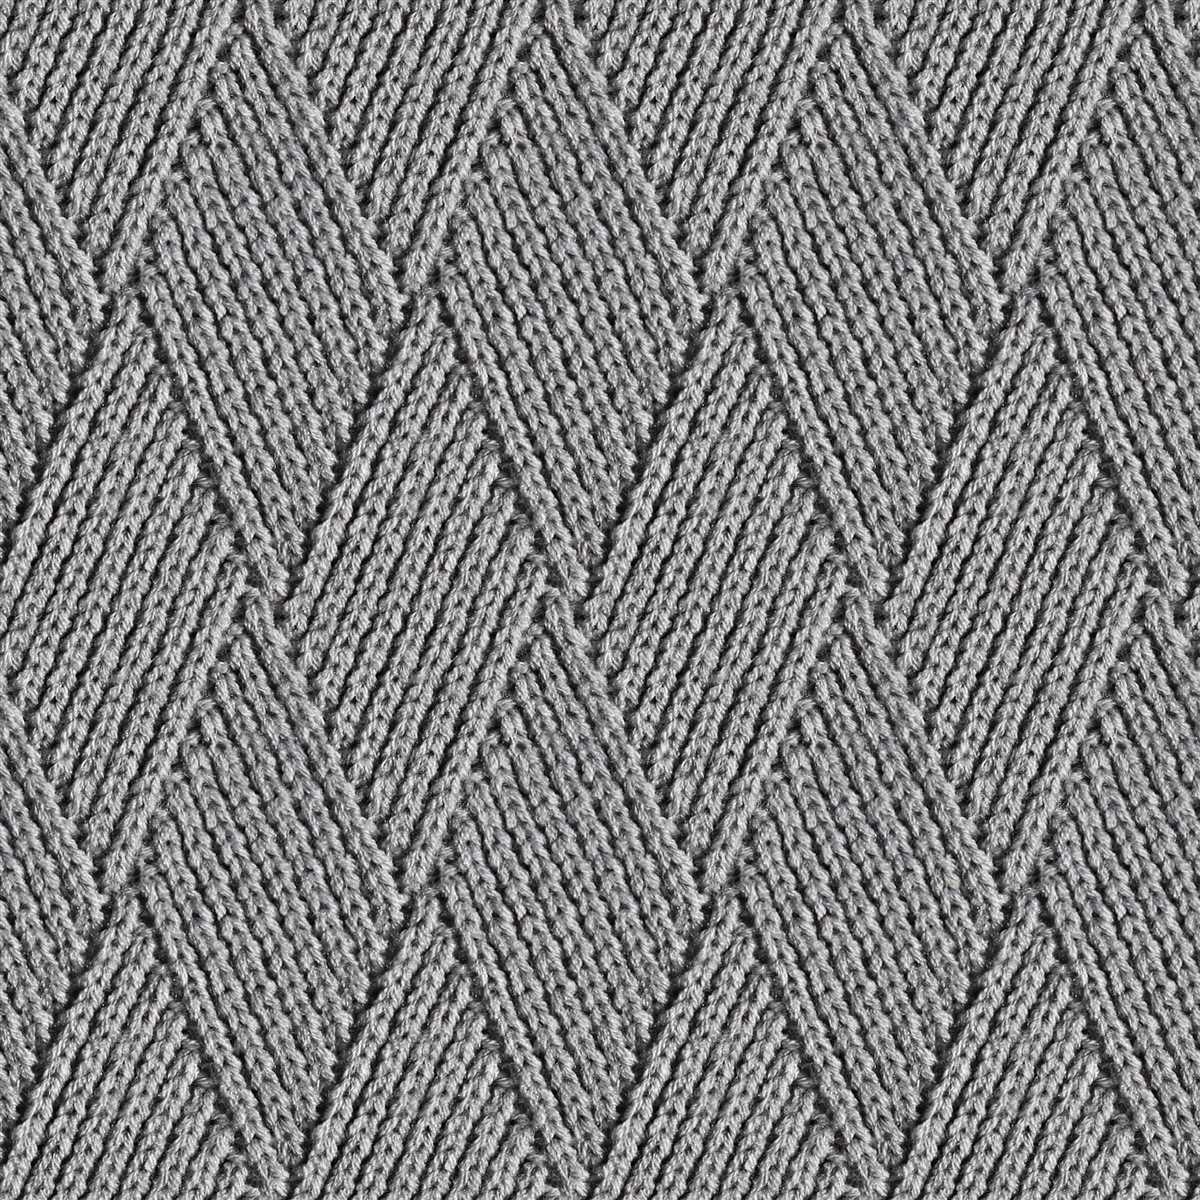
Knit pattern scarves can feature various types of patterns, including cables, lace, colorwork, and textured stitches. These patterns can be simple or complex, depending on the knitter’s skill level and preference. Some knit pattern scarves may incorporate multiple patterns within the same design, creating an intricate and eye-catching look.
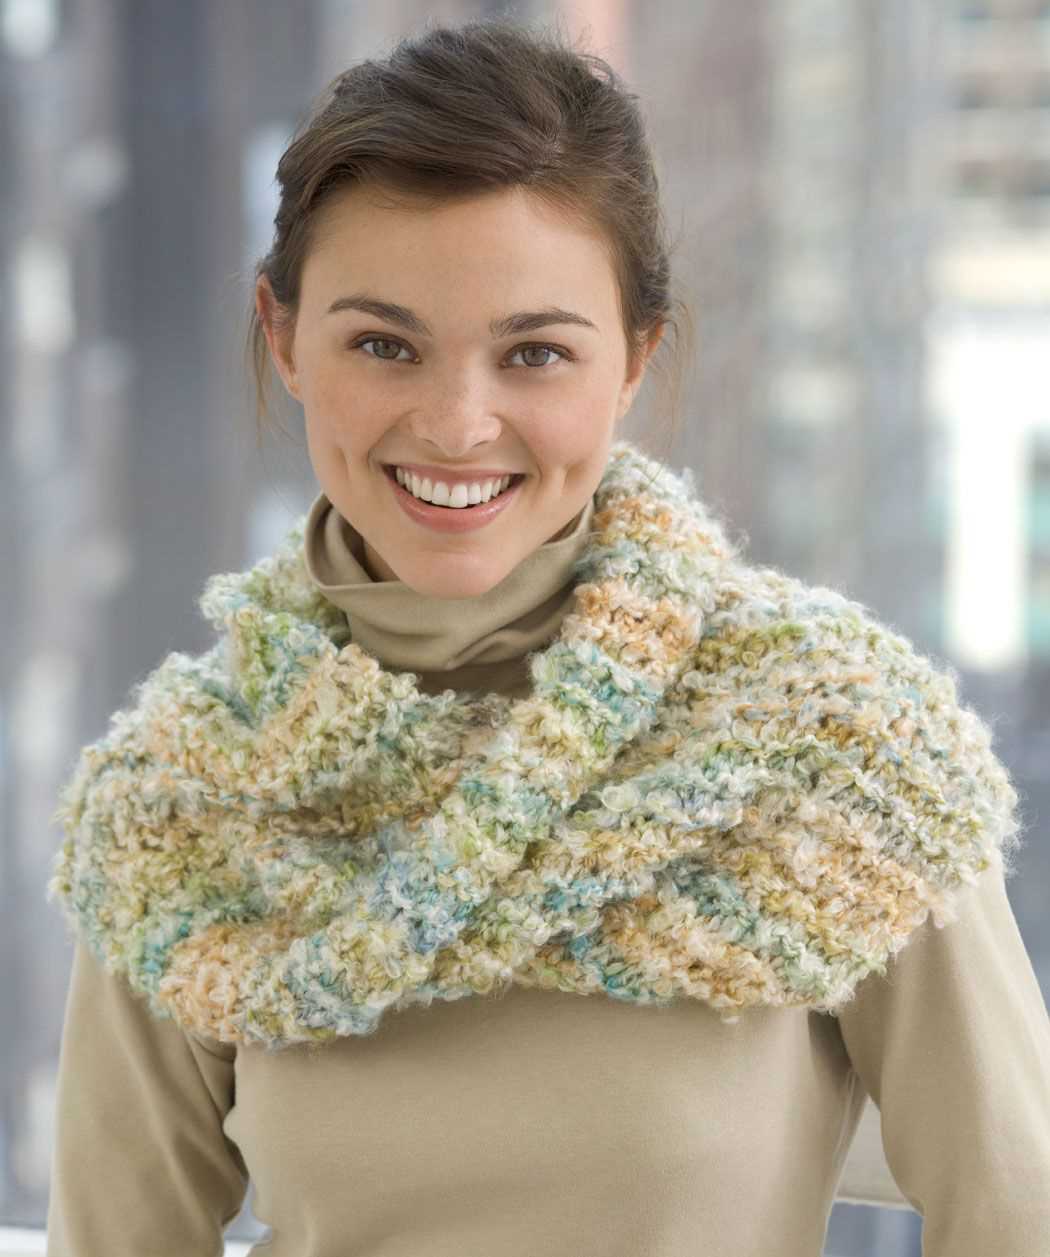
Knit pattern scarves are popular accessories during the colder months, as they provide warmth and style. The patterns can add visual interest to an outfit, making a simple winter coat or sweater more exciting. Additionally, the knit fabric of these scarves tends to be soft and cozy, making them comfortable to wear.
Benefits of knitting your own scarf
Knitting your own scarf can be a rewarding and fulfilling activity. Not only does it provide you with a personal touch to your winter wardrobe, but it also offers a number of other benefits.
1. Customization:
When you knit your own scarf, you have the freedom to customize every aspect of it. You can choose the colors, patterns, and textures that you love, ensuring that your scarf is truly unique and reflects your personal style. Whether you prefer a bold and vibrant design or a more subtle and understated look, knitting allows you to create a scarf that is tailored specifically to your taste.
2. Quality:
Knitting your own scarf allows you to control the quality of the materials used. You can select high-quality yarn that is soft, warm, and durable, ensuring that your scarf will keep you cozy for years to come. Additionally, you have the opportunity to pay attention to detail and create a scarf that is well-made and sturdy. By investing time and effort into knitting your own scarf, you can ensure that it will be a high-quality accessory.
3. Therapeutic benefits:
Knitting has been shown to have therapeutic benefits for the mind and body. It can help reduce stress, improve focus and concentration, and promote relaxation. The repetitive motions of knitting can be calming and meditative, providing a sense of rhythm and peace. Knitting your own scarf allows you to enjoy these therapeutic benefits while also creating something beautiful and practical.
4. Cost savings:
Although knitting your own scarf may require an initial investment in knitting needles and yarn, it can ultimately save you money in the long run. Buying a hand-knit scarf from a store can be expensive, especially if it is made from high-quality materials. By knitting your own scarf, you can create a stylish and warm accessory at a fraction of the cost.
In conclusion, knitting your own scarf provides a range of benefits, including customization, quality control, therapeutic benefits, and cost savings. Whether you are an experienced knitter or a beginner, embarking on a knitting project can be a fulfilling and enjoyable experience. So grab your needles and get ready to knit your way to a cozy and stylish scarf!
Choosing the right yarn
When it comes to knitting a scarf, choosing the right yarn is crucial. The yarn you choose will not only affect the overall appearance and feel of the scarf, but it will also determine how easy or difficult it will be to work with. There are several factors to consider when selecting the yarn for your scarf.
Weight
One of the most important things to consider is the weight of the yarn. The weight refers to the thickness or thinness of the yarn. Different weights are suitable for different types of scarves. For example, if you want a lightweight and airy scarf, you should opt for a lace or fingering weight yarn. On the other hand, if you want a warmer and cozier scarf, you should choose a worsted or bulky weight yarn. The weight of the yarn will also determine the size of your knitting needles or crochet hook.
Fiber
Another important factor to consider is the fiber content of the yarn. Yarns can be made from various fibers, including wool, acrylic, cotton, alpaca, silk, and many more. Each fiber has its own characteristics and properties, which will affect the look, feel, and durability of your scarf. Wool, for example, is known for its warmth and elasticity, while cotton is lightweight and breathable. It’s important to think about the specific qualities you want in your scarf and choose a yarn that aligns with those goals.
Color
The color of the yarn is also an important consideration. The color will not only determine the aesthetic appeal of your scarf, but it can also affect how well the texture and pattern of the scarf show up. If you’re working with a complex stitch pattern, it’s usually best to choose a solid or lightly variegated yarn that won’t detract from the pattern. However, if you want to add visual interest to a simpler pattern, you can opt for a more vibrant or multi-colored yarn. Ultimately, the choice of color is a personal preference, and it’s important to choose a color that you love and that complements your style.
- Consider the weight of the yarn
- Take into account the fiber content
- Choose a color that complements your style
Understanding different yarn weights
When knitting or crocheting, one of the most important factors to consider is the yarn weight. Yarn weight determines the thickness and heaviness of the yarn, which in turn affects the final appearance and drape of the finished project. It is essential to understand the different yarn weights and how they should be used in order to achieve the desired results.
Yarn weight categories:
- Lace: Lace weight yarn is extremely thin and delicate. It is often used for intricate lace patterns and produces a delicate, lightweight fabric.
- Fingering: Fingering weight yarn is slightly thicker than lace weight and is commonly used for lightweight and fine projects such as socks and shawls.
- Sport: Sport weight yarn is a bit heavier than fingering weight and is suitable for a variety of projects including sweaters, baby clothes, and lightweight accessories.
- DK: DK, or double knitting, yarn is a versatile option that can be used for a wide range of projects, including garments and accessories.
- Worsted: Worsted weight yarn is the most commonly used yarn weight. It is slightly heavier than DK and is commonly used for garments, blankets, and home decor items.
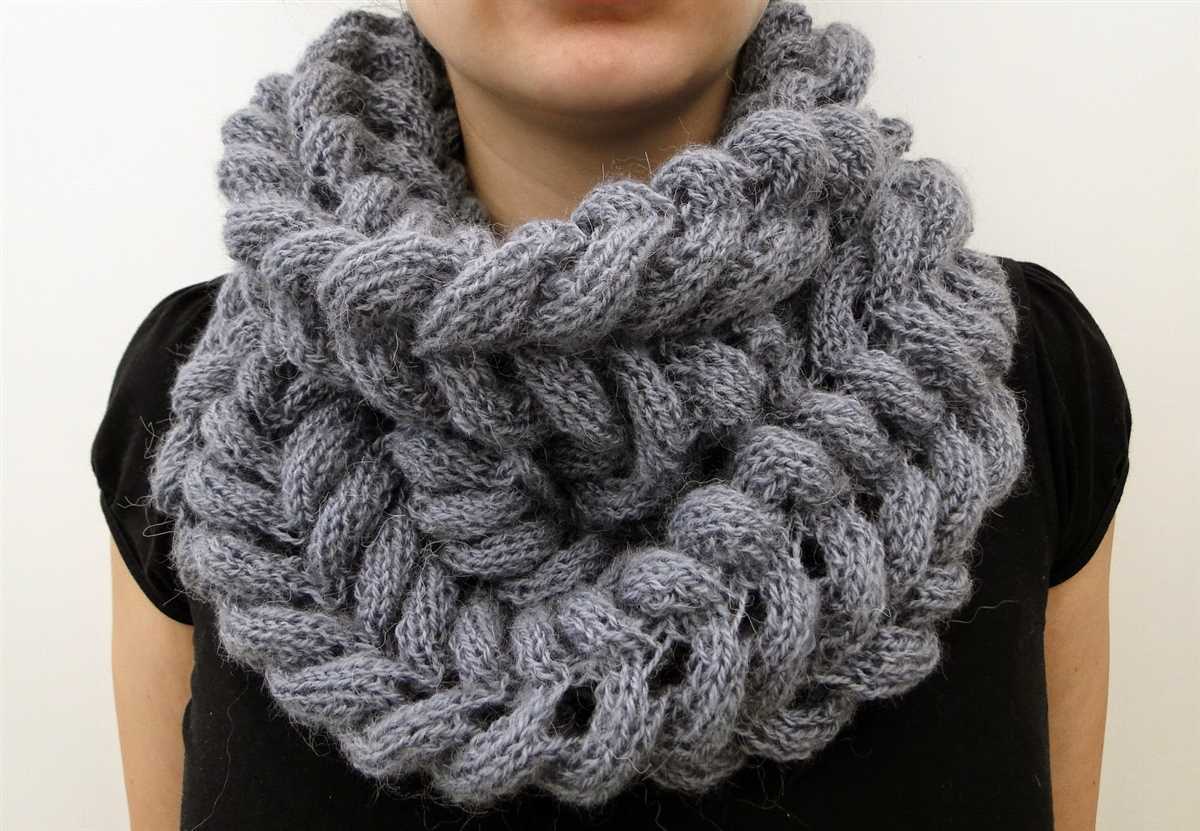
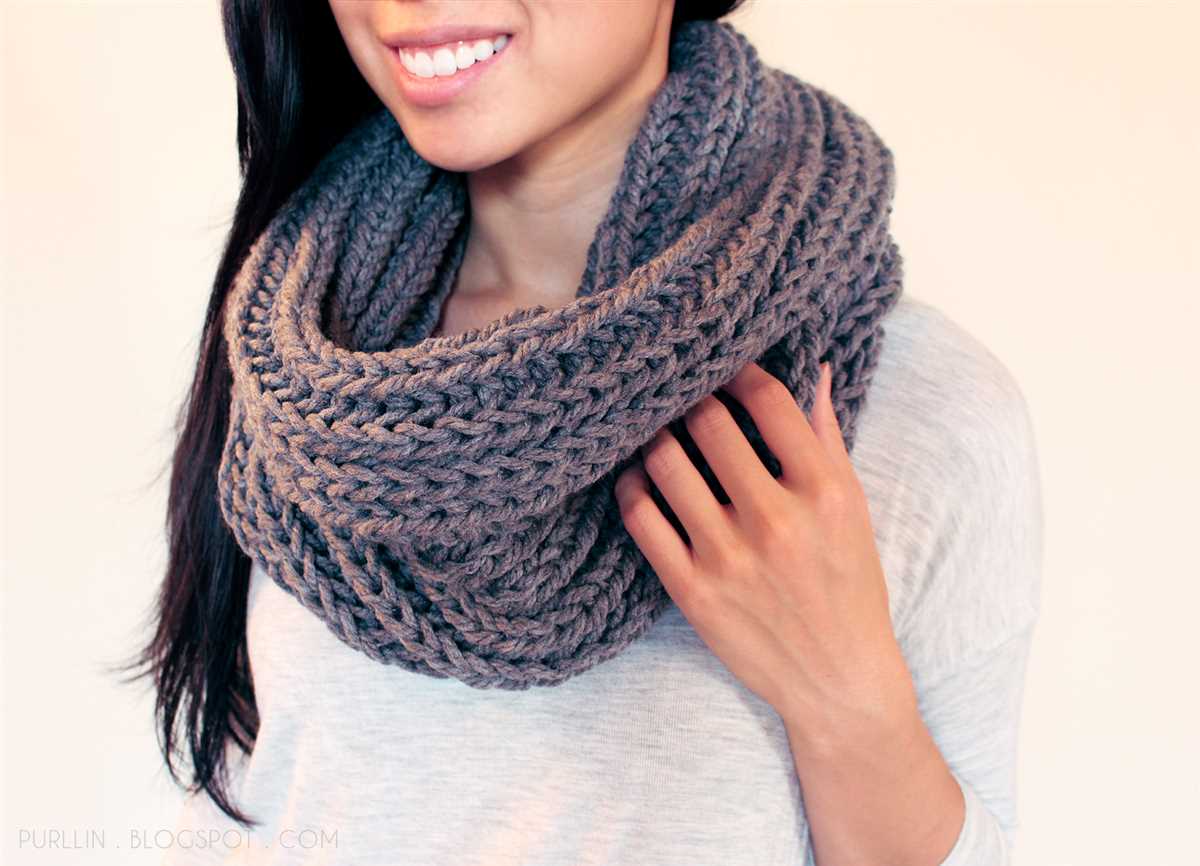
- Bulky: Bulky weight yarn is thick and chunky, making it perfect for warm and cozy projects such as hats, scarves, and blankets.
- Super Bulky: Super bulky weight yarn is the heaviest and thickest option available. It creates large and quick projects, such as chunky blankets and oversized sweaters.
Understanding yarn weight helps knitters and crocheters choose the appropriate yarn for their projects. It ensures that the finished item will have the desired drape, texture, and warmth. Additionally, it allows for easy pattern substitution, as many patterns specify the recommended yarn weight. By familiarizing themselves with the different yarn weights, crafters can confidently select the perfect yarn for any project.
Choosing the right texture and color
When it comes to knitting a scarf, one of the key factors to consider is the texture of the yarn. The texture of the yarn will determine the final look and feel of the scarf, as well as its warmth and durability. There are various textures to choose from, such as smooth, chunky, or textured. Smooth yarns create a clean and polished look, while chunky yarns add a cozy and bulky feel to the scarf. Textured yarns, on the other hand, can add a unique and intricate pattern to the scarf.
Another important aspect to consider when choosing a yarn for your scarf is the color. The right color can enhance the overall design and complement your personal style. Neutral colors like black, gray, and beige are versatile and can easily match any outfit. Bright and bold colors add a pop of personality and can make a statement. It’s also a good idea to consider the season and occasion when choosing the color of your scarf. For example, earthy tones are perfect for fall, while pastel colors are ideal for spring.
Factors to consider when choosing a texture:
- Smooth yarns create a clean and polished look.
- Chunky yarns add a cozy and bulky feel.
- Textured yarns can add a unique and intricate pattern.
Factors to consider when choosing a color:
- Neutral colors are versatile and match any outfit.
- Bright and bold colors add a pop of personality.
- Consider the season and occasion when choosing a color.
Getting started with the knit pattern
Knitting is a popular and versatile craft that allows you to create beautiful and functional items, such as scarves, hats, and sweaters. If you’re new to knitting, getting started with a simple knit pattern is a great way to learn the basics and build your skills.
Before you begin, you’ll need a few essential supplies. You’ll need a pair of knitting needles, which come in various sizes and materials. For beginners, it’s best to start with medium-sized needles, such as US size 8 (5 mm). You’ll also need a ball of yarn in the color and weight of your choice. Worsted weight yarn is a good option for beginners.
To start your knit pattern, you’ll first need to cast on stitches. This is the process of creating the foundation row of stitches on your needle. There are several methods you can use to cast on, such as the long-tail cast on or the knitted cast on. Once you’ve cast on your stitches, you’re ready to begin knitting.
- Hold the needle with the cast on stitches in your right hand and the empty needle in your left hand.
- Insert the right needle into the first stitch on the left needle, from left to right.
- With your right hand, bring the yarn over the right needle from back to front.
- Using the right needle, pull the yarn through the stitch, slipping it off the left needle.
- Repeat these steps for each stitch until you’ve knit all the stitches on the left needle.
- When you’ve finished the row, turn the work around and start knitting the next row.
Continue knitting row by row until you’ve completed the desired length for your scarf. Remember to take breaks and stretch your hands regularly to avoid fatigue. With practice, you’ll soon master the knit stitch and be able to create more intricate patterns and designs.
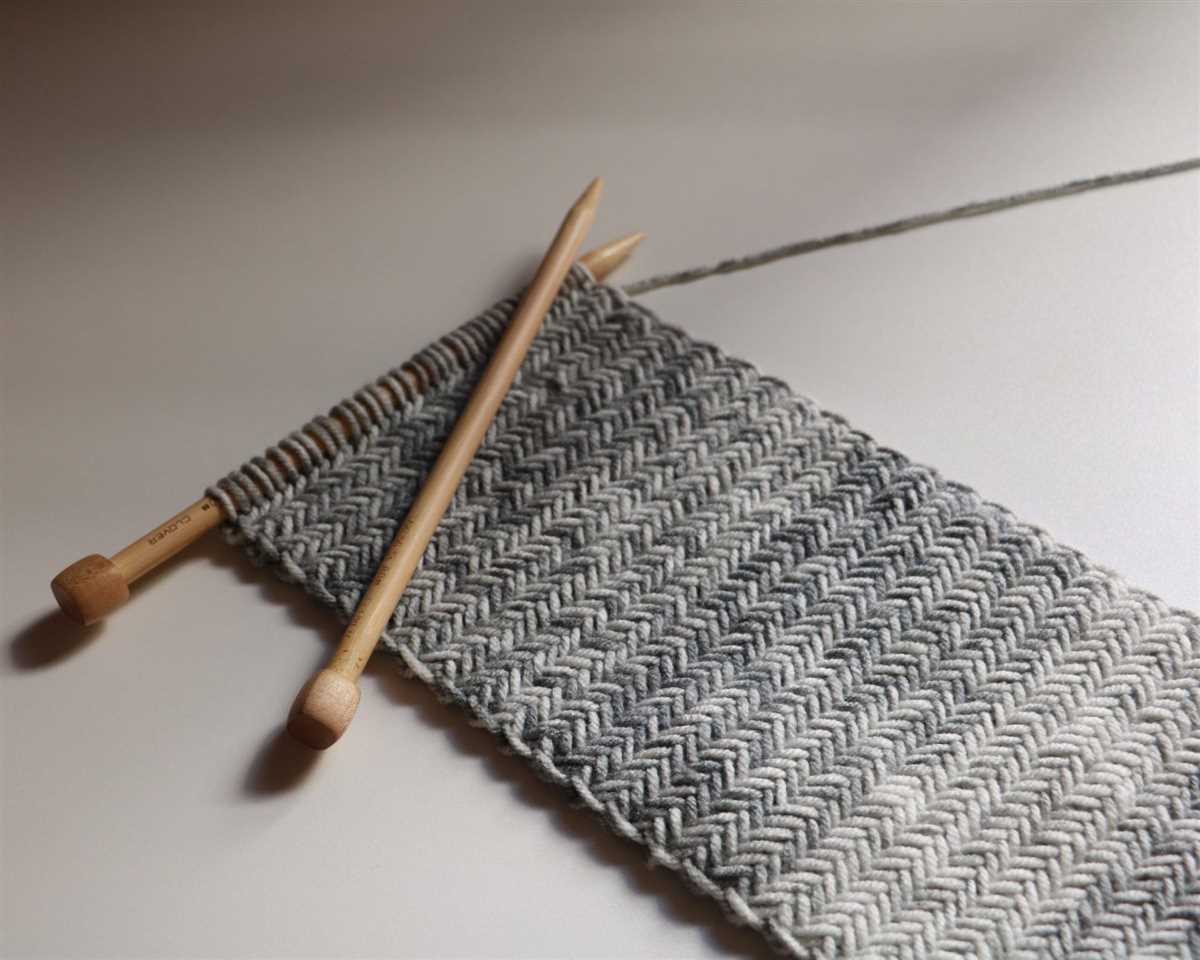
Reading and understanding the pattern
When it comes to knitting, reading and understanding the pattern is crucial. It is the blueprint that guides you through the process of creating your desired scarf. By carefully following the pattern, you ensure that your finished product turns out just as you envisioned.
Key Components:
- Stitch abbreviations: The pattern includes various stitch abbreviations, such as knit (K), purl (P), yarn over (YO), and slip slip knit (SSK). Understanding these abbreviations is essential for following the instructions correctly.
- Gauge: The gauge is the number of stitches and rows per inch. It determines the size of the finished scarf. Always check your gauge before starting to ensure that your scarf will be the right size.
- Materials: The pattern specifies the type of yarn and needle size required for the project. Make sure to gather all the necessary materials before starting.
- Instructions: The pattern provides step-by-step instructions on how to create the scarf. It includes information on casting on, stitch patterns, shaping, and finishing techniques. Read each instruction carefully to ensure you understand what needs to be done.
- Charts and diagrams: Some patterns include charts or diagrams to help visualize the stitch patterns and shaping. Familiarize yourself with these charts and refer to them as needed.
When reading the pattern, it’s important to take your time and go through each section carefully. Start by familiarizing yourself with the key components, such as the stitch abbreviations and materials required. Then, follow the instructions step-by-step, referring to any charts or diagrams as needed.
Tips:
- Highlight or circle important instructions to ensure you don’t miss anything.
- Use stitch markers to keep track of stitch patterns and shaping.
- Take note of any special techniques or stitches that may be new to you and practice them before starting the project.
- If you’re unsure about any part of the pattern, don’t hesitate to consult knitting resources or ask for help from experienced knitters.
Remember, reading and understanding the pattern is the key to successfully creating your knit scarf. Take your time, be patient, and enjoy the journey of bringing the pattern to life with your own hands.
Mastering basic knitting stitches
Knitting is a timeless craft that allows you to create beautiful and functional pieces using just a pair of needles and some yarn. In order to become proficient in knitting, it is important to master the basic stitches. These stitches serve as the foundation for countless knitting patterns, and once you have a solid grasp of them, you will be able to tackle more complex projects.
1. Knit stitch: The knit stitch is the most fundamental stitch in knitting. It creates a smooth, flat texture and is often used for the right side of a project. To knit, insert the right needle into the next stitch on the left needle from left to right, and then bring the yarn over the right needle and through the stitch. Repeat this process until all stitches have been worked.
2. Purl stitch: The purl stitch is the opposite of the knit stitch and creates a bumpy texture. It is often used for the wrong side of a project or for ribbing. To purl, insert the right needle into the next stitch on the left needle from right to left, and then bring the yarn under the right needle and through the stitch. Repeat this process until all stitches have been worked.
3. Garter stitch: The garter stitch is created by knitting every stitch on every row. This stitch pattern produces a ridged texture that is reversible, making it suitable for scarves, blankets, and other projects where both sides will be visible.
4. Stockinette stitch: The stockinette stitch is created by alternating rows of knit and purl stitches. This stitch pattern produces a smooth and flat texture on one side (the right side), and a bumpy texture on the other side (the wrong side). It is commonly used for sweaters, socks, and other garments.
By mastering these basic knitting stitches, you will have a solid foundation to build upon as you explore more advanced techniques and patterns. With practice and patience, you will be able to create beautiful knitted pieces that you can be proud of.
Step-by-step instructions
To create your own knitted pattern scarf, follow the steps below:
1. Gather necessary materials
- Two skeins of worsted-weight yarn in two different colors
- Size 10 knitting needles
- A yarn needle
- Scissors
Make sure you have all the materials before starting the project.
2. Cast on stitches
Using one color of yarn, make a slip knot and place it on one knitting needle. Slide the knot to the other end of the needle. Hold the needle with the slip knot in your right hand and the empty needle in your left hand. Insert the left needle into the slip knot from front to back, forming a loop around the right needle. Pull the right needle through this loop and tighten the stitch. Repeat this step until you have cast on the desired number of stitches for your scarf.
3. Follow the pattern
Using the knit and purl stitches, follow the pattern you have chosen for your scarf. If you are a beginner, you can start with a simple pattern like garter stitch, which involves knitting every row. If you are more experienced, you can try more complex patterns like ribbing or cables. The pattern will specify how many rows to knit in each color and any special stitch instructions.
4. Change colors
If your pattern requires a color change, cut the yarn of the current color, leaving a tail of a few inches. Attach the new color of yarn by making a slip knot and placing it on your right needle. Slide the knot to the other end of the needle and tighten. Leave a tail of a few inches. Continue following the pattern with the new color of yarn.
5. Bind off stitches
Once you have reached the desired length for your scarf, it’s time to bind off the stitches. Knit two stitches, then use your left needle to lift the first stitch over the second stitch and off the right needle. Knit one more stitch, then lift the previous stitch over the new stitch and off the right needle. Repeat this process until you have one stitch left on your right needle. Cut the yarn, leaving a tail of a few inches, and pull it through the last stitch to secure it.
Follow these steps to create your own knitted pattern scarf and enjoy staying warm and stylish during the colder months!
Cast on and knit the first row
The first step in knitting your scarf is to cast on the number of stitches you need. To do this, hold the end of your yarn in your dominant hand and make a slipknot. Insert your knitting needle into the loop of the slipknot and pull it tight. This is your first stitch. Repeat this process until you have cast on the desired number of stitches, following the pattern instructions. This will create the foundation for your scarf.
Once you have cast on, it’s time to knit the first row. Hold the knitting needle with the stitches in your non-dominant hand, and hold the other empty needle in your dominant hand. Insert the empty needle into the first stitch on the other needle, from left to right. Hold the yarn in your dominant hand and bring it over the needle, crossing it in front of the needle. Then, bring the needle through the stitch, pulling the yarn with it, and slip the stitch off the other needle. Repeat this process for each stitch on the needle, until all the stitches have been transferred to the empty needle. This completes the first row of knitting.
Remember to take your time and keep your tension even as you cast on and knit the first row. Pay attention to the pattern instructions to ensure you are casting on the correct number of stitches and knitting them correctly. As you become more comfortable with the process, you can adjust your knitting speed and tension to suit your preferences. Before you know it, you’ll be well on your way to completing your knit pattern scarf!
Continue knitting in the pattern
Once you have completed the first few rows of your knit pattern scarf, it is important to continue knitting in the pattern to achieve the desired design. This will ensure that the scarf looks uniform and consistent throughout.
To continue knitting in the pattern, carefully read the instructions provided in the pattern guide. Pay attention to any repeat sections or special stitches that need to be incorporated. It may be helpful to use stitch markers or highlighters to keep track of your progress and ensure you don’t miss any important steps.
Remember to keep your tension consistent as you continue knitting. This will help maintain an even and professional-looking finish. Take breaks if needed, but try to keep a steady rhythm to your knitting to maintain a consistent tension.
If you come across any difficulties or have any questions while knitting in the pattern, refer back to the pattern guide or consult with experienced knitters or online communities. They can provide guidance and support to help you successfully continue knitting in the pattern.
Lastly, remember to enjoy the process! Knitting a scarf can be a relaxing and enjoyable activity, and continuing to knit in the pattern will bring you closer to completing your beautiful scarf.
Finishing touches
After completing your knitted scarf, it’s time to add some finishing touches to make it truly special. These small details can elevate your scarf from just a simple accessory to a personalized and unique piece. Here are a few suggestions to consider:
- Friction-resistant stitch: To ensure that your scarf stays intact and doesn’t unravel easily, consider using a friction-resistant stitch at the ends. You can use a whip stitch or a crochet slip stitch to secure the last row and prevent any potential fraying.
- Blocking: Blocking is a technique used to reshape and relax the stitches in your knitted fabric. It can help improve the drape and overall appearance of your scarf. To block your scarf, wet it with water and gently stretch it into the desired shape. Pin it in place and let it dry completely.
- Adding tassels or fringe: Tassels or fringe can add a playful and decorative element to your scarf. Cut several strands of yarn to your desired length and attach them to the ends of your scarf. You can secure them with a knot or use a crochet hook to pull each strand through the stitches.
- Embroidery or applique: If you want to add some extra flair to your scarf, consider stitching embroidery or applique designs onto it. You can use contrasting yarn or fabric to create intricate patterns or personalize it with initials or motifs.
- Labels or tags: Adding a small label or tag with your name or the date can make your knitted scarf feel more professional and give it a personalized touch. You can sew or attach a fabric label or use a small tag and attach it to one corner of the scarf.
Remember, these finishing touches are optional and depend on your personal preference and the style you want to achieve. Experiment with different techniques and have fun customizing your scarf to make it truly one-of-a-kind.
Binding off and Securing the Ends
Once you have completed your knitted scarf, it’s important to properly bind off and secure the ends to ensure that your work doesn’t unravel. Here are the steps to binding off and securing the ends:
- Begin by knitting the first two stitches as usual.
- Using your left needle, lift the first stitch on the right needle and pass it over the second stitch and off the needle. This leaves one stitch on the right needle.
- Knit the next stitch on the left needle, then pass the second stitch on the right needle over it and off the needle. Continue this process until you have one stitch remaining.
- Cut the yarn, leaving a tail that is about six inches long. Thread the tail through the last stitch, pull it tight, and secure with a knot.
Next, you’ll want to secure the loose ends of yarn that were created during color changes or joining new balls of yarn. To do this:
- Weave in the loose ends using a yarn needle. Thread the loose end onto the needle and weave it in and out of the nearest stitches for a few inches, making sure to avoid pulling the fabric or distorting the shape of the scarf.
- Once you have woven the end in sufficiently, trim any excess yarn, leaving a small tail.
By properly binding off and securing the ends of your knitted scarf, you can prevent it from unraveling and ensure that your finished piece is neat and professional-looking. With these simple steps, you’ll be able to enjoy wearing your cozy and stylish scarf while staying warm during the colder months!