
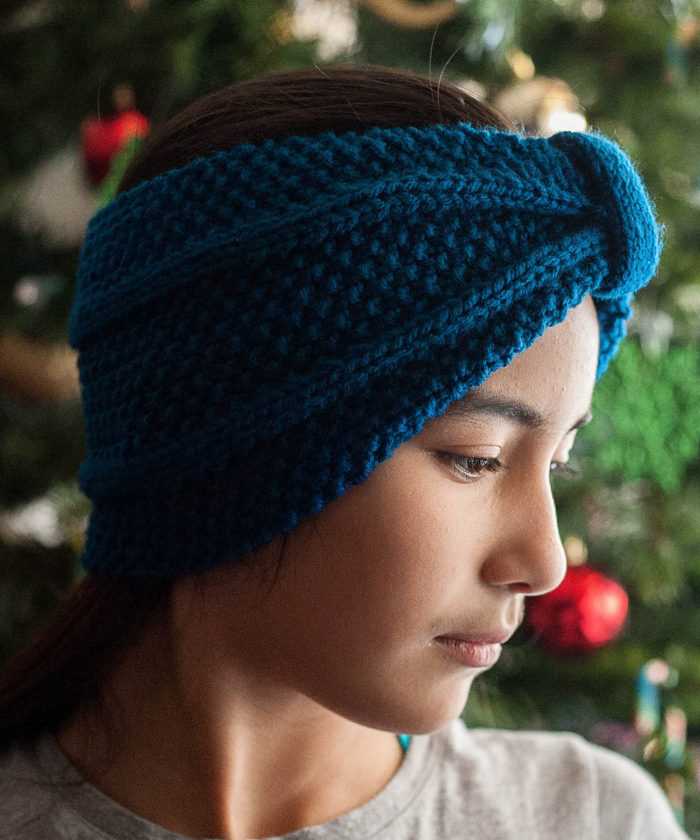
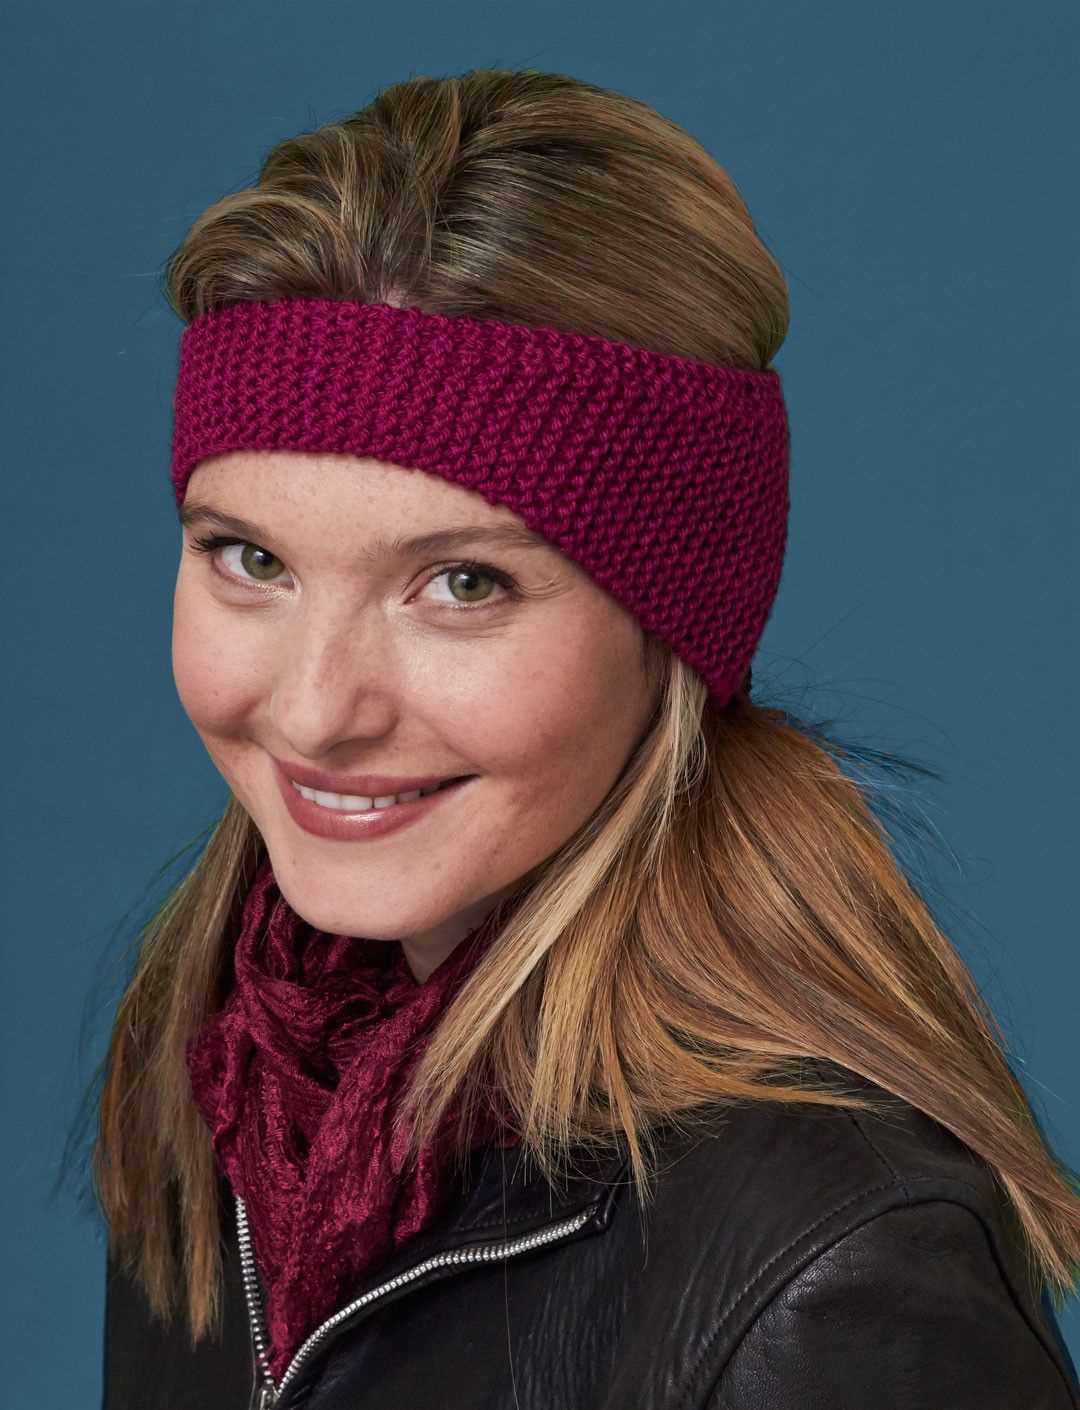
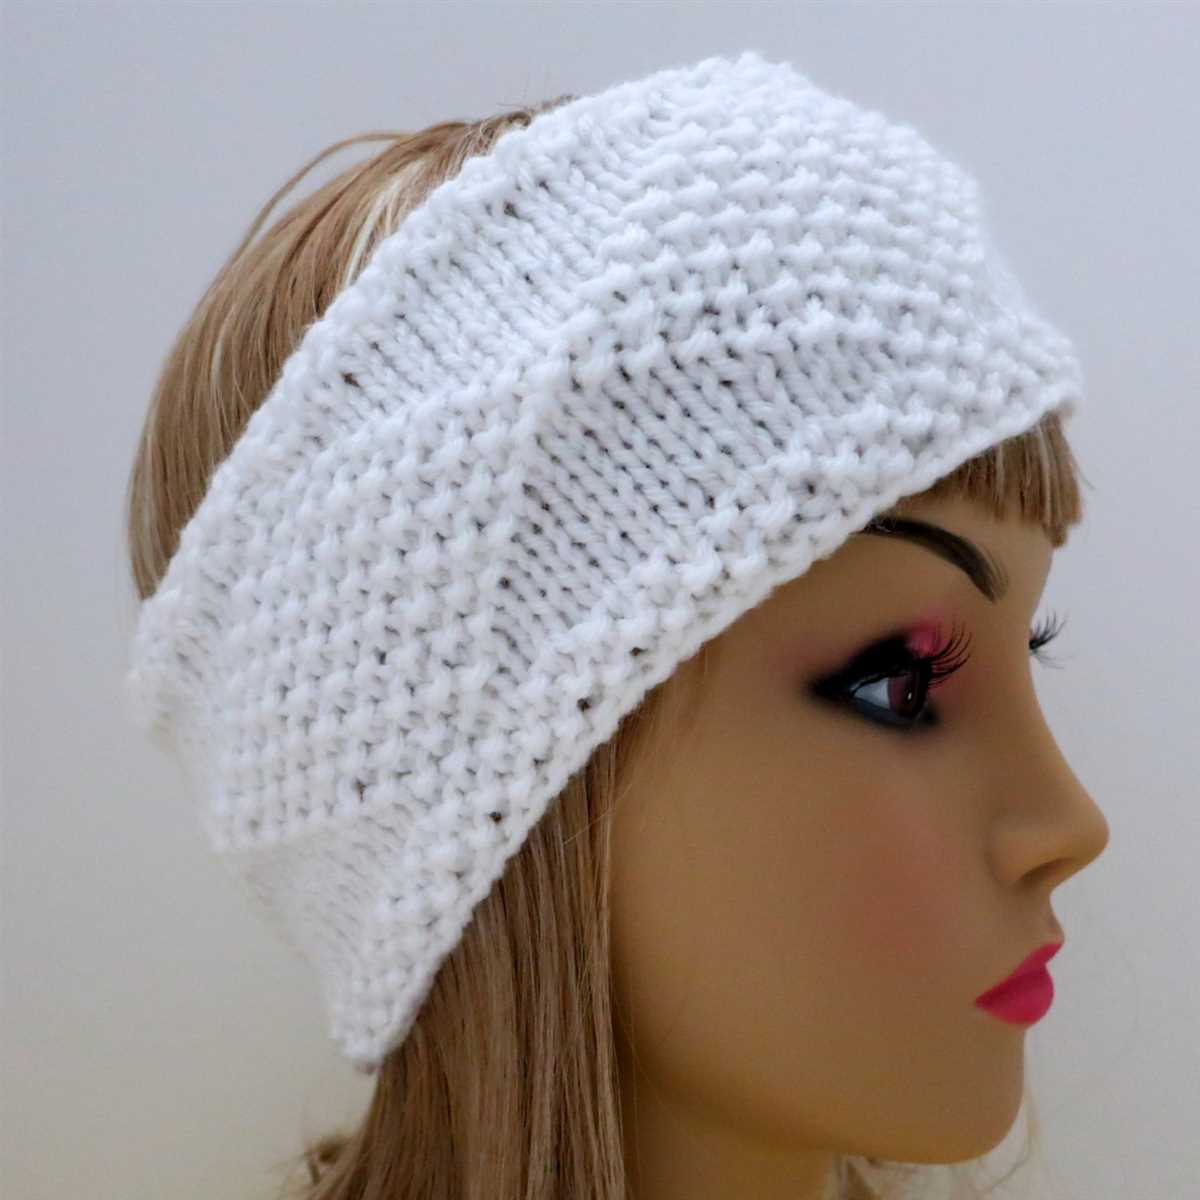
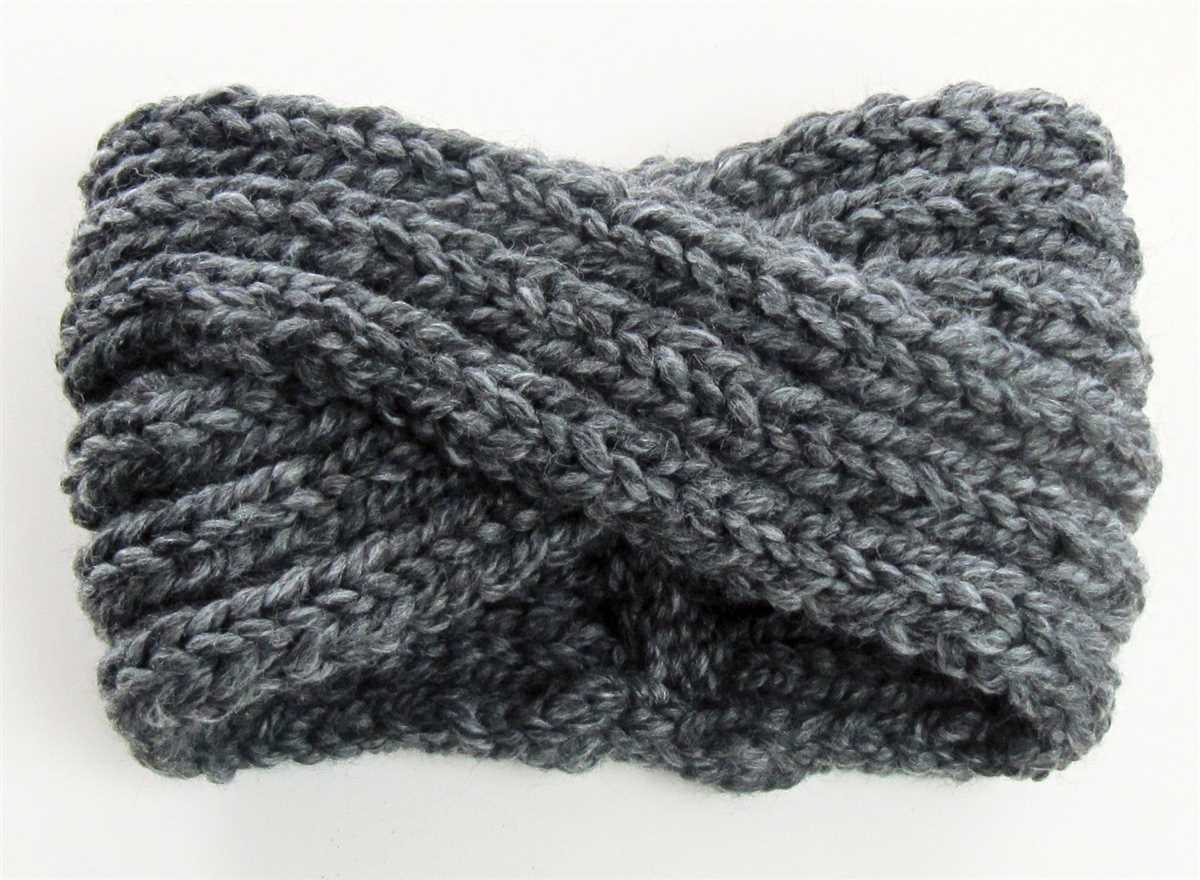
If you’re looking for a stylish and practical accessory to keep your ears warm during the colder months, a knit headband ear warmer is the perfect solution. Not only does it provide warmth and comfort, but it also adds a touch of style to any outfit.
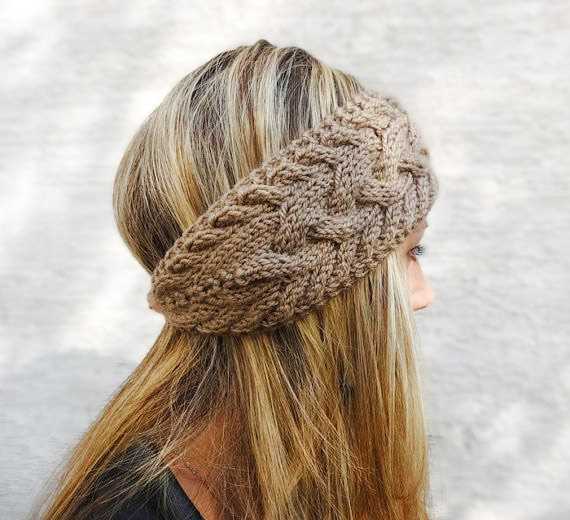
With this knit headband ear warmer pattern, you can create your own unique and personalized accessory. Whether you prefer a simple and classic design or something more intricate and colorful, the possibilities are endless. Plus, knitting your own headband allows you to choose the perfect yarn and color that matches your style and preferences.
This pattern is suitable for knitters of all levels, from beginners to advanced. It includes step-by-step instructions and helpful tips to guide you through the process. So, even if you’ve never knitted before, you’ll be able to create a beautiful headband ear warmer in no time.
Get ready to cozy up and stay warm this season with a handmade knit headband ear warmer. Whether you’re heading out for a winter walk or simply want to add some flair to your everyday look, this accessory is sure to become a staple in your wardrobe.
How to Make a Knit Headband Ear Warmer
To make a knit headband ear warmer, you will need a set of knitting needles and a ball of yarn in your desired color. Start by casting on the required number of stitches, which will depend on the width of the headband you want to create. A typical headband usually requires around 30 stitches, but you can adjust this as needed.
Once you have cast on the stitches, begin knitting the headband in your chosen stitch pattern. You can use a simple knit stitch for a basic headband, or get creative with different stitch patterns like ribbing or cables. Continue knitting until the headband is long enough to comfortably fit around your head, usually around 18-20 inches.
Next, it’s time to shape the ear warmer. You can do this by decreasing stitches gradually towards the ends of the headband. To do this, start by knitting two stitches together at the beginning and end of each row. Repeat this decrease row every few rows until you have reached your desired shape and width for the ear warmers.
Once you have finished shaping, bind off your stitches and secure any loose ends of yarn. You can then seam the two ends of the headband together using a simple whip stitch or mattress stitch. This will create a loop that can be worn around your head to keep your ears warm.
Finally, you can add any desired embellishments or decorations to your headband ear warmer. You can attach a bow, a flower, or even some buttons for a personalized touch. Use a needle and thread to securely attach these embellishments to the headband, and your knit headband ear warmer is now ready to wear!
Choosing Yarn and Needles
When it comes to knitting a headband ear warmer, choosing the right yarn and needles can make all the difference in the final product. The yarn you select will determine the warmth, comfort, and durability of the headband, while the needles will play a crucial role in achieving the desired tension and stitch definition.
Yarn: Selecting the right yarn for your headband is essential. Look for yarn that is soft and cozy, as it will be in direct contact with your skin. Opt for a yarn that has a good amount of stretch and elasticity, such as wool or a wool-blend. This will help ensure a snug and comfortable fit. Additionally, consider choosing a yarn that is easy to care for, as you will want to wash your headband regularly to keep it fresh and clean.
Needles: The type and size of needles you use will depend on the yarn weight you have chosen and the desired tension. For a headband ear warmer, it is typically best to use circular needles to accommodate the width of the headband and allow for easy knitting in the round. The length of the circular needles will depend on the width of your headband. As for the needle size, choose one that will help you achieve the recommended gauge specified in the pattern. This will ensure that your headband turns out the right size and shape.
- Consider yarn that is soft, cozy, and has good stretch and elasticity.
- Choose a yarn that is easy to care for and can withstand regular washing.
- Use circular needles for knitting the headband in the round.
- Select a needle size that will help you achieve the recommended gauge.
Casting on Stitches
Casting on is the first step in any knitting project, and it’s essential to get it right to ensure the right fit and tension of your finished headband ear warmer. There are several methods you can use to cast on stitches, and the one you choose will depend on your personal preference and the type of edge you want for your headband.
One common method is the long tail cast on, which creates a neat and elastic edge. To do this, you will need to estimate the length of yarn you’ll need for the cast on and leave a long tail before starting. Then, make a slipknot and place it on your knitting needle. Hold the tail end of the yarn in your right hand and the working yarn in your left hand. Insert the right-hand needle into the slipknot and loop the working yarn around it, creating a new stitch. Repeat this process until you have the required number of stitches.
Another method is the knitted cast on, which is great for beginners as it uses the same motion as a regular knit stitch. To begin, make a slipknot and place it on your knitting needle. Hold the working yarn in your right hand and the needle with the slipknot in your left hand. Insert the right-hand needle into the slipknot from front to back as if you were going to knit a stitch. Wrap the working yarn around the right-hand needle and pull it through the slipknot, creating a new stitch. Repeat this process until you have the desired number of stitches.
Working the Ribbing
Before starting the ribbing, cast on the desired number of stitches using the long-tail cast-on method. Make sure to leave a long tail of yarn for later use.
Row 1: Start by knitting the first stitch. Then, purl the next stitch, and continue knitting and purling in this pattern until you reach the end of the row.
Repeat Row 1 for the desired length of the ribbing. The ribbing can be made as long as you want, depending on how wide you want the headband ear warmer to be.
Finishing Row: Once you have reached the desired length, end with a purl stitch. This will create a neat edge for the ribbing.
Next, fold the ribbing in half, lining up the cast-on and finishing rows. Use the long tail of yarn left from the cast-on to sew the two edges together using a yarn needle. Make sure to sew in a straight line to create a seamless look for the headband.
After sewing the edges together, weave in any loose ends of yarn to secure them and prevent unraveling. With the ribbing complete, you can now move on to the main part of the knit headband ear warmer pattern.
Transitioning to the Main Pattern
After completing the ribbing, it is time to transition to the main pattern of the knit headband ear warmer. To do this, you will need to follow the instructions provided in the pattern.
Step 1: Start by knitting the first row of the main pattern stitch. This could be a simple stitch or a more complex stitch pattern, depending on the design you are following. Make sure to read the pattern carefully and understand the stitches and techniques required.
Step 2: Repeat the main pattern stitch for the specified number of rows or until the desired length is reached. This will create the main body of the headband. It is important to maintain the correct stitch count and tension throughout this section to ensure an even and professional-looking finish.
As you work through the main pattern, you may encounter additional instructions such as increasing or decreasing stitches, changing colors, or incorporating different stitch patterns. Follow these instructions carefully and make any necessary adjustments to your knitting as needed.
Note: It is important to keep track of your rows and stitches, especially if you plan on making multiple headbands or need to match a specific size or gauge. Keeping a row counter or marking off rows on a piece of paper can help you stay organized.
Continue working the main pattern until you reach the desired length or until the pattern instructs you to transition to the next section. Following the pattern instructions accurately will ensure that your knit headband ear warmer turns out as intended. Stay focused and enjoy the process as you create a cozy and stylish accessory!
Knitting the Main Pattern
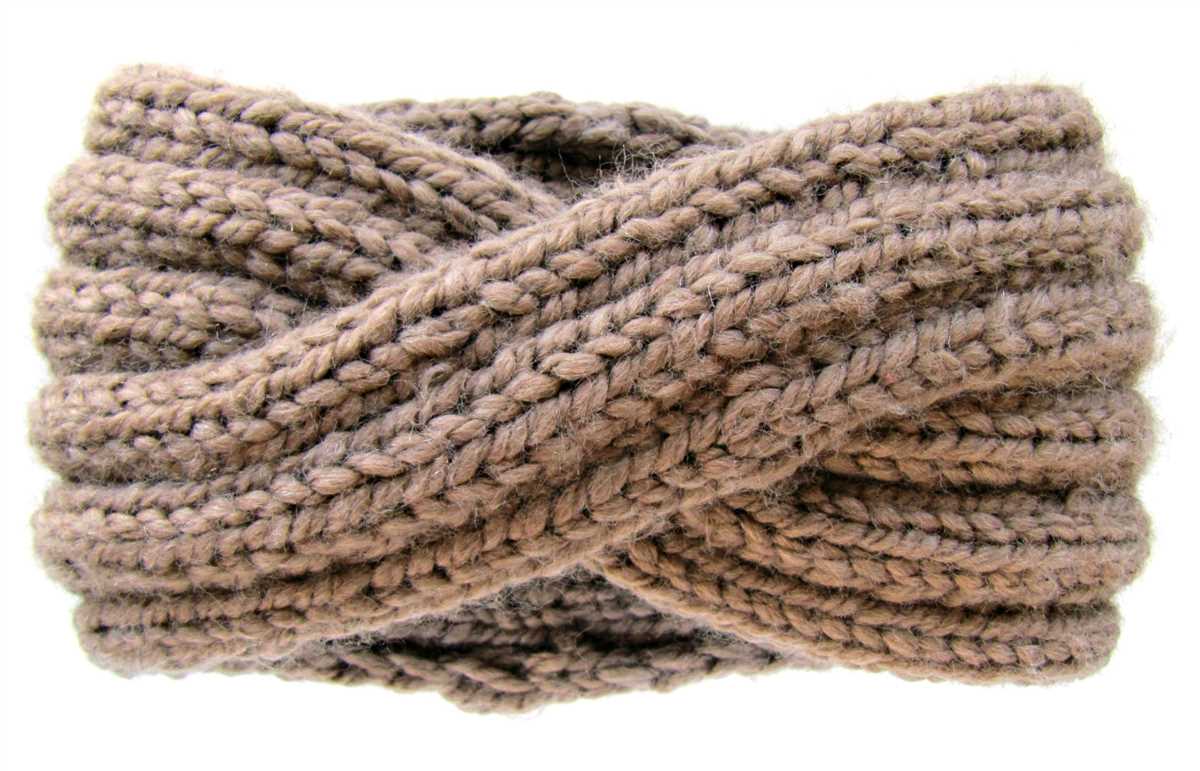
The main pattern for the knit headband ear warmer is a combination of basic stitches that create a textured and visually appealing design. It is easy to follow and can be adapted to different yarn weights and textures for a customized look.
To start knitting the main pattern, cast on the desired number of stitches using a circular needle. This allows for a seamless finish and ensures a comfortable fit around the head. You can adjust the number of stitches depending on the size of the headband you wish to make.
Once the cast on is complete, begin the main pattern by knitting one stitch, followed by purling the next stitch. Repeat this pattern across the row. This creates a ribbed effect, adding elasticity to the headband.
Continue knitting in this ribbed pattern for the desired length of the headband. If you prefer a wider band, you can increase the number of stitches and adjust the pattern accordingly. If you want a narrower band, simply decrease the number of stitches.
When you have reached the desired length, finish off the headband by binding off the stitches. You can do this by knitting two stitches together, then passing the first stitch on the right needle over the second stitch and off the needle. Repeat this process until only one stitch remains, then cut the yarn and pull it through the last stitch to secure.
After binding off, you can sew the ends of the headband together using a yarn needle and the tail of yarn. Make sure to hide the seam in the textured pattern to maintain the headband’s overall look.
Finally, weave in any remaining loose ends and block the headband if necessary. Blocking helps to even out the stitches and give the headband a polished finish. Now your knit headband ear warmer with its beautiful main pattern is ready to keep you warm and stylish during the colder months!
Shaping the Ear Warmer
Shaping the ear warmer is an important step in creating a comfortable and snug fit. There are several methods you can use to shape the ear warmer to your desired size and style.
1. Increasing or decreasing stitches: To make the ear warmer larger or smaller, you can adjust the number of stitches you cast on and work with. If you want a looser fit, you can add a few extra stitches, and if you want a snugger fit, you can decrease the number of stitches.
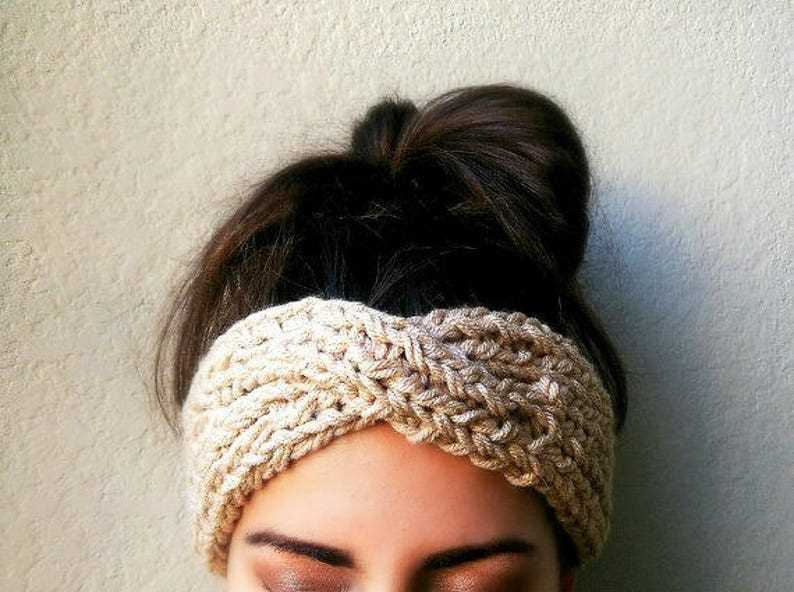
2. Adding ribbing: Ribbing is a great technique to use for shaping an ear warmer. You can add ribbing at the edges of the ear warmer to create a stretchy and snug fit. To create ribbing, you can alternate between knit and purl stitches, such as working in a 2×2 ribbing pattern.
3. Decreasing rows: If you want the ear warmer to taper towards the back of your head, you can decrease the number of rows you work with. This will give the ear warmer a more fitted look and prevent it from sliding off your ears.
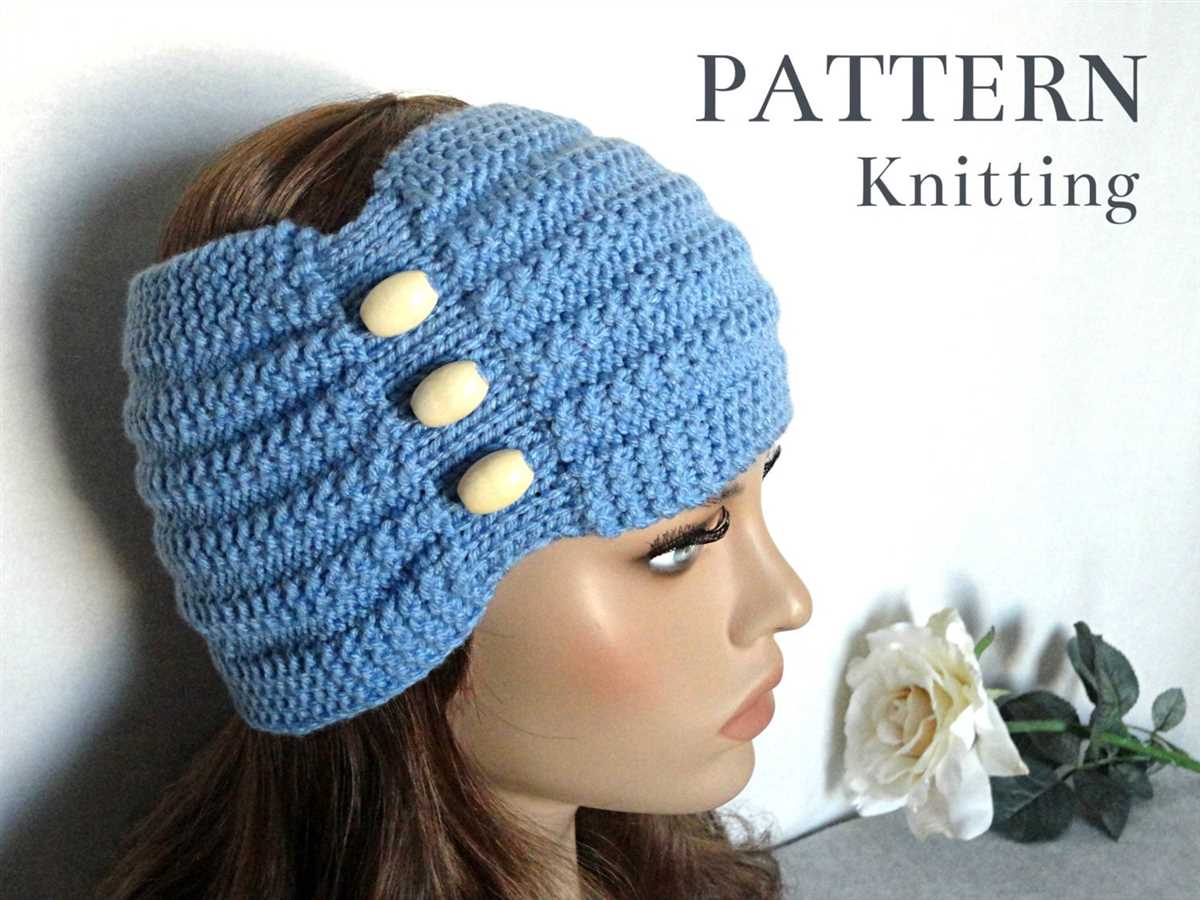
4. Adding a button or tie closure: If you want extra security and adjustability, you can add a button or tie closure to the ear warmer. This will allow you to tighten or loosen the ear warmer to your desired fit.
By considering these shaping techniques, you can create a customized and comfortable ear warmer that will keep your ears warm and stylish during the colder months.
Adding Buttons or Other Embellishments
Adding buttons or other embellishments to your knit headband ear warmer is a great way to add some personal flair and style to your accessory. Whether you want to keep it simple with a single button or get creative with multiple embellishments, there are endless possibilities for customization.
Buttons: One of the easiest ways to add embellishments to your headband is by attaching buttons. You can choose buttons in different sizes, colors, and shapes to match your personal taste and the overall look of your headband. Sew the buttons onto the headband using a needle and thread, making sure they are securely attached.
Flowers: Another popular choice for embellishments is flowers. You can knit or crochet small flowers using contrasting or coordinating yarn and sew them onto your headband. Alternatively, you can use fabric flowers or pre-made flower embellishments that can be easily attached with glue or thread.
Ribbon: Adding a ribbon to your headband can give it a feminine and elegant touch. You can either sew the ribbon onto the headband or wrap it around and tie it into a bow, depending on the desired look. Satin or grosgrain ribbons in coordinating or contrasting colors can create a beautiful effect.
Beads: If you want to add some sparkle and shine to your headband, consider using beads as embellishments. You can thread beads onto a thin wire or string and sew them onto the headband in a specific pattern or randomly for a more whimsical look. The beads can be the same color as the headband or different colors for a vibrant and eye-catching design.
Sequins: For a glamorous and dazzling effect, sequins can be a great choice. Sew sequins onto your headband using a needle and thread, creating a pattern or scattering them randomly across the headband. You can use sequins of the same color as the headband or choose contrasting colors for a bold and unique look.
With these ideas in mind, don’t be afraid to get creative and experiment with different embellishments to make your knit headband ear warmer truly one-of-a-kind.
Finishing and Fastening off
Once you have completed knitting your headband ear warmer, it’s time to finish it off and secure your work. This final step is important to ensure that your headband ear warmer stays in place and doesn’t unravel.
To fasten off your knitting, cut the yarn, leaving a tail of about 6 inches. Thread the tail through the eye of a yarn needle, and then insert the needle through the last stitch on your knitting needle. Pull the yarn through, creating a loop. Next, insert the needle through the stitch below, going from right to left. Pull the yarn through again to secure the stitch. Repeat this process until you have worked through all the stitches on your knitting needle.
Once you have fastened off all the stitches, weave in the loose yarn ends to the wrong side of the headband. This will help to secure the yarn and prevent it from unraveling. Use the yarn needle to stitch the loose ends along the edge of the headband, going back and forth a few times to ensure they are securely fastened.
If desired, you can also add any embellishments or decorations to your headband at this point. This could include attaching buttons, bows, or other decorative elements. Simply use your yarn needle and leftover yarn to sew these embellishments onto the headband as desired.
Once you have finished fastening off and adding any embellishments, your headband ear warmer is ready to wear! Enjoy the cozy warmth and stylish look of your handmade accessory.
Blocking and Sizing
Blocking is an important step in knitting projects, and it is especially crucial for headbands or ear warmers. It helps to shape and stretch the knitted fabric to ensure a neat and professional-looking final product. To block your knit headband, you will need a flat surface, such as a blocking board or a towel, and some rustproof pins.
Start by soaking your finished headband in lukewarm water for around 10 minutes. Then, gently squeeze out the excess water without wringing or twisting the fabric. Lay the damp headband onto the flat surface, and use rustproof pins to secure it in place. Stretch the fabric slightly to achieve the desired width and length. If your pattern calls for specific measurements, now is the time to check and adjust accordingly. Allow the headband to dry completely before removing the pins. This process will help the headband retain its shape and size.
Sizing Tips
- If you are unsure about the sizing, it is recommended to make a gauge swatch before starting the project. This will give you an idea of how many stitches and rows per inch you are knitting, which will help you determine the correct size for your headband.
- Some headband patterns specify the measurements for different head sizes, such as child, adult small, and adult large. Take the time to measure the head circumference of the person who will be wearing the headband to ensure a perfect fit.
- Remember that blocking can slightly change the size of the finished headband, so take this into account when determining the appropriate size to knit.
By following the blocking and sizing tips, you can create a knit headband or ear warmer that not only fits well but also looks professionally finished. Enjoy the process of knitting and experimenting with different patterns to create stylish and functional accessories to keep you warm during the colder months.
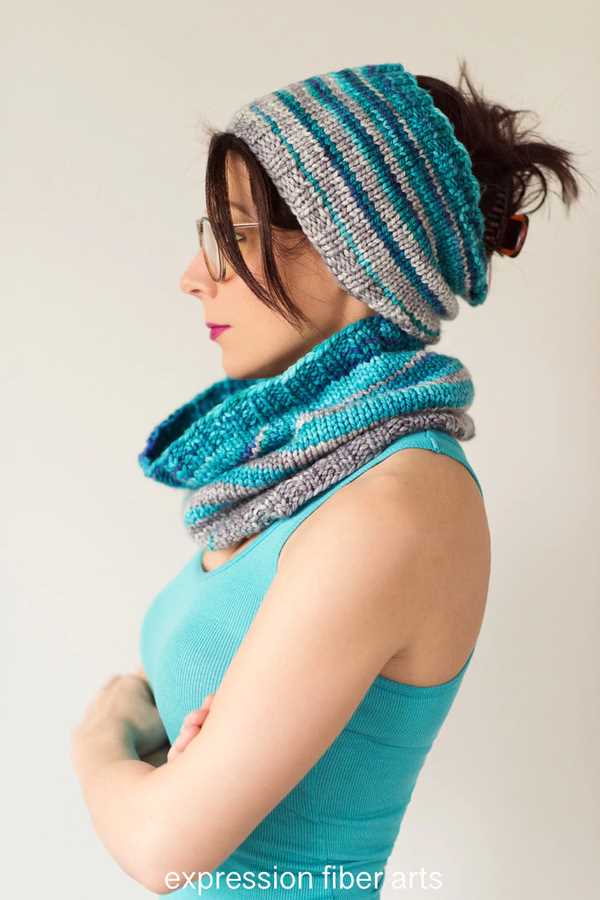
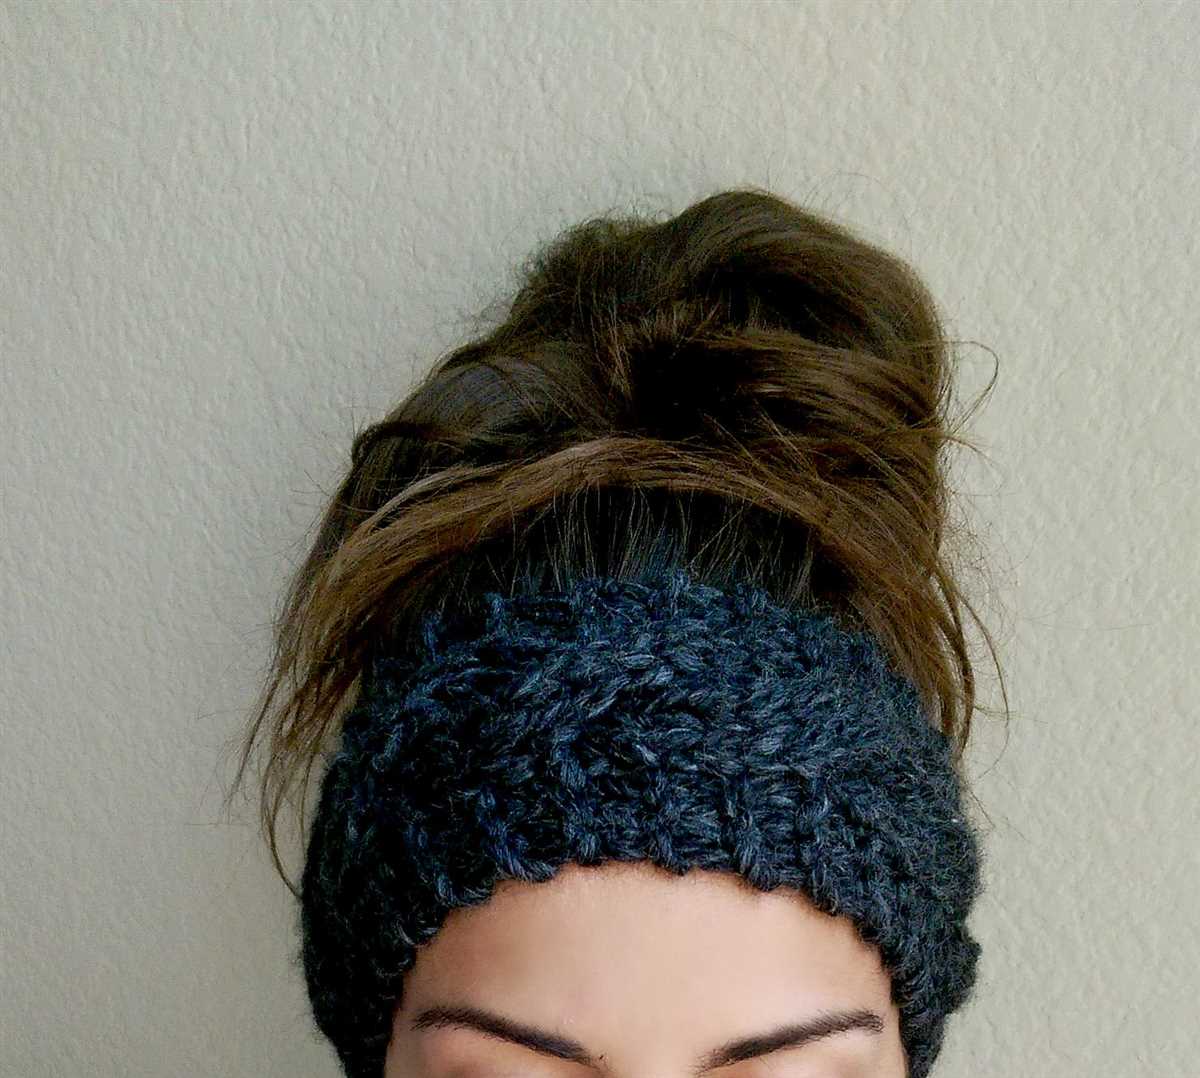
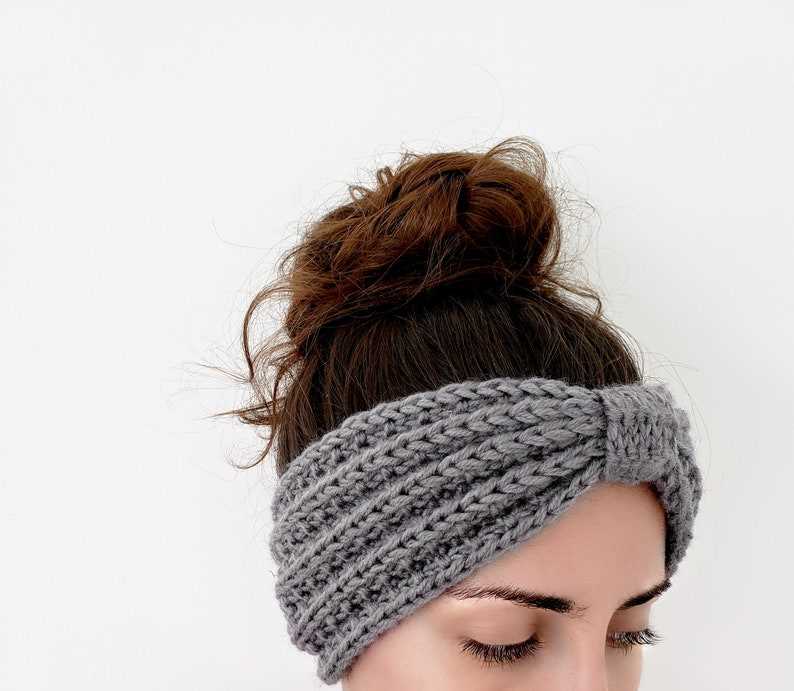
Styling and Wearing Your Knit Headband Ear Warmer
Once you have completed knitting your ear warmer headband, it’s time to style and wear it. Here are some tips to help you make the most of your stylish accessory:
- Choose the Right Outfit: The knit headband ear warmer can be a versatile accessory that complements many different outfits. Consider the color and style of your ear warmer when selecting your outfit. It can be a great addition to a cozy winter ensemble or a stylish accessory for a casual or sporty look.
- Positioning the Ear Warmer: Place the headband on your forehead, aligning it just above your eyebrows. Then pull it down slightly so that it covers your ears comfortably. Adjust the position to find the most comfortable fit for you.
- Hairstyles: Depending on your hairstyle, you can wear the headband with your hair down, tucked behind your ears, or pulled into a ponytail or bun. Experiment with different hairstyles to find the look that suits you best.
- Accessorize: Consider adding other accessories to complement your knit headband ear warmer. Scarves, mittens, and gloves in coordinating colors or patterns can add extra warmth and style to your outfit.
In conclusion, styling and wearing your knit headband ear warmer is all about personal preference and creativity. Experiment with different outfits, hairstyles, and accessories to find the perfect look for you. Whether you’re staying warm on a winter’s day or adding a cozy touch to your everyday style, your knit headband ear warmer can be a stylish and practical accessory.