
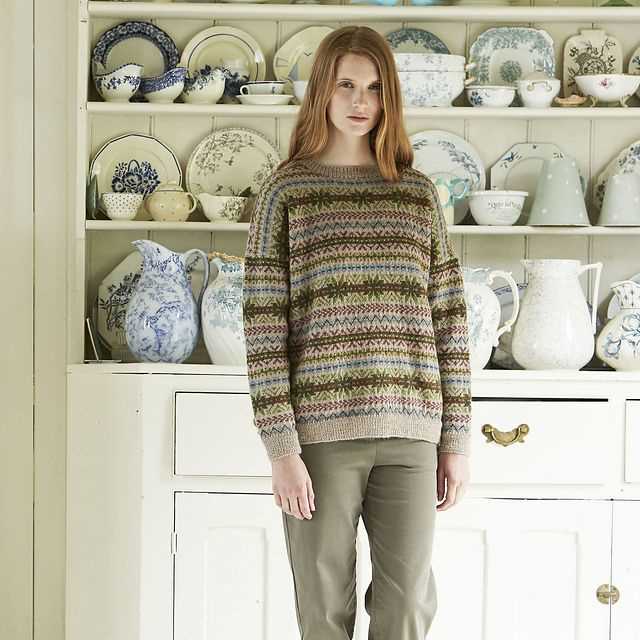
Knitting is not only a relaxing and enjoyable hobby, but it also allows you to create beautiful and unique pieces of clothing. One versatile project that many knitters enjoy is making a flat sweater. Unlike traditional sweater patterns that require knitting in the round, a flat sweater pattern is created by knitting the front and back separately and then sewing them together.
One advantage of knitting a flat sweater is that it is easier for beginners to learn, as there are no complicated techniques or circular needles involved. Additionally, it allows for more customization and flexibility in the design and fit of the sweater. With a flat sweater pattern, you can easily adjust the length, width, and neckline to create a garment that is tailored to your specific preferences.
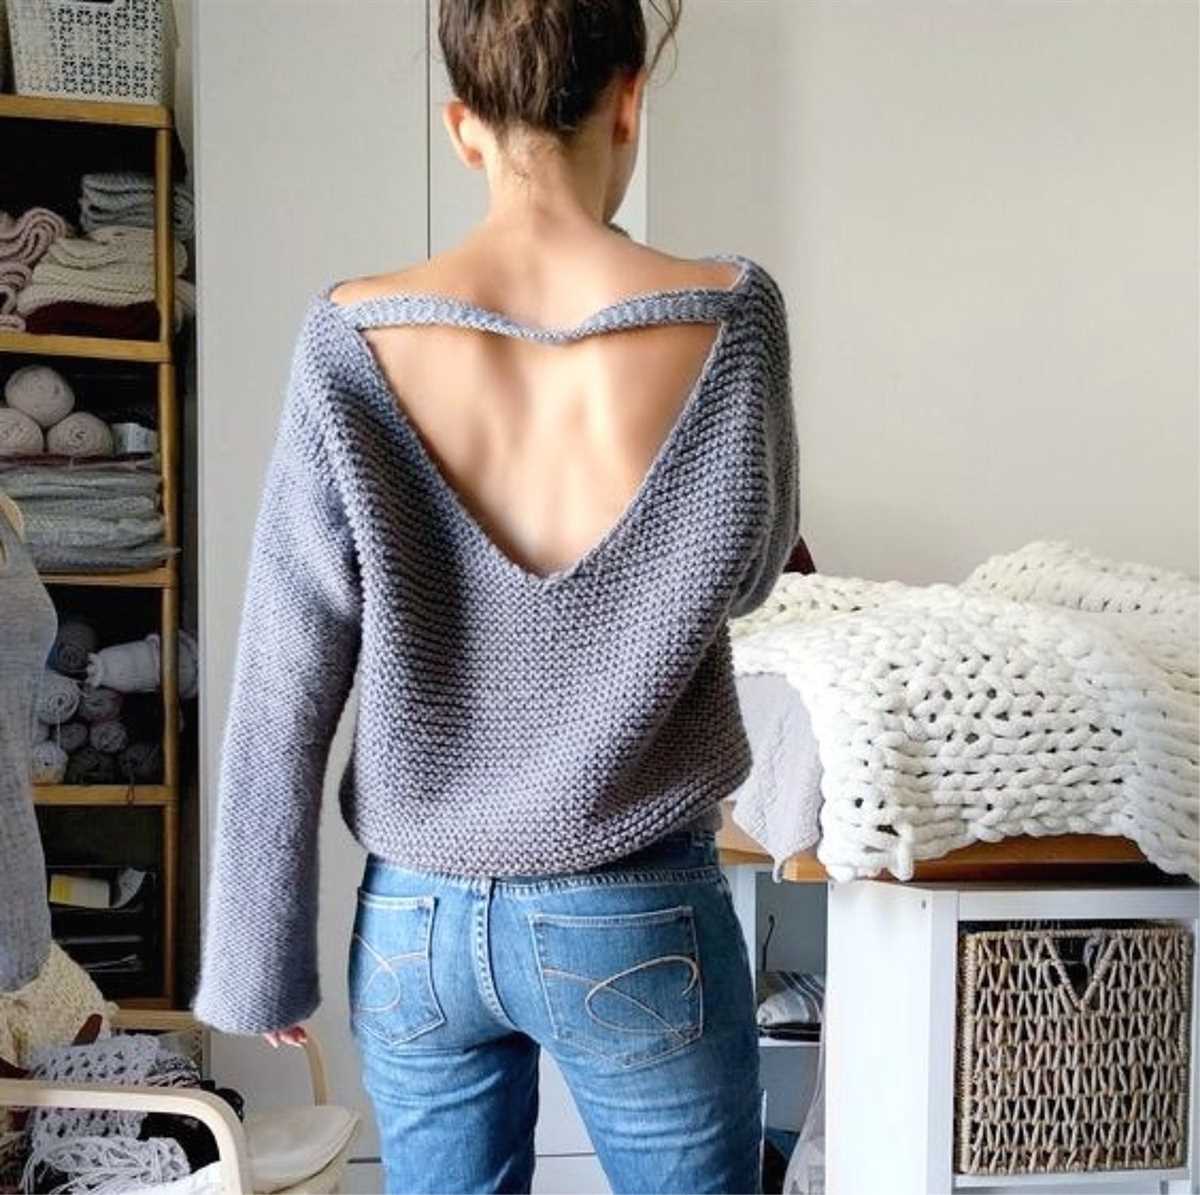
There are numerous patterns available for knitting flat sweaters, ranging from simple and basic designs to more intricate and detailed styles. Whether you prefer a classic crewneck, a cozy oversized sweater, or a trendy cropped silhouette, there is a flat sweater pattern to suit every taste and skill level. With the right yarn and needle size, you can create a sweater that is not only comfortable and warm, but also fashionable and stylish.
What is a flat sweater pattern and why is it popular?

A flat sweater pattern is a knitting pattern that is worked in separate pieces, such as the front, back, and sleeves, which are then stitched together. This differs from a seamless or in-the-round sweater pattern, where the garment is knit in one continuous piece.
There are several reasons why flat sweater patterns are popular among knitters. Firstly, they allow for greater customization and versatility. With separate pieces, knitters can easily modify the length, width, or shape of each section to fit their body or desired style. Additionally, flat patterns often include clear instructions and diagrams for assembling the pieces, making it easier for knitters to achieve a professional finish.
Flat sweater patterns are also popular among beginner knitters. Working on smaller, separate pieces can be less daunting than knitting a large, continuous garment. It allows beginners to focus on mastering individual skills, such as shaping, seaming, and picking up stitches, before tackling a more complex project.
Furthermore, flat sweater patterns offer knitters the opportunity to show off their creativity and experiment with different stitch patterns, colorwork, or texture in each section. They can mix and match patterns, or add unique details to the front, back, or sleeves, creating a truly one-of-a-kind garment.
In conclusion, the popularity of flat sweater patterns lies in their versatility, customization options, and suitability for both experienced and beginner knitters. They provide the opportunity for creativity and personalization while resulting in beautiful, professionally finished sweaters.
Understanding the basics of flat knitting
Flat knitting is a foundational technique used in many knitting projects, including sweaters. It involves creating a fabric by knitting rows back and forth, rather than in the round. Understanding the basics of flat knitting is essential for following and creating flat sweater patterns.
Materials:
- Yarn: The yarn choice will depend on the desired drape, warmth, and style of the sweater.
- Needles: Straight knitting needles are commonly used for flat knitting, but circular needles can also be used.
- Stitch markers: These help to mark specific points in the knitting, such as the beginning of a row or the placement of a pattern repeat.
- Tapestry needle: Used for sewing seams and weaving in ends.
Recommended Techniques:
- Casting on: Begin by casting on the required number of stitches onto your needles. The long-tail cast-on method is commonly used.
- Knitting: Knit across the first row, making sure to follow the pattern instructions for any stitch variations or increases/decreases.
- Purling: In flat knitting, purl stitches are often used to create stockinette stitch fabric, which has a smooth, flat surface on the right side.
- Decreasing: To shape the sweater, you may need to decrease stitches. Common decrease techniques include knitting two stitches together (k2tog) or slipping one stitch, knitting the next stitch, and passing the slipped stitch over the knitted stitch (ssk).
- Finishing: Once all rows and shaping are complete, bind off the stitches to finish the work. Depending on the pattern, you may also need to sew seams, add buttonholes, or work other finishing details.
Understanding the basics of flat knitting is the first step towards successfully creating a flat sweater pattern. By mastering techniques such as casting on, knitting, purling, decreasing, and finishing, you’ll be able to confidently tackle any flat knitting project and create beautiful and cozy sweaters.
Advantages of knitting a sweater using the flat knitting technique
When it comes to knitting a sweater, there are various techniques that can be used to create the final product. One popular technique is flat knitting, which offers a range of advantages for knitters.
1. Easier to follow patterns: Knitting a sweater using flat knitting allows for clearer and easier-to-follow patterns. With the sweater pieces laid flat, knitters can more easily visualize how each section fits together and follow the pattern instructions without confusion. This can be particularly helpful for beginners or those who are new to knitting sweater patterns.
2. Convenient for incorporating stitch patterns: Flat knitting also provides more convenience when it comes to incorporating stitch patterns into the sweater design. With the individual pieces worked separately, knitters have the opportunity to experiment with different stitch patterns without worrying about affecting the overall structure of the sweater. This allows for more creativity and customization in the final design.
3. Easier fitting and adjustments: Another advantage of flat knitting is that it makes fitting and adjustments easier. Knitters can try on the individual pieces as they go, making it simpler to ensure a proper fit. If any adjustments need to be made, they can be done more easily before the sweater is fully assembled.
4. More portable: Flat knitting lends itself well to being a portable project. As the sweater is worked in individual pieces, knitters can easily carry a single piece with them to work on during travel or downtime. This makes it a more convenient option for those who like to knit on the go.
5. Easier to seam: While seaming may not be the most exciting part of knitting a sweater, flat knitting makes it easier and more straightforward. The individual pieces can be easily aligned and seamed together, resulting in a neat and professional finish. Knitters can follow the pattern instructions for seaming guidelines, ensuring the sweater comes together seamlessly.
Overall, knitting a sweater using the flat knitting technique offers a range of advantages, from clearer pattern instructions to easier fitting and customization. Whether you’re a beginner or an experienced knitter, this technique can help you create a beautiful and well-fitting sweater.
Choosing the right yarn and needle size
When knitting a flat sweater, it is essential to choose the right yarn and needle size to ensure the best outcome for your project. The yarn you select will greatly impact the overall look and feel of the sweater, while the needle size will determine the gauge and the finished size of the garment.
Yarn: When choosing yarn for a flat sweater, consider the fiber content, weight, and texture. Natural fibers such as wool, alpaca, and cotton are popular choices due to their excellent breathability and softness. However, blends that include synthetic fibers like acrylic or nylon can offer added durability and stretch. Consider the intended use of the sweater and select a yarn that will provide the desired warmth and comfort.
Needle Size: The needle size you use will affect the gauge of your sweater, which is the number of stitches and rows per inch. This, in turn, will impact the overall size and fit of the garment. To determine the right needle size, refer to the yarn label for recommendations, keeping in mind that different knitters may have different tension. It is a good practice to make a gauge swatch to ensure that your stitches match the required measurements provided in the pattern. If your gauge is too tight, switch to a larger needle size, and if it’s too loose, try a smaller size.
Overall, selecting the right yarn and needle size for your flat sweater project requires careful consideration of the fiber content, weight, texture, as well as the desired gauge and fit. Taking the time to choose the right materials will help you achieve a well-fitting and comfortable sweater that you will enjoy wearing for years to come.
Step-by-step instructions for knitting a flat sweater
Knitting a flat sweater can be a rewarding project for both beginners and experienced knitters. By following these step-by-step instructions, you’ll be able to create a cozy and stylish garment that you can wear all year round.
Materials:
- Worsted weight yarn in your chosen color
- Knitting needles in the appropriate size for your yarn
- Yarn needle
- Scissors
- Stitch markers
Instructions:
1. Determine your measurements: Before you begin knitting, it’s important to know your measurements. Measure your bust, waist, and hip circumference, as well as your desired length for the sweater. This will help you choose the right size and make any necessary adjustments to the pattern.
2. Gauge swatch: To ensure that your sweater will fit properly, start by knitting a gauge swatch using your chosen yarn and needles. Follow the pattern’s instructions for the gauge, typically given in stitches and rows per inch. Adjust your needle size if needed to achieve the correct gauge.
3. Cast on: Using a long-tail cast on method, cast on the required number of stitches for your size. Make sure to leave a long tail for seaming later.
4. Knit the body: Follow the pattern to knit the body of the sweater, working in the specified stitch pattern and shaping as instructed. Use stitch markers to indicate any changes in the pattern, such as increases or decreases for shaping.
5. Knit the sleeves: Once the body is complete, it’s time to knit the sleeves. Begin by picking up stitches from the armholes, then follow the pattern for the sleeve length and shaping. Make sure to knit a matching sleeve for each armhole.
6. Finishing: Once all pieces are complete, it’s time to seam the sweater together. Use the long tail left from the cast on to seam the sides of the body and the sleeves. Use a mattress stitch or any other preferred seaming method to ensure a clean and strong seam. Weave in any loose ends and give your sweater a good blocking to even out the stitches and shape.
By following these step-by-step instructions, you’ll be able to knit a beautiful flat sweater that you can be proud of. Remember to take your time and enjoy the process, and don’t be afraid to make adjustments along the way to achieve the perfect fit. Happy knitting!
Essential Skills and Techniques for Knitting a Flat Sweater
When knitting a flat sweater, there are several essential skills and techniques that every knitter should master. These skills will ensure that your sweater fits well and looks professional when finished.
Gauge Swatching: Before starting any knitting project, it’s crucial to swatch and determine your gauge. This is especially important when knitting a flat sweater, as the fit relies heavily on accurate sizing. A gauge swatch will help you determine the correct needle size and stitch count to achieve the desired measurements for your sweater.
Casting On and Binding Off: Properly casting on and binding off stitches is crucial when knitting a flat sweater. You want your sweater edges to be neat and flexible, without being too loose or too tight. There are various methods for casting on and binding off, such as the long-tail cast on or the standard bind off, so it’s important to find the method that works best for your project.
Increasing and Decreasing: In order to shape your sweater and create a flattering fit, you’ll need to master various methods of increasing and decreasing stitches. Common techniques include knitting or purling two stitches together (k2tog or p2tog), as well as yarn overs (yo) for creating eyelets or lace patterns. These techniques allow you to shape the neckline, armholes, and waist of your sweater.
Seaming Techniques: Since you’re knitting a flat sweater, there will be seams that need to be joined together. Understanding different seaming techniques, such as mattress stitch or whip stitch, will help you achieve a clean and invisible seam. Properly seaming your sweater will make all the difference in the final appearance and longevity of your project.
Reading and Following a Pattern: Lastly, reading and following a pattern is essential when knitting a flat sweater. Pay close attention to the instructions, stitch counts, and shaping details specified in the pattern. It’s also important to understand any stitch patterns or charts used in the design. Following the pattern will ensure that you’re able to recreate the intended design and achieve the desired fit.
In summary, mastering these essential skills and techniques for knitting a flat sweater will greatly enhance your knitting abilities and allow you to tackle more complex projects with confidence. Taking the time to swatch, practice casting on and binding off, increasing and decreasing, seaming, and following a pattern will result in a beautifully finished sweater that fits and flatters.
Tips for achieving the perfect fit
When knitting a flat sweater, achieving the perfect fit is crucial for a flattering and comfortable finished garment. Here are some helpful tips to ensure your sweater fits just right:
1. Take accurate measurements
Before starting your project, take accurate measurements of your body. This includes your bust, waist, hips, arm length, and shoulder width. Use a measuring tape to get the most precise measurements possible, and write them down for reference.
2. Choose the right size

When selecting a sweater pattern, make sure to choose the right size based on your measurements. Refer to the pattern’s size chart and compare your measurements to find the best fit. If you are between sizes, it is recommended to size up for a looser fit or size down for a more fitted look.
3. Check your gauge
Gauge is the number of stitches and rows per inch in a knitted fabric. It is important to match the gauge specified in the pattern to ensure your sweater turns out the correct size. Before starting your sweater, make a gauge swatch to check your tension. If your gauge is too loose, use smaller needles, and if it is too tight, use larger needles.
4. Make necessary adjustments
If your measurements or gauge do not match exactly with the pattern, you may need to make some adjustments to achieve the perfect fit. This can involve adding or decreasing stitches, modifying shaping, or adjusting the length of certain sections. Take the time to plan out these adjustments carefully before starting your sweater.
5. Try it on as you go
During the knitting process, try on your sweater regularly to ensure it is fitting as desired. This will allow you to make any necessary adjustments before it is too late. Pay attention to the overall fit, sleeve length, and body length to ensure a comfortable and flattering final result.
By following these tips, you can increase your chances of achieving the perfect fit for your flat knit sweater. Remember to always take accurate measurements, choose the right size, check your gauge, make necessary adjustments, and try it on as you go. Happy knitting!
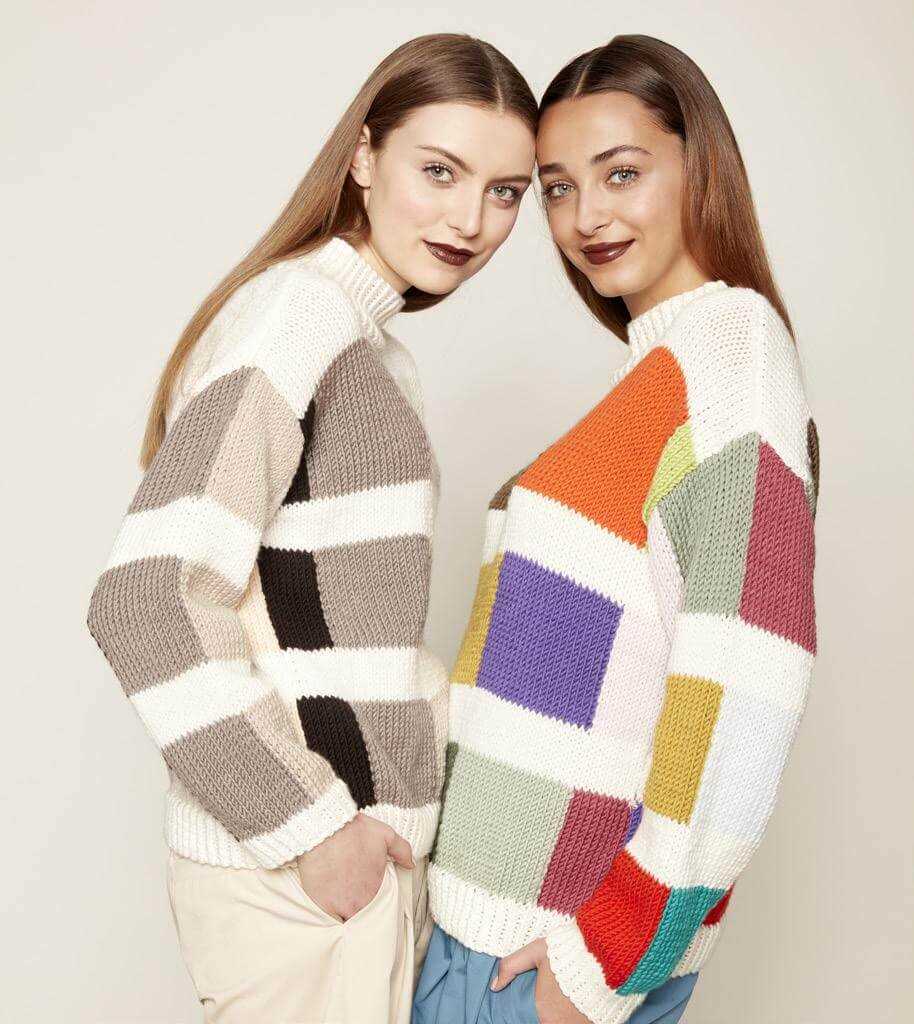
Add a touch of creativity with stitch patterns and colorwork
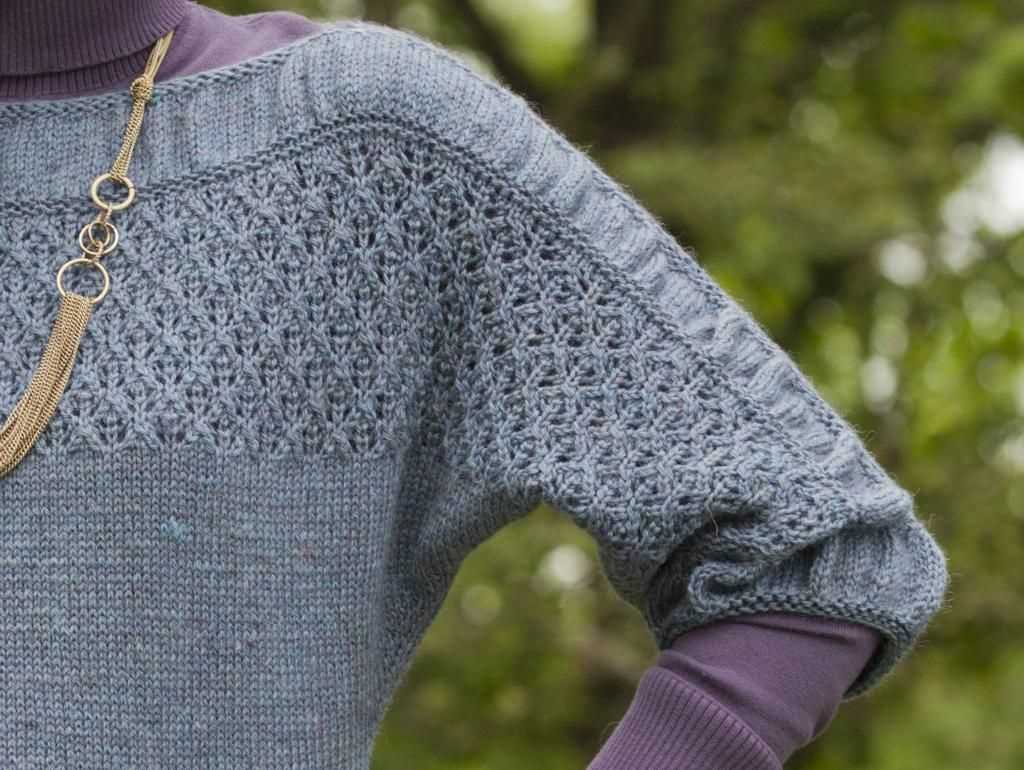
Incorporating stitch patterns and colorwork into your knit flat sweater pattern can elevate the design and add a unique touch. By experimenting with different stitch patterns, you can create texture and visual interest in your sweater. Consider using cables, lace, or even simple but effective ribbing to add dimension.
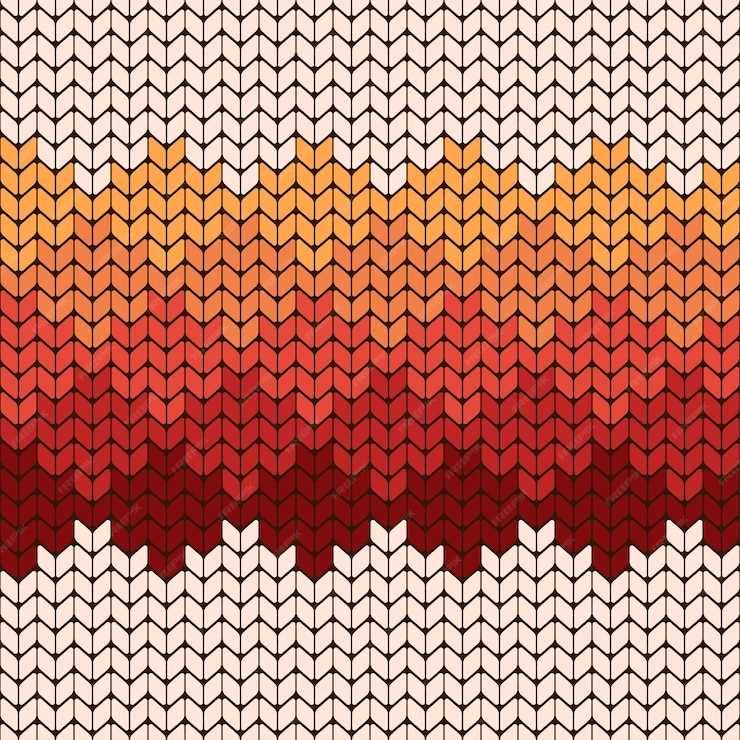
Colorwork is another great way to enhance your sweater. Whether you choose to use stranded colorwork, intarsia, or fair isle techniques, adding different colors to your design can make it stand out. You can create patterns, stripes, or even intricate motifs using different colored yarns. This allows you to personalize your sweater and make it truly one-of-a-kind.
Stitch patterns:
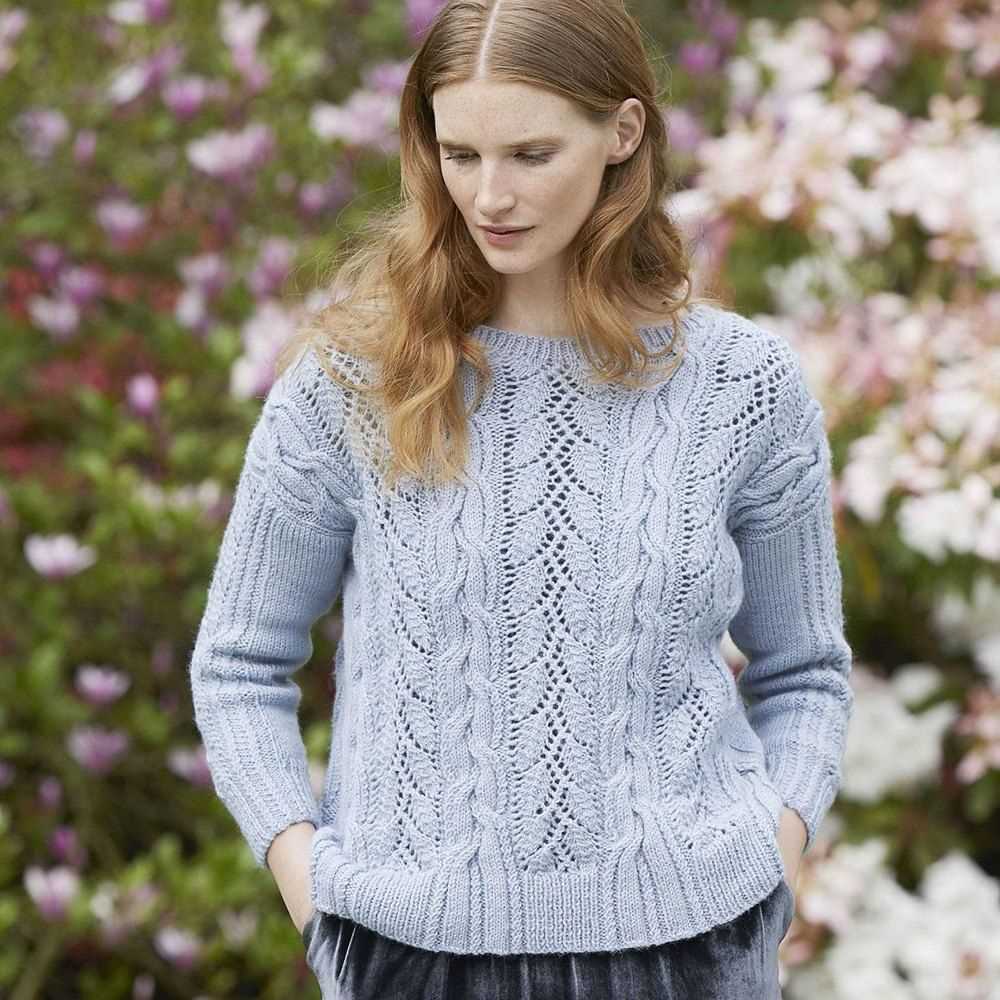
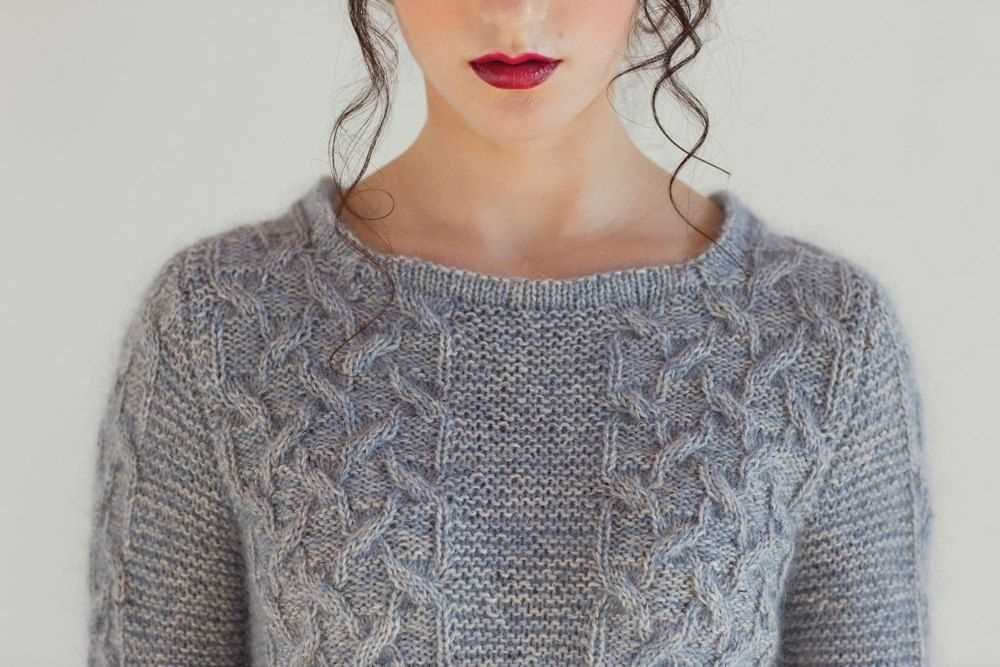
- Experiment with cables to create a classic, timeless look.
- Add lace patterns for an elegant and feminine touch.
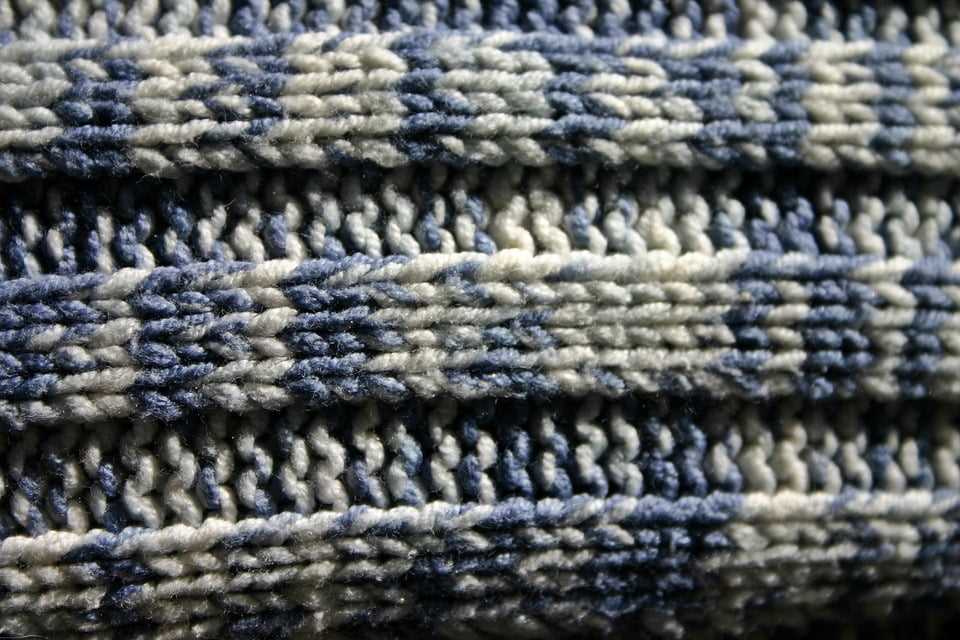
- Try out different ribbing patterns to create textural interest.
Colorwork techniques:
- Stranded colorwork creates intricate patterns using two or more colors.
- Intarsia allows you to knit with blocks of different colors, perfect for creating geometric designs.
- Fair isle technique involves creating small, repetitive patterns using different colors.
When incorporating stitch patterns and colorwork into your knit flat sweater pattern, it’s important to keep in mind the overall aesthetic you want to achieve. Consider the style, occasion, and the recipient’s preferences. With a little creativity and experimentation, you can create a stunning sweater that showcases your knitting skills and adds a personal touch.
Adding Ribbing, Cuffs, and Collars to Your Flat Sweater
When knitting a flat sweater, adding ribbing, cuffs, and collars can help give your garment a professional and finished look. Ribbing, which is typically made using a combination of knit and purl stitches, is often used at the bottom edges of sweaters and along the cuffs and collar to provide stretch and elasticity.
To add ribbing to your flat sweater, begin by deciding how long you want the ribbing to be. You can choose a standard length, like 1 inch or 2 inches, or customize it to your preference. Start by knitting a few rows in a 1×1 rib pattern, alternating between knit and purl stitches. This will create a stretchy and textured fabric. Continue knitting the ribbing until you reach your desired length, and then switch to your main stitch pattern for the body of the sweater.
For the cuffs of your sweater, you can follow a similar process. Determine how long you want the cuffs to be and knit a few rows in ribbing before transitioning to your main stitch pattern. The cuffs should be slightly narrower than the sleeves to ensure a snug fit. You can use the same ribbing pattern as the bottom edges or choose a different one for added visual interest.
When it comes to collars, there are several options to consider. A simple ribbed collar can be added by picking up stitches along the neckline and knitting in ribbing for a few rows. This creates a neat and polished look. Another option is to knit a separate collar piece and sew it onto the neckline. This allows for more versatility in terms of design and can create a contrasting or decorative element.
Adding ribbing, cuffs, and collars to your flat sweater not only enhances its overall appearance but also adds functionality. The ribbing provides stretch and shape retention, ensuring a comfortable fit, while the cuffs and collar add structure and create a visual focal point. Experiment with different ribbing patterns and combinations to find the perfect finishing touches for your sweater.
Blocking and Finishing Techniques for a Professional Look
Blocking is an important step in finishing a knitted sweater as it helps to shape the garment and give it a professional look. When blocking a sweater, start by soaking it in lukewarm water with a little bit of wool wash for about 15 minutes. Gently squeeze out the excess water without wringing or twisting the fabric, as this can cause stretching or damage to the fibers.
Next, lay the sweater flat on a clean towel or blocking mat, making sure to shape it to the desired dimensions. Pin the edges and corners of the garment, using rustproof T-pins or blocking wires to hold it in place. This will help the sweater to dry in the correct shape and size.
Finishing Techniques
- Seaming: To achieve a seamless, professional look, carefully sew the seams of the sweater using mattress stitch or other suitable seaming techniques. Take your time to ensure that the stitches are neat and evenly spaced, creating an invisible seam.
- Weaving in ends: To finish the sweater, weave in any loose ends of yarn with a tapestry needle. This involves threading the needle through the back of the stitches for a clean and secure finish.
- Adding a neckline: For a polished finish, consider adding a ribbed or rolled neckline to the sweater. This can be achieved by picking up stitches around the neckline using a circular needle and then working the desired ribbing pattern.
- Blocking the finished sweater: Once all the finishing techniques have been completed, block the entire sweater again to set the stitches and give the garment a polished and professional look. This will help to even out any inconsistencies and create a cohesive and well-finished final product.
By utilizing these blocking and finishing techniques, you can ensure that your knitted flat sweater has a professional and polished appearance. These steps may take a little extra time and effort, but the end result will be well worth it, creating a sweater that looks and feels like it was made by an experienced knitter.
Mistakes to avoid when knitting a flat sweater
Knitting a flat sweater can be a rewarding and enjoyable project, but it’s important to avoid common mistakes that can lead to frustration and disappointment. Here are some key mistakes to watch out for:
1. Not checking gauge
One of the biggest mistakes knitters make when knitting a flat sweater is not checking their gauge before starting the project. Gauge refers to the number of stitches and rows per inch in a knitted fabric, and it determines the size and fit of the finished garment. Failing to check gauge can result in a sweater that is too large or too small. Take the time to swatch and measure your gauge before starting your project to ensure a proper fit.
2. Inconsistent tension
Another common mistake is knitting with inconsistent tension. Tension refers to the tightness or looseness of your knitting stitches. If you knit with varying tension throughout your project, the fabric may appear uneven and the finished sweater may not have a professional-looking finish. Pay attention to your tension as you knit and try to maintain a consistent level of tension to ensure a smooth and even fabric.
3. Not reading the entire pattern
Before you start knitting a flat sweater, make sure to read the entire pattern from start to finish. Not doing so can lead to confusion and mistakes. Pay attention to any special stitches, techniques, or construction methods that the pattern calls for, and familiarize yourself with any abbreviations or charts used. It’s also a good idea to highlight or mark any important instructions or reminders in the pattern to help you stay organized and on track.
4. Forgetting to make notes

When knitting a flat sweater, it’s easy to forget important details or modifications that you made along the way. Make sure to keep track of any changes or adjustments you made to the pattern, such as altering the length or width, adding or omitting stitches, or adjusting the neckline. Taking notes as you go will not only help you when making any necessary repairs or adjustments later on, but it will also serve as a valuable resource for future projects.
5. Neglecting to block the finished sweater
Blocking is an important step in the knitting process that can greatly improve the appearance and fit of your finished sweater. Neglecting to block your sweater can result in a garment that lacks its intended shape, has uneven stitches, or doesn’t drape properly. Take the time to block your sweater according to the instructions provided in the pattern to achieve the best results.
Avoiding these common mistakes when knitting a flat sweater will help ensure a successful and satisfying knitting experience. Remember to check your gauge, maintain consistent tension, read the entire pattern, make notes, and block your finished sweater for the best possible results.
Sharing your flat sweater creation and inspiring others
After completing your flat sweater knitting project, you’ll likely feel a sense of pride and accomplishment. Now it’s time to share your creation with others and inspire them to try their hand at knitting flat sweaters. Here are some ways you can do that:
Step 1: Take great photos
Capture your flat sweater from different angles and in different lighting conditions to showcase the details and texture of your knitting. Make sure the colors are accurate and the photos are well-lit. This will help others appreciate your craftsmanship and get inspired to create their own flat sweaters.
Step 2: Share on social media
Post your photos on social media platforms like Instagram, Facebook, and Pinterest. Use relevant hashtags like #flatknitsweater, #handknit, and #knittinginspiration to reach a wider audience of fellow knitters. Write a caption that explains your process, the yarn you used, and any challenges you encountered during the knitting process.
Step 3: Write a blog post or tutorial
If you have a blog or a website, consider writing a detailed blog post or tutorial about your flat sweater knitting experience. Share your knitting pattern, tips, and tricks you learned along the way. This can serve as a valuable resource for other knitting enthusiasts and inspire them to try their hand at knitting flat sweaters.
Step 4: Join knitting communities
Join online knitting communities and forums where you can share your flat sweater creation. Engage in discussions, answer questions, and provide support to fellow knitters who are interested in knitting flat sweaters. By actively participating in these communities, you’ll inspire others and establish yourself as a knowledgeable and helpful member of the knitting community.
Step 5: Teach a knitting class
Consider teaching a knitting class at your local yarn store or community center. Share your knowledge and experience of knitting flat sweaters with aspiring knitters. Teaching others can be a rewarding experience and will inspire them to take on their own knitting projects.
By sharing your flat sweater creation and inspiring others, you’ll be contributing to the knitting community and encouraging others to explore their creativity through knitting. Your passion for knitting can create a ripple effect and inspire others to start their knitting journey. So, don’t hesitate to share your work and inspire others to take up the craft!