
Are you tired of searching for the perfect headband that not only looks stylish but also keeps your hair in place? Look no further! In this article, we will provide you with a step-by-step guide on how to make your own knit fabric headband. Whether you’re a seasoned knitter or just starting out, this pattern is perfect for anyone.
Made from soft and stretchy fabric, these headbands are designed to fit comfortably on your head without causing any discomfort. They will keep your hair out of your face while adding a touch of style to your look. Plus, the best part is that you can customize them however you like! Choose your favorite colors, patterns, and even add embellishments to make them truly unique.
Not only are these knit fabric headbands fashionable, but they are also practical. They can be worn during a variety of activities, from workouts to everyday errands. Say goodbye to constantly readjusting your headband – these will stay put no matter what. And since they are made from fabric, they are also easy to wash and maintain, making them a durable accessory that will last for years to come.
Knit Fabric Headband Pattern
Looking for a stylish and functional accessory for your hair? Why not try knitting your own fabric headband? This pattern is perfect for beginners and experienced knitters alike. With just a few simple stitches, you can create a headband that is both cozy and trendy.
To start, you’ll need some basic supplies. Gather your favorite yarn in the color of your choice, as well as a pair of knitting needles. Worsted weight yarn works well for this project, but you can experiment with different types and textures to achieve the desired look.
Begin by casting on the desired number of stitches. For a standard adult-sized headband, you’ll want to cast on around 80 stitches. However, you can adjust this number to fit your own head or to create headbands of different sizes. Once you have cast on, you’ll be using a simple knit and purl stitch pattern to create the body of the headband.
Row 1: Knit all stitches.
Row 2: Purl all stitches.
Repeat Rows 1 and 2: Continue knitting the rows in this pattern until the headband reaches the desired width. This will typically be around 3-4 inches wide. Remember to keep track of your rows and rows, so that you can easily adjust the size if needed.
Once you’ve reached the desired width, it’s time to finish off the headband. This can be done by either binding off your stitches or by sewing the two ends of the headband together. If you choose to bind off, simply knit the first two stitches, then pass the first stitch over the second stitch and off the needle. Repeat this process until you have one stitch remaining. Cut the yarn and thread it through the last stitch, pulling tight to secure.
And there you have it! Your very own knit fabric headband. This accessory is perfect for keeping your hair in place and adding a touch of style to your outfit. Experiment with different color combinations and yarn types to create headbands that match your personal style.
Materials Needed
If you are planning to make a knit fabric headband, here are the materials that you will need:
- Knit Fabric: Choose a stretchy knit fabric that is comfortable to wear. You can use leftover fabric or buy a new one in your desired color or pattern.
- Elastic: You will need elastic to give your headband a snug fit. Opt for a soft, wide elastic that won’t dig into your skin.
- Thread: Choose a thread color that matches your fabric. Make sure to use a high-quality thread that won’t break easily.
- Scissors: A sharp pair of fabric scissors will be needed to cut the knit fabric and elastic.
- Pins: Use straight pins to temporarily secure the fabric and elastic in place while sewing.
- Sewing Machine: A sewing machine will make the process quicker and more efficient, but you can also sew by hand if you don’t have access to a machine.
- Iron: An iron will be needed to press the fabric and create crisp, clean edges.
- Measuring Tape: Use a measuring tape to measure your head circumference accurately.
- Pattern: Look for a knit fabric headband pattern online or create your own by measuring the width and length you desire.
Gather these materials before you start your project to ensure that you have everything you need. Once you have all the materials, you can begin making your own knit fabric headband. Have fun and enjoy the process of creating a stylish and comfortable accessory!
Choosing the Right Yarn
Choosing the right yarn is an important step when knitting a headband. The type and weight of the yarn can greatly affect the final look and feel of the headband. There are several factors to consider when making your selection.
Fiber Content
One of the first things to consider is the fiber content of the yarn. Different fibers have different properties and will give the headband a different look and feel. For example, wool is warm and soft, while cotton is breathable and lightweight. Consider the climate and intended use of the headband when choosing the fiber content.
Yarn Weight

The weight of the yarn, also known as the thickness, is another important factor to consider. The pattern you choose may specify a certain yarn weight, so it’s important to check the requirements. Using the wrong weight can affect the size and fit of the headband. Additionally, the weight of the yarn will also determine the level of warmth and drape of the finished headband.
Colors and Patterns
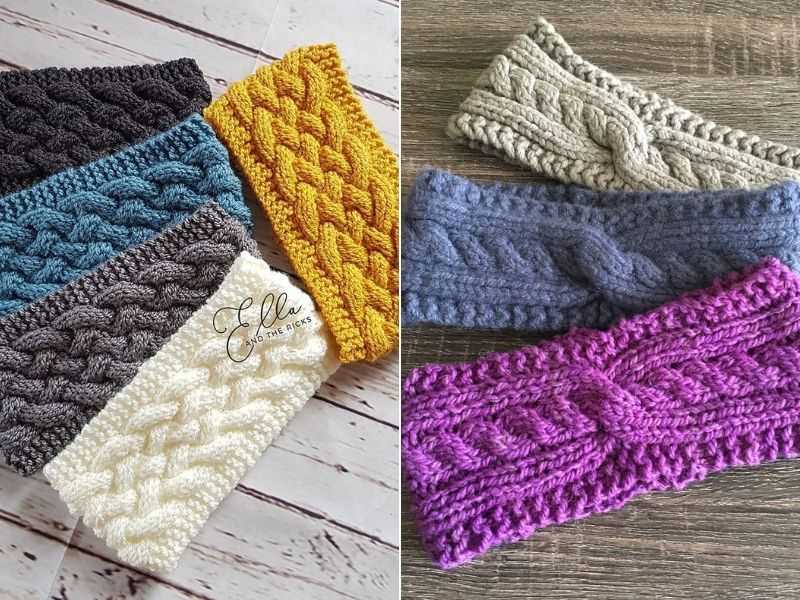
Another consideration when choosing yarn is the color and pattern options available. Yarn comes in a wide array of colors, from neutrals to brights, and also in different variegated or self-striping patterns. Think about the look you want to achieve with your headband and choose a color and pattern that complements your style.
Yarn Care Instructions
Lastly, it’s important to consider the care instructions for the yarn. Some yarns require hand washing, while others can be machine washed. Pay attention to the care instructions to ensure that the headband will maintain its shape and look after washing.
In conclusion, choosing the right yarn is crucial to achieve the desired look and feel for your knit fabric headband. Consider the fiber content, yarn weight, colors and patterns, as well as the care instructions to make an informed decision. With the right yarn, you can create a beautiful and functional headband that you will love to wear.
Selecting the Right Knitting Needles
When it comes to knitting, selecting the right knitting needles is essential. The type of needles you choose can greatly impact the outcome of your project. There are various factors to consider when selecting knitting needles, including the type of yarn you are using, the stitch pattern you are working with, and your personal knitting style.
One of the first factors to consider is the material of the knitting needles. Knitting needles can be made from different materials such as metal, wood, bamboo, or plastic. Each material has its own unique properties that can affect your knitting experience. For example, metal needles are known for their durability and smoothness, while wooden or bamboo needles provide a warmer and more comfortable grip. Plastic needles, on the other hand, are lightweight and great for beginners.
Another important consideration is the size of the knitting needles. Knitting needles come in different sizes, ranging from very fine to very large. The size of the needles will determine the gauge or tension of your knitting. If you are knitting with a thicker yarn, you will need larger needles to create a looser fabric. Conversely, if you are working with a finer yarn, you will need smaller needles to create a tighter fabric.
When selecting knitting needles, it is also important to consider the type of project you are working on. For example, if you are knitting a delicate lace pattern, you may want to use lace needles with sharp tips to easily work with intricate stitches. If you are knitting a chunky sweater, you may want to use circular needles to accommodate a larger number of stitches.
Ultimately, selecting the right knitting needles is a personal choice. It is important to experiment with different types of needles to find the ones that work best for you and your knitting projects. By considering factors such as material, size, and project type, you can ensure an enjoyable and successful knitting experience.
Casting On Stitches
Casting on stitches is the first step in any knitting project. It is the process of creating the foundation row of stitches on your knitting needle. There are several different methods for casting on stitches, each with its own advantages and uses.
One common method for casting on stitches is the long-tail cast on. To begin, make a slipknot with your yarn and place it on one of your knitting needles. Hold the needle with the slipknot in your right hand, and use your left hand to hold the other knitting needle. Bring the yarn over your left index finger and hold it with your thumb. Insert the right needle into the slipknot from left to right, and then wrap the working yarn around the right needle counterclockwise. Slide the right needle down and under the left needle, catching the loop of yarn on the right needle. Pull the yarn through the loop, creating a new stitch. Repeat this process until you have cast on the desired number of stitches.
Another method for casting on stitches is the knitted cast on. To begin, make a slipknot and place it on one of your knitting needles. Hold the needle with the slipknot in your right hand, and insert the left needle into the slipknot from the front to the back. Wrap the yarn around the right needle counterclockwise, and then pull it through the slipknot. This creates a new stitch on the right needle. Slip this stitch onto the left needle, and repeat the process until you have cast on the desired number of stitches.
Whether you choose to use the long-tail cast on, the knitted cast on, or another method, casting on stitches is an essential skill for any knitter. It sets the stage for your knitting project and establishes the number of stitches you’ll be working with. With practice, you’ll become comfortable with casting on stitches and will be ready to tackle more complex knitting patterns. So grab your yarn and needles, and start casting on for your next knitting project!
Knitting the Main Body
Once you have successfully cast on the desired number of stitches for your knit fabric headband, you can begin knitting the main body of the headband.
Start the first row by knitting each stitch across, using the knit stitch. This will create a row of smooth, even stitches. Repeat this row for the desired length of the headband, making sure to keep track of your rows using a stitch marker or pen and paper.
For added texture, you can incorporate different stitch patterns into the main body of the headband. Some popular choices include the seed stitch, ribbing, or a cable pattern. To incorporate these patterns, follow the pattern instructions for the desired stitch pattern, making sure to adjust your stitch count accordingly.
If you prefer a seamless headband, you can join the ends of the headband using the invisible seam method once you have reached the desired length. This will create a seamless finish that is both comfortable and stylish.
Once you have finished knitting the main body of the headband, you can bind off the stitches using your preferred method. This will secure the stitches and prevent them from unraveling. Weave in any loose ends and trim any excess yarn, and your knit fabric headband is now complete and ready to wear!
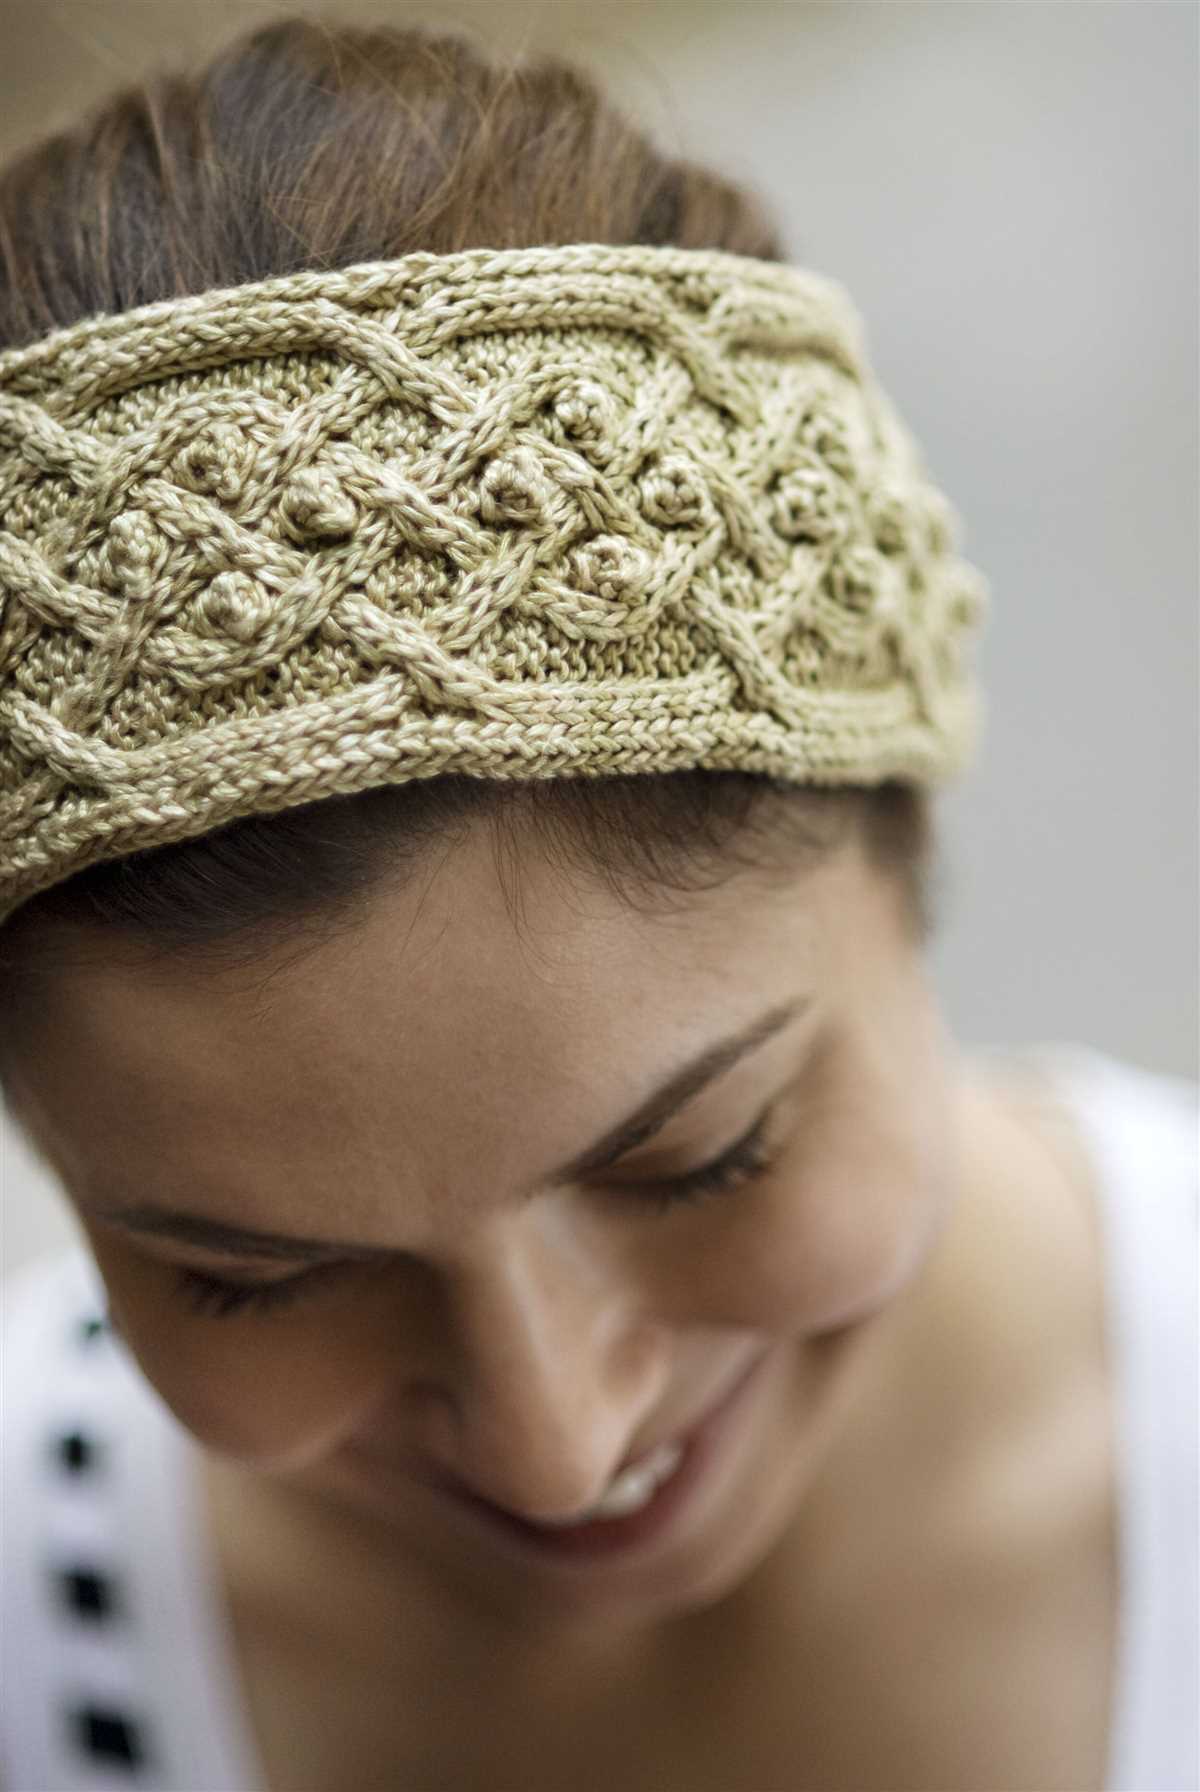
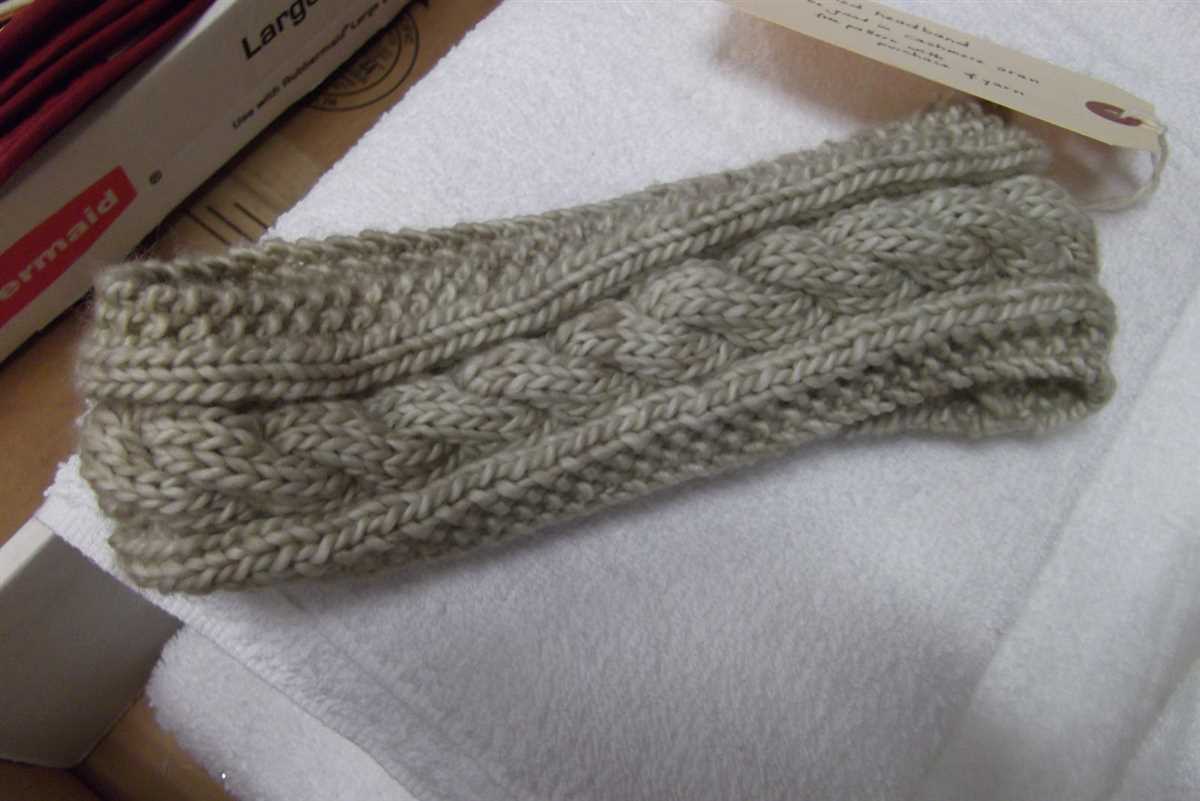
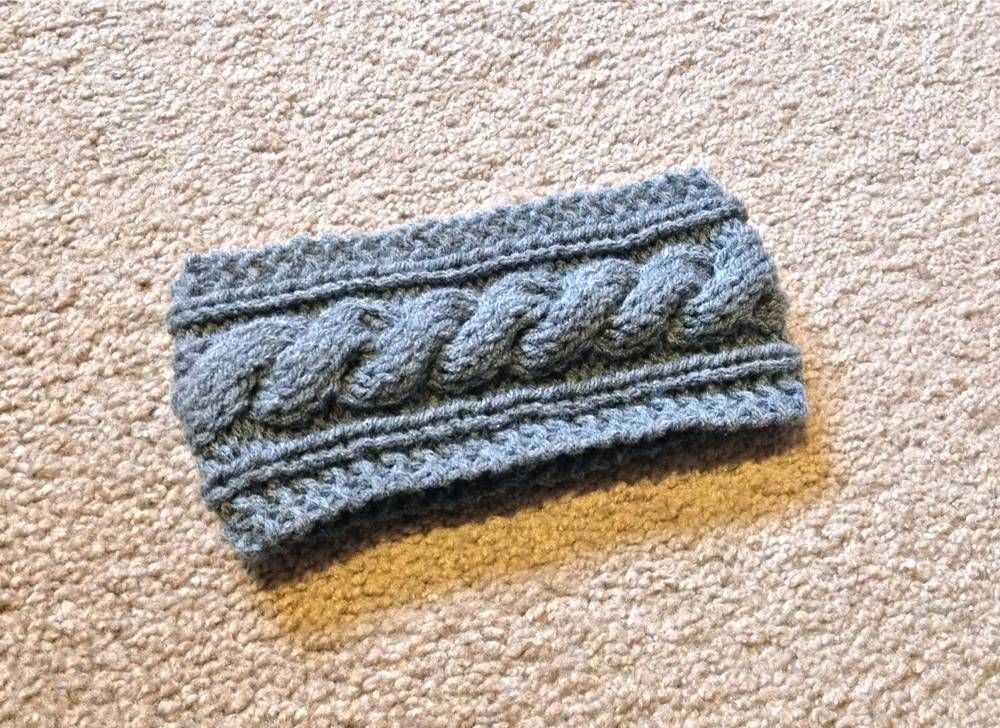
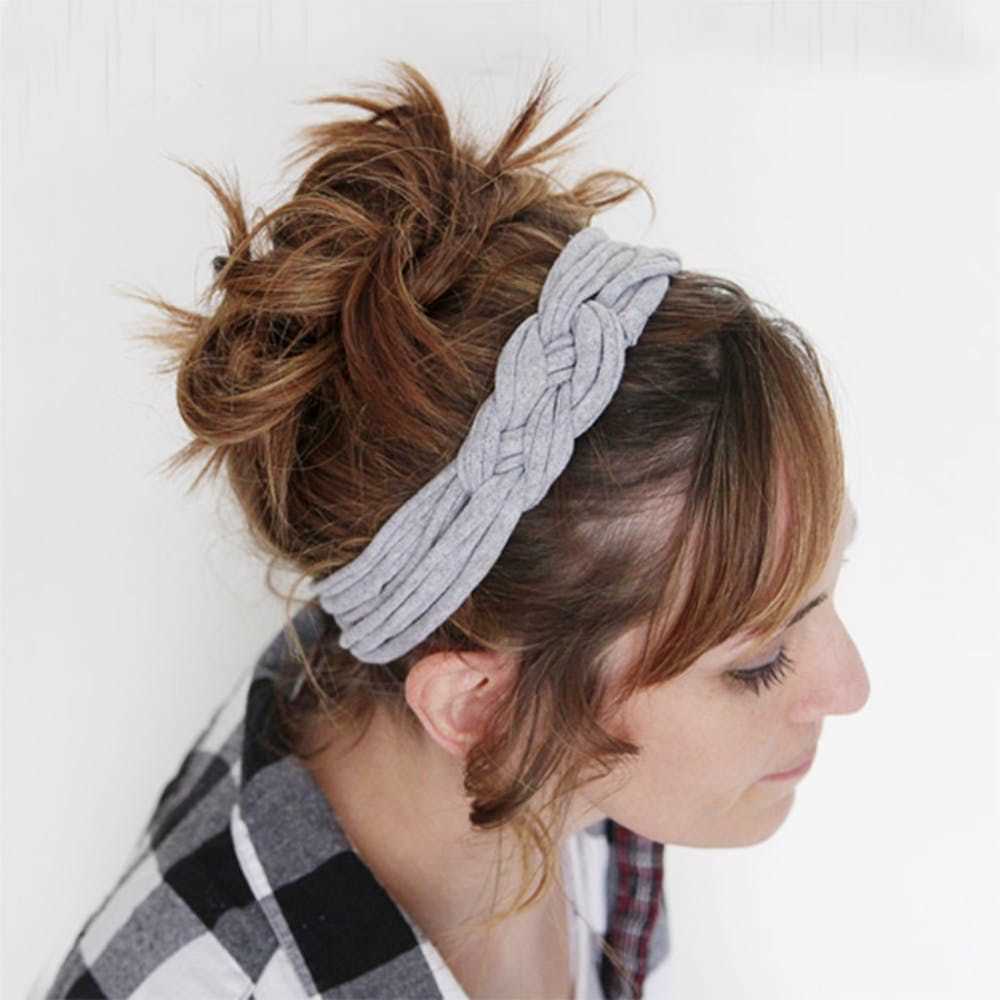
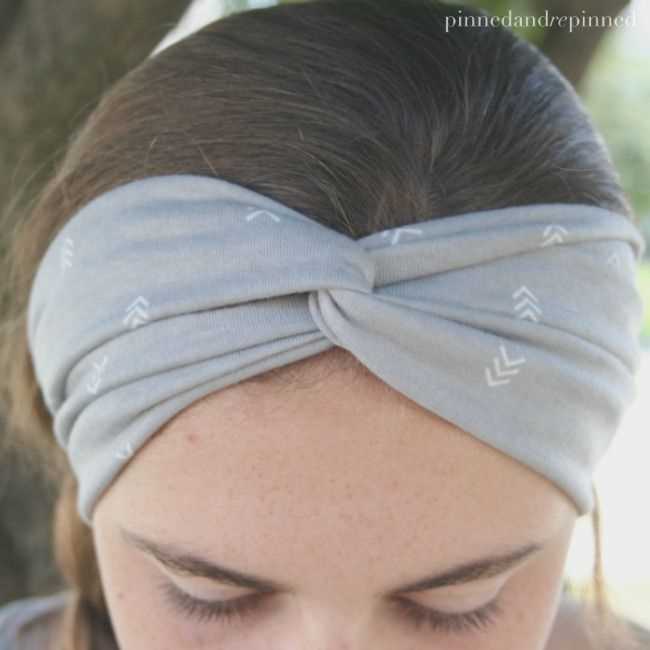
Creating the Twist
Adding a twist to your knit fabric headband can give it a unique and stylish look. This twist can be created by using a simple knitting technique called the cable stitch. The cable stitch involves crossing the stitches over each other to create a twisted effect. Here’s how you can create the twist in your headband.
1. Start by knitting the first few rows of your headband using your preferred stitch pattern. Once you have reached the desired width of your headband, it’s time to add the twist.
2. Prepare for the cable stitch
To prepare for the cable stitch, you will need to temporarily place a few stitches on a cable needle or a spare knitting needle. The number of stitches you place on the cable needle will depend on the desired width of the twist. In this example, let’s say we want a twist made up of four stitches.
- With your working yarn, knit the first two stitches on your left-hand needle.
- Insert the cable needle into the next two stitches on your left-hand needle, holding them in the front of your work.
- Knit the next two stitches on your left-hand needle.
- Finally, knit the two stitches from the cable needle or spare knitting needle.
3. Continue knitting the remaining stitches in your headband pattern.
4. Repeat steps 2 and 3 to create additional twists in your headband. You can choose to space the twists evenly throughout the headband or create them in a specific pattern.
5. Once you have finished knitting the desired length of your headband, bind off the stitches and weave in any loose ends. Your twisted knit fabric headband is now complete!
Shaping the Headband
When knitting a headband, it is essential to shape it properly to ensure a comfortable fit. The shaping of the headband can be achieved by increasing or decreasing stitches. Here are a few techniques you can use to shape your knit fabric headband:
1. Increasing stitches:
To increase stitches, you can use techniques such as knitting into the front and back of a stitch (KFB) or making a yarn over (YO). These techniques will add extra stitches to the fabric, creating a wider section of the headband. You can increase stitches evenly throughout the headband or only on one side to create a tapered effect.
2. Decreasing stitches:
To decrease stitches, you can use techniques such as knit two stitches together (K2tog) or slipping stitches. These techniques will remove stitches from the fabric, creating a narrower section of the headband. You can decrease stitches evenly throughout the headband or only on one side to create a tapered effect.
It is important to plan your shaping beforehand by calculating the number of stitches to increase or decrease and the desired placement of these increases or decreases. This way, you can achieve a headband that fits perfectly and has a stylish shape.
Binding Off Stitches
When completing a knitting project, it is important to finish off your stitches properly to ensure the integrity of your work. This process is known as “binding off” or “casting off.” Binding off stitches creates a tidy edge and prevents your project from unraveling.
To bind off stitches, follow these steps:
- Start by knitting the first two stitches as usual.
- With the left needle, lift the first stitch that you knitted over the second stitch and off the right needle.
- Knit the next stitch.
- Again, lift the first stitch over the second stitch and off the right needle.
- Continue this process until you have only one stitch left on your right needle.
- Snip the yarn, leaving a tail that is about six inches long.
- Thread the tail through the last stitch and tug gently to secure.
Binding off stitches can be done in different ways depending on the desired outcome and the type of project you are working on. The steps outlined above are for a basic bind off. For a stretchier edge, you can try a stretchy bind off method. There are also decorative bind off techniques that can add a special touch to your knitting, such as picot bind off or lace bind off.
Whether you are knitting a headband or a sweater, properly binding off stitches is an essential skill to master. It not only gives your project a professional finish but also ensures that your hard work does not come undone. Take your time and practice binding off stitches to perfect this important technique in knitting.
Finishing Touches
Once you have completed knitting your headband, it’s time to add some finishing touches to make it truly special and unique. Here are a few ideas to consider:
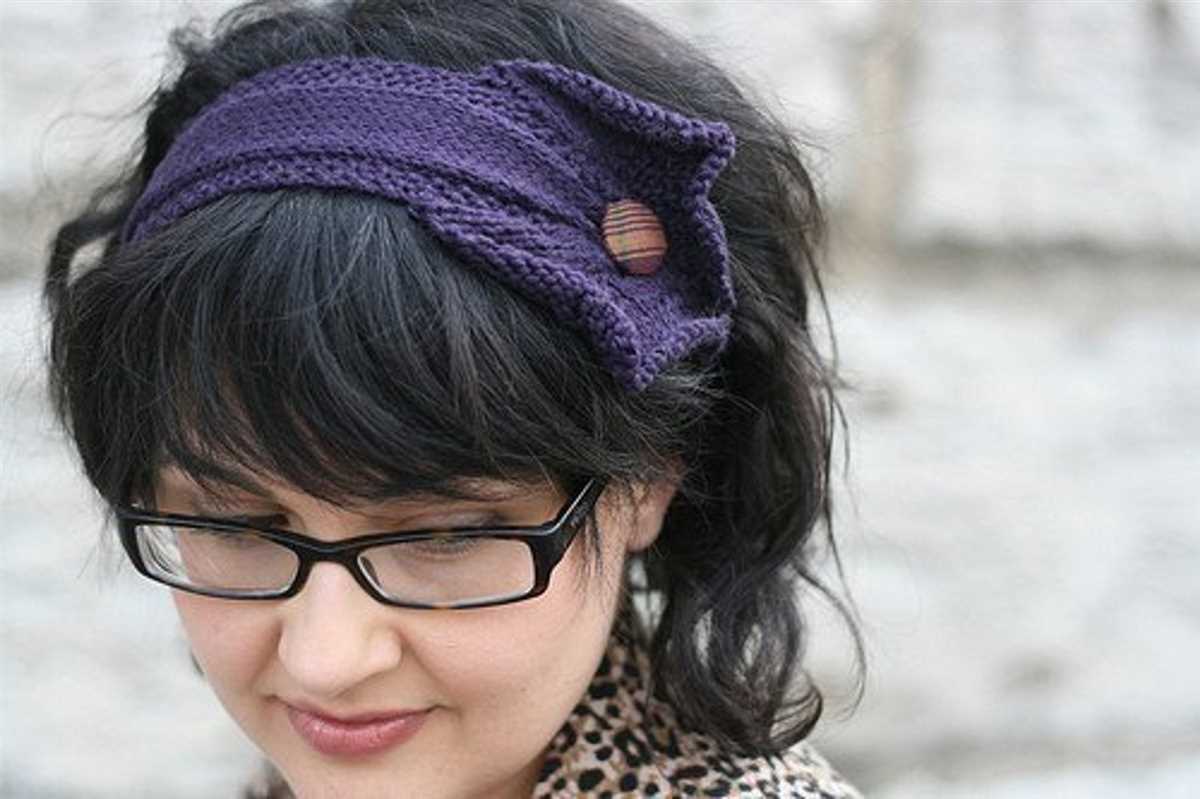
1. Embellishments
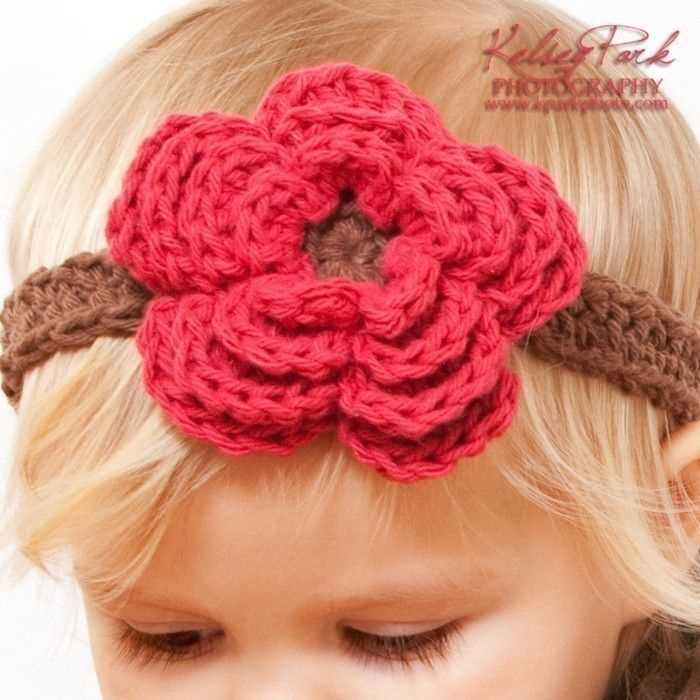
Add some extra flair to your headband by attaching embellishments. You could sew on small buttons, beads, or sequins to create a decorative pattern. Alternatively, you could knit or crochet flowers and sew them onto the headband for a feminine touch.
2. Edge Trim
A neat edge trim can give your headband a polished look. You can achieve this by adding a simple crochet border all around the edges. Choose a contrasting color to make it stand out or opt for a matching color for a subtle finish.
3. Lining
For added comfort and warmth, consider adding a lining to the inside of your headband. Cut a piece of soft fabric, such as fleece or flannel, to the same width as your headband and sew it onto the wrong side of the knit fabric. This will help keep your ears cozy during cold weather.
4. Ribbon Tie
Add a stylish detail to your headband by incorporating a ribbon tie. Knit two small tubes and sew them onto each side of the headband, leaving enough length to tie a bow. This not only adds a decorative touch but also allows you to adjust the fit of the headband.
With these finishing touches, your knit fabric headband will be transformed into a beautiful accessory that showcases your personal style. Get creative and experiment with different ideas to make it truly unique.
Adding Embellishments
With a knit fabric headband, there are endless possibilities for adding embellishments to make it unique and personalized. Whether you’re making it for yourself or as a gift, adding embellishments can take your headband to the next level.
Here are some ideas for adding embellishments to your knit fabric headband:
- Buttons: Sew on some cute buttons in various shapes and colors to add a whimsical touch to your headband.
- Ribbons: Attach ribbons of different widths and textures to the side or center of your headband for a feminine and elegant look.
- Flowers: Knit or crochet small flowers and sew them onto your headband for a pretty and delicate accent.
- Sequins: Add some sparkle to your headband by gluing on sequins in a pattern or randomly for a glamorous touch.
- Bow: Attach a bow made from fabric, ribbon, or yarn to the side or center of your headband for a cute and playful look.
- Feathers: Sew on a few feathers to create a bohemian or tribal-inspired headband.
- Embroidery: Use embroidery thread to add intricate designs or patterns to your headband for a more personalized and detailed look.
Remember to consider the overall style and color scheme of your headband when choosing embellishments. Think about the occasion or outfit you’ll be wearing it with, and let your creativity flow to create a one-of-a-kind accessory that reflects your personal style.
Styling and Wearing Your Knit Headband
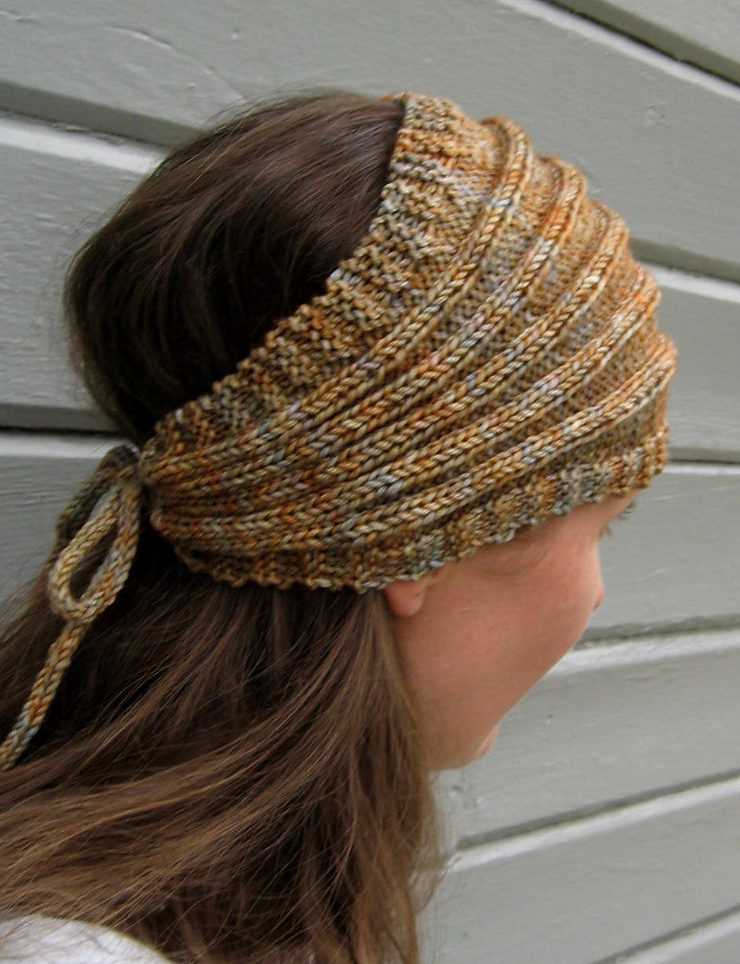
Once you’ve finished knitting your headband and it’s ready to wear, you can start experimenting with different styles to match your outfits and showcase your personal style.
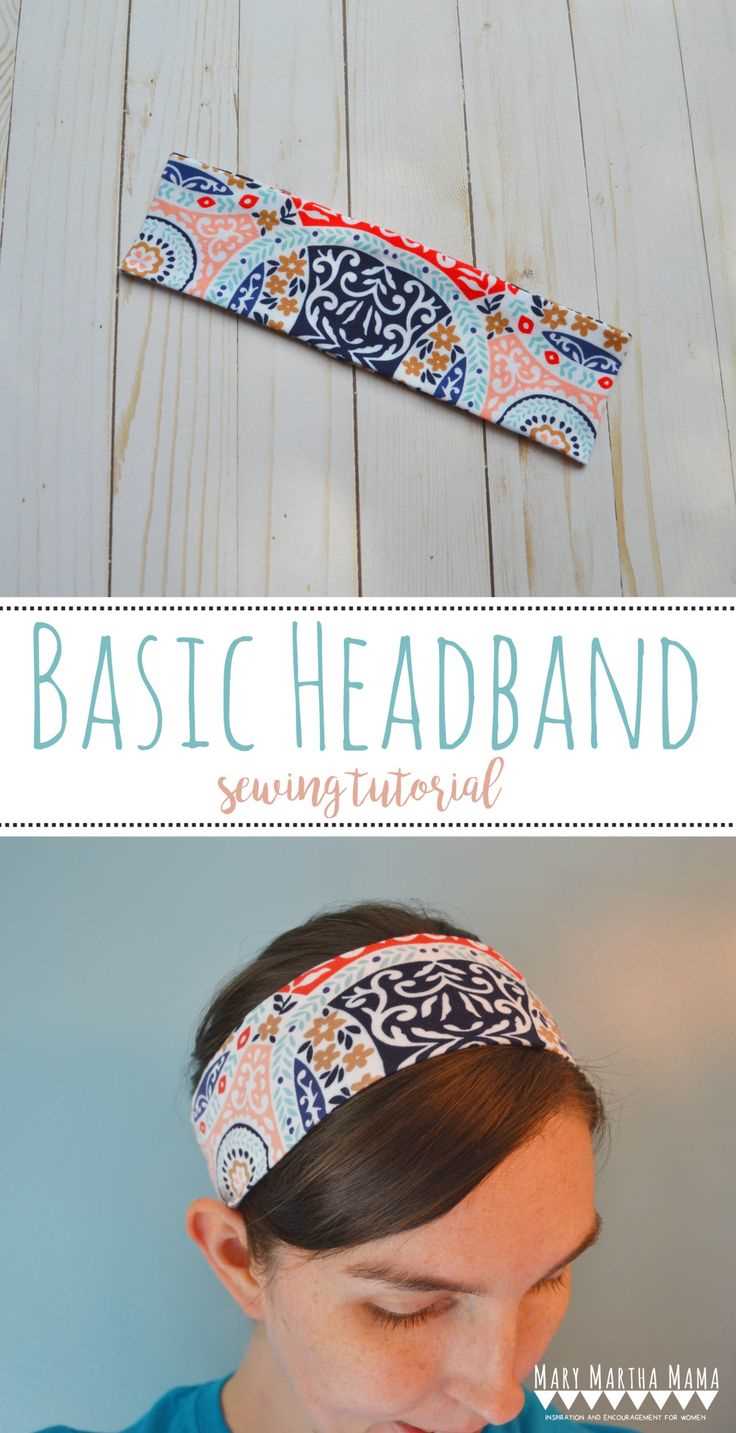
One of the simplest ways to wear a knit headband is to wear it as a traditional headband, positioning it across your forehead and securing it in the back. This style is perfect for keeping your hair out of your face while adding a touch of style to your look.
Styling Tips
- Try wearing your knit headband slightly higher on your head, closer to your hairline, for a boho-inspired look.
- For a more polished and put-together look, pair your headband with a sleek ponytail or updo.
- Add a touch of glam by choosing a headband with embellishments such as beads or sequins.
- Experiment with different colors and patterns to complement your outfit or make a bold statement.
- If you prefer a casual and effortless look, try scrunching your hair and wearing the headband over it.
Caring for Your Knit Headband
To keep your knit headband looking its best, follow these care instructions:
- Hand wash your headband in cold water with a mild detergent.
- Gently squeeze out the excess water and lay it flat to dry.
- Avoid wringing or twisting the headband to prevent stretching or damaging the fabric.
- Store your headband in a cool, dry place to maintain its shape and prevent any potential damage.
With these styling tips and care instructions, you can confidently wear and take care of your knit headband for years to come. Enjoy experimenting with different looks and showcasing your personal style!
Q&A:
What materials do I need to make a knit fabric headband?
To make a knit fabric headband, you will need knit fabric (1/4 yard should be enough), a sewing machine, thread, scissors, and elastic (approximately 1/2 inch wide).
How do I measure my head to ensure the headband will fit?
To measure your head for a perfect fit, wrap a measuring tape around your head just above your ears and eyebrows. Make sure the tape is snug but not too tight. Note down the measurement and subtract about 2 inches to account for the stretch of the fabric. This will give you the length you need to cut for the headband.
What stitch should I use to sew the headband?
You can use a straight stitch or a zigzag stitch on your sewing machine to sew the headband. A zigzag stitch is preferable if you are using a knit fabric as it provides some stretch to accommodate the fabric’s stretch.
Do I need to use a serger to sew the headband?
No, a serger is not necessary to sew a knit fabric headband. You can use a sewing machine with a straight or zigzag stitch to achieve good results. A serger can give a more professional finish, but it is not essential.
Can I personalize the headband with embellishments?
Yes, you can definitely personalize your knit fabric headband with embellishments if desired. You can add bows, buttons, flowers, or any other decorative elements using hand-sewing or fabric glue. Get creative and make it unique!
How do I measure the size of my head for a knit fabric headband?
To measure the size of your head for a knit fabric headband, use a flexible measuring tape or a piece of string. Wrap it around your head, just above your ears and eyebrows, making sure it is snug but not too tight. Take note of the measurement in inches or centimeters, which will be the length of your headband.