
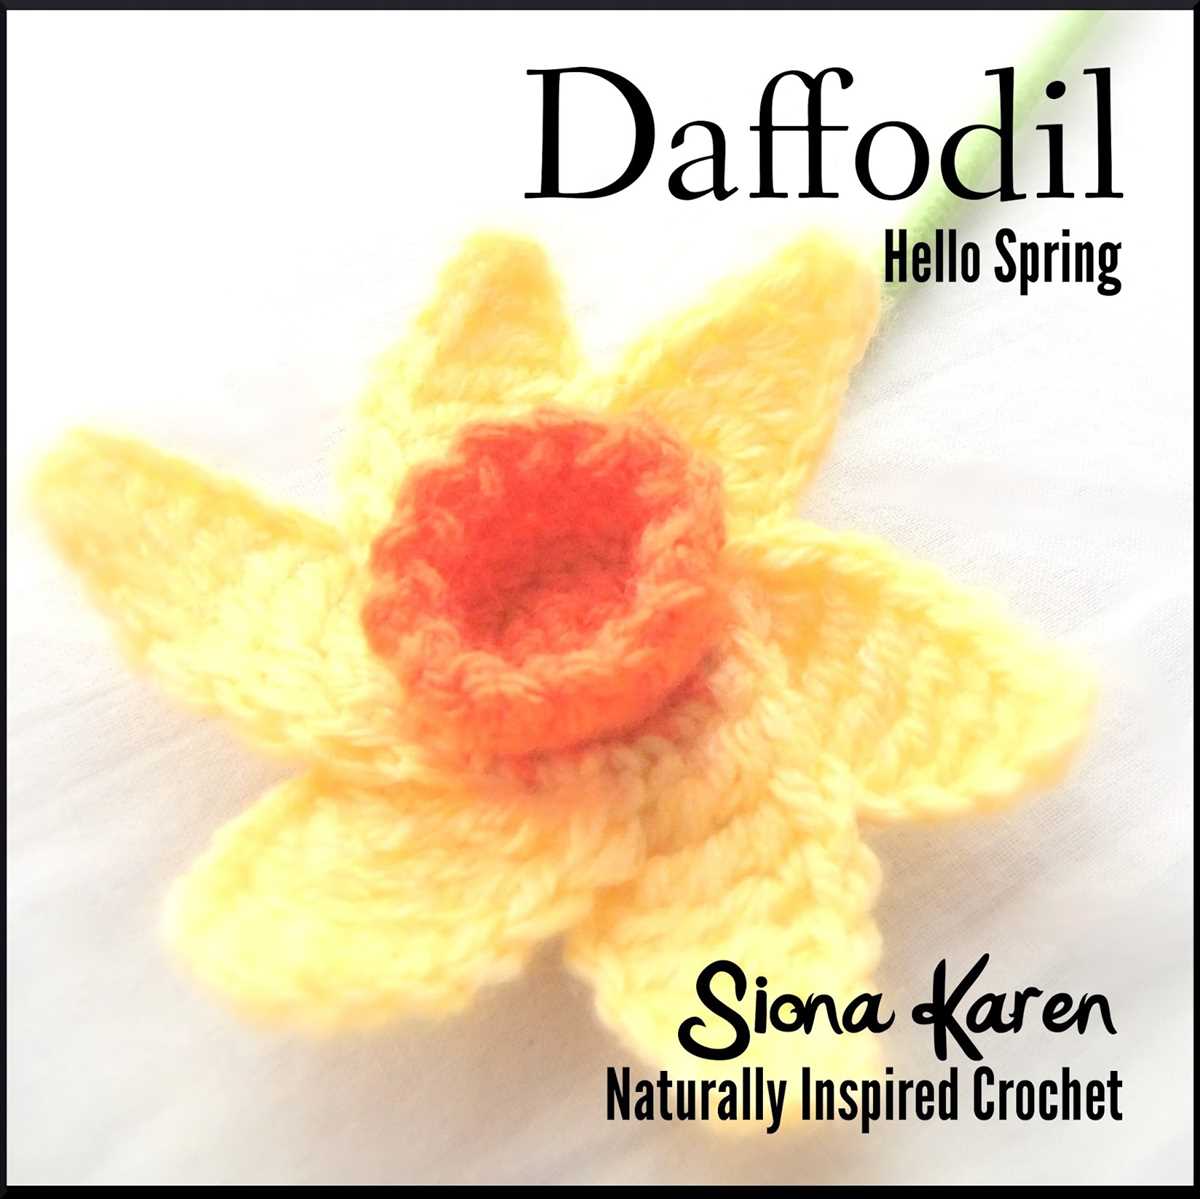
Knitting is a versatile craft that allows you to create beautiful and unique items. If you’re looking for a fun and Spring-inspired project, why not try knitting a daffodil? Daffodils are a classic flower that symbolize new beginnings and vitality. With this knit daffodil pattern, you can bring a touch of Spring into your home all year round!
This knit daffodil pattern is perfect for beginners and experienced knitters alike. The pattern uses basic knitting stitches and techniques, making it a great project for those new to knitting or looking to practice their skills. The resulting daffodil is a small, decorative flower that can be used in a variety of ways. Whether you want to make a brooch, add some flair to a hat or scarf, or create a bouquet of daffodils, this pattern has you covered.
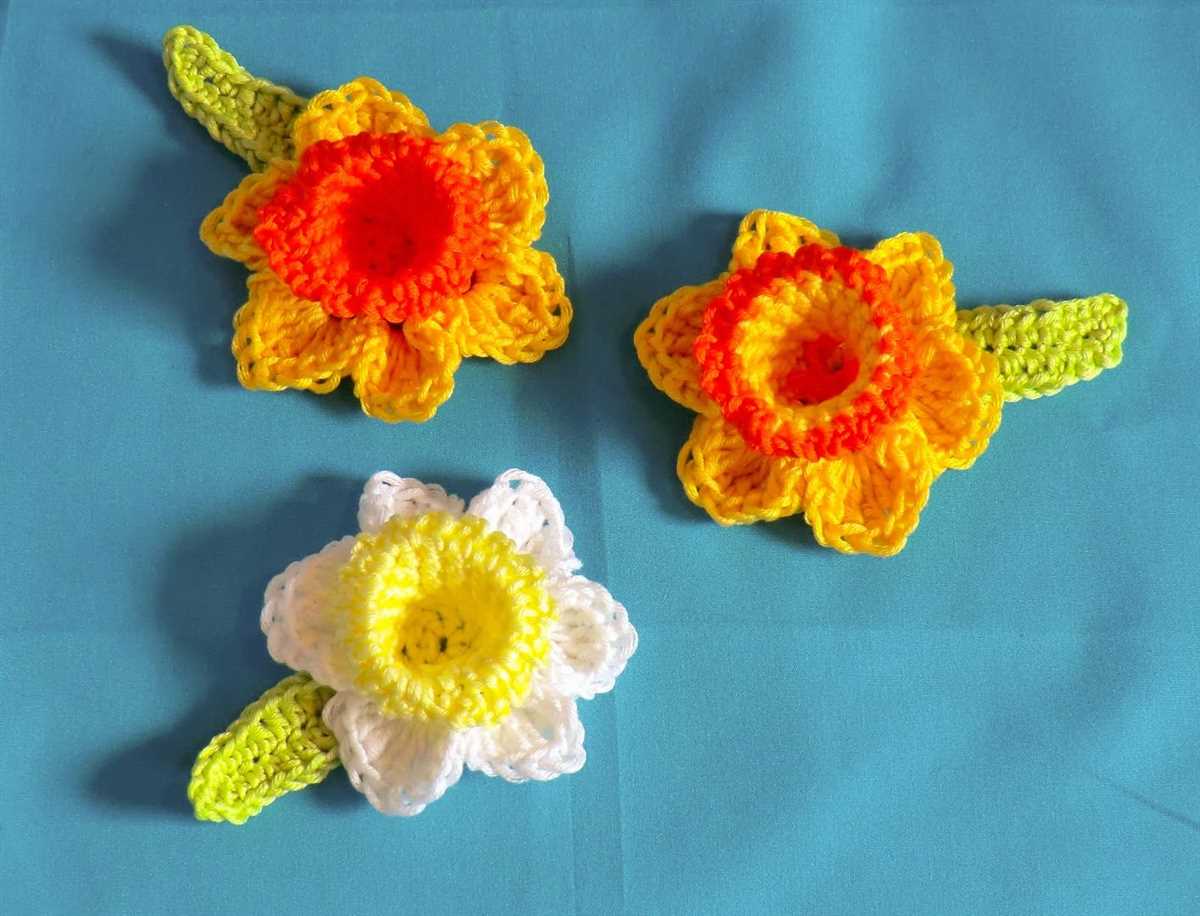
Not only is knitting a daffodil fun and enjoyable, but it also allows you to explore your creativity and personalize your project. You can experiment with different colors of yarn to create unique and vibrant daffodils. Additionally, you can adjust the size of your daffodil by using different sizes of needles and yarn. This allows you to create daffodils of various sizes, from tiny ones to larger ones that make a statement.
So, if you’re looking for a fun and Spring-inspired knitting project, try out this knit daffodil pattern. Not only will you enjoy the process of knitting, but you’ll also have a beautiful daffodil to display or wear with pride!
Materials needed
In order to create a knit daffodil, you will need a few basic materials. Here are the items you will need to gather before starting the project:
- Yarn: Choose a yellow yarn for the petals and a green yarn for the stem and leaves.
- Knitting Needles: Use knitting needles in the appropriate size for your yarn. This will be specified on the yarn label.
- Tapestry Needle: A tapestry needle will be used to sew the different parts of the daffodil together.
- Scissors: You will need a pair of scissors to cut the yarn at various stages of the project.
- Stitch Marker: A stitch marker can be helpful to keep track of your progress and mark certain points in your knitting.
These are the essential materials needed to create a knit daffodil. Once you have gathered everything, you will be ready to start knitting your own beautiful flower!
Choosing the right yarn
When it comes to knitting a daffodil, choosing the right yarn is essential to achieving the desired result. The yarn you select will not only affect the appearance of the final product but also its texture and durability. Therefore, it is important to consider several factors before making a decision.
Yarn weight: The weight of the yarn determines the thickness and drape of the knitted daffodil. For a delicate and light flower, opt for a lace or fingering weight yarn. If you prefer a more substantial flower with added texture, a sport or worsted weight yarn would be more suitable. Consider the desired outcome and the level of detail you want to achieve.
Yarn composition: Another important factor to consider is the composition of the yarn. Natural fibers such as cotton, linen, or silk can give the daffodil a more realistic look and feel. These fibers also tend to have excellent stitch definition, which is crucial for intricate patterns and textures. However, if you are looking for a more economical choice, acrylic or acrylic blends can be a great alternative, offering durability and an extensive range of colors.
Color: The color of the yarn can significantly impact the aesthetic appeal of the knitted daffodil. You can opt for a traditional yellow for a classic daffodil or experiment with different shades and combinations for a more unique design. Consider the overall color scheme you want to achieve and how the yarn color will complement or contrast with other elements in your project.
Texture: If you want to add texture to your knitted daffodil, consider using yarns with different textures, such as boucle or mohair. These yarns can give your flower added dimension and visual interest. However, keep in mind that more textured yarns may be more challenging to work with, especially for beginners.
To make an informed decision, read yarn labels, feel the yarn in person, and consider how it will interact with your knitting technique. Ultimately, choosing the right yarn will contribute to the success of your knitted daffodil project and ensure a beautiful and long-lasting result.
Knitting Techniques

Knitting is a popular craft that involves creating fabric by interlocking loops of yarn with knitting needles. There are several knitting techniques that can be used to create different stitches and textures in a knitted piece. These techniques can be combined to create intricate patterns and designs.
One of the most basic knitting techniques is the knit stitch. This stitch is created by inserting the needle into a loop on the previous row, wrapping the yarn around the needle, and pulling it through to create a new loop. The purl stitch is another basic stitch that is created by inserting the needle into the loop from the back, wrapping the yarn around the needle, and pulling it through to create a new loop. These two stitches can be used in combination to create different patterns, such as ribbing or seed stitch.
Other knitting techniques include increases and decreases, which are used to shape the fabric. Increases are used to add stitches, while decreases are used to remove stitches. There are different methods for increasing and decreasing, such as yarn overs, knit front and back, and knit two together. These techniques can be used to create shaping in garments, such as shaping the waist or sleeves.
Colorwork is another popular knitting technique, which involves working with multiple colors of yarn to create patterns and designs. There are several methods for colorwork, including stranded knitting, intarsia, and fair isle. Each method creates a different effect and requires different skills. Colorwork can be used to create intricate patterns, such as fair isle sweaters or intarsia motifs.
Creating the petals
Once you have gathered all your materials, it’s time to start knitting the petals for your daffodil. The first step is to cast on 15 stitches using your chosen yarn. Make sure to leave a long tail for sewing later on.
Next, you will begin working in the round. Join the stitches together and place a stitch marker to mark the beginning of the round. Now you can start knitting the petals using the stockinette stitch. Knit one round, then purl one round, and repeat these two rounds until your work measures about 3 inches in length.
Now it’s time to shape the petals. To create the pointed ends, you will start decreasing the number of stitches. Knit 2 together at the beginning of each round until you have 5 stitches remaining. Cut the yarn, leaving a long tail, and thread it through the remaining stitches to secure them. Repeat this process to create a total of six petals.
Once you have finished knitting all the petals, it’s time to give them some dimension. Lay each petal flat and use a hot iron to lightly steam them. This will help to shape them and make them look more realistic. Be careful not to apply too much heat, as it may damage the yarn.
Making the flower center
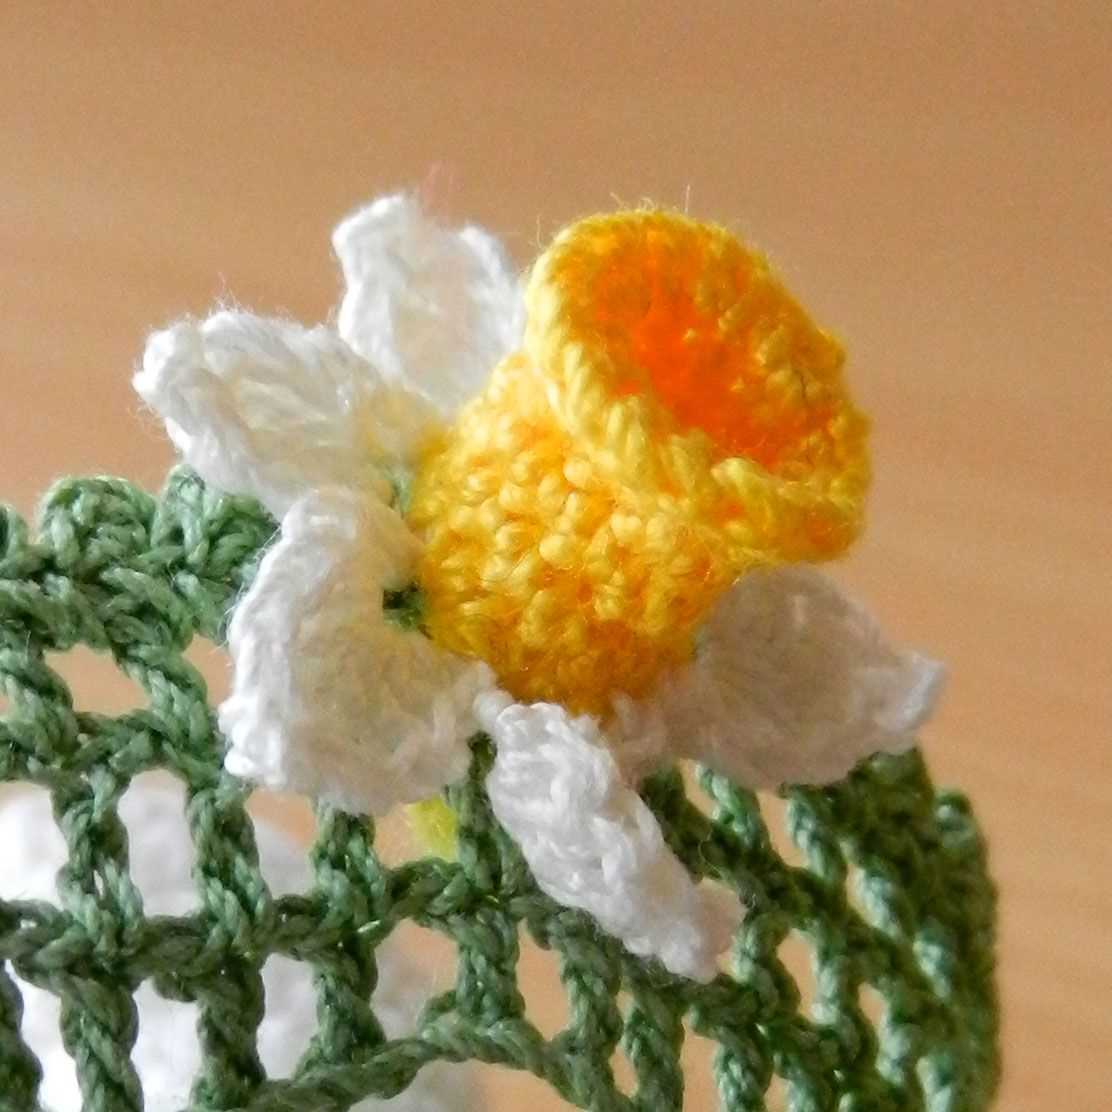
When knitting a daffodil flower, the center is an essential part of creating a realistic and beautiful result. The center of a daffodil can be made using various knitting techniques, depending on the desired texture and appearance. One common method is to use a combination of knit and purl stitches to create a raised, textured center that mimics the stamen of a real daffodil.
To create the center, start by casting on the required number of stitches onto your knitting needle. The number of stitches will vary depending on the size of the daffodil you are making and the thickness of the yarn you are using. Once the stitches are cast on, begin the pattern by working rows of knit and purl stitches according to the instructions provided in your knitting pattern.
- Row 1: Knit all stitches.
- Row 2: Purl all stitches.
- Row 3: Knit all stitches.
- Row 4: Purl all stitches.
Continue working these rows, alternating between knit and purl stitches, until the center of the daffodil is the desired length. This textured center will serve as the base for the petals of the flower, adding depth and dimension to the overall design.
The center of a daffodil can also be created using different stitch patterns, such as the seed stitch or the moss stitch. These stitch patterns create a more intricate and detailed texture, resembling the intricate structure of the stamen in a real daffodil. Experimenting with different stitch patterns can result in unique and visually appealing daffodil centers.
Assembling the daffodil
After you have finished knitting all the different parts of the daffodil, it’s time to assemble them together to create the final flower. Here are the steps to follow:
Gather the materials:
- Knitted daffodil parts
- Sewing needle
- Thread that matches the color of the yarn
- Scissors
Attach the trumpet to the center:
Start by placing the trumpet on top of the center of the daffodil. Use the sewing needle and thread to securely attach the trumpet to the center. Make sure to sew the trumpet to the center from both the top and bottom sides, so that it stays in place firmly.
Attach the petals:
Take one petal and position it next to the trumpet, slightly overlapping the trumpet and the center. Use the sewing needle and thread to sew the petal to the center, making small stitches along the edge of the petal. Repeat this step with the remaining petals, positioning them evenly around the center.
Secure the stem:
If you have knitted a stem for your daffodil, now is the time to attach it. Insert the stem into the bottom of the daffodil and use the sewing needle and thread to sew it in place. Make sure to sew the stem firmly, so that it doesn’t come off easily.
Once you have completed all these steps, your knitted daffodil will be fully assembled and ready to be displayed or used in any way you like!
Creating the stem and leaves

Once you have finished knitting the daffodil flower, it’s time to move on to creating the stem and leaves. The stem will provide support for the flower, while the leaves will add a touch of realism to the overall design.
To create the stem, you can use a long piece of green yarn. Start at the base of the flower and work your way down, using a simple knitting stitch. You can adjust the length of the stem according to your preference, but make sure it’s long enough to support the weight of the flower.
Next, it’s time to knit the leaves. You can create two or three leaves, depending on the desired look. To knit each leaf, start with a small number of stitches and gradually increase the number of stitches as you work your way up. This will create a triangular shape, resembling the shape of a leaf.
For added detail, you can use different shades of green yarn or add subtle patterns to the leaves. Once the leaves are complete, you can attach them to the stem of the flower, using a simple sewing technique. Make sure the leaves are evenly spaced and positioned in a natural-looking way.
By adding a stem and leaves to your knitted daffodil, you can create a more realistic and visually appealing design. The stem will provide stability and support, while the leaves will add a touch of nature to your finished project. With a little patience and creativity, you can bring your knitted daffodil to life!
Finishing Touches
Now that you have completed knitting your daffodil, it’s time to add some finishing touches to bring it to life. Here are a few steps you can follow to make your knitted daffodil even more beautiful.
First, carefully weave in any loose ends using a tapestry needle. This will give your daffodil a neater appearance and prevent the yarn from unraveling. Make sure to hide the ends within the stitches so that they are not visible.
Next, gently block your daffodil to help it maintain its shape. You can do this by wetting your knitted piece and then pinning it to a flat surface, such as a towel or blocking mat, in the desired shape. Allow it to dry completely before removing the pins. Blocking will give your daffodil a more professional and polished look.
For an extra touch of realism, you can sew a small yellow button or bead in the center of your daffodil. This will mimic the stamen and add a pop of color to your finished piece. Simply thread a needle with yellow thread or embroidery floss, sew through the center of the daffodil, and attach the button or bead securely.
Finally, consider attaching a stem and leaves to your daffodil. You can knit or crochet these separately and sew them onto the back of the flower. This will provide extra stability and allow you to arrange your finished daffodil in a vase or display it in other creative ways.
With these finishing touches, your knitted daffodil is complete! Admire your handiwork and enjoy the beauty of your blooming creation.