
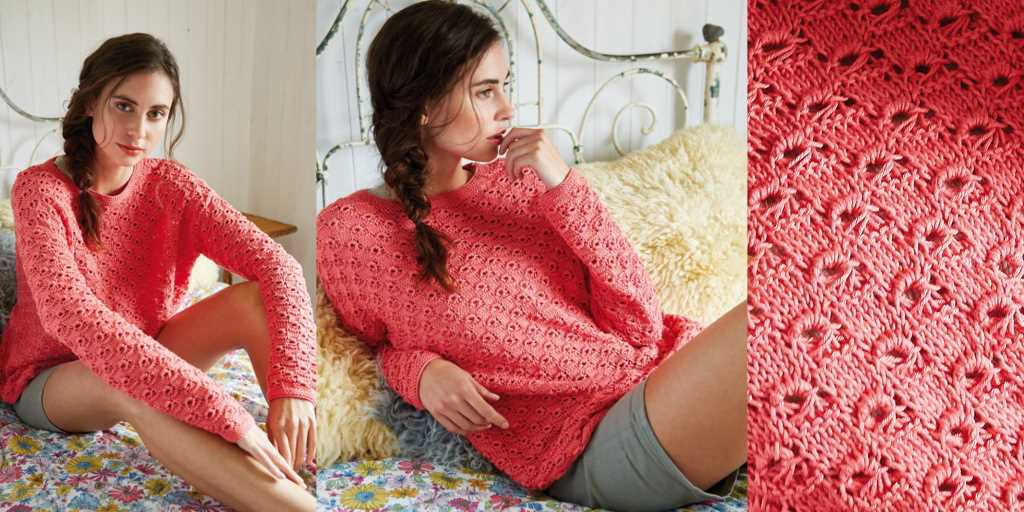
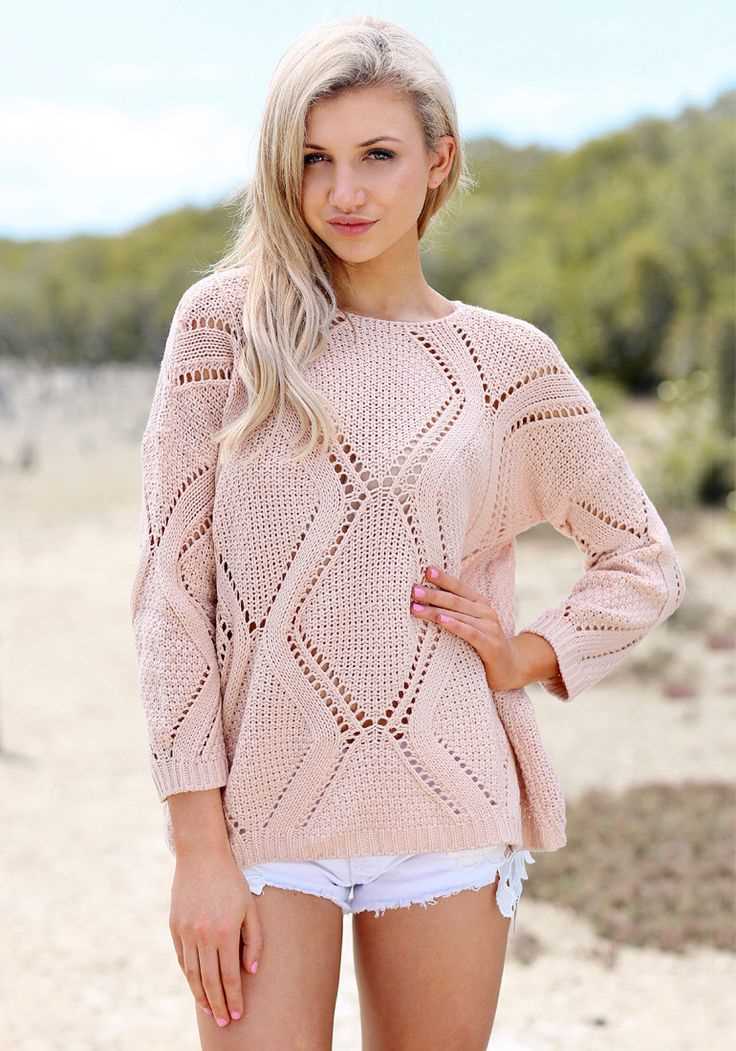
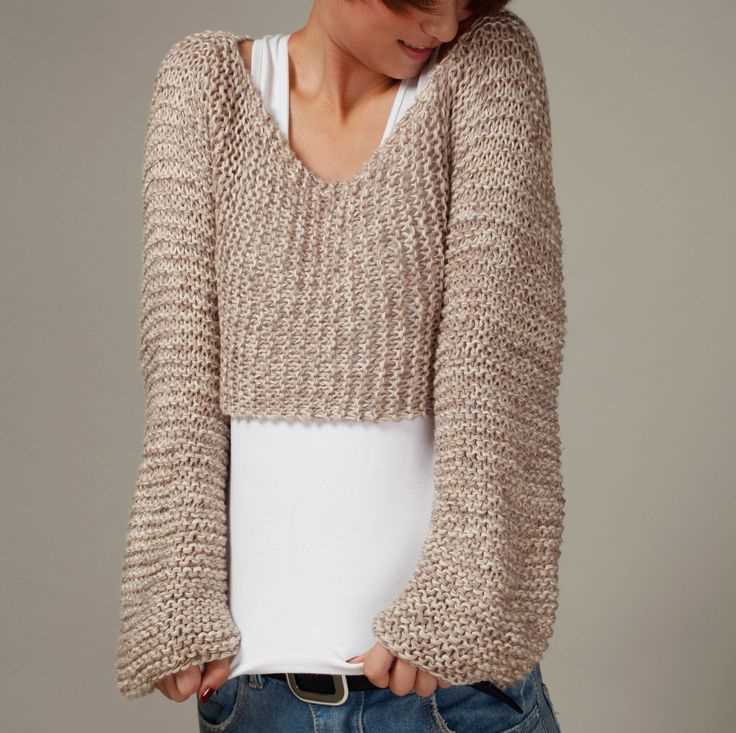
Knitting is a beloved craft that allows us to create beautiful and cozy garments with our own hands. One of the most popular and versatile projects is a knit cotton sweater. Whether you’re a seasoned knitter or just starting out, this pattern is perfect for all skill levels.
When it comes to choosing the right yarn for your sweater, cotton is an excellent option. Cotton yarn is known for its softness, breathability, and durability, making it ideal for all seasons. This natural fiber is easy to work with, making it a great choice for beginners who are still getting the hang of knitting.
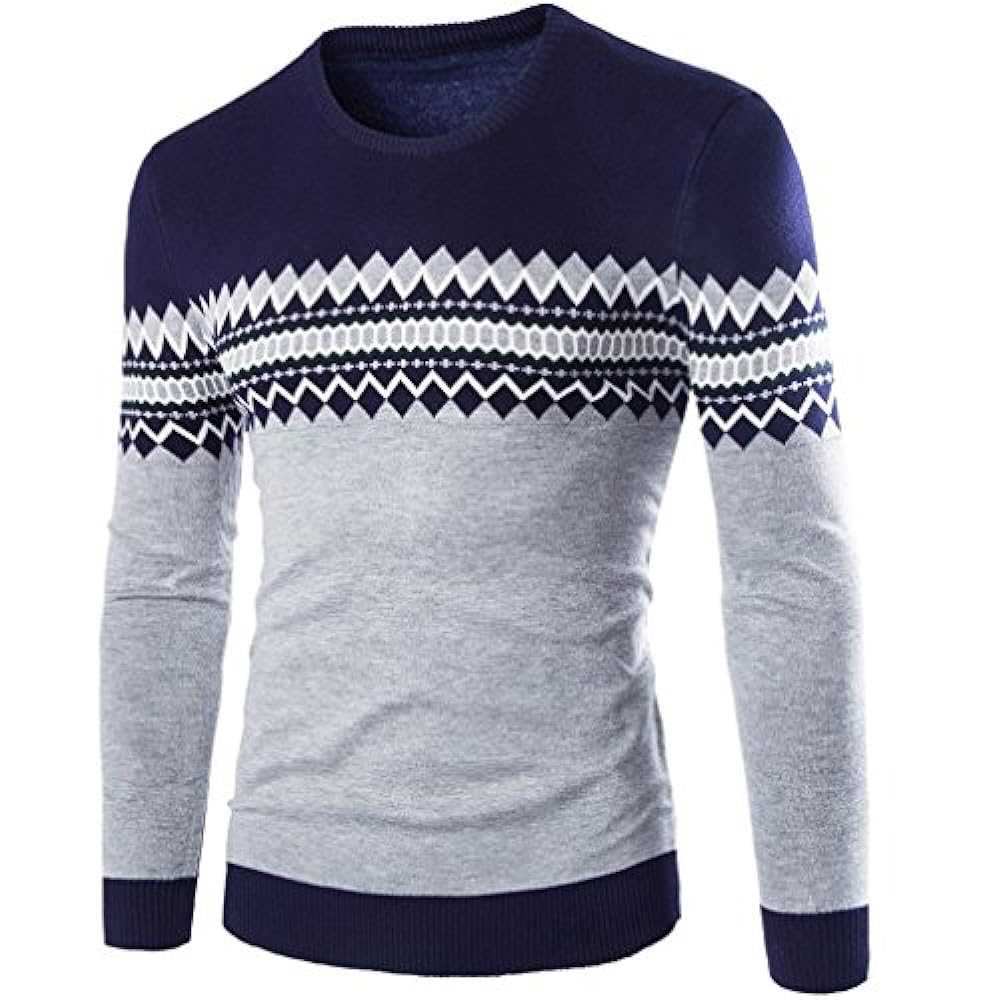
This knit cotton sweater pattern features a timeless design that is both stylish and comfortable. The pattern includes detailed instructions and a chart to guide you through the process, ensuring that you can create a sweater that fits perfectly and suits your personal style. With this pattern, you’ll be able to create a wardrobe staple that you’ll love to wear for years to come.
So, whether you’re looking to knit a cozy sweater for yourself or want to create a heartfelt handmade gift for a loved one, this knit cotton sweater pattern is a must-try. Get your needles ready and start knitting today!
Knit Cotton Sweater Pattern
Knitting a cotton sweater is a great project for both beginner and experienced knitters. Cotton yarn is soft, breathable, and perfect for comfortable and lightweight garments. This pattern is easy to follow and will result in a beautiful and cozy sweater that you can wear year-round.
To start, gather your materials: cotton yarn in your desired color, knitting needles in the appropriate size for your yarn, scissors, and a tapestry needle. You’ll also need a knitting gauge to ensure that your sweater fits properly.
Pattern:
- Cast on the desired number of stitches using the long-tail cast-on method.
- Work in your desired stitch pattern, such as stockinette stitch or ribbing, for the desired length of the body. This will create the main body of your sweater.
- Next, divide your stitches evenly onto three separate needles if you are using circular needles, or onto two separate needles if you are using straight needles. This will create the front and back sections of your sweater.
- Continue working in your chosen stitch pattern for the desired length of the sleeves.
- Bind off all stitches and weave in any loose ends.
- Finally, sew the front and back sections of your sweater together at the shoulders and sides using the mattress stitch.
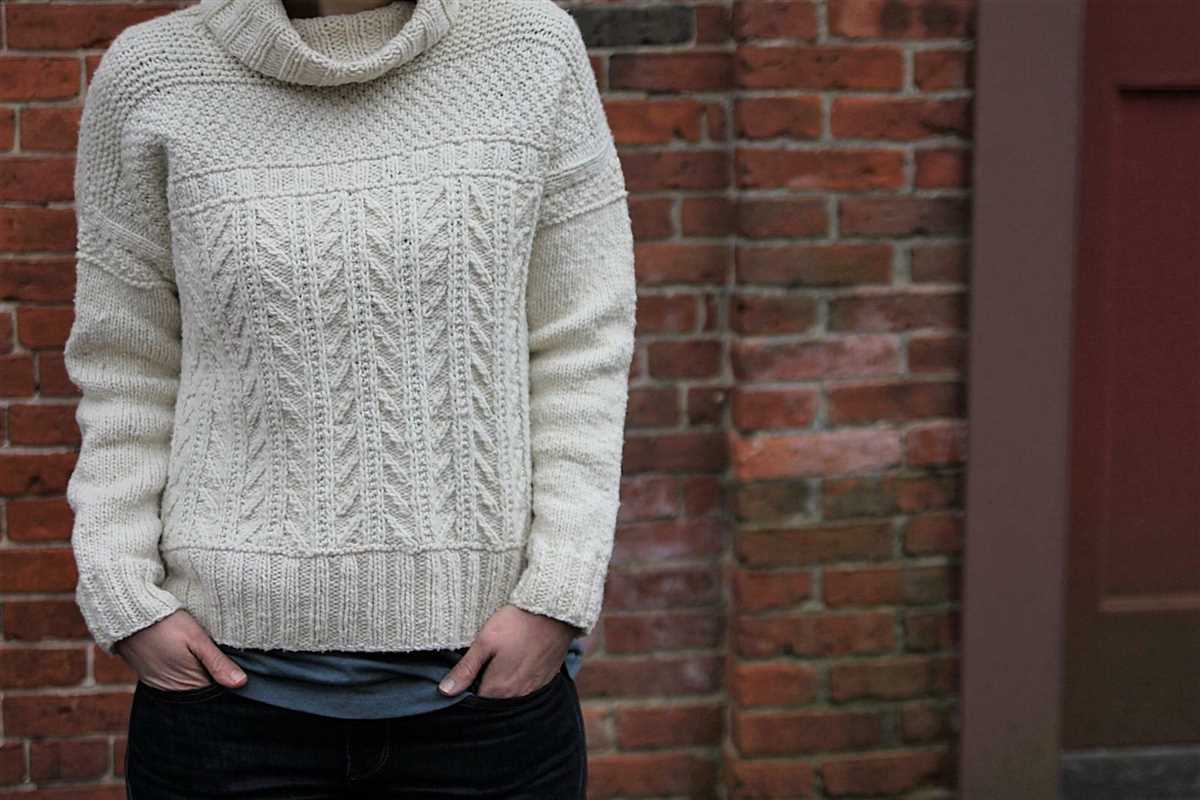
You can customize your sweater by adding elements such as a cowl neck, a button-up front, or decorative stitch patterns. Don’t be afraid to get creative and make the sweater your own!
Once your knit cotton sweater is complete, you’ll have a versatile and stylish garment that can be worn with jeans, skirts, or even layered over dresses. Enjoy the process of knitting this cozy sweater and stay warm and fashionable all year long.
Overview
The knit cotton sweater pattern is a versatile and timeless design that is perfect for any season. This pattern provides step-by-step instructions for creating a cozy and stylish sweater that can be customized to suit your personal style.
Materials: To create this sweater, you will need the following materials: size 8 knitting needles, cotton yarn, stitch markers, scissors, and a yarn needle. These materials are easily accessible and can be found at your local craft store or online.
Difficulty level: The knit cotton sweater pattern is suitable for intermediate knitters who are familiar with basic knitting techniques such as casting on, knitting, purling, and decreasing stitches. If you are new to knitting, it is recommended to practice these techniques before attempting this pattern.
Pattern instructions: The pattern includes detailed instructions for each step of the knitting process, from casting on to finishing touches. It also includes helpful tips and suggestions for customizing the sweater to your desired fit and style.
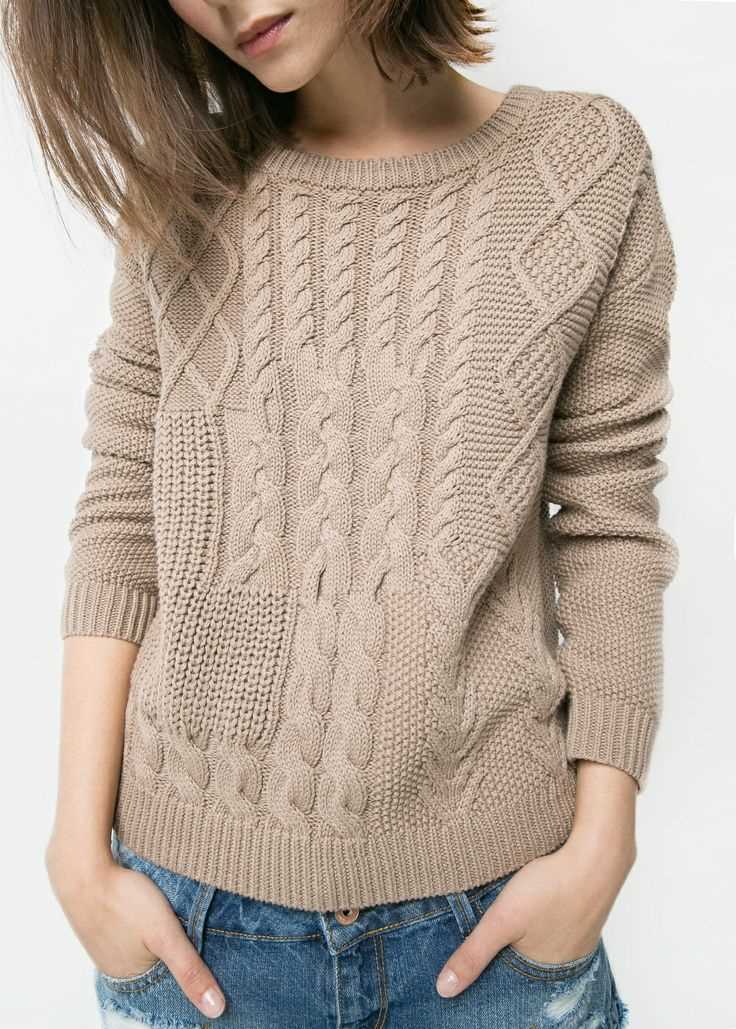
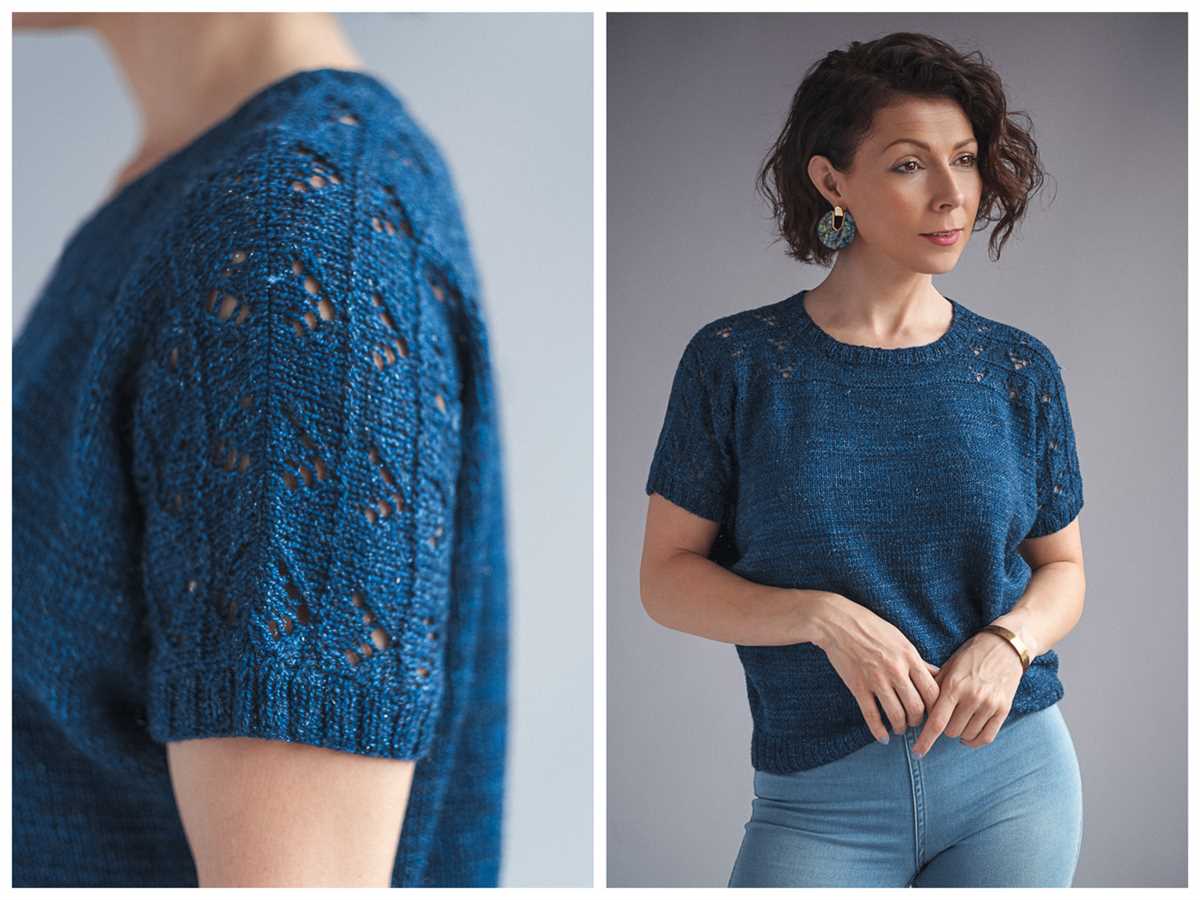
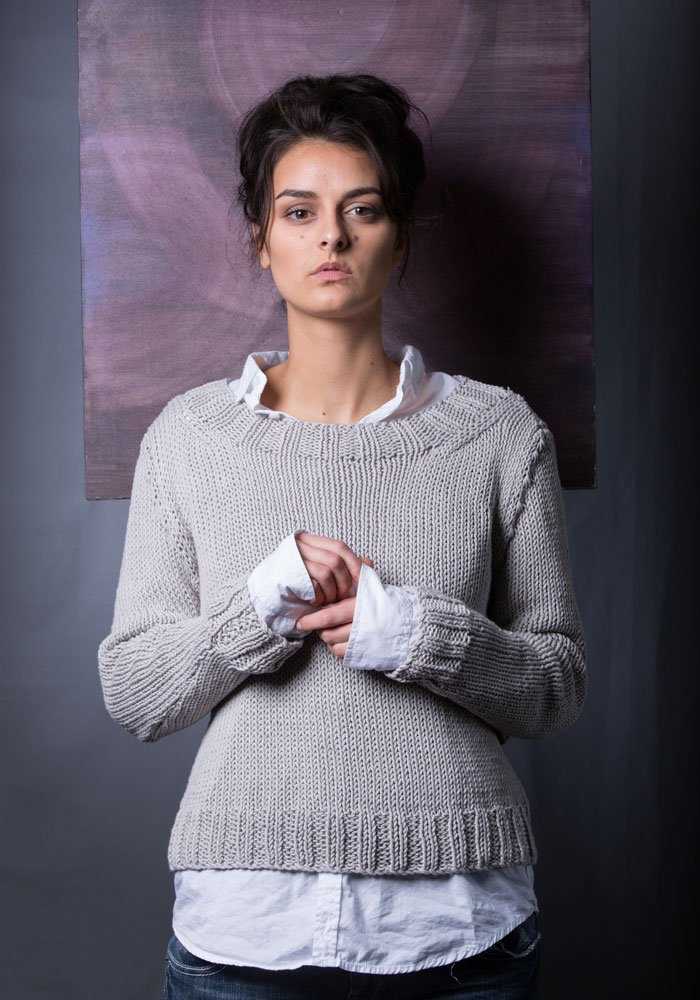
Design details: The knit cotton sweater features a classic crew neck, ribbed cuffs, and a relaxed fit. The pattern allows for customization in terms of length and sleeve style, so you can create a sweater that is perfect for your body shape and style preferences.
Finished product: Once completed, the knit cotton sweater will be a cozy and versatile addition to your wardrobe. It can be worn on its own or layered with other pieces for added warmth. The cotton yarn provides a soft and comfortable texture, making it ideal for everyday wear.
Tips for success: To ensure successful completion of the sweater, it is important to follow the pattern instructions carefully and check your gauge. Taking accurate measurements and swatching before starting the project will help ensure that the sweater fits properly. Don’t be afraid to ask for help or seek out online resources if you encounter any difficulties along the way.
Conclusion: The knit cotton sweater pattern is a wonderful project for any intermediate knitter looking to create a timeless and versatile garment. With its customizable design and cozy cotton yarn, this sweater will quickly become a favorite in your wardrobe. So grab your knitting needles and get ready to create a beautiful and functional sweater that you can enjoy for years to come.
Choosing the Right Yarn
When it comes to knitting a cotton sweater, choosing the right yarn is crucial for achieving the desired results. Cotton yarn offers several advantages for sweater knitting, such as breathability, softness, and durability. However, not all cotton yarns are created equal, and it’s important to consider certain factors when selecting the yarn for your project.
1. Fiber Content
The fiber content of the yarn is one of the most important factors to consider. While most cotton yarns are 100% cotton, some may contain a blend of cotton and other fibers, such as acrylic or polyester. It’s important to choose a yarn that is predominantly cotton, as this will ensure the best qualities of the fabric and the sweater.
2. Weight and Gauge
The weight and gauge of the yarn are also important considerations. The weight of the yarn refers to the thickness, with options ranging from lace weight to super bulky. For a cotton sweater, a medium weight yarn, such as worsted or DK, is typically the best choice. Additionally, you should check the recommended gauge on the yarn label and make sure it matches the gauge required for the sweater pattern, as this will affect the size and fit of the finished garment.
3. Color and Dyeing
The color and dyeing process of the yarn can also have an impact on the final look of the sweater. Cotton yarns come in a variety of colors, including solids, variegated, and speckled options. Consider the color palette you want for your sweater and choose a yarn that offers the desired shades. Additionally, pay attention to the dyeing process of the yarn, as some methods may result in more vibrant or subtle colors.
4. Care Instructions
Lastly, it’s important to consider the care instructions for the yarn. Cotton yarns can be machine washable, hand wash only, or even dry clean only. Choose a yarn that aligns with your preferences and lifestyle. Keep in mind that some cotton yarns may shrink or stretch when washed, so it’s essential to follow the care instructions to maintain the quality of your knitted sweater.
By considering these factors and selecting a yarn that meets your requirements, you’ll be well on your way to knitting a beautiful and comfortable cotton sweater.
Selecting the Right Needles
When knitting a cotton sweater, one of the most important factors to consider is the type of needles you will use. The right needles can greatly impact the outcome of your project, from the texture and drape of the fabric to the overall fit of the sweater. Here are some key points to keep in mind when selecting your needles:
1. Needle size: The size of your needles will determine the gauge or tension of your knitting. For a cotton sweater, it is important to choose needles that will give you the desired fabric density. A smaller needle size will create a tighter fabric, while a larger needle size will result in a looser fabric. It is advisable to check the pattern instructions or your gauge swatch to determine the appropriate needle size.
2. Needle material: The material of the needles can also affect the knitting process and the final result. When knitting with cotton yarn, it is recommended to use needles made of materials like bamboo or wooden. These materials have a slight grip, which helps to prevent the stitches from sliding off the needles. This can be particularly useful when working with slippery cotton yarn.
3. Needle length: The length of the needles you choose can impact your comfort and the ease of knitting. For a cotton sweater, a medium-length needle – around 24 inches – is often a good choice. This length allows you to comfortably work on the back and front pieces of the sweater. If you prefer knitting in the round, circular needles in the appropriate length can be used as well.
4. Needle type: Different types of needles are available, such as straight needles, double-pointed needles, and circular needles. The choice of needle type depends on the construction method you plan to use for your sweater. Straight needles are suitable for flat knitting, while circular needles are versatile and offer options for both flat knitting and knitting in the round.
By considering these factors and selecting the right needles for your cotton sweater project, you can ensure a more successful knitting experience and achieve the desired results.
Getting Started: Casting On
When starting a new knitting project, the first step is to cast on. Casting on is the process of creating the foundation stitches on the needle, which will be used to form the first row of the sweater. There are several methods to cast on, but the most common one for a knit cotton sweater pattern is the long-tail cast on.
Long-Tail Cast On
To begin the long-tail cast on, you will need to estimate the amount of yarn needed for each stitch. Hold the end of the yarn in your right hand and make a slipknot by creating a loop and pulling the end through. Place this slipknot on one of the knitting needles.
Next, hold the needle with the slipknot in your right hand and the other needle in your left hand. Position the yarn so that it rests over your left thumb and index finger. Insert the right needle from left to right through the loop on your left thumb, catching the yarn as you go.
With your right hand, bring the needle under the yarn and over the top, moving from right to left. Slide the new stitch onto the left needle. Repeat this process until you have cast on the required number of stitches for your sweater.
Once you have finished casting on, you are ready to start knitting the first row of your knit cotton sweater pattern. Make sure to tighten the stitches evenly to maintain an even tension throughout the project.
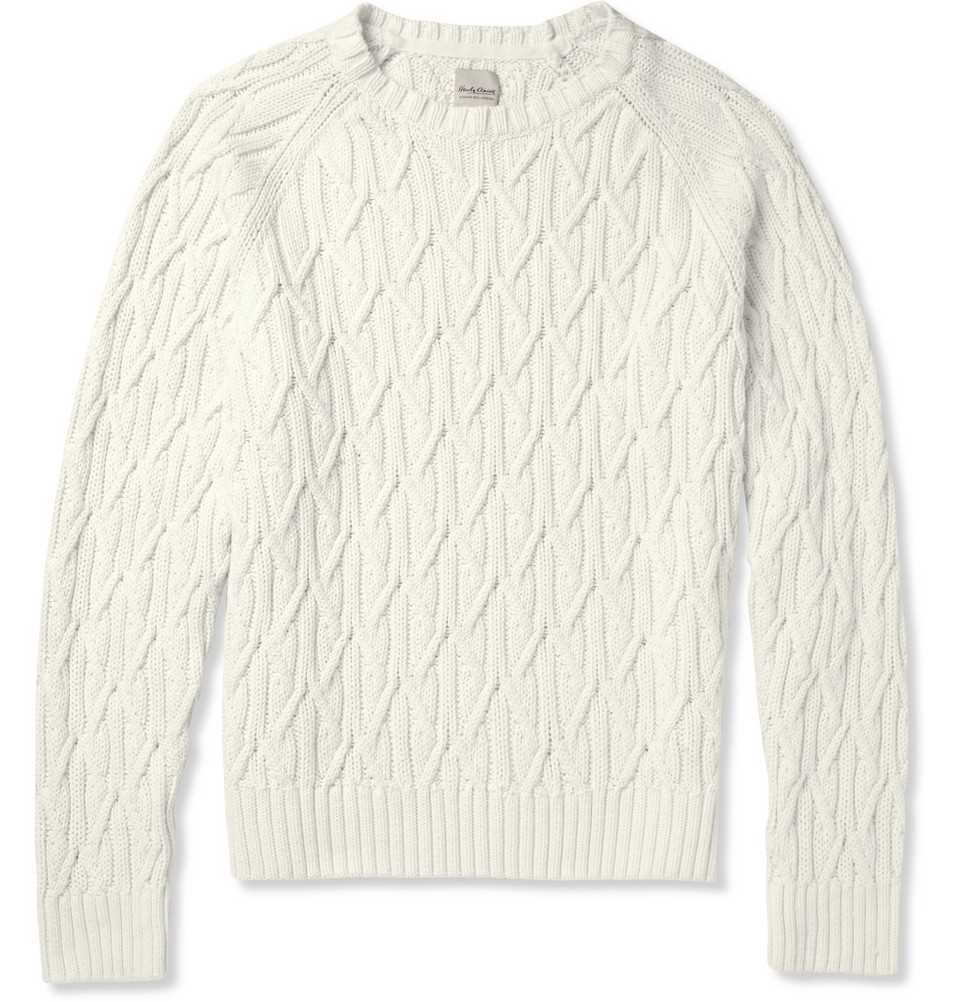
Knitting the Body of the Sweater
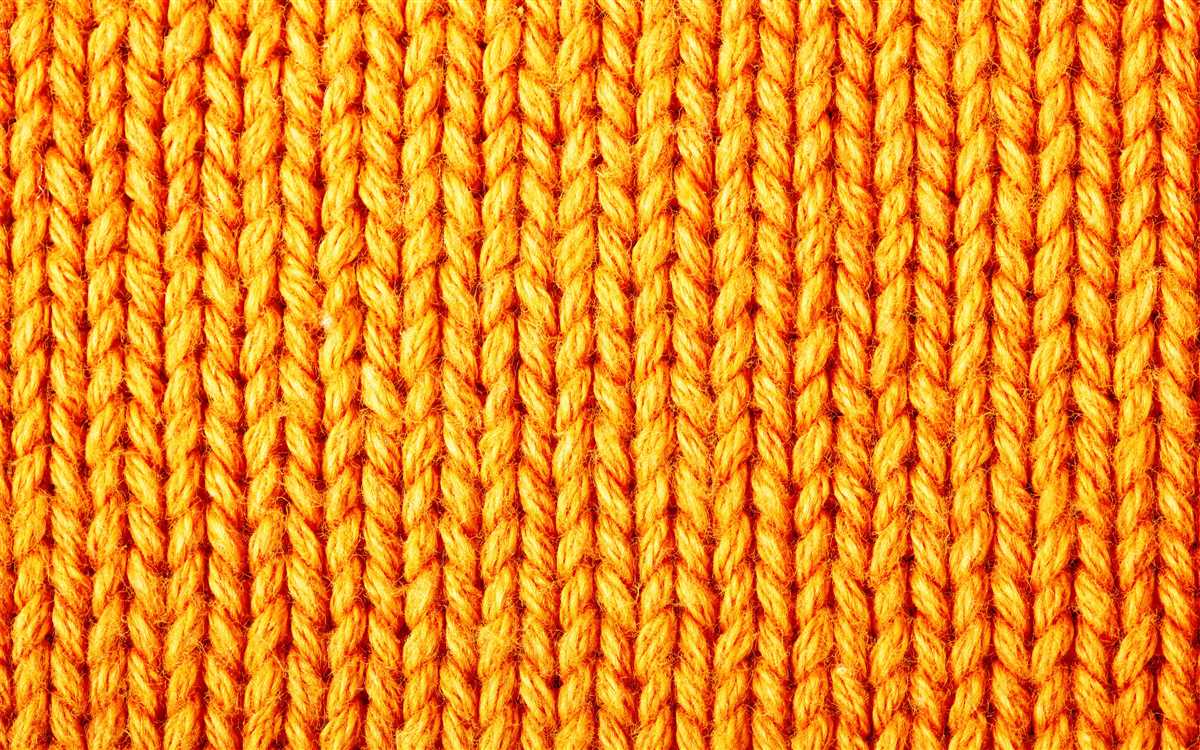
Once you have completed the ribbing for the bottom hem of the sweater, it is time to start knitting the body. The body of the sweater is typically knitted in a stockinette stitch pattern, which alternates knit and purl rows to create a smooth fabric. This stitch pattern gives the sweater a classic and versatile look.
To begin, you will continue working in the round, using the circular needles. Knit each stitch in the first round to create a knit row. Then, switch to purl stitches for the next round to create a purl row. Repeat these two rounds until the body of the sweater reaches your desired length.
It is important to keep track of your progress by counting your rows. This will ensure that the body of the sweater is knit to the correct length. You can use stitch markers to mark specific sections of the sweater, such as the armhole shaping or any pattern changes.
As you knit the body, make sure to periodically try on the sweater to check the fit. This will help you make any necessary adjustments before finishing the sweater. If you find that the sweater is too tight or too loose, you can adjust your needle size or alter the number of stitches in your pattern.
Once the body of the sweater is complete, you can move on to knitting the sleeves or any other finishing touches. The body of the sweater is a crucial part of the knitting process, as it sets the foundation for the overall fit and style of the garment. Take your time and enjoy the process of creating a beautiful and cozy knit cotton sweater.
Creating the Sleeves
Now that we have completed the body of the sweater, it’s time to move on to the sleeves. The sleeves are an essential part of the sweater, so it’s important to make sure they are knit with precision and care.
To begin, we will cast on the required number of stitches for the sleeves. This number is typically determined by the size of the sweater and the desired fit. Once the stitches are cast on, we will work in the chosen stitch pattern until the sleeve reaches the desired length.
It’s important to note that the gauge of the sleeves should match the gauge of the body. This ensures that the fit of the sweater remains consistent throughout. To check the gauge, we can knit a small swatch and measure the number of stitches and rows per inch.
When knitting the sleeves, it’s a good idea to use markers to indicate key points, such as the beginning of the round and any increases or decreases. This will help keep track of the progress and ensure accurate shaping.
Once the desired length is reached, it’s time to shape the sleeves. This can be done by decreasing stitches gradually to create a tapered effect. The number and frequency of decreases will depend on the desired fit and style of the sweater.
After shaping the sleeves, we will finish them off by binding off the remaining stitches. It’s important to bind off loosely to ensure that the sleeves have enough stretch and flexibility. We can then sew the sleeves into the armholes of the sweater, making sure to align the top of the sleeve with the shoulder seam for a seamless finish.
With the sleeves complete, the sweater is almost ready to wear. All that’s left is to weave in any loose ends and give the sweater a gentle block to help smooth out any wrinkles or unevenness in the stitches. Once dry, the sweater will be ready to keep you cozy and stylish on those chilly days.
Adding Ribbing and Edges
When knitting a cotton sweater, adding ribbing and edges is essential to create a finished and polished look. Ribbing is often used at the cuffs, hem, and neckline of a sweater to provide stretch, structure, and a neat appearance.
Cuff Ribbing: To add ribbing to the cuffs of your cotton sweater, you can use a smaller needle size to create a tighter knit. The most common ribbing pattern is the 1×1 rib, which alternates between one knit stitch and one purl stitch. This pattern creates a stretchy and flexible cuff that hugs the wrist comfortably.
Hem Ribbing: The hem of a cotton sweater can also benefit from ribbing to give it a defined edge and prevent curling. For the hem, you can use the same ribbing pattern that you used for the cuffs or experiment with different ribbing patterns, such as a 2×2 rib or a twisted rib. Remember to use a smaller needle size to achieve the desired tightness and structure.
Neckline Ribbing: The neckline of a cotton sweater can be finished with ribbing to create a neat and professional-looking edge. You can choose to make a simple ribbed neckline by using the 1×1 rib pattern or try a different ribbing pattern, such as a mock cable rib or a decorative twisted rib. Experimentation with different ribbing patterns can add visual interest to the neckline of your cotton sweater.
Finishing Edges: In addition to ribbing, you may also want to consider adding finishing edges to your cotton sweater. This can be done by using a contrast color yarn or a different stitch pattern to create a decorative border. Some popular options for finishing edges include garter stitch, seed stitch, or a picot edge. These elements can help enhance the overall design and give your cotton sweater a unique and personalized touch.
Ultimately, adding ribbing and edges to your cotton sweater is an opportunity to showcase your creativity and attention to detail. By carefully selecting the ribbing patterns and finishing edges, you can create a sweater that not only fits well but also looks stylish and professionally finished.
Finishing Touches: Blocking
Blocking is an essential step in finishing your knit cotton sweater. It helps to even out the stitches, relax the fibers, and give your sweater its final shape. Without blocking, your sweater may appear lumpy or uneven, and the stitches may not lay flat. Follow these steps to achieve a professional-looking finish:
Step 1: Prepare your sweater for blocking
Before starting the blocking process, make sure your sweater is clean and free from any dirt or stains. Fill a basin with lukewarm water and add a small amount of mild detergent. Gently soak your sweater in the soapy water, making sure it is fully submerged. Allow it to soak for about 10-15 minutes to let the fibers relax.
Step 2: Remove excess water and reshape your sweater
After soaking, carefully remove your sweater from the water and gently squeeze out the excess water. Avoid wringing or twisting it, as this can stretch or distort the shape. Lay your sweater flat on a clean towel and roll it up, pressing to remove more water. Unroll the towel and place your sweater on a blocking board or clean surface.
Using rustproof T-pins or blocking wires, gently stretch and shape your sweater to the desired measurements. Pay attention to the edges, armholes, and neckline to ensure they are even and straight. Pin the sweater in place, adjusting as needed. Avoid pulling too tightly, as this can distort the stitch pattern.
Step 3: Allow your sweater to dry completely
Once your sweater is pinned in place, allow it to air dry completely. This can take anywhere from 24 to 48 hours, depending on the humidity and air circulation. Avoid placing your sweater in direct sunlight or near a heat source, as this can cause the fibers to become brittle or fade in color.
Blocking is a crucial step in completing your knit cotton sweater. It ensures that your hard work pays off and results in a beautifully finished garment. Take your time and have patience throughout the blocking process, and you’ll be rewarded with a sweater that looks and fits just right.
Seaming and Assembly
Once you have completed knitting all the necessary pieces for your cotton sweater, it’s time to seam them together for assembly. Seaming is the process of joining the different sections of the sweater to create a cohesive garment. This step is crucial to ensure that your sweater fits well and looks professionally finished.
Before you begin seaming, it’s important to block each knitted piece to its correct measurements. This will help ensure that all the pieces line up properly when they are joined. Lay the pieces flat on a clean surface and use pins or blocking wires to stretch them to the correct dimensions. Leave them in this position until they are completely dry.
When you are ready to start seaming, begin with the shoulders. Place the front and back pieces side by side, with the right sides facing up. Use a yarn needle to seam the shoulder seams together using the mattress stitch. This stitch creates an invisible seam that gives your sweater a polished look. Repeat this process for each shoulder seam.
Next, it’s time to attach the sleeves. Match up the sleeve stitches with the corresponding armhole stitches, making sure to align the top and bottom edges. Again, use the mattress stitch to sew the sleeves onto the sweater. Take your time to ensure that the stitches are neat and even.
Once the sleeves are attached, it’s time to seam the sides of the sweater. Lay the front and back pieces flat, with the right sides facing each other, and use the mattress stitch to sew the side seams. Start at the bottom hem and work your way up to the sleeve cuff, being careful to match up the stitches as you go.
Once all the seams are completed, try the sweater on to check the fit. Make any necessary adjustments by resewing seams or altering stitch tension. Finally, weave in any loose ends and your cotton sweater is ready to be worn and enjoyed!
Customizing the Sweater

When it comes to knitting a sweater, customizing it to your own taste and style is an exciting part of the process. With a knit cotton sweater pattern, you have the flexibility to make various modifications and adjustments to create a unique and personalized garment.
1. Size
One of the first aspects you can customize is the size of the sweater. Whether you prefer a fitted or oversized look, you can modify the pattern accordingly. Adjusting the number of stitches and rows will help you achieve the desired fit and ensure the sweater is flattering on your body.
2. Neckline
The neckline of a sweater can significantly impact the overall look and feel of the garment. Depending on your preference, you can choose from different options such as a crew neck, V-neck, boat neck, or even a turtleneck. Changing the neckline can add a touch of elegance or create a more casual vibe to match your personal style.
3. Sleeve Length
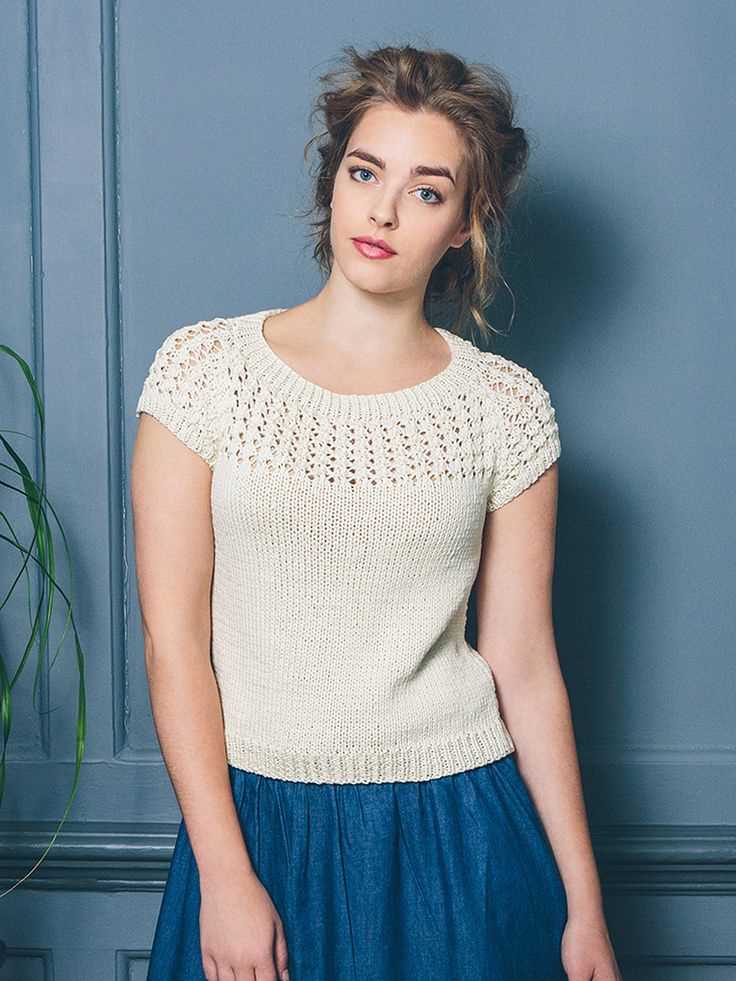
Another customization you can make is the length of the sleeves. Whether you prefer short sleeves, three-quarter sleeves, or long sleeves, you can adjust the pattern accordingly. This allows you to adapt the sweater to different seasons or occasions and create a versatile piece that can be worn year-round.
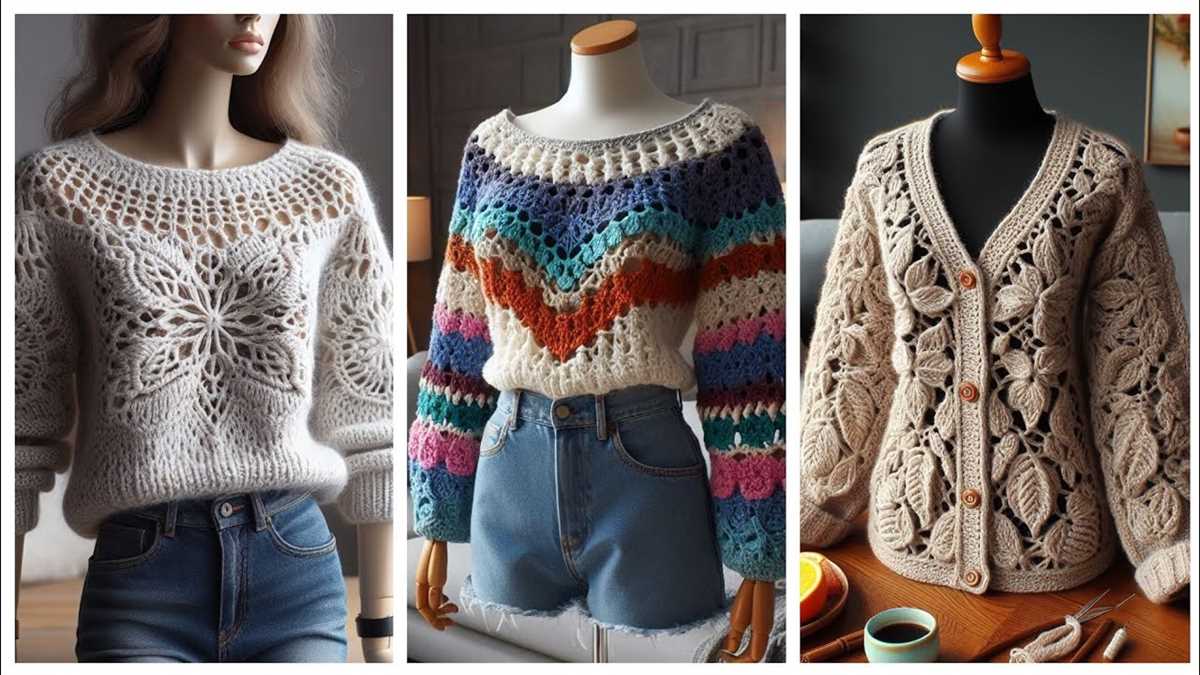
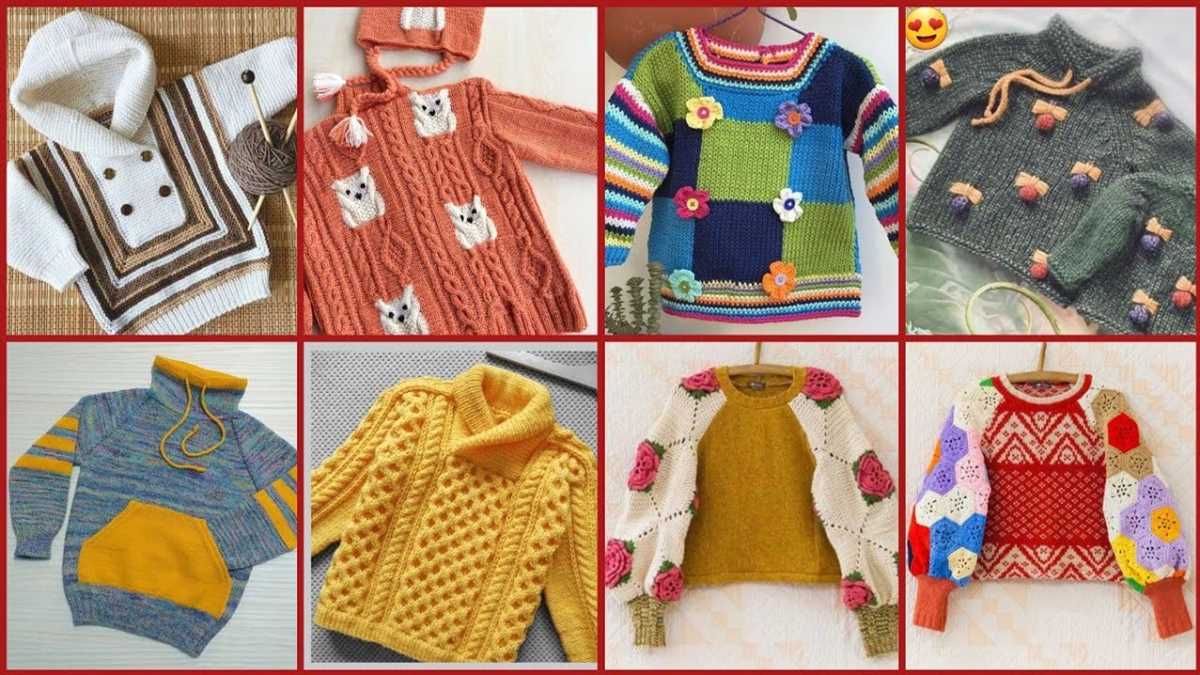
4. Color and Pattern
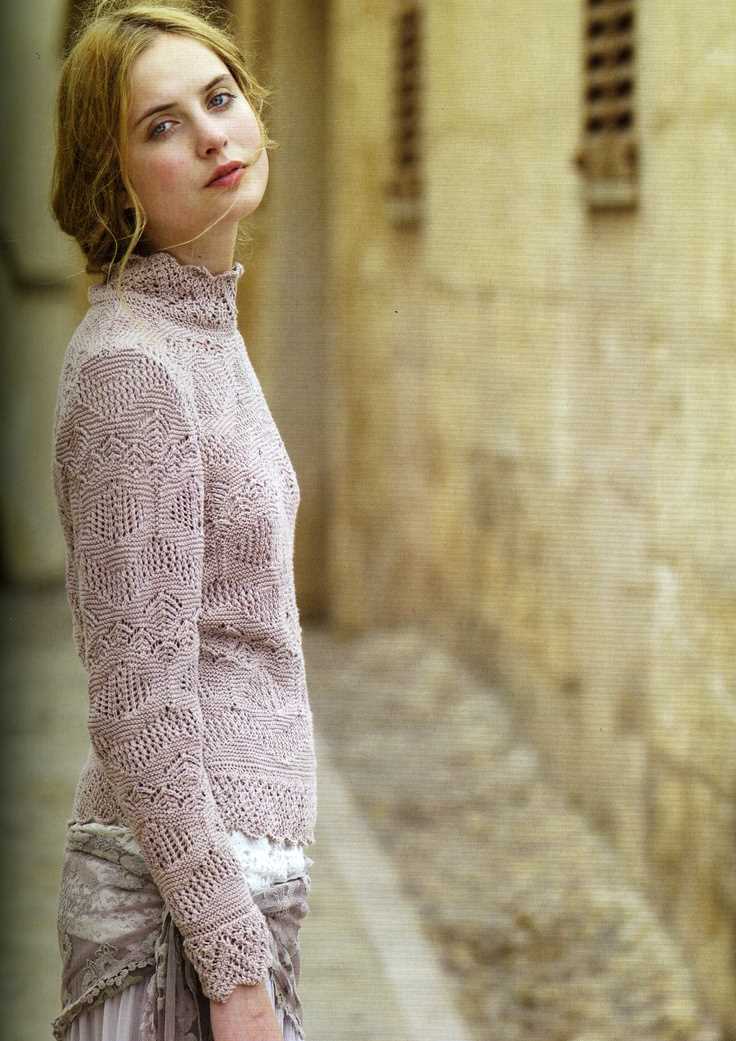
Add your own creative flair by customizing the color and pattern of your knit cotton sweater. Choose a color that complements your skin tone and wardrobe, and consider incorporating different stitch patterns or texture for added visual interest. Experimenting with various color combinations and patterns will make your sweater truly one-of-a-kind.
5. Embellishments
If you want to take your customization to the next level, consider adding embellishments to your sweater. You can use techniques such as embroidery, beading, or appliqué to create unique designs and make your sweater even more special. Whether you prefer a subtle touch or a bold statement, embellishments allow you to showcase your personal style and creativity.
By customizing a knit cotton sweater pattern, you can create a garment that perfectly fits your style, body, and preferences. Whether it’s adjusting the size, neckline, sleeves, or adding your own creative touches, customizing gives you the freedom to knit a sweater that is truly unique and reflects your personal taste.
Troubleshooting and Tips
In the process of knitting a cotton sweater, you may encounter some challenges. Here are some troubleshooting tips to help you overcome common issues and make the most out of your knitting experience.
1. Tension Issues
One of the most common problems knitters face is inconsistent tension. This can result in uneven stitches and an overall misshapen garment. To avoid tension issues, make sure to maintain a consistent and relaxed grip on your knitting needles. Practice knitting with an even and gentle tension, and take breaks if you find yourself getting too tight or too loose.
2. Gauge Problems
Another common issue in knitting is getting the wrong gauge. If your stitches per inch are too tight, your sweater will turn out smaller than expected. If they are too loose, the sweater will be larger. To ensure you achieve the correct gauge, always knit a gauge swatch before starting your project. Adjust your needle size or yarn weight accordingly to match the recommended gauge.
3. Yarn Splitting
Working with cotton yarn can sometimes lead to splitting, making it difficult to maintain a smooth and even stitch. To avoid this issue, choose a yarn with a tight twist and avoid using dull knitting needles. Additionally, be careful not to pull your stitches too tightly, as this can cause the yarn to split. If splitting does occur, take your time and carefully reposition the yarn before continuing with your knitting.
4. Dealing with Mistakes
Everyone makes mistakes while knitting, but it’s important not to panic. If you notice a mistake, such as a dropped stitch or a wrong stitch, carefully undo the stitches back to the mistake and fix it. Use a crochet hook or a knitting needle to pick up dropped stitches, and refer to tutorials or knitting guides for specific instructions on fixing common mistakes.
Summary

Knitting a cotton sweater can be a rewarding and enjoyable project. By following a pattern, paying attention to tension and gauge, and troubleshooting common issues, you can create a beautiful and cozy sweater that you’ll be proud to wear. Keep practicing and don’t be discouraged by mistakes – knitting is a skill that improves with time and experience. Happy knitting!