
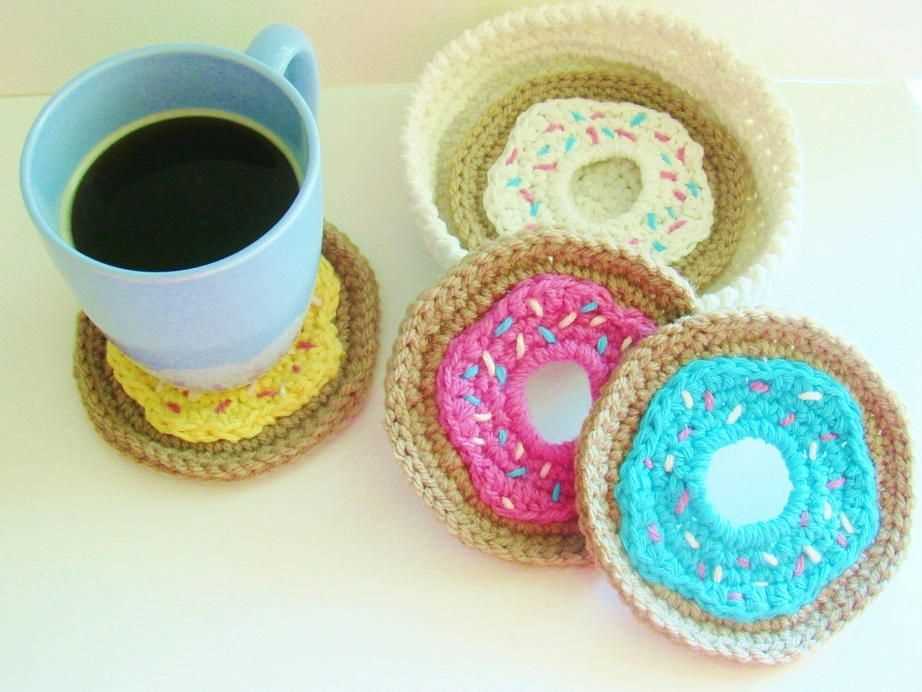
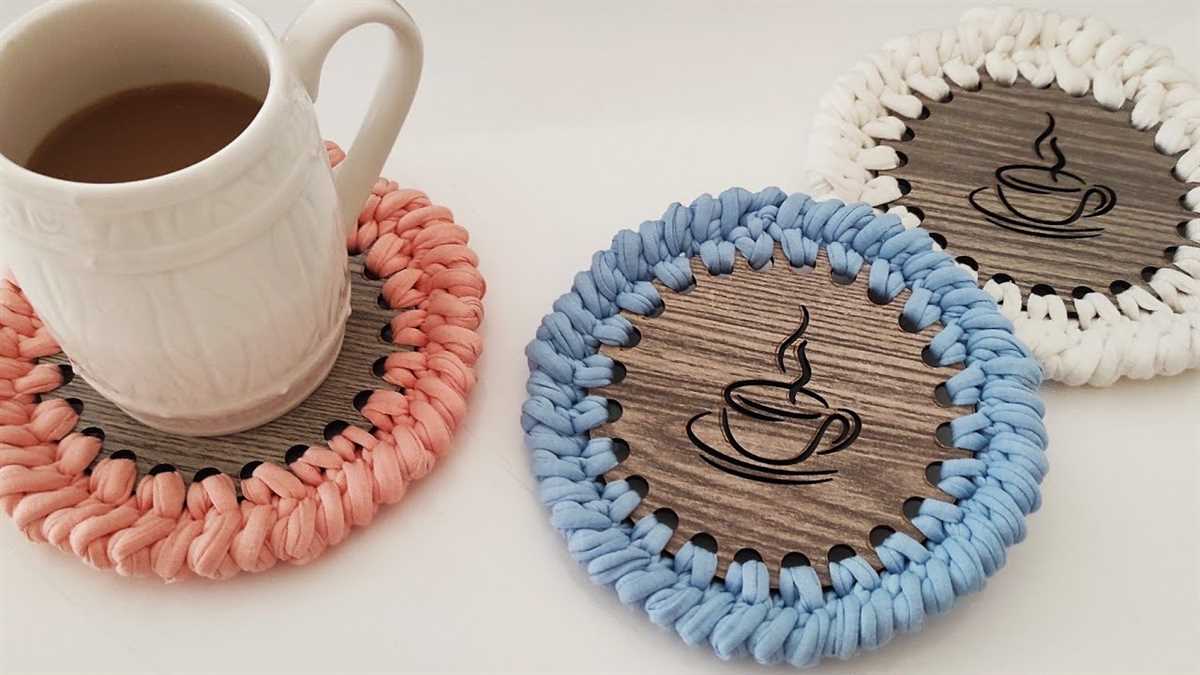
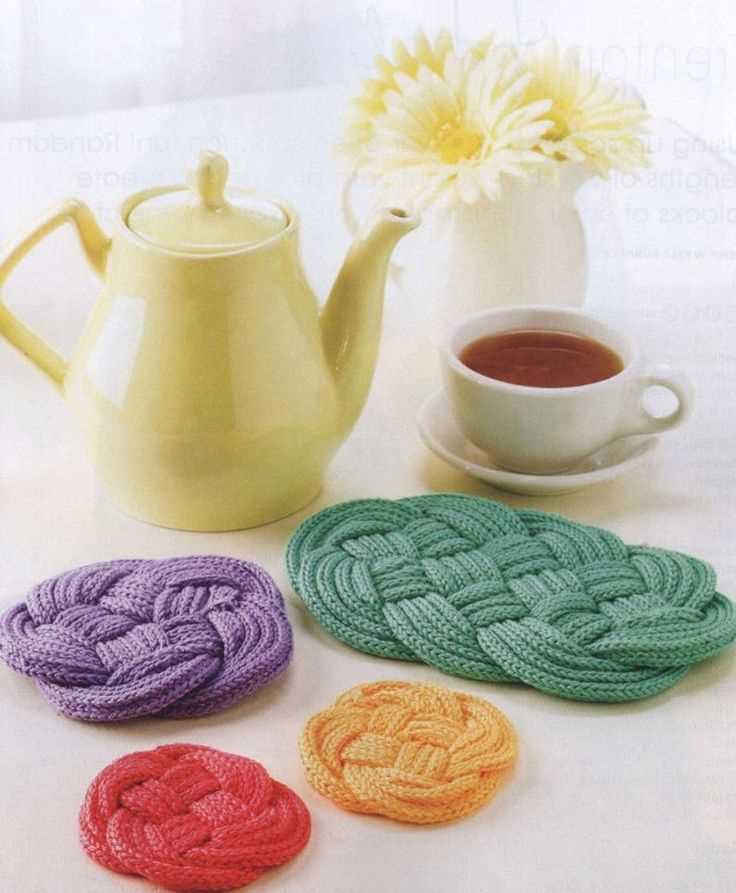
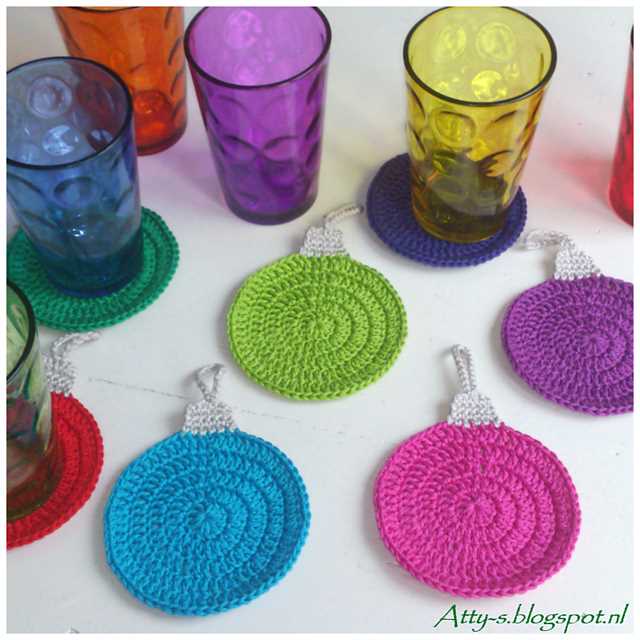
Knitting is a versatile craft that allows you to create a wide variety of items, from cozy sweaters to funky accessories. One simple and practical item you can knit is coasters. Coasters are small, flat pads that are placed under a glass or cup to protect tabletops and surfaces from damage caused by condensation. They come in many different materials, but knitted coasters have a unique charm and can be customized to match any decor.
If you’re new to knitting or just looking for a quick and easy project, knitting coasters is a great option. They require minimal materials and can be completed in just a few hours. Plus, they make great gifts for friends and family!
In this article, we will provide you with a free knit coaster pattern that is perfect for beginners. The pattern uses basic knitting stitches and techniques, making it a great project for those who are new to knitting. We will also provide tips and tricks for customizing your coasters and adding unique touches.
Knit Coasters Pattern Free
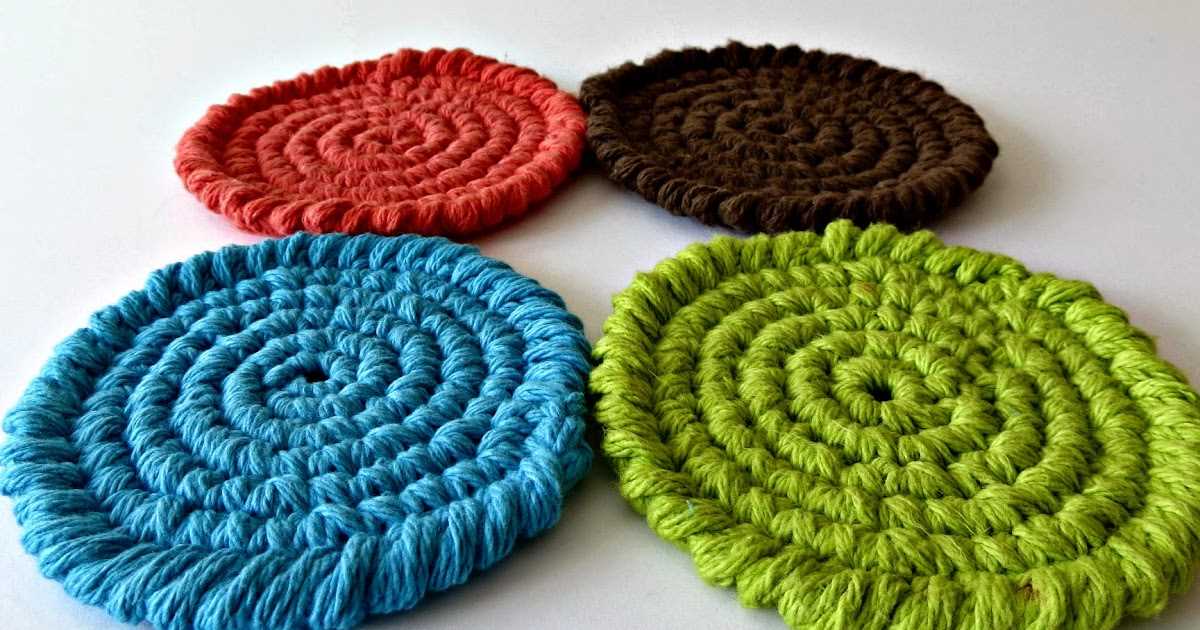
If you enjoy knitting and want to create something functional and decorative for your home, then knitting coasters can be a great project for you. Coasters are small mats or pads that are placed under glasses or other objects to protect the surface of the furniture. They come in various shapes and sizes and can be made from different materials, including fabric and wood. Knitting coasters can be a fun and quick project, and the best part is that there are many free patterns available online.
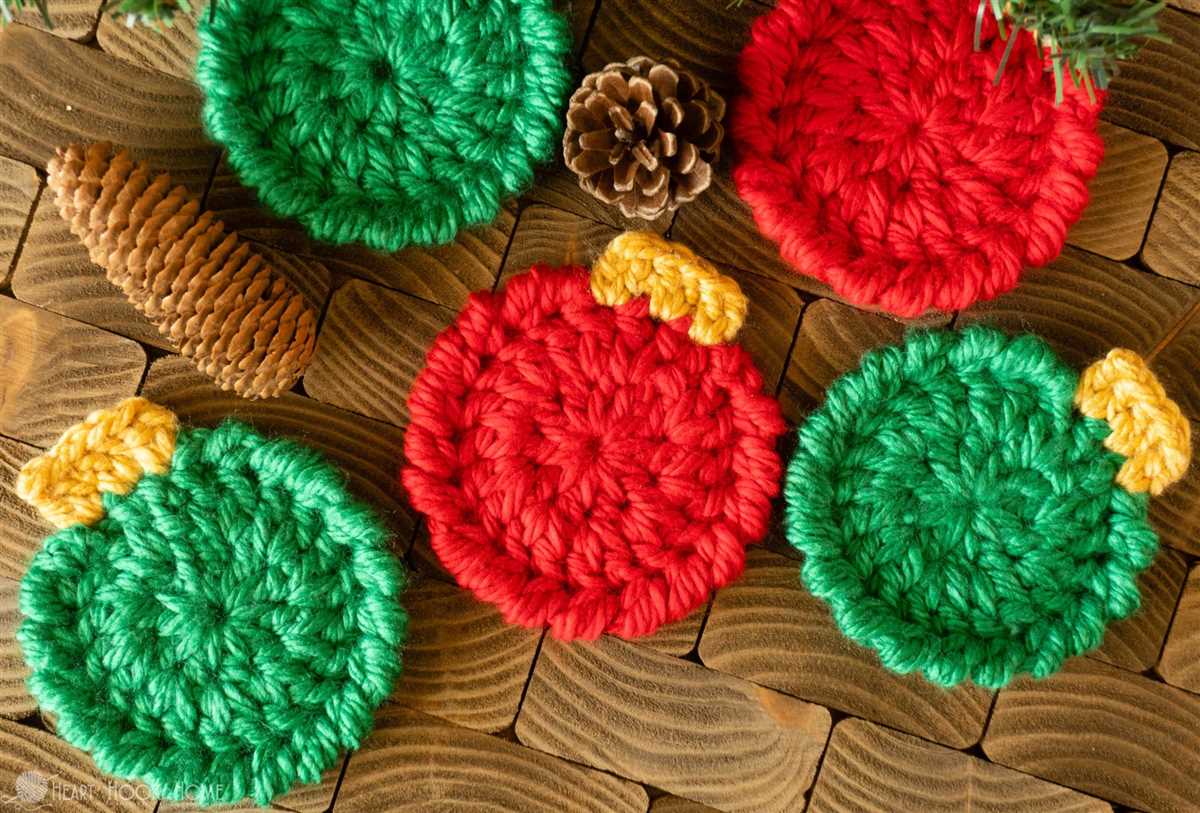
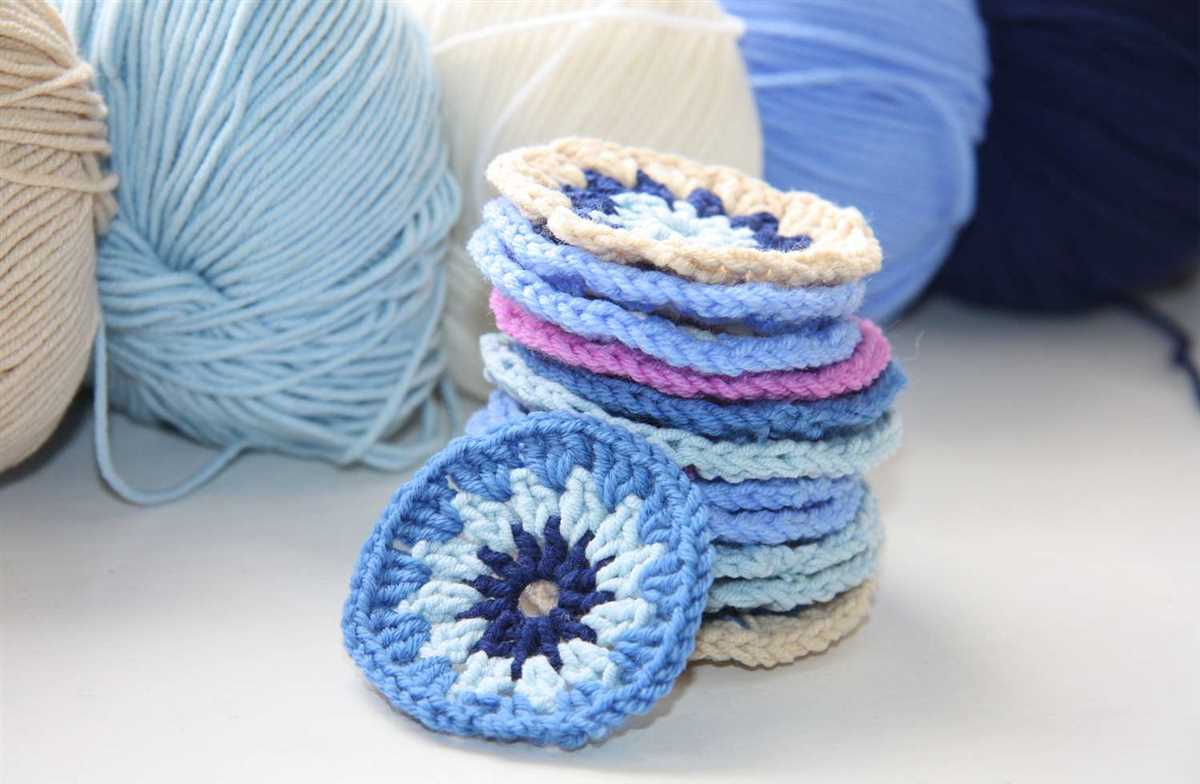
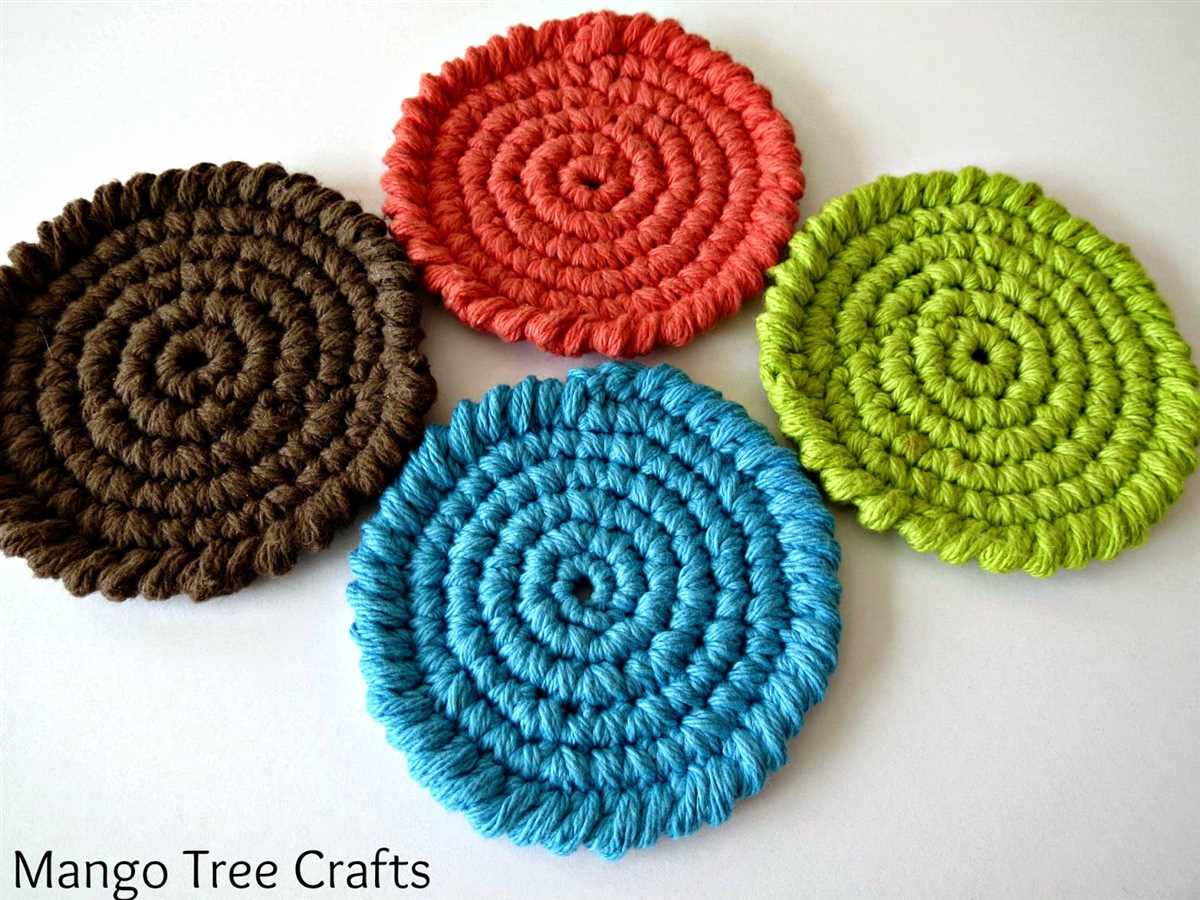
When it comes to knitting coasters, there are endless design options to choose from. You can go for a simple and classic design, or you can get creative and incorporate different patterns and colors. One popular pattern is the garter stitch coaster, which is easy for beginners as it only requires knitting every row. Another popular pattern is the basketweave stitch coaster, which creates a textured look and adds dimension to your coasters.
Free Knit Coasters Pattern Ideas:
- 1. Basic garter stitch coaster: Cast on 20 stitches and knit every row until you reach your desired size. Bind off and weave in loose ends.
- 2. Basketweave stitch coaster: Cast on 25 stitches. Row 1: Knit 5, purl 5, repeat until the end of the row. Row 2: Purl 5, knit 5, repeat until the end of the row. Repeat these two rows until you reach your desired size. Bind off and weave in loose ends.
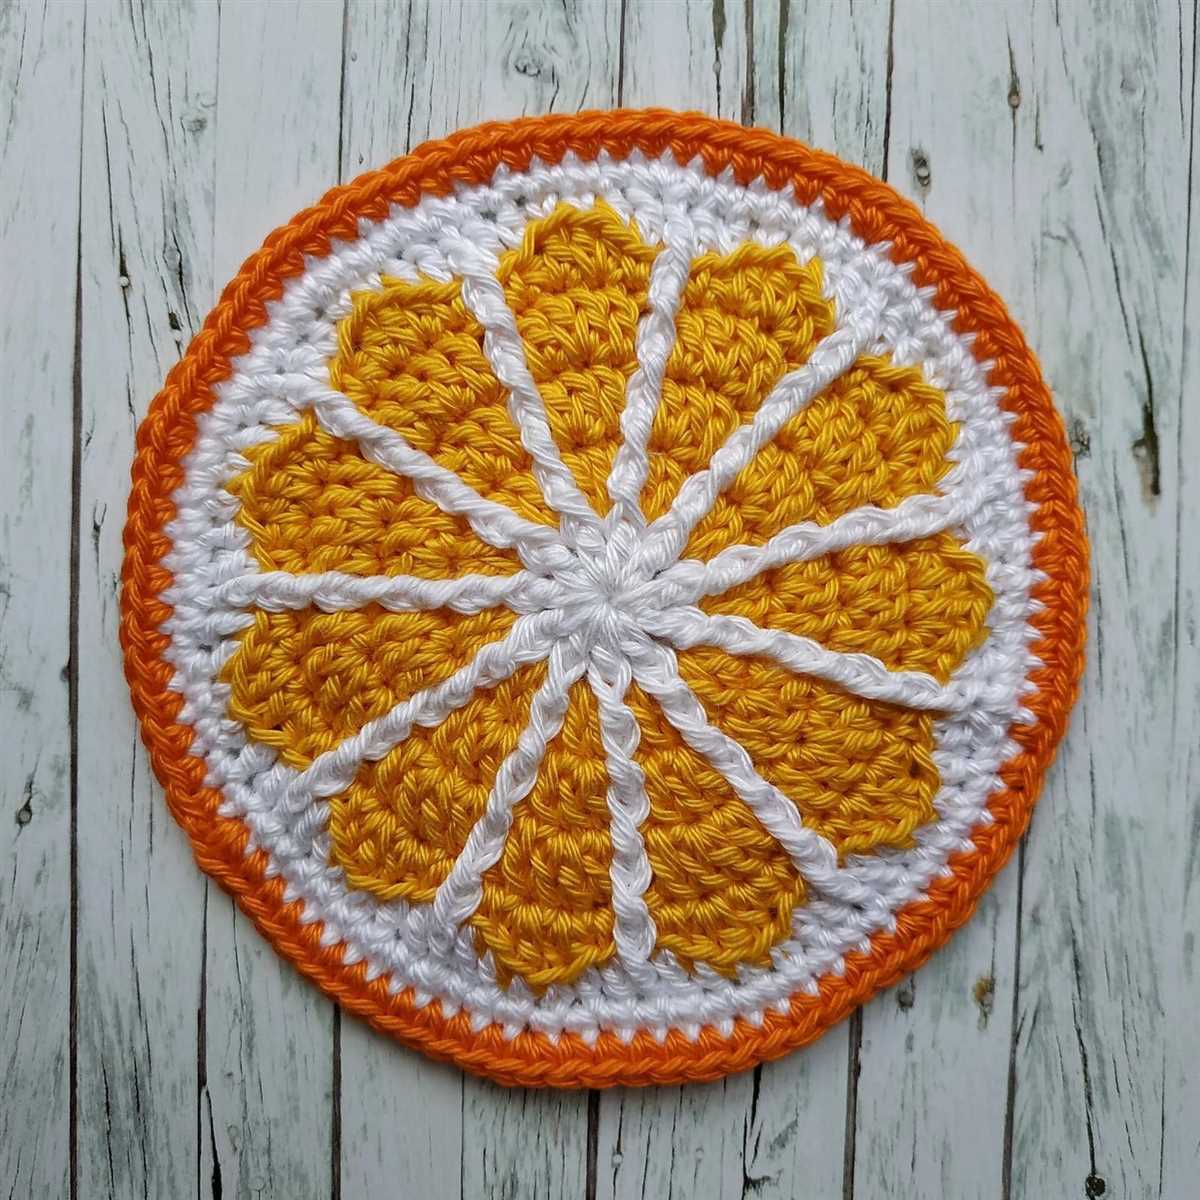
- 3. Colorful striped coaster: Cast on 15 stitches with your desired color. Knit 2 rows. Change to a different color and knit 2 rows. Repeat this pattern until you have a striped design. Bind off and weave in loose ends.
Knitting coasters can be a great way to practice new stitches and experiment with different yarns and colors. They also make great gifts for family and friends. So why not give it a try and start creating your own set of knit coasters today?
Materials Needed for Knitting Coasters
When it comes to knitting coasters, having the right materials is key to creating a beautiful and functional finished product. From yarn to needles, here are the essential materials you’ll need for this project:
1. Yarn: Choose a durable and absorbent yarn that is suitable for coasters. Cotton or linen yarns are popular choices, as they can easily absorb condensation from glasses. Consider using multiple colors for a vibrant and eye-catching design.
2. Knitting Needles: Select a pair of knitting needles that are appropriate for the yarn you have chosen. The size of the needles will depend on the desired tension and thickness of the coaster. Circular or double-pointed needles may also be used.
3. Scissors: Keep a pair of sharp scissors handy for cutting the yarn and trimming any loose ends.
4. Stitch Markers: Stitch markers are useful for keeping track of stitch patterns or marking the beginning of a round. They can be easily moved as you progress through your project.
5. Tapestry Needle: A tapestry needle is used for weaving in loose ends and finishing touches. Make sure to choose one with a large eye that can accommodate the thickness of your yarn.
6. Stitch Holder or Safety Pins: These are helpful tools for holding stitches in place if you need to pause your project or switch to a different needle.
7. Measuring Tape: A measuring tape or ruler will come in handy when checking the dimensions of your coaster and ensuring an even and consistent size.
With these materials on hand, you’ll be well-equipped to start knitting your own set of beautiful and practical coasters. Get creative with your color choices and stitch patterns to make each coaster unique and personalized!
Choosing the Right Yarn for Coasters
When it comes to knitting coasters, choosing the right yarn is essential for creating a beautiful and functional final product. The type of yarn you choose can greatly impact the durability, absorbency, and overall aesthetics of your coasters. Here are a few key factors to consider when selecting yarn for your coaster project.
Fiber Content
The first thing to consider is the fiber content of the yarn. Natural fibers such as cotton and linen are popular choices for coasters due to their absorbency and durability. Cotton yarn is especially great for coasters as it can easily soak up any moisture from glasses or cups. Linen yarn, on the other hand, is known for its strength and resistance to shrinking or stretching.
If you prefer a more luxurious feel, you can also consider using yarns made from blends of natural and synthetic fibers. These blends can offer the best of both worlds, combining the softness and performance of natural fibers with the added durability and ease of care provided by synthetic materials.
Weight and Thickness
The weight and thickness of the yarn are also important considerations when knitting coasters. Thicker yarns, such as bulky or chunky weights, can create a more substantial and plush coaster. These types of yarns are great for adding extra cushioning and insulation to your coasters.
On the other hand, lighter weight yarns, such as fingering or sport weights, can result in more delicate and lightweight coasters. These yarns are often preferred for more intricate or lacy coaster patterns.
Color and Pattern
Lastly, consider the color and pattern of the yarn. Coasters can be a fun and creative project, and the yarn you choose can greatly contribute to the overall aesthetic appeal. Bright and bold colors can add a pop of color to your table, while neutral or natural shades can provide a more classic and understated look.
Additionally, variegated or self-striping yarns can create interesting patterns and visual texture on your coasters. Consider the overall design and color scheme of your space when selecting the yarn to ensure that your coasters complement the surrounding decor.
Knitting Needle Sizes for Coasters
When it comes to knitting coasters, it’s important to choose the right knitting needle size. The needle size you use will impact the final look and feel of your coasters. Depending on the type of yarn and stitch pattern you plan to use, you may need to experiment with different needle sizes to achieve the desired results.
Choosing the Right Needle Size
Gauge: The first thing to consider when selecting a needle size for your coasters is the gauge you want to achieve. Gauge refers to the number of stitches and rows per inch of your knitted fabric. If you want a tightly knit coaster with a denser fabric, you’ll need to use smaller needles. On the other hand, if you want a looser and more open fabric, you’ll need larger needles. Keep in mind that the gauge may also be influenced by the yarn weight you choose.
Yarn Weight: The weight of the yarn you use will also influence the needle size you should use. Thicker yarns, such as bulky or super bulky, will require larger needles to accommodate the bulkiness of the yarn. On the other hand, thinner yarns, such as lace or sock weight, will require smaller needles to create a more delicate fabric.
Common Needle Sizes for Coasters
Here are some common needle sizes that can be used for knitting coasters:
- US size 4 (3.5mm) – ideal for lightweight coasters
- US size 6 (4.0mm) – suitable for medium weight coasters
- US size 8 (5.0mm) – great for thicker coasters
- US size 10 (6.0mm) – perfect for bulky coasters
Remember, these are just general recommendations, and you may need to adjust the needle size based on your unique project and desired outcome. Always make a gauge swatch before starting your coaster to ensure the desired size and fabric density.
Basic Knitting Stitches for Coasters
When it comes to knitting coasters, there are a few basic stitches that you need to know. These stitches will give your coasters a beautiful texture and make them sturdy enough to protect your surfaces. Whether you’re a beginner or an experienced knitter, mastering these stitches will allow you to create stunning coasters.
Garter Stitch
The garter stitch is one of the easiest knitting stitches to learn, and it creates a beautiful textured pattern. To knit in garter stitch, simply knit every stitch on every row. This stitch is reversible, so your coaster will look the same on both sides. The garter stitch is perfect for beginners and adds a classic touch to your coasters.
Seed Stitch
The seed stitch is another simple knitting stitch that creates a lovely texture. To knit the seed stitch, alternate between knitting and purling stitches in a pattern. For example, on the first row, knit one stitch, purl one stitch, and repeat across the row. On the second row, purl the knit stitches and knit the purl stitches. Repeat these two rows to create the seed stitch. This stitch adds depth and interest to your coasters.
Rib Stitch
The rib stitch is a versatile stitch that is commonly used for cuffs and hems, but it also works well for coasters. To knit the rib stitch, alternate between knitting and purling stitches in a pattern, but with a different number of stitches. For example, you can knit two stitches, purl two stitches, and repeat across the row. On the next row, purl the knit stitches and knit the purl stitches. The rib stitch creates a stretchy and textured fabric that is perfect for everyday use coasters.
By mastering these basic knitting stitches, you’ll be able to create a variety of beautiful coasters. Whether you prefer the simplicity of the garter stitch, the texture of the seed stitch, or the versatility of the rib stitch, these stitches will add a touch of handmade charm to your home.
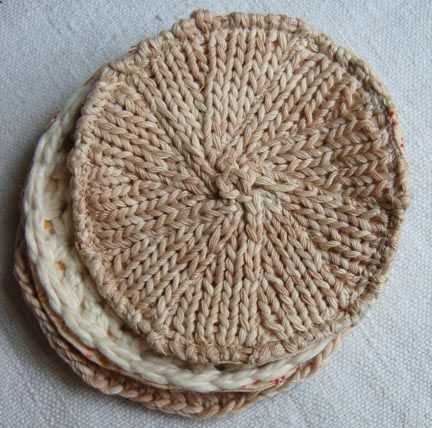
Knitting Coasters in Simple Garter Stitch
When it comes to quick and easy knitting projects, coasters are a great option. Whether you are a beginner or an experienced knitter, knitting coasters in simple garter stitch is a fun and rewarding project. Garter stitch is a basic knitting stitch that consists of knitting every row, creating a textured fabric that is great for coasters.
To get started, you will need a pair of knitting needles, some yarn in your desired color, and a pair of scissors. You can choose any size of knitting needles and yarn weight, depending on the size and thickness you want for your coasters. Thicker yarn and larger needles will result in a larger and more cushioned coaster, while thinner yarn and smaller needles will create a smaller and more delicate coaster.
To begin knitting the coaster, cast on the desired number of stitches using the long-tail cast-on method. The number of stitches will depend on the size of your needles and yarn, as well as the desired size of the coaster. Once you have cast on, you will begin knitting every row in garter stitch. Simply knit each stitch of every row until your coaster reaches the desired size.
Once you have completed knitting the coaster, you can bind off your stitches to secure the edges. Cut the yarn, leaving a long tail, and thread it through the last stitch on your knitting needle. Pull the tail tight to secure the stitch, and weave in any remaining ends. Your coaster is now complete!
Knitting coasters in simple garter stitch is a great way to practice your knitting skills and create functional and decorative items for your home. You can experiment with different colors, yarn weights, and needle sizes to create a variety of coasters that match your personal style. Whether you are knitting for yourself or as a gift, these coasters are sure to add a cozy touch to any coffee table or dining table.
Adding Texture to Coasters with Seed Stitch
If you’re looking to add some texture to your knit coasters, consider using the seed stitch pattern. The seed stitch is a simple and versatile stitch that creates a bumpy, textured surface. It is created by alternating knit and purl stitches in a specific pattern.
To create a seed stitch pattern, simply alternate between knitting and purling every stitch in each row. For example, on the right side of the fabric, you would knit the first stitch, purl the second stitch, knit the third stitch, and so on. Then, on the wrong side of the fabric, you would purl the first stitch, knit the second stitch, purl the third stitch, and so on. This pattern creates a beautiful texture that is perfect for coasters.
One of the advantages of using the seed stitch for coasters is that it helps to absorb moisture. The bumpy texture created by the alternating knit and purl stitches traps the liquid, keeping it from pooling on top of the coaster. This makes it an excellent choice for coasters that are used with hot or cold beverages.
If you want to further enhance the texture of your seed stitch coasters, consider using a thicker yarn or knitting with multiple strands held together. This will create a more pronounced texture, making your coasters not only functional but also visually appealing.
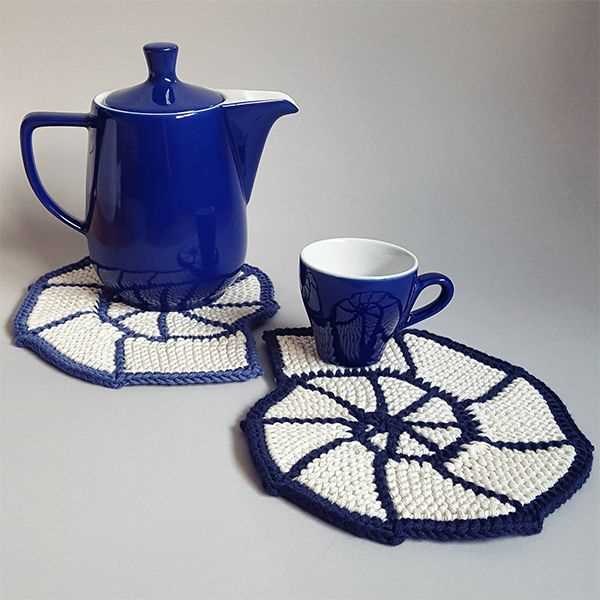
Creating Intricate Patterns with Cable Knit Coasters
Knitting coasters is a fun and practical way to add a touch of style to your home decor while protecting your surfaces from water stains and heat. One popular technique for knit coasters is using cable patterns to create intricate and elegant designs. Cable knitting involves crossing stitches over each other to form twists and braids, resulting in a visually appealing texture that can make your coasters stand out.
When creating cable knit coasters, you have a wide range of patterns and designs to choose from. You can opt for simple, straightforward cables that create a classic and timeless look, or you can challenge yourself with more complex patterns that incorporate multiple cables and intricate motifs. Some popular cable knit coaster patterns include diamond cables, honeycomb cables, and Celtic cables, each offering its own unique and eye-catching design.
To get started, you will need a set of knitting needles, yarn of your choice, and a cable needle. You can select any color of yarn that matches your home decor or experiment with different shades for a vibrant and eclectic look. It’s important to choose a yarn that is durable and machine washable, as coasters tend to get a lot of use and may need frequent cleaning.
Once you have your materials ready, you can follow a cable knit coaster pattern or create your own design. Cable knitting requires some basic knitting skills, but with practice, you can easily master the technique. Start with simpler cable patterns and gradually move on to more intricate ones as you gain confidence.
Whether you’re a knitting enthusiast or a beginner looking to try a new craft, cable knit coasters offer a fun and rewarding project that allows you to showcase your creativity and add a touch of elegance to your home. The intricate patterns and textures created by cable knitting can transform your coasters into miniature pieces of art that will be admired by all who use them.
Using Colorwork Techniques for Coasters
Colorwork techniques can add a beautiful and unique touch to your knit coasters. By incorporating multiple colors into your design, you can create eye-catching patterns and make your coasters stand out.
One popular colorwork technique for coasters is stranded knitting, also known as Fair Isle. This technique involves using two or more colors of yarn in each row, with the unused yarn strands carried along the back of the work. By knitting with different colored yarns, you can create intricate patterns, stripes, or motifs on your coasters.
Intarsia is another colorwork technique that can be used for coasters. Unlike stranded knitting, intarsia involves using separate bobbins or bobbins of different colors to create distinct blocks or shapes of color within your design. This technique is often used for creating larger, more defined images or monograms on coasters.
When working with colorwork techniques for coasters, it’s important to pay attention to your tension. Uneven tension can result in puckering or distortion of your colorwork pattern. Make sure to keep your tension consistent and avoid pulling your yarn too tightly or too loosely.
You can find free knit coaster patterns online that incorporate colorwork techniques. These patterns often come with color charts or instructions to guide you through the color changes. Experiment with different color combinations and patterns to create custom coasters that match your home decor or make great gifts.
Whether you choose stranded knitting or intarsia, using colorwork techniques can add a touch of creativity and style to your knit coasters. Have fun experimenting with different colors and patterns to make your coasters truly unique!
Finishing and Blocking Coasters
Once you have completed knitting your coasters, it is important to properly finish and block them to ensure they maintain their shape and appearance. Follow these steps to achieve professional-looking results.
1. Weave in loose ends
Start by weaving in any loose ends of yarn from your knitting project. Use a tapestry needle to thread the yarn end through the stitches on the wrong side of the coaster. Make sure to secure the end so it doesn’t come undone during use or washing.
2. Wet blocking
Wet blocking is a common method used to shape and relax the stitches of a knitted piece. To wet block your coasters, fill a basin or sink with lukewarm water and a mild detergent. Gently submerge the coasters in the water, making sure they are fully saturated. Allow them to soak for about 15 minutes.
After soaking, remove the coasters from the water and gently squeeze out any excess moisture. Lay them flat on a clean towel and carefully shape them to the desired size and dimensions. Use rust-proof pins to secure the edges and corners in place.
3. Dry blocking
Once your coasters are shaped, leave them to air dry on the towel. If you have limited space, you can also dry them on a blocking board or a mattress covered with a towel. Avoid drying them in direct sunlight or using artificial heat sources, as this can cause the yarn to become brittle or fade in color.
4. Remove blocking pins and trim any loose threads
Once the coasters are completely dry, carefully remove the blocking pins. Take a moment to inspect the coasters for any loose threads or yarn ends that may have come undone during the blocking process. Use scissors to trim them down, ensuring the coasters look neat and tidy.
Remember, the finishing and blocking process is crucial to achieving a professional and polished final result for your coasters. With proper care, your coasters will retain their shape and serve as functional and decorative items in your home.
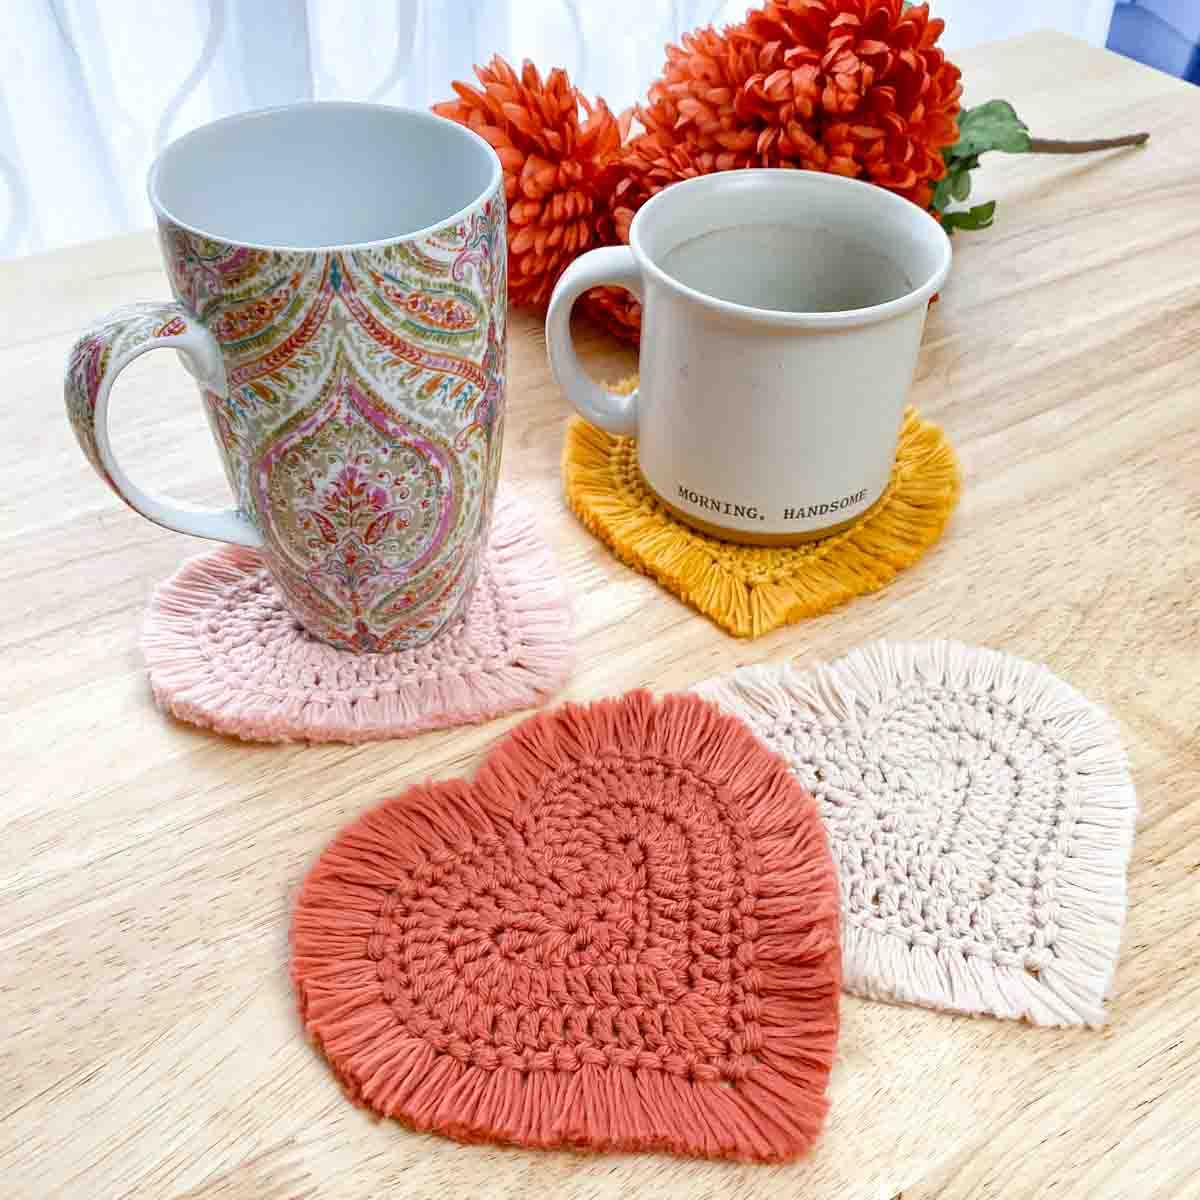
Free Knitting Patterns for Coasters
Coasters are a great way to add a personal touch to your home decor while also protecting your furniture from water rings and heat damage. Knitting your own coasters not only allows you to customize them to match your style, but it’s also a fun and relaxing project.
In this article, we have provided a selection of free knitting patterns for coasters that you can try. Whether you’re a beginner or an experienced knitter, you’ll find patterns that suit your skill level.
1. Basic Coaster Pattern
If you’re new to knitting, this basic coaster pattern is a great place to start. It uses simple stitches and is perfect for practicing your tension and gauge. The pattern creates a square coaster with a garter stitch border.
2. Colorful Striped Coasters
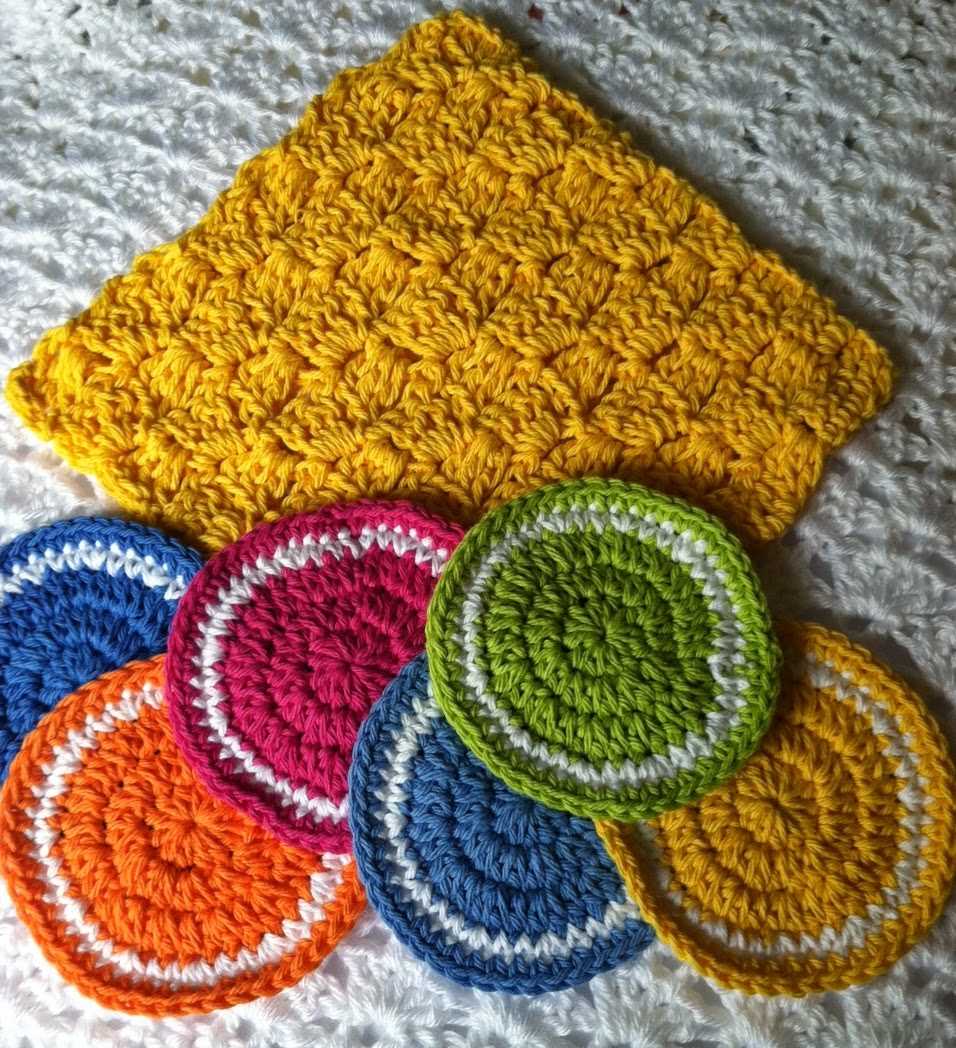
If you want to add some color to your coasters, try this pattern that uses different shades of yarn to create vibrant stripes. The pattern includes instructions for both square and round coasters, allowing you to mix and match colors to create a unique set.
3. Lace Coasters
For a more delicate and elegant look, try knitting lace coasters. This pattern uses a lace stitch pattern that creates a beautiful and intricate design. The coasters are knit in the round and feature a picot edge for an added touch of elegance.
4. Cable Coasters
If you’re up for a challenge, try knitting cable coasters. This pattern combines simple cable stitches with a textured background, resulting in a cozy and stylish coaster. The pattern includes written instructions as well as a chart for the cable stitch pattern.
With these free knitting patterns, you can create a set of coasters that not only protect your furniture but also add a touch of handmade charm to your home. Whether you prefer a basic design or want to experiment with lace or cables, there’s a pattern for you. So grab your knitting needles, choose your favorite pattern, and start knitting your own coasters today!