
Are you looking for the perfect blanket knitting pattern to keep you warm and cozy during the colder months? Look no further than the Jordan blanket knitting pattern! This beautiful and versatile pattern is perfect for knitters of all skill levels, whether you’re a beginner or an experienced pro.
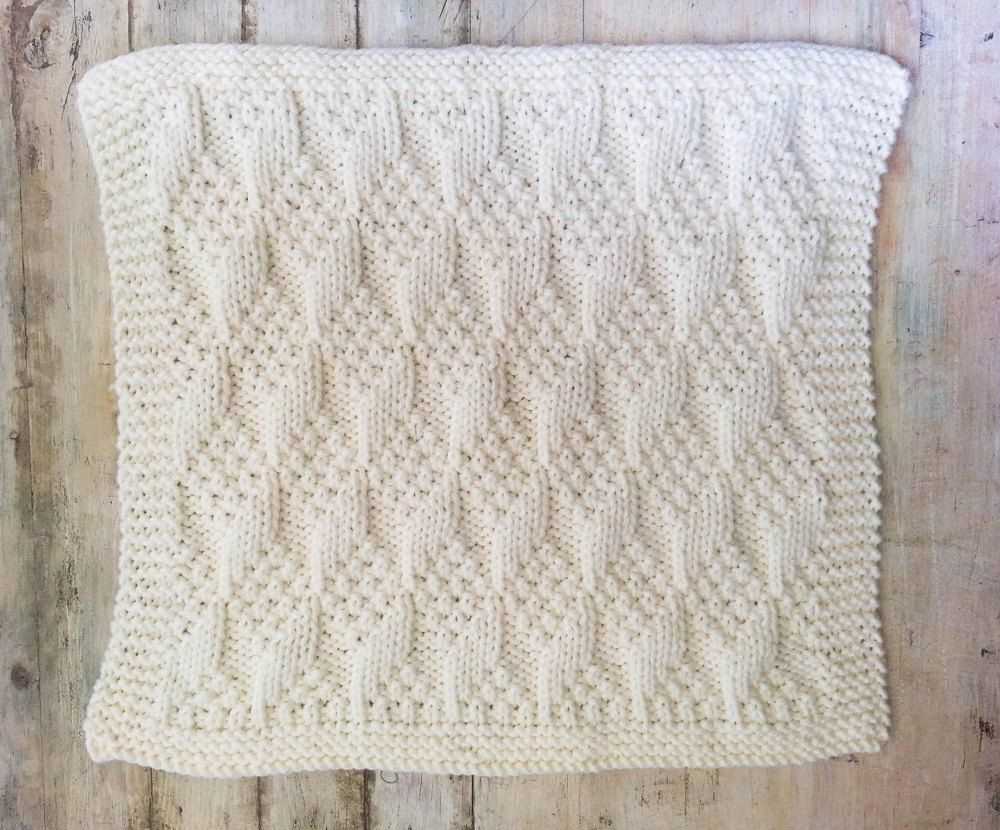
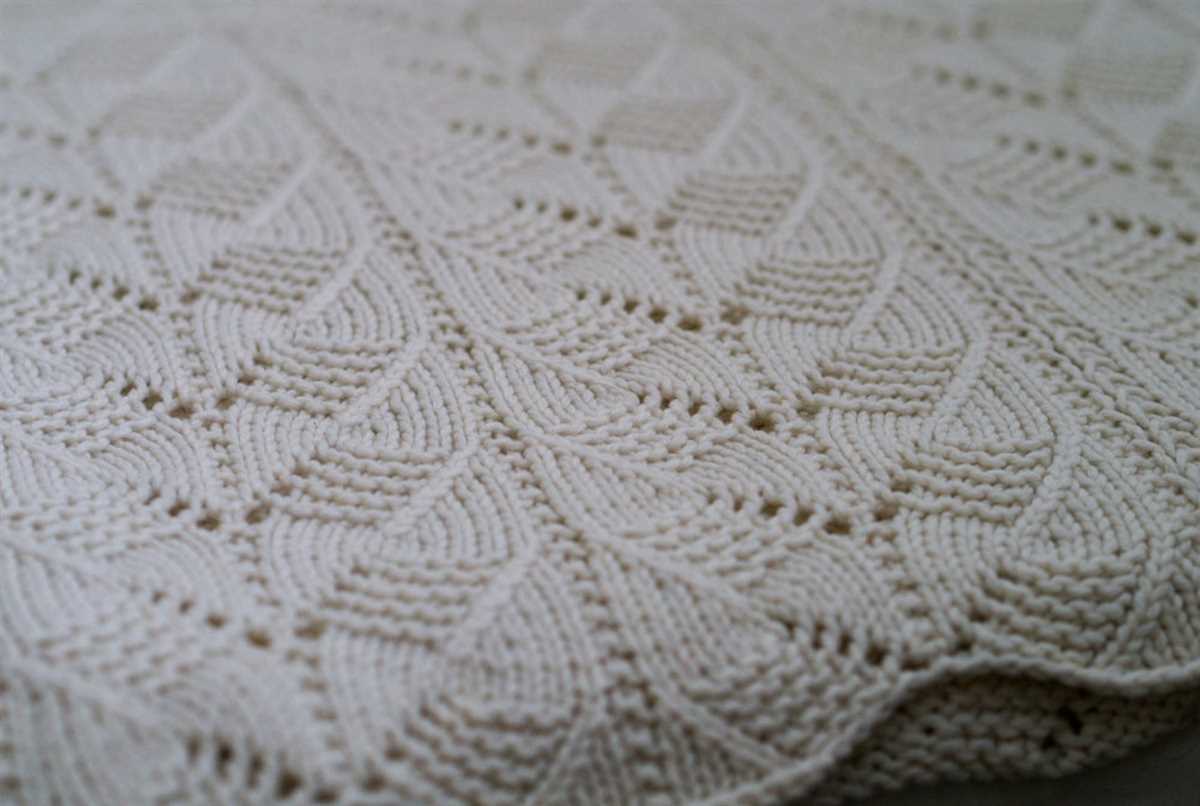
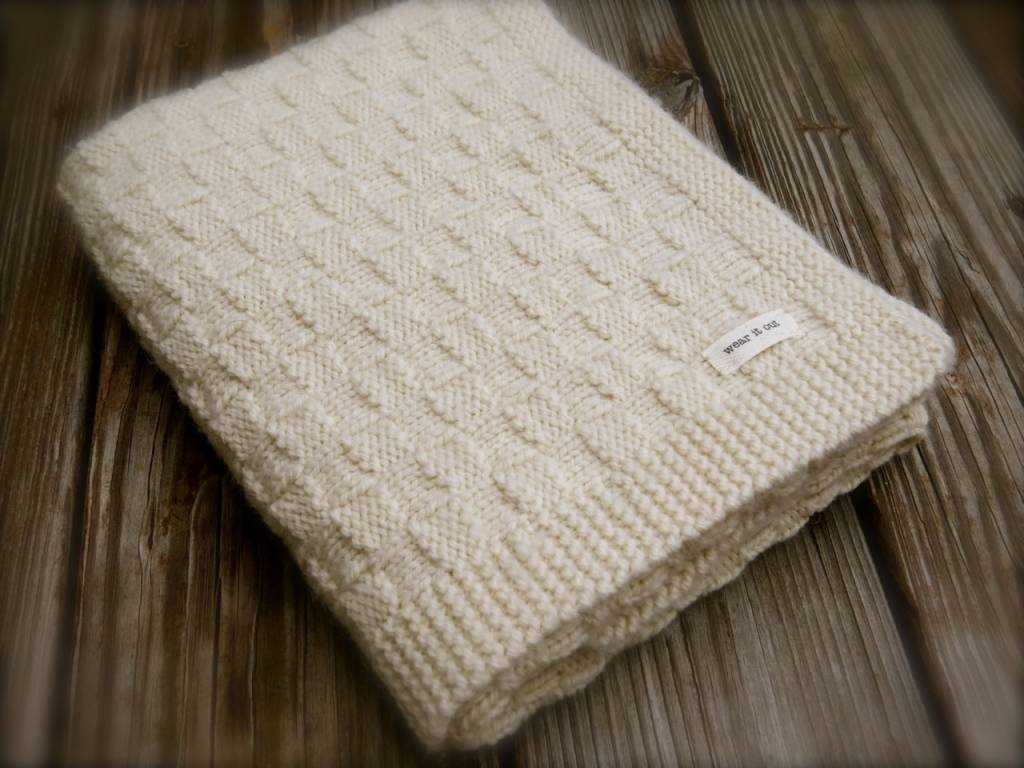
The Jordan blanket knitting pattern features a classic chevron design that adds a touch of elegance and style to any room. With its soft and luxurious texture, this blanket is perfect for snuggling up with a book or watching your favorite TV show. Plus, its generous size means there’s plenty of room for sharing. You can make this pattern in any color or combination of colors that suits your personal style and taste.
One of the best things about the Jordan blanket knitting pattern is that it’s relatively easy to knit. Even if you’re new to knitting, this pattern is a great way to practice your skills and create something beautiful at the same time. The pattern includes detailed instructions, along with helpful tips and tricks, to guide you through each step of the process. Before you know it, you’ll have a stunning blanket that you can be proud of.
Jordan Blanket Knitting Pattern
A knitting pattern is a set of instructions that guide knitters on how to create a specific item. The Jordan Blanket knitting pattern is a popular choice for knitters looking to make a cozy and stylish blanket. This pattern is known for its classic design and versatility, making it a great project for crafters of all skill levels.
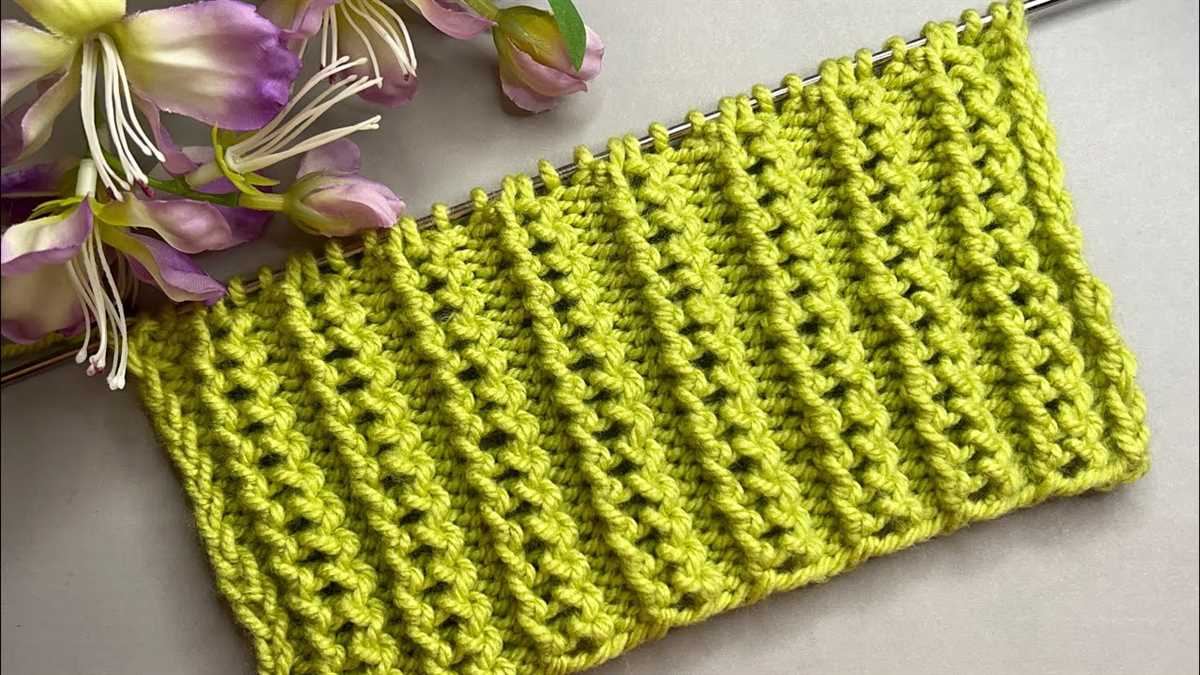
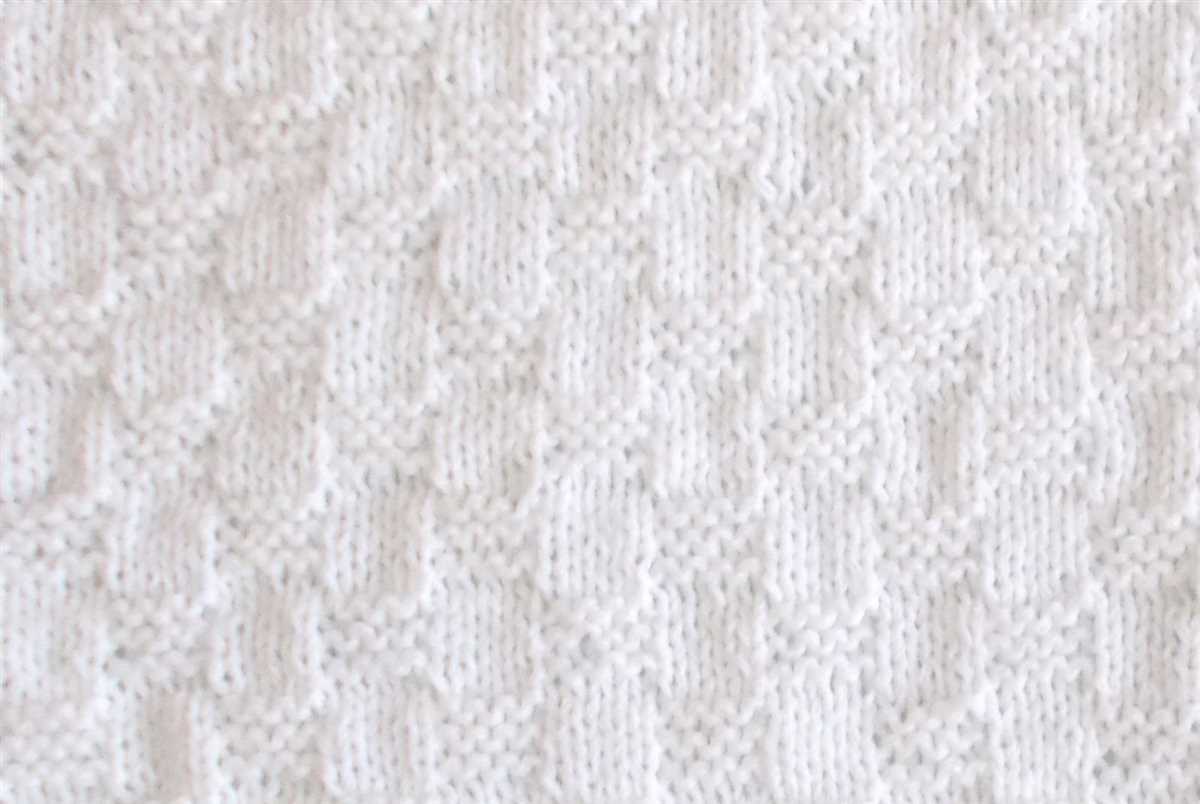
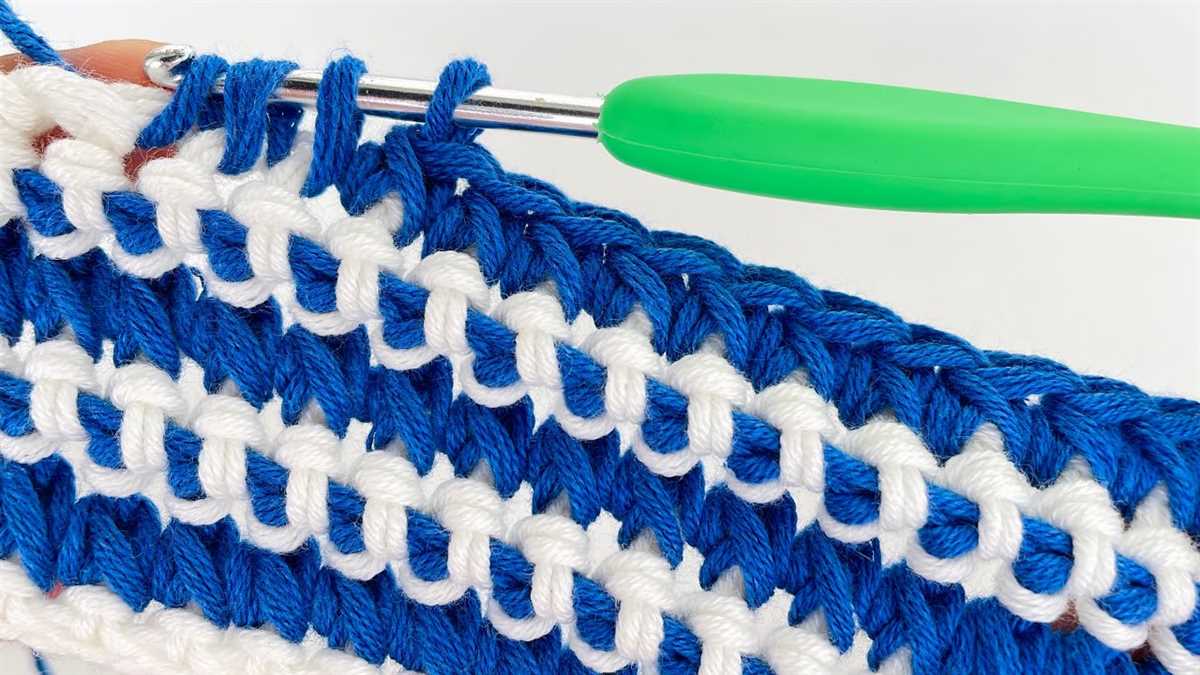
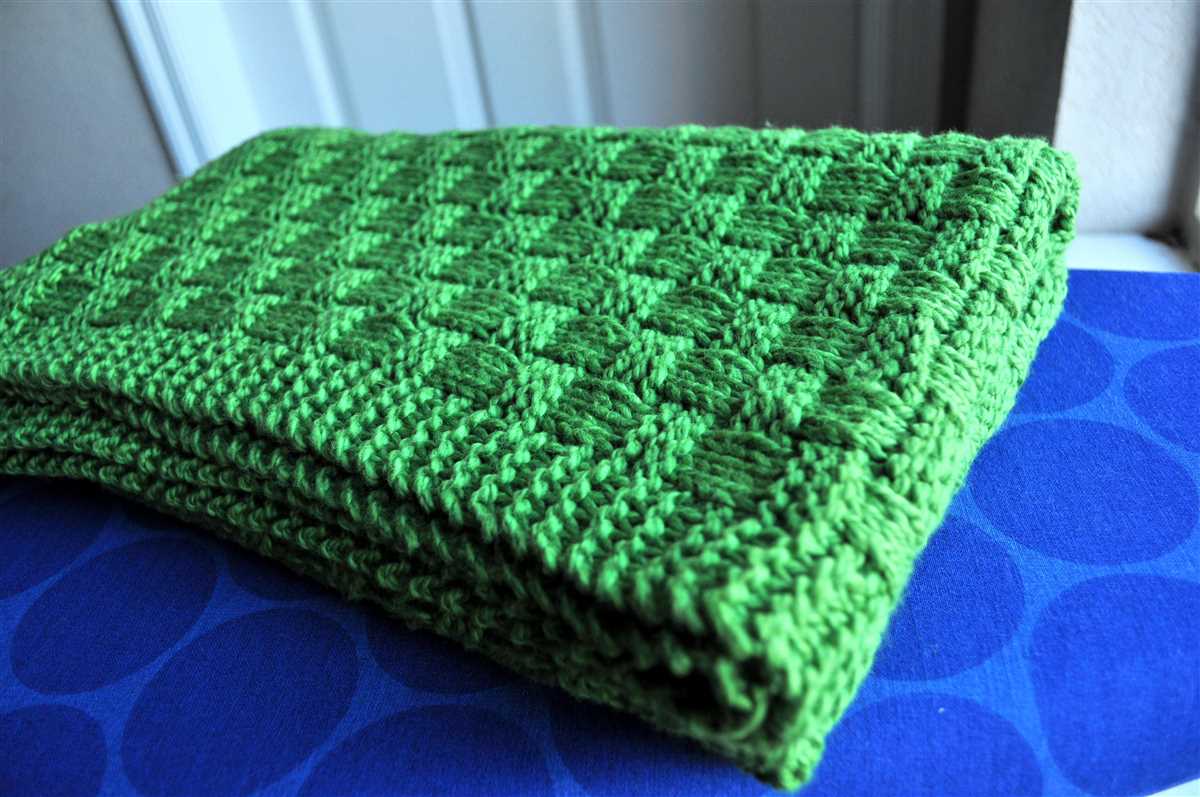
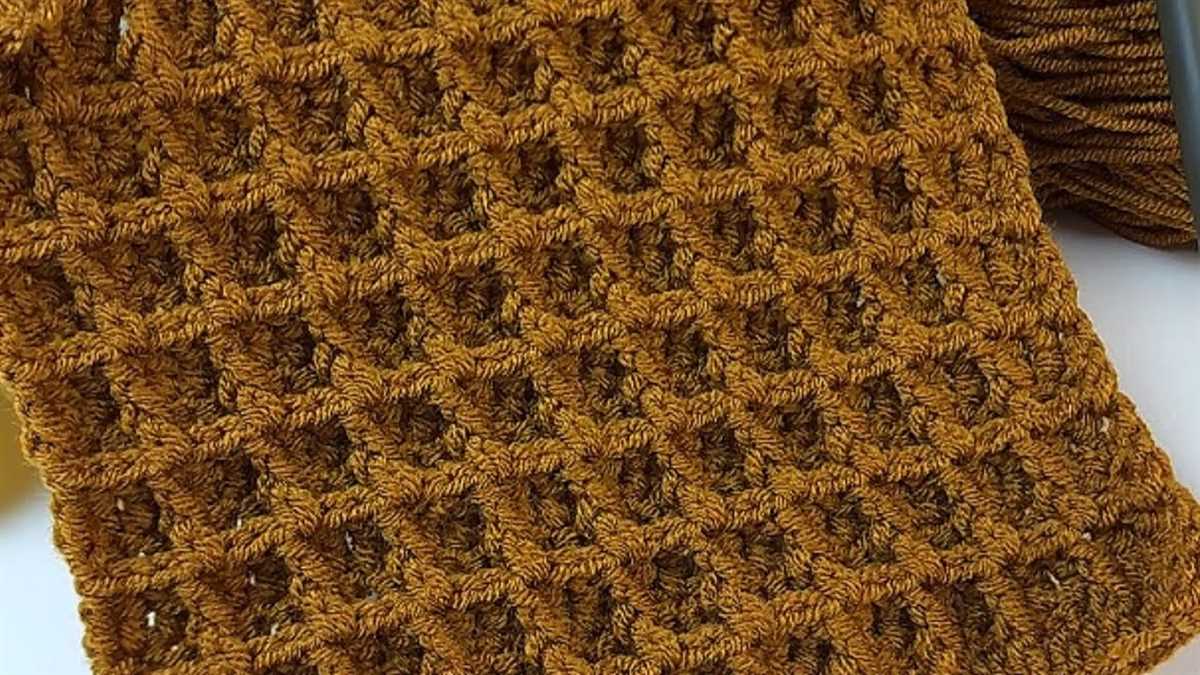
The Jordan Blanket knitting pattern features a combination of knit and purl stitches, which create a textured design that adds depth and visual interest to the blanket. The pattern also includes instructions for creating a border, giving the finished blanket a polished and finished look.
Materials Needed:
- Yarn: Choose a bulky or super bulky weight yarn in your desired color(s).
- Knitting needles: Use a size that is appropriate for your selected yarn.
- Tapestry needle: Needed for weaving in ends and finishing the blanket.
- Scissors: Used for cutting yarn.
Pattern Instructions:
1. Cast on the desired number of stitches, keeping in mind the finished size of the blanket.
2. Begin the pattern by knitting the first row, following the given stitch pattern for the main body of the blanket.
3. Continue working the stitch pattern for the desired length, alternating between knit and purl stitches as specified in the pattern.
4. Once the main body of the blanket is complete, follow the instructions for creating the border. This may involve knitting a certain number of rows in a different stitch pattern or adding a decorative edging.
5. Bind off the stitches and weave in any loose ends using a tapestry needle.
The Jordan Blanket knitting pattern is a versatile and timeless design, perfect for creating a cozy and stylish blanket. Whether you’re a beginner knitter or an experienced crafter, this pattern is sure to provide a satisfying project that you’ll be proud to display in your home or gift to a loved one.
Blanket Overview
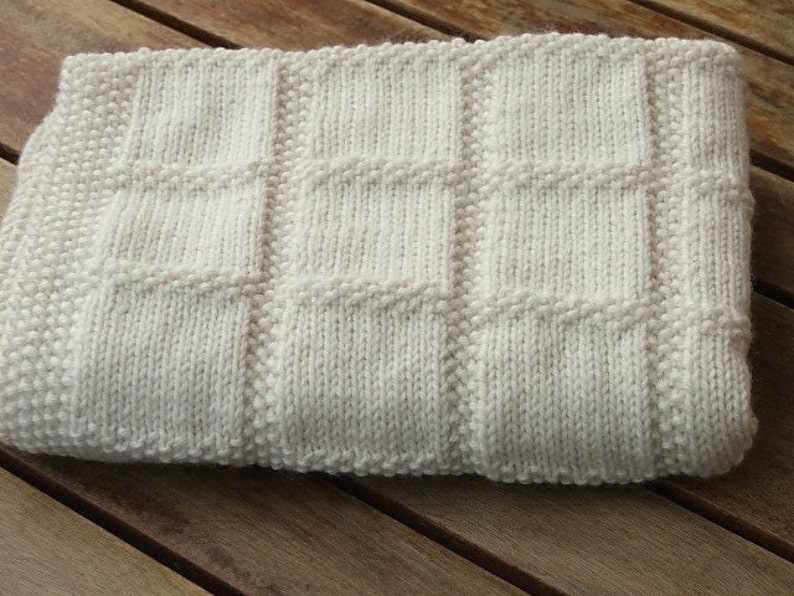
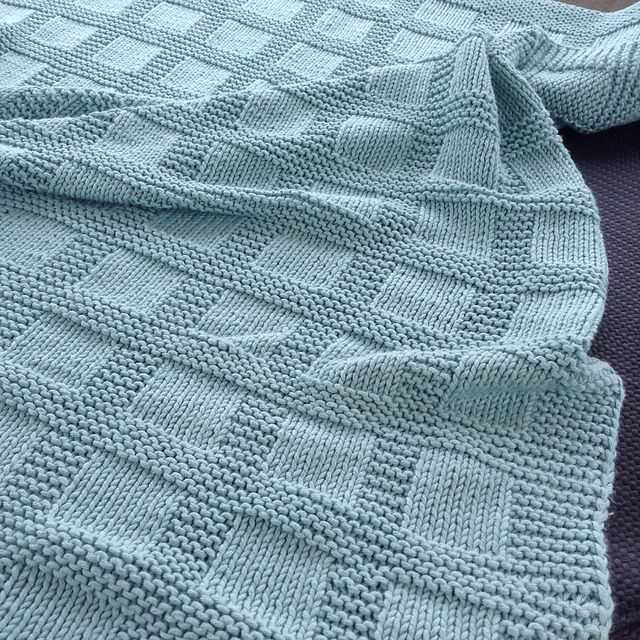
If you’re looking for a cozy and stylish blanket to add to your home decor, the Jordan blanket knitting pattern is an excellent choice. This pattern features a combination of simple stitches and intricate cable designs, resulting in a beautifully textured blanket that is sure to impress.
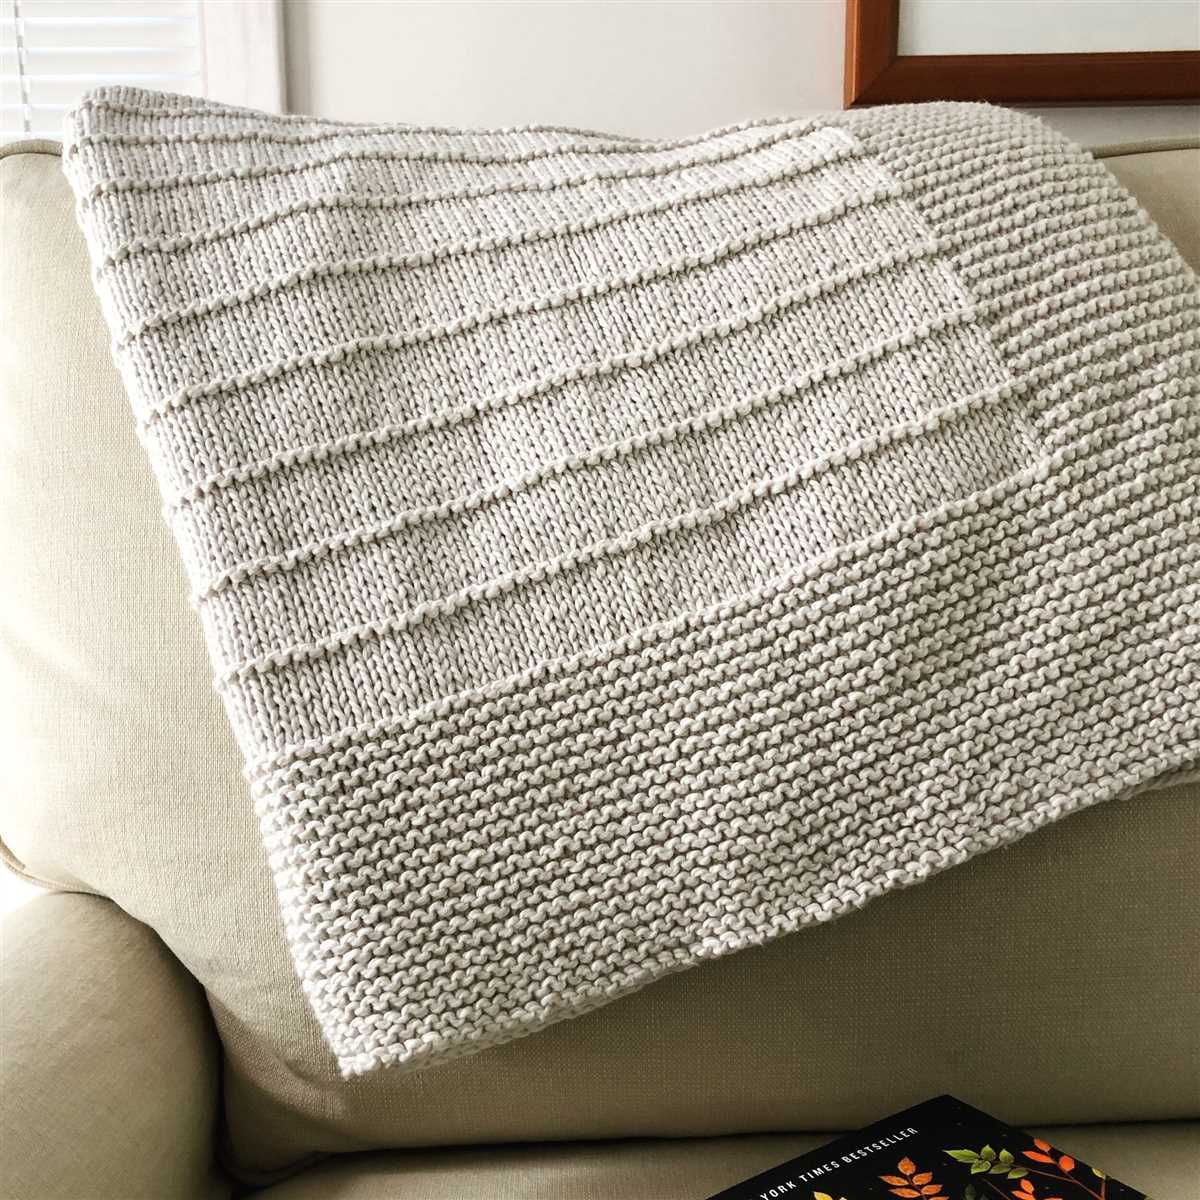
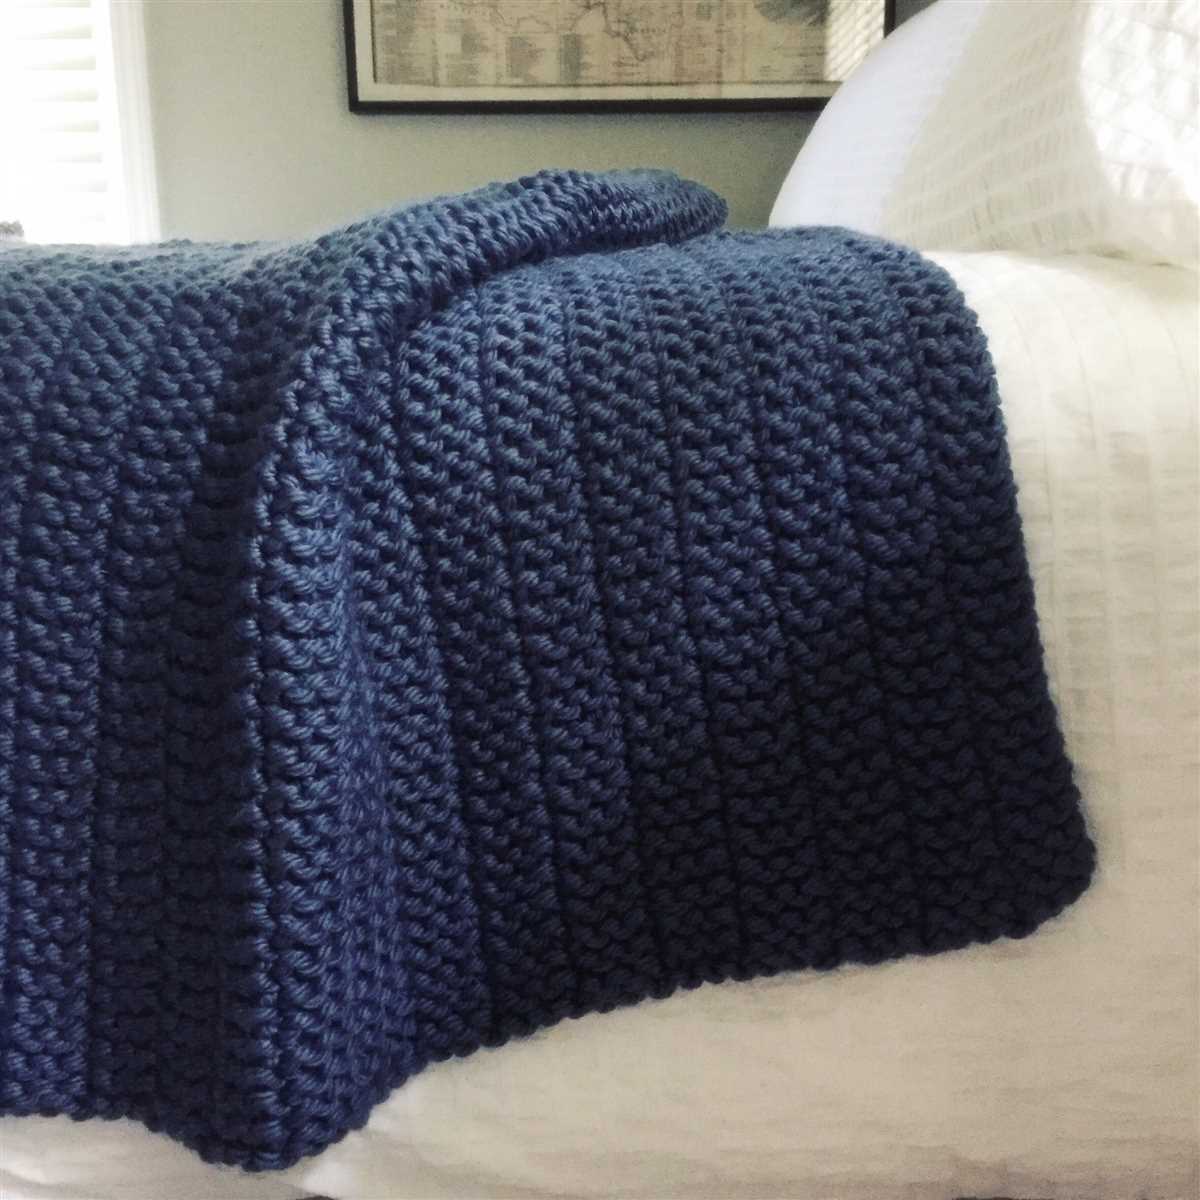
The Jordan blanket is designed to be knitted using chunky yarn, which not only makes it a quick and enjoyable project, but also adds extra warmth and coziness to the finished blanket. The pattern is suitable for intermediate knitters who are comfortable with basic knitting stitches and cable techniques.
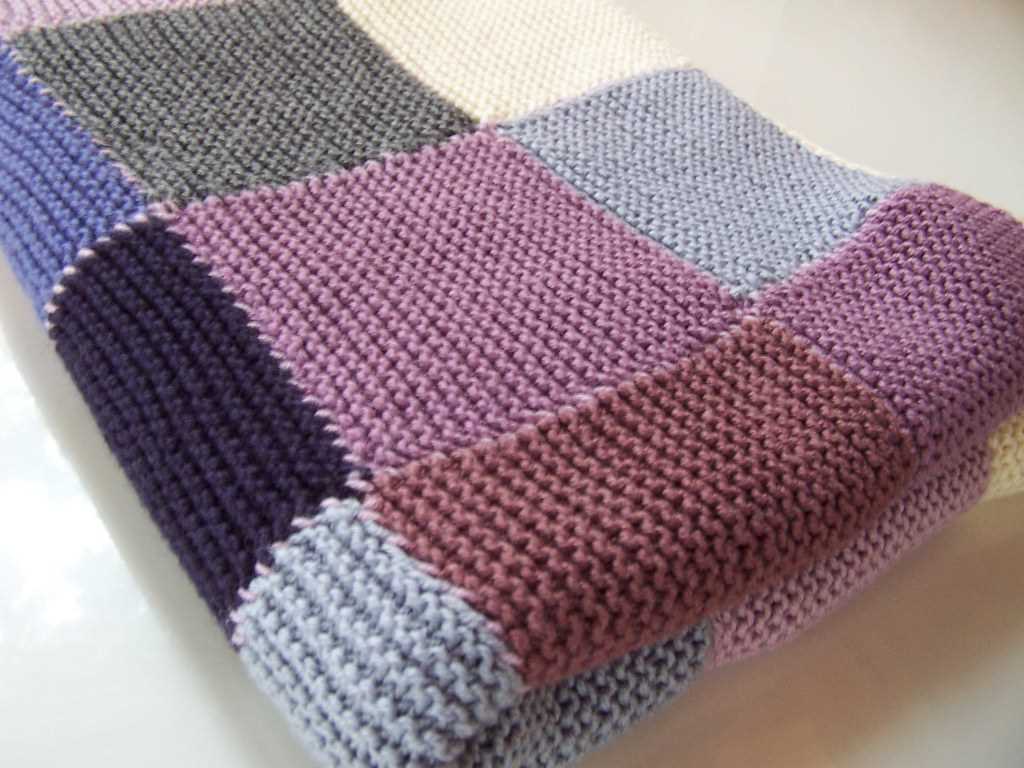
The blanket is worked in a square shape, making it versatile and easy to drape over a couch or bed. The finished dimensions of the blanket are approximately 50 inches by 50 inches, making it large enough to keep you warm while lounging on the couch or snuggling up in bed.
Materials
- Chunky yarn (approximately 1200 yards)
- Knitting needles (size 10 or size needed to obtain gauge)
- Cable needle
- Tapestry needle
- Scissors
Pattern
The Jordan blanket knitting pattern uses a combination of knit, purl, and cable stitches to create its unique texture. The pattern provides detailed instructions and a chart for the cable design, making it easy to follow along and create the blanket exactly as shown.
To start the pattern, you will cast on the required number of stitches and work the border of the blanket. Then, you will move on to the main body of the blanket, following the cable chart and repeating the designated stitch pattern until you reach the desired length.
Once you have completed the main body of the blanket, you will work the border again to give the blanket a finished look. Finally, you will bind off the stitches and weave in any loose ends. The pattern also includes blocking instructions to ensure that your finished blanket looks its best.
Final Thoughts
The Jordan blanket knitting pattern is a wonderful choice for knitters looking to create a cozy and stylish addition to their home decor. Whether you’re an experienced knitter or looking to expand your skills, this pattern offers a fun and rewarding project that will result in a beautiful and functional blanket.
Necessary Materials
If you’re planning to knit a Jordan blanket, you’ll need a few key materials to get started. Here’s a list of what you’ll need:
- Yarn: Choose a soft and cozy yarn in your preferred color or colors. Make sure to check the recommended gauge on the yarn label to ensure your blanket turns out the right size.
- Knitting needles: Depending on the size of blanket you want to make, you’ll need a pair of knitting needles in the appropriate size. Look for needles that are comfortable for you to hold and use.
- Tape measure: This will come in handy for measuring your gauge and ensuring your blanket is the correct size.
- Stitch markers: These little plastic or metal rings will help you mark certain stitches or sections of your blanket. They can be easily moved as you progress in your knitting.
- Tapestry needle: Also known as a yarn needle, this large, blunt needle is used for weaving in loose ends and seaming your blanket.
These are the basic materials you’ll need to knit a Jordan blanket. Depending on your specific pattern and preferences, you may also need additional materials such as a cable needle, stitch holders, or a row counter. Make sure to read through the pattern instructions carefully to see if any extra materials are required.
Yarn Selection
When it comes to knitting a Jordan blanket, choosing the right yarn is essential. The yarn you select will determine the overall look and feel of the blanket, as well as its durability and warmth. There are a few factors to consider when selecting yarn for this project.
Fiber Content: One of the most important considerations is the fiber content of the yarn. For a cozy and warm blanket, opt for a wool or wool blend yarn. The natural insulating properties of wool will help keep the recipient snug during colder months. If you prefer a lighter weight blanket or have specific allergies, you can also consider acrylic, cotton, or bamboo yarns.
Weight and Gauge: Another crucial factor is the weight of the yarn and the gauge it produces. The pattern for the Jordan blanket will specify the recommended weight and gauge. Be sure to choose a yarn that matches these specifications to ensure that your finished blanket turns out as intended. Additionally, consider the drape of the fabric you desire. A thinner yarn will create a lightweight and more delicate blanket, while a thicker yarn will result in a chunkier and warmer blanket.
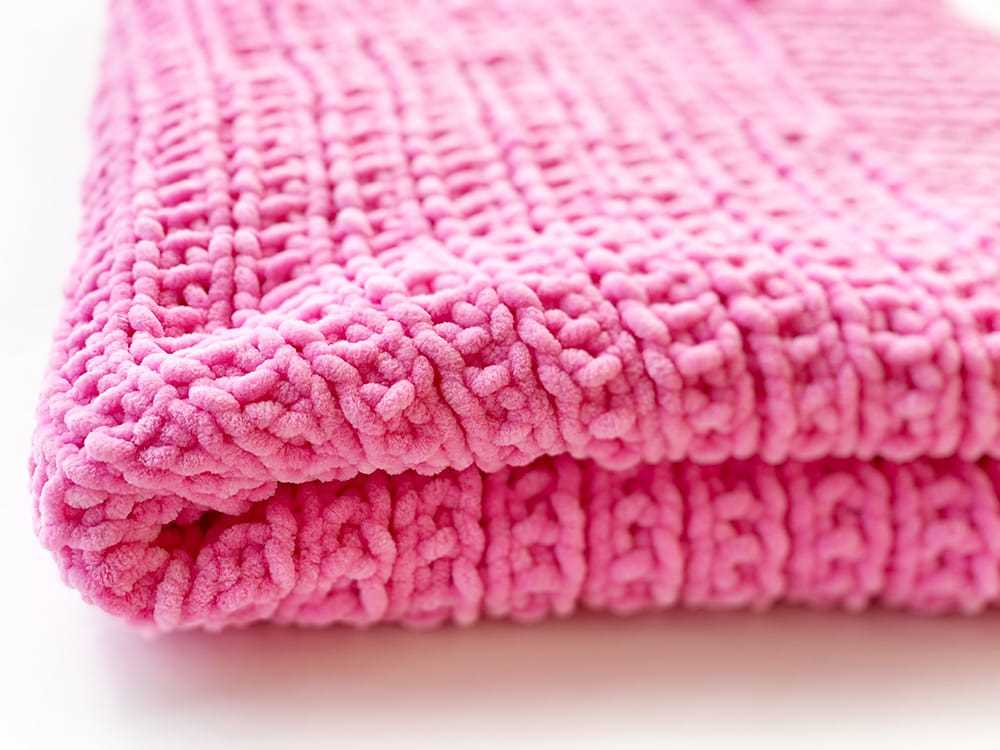
Color and Texture: The color and texture of the yarn can also play a significant role in the appearance of your Jordan blanket. Consider the recipient’s preferences and the intended use of the blanket. If you want a classic and timeless look, neutral or solid colors are a safe choice. For a more vibrant and playful look, consider using variegated or self-striping yarns. Additionally, textured yarns can add extra interest and dimension to your blanket.
Quantity: Lastly, make sure to calculate the amount of yarn needed for your desired size of the Jordan blanket. The pattern will provide guidance on the estimated yardage required. It’s always a good idea to buy an extra skein or two to ensure you have enough yarn to complete the project, especially if you are using a unique or limited edition yarn.
Basic Knitting Stitches

Knitting is a popular craft that involves creating fabric by interlocking loops of yarn with knitting needles. There are several basic knitting stitches that form the foundation of most knitting projects. These stitches are the building blocks that allow knitters to create intricate patterns and designs.
Garter Stitch: One of the simplest knitting stitches, garter stitch is created by knitting every row. This stitch creates a fabric with a bumpy texture and is commonly used for scarves, blankets, and dishcloths.
Stockinette Stitch: Another essential knitting stitch, stockinette stitch is created by alternating between knitting one row and purling the next row. This stitch creates a smooth, flat fabric with a distinctive “V” pattern on one side and a purl texture on the other side. Stockinette stitch is commonly used for sweaters, hats, and socks.
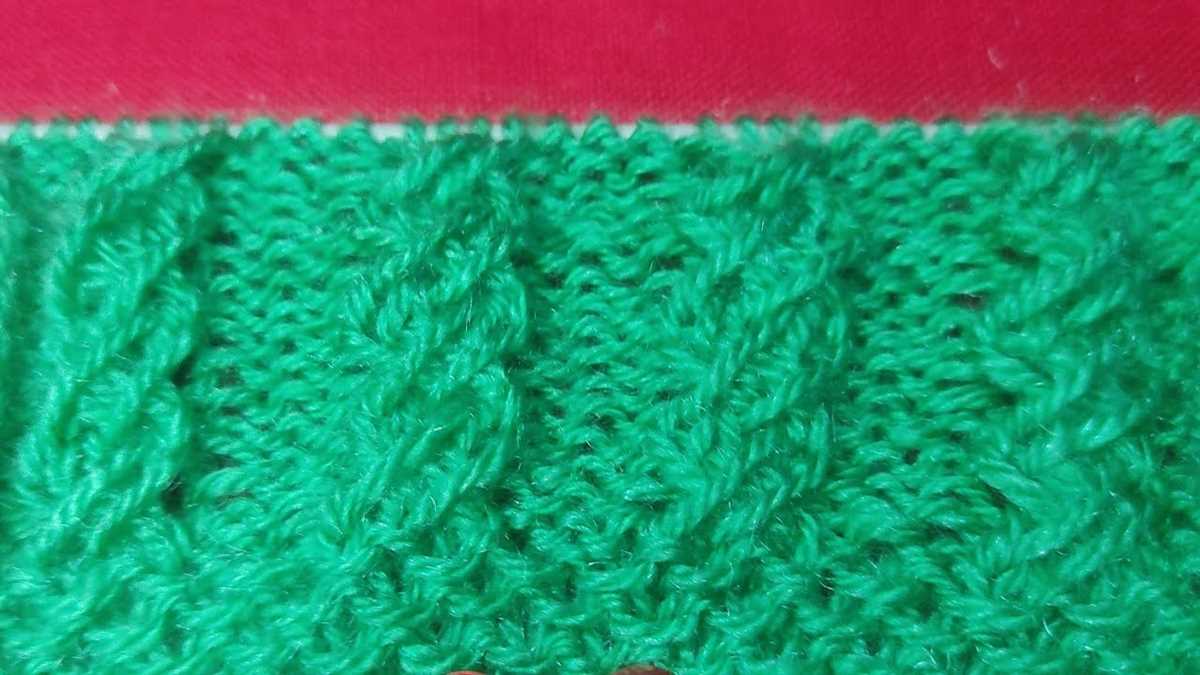
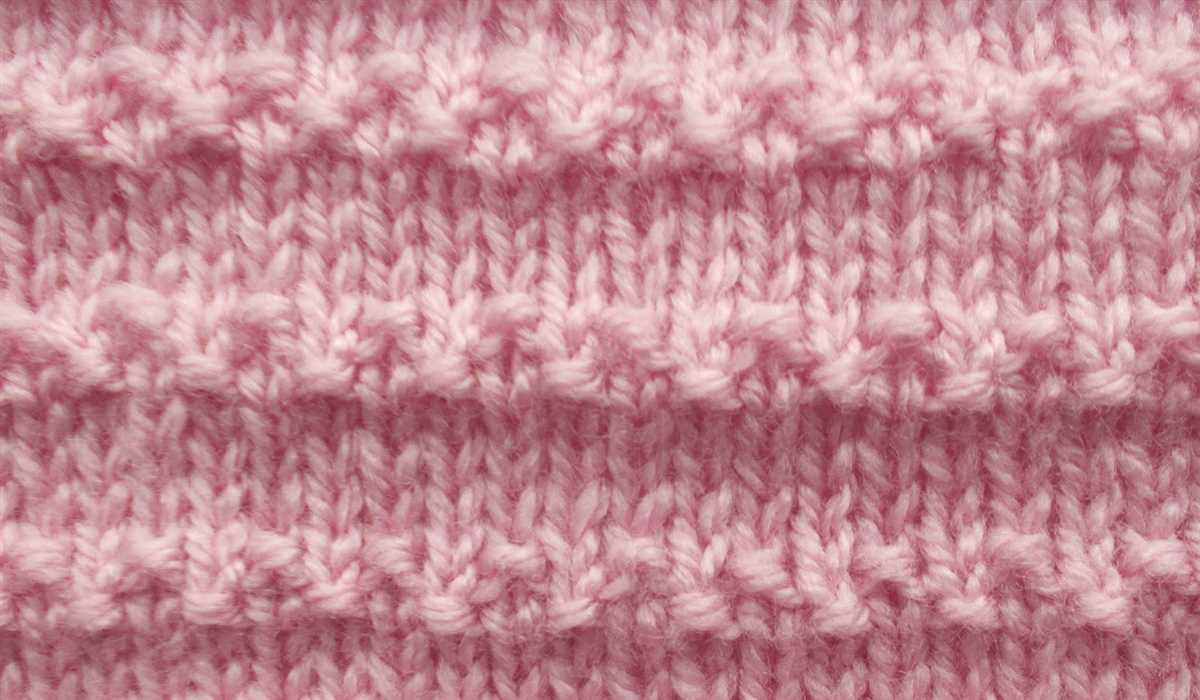
Seed Stitch: Seed stitch is a variation of garter stitch that adds texture and visual interest to the fabric. It is created by alternating between knitting and purling stitches in a specific pattern. This stitch creates a fabric with small, raised bumps that resemble seeds. Seed stitch is often used for scarves, baby blankets, and decorative edgings.
Ribbing: Ribbing is a versatile knitting stitch that is commonly used for cuffs, collars, and borders. It is created by alternating between knit and purl stitches in a specific pattern. This stitch creates a fabric with vertical ridges that stretch and provide elasticity to the knitted item.
Cable Stitch: Cable stitches are used to create intricate and decorative patterns in knitting. They involve crossing one or more groups of stitches over each other to form a twist or cable effect. Cable stitches can add visual interest and texture to sweaters, scarves, and blankets.
These are just a few examples of the basic knitting stitches that every knitter should know. With these stitches as a foundation, knitters can explore more complex patterns and techniques to create beautiful and unique knitted items.
Gauge and Measurement
When knitting a Jordan blanket using a specific pattern, it is important to achieve the correct gauge and measurements to ensure the final product will turn out as intended. The gauge refers to the number of stitches and rows per inch that are required to create the desired fabric. To determine the gauge, it is recommended to knit a swatch using the same yarn and needles that will be used for the project.
Start by casting on a few stitches and knitting a small square in the chosen stitch pattern. Measure the square using a ruler or a gauge tool to determine the number of stitches and rows per inch. If the gauge does not match the pattern’s requirements, it may be necessary to adjust the needle size and knit another swatch to achieve the desired gauge.
Measurement is another important aspect of knitting the Jordan blanket. Before starting the project, it is essential to decide on the desired size of the finished blanket. This can be determined by considering the purpose of the blanket, such as whether it will be used as a baby blanket or a lap blanket. The measurements can also be influenced by personal preference.
For example, a typical size for a baby blanket might be 30 inches wide by 40 inches long, while a lap blanket could be larger at 50 inches wide by 60 inches long. Once the desired measurements are determined, it is important to check the gauge and adjust the number of stitches and rows accordingly to achieve the correct dimensions.
By paying attention to gauge and measurement when knitting the Jordan blanket, you can ensure that the final product will be the perfect size and have the desired fabric texture and drape.
Cast On
When starting a knitting project, the first step is to cast on. This is the process of creating the first row of stitches on the knitting needle. There are several different methods for casting on, but the most common is the long-tail cast on. This method creates a neat and flexible edge that is ideal for many knitting projects.
To start the long-tail cast on, you will need to estimate how much yarn you will need for the cast on. To do this, loosely wrap the yarn around the needle as many times as the number of stitches you want to cast on. This will give you an estimate of how long the “tail” of yarn should be. The tail is the end of the yarn that will be used to create the first row of stitches.
Once you have estimated the length of the tail, make a slipknot in the yarn, leaving a tail that is about 6-8 inches long. Place the slipknot on the needle and tighten it slightly. Hold the needle in your right hand and the tail end of the yarn in your left hand.
With your left hand, bring the yarn over the top of the needle, creating a loop. Then, bring the yarn under the needle and through the loop, creating a new loop on the needle. Repeat this process for the desired number of stitches, keeping the tension of the yarn consistent.
As you continue to cast on, make sure to keep the stitches close together on the needle so that they don’t slip off. Once all of the stitches are cast on, you can begin working the first row of your knitting project.
Knitting Instructions
If you are looking to create a warm and cozy blanket, the Jordan blanket knitting pattern is a perfect choice. With its unique texture and classic design, this pattern will allow you to create a beautiful and functional blanket that is perfect for relaxing evenings at home.
To get started, you will need the following materials:
- Yarn of your choice (preferably bulky weight)
- Knitting needles (size 10 recommended)
- Tapestry needle
- Scissors
Step 1: Cast on
The first step in knitting the Jordan blanket is to cast on your stitches. Depending on the desired size of your blanket, you will need to cast on a multiple of 11 stitches plus 2 extra stitches. This will ensure that the pattern is properly aligned.
Step 2: Knit the pattern
Once you have cast on your stitches, you can begin knitting the pattern. The Jordan blanket pattern consists of a combination of knit and purl stitches, creating a textured look. Follow the pattern instructions row by row, making sure to keep track of your stitch count as you go along.
Step 3: Repeat the pattern
Continue knitting the pattern rows until you have reached your desired length for the blanket. Keep in mind that the more rows you knit, the larger your blanket will be. If you want to make a larger blanket, you can always adjust the number of cast on stitches accordingly.
Step 4: Bind off and finish
Once you have reached the desired length, it is time to bind off your stitches. This will give your blanket a finished edge and prevent it from unraveling. Cut the yarn, leaving a long tail, and use a tapestry needle to weave in any loose ends. Give your blanket a gentle blocking to help it retain its shape.
With these knitting instructions, you are ready to start knitting your very own Jordan blanket. Whether you are a beginner or an experienced knitter, this pattern is a fun and rewarding project that will result in a beautiful and cozy blanket.
Adding Variation
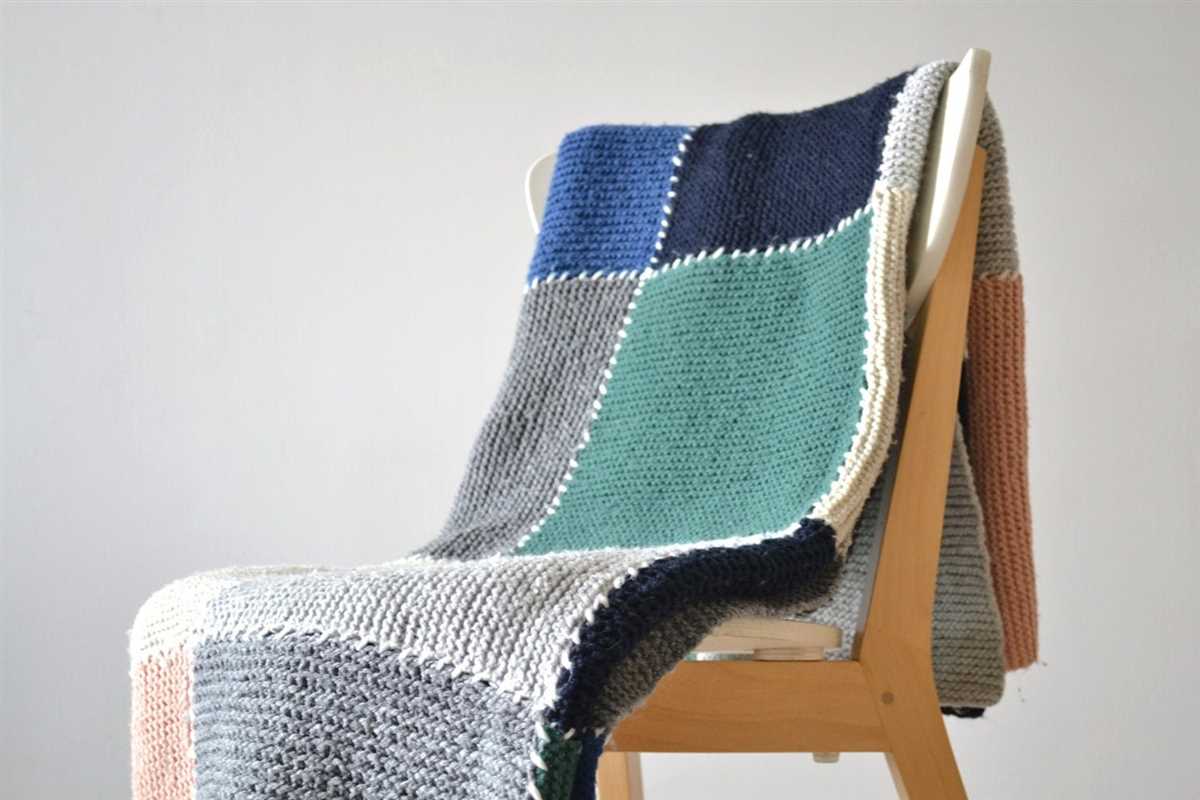
When it comes to knitting a Jordan blanket, there are several ways to add variation to the pattern. One popular option is to change the color of the yarn used. This can create a beautiful striped effect or even a gradient look, depending on the color choices made. Another way to add variation is to incorporate different stitch patterns within the blanket. For example, you can alternate between stockinette stitch and seed stitch to create a textured pattern.
Color Variation:
- Using multiple colors of yarn
- Creating stripes or a gradient effect
- Experimenting with different color combinations
Stitch Variation:
- Changing stitch patterns within the blanket
- Alternating between different stitch patterns
- Combining different stitch patterns to create unique designs
By adding variation to the Jordan blanket knitting pattern, you can customize it to your own taste and create a truly unique piece. Whether you choose to play with colors or stitch patterns (or both!), the possibilities for creativity are endless. Don’t be afraid to try new techniques and experiment with different ideas to make your Jordan blanket one-of-a-kind.
Binding Off
Once you have finished knitting your Jordan blanket, it’s time to bind off to secure the stitches and create a neat edge. The binding off technique is also known as casting off and it is the final step in completing your knitting project.
To bind off, you will need a pair of knitting needles and scissors. Follow these steps to bind off your Jordan blanket:
- Start with the last stitch on your knitting needle.
- Knit the first two stitches together.
- Insert the left needle into the first stitch on the right needle.
- Lift the first stitch over the second stitch and off the right needle.
- Continue knitting the next stitch and repeating the process of lifting the previous stitch over until you have only one stitch remaining.
- Cut the yarn, leaving a tail of about 6 inches.
- Thread the tail through the last stitch and pull tight to secure.
Once you have bound off all the stitches, make sure to weave in any loose ends to give your Jordan blanket a polished finish. You can use a yarn needle to weave the ends of the yarn into the stitches on the wrong side of the blanket. Trim any excess yarn to tidy up.
Blocking the Blanket
Blocking is an essential step in knitting a blanket, as it helps to shape and finish the piece. The process involves gently stretching and shaping the knitted fabric to achieve the desired size and dimensions. It also helps to even out the stitches and create a more professional-looking finished product. To block a Jordan blanket, follow these steps:
1. Prepare the Blanket
Before blocking, make sure to wash the blanket gently to remove any dirt or oils that may be present. Fill a basin or sink with lukewarm water and add a mild detergent. Gently swirl the blanket in the water, being careful not to agitate or twist it too much. Drain the water and rinse the blanket with clean water until no soap remains.
2. Lay the Blanket Flat
To begin blocking, find a flat surface where you can lay the blanket. It could be a clean towel on the floor or a blocking board specifically designed for knitting. Smooth out the blanket on the surface, making sure that the edges are straight and the corners are not curled. If desired, pin the corners of the blanket to keep it in place.
3. Pin the Blanket
Using rustproof T-pins or blocking wires, begin pinning the blanket to the desired dimensions. Start by pinning the four corners, ensuring that they are evenly stretched. Next, pin along the edges, evenly spacing the pins to maintain a consistent width. If the blanket has a lace or cable pattern, gently stretch and pin the stitches to highlight the design.
4. Let it Dry
Once the blanket is pinned to the desired shape, leave it to dry completely. This can take anywhere from a few hours to a day or two, depending on the thickness of the yarn and the humidity of the environment. Avoid disturbing or moving the blanket while it dries, as this can affect the final shape.
Blocking a Jordan blanket is a crucial step in the knitting process, ensuring that the finished piece looks its best. By following these steps, you can achieve a beautifully shaped and even blanket that is ready to be enjoyed and cherished.
Finishing Touches
Once you have finished knitting your Jordan blanket, it’s time to add the finishing touches to make it truly special. These final steps will elevate your blanket from a simple knitting project to a beautiful and personalized creation.
1. Blocking: One of the first things you should do is block your blanket. Blocking involves wetting the knitted fabric and then shaping it to the desired dimensions. This helps even out any uneven stitches and gives your blanket a polished look. You can use blocking mats or lay your blanket out on a clean, flat surface. Pin the edges of the blanket to maintain its shape while it dries.
2. Edging: Adding an edging to your blanket can be a great way to add some extra visual interest. You can choose to knit a simple garter stitch border or get creative with a more intricate lace or cable pattern. The choice is yours! Choose a yarn color that complements your blanket and carefully knit or crochet the edging around the entire perimeter.
3. Embellishments: If you want to add a personal touch to your blanket, consider adding some embellishments. You can use embroidery to add initials or a design to one corner of the blanket. Another option is to sew on decorative buttons or appliques to create a unique and personalized look.
4. Label: To give your blanket that final professional touch, consider attaching a label with your name and the date of completion. This not only adds a personal touch but also serves as a reminder of the time and effort you put into creating this beautiful blanket.
Incorporating these finishing touches will ensure that your Jordan blanket is a true labor of love, showcasing your knitting skills and personal style. Take your time with these final steps to ensure a beautifully finished blanket that will be cherished for years to come.
Additional Resources
Interested in creating your own Jordan blanket? Check out these resources to find knitting patterns, tutorials, and inspiration:
- Ravelry: Ravelry is a popular online community for knitters and crocheters. They have a vast collection of knitting patterns, including many options for blankets. Search for “Jordan blanket knitting pattern” to find one that suits your needs.
- Knitting Blogs: Many knitting bloggers share their patterns and tutorials for free. Search for knitting blogs that specialize in blankets, or look for specific patterns mentioned on them.
- Knitting Magazines: Knitting magazines often feature new patterns and designs. Check out the latest issues of popular knitting magazines for inspiration and instructions.
- Knitting Classes: If you’re new to knitting or want to improve your skills, consider taking a knitting class. Many local yarn stores and community centers offer classes for beginners or advanced knitters.
Remember, the Jordan blanket knitting pattern is just one example, and there are countless other patterns and variations out there. Get creative and make a blanket that reflects your personal style!
Happy knitting!