
Knitting is a popular hobby that allows people to create beautiful and unique items. One such item is knitted headbands, which are not only stylish but also practical, especially for infants. Infant knitted headbands provide warmth and keep the baby’s ears protected during chilly weather. They also make for adorable accessories that can complement any outfit. Whether you are new to knitting or an experienced knitter looking for new patterns, there are plenty of free infant knitted headband patterns available to explore.
When it comes to knitting headbands for infants, there are countless design options to choose from. You can opt for simple and classic patterns, such as a basic ribbed headband or a seed stitch headband. These patterns are easy to follow and perfect for beginners. On the other hand, if you are looking for something more intricate and unique, you can try patterns featuring cables, lacework, or even colorwork. These patterns require a bit more skill and patience but result in stunning headbands that will surely impress.
Another great thing about knitting is that you can customize the patterns to fit your personal style and preference. For example, you can experiment with different yarn types and colors to create a headband that matches a specific outfit or theme. You can also add embellishments like buttons, bows, or flowers to make the headband even more charming. With so many possibilities, knitting infant headbands is not only a fun and creative activity but also a practical way to keep infants cozy and stylish.
Infant Knitted Headband Patterns Free
Knitting is a popular craft that allows you to create beautiful and functional items, such as headbands for infants. Whether you’re looking to keep your baby warm or simply add a stylish accessory to their outfit, knitted headbands are a great choice. The best part is, there are plenty of free patterns available online for you to use!
One popular pattern is the garter stitch headband. This pattern is perfect for beginners as it only requires you to know how to knit and purl. The garter stitch creates a textured look that is both cute and cozy. To make this headband, you’ll need a set of knitting needles, yarn, and a tapestry needle to sew it together. Simply cast on the desired number of stitches, knit every row until it reaches the desired length, and then sew the ends together. It’s a quick and easy project that you can complete in no time!
Other free patterns to try include:
- Ribbed headband: This pattern creates a stretchy and snug fit, perfect for keeping your baby’s ears warm.
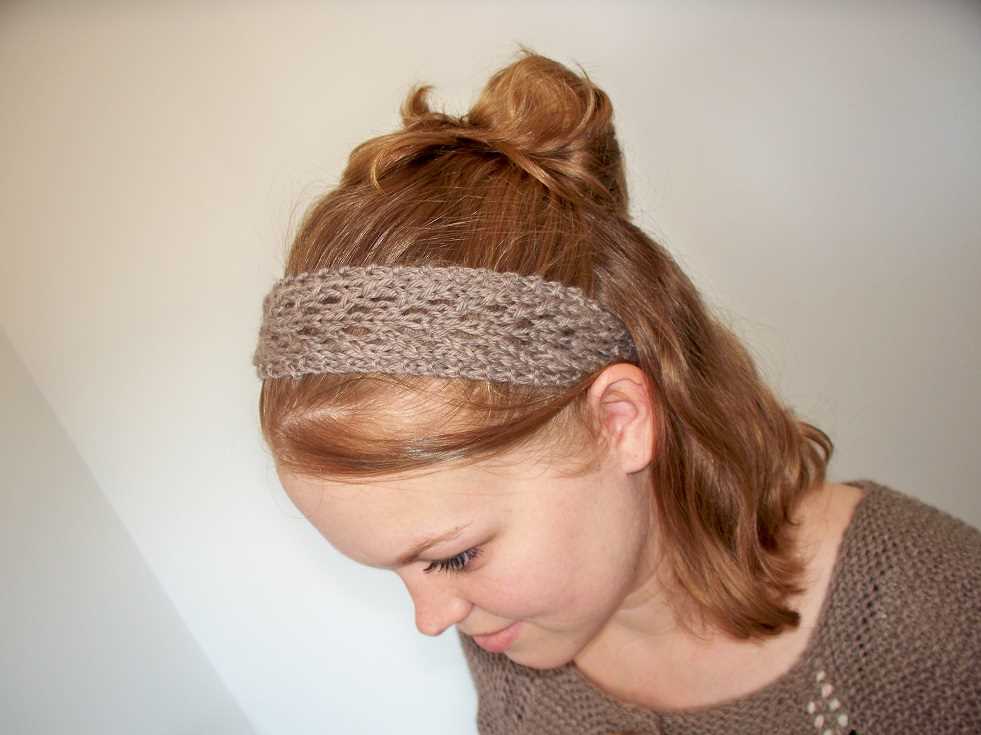
- Lace headband: Add a touch of elegance to your baby’s outfit with a delicate lace pattern.
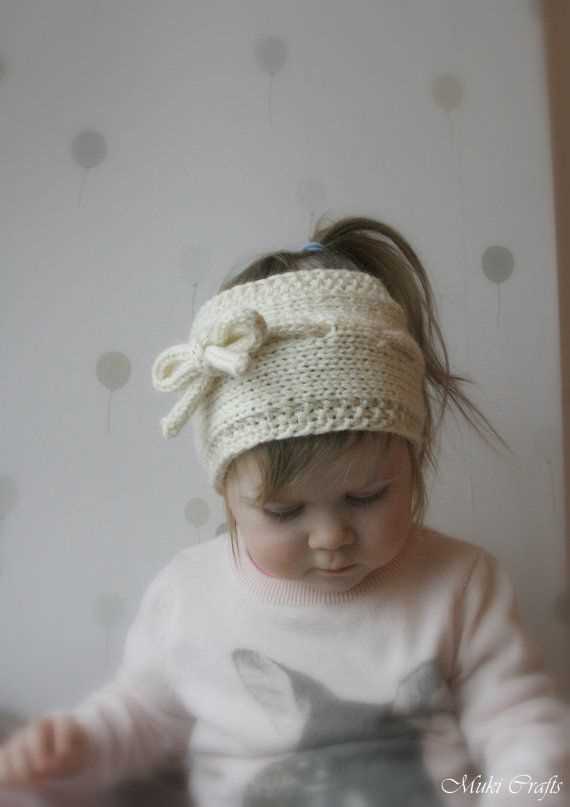
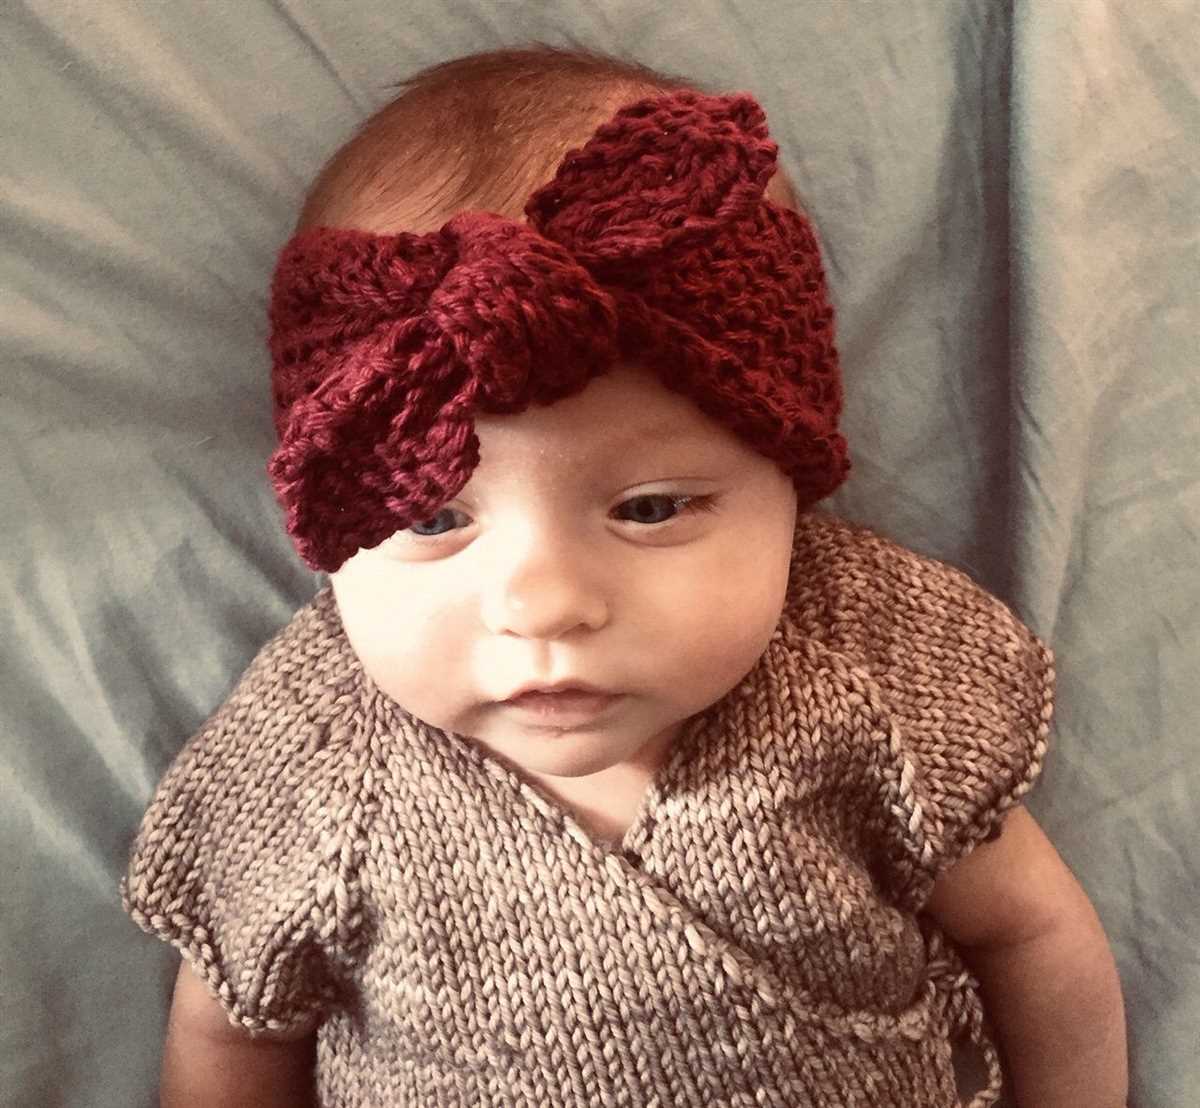
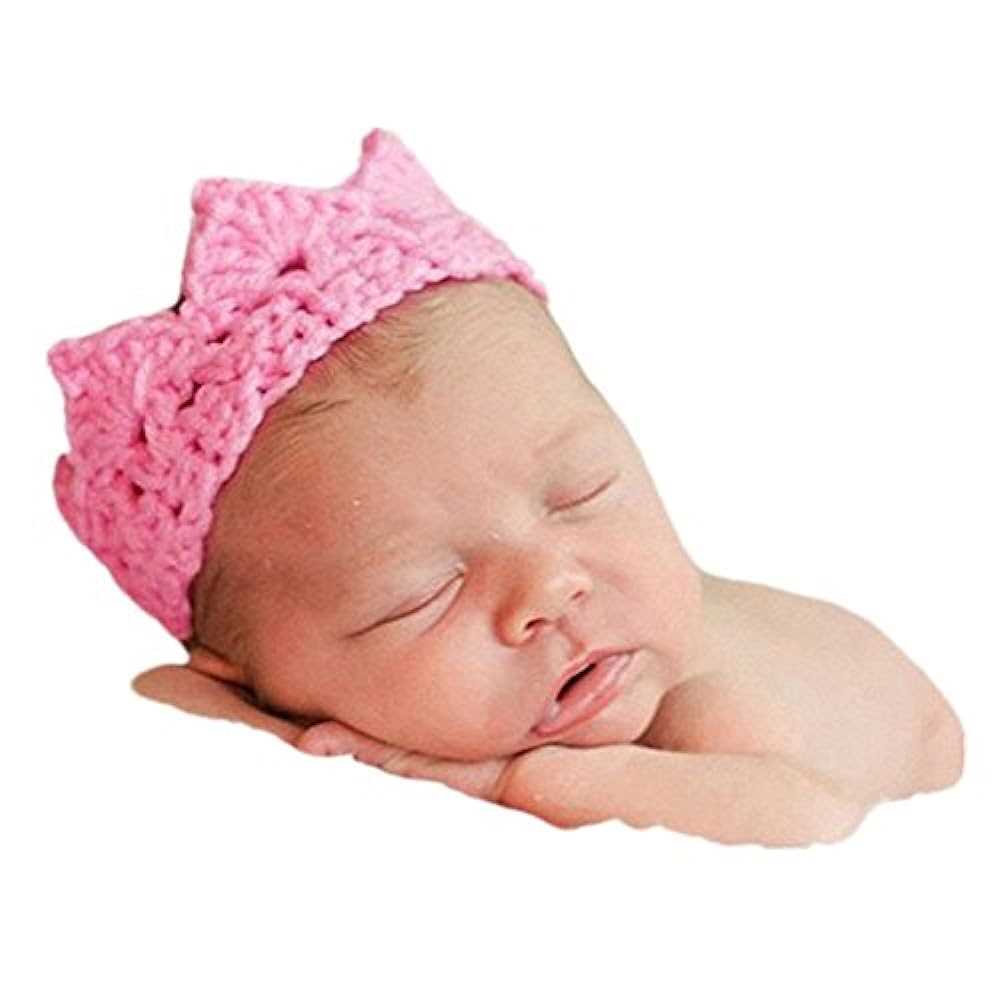
- Bow headband: This pattern includes a cute bow detail, perfect for adding a fun and girly touch.
- Cable headband: If you’re looking for a more intricate design, try a cable pattern to create a visually stunning headband.
No matter which pattern you choose, knitted headbands are a great way to keep your infant stylish and warm. Plus, with so many free patterns available, you can mix and match designs to create a collection of headbands for every outfit.
The Importance of Infant Headbands
Infant headbands are more than just a cute accessory for babies. They serve several important purposes in helping to care for and protect your little one.
1. Protection: Infant headbands provide a layer of protection for your baby’s delicate skin and hair. They can help to shield your baby’s head from the sun’s harmful rays, protecting them from sunburns and heatstroke. Additionally, headbands can also protect your baby’s scalp from irritants like dust and pollen, keeping them comfortable and healthy.
2. Style: Infant headbands are an adorable way to add a touch of style to your baby’s outfits. Whether you prefer a simple and classic design or something more colorful and eye-catching, there are countless options to choose from. Headbands can complement your baby’s clothes and help them stand out in photos and social gatherings.
3. Identification: In crowded places or during family gatherings, it can be hard to keep track of your baby. Infant headbands can help easily identify your little one, especially if you choose a distinctive or personalized design. This can give you peace of mind and make it easier for others to identify and keep an eye on your baby as well.
4. Prevents Hair Pulling: As babies grow and become more active, they may start pulling their hair or scratching their heads. Infant headbands can help prevent this behavior by keeping their hair in place and out of their reach. This can help reduce the risk of hair damage or injury to the scalp caused by pulling or scratching.
5. Warmth: Especially during colder seasons, infant headbands can provide an extra layer of warmth for your baby’s head. By covering their ears and forehead, headbands can help keep them cozy and comfortable even in chilly weather.
In conclusion, infant headbands are not just a fashion statement, but also an important accessory for your baby’s health, safety, and comfort. Make sure to choose headbands that are comfortable, made with soft materials, and fit securely on your baby’s head. With so many adorable options available, you can find the perfect headbands to keep your little one looking stylish while providing the necessary protection and care.
Advantages of Knitted Headbands
Knitted headbands are a popular accessory for infants and toddlers, and for good reason. These adorable and functional accessories offer a range of advantages that make them a must-have for parents and caregivers. From keeping little ears warm in cold weather to adding a touch of style to any outfit, here are some of the advantages of knitted headbands.
1. Warmth and Protection
One of the key advantages of knitted headbands is their ability to provide warmth and protection. These headbands are often made with soft and cozy yarns that help to keep little ones’ ears warm during chilly weather. They provide a layer of insulation that can help prevent heat loss and keep babies comfortable.
Furthermore, knitted headbands can also provide protection from the elements. They can help to shield delicate skin from the sun, wind, and cold, helping to prevent discomfort and potential health issues.
2. Style and Versatility
Knitted headbands come in a wide variety of colors, patterns, and styles, making them a versatile accessory for any outfit. Whether you’re searching for something bright and playful or something more subtle and elegant, there is a knitted headband pattern to suit your preferences.
These headbands can be easily customized to match different outfits, making them a practical accessory for everyday wear or special occasions. They can add a touch of style and personality to any ensemble, making little ones look even more adorable.
3. Comfort and Easy Maintenance
Knitted headbands are often made with soft and stretchy materials, ensuring a comfortable fit for infants and toddlers. The stretchy nature of the headbands allows for a snug fit without being too tight, ensuring that little ones can wear them for extended periods without discomfort.
Additionally, knitted headbands are easy to maintain. They can be machine washed or hand washed, depending on the yarn used, making them a practical and convenient accessory for busy parents. This ease of maintenance ensures that the headbands can be kept clean and in good condition, ready for each use.
- Warmth and protection from the elements
- Style and versatility with a wide range of options
- Comfort and easy maintenance for convenience
Choosing the Right Yarn for Infant Headbands
When it comes to knitting infant headbands, choosing the right yarn is crucial. Infants have delicate skin that is sensitive to rough textures and fibers, so it’s important to select soft and gentle yarns that won’t irritate their sensitive heads.
Consider the fiber content: Opt for yarns made from natural fibers such as cotton or bamboo, as they are hypoallergenic and breathable. These fibers are gentle on the skin and provide comfort and softness to the infant’s head.
Look for lightweight yarn: Infants have small heads, so it’s important to choose lightweight yarns that won’t weigh down on their delicate heads. Lighter weights such as fingering or sport yarns are ideal for creating comfortable and snug-fitting headbands that won’t slip off.
Pay attention to the texture: Avoid yarns with textured patterns or thick strands that may cause discomfort or irritation. Smooth and silky yarns are the best choice for creating headbands that feel soft against the infant’s skin.
Consider washability: Since infants tend to make messes and drool, it’s essential to choose yarns that are easy to clean. Look for machine washable yarns that can withstand frequent washing without losing their softness or shape.
Think about the season: Depending on the season, you may want to choose yarns that are suitable for warm or cool weather. Cotton or bamboo yarns are great for warmer months, while wool or acrylic yarns can provide added warmth during colder seasons.
Get creative with colors: Infant headbands are the perfect opportunity to incorporate fun and vibrant colors. Opt for yarns that come in a wide variety of hues, allowing you to create headbands that match any outfit or occasion.
By considering these factors and selecting the right yarn, you can ensure that the infant headbands you knit are not only stylish but also comfortable and safe for the little ones to wear.
Basic Knitting Techniques for Infant Headbands
When it comes to knitting infant headbands, there are a few basic techniques that you should be familiar with. These techniques will help you create beautiful and comfortable headbands for the little ones in your life.
1. Casting On:
The first step in knitting a headband is casting on. This is how you create the stitches that will form the base of the headband. There are several different methods for casting on, but the most common one is the long-tail cast on. To do this, you will need to leave a long tail of yarn before making your first stitch. This tail will be used to create the first row of stitches.
2. Knit and Purl Stitch:
The knit and purl stitch are the basic building blocks of knitting. The knit stitch creates a smooth and flat fabric, while the purl stitch has a bumpy texture. By combining these stitches in different patterns, you can create a variety of interesting and intricate designs for your infant headbands.
3. Increases and Decreases:
Increases and decreases are used to shape your knitting and create different sizes and styles of headbands. The most common increase is the knit front and back (KFB) increase, which adds a stitch to your work. Decreases, on the other hand, are used to remove stitches and shape your knitting. The most common decrease is the knit two together (K2tog) decrease, which combines two stitches into one.
4. Finishing:
Once you have finished knitting your headband, you will need to bind off or cast off your stitches to secure them in place. There are several different methods for binding off, but the most common one is the basic bind off. This involves knitting the first two stitches, then passing the first stitch over the second stitch and off the needle. Repeat this process until all stitches have been bound off.
With these basic knitting techniques, you will be able to create a variety of beautiful and comfortable headbands for infants. Whether you choose to follow a pattern or design your own, these techniques will provide a solid foundation for your knitting projects.
Popular Knitting Stitches for Infant Headbands
Infant headbands are a popular accessory for newborns and young babies. They not only keep their little heads warm, but they also add a cute and stylish touch to their outfits. Knitting your own headbands for infants is a great way to showcase your creativity and make personalized gifts for baby showers or birthdays.
When it comes to knitting stitches for infant headbands, there are several popular options to choose from. Here are a few knitting stitches that you can use to create adorable and comfortable headbands for babies:
- Garter Stitch: The garter stitch is a basic knitting stitch that creates a textured fabric with horizontal ridges. It is perfect for beginner knitters and adds a simple yet stylish look to the headbands.
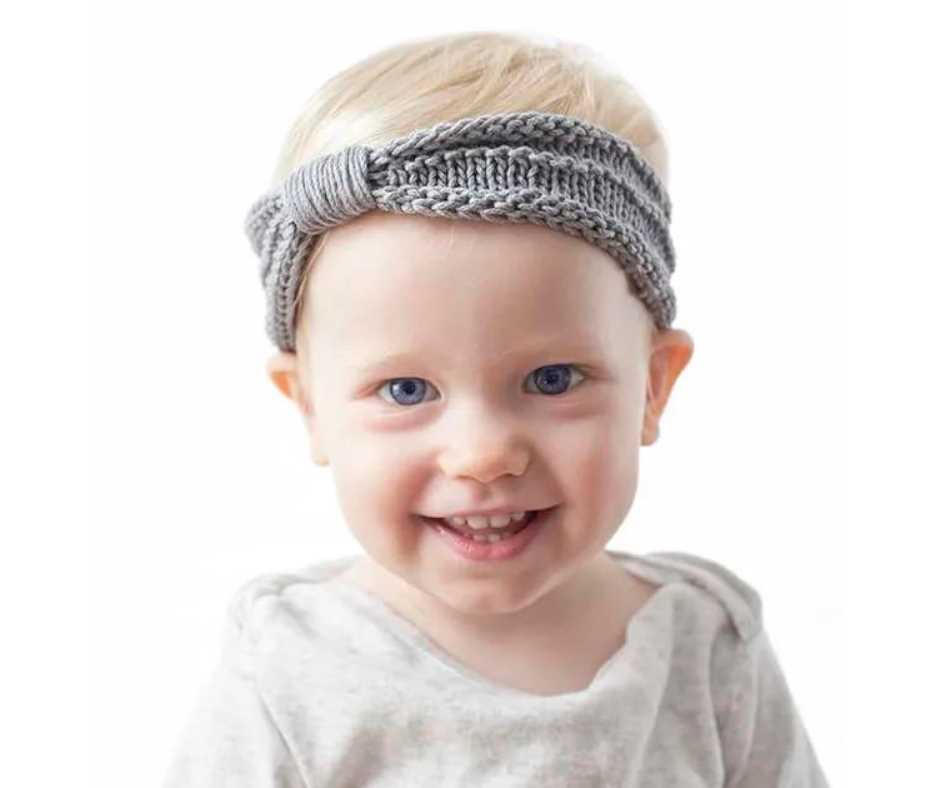
- Rib Stitch: The rib stitch is a popular choice for headbands as it creates a stretchy fabric that fits comfortably around the baby’s head. It is achieved by alternating knit and purl stitches in a specific pattern.
- Moss Stitch: The moss stitch is another textured stitch pattern that adds a beautiful texture to the headbands. It is created by alternating knit and purl stitches in a specific pattern, similar to the rib stitch.
- Seed Stitch: The seed stitch is a simple yet eye-catching stitch pattern that creates a bumpy texture. It is created by alternating knit and purl stitches across the row and then alternating them on the next row.
These are just a few examples of the popular knitting stitches that you can use for infant headbands. Experiment with different stitch patterns, yarn colors, and embellishments to create unique and personalized headbands for the little ones. Knitting headbands for infants is not only a fun and creative project but also a practical way to keep their delicate heads warm during the colder months.
How to Measure a Baby’s Head for a Perfect Fit
When knitting or crocheting a headband for an infant, it’s important to measure their head properly to ensure a perfect fit. A headband that is too tight can be uncomfortable for the baby, while a loose one may slip off easily. Here are some simple steps to measure a baby’s head:
- Gather the tools: To measure the baby’s head, you will need a flexible measuring tape or a string and a ruler.
- Position the baby: Make sure the baby is comfortably seated or lying down. It’s important that they stay still during the measurement.
- Start the measurement: Wrap the measuring tape around the baby’s head, just above the ears and eyebrows. If you’re using a string, gently mark the point where it overlaps and then measure the string with a ruler.
- Record the measurement: Note down the measurement in inches or centimeters. This will be the circumference of the baby’s head.
- Choose the right size: Use the recorded measurement to select the appropriate headband size. Many knitting or crocheting patterns indicate the head circumference for each size.
Remember to consider the stretchiness of the yarn and the desired fit when choosing the size. It’s better to err on the side of a slightly larger headband, as babies grow quickly and a snug fit may soon become too tight. By taking accurate measurements, you can ensure that the headband will fit comfortably and securely on the baby’s head.
Essential Knitting Tools for Infant Headbands
When it comes to knitting infant headbands, having the right tools is essential to ensure a successful and enjoyable knitting experience. Here are some of the key tools that every knitter should have:
1. Knitting Needles
Choose a pair of knitting needles that are suitable for the yarn weight you will be using. For infant headbands, it is recommended to use smaller-sized needles, such as US size 3 or 4 (3.25mm or 3.5mm). These smaller needles will result in a tighter, more snug fit for the headband.
2. Yarn
Select a soft and durable yarn that is appropriate for baby garments. Look for yarns that are labeled as “baby” or “infant” yarns, as these are typically made of gentle and hypoallergenic fibers. Choose yarns in a variety of colors to create beautiful and vibrant headbands.
3. Stitch Markers
Stitch markers are essential for keeping track of your stitches and marking important points in your pattern. Use stitch markers to indicate the beginning of each round or any pattern repeats. This will help you stay organized and prevent mistakes in your headband design.
4. Tapestry Needle
A tapestry needle is used for weaving in loose ends and completing your headband. Choose a needle with a large eye to accommodate the yarn thickness. This tool will give your headband a polished and finished look.
5. Measuring Tape or Ruler
To ensure proper sizing of your infant headbands, having a measuring tape or ruler is crucial. Measure the circumference of the baby’s head and use this measurement as a guide to adjust your knitting pattern accordingly. This will help you create headbands that fit comfortably and securely.
By equipping yourself with these essential knitting tools, you will be well-prepared to create adorable and comfortable infant headbands for your little ones or as thoughtful gifts for others. Happy knitting!
Knitting Tips and Tricks for Beginners
Learning to knit can be a fun and rewarding experience, but it can also be a little challenging for beginners. However, with a few tips and tricks, you can make the process easier and more enjoyable.
1. Start with the basics
When you first start knitting, it’s important to start with the basics. Begin with simple patterns and projects that use basic stitches like knit and purl. This will help you get comfortable with the fundamentals before moving on to more complex techniques.
2. Use the right needles and yarn
Choosing the right needles and yarn can make a big difference in your knitting experience. For beginners, it’s best to use medium-sized needles (around US size 8) and a medium-weight yarn. This will make it easier to see your stitches and work with the yarn.
3. Practice tension control
One of the most important skills to master in knitting is tension control. Tension refers to the tightness or looseness of your stitches. Practice knitting with consistent tension, neither too tight nor too loose, to ensure your finished project looks smooth and professional.
4. Keep track of your progress
It’s easy to lose track of where you are in a pattern, especially as a beginner. Use stitch markers or a row counter to help you keep track of your progress. This will make it easier to follow the pattern and prevent any mistakes.
5. Don’t be afraid to make mistakes
Everyone makes mistakes when they first start knitting, so don’t be afraid to make them. Mistakes are a part of the learning process and can help you improve your skills. If you make a mistake, don’t be afraid to unravel your stitches and try again.
- Start with the basics
- Use the right needles and yarn
- Practice tension control
- Keep track of your progress
- Don’t be afraid to make mistakes
10 Free Knitted Headband Patterns for Infants
If you love knitting and want to make adorable accessories for your little ones, then you’ll enjoy these 10 free knitted headband patterns for infants. Whether you’re a beginner or an experienced knitter, these patterns offer a range of styles and difficulty levels.
1. Simple Garter Stitch Headband: This pattern is perfect for beginners. The garter stitch creates a textured design, and the wide band ensures a comfortable fit for your baby.
2. Ribbed Headband: The ribbed design adds a touch of elegance to any outfit. This pattern is great for intermediate knitters looking to try something new.
3. Bow Headband: If you want to add a cute and girly touch to your baby’s look, this pattern is for you. The bow detail adds a charming element to the headband.
4. Cable Knit Headband: This pattern is perfect for advanced knitters who want to showcase their skills. The cable knit design creates a classic and timeless look.
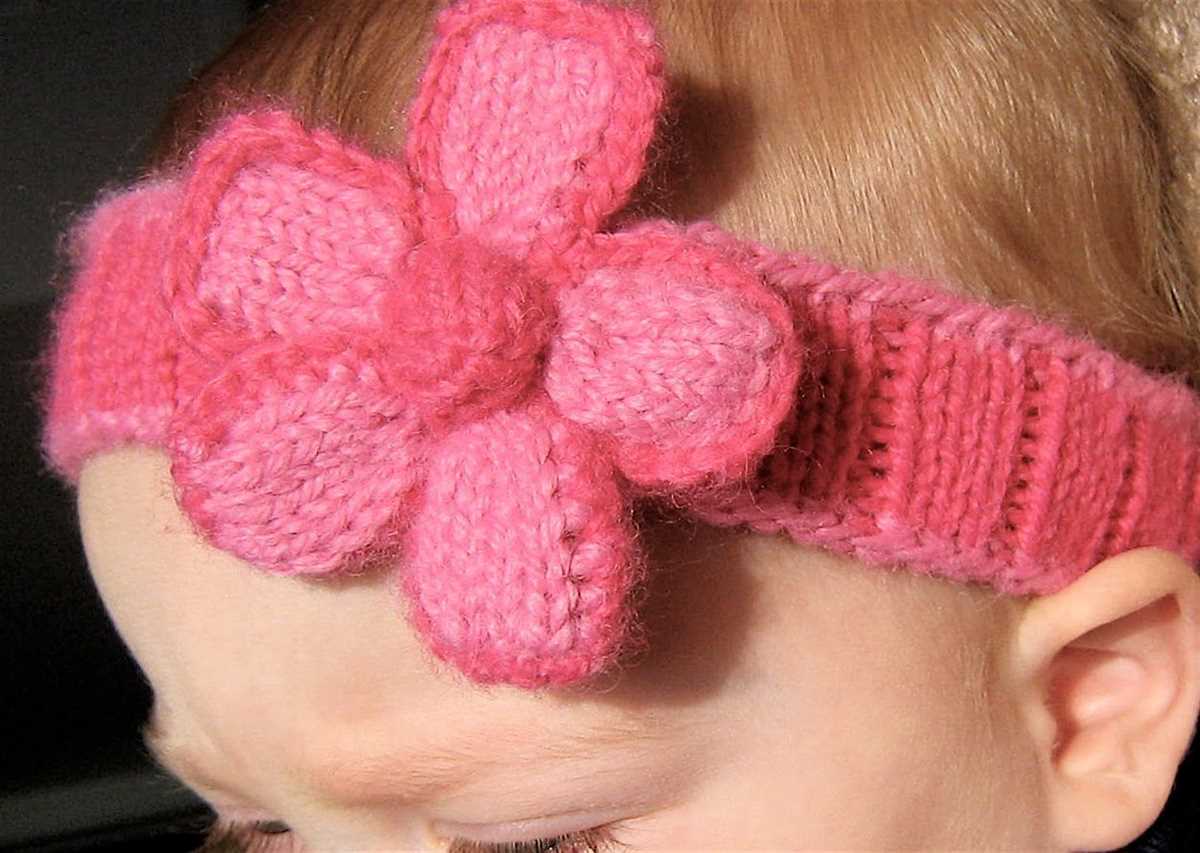
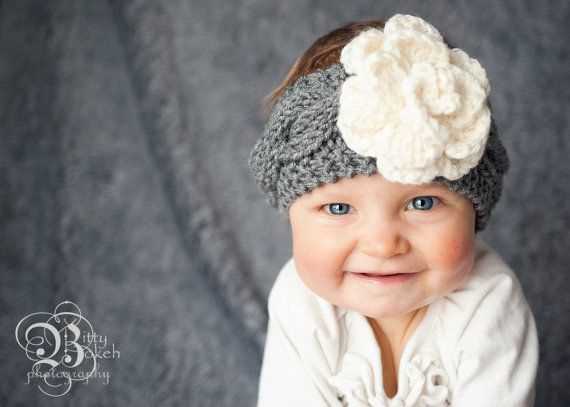
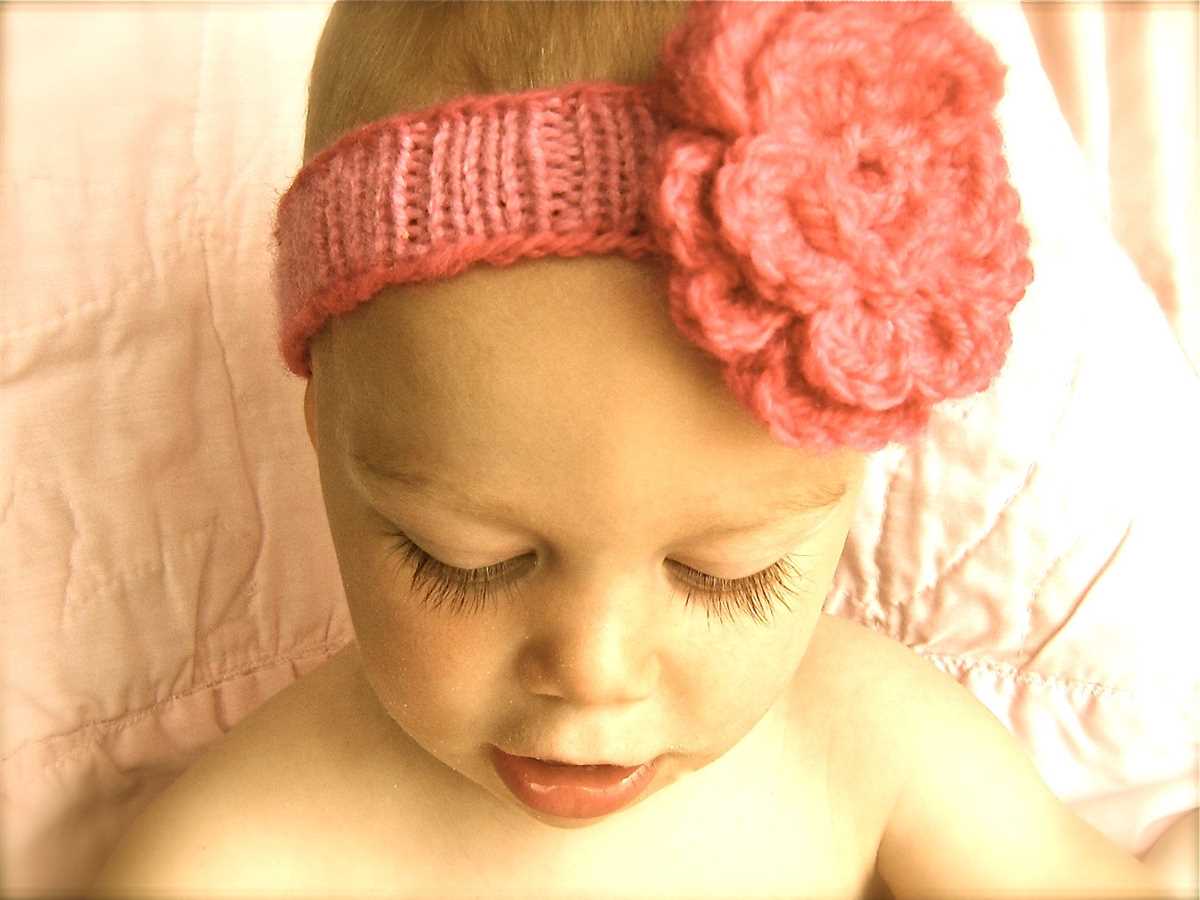
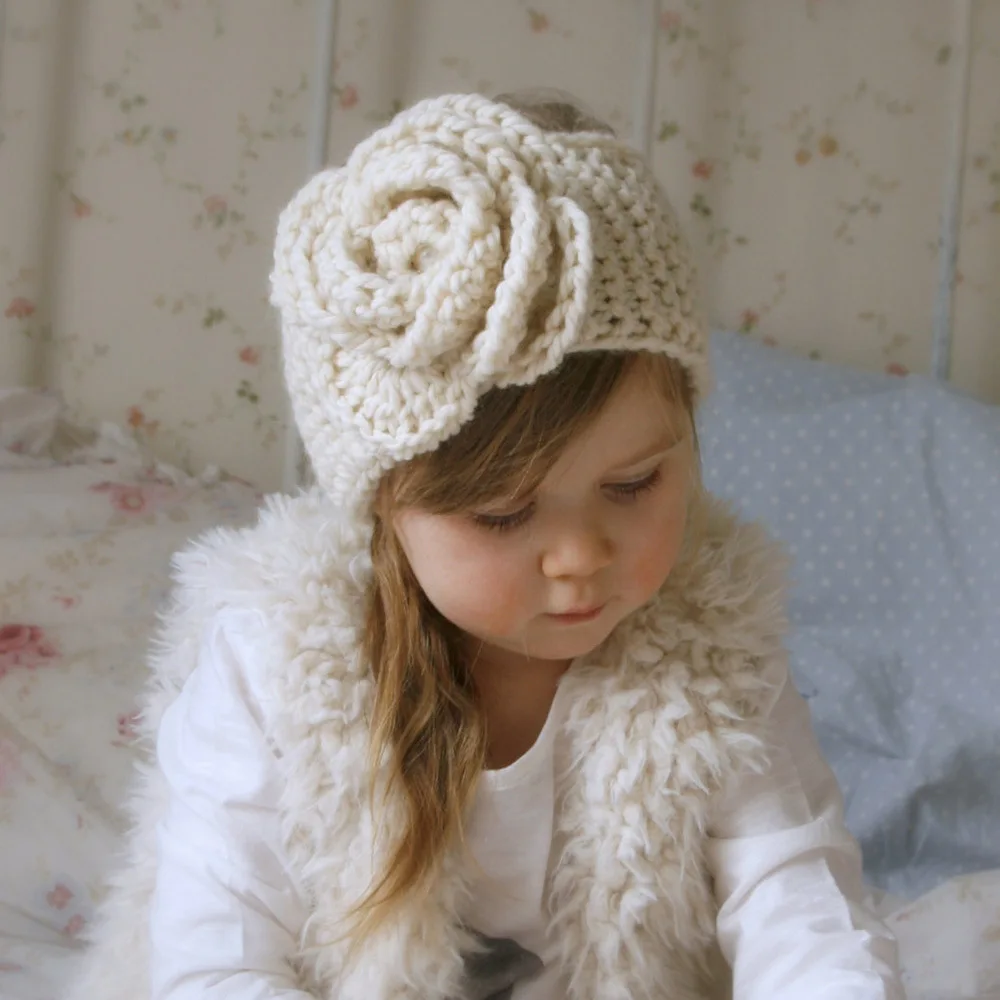
5. Flower Headband: Add a touch of spring to your baby’s outfit with this floral headband pattern. The flower detail adds a pop of color and charm.
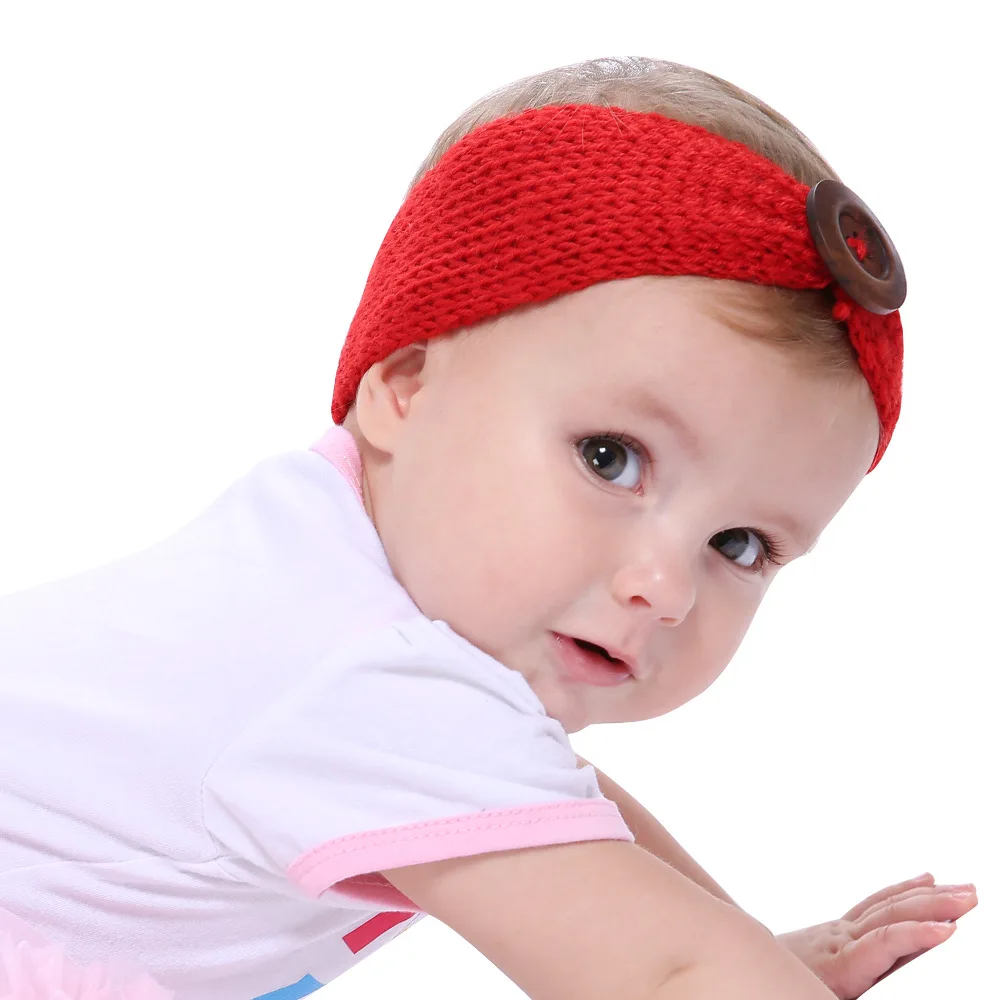
6. Buttoned Headband: This pattern is both stylish and functional. The button closure allows for an adjustable fit, ensuring comfort for your baby.
7. Striped Headband: If you’re looking to add some fun and color to your baby’s wardrobe, this pattern is perfect. The striped design adds a playful and vibrant touch.
8. Lace Headband: This delicate lace headband pattern is perfect for special occasions. The intricate design adds a touch of elegance to any outfit.
9. Pom Pom Headband: Add a fun and whimsical touch to your baby’s look with this pom pom headband pattern. The fluffy pom poms add a playful element.
10. Fair Isle Headband: For knitters who love intricate patterns and colorwork, this Fair Isle headband pattern is a great choice. The traditional design adds a cozy and festive touch.
These 10 free knitted headband patterns for infants are a great way to add a personal touch to your baby’s outfits while practicing your knitting skills. Whether you prefer simple designs or more intricate patterns, there’s something for everyone in this collection. So grab your needles and start knitting adorable headbands for your little ones!
Adding Embellishments to Infant Headbands
Infant headbands are a popular accessory for little girls, and adding embellishments can give them a unique and personalized touch. There are various ways to embellish an infant headband, allowing you to get creative and make something truly special.
Ribbon bows: One of the simplest ways to add embellishments to an infant headband is by attaching ribbon bows. You can choose different colors and patterns of ribbon to match the headband or complement the baby’s outfit. Simply tie the ribbon into a bow and secure it onto the headband using glue or thread.
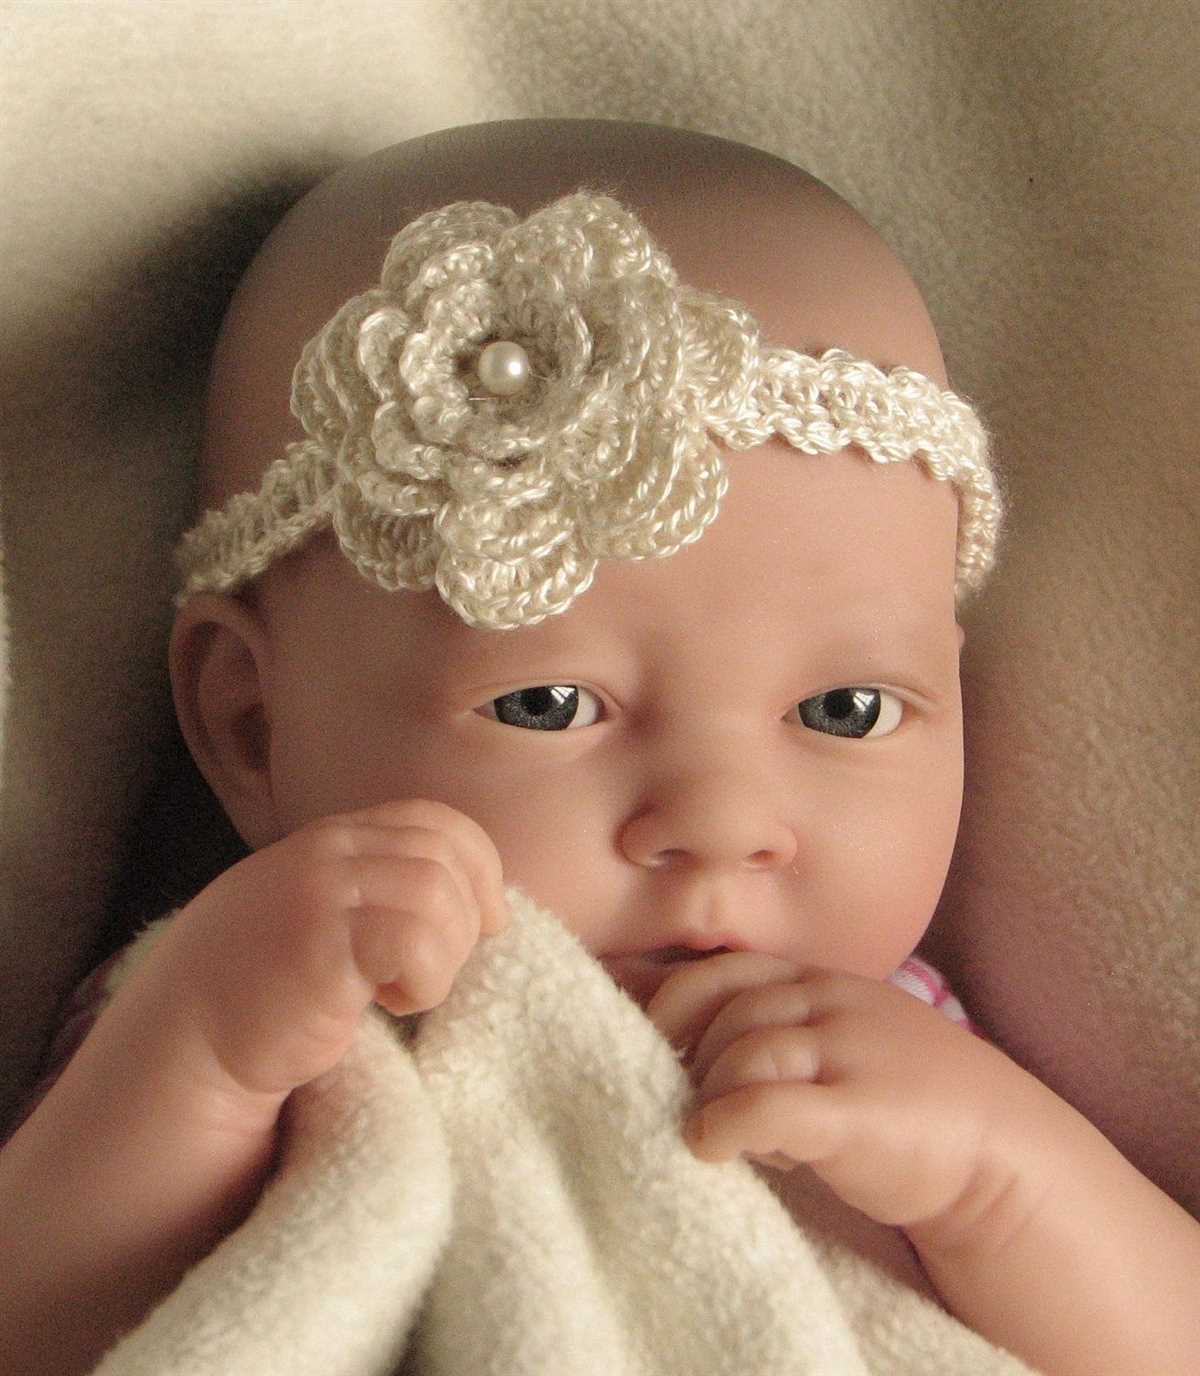
Flowers: Another popular embellishment for infant headbands is flowers. You can use fabric flowers or crochet/knit flowers to add a feminine and adorable touch. Attach the flowers using glue or sew them onto the headband. You can also add a small button or bead in the center of the flower for extra detail.
Feathers: For a whimsical and bohemian look, feathers can be a great embellishment for infant headbands. Choose small and soft feathers and attach them to the headband using glue or thread. Feathers can add a touch of texture and elegance to the headband.
Rhinestones or pearls: For a more glamorous and fancy look, you can add rhinestones or pearls to the infant headband. Use glue or thread to attach these sparkling embellishments onto the headband. They can instantly elevate the headband and make it perfect for special occasions or photoshoots.
Customized appliques: If you have basic sewing skills, you can create or purchase small appliques and attach them to the infant headband. These can be in the shape of animals, letters, or any other design that you prefer. Appliques can be sewn or glued onto the headband, and they can add a fun and personalized touch.
There are endless possibilities for embellishing infant headbands. Get creative and have fun experimenting with different materials, colors, and designs. Adding embellishments can turn a simple headband into a unique and stylish accessory for your little one. Just make sure to use child-safe materials and secure the embellishments properly onto the headband.
Caring for Knitted Infant Headbands
Now that you have your beautiful knitted infant headbands, it’s important to know how to care for them properly to ensure they last a long time and continue to look great. Follow these tips to keep your little one’s headbands in top condition:
- Hand wash: Knitted items are delicate and can easily be damaged in a washing machine. It’s best to hand wash the headbands using mild detergent and lukewarm water.
- Gently squeeze: After washing, gently squeeze out any excess water from the headbands. Avoid wringing or twisting the fabric, as this can stretch or distort the shape.
- Reshape: While the headbands are still damp, reshape them to their original size and form. This will help them retain their shape as they dry.
- Air dry: Lay the headbands flat on a towel or drying rack and allow them to air dry completely. Avoid exposing them to direct sunlight or heat sources, as this can cause fading or shrinking.
- Store properly: When not in use, store the headbands in a cool, dry place away from direct sunlight. You can also keep them in a cloth bag or a sealed container to protect them from dust and moths.
By following these care instructions, you can keep your knitted infant headbands looking beautiful and ensure they last for future use. Don’t forget to check the care label on your specific headband for any additional instructions or considerations. With proper care, these headbands will continue to be a stylish and adorable accessory for your little one!