
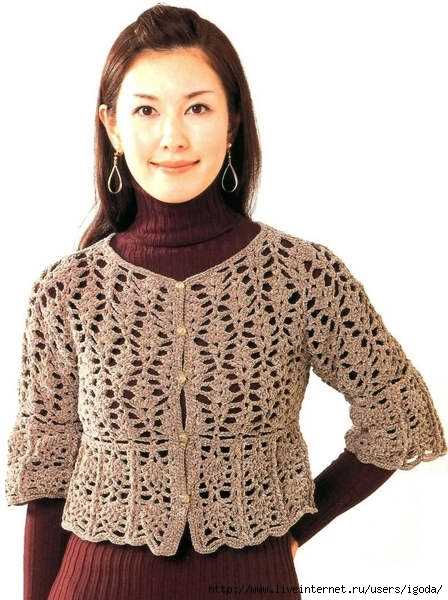
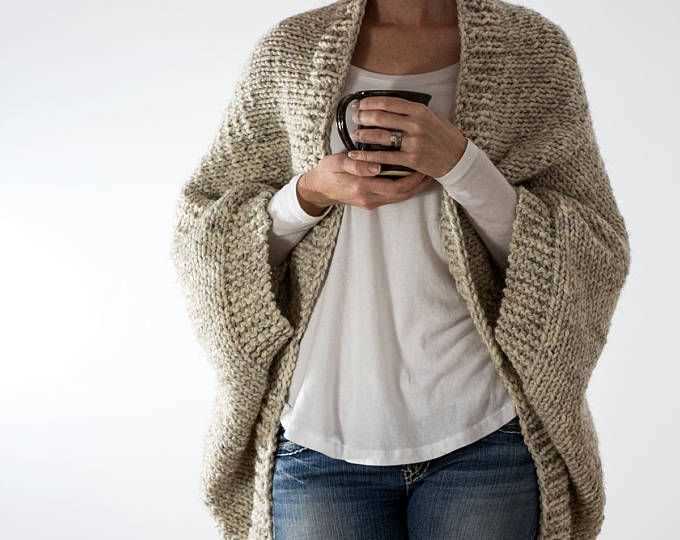
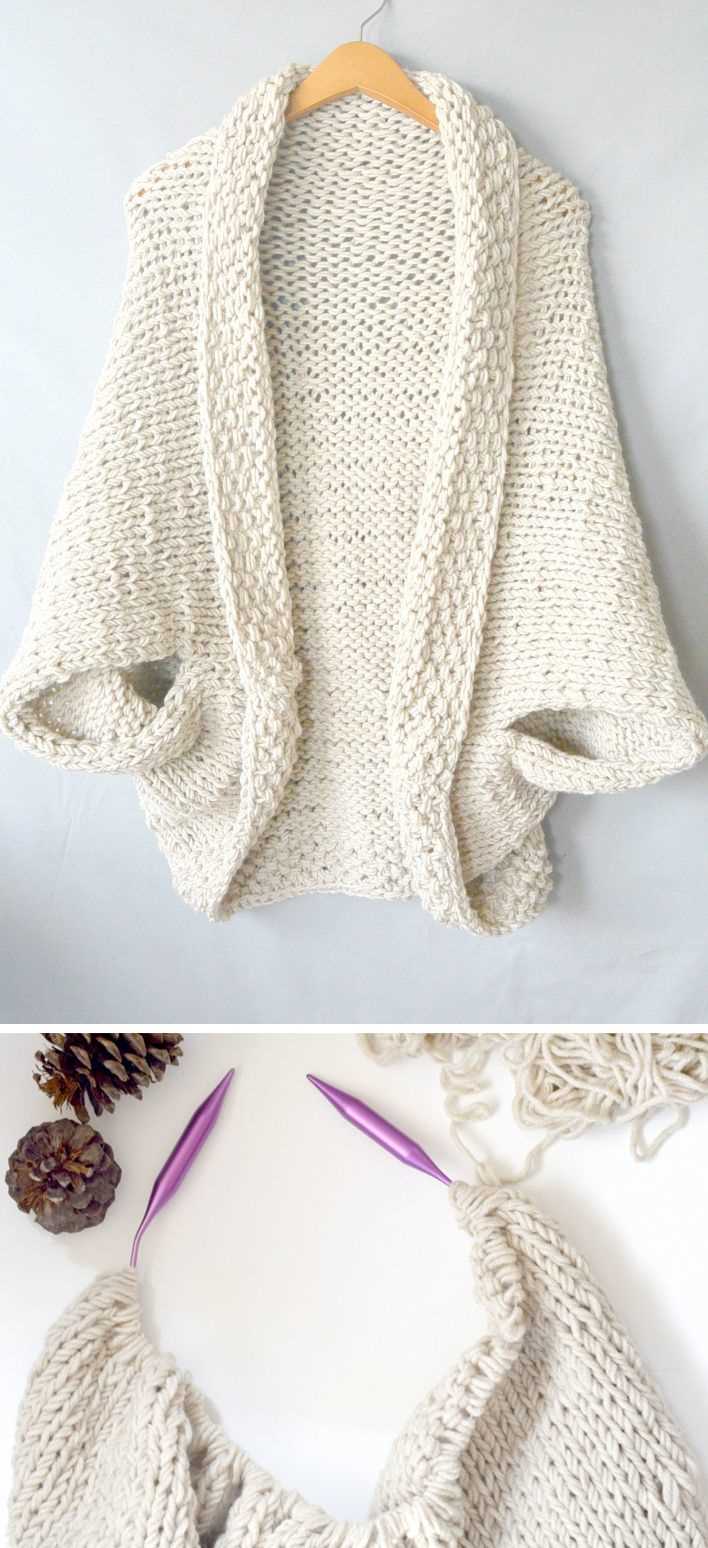
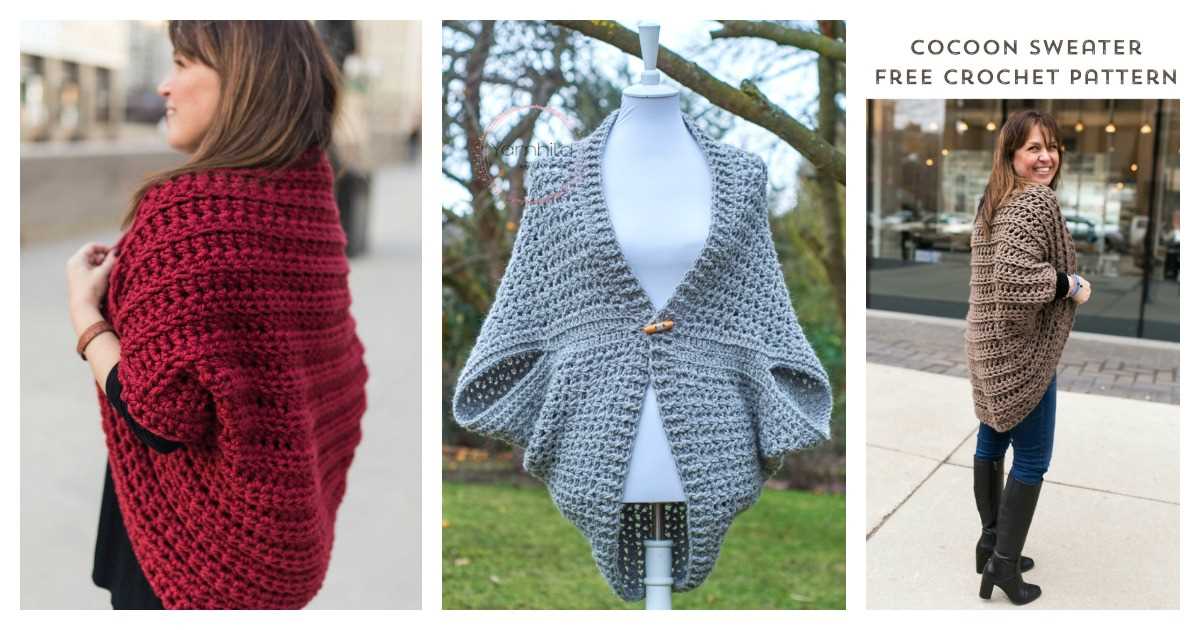
If you enjoy knitting, you’ve probably seen shrugs before. These stylish and versatile garments are great for adding a touch of warmth and sophistication to any outfit. Whether you want to knit a shrug for yourself or as a gift for a loved one, this free pattern will guide you through the process step by step.
Knitting a shrug may seem intimidating at first, but with the right pattern and some basic knitting skills, it’s actually quite simple. This free pattern will walk you through each stitch, ensuring that even beginner knitters can create a beautiful shrug.
With this free pattern, you’ll be able to customize your shrug to fit your personal style. Choose from a variety of yarns and colors to create a shrug that is uniquely yours. Whether you prefer a classic, neutral color or a bold, vibrant hue, the possibilities are endless.
So, gather your knitting needles and get ready to create a cozy and stylish shrug. This free pattern will be your guide as you knit your way to a fashionable and functional wardrobe staple. Don’t wait any longer – start knitting your very own shrug today!
How to Knit a Shrug Free Pattern
Knitting a shrug can be a fun and rewarding project for knitters of all skill levels. Whether you’re a beginner or an experienced knitter, a shrug can add a stylish touch to your wardrobe. If you’re looking for a free pattern, here are some steps to get you started.
1. Gather Your Materials
Before you begin knitting, make sure you have all the necessary materials. This includes your choice of yarn, knitting needles, and any additional tools or accessories you may need. It’s important to choose a yarn that is suitable for the pattern and that you enjoy working with.
2. Find a Free Pattern
There are many websites and resources available online where you can find free shrug knitting patterns. Take some time to browse through different options and choose a pattern that matches your skill level and desired style. Make sure to read through the pattern carefully and familiarize yourself with any techniques or stitches you may need to know.
3. Start Knitting
Once you have your materials and pattern ready, it’s time to start knitting! Follow the instructions provided in the pattern, taking care to knit each stitch correctly. If you come across any unfamiliar terms or techniques, don’t hesitate to look up tutorials or ask for help from other knitters.
4. Adjust and Customize
As you knit, you may find that you want to adjust the size or customize certain aspects of the shrug. This is where your knitting skills and creativity can shine! Feel free to make modifications to the pattern to suit your preferences and ensure the shrug fits you perfectly.
5. Finish and Block
Once you have finished knitting the shrug, it’s time to finish off any loose ends and give it a final touch. Depending on the yarn and pattern, you may want to block your shrug to give it a polished and professional look. Blocking involves wetting the knitted piece, shaping it, and letting it dry flat. This step can help even out stitches and improve the drape of the fabric.
With these steps, you can create your own beautiful shrug using a free pattern. Enjoy the process of knitting and the satisfaction of wearing your handmade creation!
Choosing the Right Yarn and Needles

When it comes to knitting a shrug, choosing the right yarn and needles is crucial to achieving the desired results. The yarn and needles you choose will determine the size, drape, and overall look of your shrug.
Yarn: When selecting yarn for a shrug, consider the weight and fiber content. The weight of the yarn will affect the warmth and drape of the finished garment. A lightweight yarn like fingering or lace weight will create a delicate and airy shrug, while a heavier yarn like worsted or bulky weight will result in a thicker and warmer shrug. The fiber content of the yarn will also impact the feel and look of the shrug. Natural fibers like wool, alpaca, or cotton can provide warmth and breathability, while synthetic fibers like acrylic or nylon can offer durability and easy care.
Needles: The size of the needles you choose will depend on the yarn weight and the desired fabric density. Thicker yarns will require larger needles, while thinner yarns will need smaller needles. If you want a looser and drapier fabric, opt for larger needles, and for a denser and tighter fabric, choose smaller needles. Circular needles are often used for shrugs as they can accommodate the large number of stitches required and allow for easy knitting in the round.
It’s important to keep in mind that the yarn and needle choices can significantly affect the final outcome of your shrug. Experimenting with different combinations can help you achieve the desired texture, drape, and fit for your handmade shrug.
How to Knit a Shrug Free Pattern: Gauge Swatch
Before you begin knitting your shrug using a free pattern, it is important to create a gauge swatch. A gauge swatch is a small piece of knitting that allows you to determine the number of stitches and rows you need to achieve a specific measurement. By creating a gauge swatch, you can ensure that your finished shrug will be the right size and fit perfectly.
To create a gauge swatch, you will need to use the same yarn and needles that are recommended in the free pattern. This is crucial because different yarns and needles can produce different gauge results. Start by casting on the number of stitches specified in the pattern and knit a few rows in the specified stitch pattern.
Next, measure the gauge of your swatch. Use a ruler or a gauge tool to count the number of stitches and rows in a 1-inch square. Compare this measurement to the gauge specified in the pattern. If your gauge is too large, try using smaller needles. If your gauge is too small, try using larger needles. Keep adjusting your needle size and knitting new gauge swatches until you achieve the correct gauge.
Remember to block your gauge swatch before measuring it, as blocking can affect the final measurements. Once you have confirmed your gauge, you can confidently start knitting your shrug using the free pattern, knowing that it will turn out just right.
Creating a Slip Stitch Edge
When knitting a shrug, it’s important to create a clean and finished edge. One way to achieve this is by using a slip stitch edge. This technique adds a neat and professional touch to your knitting project.
To create a slip stitch edge, you will need a pair of knitting needles and your chosen yarn. Start by casting on the desired number of stitches for your shrug pattern.
Once you have cast on your stitches, it’s time to begin the slip stitch edge. On the right side of your work, slip the first stitch purlwise from the left needle to the right needle without knitting it. This creates a smooth and neat edge.
Continue knitting the rest of your row as instructed in your shrug pattern. At the end of the row, knit the last stitch as usual.
When you turn your work to begin the next row, make sure to slip the first stitch again to maintain the slip stitch edge. Repeat this process for every row of your shrug project.
By incorporating a slip stitch edge into your knitting, you can achieve a professional-looking finish for your shrug. This technique is especially useful when working with delicate yarns or when you want to add a polished touch to your project.
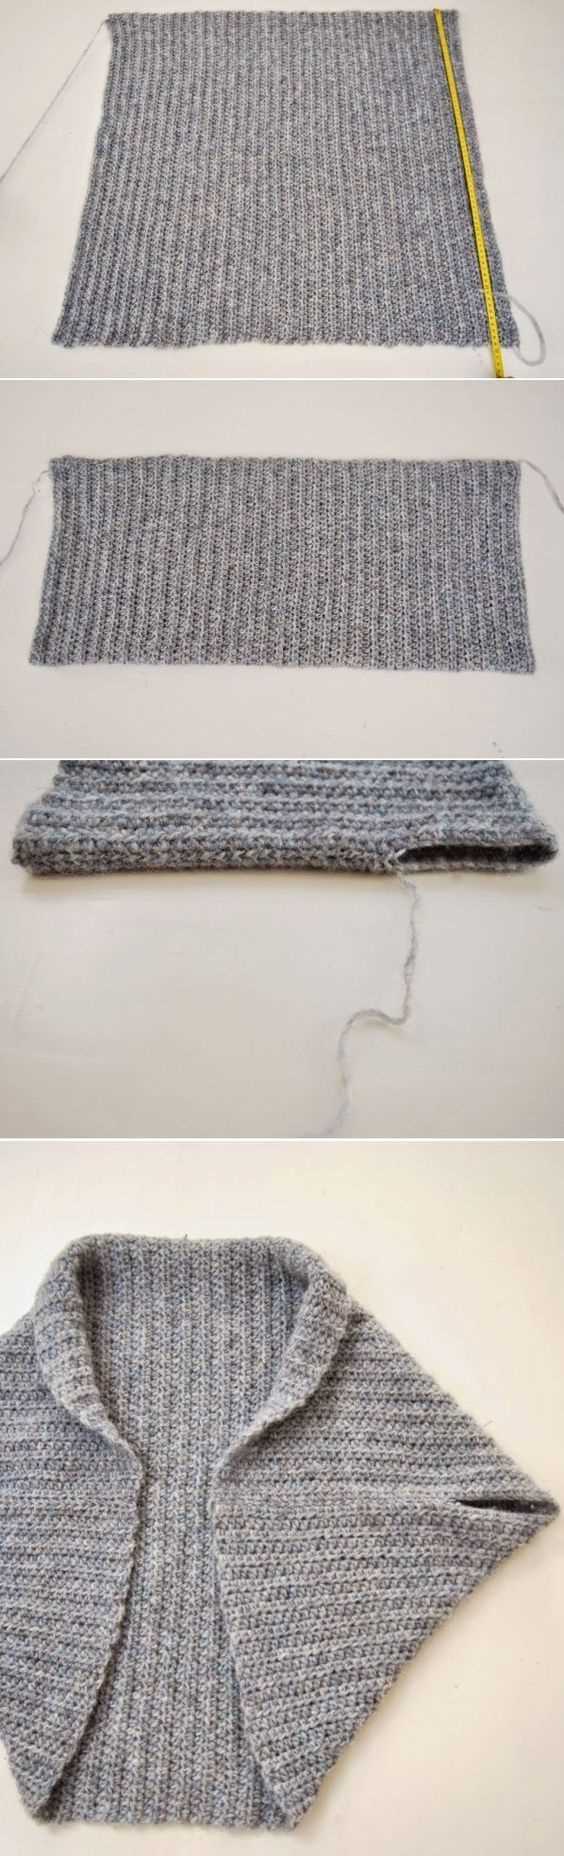
Knitting the Back Panel
Once you have the required materials, you can start knitting the back panel of the shrug. This is the main section of the shrug and will determine the width and length of the garment.
To begin, you will cast on the desired number of stitches using the long-tail cast-on method. Make sure to leave a long enough tail so that you can weave in the ends later.
Next, you will knit the first row using the knit stitch. This will create the foundation for the back panel. Repeat this row until you reach the desired length for the back panel, as specified in the pattern.
Once you have reached the desired length, you can start shaping the back panel. This is done by decreasing a certain number of stitches on each side of the panel. To do this, you will use the knit two together (k2tog) decrease method. Repeat this decrease row every few rows, as specified in the pattern, until you have reached the desired width for the back panel.
After shaping the back panel, you will continue knitting in the established pattern until the back panel measures the required length. Once you have reached this length, you can bind off all the stitches using the traditional bind-off method. Make sure to weave in any remaining ends to finish the back panel of the shrug.
With the back panel complete, you can now move on to knitting the front panels and sleeves of the shrug to complete your project.
Back Panel Knitting Steps:
- Cast on the desired number of stitches using the long-tail cast-on method.
- Knit the first row using the knit stitch.
- Repeat the knit row until the back panel reaches the desired length.
- Begin shaping the back panel by decreasing stitches on each side using the k2tog decrease method. Repeat this decrease row every few rows until the desired width is reached.
- Continue knitting in the established pattern until the back panel measures the required length.
- Bind off all stitches using the traditional bind-off method.
- Weave in any remaining ends.
Knitting the Front Panels
Once you have finished knitting the back panel of the shrug, it’s time to move on to the front panels. To begin, you will need to pick up stitches along the sides of the back panel. This can be done by inserting your knitting needle into the edge of the fabric and pulling a loop of yarn through, continuing along the edge until you have the desired number of stitches for the front panel.
Next, you will need to knit the front panels separately. To do this, you will need to work the stitches in a pattern that matches the back panel. This can be achieved by following the instructions provided in the pattern, which may include specific stitches or stitch combinations.
It’s important to pay attention to the pattern and ensure that you are knitting the front panels correctly. This may involve increasing or decreasing stitches, as well as changing stitch patterns or using different yarn colors. Following the instructions carefully will ensure that the front panels match the back panel and create a cohesive look for the shrug.
Joining the Front and Back Panels
Once you have completed knitting both the front and back panels of your shrug, it is time to join them together. This step is essential to create the desired shape and structure of the shrug.
To join the front and back panels, lay them flat on a table or any other suitable surface with the right sides facing each other. Align the bottom edges of the panels and pin them together to keep them in place.
Using a tapestry needle and the same yarn you used for knitting the panels, carefully sew the bottom edges together using a whip stitch or any other preferred sewing technique. Make sure to sew through both the front and back panels evenly to create a neat and secure seam.
After sewing the bottom edges, you can proceed to sew the side edges to create the armholes. Start from the bottom and sew up to the desired length for the armhole, leaving enough space for the arms to comfortably fit through. Again, use a whip stitch or your preferred sewing technique to securely attach the front and back panels.
Once the side edges are sewn, trim any excess yarn and thread. Inspect the seams to ensure they are securely sewn and there are no loose stitches. You can also lightly steam block the seams to give them a polished and finished look.
With the front and back panels joined together, your shrug is almost complete. Now you can proceed to add any desired finishing touches such as ribbing or edging to complete the look of your knitted shrug.
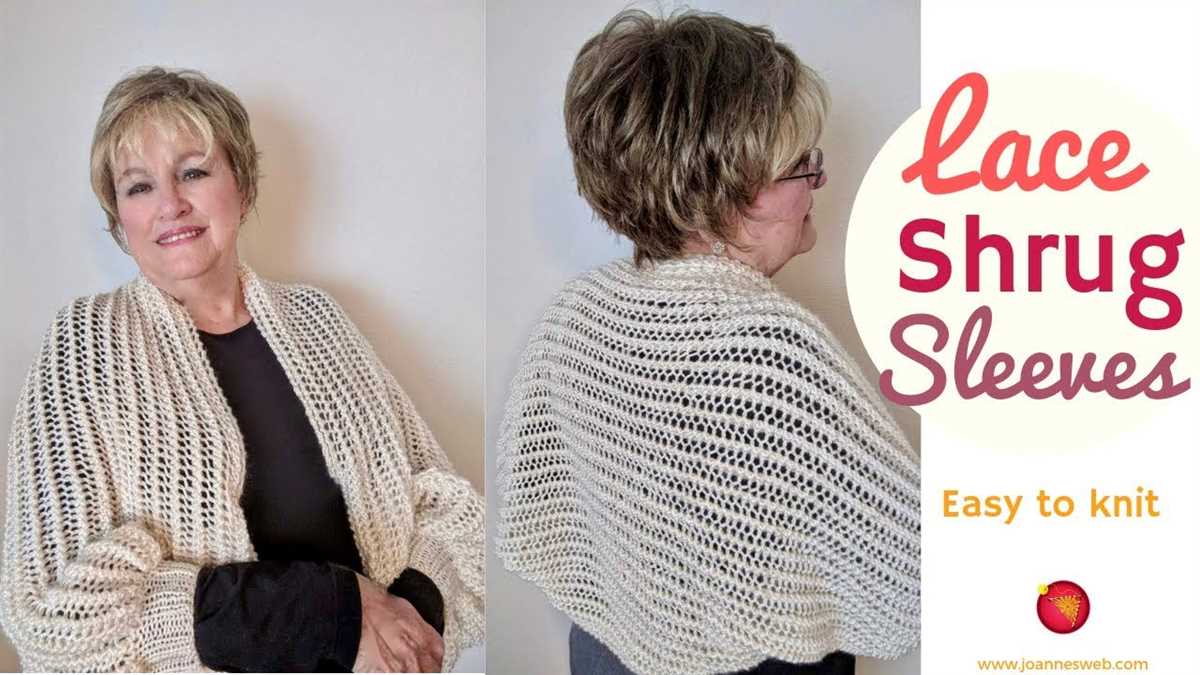
Knitting the Sleeves
Once you have completed knitting the body of the shrug, it’s time to move on to the sleeves. The sleeves are knit separately and then attached to the body of the shrug. Here’s how to knit the sleeves:
1. Cast on the required number of stitches: The pattern will specify how many stitches to cast on for each sleeve. Make sure to cast on the correct number of stitches to achieve the desired size.
2. Work the sleeve pattern: Follow the instructions in the pattern to knit the sleeve. This may involve working various stitch patterns, increases or decreases, and shaping the sleeve to create the desired fit.
3. Shape the sleeve: As you knit the sleeve, the pattern may instruct you to shape the sleeve by increasing or decreasing stitches at certain intervals. Pay close attention to these instructions to achieve the correct shape and fit.
4. Bind off: Once you have completed the required number of rows or stitches for the sleeve, you will need to bind off. Follow the pattern’s instructions for binding off the stitches.
5. Repeat for the second sleeve: After you have completed the first sleeve, repeat steps 1-4 for the second sleeve. It’s important to ensure that both sleeves are knitted to the same measurements and shape to achieve a balanced look.
6. Attach the sleeves to the body: Once you have completed both sleeves, it’s time to attach them to the body of the shrug. This may involve seaming the sleeves to the armholes or picking up stitches along the armhole edge and knitting the sleeves directly onto the body. Follow the pattern’s instructions for attaching the sleeves.
7. Finish off: After attaching the sleeves, you may need to weave in any loose ends and block the shrug to ensure a professional finish. Follow the pattern’s instructions for finishing off the shrug.
Seaming the Sleeves
When it comes to knitting a shrug, one of the most important steps is seaming the sleeves. This step is crucial for achieving a professional and polished finish. Here are some tips for successfully seaming the sleeves of your knitted shrug:
1. Prepare the Sleeves
Before you start seaming, make sure that both sleeves are completed and blocked. Blocking the sleeves will help to even out the stitches and make seaming easier. Lay the sleeves flat on a clean surface and align them so that the top edges are even.
2. Choose the Right Method
There are several methods that you can use to seam the sleeves of your shrug, including mattress stitch and whip stitch. Choose a method that you are comfortable with and that will create a sturdy and invisible seam. Whichever method you choose, be sure to work slowly and carefully to ensure neat and even stitching.
3. Start Seaming
Begin seaming at the bottom edge of the sleeve, aligning the edges of the sleeves together. Use a tapestry needle and matching yarn to stitch the pieces together. Take small, even stitches, being careful to catch only a few strands of yarn from each side, to create an invisible join.
Continue seaming along the side of the sleeves, working your way up towards the top. It can be helpful to attach stitch markers along the way to ensure that the pieces are aligned correctly. Make sure to keep your tension consistent and check your work frequently to ensure that the seam is straight and even.
4. Finishing the Sleeve Seams
Once you have reached the top of the sleeve, secure the yarn and weave in any loose ends. Repeat the seaming process for the other sleeve. Once both sleeves are seamed, you can move on to seaming the body of the shrug. With careful stitching and attention to detail, your knitted shrug will start to take shape!
Adding Ribbing or Edging
Adding ribbing or edging to your knitted shrug is a great way to give it a finished look and add some extra detailing. There are several different methods you can use to add ribbing or edging, depending on your preference and the design of your shrug.
Ribbing: One popular method for adding ribbing to a shrug is to work it as a separate piece and then sew it onto the edges. To do this, you will first need to measure the length of the edges where you want to add the ribbing. Using a needle or crochet hook, pick up stitches along the edge and work them in a ribbing pattern of your choice. Once the ribbing is long enough, bind off and sew it onto the edges of the shrug.
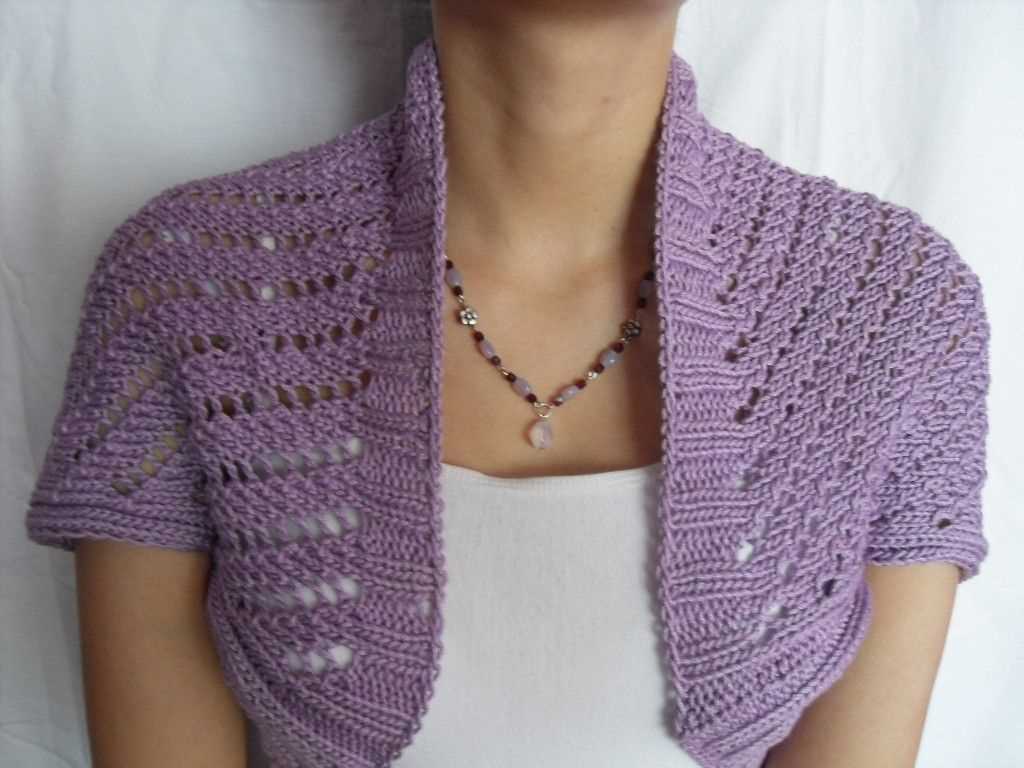
Seed Stitch Edging: Another option for adding edging to your shrug is to work a seed stitch pattern. To do this, you will again need to pick up stitches along the edge of the shrug. Once you have picked up the stitches, work them in a seed stitch pattern, alternating between knit and purl stitches. This will create a textured, bumpy edging that adds interest to the shrug.
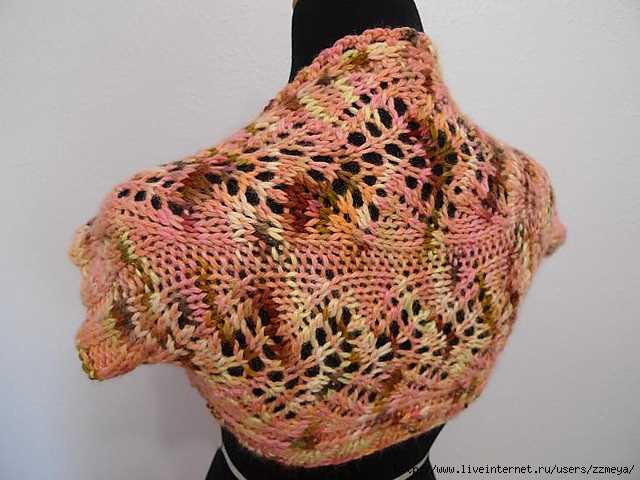
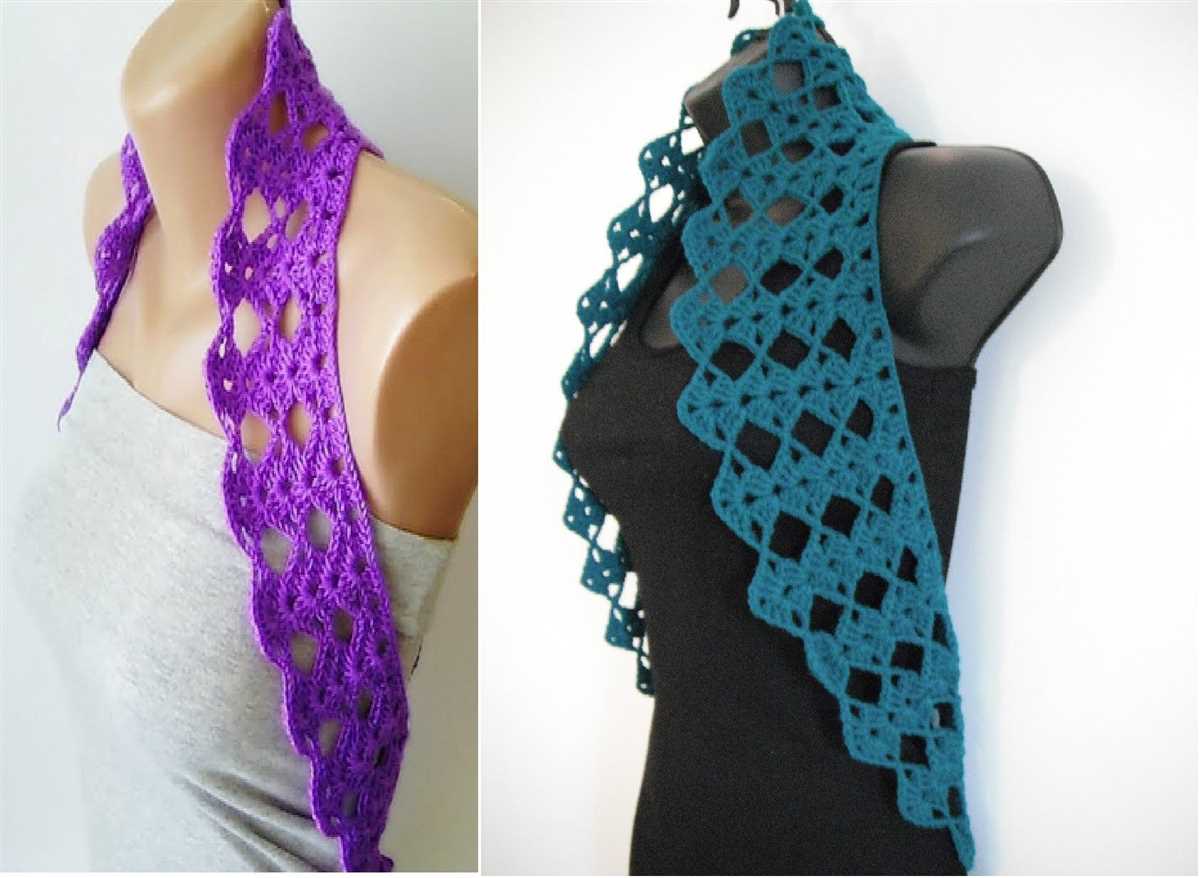
Lace Edging: If you want to add a delicate, feminine touch to your shrug, consider adding a lace edging. There are many lace patterns available that can be incorporated into the edge of your shrug. To add a lace edging, you will again need to pick up stitches along the edge and work the lace pattern. Be sure to keep track of any pattern repeats and adjust the number of picked up stitches accordingly.
Finishing Touches: Once you have added the ribbing or edging to your shrug, you may want to consider blocking it to give it a smooth, even appearance. Blocking can also help to stretch or shape the ribbing or edging if needed. Additionally, you could add buttons or closures to the shrug to further customize its look and fit.
Blocking and Finishing

Once you have finished knitting your shrug, it is important to block and finish it to give it a professional and polished look. Blocking helps to even out any irregularities in your knitting and gives the final piece a smooth and crisp appearance. Here are the steps to block and finish your knitted shrug:
1. Prepare your materials
Before you begin blocking, gather all the necessary materials such as blocking mats or towels, rustproof pins, a tape measure, and a spray bottle with water. Make sure that your materials are clean and dry.
2. Pin the shrug to the blocking mats
Lay out your blocking mats or towels on a flat surface. Place the shrug on top of the mats, making sure that it is flat and evenly stretched out. Use rustproof pins to secure the edges of the shrug to the mats, making sure that the fabric is smooth and taut.
3. Spray the shrug with water
Using the spray bottle, lightly mist the shrug with water. Make sure to evenly distribute the water over the entire fabric. This will help to relax the fibers and allow them to stretch and reshape as they dry.
4. Allow the shrug to dry
Leave the shrug in a well-ventilated area to dry completely. This may take several hours or even overnight, depending on the humidity and thickness of the fabric. Avoid moving or disturbing the shrug while it is drying to ensure that it retains its shape.
5. Remove the pins and finish the shrug
Once the shrug is completely dry, carefully remove the rustproof pins from the fabric. You will notice that the shrug has transformed and now has a smooth and even appearance. Trim any loose threads or excess yarn ends, and give the shrug a final inspection to ensure that it is free from any defects.
Now, your knitted shrug is ready to wear! The blocking process has helped to enhance the overall look and feel of the garment, making it more comfortable and visually appealing. Remember to store your shrug in a cool and dry place to maintain its shape and quality.
With these simple steps, you can achieve professional-looking results and create a beautiful knitted shrug that you can be proud of. Happy knitting!