
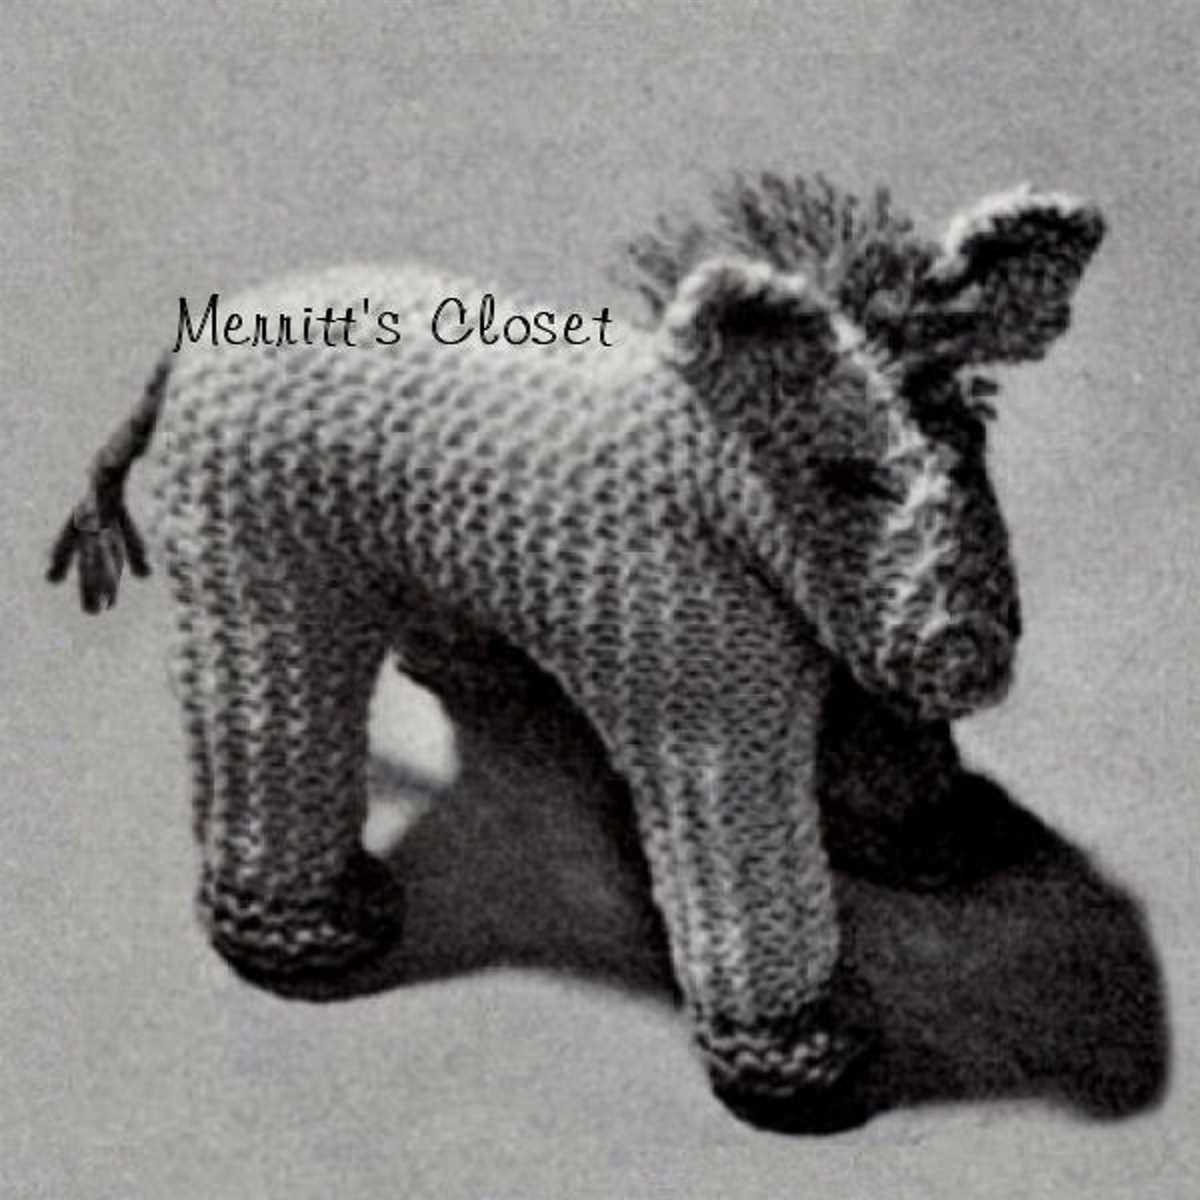
Knitting has always been a popular craft, with enthusiasts creating beautiful garments and accessories for themselves and their loved ones. One particularly adorable project that has captured the imagination of knitters worldwide is the horse knitting pattern. This pattern allows knitters to create their very own miniature horses, which make charming toys or decorative items.
The horse knitting pattern typically involves using a combination of basic knitting stitches, such as knit and purl, to create a variety of textures and patterns, resulting in a realistic-looking horse. The pattern often includes instructions for creating details such as the horse’s mane and tail, as well as its facial features.
One of the great things about the horse knitting pattern is that it offers knitters a chance to showcase their creativity and personal style. While the pattern usually provides a template to work from, knitters can make their horse unique by selecting their favorite colors and yarn types. Some knitters enjoy experimenting with different stitch patterns or adding embellishments such as beads or embroidery to truly make their horse one-of-a-kind.
Horse Knitting Pattern
Knitting is a popular craft that allows individuals to create beautiful and unique items using yarn and knitting needles. One popular item that individuals enjoy knitting is a horse. Knitting a horse provides a fun and creative way to showcase one’s knitting skills while also creating a charming and cuddly toy.
Materials: To start knitting a horse, you will need a few materials. These include knitting needles (size may vary depending on your preference), yarn (choose a color that resembles a horse’s coat), stuffing material, safety eyes, and a plastic or wooden toy stuffing tool.
Step 1: Cast On
Start by casting on the required number of stitches to create the horse’s body. This will depend on the desired size of the horse. You can choose to use a long-tail cast-on or any other cast-on method you are comfortable with.
Step 2: Knit Body
Once you have cast on the stitches, begin knitting the body of the horse. You can use garter stitch or stockinette stitch, depending on the desired texture. Knit rows until you reach the desired length for the body.
Step 3: Shape the Head
To shape the head, you will need to decrease stitches gradually. Follow a pattern or decrease at regular intervals to create a rounded shape for the horse’s head. Remember to stuff the head lightly as you progress.
Step 4: Knit the Legs and Ears
After shaping the head, it’s time to knit the legs and ears. You can knit these separately and then sew them onto the body. Use double-pointed needles to create a tube for each leg and shape the ears to your liking.
Step 5: Sew and Stuff
Once all the parts are knitted, it’s time to sew them together. Start by sewing the legs onto the body, making sure they are evenly placed. Then, sew the head and ears onto the body. Leave an opening to stuff the horse with the stuffing material. Use the toy stuffing tool to evenly distribute the stuffing.
Step 6: Add Finishing Touches
Finally, add the finishing touches to your knitted horse. Attach the safety eyes securely, embroider the nose and mouth, and add any other details you desire. You can also knit a colorful saddle or bridle to enhance the horse’s appearance.
Once you have completed all the steps, you will have a beautiful knitted horse that can be cherished or gifted to someone special. Enjoy the process of creating this adorable toy and showcase your knitting skills with pride!
Why Knit a Horse?
Knitting a horse is a unique and creative way to express your love for horses and showcase your knitting skills. Whether you are a passionate equestrian or simply admire the grace and beauty of these majestic creatures, knitting a horse can be a fun and fulfilling project.
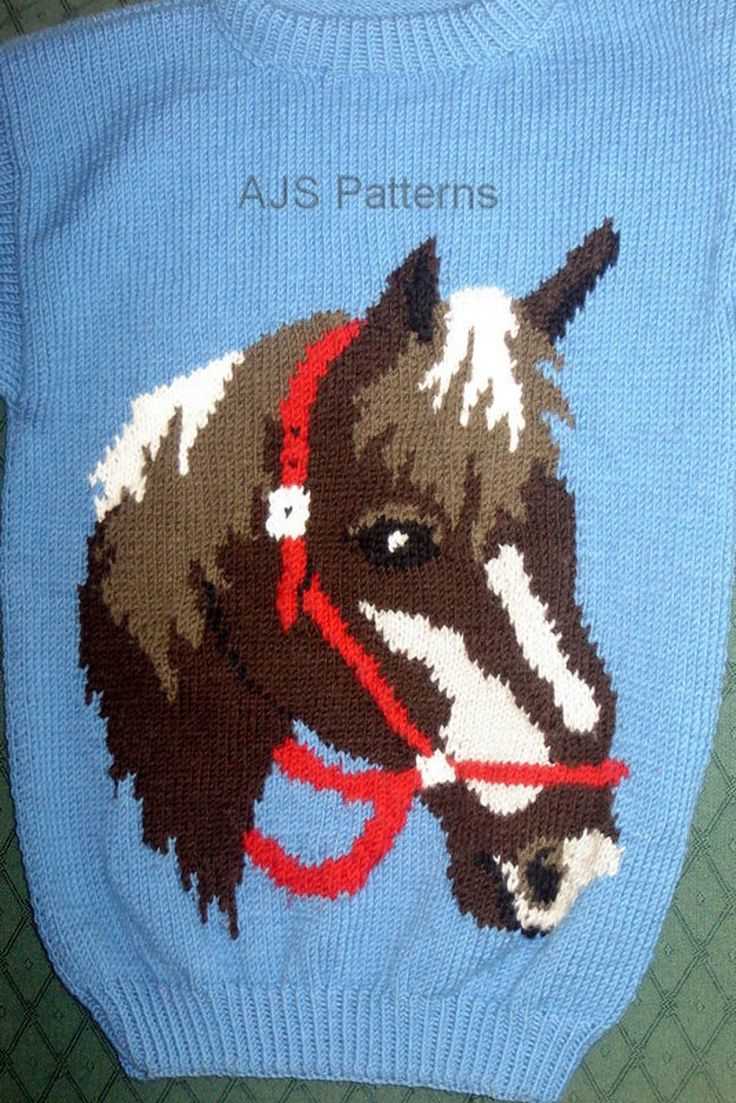
Knitting a horse allows you to create a one-of-a-kind piece of art that can be displayed in your home or gifted to a fellow horse lover. It provides an opportunity to experiment with different yarn colors and textures, and to incorporate intricate details that capture the essence of a horse’s anatomy and features.
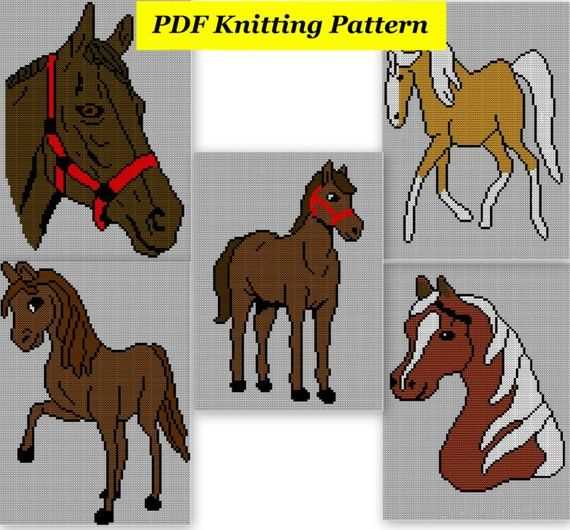
When knitting a horse, you can choose from a variety of patterns, ranging from beginner-friendly designs that are quick and easy to complete, to more complex patterns that challenge your knitting skills and attention to detail. Some patterns even offer options for different horse breeds, allowing you to create a realistic representation of your favorite horse breed.
Knitting a horse can also be a therapeutic and relaxing activity. The repetitive motions of knitting can help to reduce stress and promote mindfulness, allowing you to immerse yourself in the process and find solace in the rhythmic click of needles. It can be a wonderful way to unwind after a long day or to spend quality time with loved ones who share your passion for knitting.
Furthermore, knitting a horse can serve as a symbol of good luck and protection. In many cultures, horses are considered to be sacred animals and are associated with strength, power, and freedom. By knitting a horse, you can tap into this symbolism and create an object that brings positive energy and blessings into your life or the life of the recipient.
In conclusion, knitting a horse offers a multitude of benefits – it allows you to showcase your creativity and knitting skills, create a unique piece of art, relax and unwind, and tap into the symbolism of horses. So why not pick up your knitting needles and embark on a horse knitting adventure?
Choosing the Right Yarn
When it comes to knitting a horse, choosing the right yarn is essential for achieving the desired result. The yarn you select will determine the overall look and texture of your knitted creation. There are several factors to consider when choosing yarn for your horse knitting project.
Type of Fiber: One of the first things to consider is the type of fiber you want to use. Natural fibers, such as wool or alpaca, are popular choices for knitting as they provide warmth and drape beautifully. Synthetic fibers like acrylic or polyester can be a more affordable option and often have vibrant colors.
Weight and Thickness: The weight and thickness of the yarn will also impact the final result. The pattern you are using may specify a particular weight of yarn, but you can also experiment with different weights to achieve different effects. Thicker yarns will create a bulkier horse, while finer yarns will result in a more delicate and intricate design.
Color and Pattern: The color and pattern of the yarn are also important considerations. If you want a realistic-looking horse, choosing yarn in natural colors such as brown, black, or white would be ideal. However, if you prefer a more whimsical or unique horse, you can opt for vibrant or variegated yarns. Patterns on the yarn, such as speckles or stripes, can also add visual interest to your knitted horse.
Texture and Softness: The texture and softness of the yarn will affect both the feel and appearance of the final piece. Some yarns have a smooth and shiny texture, while others have a more textured or fuzzy finish. Consider the texture you desire for your horse and choose a yarn that complements that vision.
Yarn Care: Finally, consider the care instructions for the yarn. Will your knitted horse need to be washed frequently? If so, you may want to choose a yarn that is machine washable for convenience. On the other hand, if your horse will be more of a decorative item, you may not need to worry about washability as much.
By carefully considering these factors, you can choose the right yarn for your horse knitting project and bring your vision to life.
Essential Knitting Tools

Knitting is a popular hobby that requires a few essential tools to get started. Whether you are a beginner or an experienced knitter, having the right tools can make a big difference in your knitting projects.
1. Knitting Needles:
The most important tool for knitting is a pair of knitting needles. They come in different sizes and materials, such as aluminum, wood, and plastic. The size of the needles depends on the thickness of the yarn you are using and the desired tension of your project. It is recommended to have a variety of needle sizes to accommodate different projects.
2. Yarn:
Yarn is the main material used in knitting. It comes in different colors, textures, and thicknesses. The type of yarn you choose depends on the project you are working on. It is important to match the yarn weight with the needle size to achieve the desired tension and stitch definition.
3. Scissors:
A good pair of scissors is essential for cutting yarn and trimming loose ends. Choose a pair of small, sharp scissors that are easy to handle and keep them in your knitting bag or toolbox.
4. Stitch Markers:
Stitch markers are small, circular rings or clips that are used to mark specific stitches or sections in your knitting. They are especially useful when working on patterns that involve increases, decreases, or stitch patterns. Stitch markers come in different sizes and materials, such as plastic, metal, or rubber.
5. Row Counter:
A row counter is a small device or tool that helps you keep track of the number of rows or rounds in your knitting. It eliminates the need to manually count the rows, which can be confusing and time-consuming. Row counters can be simple mechanical devices or digital counters that you can attach to your knitting needles.
In addition to these tools, it is also helpful to have a tapestry needle for weaving in ends, a measuring tape or ruler for taking measurements, and a knitting gauge for checking your tension. With these essential knitting tools, you will be well-equipped to start and complete your knitting projects with ease and precision.
Basic Knitting Techniques
Learning the basics of knitting is essential for anyone interested in creating beautiful and intricate knitted projects. Whether you’re a beginner or an experienced knitter, understanding the basic techniques will help you master the art of knitting and allow you to tackle more complex patterns with ease.
1. Casting on: The first step in any knitting project is casting on. This is the process of creating the initial stitches on your knitting needle. There are several methods of casting on, including the long-tail cast on, the knit cast on, and the cable cast on. Each method has its own advantages and is suited for different types of projects.
2. Knit stitch: The knit stitch is the most basic stitch in knitting. It is used to create a smooth and even fabric. To knit a stitch, insert the right needle into the first stitch on the left needle from left to right, passing the right needle behind the left needle, and wrap the yarn around the right needle. Then, pull the right needle through the stitch, bringing the new stitch onto the right needle.
3. Purl stitch: The purl stitch is the reverse of the knit stitch and creates a bumpy texture. To purl a stitch, insert the right needle into the first stitch on the left needle from right to left, passing the right needle in front of the left needle, and wrap the yarn around the right needle. Then, pull the right needle through the stitch, bringing the new stitch onto the right needle.
4. Increasing and decreasing: Increasing and decreasing stitches are essential for shaping your knitting project. There are various methods for increasing and decreasing, such as yarn overs, knit two together (k2tog), and slip, slip, knit (ssk). These techniques allow you to add or subtract stitches to create shaping and patterns in your knitting.
5. Binding off: Once you have completed your knitting project, you will need to bind off to secure the stitches. Binding off is the process of creating a finished edge and preventing the stitches from unraveling. To bind off, knit the first two stitches, then insert the left needle into the first stitch on the right needle, lift it over the second stitch and off the right needle. Repeat this process until one stitch remains, then cut the yarn and pull it through the last stitch.
By mastering these basic knitting techniques, you will be well on your way to creating beautiful and intricate projects. Practice these techniques and experiment with different patterns to expand your knitting skills and create unique and personalized items.
Getting Started with the Body
Once you have completed knitting the legs and head of your horse, it’s time to move on to the body. The body is created by knitting rectangular panels which will later be sewn together to form the final shape of the horse.
To start the body, you will need to cast on a certain number of stitches based on the size of your horse. Refer to the knitting pattern for the specific measurements. Once the stitches are cast on, you can begin knitting the panels in the desired stitch pattern.
Throughout the body knitting process, it’s important to pay attention to the pattern instructions for any shaping or color changes. This will ensure that your horse is formed correctly and looks as intended.
As you work on each panel, you may need to use stitch markers to denote specific sections or increases/decreases. This will help keep track of your progress and ensure that you are following the pattern correctly.
Once all the panels are complete, you can begin assembling the body of the horse. Lay out the panels according to the pattern instructions and use a tapestry needle to sew them together using the mattress stitch or your preferred method.
Once the body is fully assembled, you can stuff it with polyester fiberfill or another suitable stuffing material. This will give the horse structure and shape.
With the body completed, you are one step closer to finishing your knitted horse. Next, you can move on to knitting the mane, tail, and any additional decorative elements to bring your horse to life.
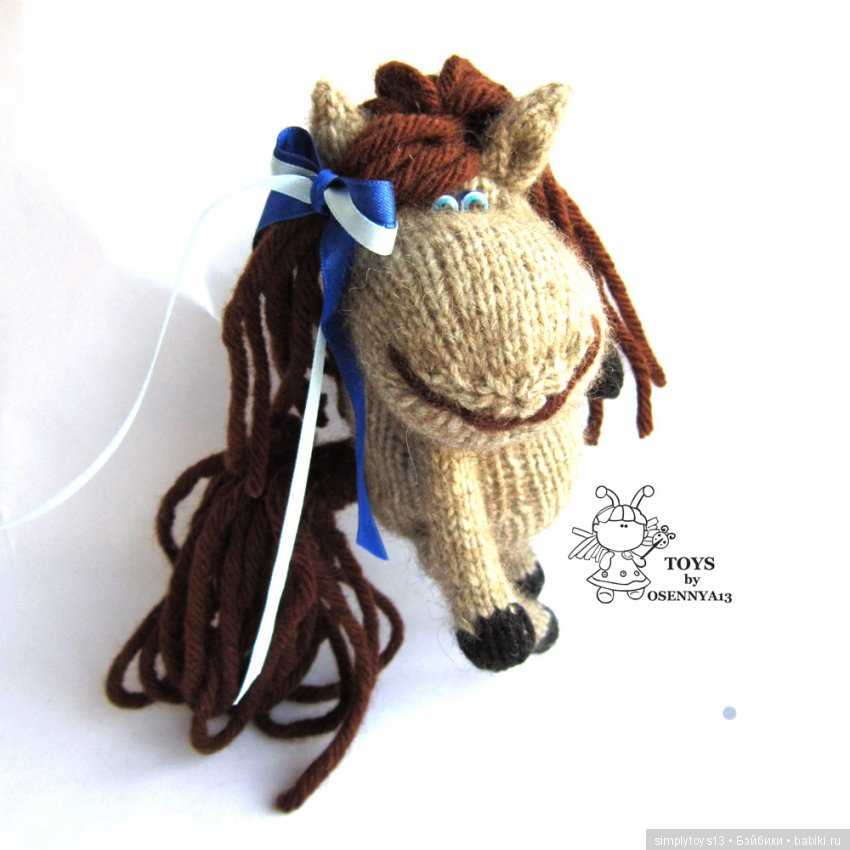
Knitting the Head and Mane
When knitting a horse, one of the most important parts to create is the head and mane. It is the defining feature of the horse and gives it its unique character. To start, you will need to choose the appropriate yarn color for the mane. Typically, a contrasting color to the body is used to make it stand out.
To knit the head, you will need to follow a specific pattern:
- Start by casting on the required number of stitches for the head. This will usually depend on the size and thickness you want your horse’s head to be.
- Work in rows, using the specified knitting stitch, until you achieve the desired length for the head.
- To give the head shape, decrease stitches at the appropriate places. This is usually done by knitting two stitches together or slipping stitches.
- Once the head is complete, you can start working on the mane. Traditionally, the mane consists of long strands of yarn that are attached to the top of the head. You can achieve this by knitting a row of stitches on the top of the head and then sewing individual strands of yarn through these stitches.
- The length and thickness of the mane will depend on your preference. You can create a wild and flowing mane or a more neat and trimmed one.
- For added detail, you can create braids or twists in the mane by dividing the strands of yarn and crossing them over each other.
Remember to refer to the specific knitting pattern you are using for detailed instructions on how to knit the head and mane of your horse. With patience and attention to detail, you will be able to create a beautiful and lifelike horse with its unique head and flowing mane.
Adding the Details
Once you have completed the basic structure of your knitted horse, it’s time to add the details that will bring it to life. These details will help create a realistic and unique look for your knitted horse. One of the first details you can add is the mane and tail. Use yarn in a contrasting color to the body to create a visually appealing contrast. You can knit or crochet the mane and tail, and then sew them onto the body. Alternatively, you can use a brush to create a fluffy and textured look for the mane and tail.
Another important detail to consider is the facial features of your knitted horse. Use embroidery thread or yarn in a darker shade to create the eyes, mouth, and nostrils. You can use a satin stitch or backstitch to embroider the facial features. Take your time to ensure that the features are symmetrical and positioned correctly. Adding these details will give your knitted horse a realistic and expressive look.
Additionally, you can add other details such as ears, hooves, and a saddle to your knitted horse. For the ears, you can knit or crochet small triangles and sew them onto the head. To create the hooves, you can use small pieces of felt or knit them using double-pointed needles. If you want to make your knitted horse more decorative, you can knit a small saddle using a different color yarn and attach it to the back.
Remember to use the horse knitting pattern as a guide, but feel free to add your own creative touches and personalize your knitted horse. The details you choose to add will make your knitted horse truly unique and special.
Finishing Touches
Once you have finished knitting your horse using the horse knitting pattern, it’s time to add the finishing touches to make it truly special. Whether you are making the horse for yourself or as a gift, these final details will take your creation to the next level.
Eyes: Embroider or sew on the eyes using contrasting colored yarn or small buttons. You can choose to place them symmetrically or give your horse a playful expression with slightly mismatched eyes.
Mane and tail: Give your horse some personality by adding a mane and tail. You can use yarn of contrasting color to create a flowing and dynamic mane. For the tail, you can use a similar technique or opt for a more realistic approach by attaching a small bundle of yarn strands.
Accessories: To make your horse truly unique, consider adding accessories such as a saddle, reins, or even a bridle. You can knit these separately and attach them to the horse using small stitches or buttons. Use different colors or patterns to match your personal style or the recipient’s preferences.
Embroidery details: Add some extra charm by using embroidery to add details such as a nose, mouth, or hooves. You can use embroidery floss or small pieces of yarn to create these intricate designs. Take your time and experiment with different stitches to achieve the desired effect.
Blocking and shaping: After you have added all the finishing touches, consider blocking and shaping your knitted horse. This process involves wetting the knitted piece, stretching it to the desired shape, and letting it dry. This will give your horse a more polished and professional look.
Care Instructions for Your Knitted Horse
Once you have completed your knitted horse, it’s important to take proper care of it to ensure its longevity. Here are some care instructions to follow:
-
Washing: It is recommended to gently hand wash your knitted horse using lukewarm water and mild detergent. Avoid harsh chemicals or bleach as it may damage the fabric. Gently squeeze out excess water and reshape the horse while it is damp.
-
Drying: Lay the knitted horse flat on a clean towel or drying rack to air dry. Avoid hanging it or placing it in direct sunlight as this may cause the colors to fade.
-
Storage: When not in use, store your knitted horse in a cool and dry place, away from direct sunlight. It is recommended to keep it in a sealed bag or airtight container to protect it from dust and moths.
-
Maintenance: To keep your knitted horse looking its best, gently brush it with a soft-bristled brush or use a lint roller to remove any dirt or fuzz. Avoid pulling or tugging on any loose threads to prevent unraveling.
By following these care instructions, you can ensure that your knitted horse remains in good condition for years to come. Whether it’s a treasured keepsake or a gift for a loved one, proper care will help maintain its beauty and charm.