
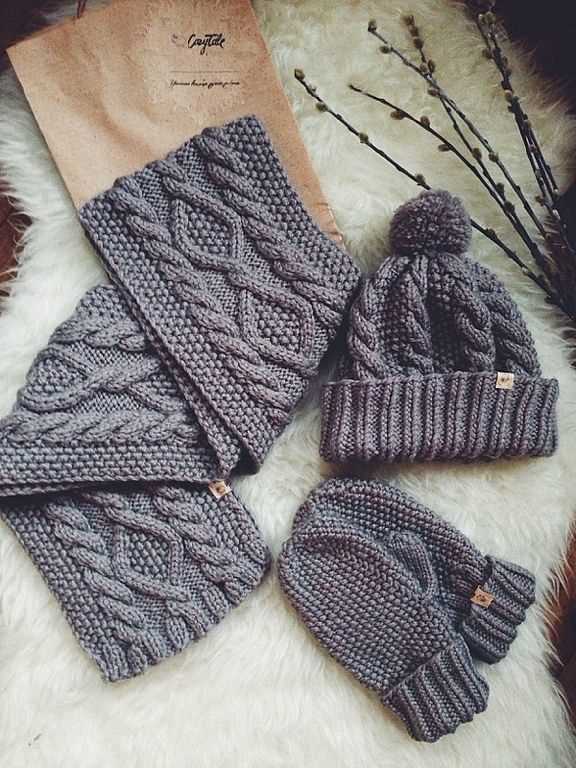
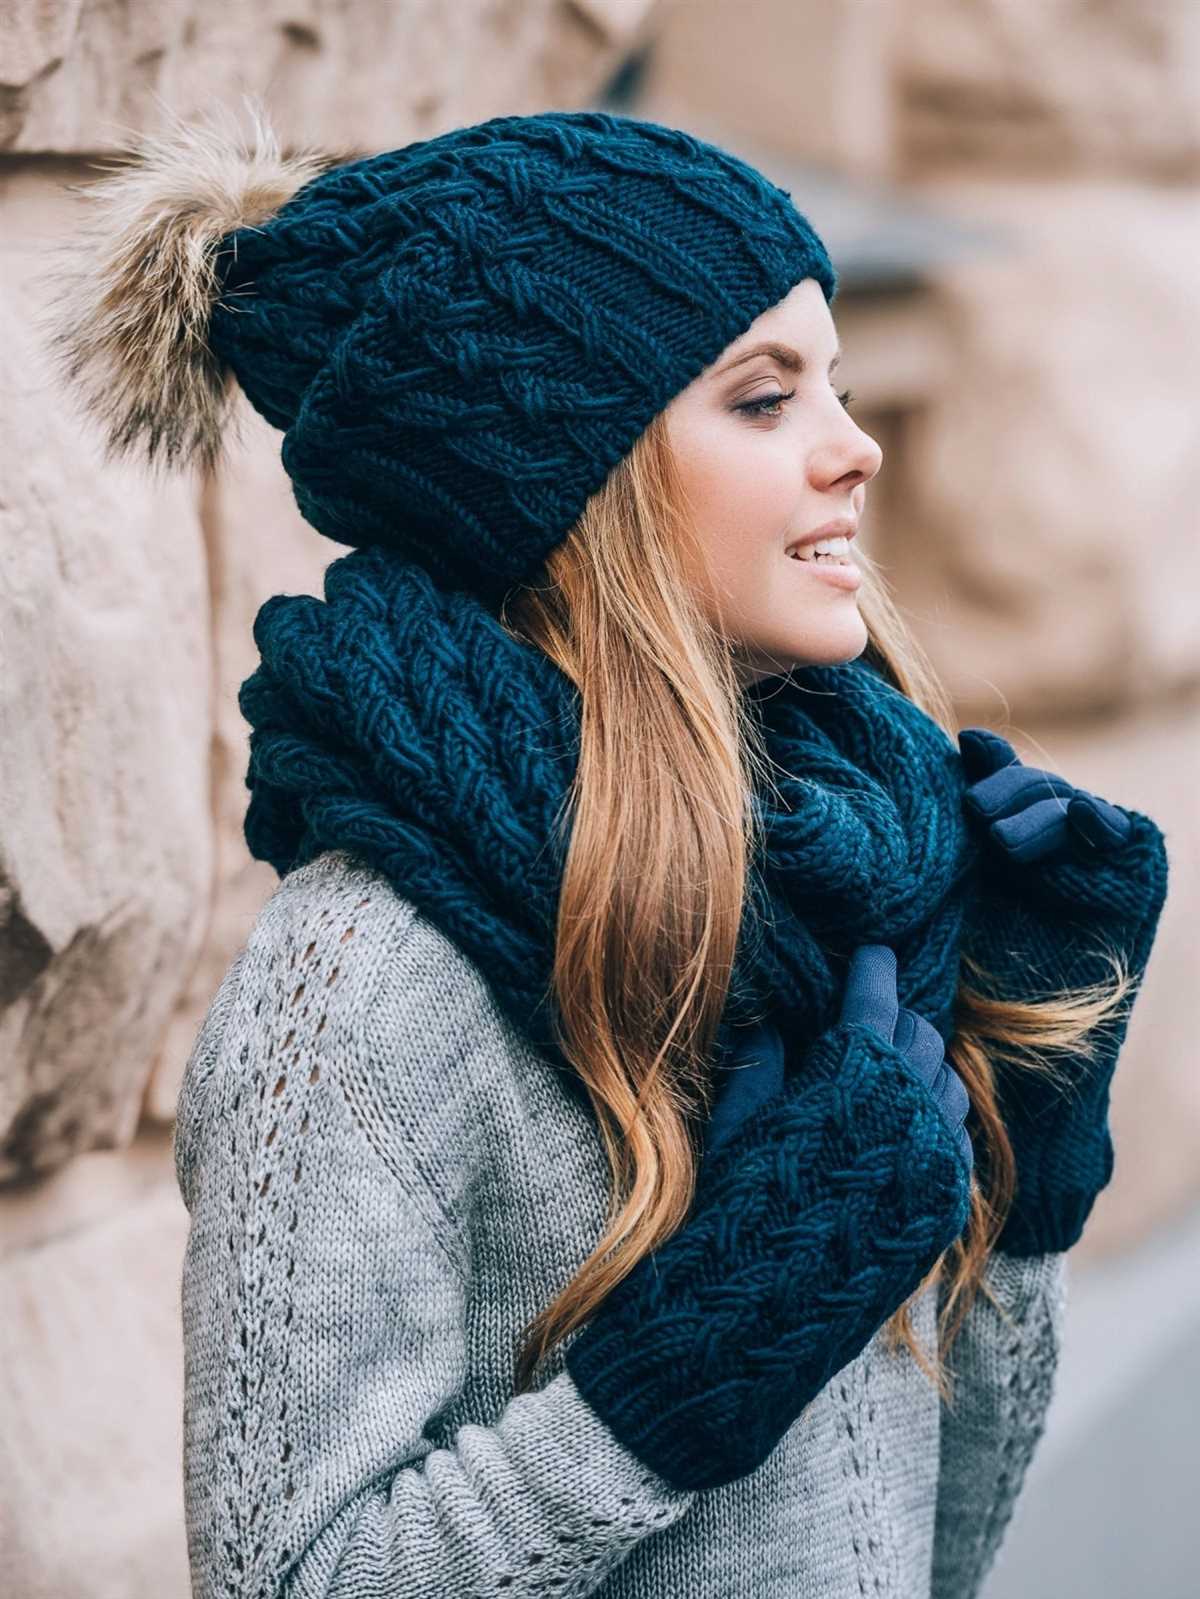
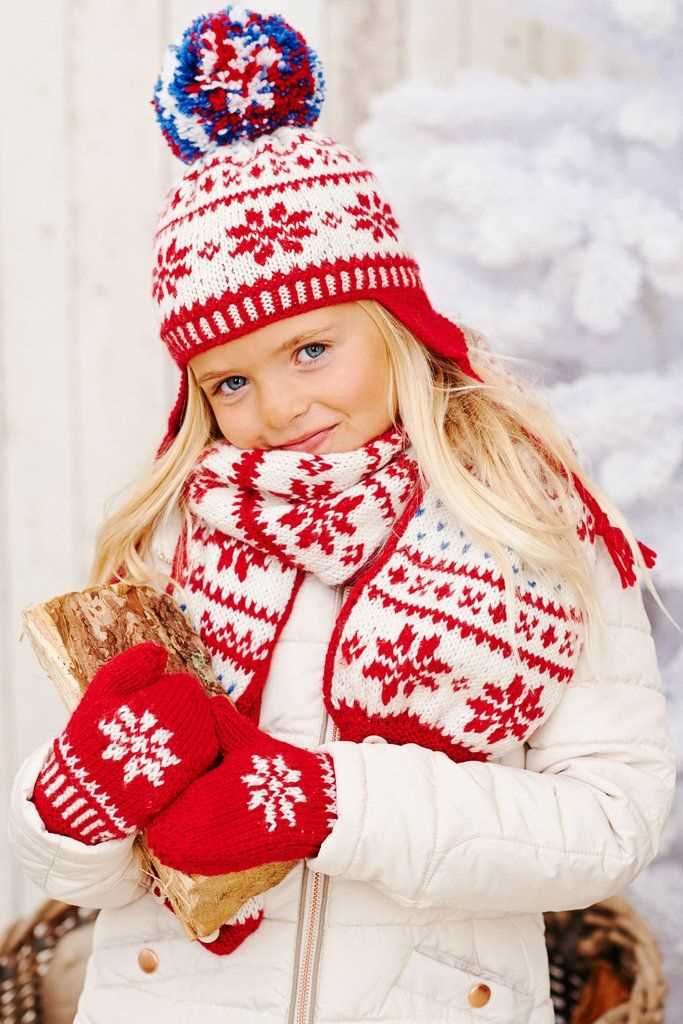
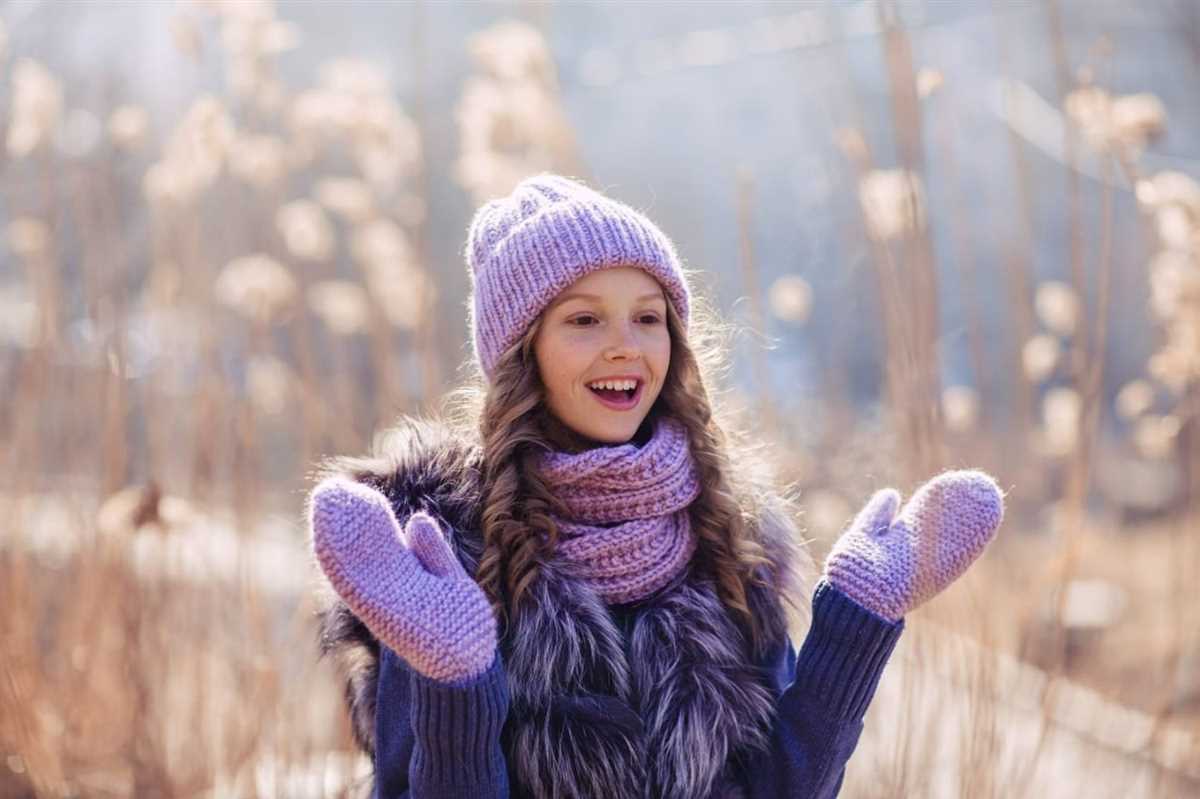
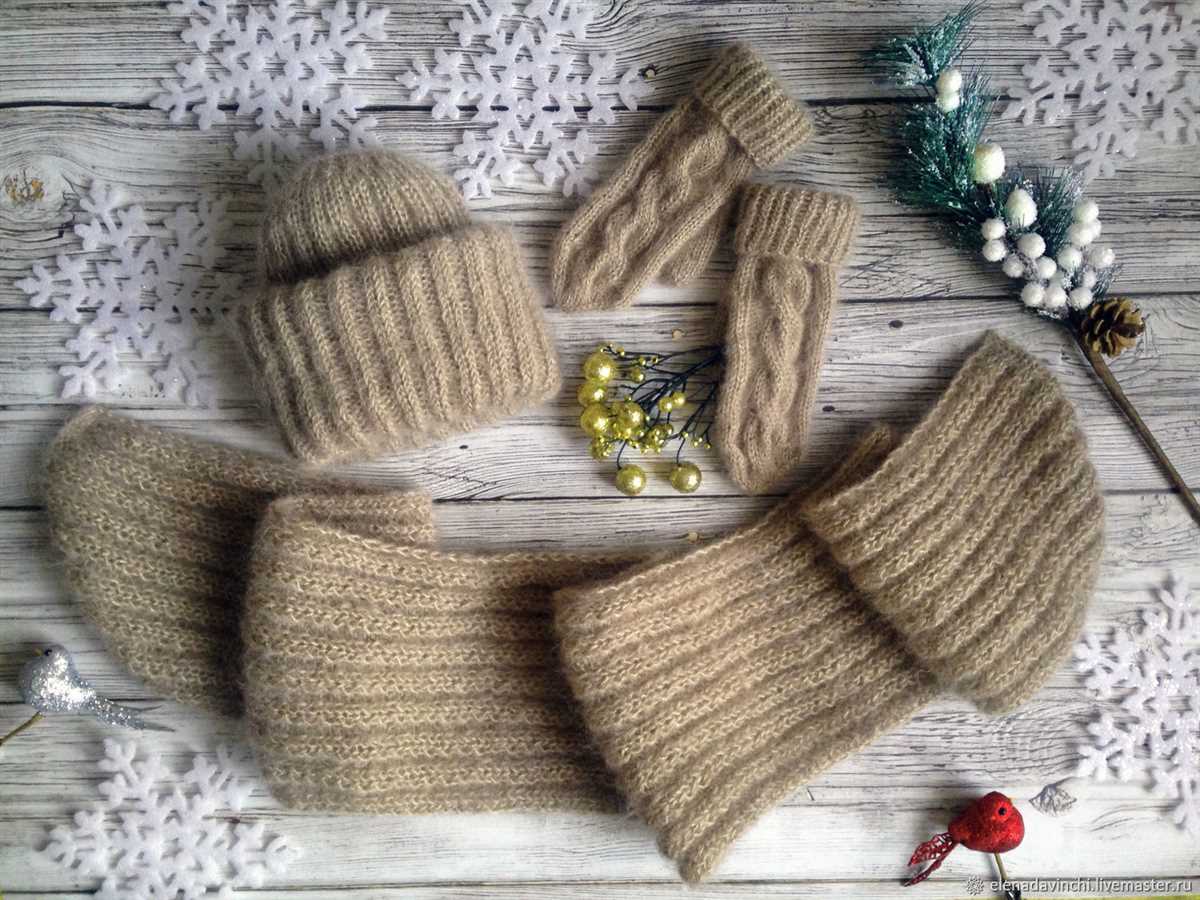
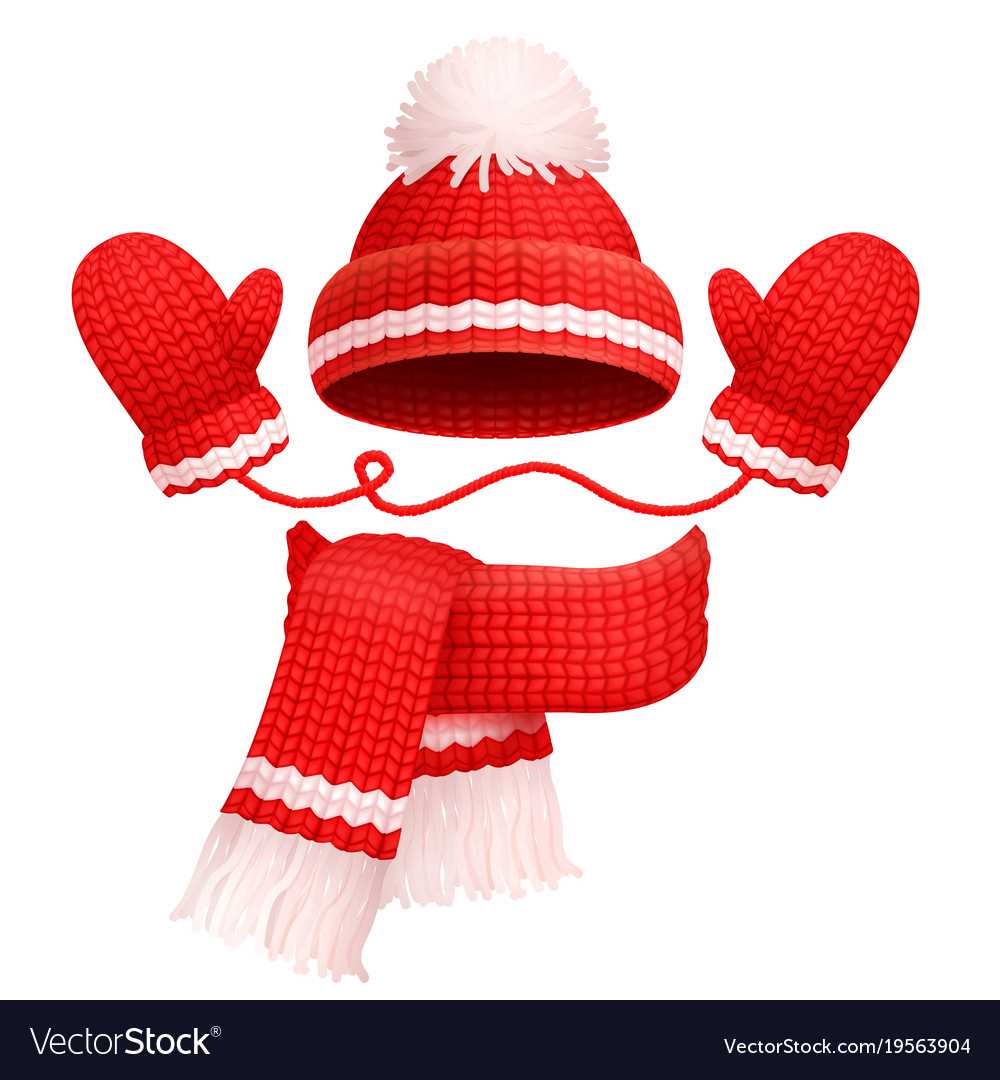
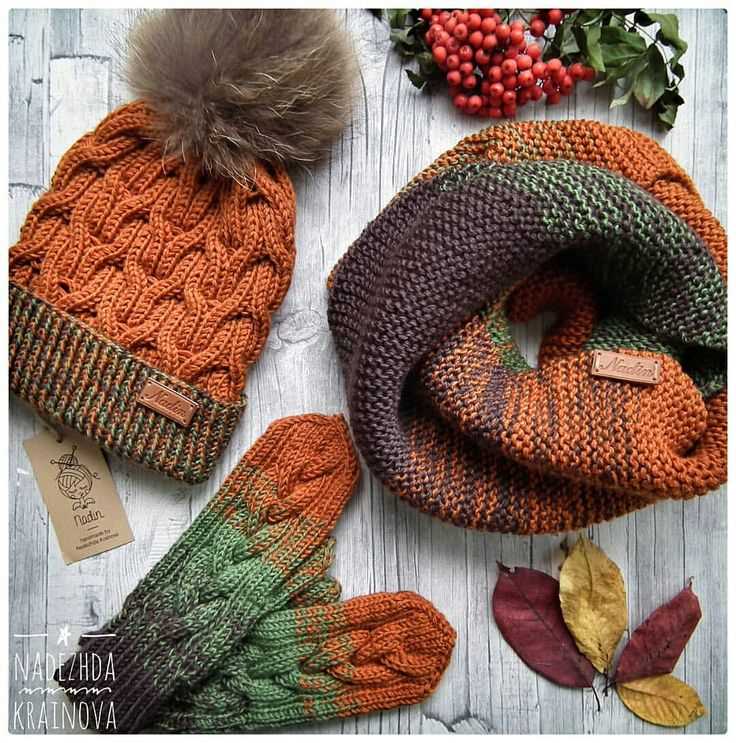
If you are looking for a cozy and stylish winter accessory set to knit, look no further than a hat, scarf, and mittens knitting pattern. Whether you are an experienced knitter or just starting out, these patterns are perfect for all skill levels.
The hat, scarf, and mittens are essential items to keep you warm during the cold winter months. Knitting your own set allows you to customize the colors and styles to match your wardrobe and personal preferences.
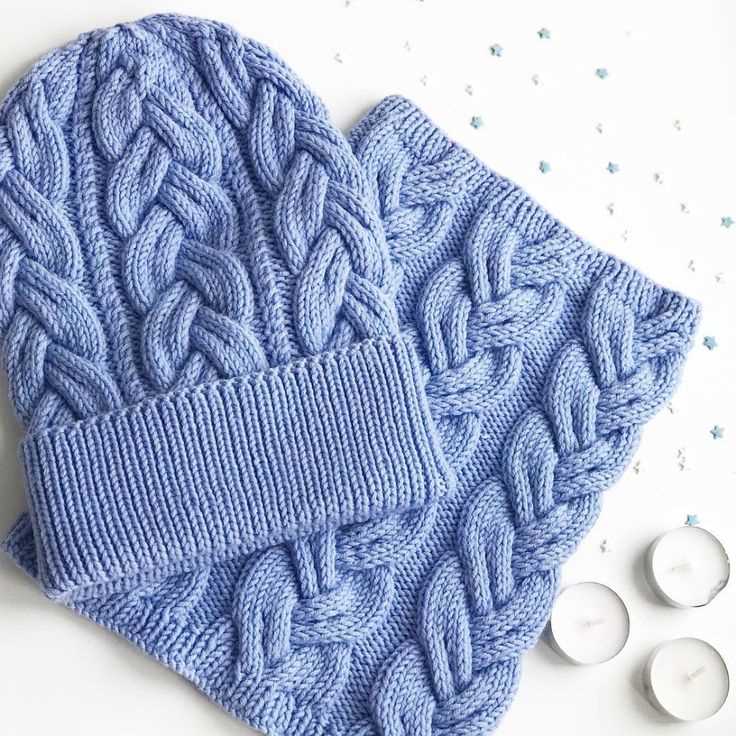
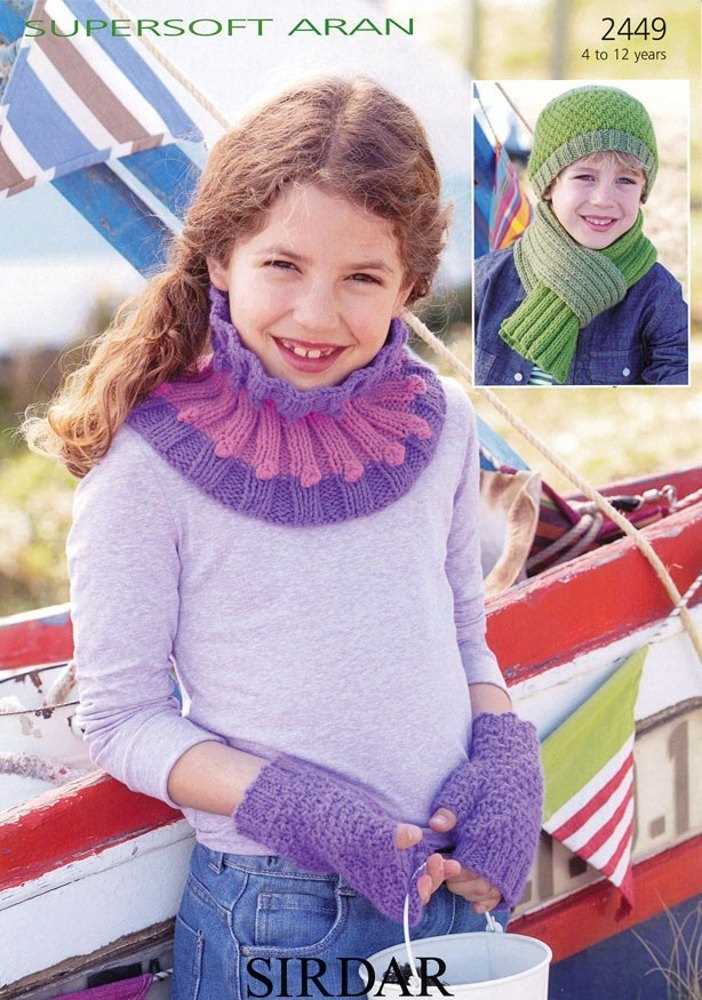
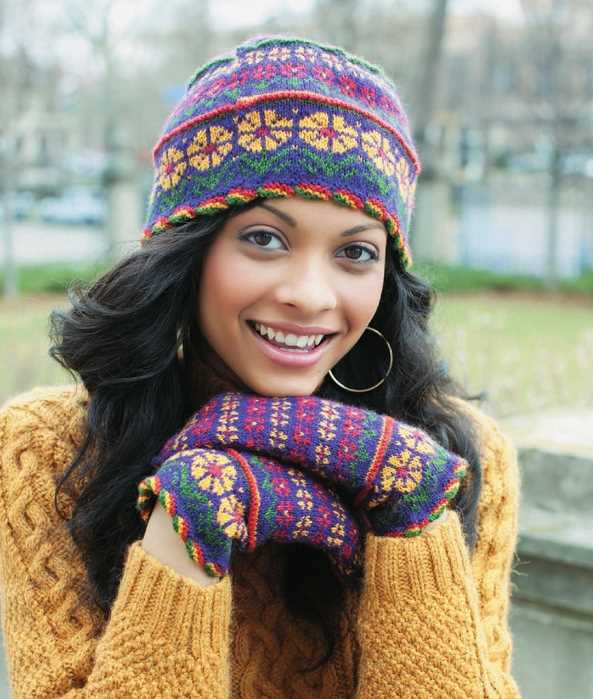
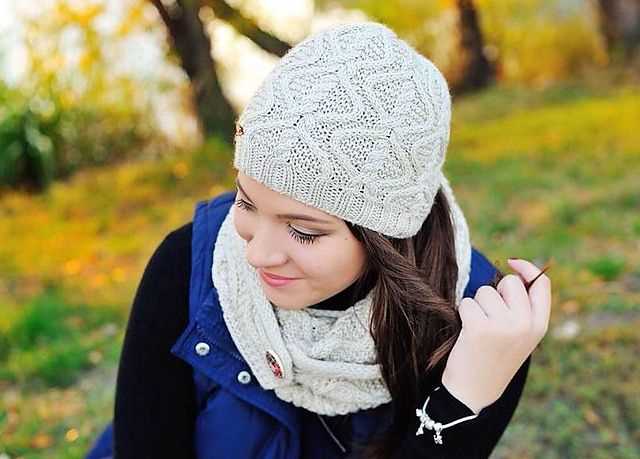
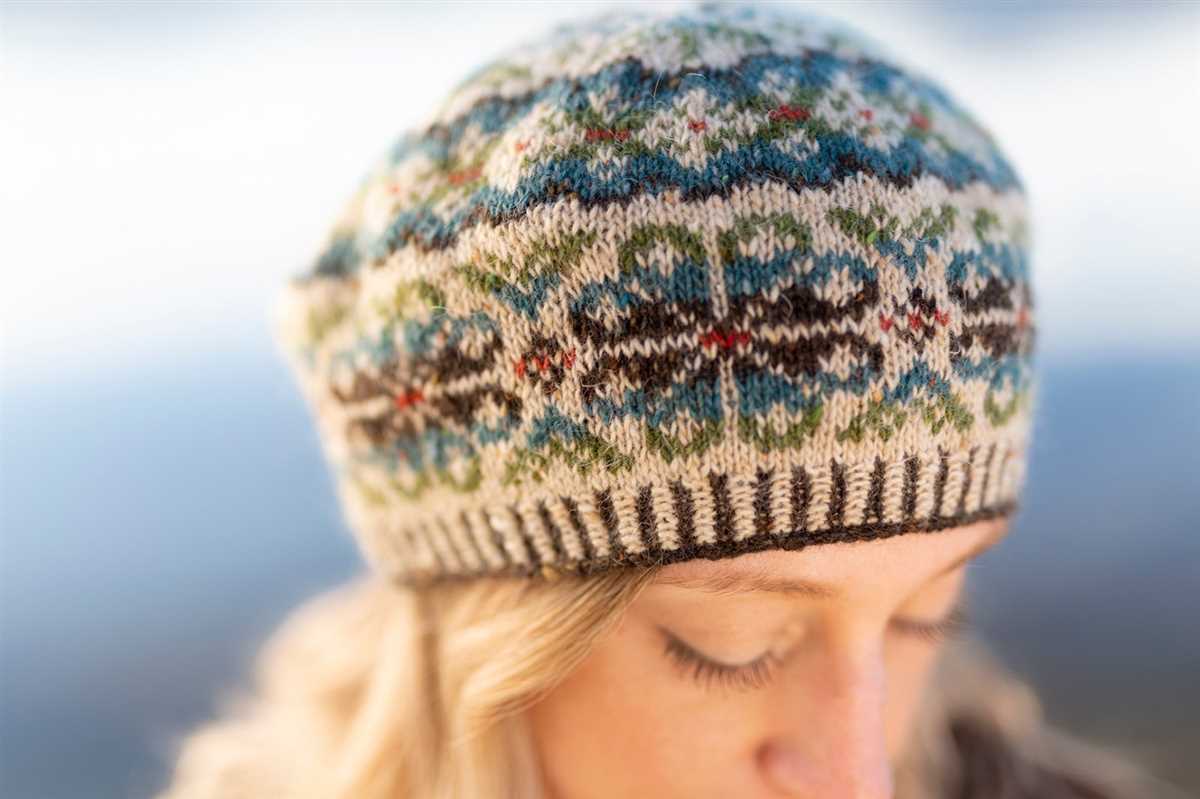
With a wide range of knitting patterns available, you can choose from different stitch patterns, textures, and sizes to create the perfect hat, scarf, and mittens set. Whether you prefer a classic cable knit design or a trendy fair isle pattern, there is a pattern out there that is perfect for you.
Materials needed
To knit the hat, scarf, and mittens set, you will need the following materials:
Yarn:
- For the hat: 1 skein of bulky weight yarn (approximately 100 yards)
- For the scarf: 2 skeins of worsted weight yarn (approximately 300 yards total)
- For the mittens: 1 skein of worsted weight yarn (approximately 200 yards)
Needles:
- For the hat: Size 10 (6mm) circular needles (16-inch length) and double-pointed needles
- For the scarf: Size 8 (5mm) straight or circular needles
- For the mittens: Size 6 (4mm) double-pointed needles
Other materials:
- Stitch markers to mark the beginning of rounds
- Tapestry needle for weaving in ends
- Scissors for cutting yarn
- Measuring tape to check gauge and measure finished items
- Buttons or other embellishments for optional decorations
Make sure to gather all the necessary materials before starting the knitting project. The specific yarn and needle sizes can be adjusted to achieve the desired gauge and finished dimensions. Happy knitting!
Choosing the Right Yarn
When it comes to knitting a hat, scarf, and mittens, choosing the right yarn is essential to create a successful and comfortable final product. The yarn you select will determine the appearance, warmth, and durability of your knitted items, so it’s important to consider a few factors before making your decision.
Fiber Type: The first thing to consider is the fiber type of the yarn. Wool is a popular choice for cold-weather accessories due to its natural insulation properties and ability to retain warmth even when wet. Acrylic yarn is a more affordable option and can be a good choice for those with wool allergies. Other common fiber types include cotton, alpaca, and silk, each with their own unique characteristics.
Weight and Gauge: The weight and gauge of the yarn will affect the overall look and feel of your knitted items. Thicker yarns typically create chunkier, warmer accessories, while thinner yarns create more delicate and lightweight pieces. You’ll also need to match the recommended gauge for your chosen pattern to ensure that your finished items will have the correct size and fit.
- Color and Texture: The color and texture of the yarn are also important considerations. The color should complement the wearer’s skin tone and personal style, and the texture should be suitable for the intended purpose of the accessories. For example, a smooth yarn may be better for a hat, while a textured yarn with more visual interest could be ideal for a scarf.
- Care Instructions: Finally, don’t forget to check the care instructions for the yarn. Some yarns may require special care, such as handwashing or dry cleaning, while others can be machine washed and dried. Consider your lifestyle and preferences when deciding on the most suitable yarn for your project.
By carefully considering the fiber type, weight and gauge, color and texture, and care instructions of different yarn options, you can choose the perfect yarn for your hat, scarf, and mittens. This thoughtful selection will ensure that your knitted items not only look beautiful but also provide the desired warmth and comfort for the wearer.
Selecting the knitting needles
When starting a knitting project, one of the most important decisions to make is selecting the right knitting needles. The needles you choose can greatly affect the outcome of your project, so it’s essential to consider factors such as size, material, and type.
Size: Knitting needles come in various sizes, ranging from very thin to quite thick. The size you choose depends on the type of yarn and the desired tension or gauge of your project. A thinner needle is typically used for fine yarns, while a thicker needle is better suited for bulky or chunky yarns.
Material: Knitting needles can be made from a variety of materials, including metal, wood, bamboo, and plastic. Each material has its own unique feel and characteristics. Metal needles are durable and have a smooth surface, making them ideal for faster knitting. Wood and bamboo needles are lightweight and have a warm, natural feel, which can be more comfortable for longer knitting sessions. Plastic needles are affordable and lightweight, but they may not be as durable as needles made from other materials.
Type: There are several types of knitting needles to choose from, including straight needles, circular needles, and double-pointed needles. Straight needles are the classic option with two pointed ends and are used for flat knitting. Circular needles have a flexible cable connecting two needle tips and are often used for knitting in the round or for larger projects. Double-pointed needles have points on both ends and are primarily used for knitting smaller items in the round, such as gloves or socks.
By considering the size, material, and type of knitting needles, you can ensure that you have the perfect tools for your hat, scarf, and mittens knitting project. Whether you prefer metal, wood, or plastic needles, and regardless of whether you choose straight, circular, or double-pointed needles, finding the right combination will help you achieve the best results and create beautiful, cozy accessories.
Hat pattern
When it comes to knitting, a hat is a classic project that is both useful and stylish. With a hat pattern, you can create a cozy and warm accessory for yourself or as a gift for someone else.
A hat pattern typically includes instructions for different sizes, so you can easily customize it to fit your head or the recipient’s. It usually involves knitting in the round, which means you won’t have any seams to sew at the end. This makes the hat seamless and comfortable to wear.
One popular hat pattern is the ribbed beanie. This pattern usually requires basic knitting stitches, such as knit and purl, making it perfect for beginners. The ribbed texture creates a stretchy and snug fit, keeping your head warm even in cold weather.
To knit a ribbed beanie, you will need a set of double-pointed needles or circular needles, depending on your preference. You will also need a ball of yarn in your chosen color. The pattern will specify the gauge and the recommended needle size to achieve the desired fit.
Once you have gathered all the materials, you can cast on the required number of stitches and follow the pattern instructions step by step. Don’t forget to switch to double-pointed needles or use the magic loop method when the number of stitches becomes too small to fit comfortably on your circular needles.
With a little time and effort, you will have a beautiful hat that will keep you warm and stylish during the colder months. Whether you choose a ribbed beanie or another hat pattern, knitting your own hat allows you to showcase your creativity and enjoy the satisfaction of wearing something you made with your own hands.
Scarf pattern:
If you’re looking to knit a scarf, you’ll need a simple and easy-to-follow pattern. The following pattern is perfect for beginners:
Materials:
- One pair of size 10 (6mm) knitting needles
- Approximately 200 yards of chunky weight yarn
Instructions:
- Cast on 20 stitches
- Row 1: Knit all stitches
- Row 2: Purl all stitches
- Repeat rows 1 and 2 until the scarf reaches your desired length
- Bind off all stitches
That’s it! This pattern creates a simple garter stitch scarf, which is perfect for keeping you warm during the colder months. You can use any color or type of yarn that you prefer. Happy knitting!
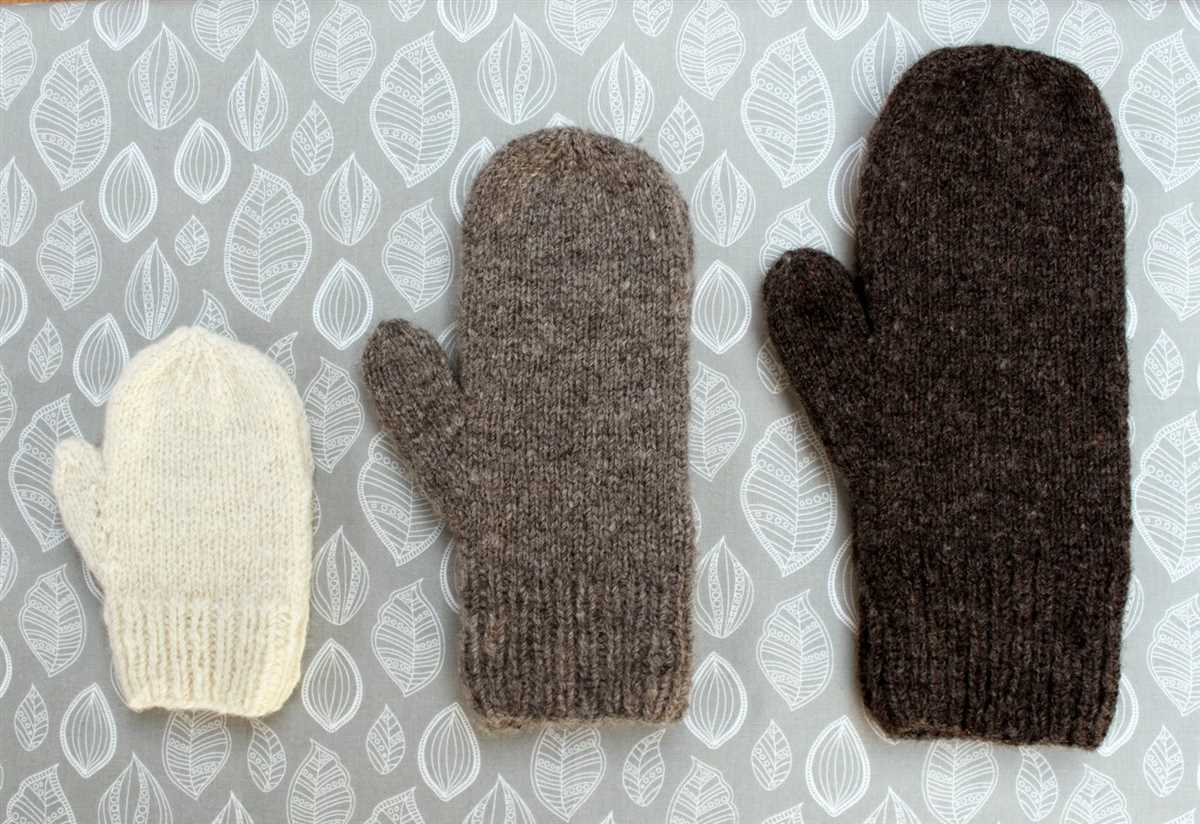
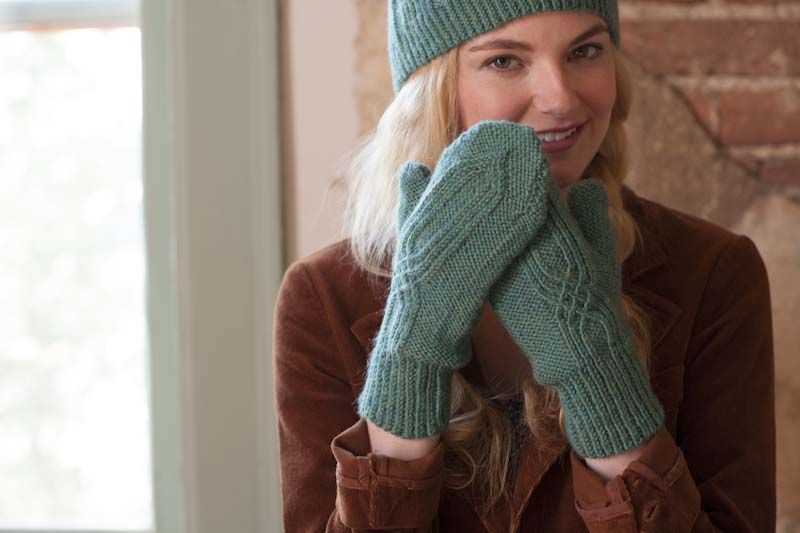
Mittens pattern
If you’re looking for a cozy and stylish way to keep your hands warm during cold winter months, why not try knitting your own pair of mittens? With a simple mittens pattern, you can create personalized mittens that are both functional and fashionable. Here, we provide a step-by-step guide on how to knit mittens from scratch.
To start, gather your materials. You will need a pair of knitting needles, a set of double-pointed needles, and your choice of yarn. It’s important to choose a yarn that is warm and durable, such as wool or acrylic blend. Additionally, you may want to have a stitch marker and a yarn needle handy for finishing touches.
Once you have your materials ready, you can begin knitting your mittens. The pattern typically starts with knitting a ribbed cuff, which provides a snug fit around your wrist. From there, you will work on the main body of the mittens, creating the thumb gusset and shaping the top of the mitten.
To ensure a comfortable fit, it’s important to follow the pattern’s instructions for measurements and gauge. Adjustments may be needed depending on the size of your hands. Additionally, you can customize your mittens by adding decorative elements, such as colorwork or cables.
Once you have completed the knitting portion, it’s time to finish off your mittens. This may involve seaming the edges, weaving in loose ends, or blocking the mittens to achieve the desired shape. Be sure to consult the pattern for specific finishing instructions.
By following a mittens pattern and putting your knitting skills to use, you can create a cozy and stylish accessory that will keep your hands warm throughout the winter season. Whether you’re a beginner knitter or an experienced crafter, knitting mittens can be a rewarding and enjoyable project.
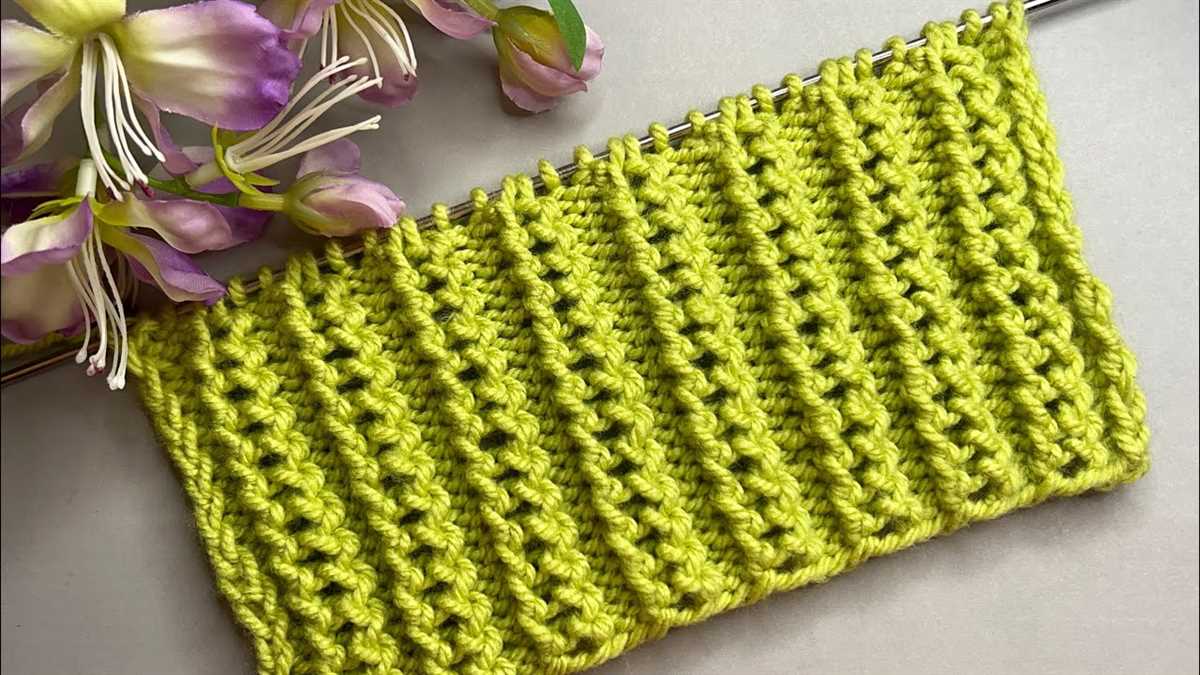
Knitting the brim of the hat
When knitting a hat, one important step is knitting the brim. The brim is the part of the hat that fits snugly around the head and helps keep it in place. It also adds a decorative touch to the hat, giving it a finished look.
To knit the brim, you will need to cast on the required number of stitches using your preferred method. Depending on the pattern, the brim can be knit in a different stitch pattern than the rest of the hat, such as ribbing or garter stitch. The choice of stitch pattern will affect the stretchiness and structure of the brim, so it’s important to choose one that suits your preferences and the overall design of the hat.
For a ribbed brim, you can use a combination of knit and purl stitches. This creates a stretchy and textured fabric that fits comfortably around the head. The most common ribbing pattern is the 1×1 rib, where you alternate one knit stitch with one purl stitch. This pattern is easy to knit and creates a classic look. Another popular option is the 2×2 rib, where you alternate two knit stitches with two purl stitches. This pattern creates a thicker and more pronounced ribbing.
Once you have cast on and chosen your desired stitch pattern, you will continue knitting in the round until the brim reaches the desired length. It’s important to regularly measure the brim to ensure it fits comfortably and snugly. You can try the hat on periodically to check the fit and make any necessary adjustments.
After completing the brim, you can continue knitting the rest of the hat according to the pattern instructions. This may involve changing stitch patterns, decreasing stitches, or adding additional design elements. The brim sets the foundation for the rest of the hat, so taking the time to knit it carefully and accurately will ensure a well-fitted and stylish finished product.
Knitting the Body of the Hat
Once you have cast on the required number of stitches for your hat, it’s time to start knitting the body. The body of the hat is the main part that covers your head and gives the hat its shape.
Using the stitch pattern specified in the knitting pattern, continue knitting in the round. This may involve repeating a specific combination of knit and purl stitches, or following a more complex stitch pattern. Make sure to check the pattern for any special instructions or stitch changes as you progress.
If you are using double-pointed needles or a circular needle, you will need to join the round by carefully bringing the first stitch to the last stitch to create a seamless loop. Be careful not to twist the stitches when joining. If you are using straight needles, you will continue knitting back and forth in rows.
As you knit the body of the hat, make sure to check the length indicated in the pattern. This will determine how slouchy or fitted the finished hat will be. If you prefer a longer or shorter hat, you can easily modify the length by adding or subtracting rows. Keep in mind that the hat will stretch when worn, so it’s better to err on the side of slightly shorter rather than longer.
- Continue knitting the body of the hat until you reach the desired length.
- Remember to check the stitch pattern and any shaping instructions as you go.
- Keep an eye on your gauge to ensure the hat will fit properly.
Once you have reached the desired length, you can proceed to the next step in the knitting pattern. This may involve shaping the crown of the hat or adding any additional stitch details. Following the pattern carefully will ensure that your hat turns out just as you envisioned. Happy knitting!
Creating the Scarf Pattern
The scarf is an essential accessory for staying warm during the chilly winter months. Creating your own scarf pattern allows you to customize the design and choose the colors and textures that you love. Whether you’re a beginner knitter or an experienced one, here are some steps to help you create your own hat scarf and mittens knitting pattern.
1. Decide on the width and length of your scarf. Consider the desired length for wrapping around your neck and the width that you find comfortable to wear. A standard width is around 6-8 inches, but you can adjust it according to your preference.
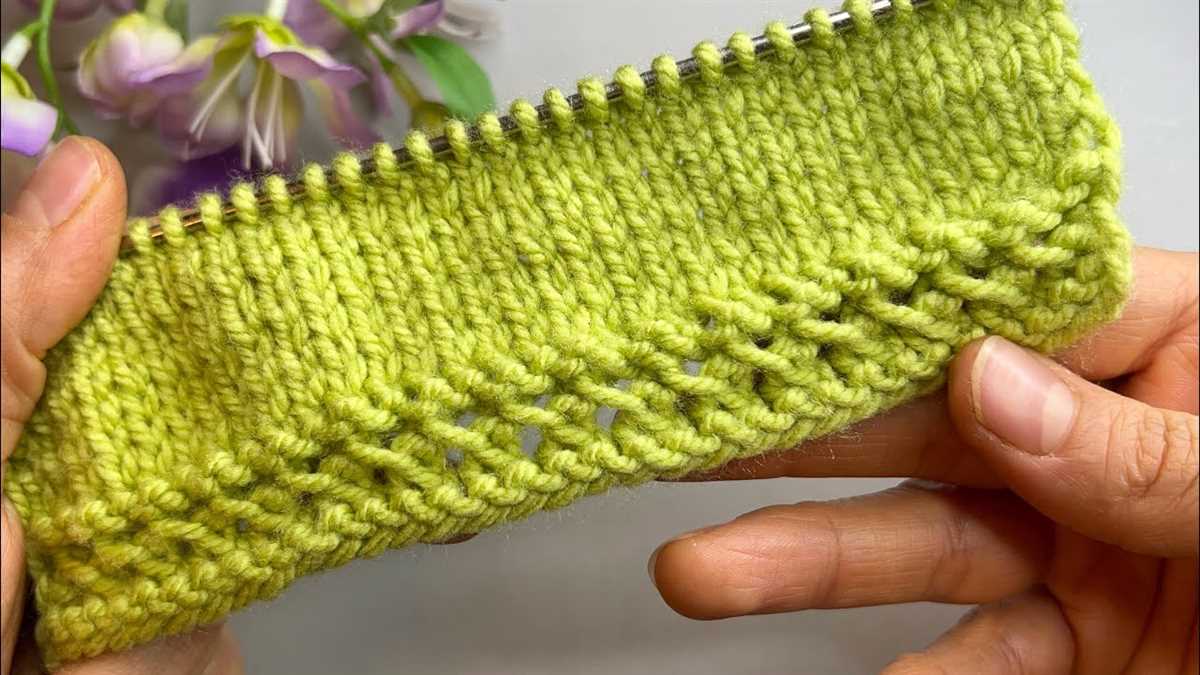
2. Choose the type of stitches you want to use
There are endless stitch patterns to choose from for your scarf. For a classic look, you can opt for a simple garter stitch or stockinette stitch. If you want to add more texture, consider incorporating rib stitches or cables. You can also experiment with lace patterns for a delicate and feminine touch.
3. Select the yarn and needles.
Choose a yarn that suits the style and warmth you desire for your scarf. Chunky yarns will create a thick and cozy scarf, while lighter weight yarns will give you a more delicate and drapey result. Check the yarn label for recommended needle sizes and adjust accordingly.
4. Start swatching.
Before diving into the scarf, it’s important to create a swatch to determine your gauge. Knit a small sample piece using your chosen stitches, yarn, and needles. Measure the number of stitches and rows per inch to make sure your scarf will turn out the right size. Adjust your needle size if needed.
5. Begin knitting your scarf.
Once you have determined your gauge, cast on the desired number of stitches and start knitting your scarf according to your chosen stitch pattern. Keep track of your rows if you want to achieve a symmetrical design or add in color changes along the way. Don’t forget to periodically check your gauge to ensure consistency throughout your project.
6. Finish off your scarf.
When you have reached your desired length, bind off your stitches and weave in any loose ends. Block your scarf if necessary to even out the stitches and give it a polished look. Then, your scarf is ready to be worn or gifted!
Knitting the main part of the scarf
Once you have cast on the desired number of stitches, you can start knitting the main part of the scarf. This is where you will create the body of the scarf and add any stitch patterns or designs you want.
One of the most popular stitch patterns for a scarf is the Garter Stitch, which involves knitting every row. To create the Garter Stitch, simply knit every stitch in each row until you reach the desired length of the scarf. This stitch pattern creates a textured, bouncy fabric that is reversible, making it a great choice for scarves.
If you want to add some variety to your scarf, you can also try different stitch patterns such as the Stockinette Stitch, Rib Stitch, or Seed Stitch. Each of these stitch patterns will create a different texture and look for your scarf. To create the Stockinette Stitch, alternate between knitting one row and purling the next row. The Rib Stitch involves alternating between knit and purl stitches in the same row. The Seed Stitch is created by alternating knit and purl stitches in a specific pattern.
As you knit the main part of the scarf, make sure to keep track of your progress and measure the length regularly to ensure that it matches your desired finished size. If you want a longer or shorter scarf, you can adjust the number of rows you knit accordingly. Remember to leave enough yarn to complete the finishing touches of the scarf, such as binding off and attaching any decorative elements like tassels or fringe.
Adding the finishing touches to the mittens
Now that you’ve finished knitting the main part of the mittens, it’s time to add the final touches to complete the look. These finishing touches will not only add a decorative element to your mittens but also provide extra warmth and functionality.
Thumb: Start by knitting the thumb. Using the stitches you set aside earlier, place them back onto the double-pointed needles. Knit the required number of rows according to the pattern instructions to create the thumb. This will vary depending on the size of the mittens and the desired length of the thumb.
Cuff: Next, it’s time to work on the cuff. This is where you can get creative with different stitch patterns or add ribbing for a snug fit. Follow the pattern instructions to knit the cuff to the desired length. It’s always a good idea to try on the mittens as you go to ensure the perfect fit.
Now that the thumb and cuff are complete, you can add any additional embellishments or details to personalize your mittens. This could include adding buttons, embroidery, or even a small pocket for holding hand warmers. Get creative and make your mittens unique to your style.
After completing these finishing touches, your mittens are ready to be worn and enjoyed. Not only will they keep your hands warm during those colder months, but they will also showcase your knitting skills and personal style.
Assembling the hat, scarf, and mittens
Once you have completed knitting all the pieces for the hat, scarf, and mittens, it’s time to assemble them. Follow these steps to put everything together:
- Sew the seams: Use a yarn needle to sew the side seams of the hat and mittens. Make sure to line up the edges evenly and use a whip stitch or mattress stitch for a neat finish.
- Attach the pom-pom: If your hat has a pom-pom, securely attach it to the top of the hat using a yarn needle and the remaining yarn from the pom-pom.
- Add the tassels or fringes: If your scarf has tassels or fringes, create them by cutting strands of yarn and attaching them to the ends of the scarf. You can use a crochet hook or your fingers to pull the strands through the stitches.
- Block and shape: To give your finished pieces a professional look, block them by gently wetting them and laying them flat to dry. Use pins to shape the hat, scarf, and mittens into their desired form.
- Give it a final touch: Check for any loose ends or loose stitches and weave them in using a yarn needle. Make sure everything looks clean and tidy before using or gifting your handmade hat, scarf, and mittens.
By following these steps, you will be able to assemble your hat, scarf, and mittens and have a complete set of cozy winter accessories. Enjoy the warmth and style they bring during the cold months!