
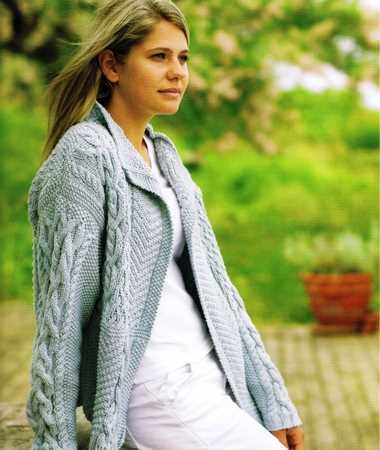
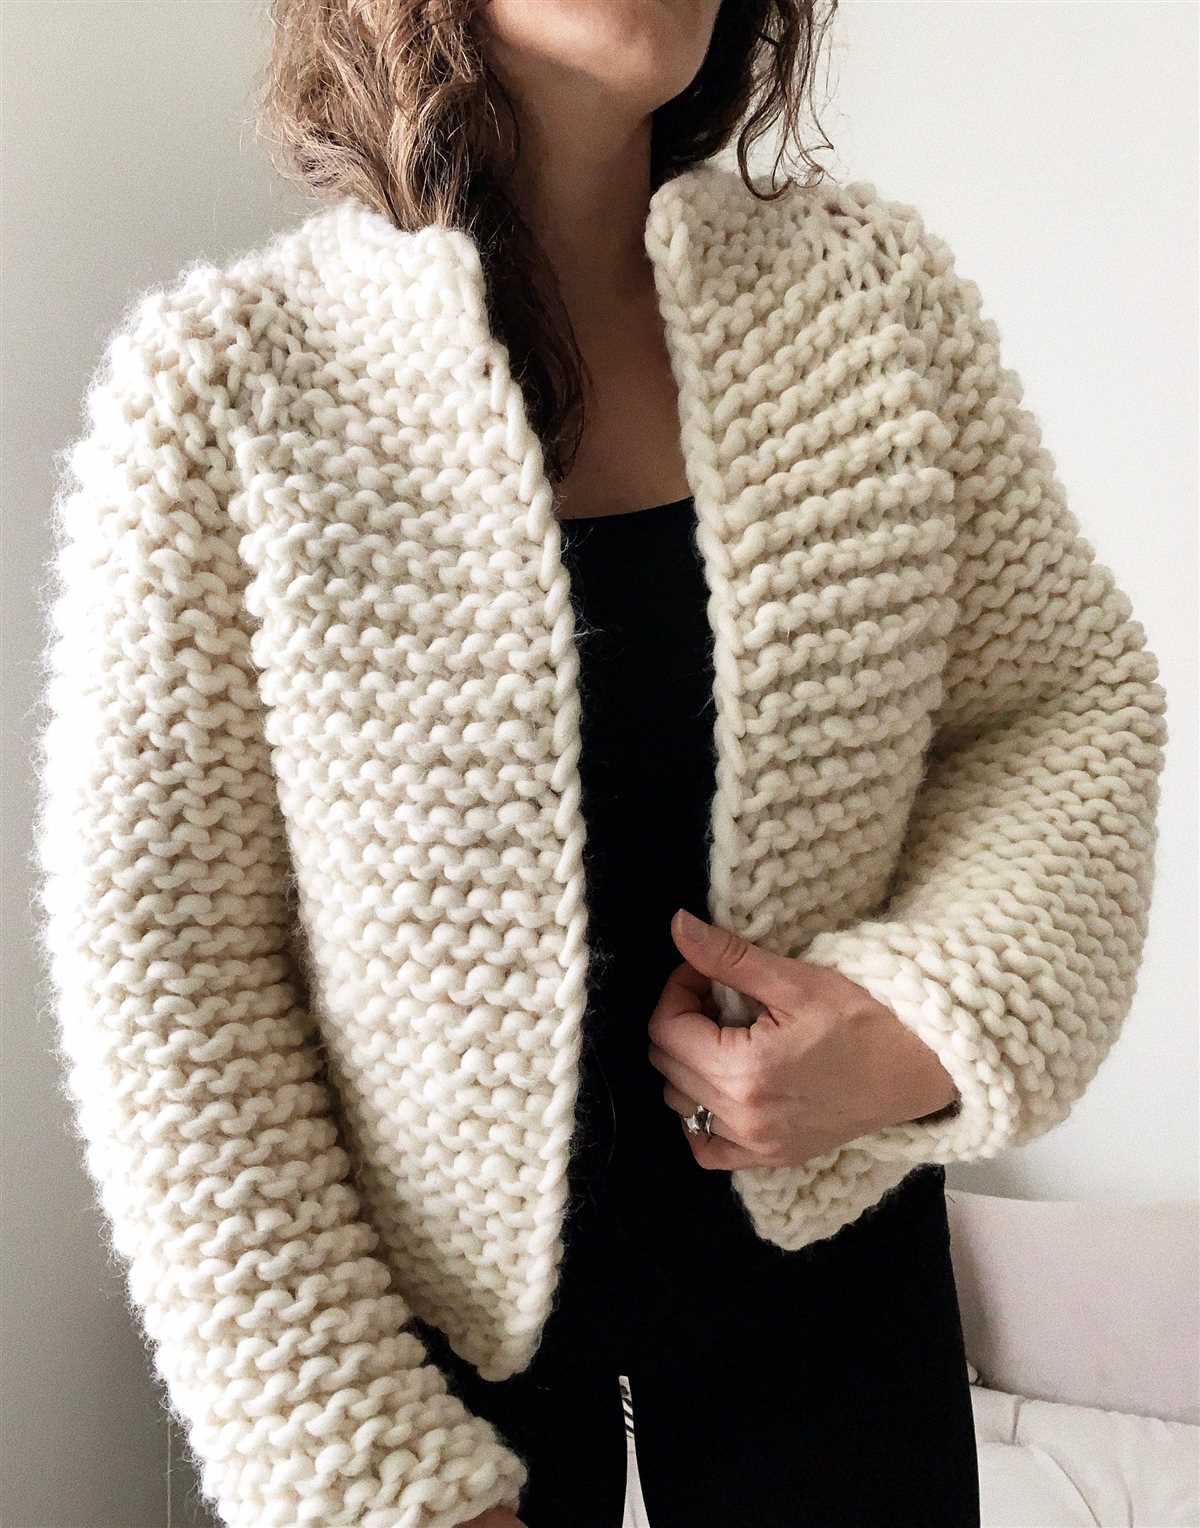
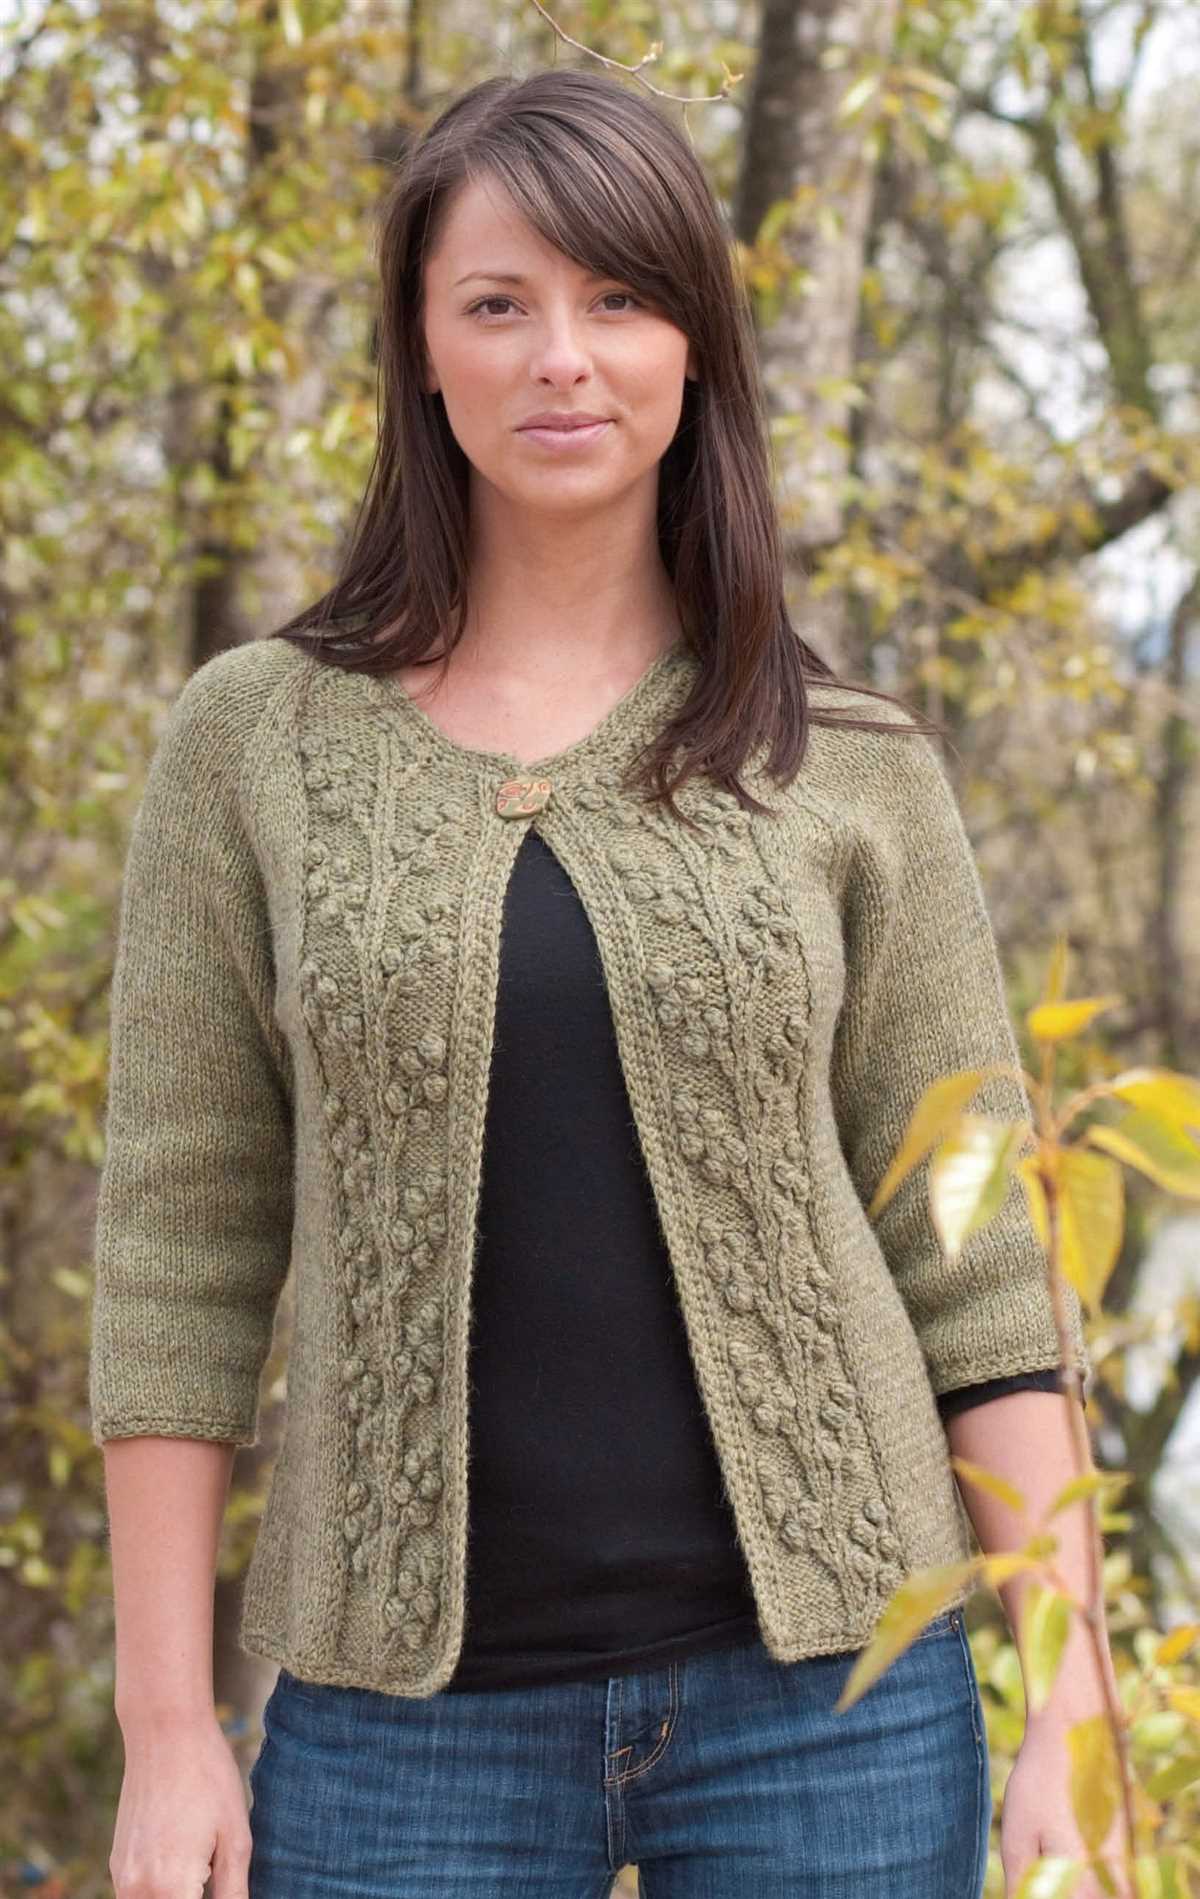
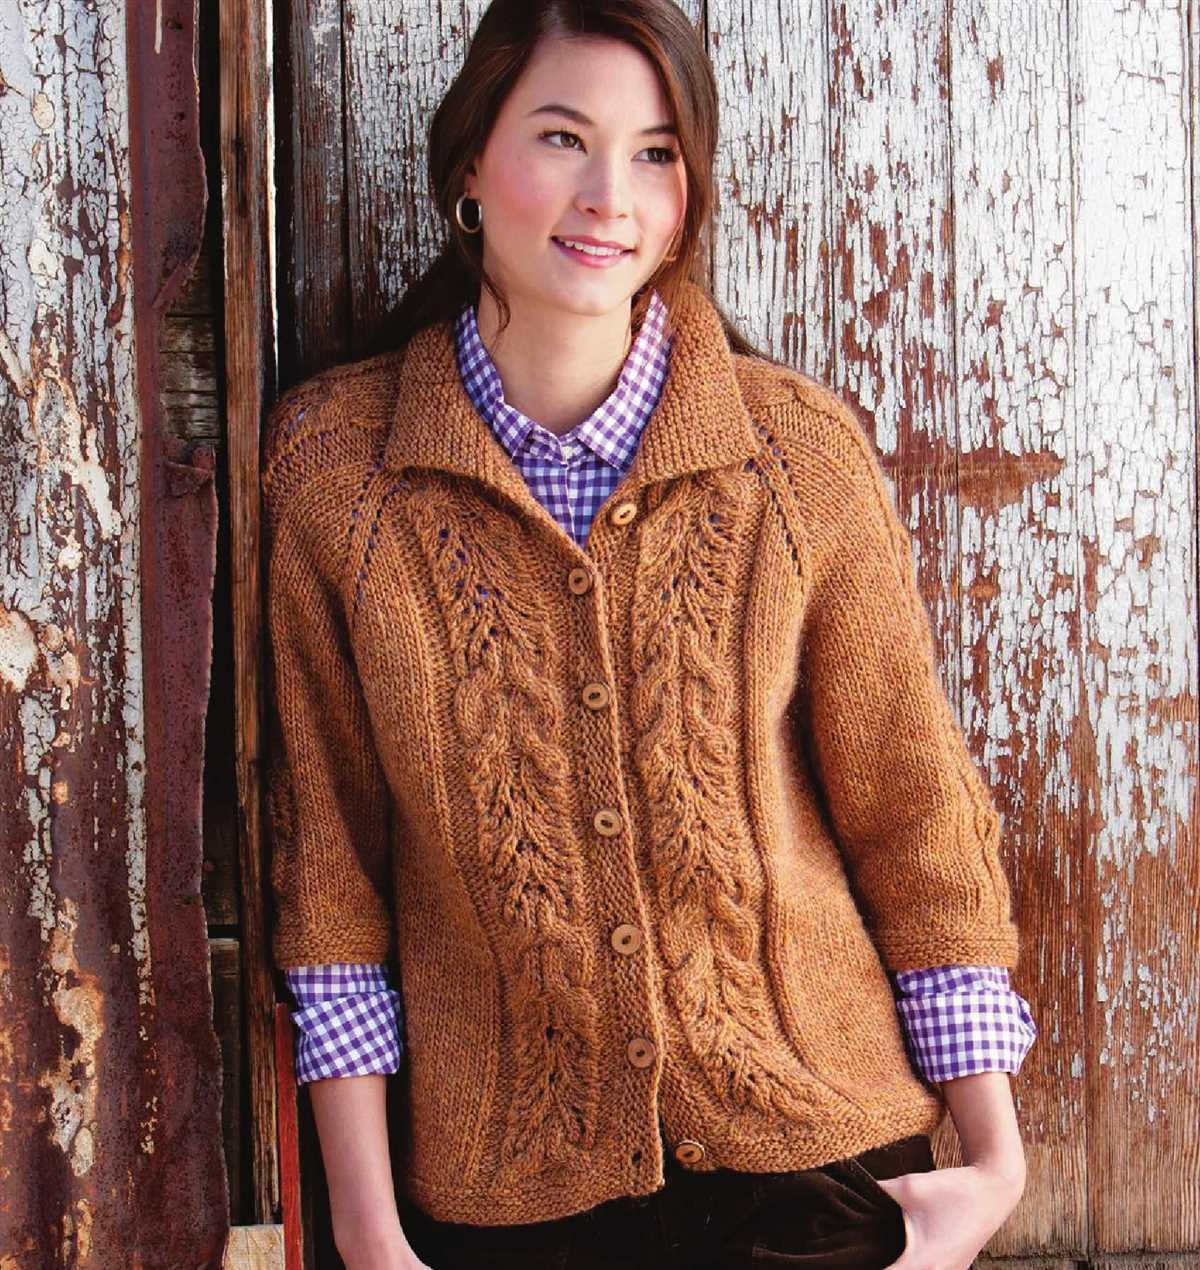
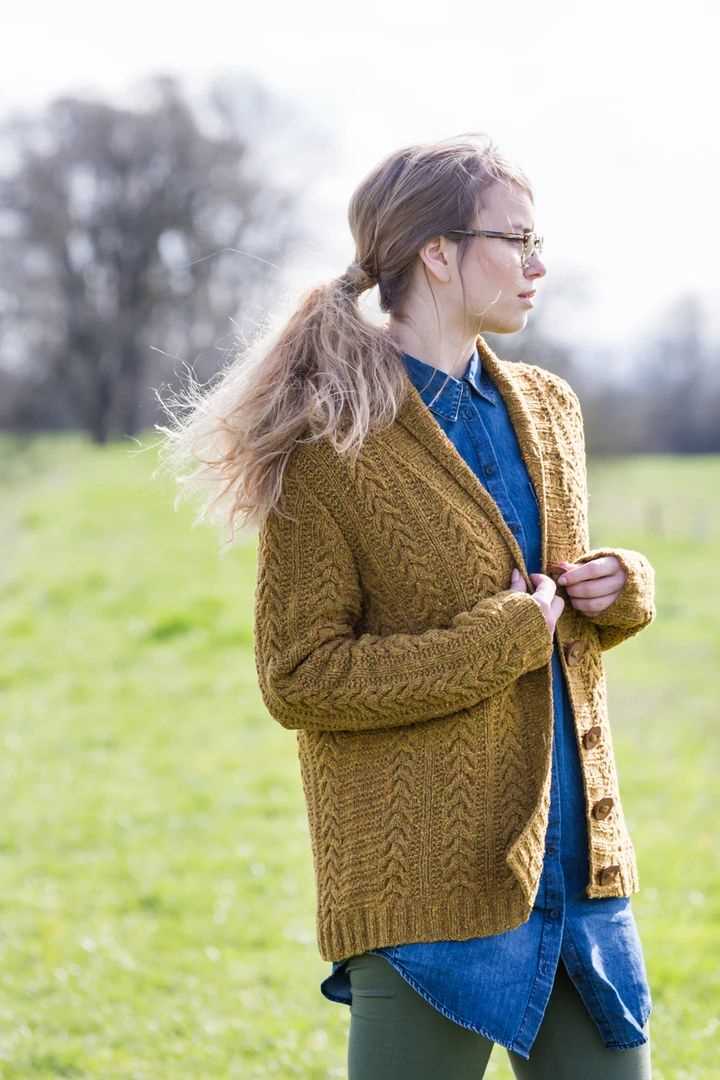
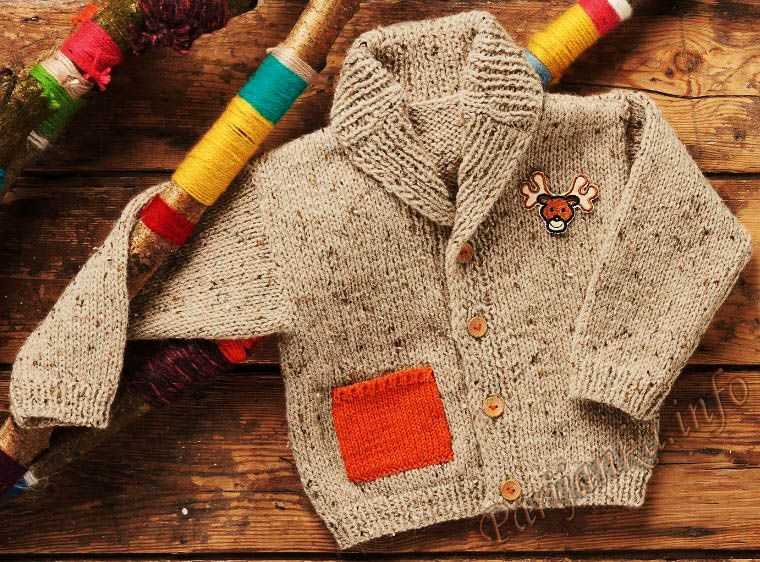
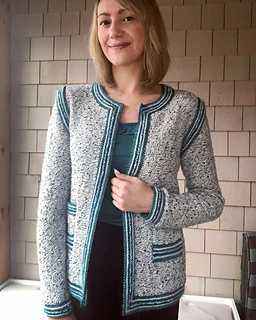
The Harper Jacket knitting pattern is a versatile and stylish design that is perfect for any season. Whether you’re looking for a cozy layering piece for the colder months or a lightweight jacket for spring and summer, this pattern has you covered. With its classic silhouette and beautiful texture, it’s a timeless addition to any wardrobe.
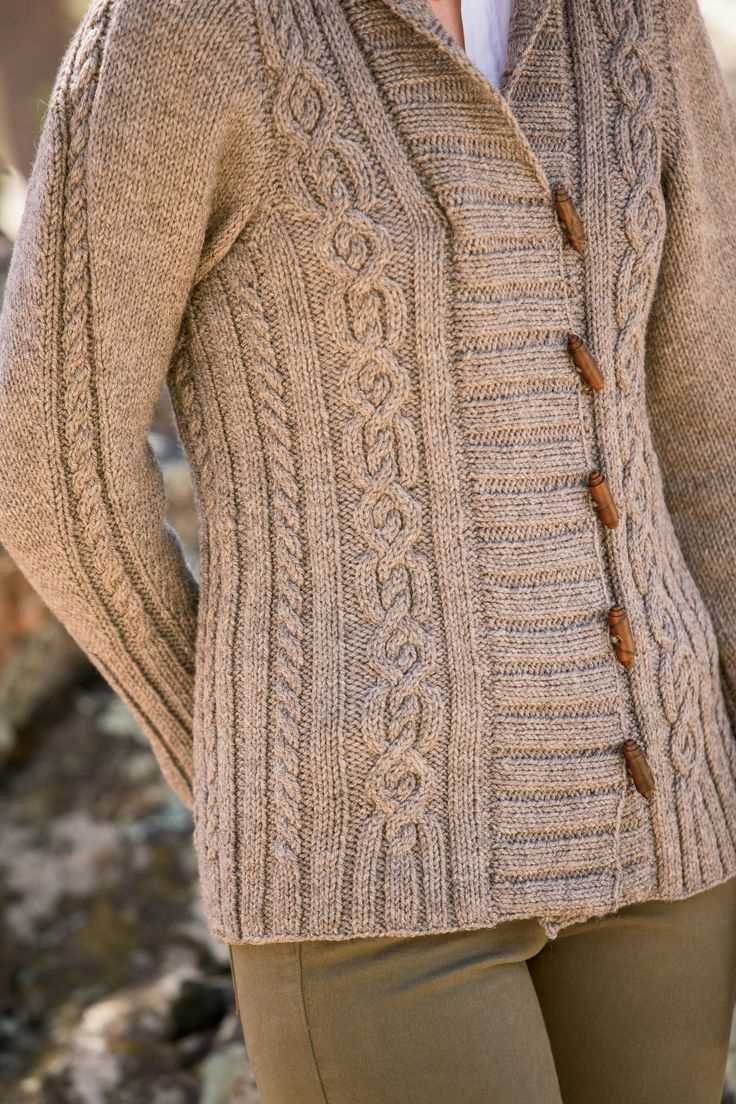
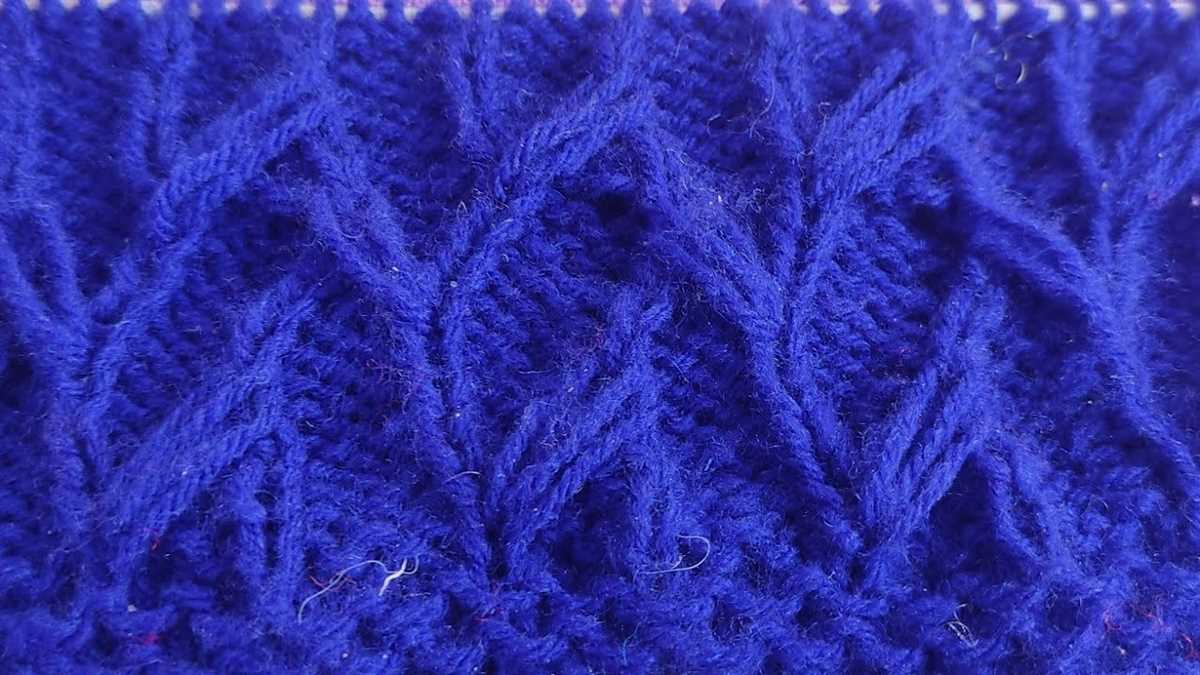
Created with intermediate level knitters in mind, the Harper Jacket pattern offers a fun and rewarding project to take on. The combination of different stitches and techniques creates a visually striking design that will impress both knitters and non-knitters alike. From the ribbed collar and cuffs to the intricate cable panels, every detail of this jacket is carefully crafted to result in a polished and professional-looking garment.
One of the best things about the Harper Jacket knitting pattern is its versatility. You can easily customize it to suit your personal style and preferences. Choose your favorite colors and yarn weight to create a jacket that is tailored to your needs. Additionally, the pattern provides options for different sizes, ensuring that you can make a jacket that fits you perfectly.
Harper Jacket Knitting Pattern
The Harper Jacket Knitting Pattern is a versatile and stylish pattern that is perfect for any knitter looking to create a beautiful and functional garment. This pattern features a classic jacket silhouette with a modern twist, making it a versatile addition to any wardrobe. Whether you’re a beginner knitter or an experienced pro, this pattern is suitable for all skill levels.
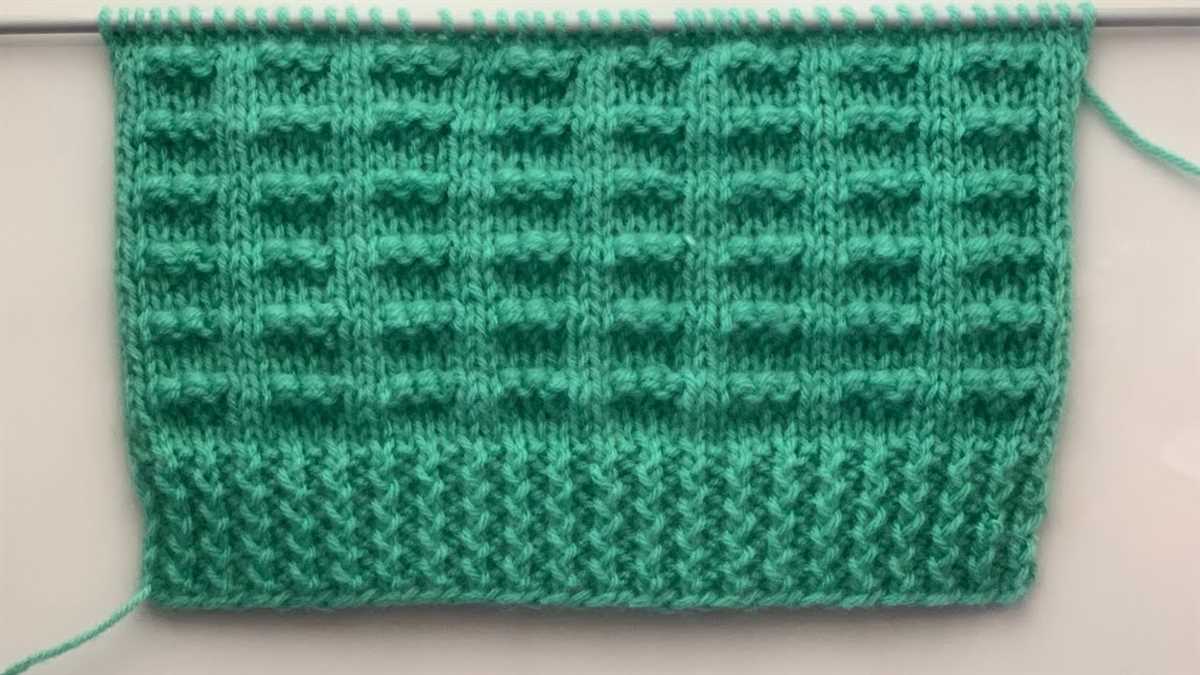
The Harper Jacket Knitting Pattern includes detailed instructions on how to knit the jacket, from casting on to seaming the pieces together. The pattern also includes clear diagrams and measurements, ensuring that you can easily follow along and achieve the desired fit and shape. The jacket is knit using a combination of basic stitches, allowing you to create a textured fabric that is both warm and breathable.
The Harper Jacket Knitting Pattern provides options for customization, allowing you to add your own personal touch to the garment. You can choose from a range of yarns and colors to create a jacket that suits your style and preferences. Additionally, the pattern includes instructions for optional features such as pockets, buttons, and a collar, giving you the freedom to customize the jacket to your liking.
With its timeless design and customizable features, the Harper Jacket Knitting Pattern is a must-have for any knitter looking to create a versatile and stylish garment. Whether you’re knitting for yourself or as a gift for a loved one, this pattern is sure to impress. So why wait? Grab your needles and get started on your own Harper Jacket today!
Materials
Before you begin knitting the Harper jacket, make sure you have all the necessary materials ready. Here is a list of what you will need:
- Yarn: Choose a medium-weight yarn that is suitable for the desired size and style of the jacket. The pattern recommends using a worsted weight yarn.
- Knitting Needles: You will need a set of circular knitting needles in the appropriate size for your yarn. The pattern recommends using US size 8 needles.
- Cable Needle: You will also need a cable needle to create the beautiful cable stitch pattern featured in the jacket. Make sure it is the appropriate size for your yarn.
- Tapestry Needle: A tapestry needle will be used for weaving in ends and sewing up any seams.
- Stitch Markers: Stitch markers are optional but recommended to help keep track of your stitches and pattern repeats.
- Buttons: Finally, you will need a set of buttons to complete the front closure of the jacket. Choose buttons that complement the color and style of your yarn.
Once you have gathered all your materials, you will be ready to start knitting the beautiful Harper jacket.
Size Guide

Choosing the right size for your Harper jacket is important to ensure a perfect fit. To help you determine the correct size, please refer to the following size guide.
Women’s Sizes:
Size Bust Waist Hips
- XS 32-34 in 24-26 in 34-36 in
- S 35-37 in 27-29 in 37-39 in
- M 38-40 in 30-32 in 40-42 in
- L 41-43 in 33-35 in 43-45 in
- XL 44-46 in 36-38 in 46-48 in
It’s recommended to measure yourself or refer to your body measurements to determine the best size. If you fall between two sizes, it is generally recommended to choose the larger size for a more comfortable fit.
Note: The Harper jacket knitting pattern is designed to have a slightly oversized fit. If you prefer a more fitted look, you may consider sizing down.
Gauge
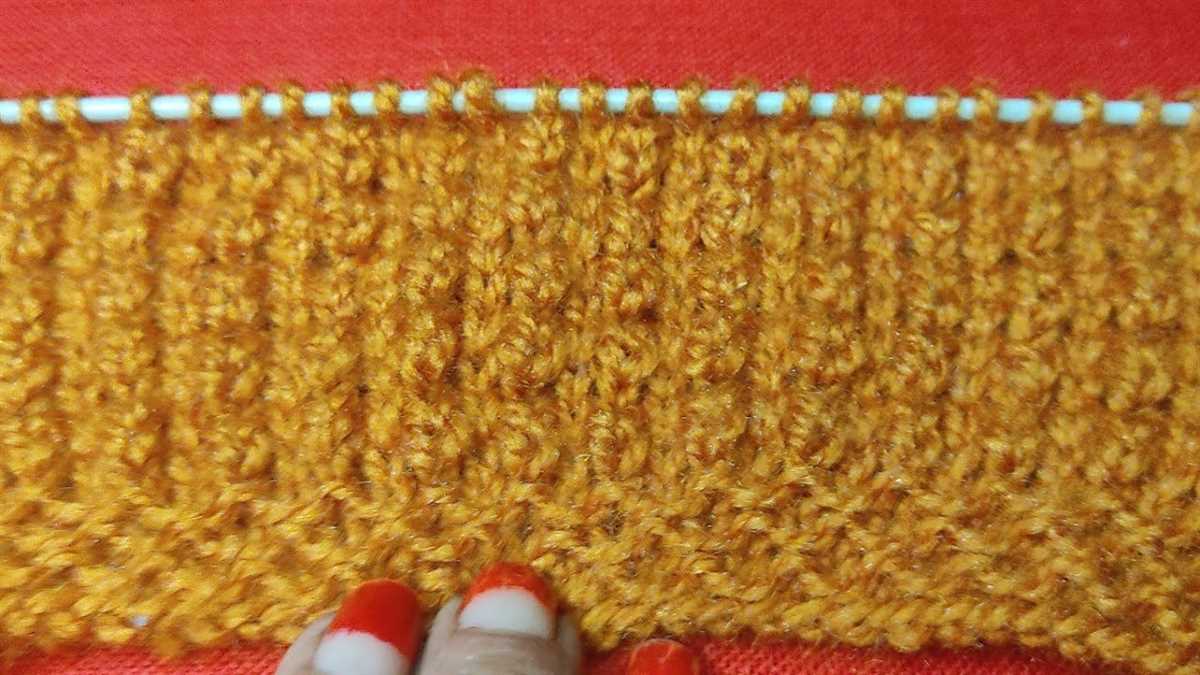
Gauge is an important concept in knitting, especially when following a pattern like the Harper jacket knitting pattern. It refers to the number of stitches and rows per inch that you need to achieve in order for your finished project to match the measurements provided in the pattern. To determine your gauge, you will typically need to knit a swatch using the recommended yarn and needle size and measure the number of stitches and rows in a set measurement.
Why is gauge important?
Gauge is important because it ensures that your finished project will turn out the correct size. If your gauge is too loose, meaning you have fewer stitches and rows per inch than specified in the pattern, your project will end up larger than intended. On the other hand, if your gauge is too tight with more stitches and rows per inch, your project will be smaller. Achieving the correct gauge is crucial for the fit and overall appearance of the finished garment.
Determining your gauge
To determine your gauge for the Harper jacket knitting pattern, you will need to follow the instructions provided in the pattern. Start by casting on the recommended number of stitches and knitting a swatch in the stitch pattern specified. Use the recommended needle size and yarn specified in the pattern. Once your swatch is complete, measure the number of stitches and rows in a given measurement, usually four inches. Compare your measurements to the gauge specified in the pattern. If your measurements match the pattern’s gauge, great! You’re ready to start knitting the jacket. If not, you may need to adjust your needle size and/or yarn to achieve the correct gauge.
Importance of matching gauge
Matching gauge is important because it ensures that your finished project will fit properly. If your gauge doesn’t match the pattern’s gauge, the finished garment may not fit as intended and you may have to adjust the pattern accordingly. It’s always a good idea to take the time to make a swatch and check your gauge before starting a knitting project, as it can save you from potential disappointment or having to start over if your gauge is off.
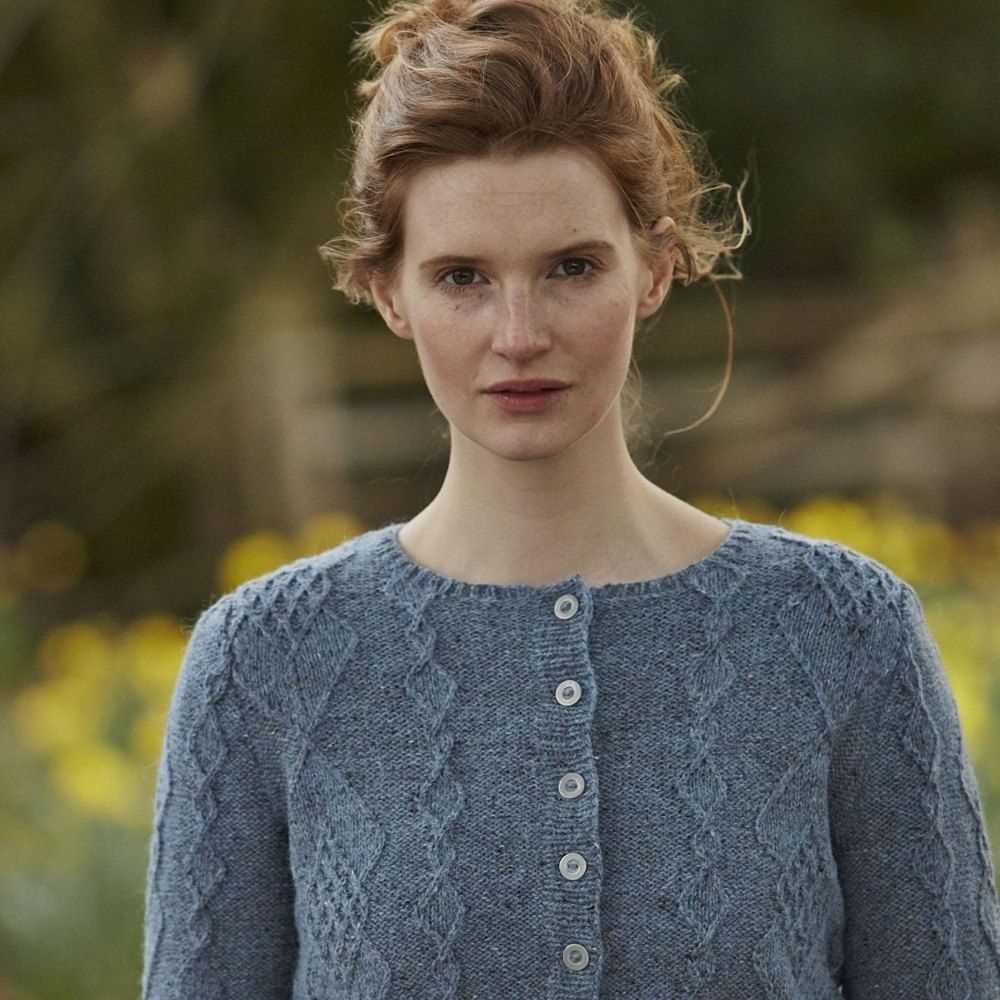
Front Panels
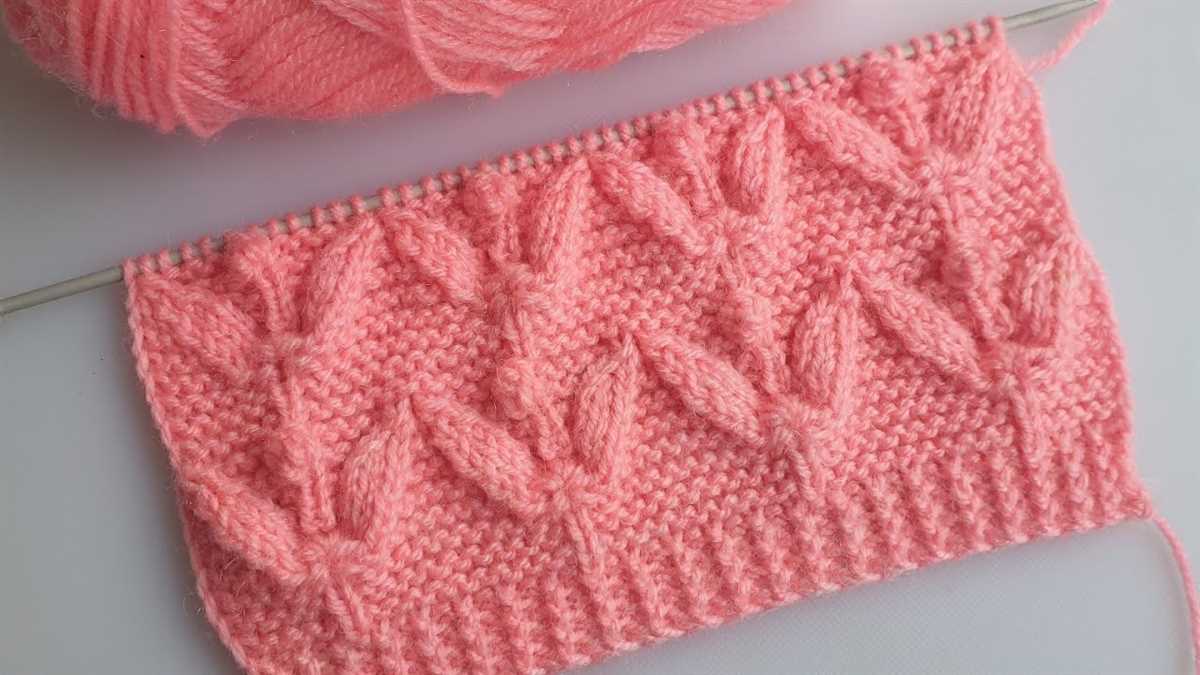
The front panels of the Harper jacket are worked separately and then joined together at the center. You will need to cast on the required number of stitches as indicated in the pattern. The front panels are knit using the specified stitch pattern, which creates a beautiful texture for the jacket.
When working the front panels, it is important to keep track of your stitch count and pattern repeats to ensure that the panels are symmetrical. You can use stitch markers to mark the beginning and end of each pattern repeat, making it easier to keep track of your progress.
To achieve the right fit, you may need to work shaping rows, such as decreases or increases, at specific points along the front panels. These shaping rows are usually indicated in the pattern and help create the desired silhouette of the jacket.
Once both front panels are complete, you will need to join them together at the center. This can be done by either sewing the panels together using a mattress stitch or by working a three-needle bind off. Make sure to align the stitch pattern and maintain the same tension throughout the joining process.
After the front panels are joined, you can continue working the rest of the jacket according to the pattern instructions. The front panels play a key role in creating the overall look and fit of the Harper jacket, so take your time and enjoy the process of knitting them.
Back Panel
The back panel of the Harper jacket is an essential part of the knitting pattern. It provides structure and support to the garment, ensuring a proper fit and shape. The back panel is knitted using the specified stitch pattern, which adds texture and visual interest to the jacket.
To begin the back panel, cast on the required number of stitches as indicated in the pattern. It is crucial to use the correct needle size to achieve the desired gauge. The back panel is then worked in rows, following the instructions for stitch pattern and shaping.
The stitch pattern for the back panel may include various techniques such as knit, purl, and cable stitches. These stitches create a unique texture and pattern, enhancing the overall design of the jacket. It is important to pay attention to the stitch instructions and pattern repeats to ensure accuracy and consistency throughout the knitting process.
As you work on the back panel, remember to check your gauge regularly to ensure that it matches the measurements specified in the pattern. This will help you achieve the correct size and fit for your jacket. Additionally, take note of any shaping instructions, such as decreases or increases, to create shaping for the garment.
Once the back panel is complete, you can proceed to the next step of the knitting pattern, such as joining the front panels or adding sleeves. The back panel serves as a foundation for the rest of the jacket, and its completion sets the stage for the remaining knitting process.
- Cast on the required number of stitches.
- Follow the stitch pattern and shaping instructions.
- Check your gauge regularly.
Sleeves
Sleeves are an important part of the Harper jacket knitting pattern. They add warmth and style to the finished garment.
When knitting the sleeves, it is important to pay attention to the pattern instructions and gauge to ensure a proper fit. The sleeves can be knit in the round or flat, depending on your preference and skill level.
In the round:
- When knitting the sleeves in the round, you will need double-pointed needles or a set of circular needles for magic loop knitting.
- Begin by casting on the required number of stitches for your size, and then join in the round.
- Follow the pattern instructions for any shaping or stitch patterns, making sure to check your gauge as you go.
- Continue knitting until the sleeve reaches the desired length, and then bind off following the pattern’s instructions.
Flat knitting:
- If you prefer to knit the sleeves flat, you will need straight needles or a set of circular needles for flat knitting.
- Begin by casting on the required number of stitches for your size, and then knit back and forth in rows.
- Follow the pattern instructions for any shaping or stitch patterns, making sure to check your gauge as you go.
- Once the sleeve reaches the desired length, you can seam the sleeve using the mattress stitch or any other preferred method.
Finishing:
After completing both sleeves, you can attach them to the body of the jacket using the mattress stitch or any other preferred seaming method. Make sure to match up the stitches and pattern repeats to create a seamless and professional-looking finish.
Once the sleeves are attached, you can add any desired finishing touches, such as ribbing or cuffs, to complete the look of the Harper jacket.
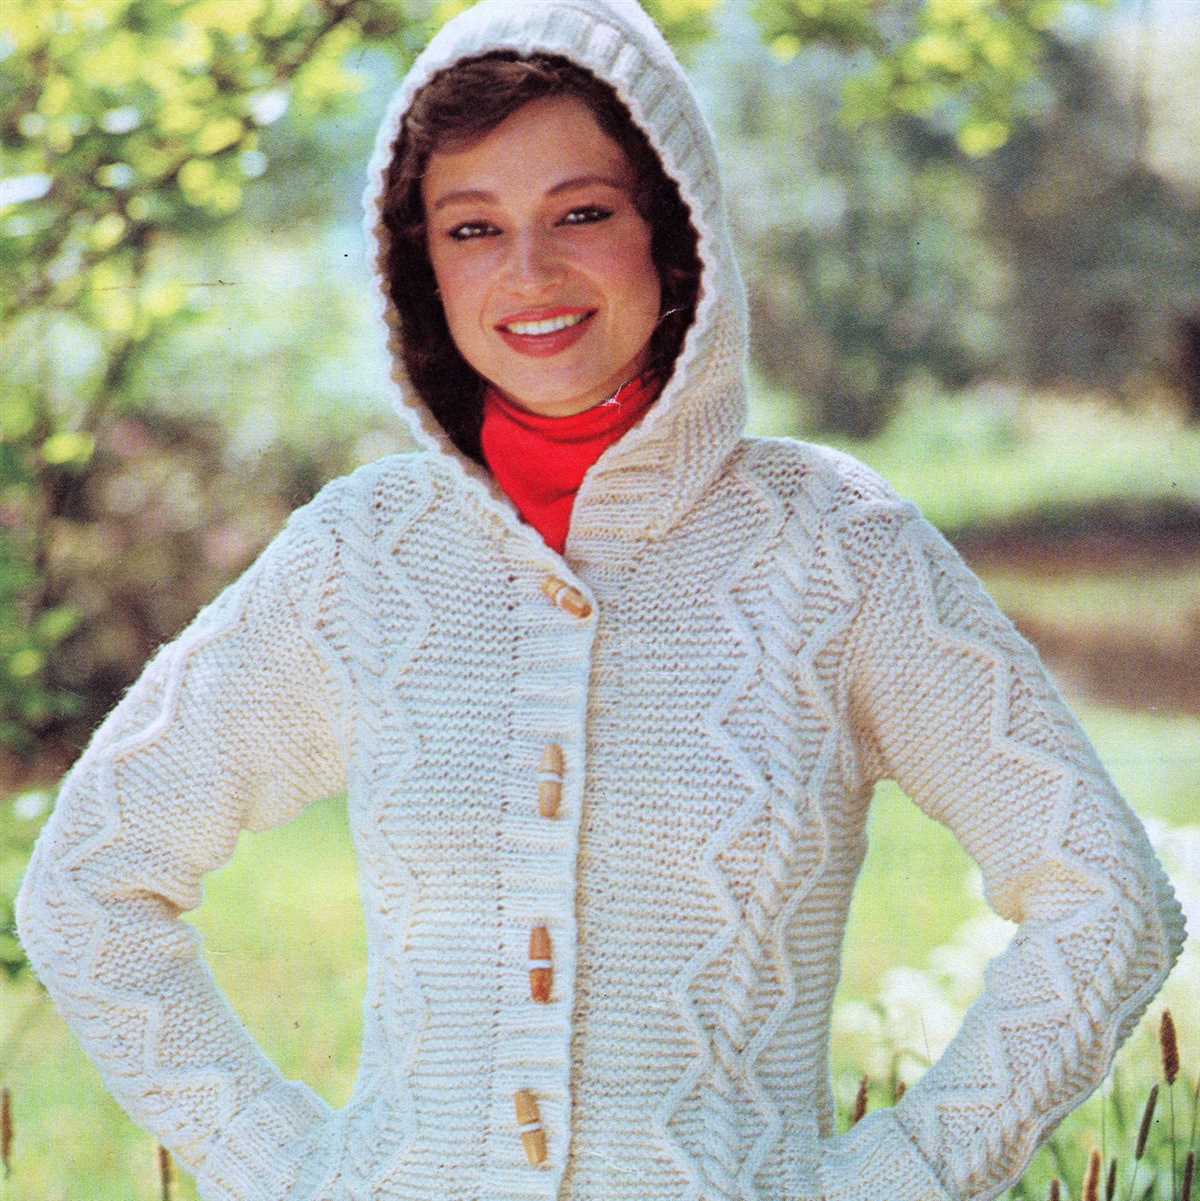
Collar
The collar is an important feature of the Harper jacket knitting pattern. It adds style and warmth to the garment, making it suitable for colder weather. The pattern provides instructions for knitting a classic collar that sits smoothly around the neck.
To create the collar, you will need to follow the specific instructions outlined in the pattern. The collar is typically knitted separately from the main body of the jacket and then attached. This allows for easy adjustment and customization, ensuring a perfect fit.
The collar may be created using a different stitch pattern or texture than the rest of the jacket, adding visual interest and design elements. It can be knitted in a contrasting color to create a striking contrast, or in a matching color for a more subtle look.
Once the collar is completed, it is attached to the neckline of the jacket using a sewing needle and yarn. Care should be taken to ensure that the collar is evenly distributed and securely sewn in place. This will ensure that the collar lays flat against the neck and does not sag or droop.
Overall, the collar is an essential component of the Harper jacket knitting pattern, providing both style and functionality. It is an opportunity to add personal touches to the jacket and make it unique. Whether you choose to knit a classic collar or experiment with different stitch patterns, the collar is sure to elevate the look of your jacket.
Assembly
Once you have finished knitting all the pieces for the Harper jacket, it’s time to assemble them together. Carefully lay out all the pieces on a flat surface, making sure they are in the correct order and orientation as specified in the pattern. This will make it easier to visualize how they will come together to form the final garment.
Start by sewing the shoulder seams together using a tapestry needle and the yarn used for knitting. Align the front and back pieces at the shoulders and use a whip stitch or mattress stitch to join them. Make sure to match the stitches and maintain an even tension for a neat finish. Repeat this step for both the left and right shoulders.
-
Next, sew the side seams from the bottom hem to the underarm. Lay the front and back pieces flat with the wrong sides together and align the stitches along the edges. Use the same method as before to join the pieces, making sure to match the stitches and maintain an even tension.
-
After the side seams are complete, it’s time to attach the sleeves. Place each sleeve at the armhole, aligning the stitches along the edges and making sure the top of the sleeve is centered at the shoulder seam. Again, use a whip stitch or mattress stitch to join the pieces, matching the stitches and maintaining an even tension.
-
Once the sleeves are attached, sew the sleeve seams from the wrist to the underarm. Lay the sleeves flat with the wrong sides together and align the stitches along the edges. Use the same method as before to join the pieces, ensuring the stitches match and the tension is even.
After all the seams have been sewn, weave in any loose ends and trim off excess yarn. Try on the Harper jacket to check the fit and make any necessary adjustments. Finally, block the jacket according to the yarn manufacturer’s instructions to set the stitches and give the finished garment a professional look.
Finishing Touches
After completing the knitting of the Harper jacket, it’s time to add the finishing touches to make it truly polished and ready to wear. These final steps will give your jacket a professional and high-quality look.
Blocking
First and foremost, it’s important to block your knitted pieces before assembling the jacket. Blocking helps to shape and even out the stitches, ensuring that the garment maintains its intended dimensions and lays flat. Lay your pieces on a clean, flat surface and use pins or blocking wires to gently stretch and shape them. Mist the pieces with water or use a steam iron to lightly dampen them. Allow the pieces to dry completely before moving on to the next step.
Seaming and Finishing
Next, it’s time to seam the knitted pieces together. Use a yarn needle and matching yarn to sew the side seams, shoulder seams, and sleeve seams, following the pattern instructions. Take care to align the stitches and create an invisible seam. Once the seams are complete, weave in any remaining loose ends to ensure a clean and tidy finish.
After the seams are finished, it’s time to add any desired embellishments or closures to the jacket. This could include buttons, zippers, or clasps, depending on your personal preference and the style of the jacket. Carefully sew on the closures, making sure they are securely attached and aligned with the edge of the garment. Adding these final touches will not only add functionality but also enhance the overall aesthetic of the jacket.
Final Steps
To complete the Harper jacket, take some time to give it a final inspection. Check for any loose threads or areas that may need reinforcement. Gently steam or press the finished garment to smooth out any wrinkles or creases. Finally, try on the jacket and make any necessary adjustments or alterations for the perfect fit. The finishing touches are what truly bring the Harper jacket to life and make it a standout piece in your wardrobe.
Care Instructions
Proper care is essential to keep your Harper jacket looking its best. Follow these care instructions to ensure that your jacket stays in excellent condition for years to come.
Cleaning
Hand wash only: The Harper jacket is made from delicate materials, so it is important to hand wash it to prevent damage. Fill a basin or sink with lukewarm water and a mild detergent. Gently agitate the jacket in the water, taking care not to stretch or twist it. Rinse thoroughly with clean water.
Drying: After washing, squeeze out excess water from the jacket gently, being careful not to wring or twist it. Lay the jacket flat on a clean, dry towel and reshape it to its original form. Leave it to air dry away from direct sunlight or heat sources.
Storage
Proper folding: To avoid creasing or misshaping, fold the Harper jacket neatly along its natural lines. Avoid hanging the jacket for long periods, as this can cause stretching or distortion.
Protection: When storing the Harper jacket, place it in a breathable storage bag or wrap it in acid-free tissue paper. This will protect the jacket from dust, dirt, and insects. Avoid using plastic bags, as they can trap moisture and promote mildew growth.
Additional Tips
- Avoid exposing the jacket to direct sunlight for extended periods, as it can fade the colors.
- Do not iron or steam the jacket, as it may damage the delicate fabric.
- Avoid using bleach or harsh chemicals on the jacket, as they can cause discoloration and damage.
- If you encounter any stains or spills on the jacket, spot clean them immediately with a mild detergent and a soft cloth.
- Regularly inspect the jacket for any loose threads or damages and repair them promptly to prevent further unraveling.
By following these care instructions, you can ensure that your Harper jacket remains in excellent condition and continues to be a stylish and cozy addition to your wardrobe.
Tips and Troubleshooting
Here are some tips and troubleshooting suggestions to ensure a smooth knitting experience with the Harper jacket pattern:
1. Gauge: Make sure to check your gauge before starting the project. This will ensure that your finished jacket will have the correct measurements and fit as expected. If your gauge doesn’t match the pattern gauge, you may need to adjust your needle size or tension to achieve the correct gauge.
2. Reading the pattern: Take the time to carefully read through the entire pattern before starting. Familiarize yourself with the abbreviations, stitch patterns, and shaping instructions. This will help you understand the overall construction of the jacket and prevent any confusion while knitting.
3. Marking your progress: Use stitch markers or different colored yarn to mark the beginning of the round or any important stitch counts. This will make it easier to keep track of your progress and ensure that you don’t lose your place in the pattern.
4. Joining new yarn: When joining a new skein of yarn, make sure to do it at the beginning of a round or a side seam to help conceal the join. Weaving in ends as you go can also help minimize the amount of finishing work needed at the end.
5. Fixing mistakes: If you make a mistake in the pattern, don’t panic! Depending on the type of mistake, you can either carefully unravel the stitches back to the error and re-knit them correctly or use a crochet hook to fix the mistake without ripping out any rows.
6. Blocking: Blocking is an important step in finishing your knit garment. Follow the blocking instructions provided in the pattern to shape your jacket and allow the stitches to relax and even out. This will give your jacket a professional look and improve its drape.
Remember, knitting is a creative and enjoyable process, so don’t be afraid to experiment and make the pattern your own. If you encounter any difficulties or have questions, reach out to the knitting community for support. Happy knitting!
Please note: The Harper jacket knitting pattern is copyrighted and for personal use only. It cannot be reproduced, redistributed, or used for commercial purposes without the written permission of the designer.