
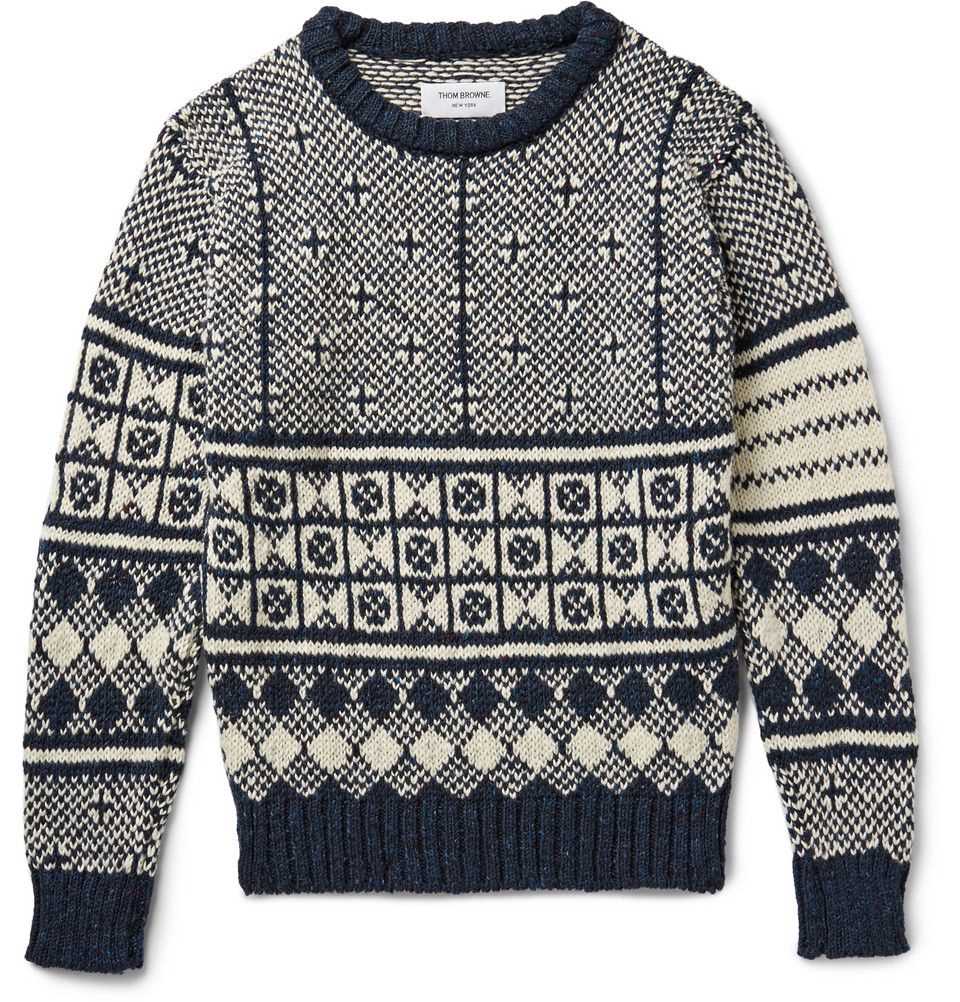
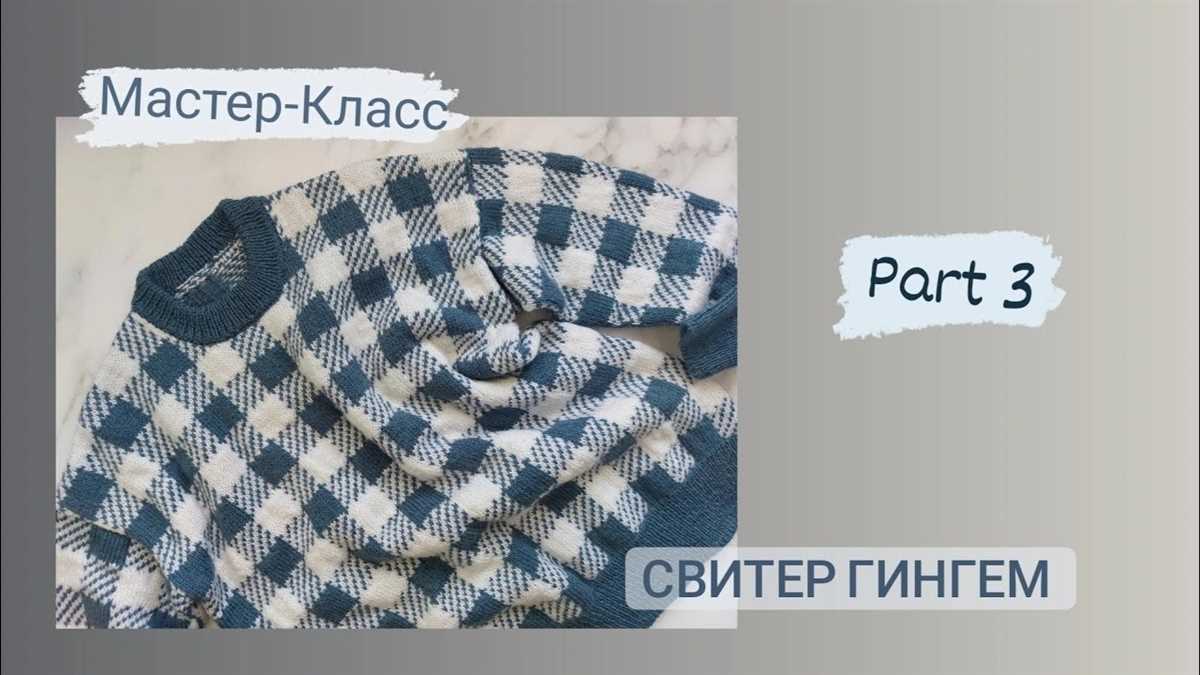
If you’re a fan of classic, timeless patterns, the gingham sweater knitting pattern is perfect for you. Gingham is a simple, yet stylish pattern that never goes out of style. This pattern is ideal for knitters of all skill levels, from beginners to advanced. With its repetitive design, it’s easy to pick up and follow along, making it a great project for those looking for a relaxing and satisfying knitting experience.
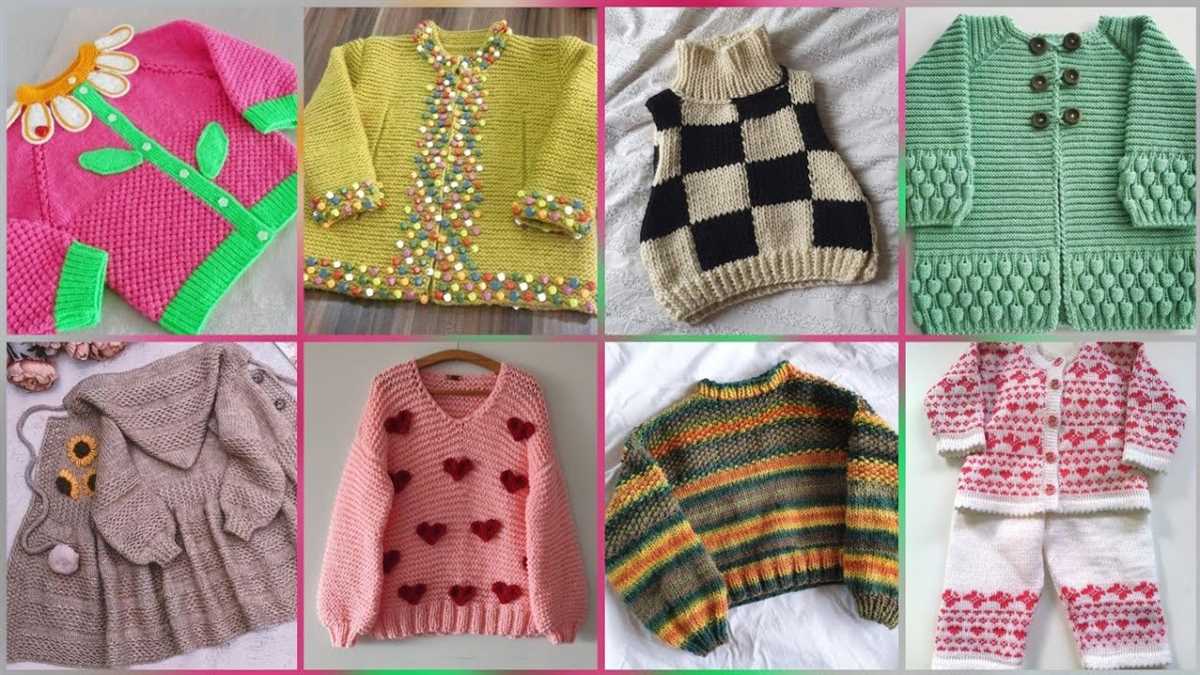
The gingham sweater knitting pattern usually consists of two alternating colors to create the traditional gingham checkered pattern. You can choose any colors you like, from classic black and white to vibrant and playful combinations. This pattern allows you to showcase your creativity and personalize your sweater to suit your style and preferences.
Whether you’re knitting for yourself or as a gift for a loved one, a gingham sweater is sure to be a beloved and cherished item. Its timeless design makes it suitable for any occasion – from casual outings to more formal events. You can pair it with jeans for a laid-back look, or dress it up with a skirt or trousers for a more polished appearance. The possibilities are endless with this versatile garment.
Gingham Sweater Knitting Pattern
The gingham sweater knitting pattern is a classic design that is perfect for both beginners and experienced knitters. The gingham pattern creates a stylish and timeless look, making it a great addition to any wardrobe. Whether you’re knitting for yourself or for a loved one, this pattern is sure to impress.
To create the gingham sweater, you’ll need a few basic knitting skills and materials. You’ll need to know how to cast on, knit, purl, and bind off. You’ll also need a pair of knitting needles in the appropriate size for your chosen yarn, as well as the yarn itself. For the gingham pattern, you’ll need two contrasting colors of yarn.
The gingham pattern is created using a combination of knit and purl stitches. The sweater is knit in panels, with each panel alternating between the two colors of yarn. You’ll start by casting on the required number of stitches and then knit in your main color for a few rows. Then, you’ll switch to the contrasting color and follow the pattern chart to create the gingham pattern. Repeat this alternating pattern until the panel reaches the desired length.
Once all of the panels are complete, you’ll sew them together to create the finished sweater. You’ll also need to add ribbed cuffs and a ribbed collar to complete the look. The gingham sweater is a versatile piece that can be dressed up or down, making it perfect for any occasion. Whether you’re wearing it with jeans for a casual day out or pairing it with a skirt for a more formal event, the gingham sweater is sure to turn heads.
Materials Needed
Before you begin knitting your gingham sweater, make sure you have all the necessary materials at hand. Here’s a list of items you’ll need:
- Yarn: Choose a high-quality yarn in two contrasting colors. The gingham pattern requires a main color (MC) and a contrast color (CC).
- Knitting Needles: Select knitting needles in the appropriate size for your yarn. Check the yarn label for recommended needle size and adjust accordingly.
- Tapestry Needle: You will need a tapestry needle for weaving in ends and sewing up any seams.
- Stitch Markers: Use stitch markers to keep track of your stitches and any pattern repeats.
- Scissors: A pair of sharp scissors will come in handy for cutting yarn and trimming any loose ends.
- Measuring Tape: Make sure you have a measuring tape to check your gauge and ensure the correct sizing of your sweater.
- Pattern Instructions: Download or print out the gingham sweater knitting pattern, and keep it handy as you work on your project.
Once you have gathered all the necessary materials, you’ll be ready to start knitting your gingham sweater. Take your time to make sure you have everything you need, as it will make the knitting process more enjoyable and efficient.
Gauge Swatch
Before you begin knitting your gingham sweater, it is crucial to make a gauge swatch. A gauge swatch is a small sample of your chosen knitting pattern worked in the same stitch and yarn as your project. It helps you determine if your knitting tension matches the pattern’s recommended gauge.
The gauge, usually expressed as the number of stitches and rows per inch or centimeter, ensures that your finished project will have the correct measurements and fit. Knitting with a different gauge than recommended can result in a significantly different size sweater.
To make a gauge swatch, cast on at least 30 stitches using the same needles and yarn you plan to use for your sweater. Knit a few rows in the pattern stitch, making sure to maintain a relaxed tension. After knitting a few inches, measure the width and height of the swatch. Count the number of stitches and rows within a 4-inch square to determine the gauge.
If your gauge matches the pattern’s recommendation, congratulations! You can continue knitting your gingham sweater confidently, knowing that it will have the intended sizing. However, if your gauge differs from the pattern’s gauge, you may need to adjust your needle size. Switch to larger needles if your swatch has more stitches and rows per inch, or smaller needles if it has fewer stitches and rows per inch.
Remember, taking the time to make a gauge swatch can save you from disappointment and frustration later on. It ensures that your gingham sweater will have the right fit and proportions, making all your knitting efforts worthwhile.
Ribbing
Ribbing is a knitting technique that creates a stretchy, textured fabric. It is commonly used for edges, cuffs, and borders in knitting projects, including sweaters, hats, and socks. Ribbing is created by alternating knit and purl stitches in a specific pattern, which gives the fabric its distinctive ribbed appearance.
There are many different types of ribbing patterns, including 1×1 ribbing, 2×2 ribbing, and seed stitch ribbing. These patterns are created by repeating a combination of knit and purl stitches over a set number of rows. 1×1 ribbing consists of alternating knit and purl stitches in each row, while 2×2 ribbing consists of two knit stitches followed by two purl stitches, repeated across the row.
Ribbing is not only aesthetically pleasing, but it also adds elasticity to knitted garments. The stretchiness of ribbed fabric allows it to fit snugly around the body, ensuring a comfortable and secure fit. Additionally, ribbing helps to prevent the edges of knitted items from curling or rolling up, as the alternating knit and purl stitches create a stabilizing effect.
Body Pattern
Row 1: Knit all stitches.
Row 2: Purl all stitches.
Repeat these two rows for the body pattern.
Continue working in the established body pattern until the piece measures the desired length. Make sure to measure from the bottom edge to the armhole shaping section.
Armhole Shaping:
- Next row (right side): Knit to the last 2 stitches, knit 2 together. Turn.
- Wrong side: Purl all stitches.
- Next row: Knit all stitches.
- Repeat these last two rows for the armhole shaping, working one less stitch before the decrease on each right side row until the desired number of stitches remain.
Once the armhole shaping is complete, continue in the established body pattern until the piece measures the desired length from the armhole to the shoulder. Bind off all stitches.
Short Rows for Shoulder Shaping
Short rows are an essential technique in knitting, and they can be particularly useful when it comes to shoulder shaping. When knitting a garment like a gingham sweater, incorporating short rows into the shoulder area can help create a comfortable and flattering fit.
Short rows are used to create extra fabric in specific areas of a project, without knitting the entire row. In the case of shoulder shaping, short rows can be worked on one side of the piece to add height to the shoulder area.
To incorporate short rows for shoulder shaping, you will typically place a certain number of stitches on hold and work the remaining stitches on the row. Then, you will turn the work before reaching the end of the row and work back in the opposite direction.
One common method for working short rows is the wrap and turn (W&T) technique. This involves wrapping the working yarn around the stitch before turning the work, which helps to prevent holes from forming in the fabric. When you come back to these wrapped stitches on subsequent rows, you will need to work the wraps together with the wrapped stitches to create a smooth transition.
Overall, incorporating short rows for shoulder shaping can help create a more tailored and comfortable fit for knitted garments like a gingham sweater. By adding extra height to the shoulder area, you can ensure that the sweater sits properly on your shoulders and doesn’t bunch or sag. Don’t be afraid to experiment with different short row techniques and placements to achieve the desired shaping for your project.
Sleeve Pattern

When knitting a gingham sweater, the sleeve pattern is an essential part of creating the overall design and look. The sleeve pattern adds texture and visual interest to the sweater, while also providing a comfortable fit.
Gingham Check Pattern
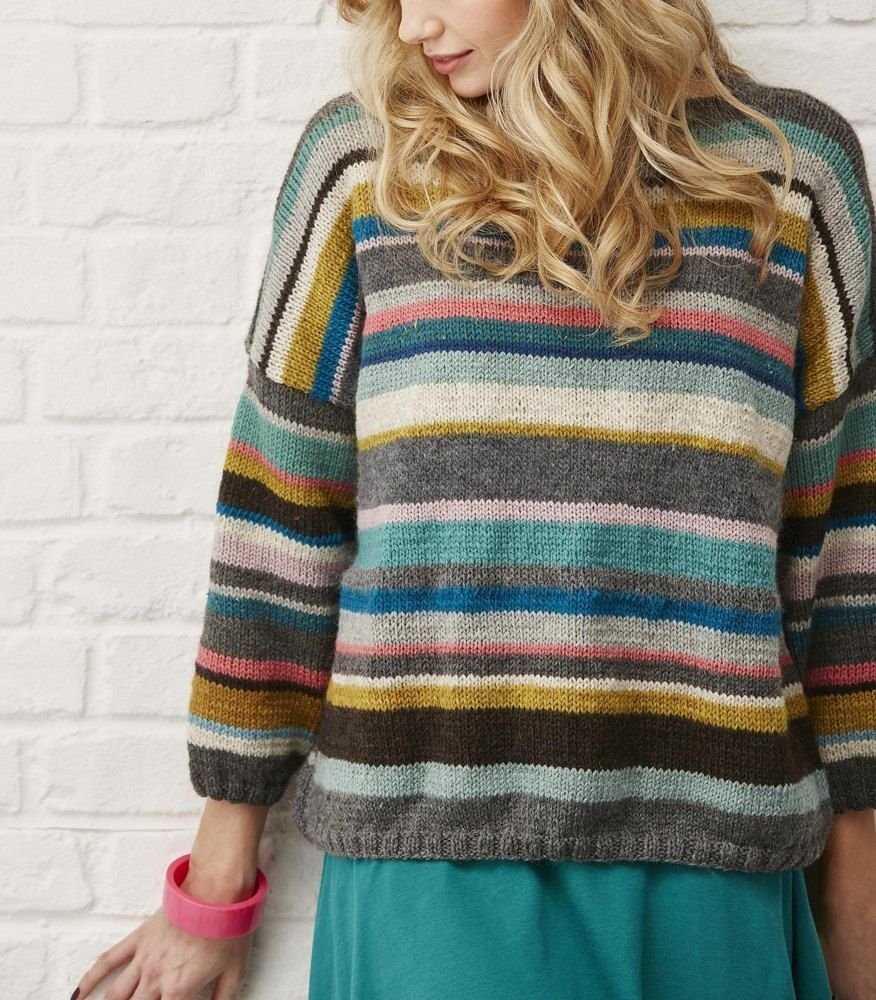
One popular sleeve pattern for a gingham sweater is the gingham check pattern. This pattern creates a classic, timeless look that is perfect for any occasion. To create the gingham check pattern, alternate between knitting two rows of one color and two rows of another color. This simple pattern creates a beautiful checked design on the sleeve.
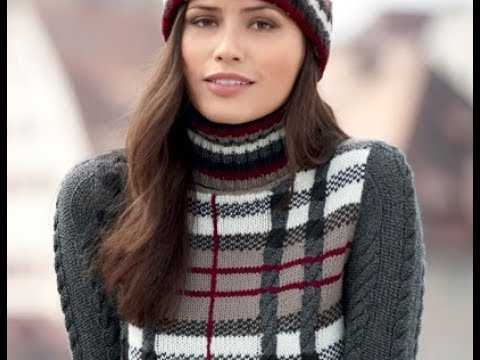
Plaid Pattern
Another option for the sleeve pattern is a plaid pattern. This pattern creates a more intricate design with multiple colors. To create a plaid pattern, use a combination of knit and purl stitches to create the desired pattern. This pattern adds a touch of sophistication to the sweater and can be customized to match any color scheme.
Ribbed Pattern
If you’re looking for a more understated sleeve pattern, the ribbed pattern is a great option. This pattern creates texture and stretch in the sleeve, making it comfortable and easy to wear. To create a ribbed pattern, alternate between knitting and purling stitches in a specific pattern. This pattern is perfect for a casual or relaxed look.
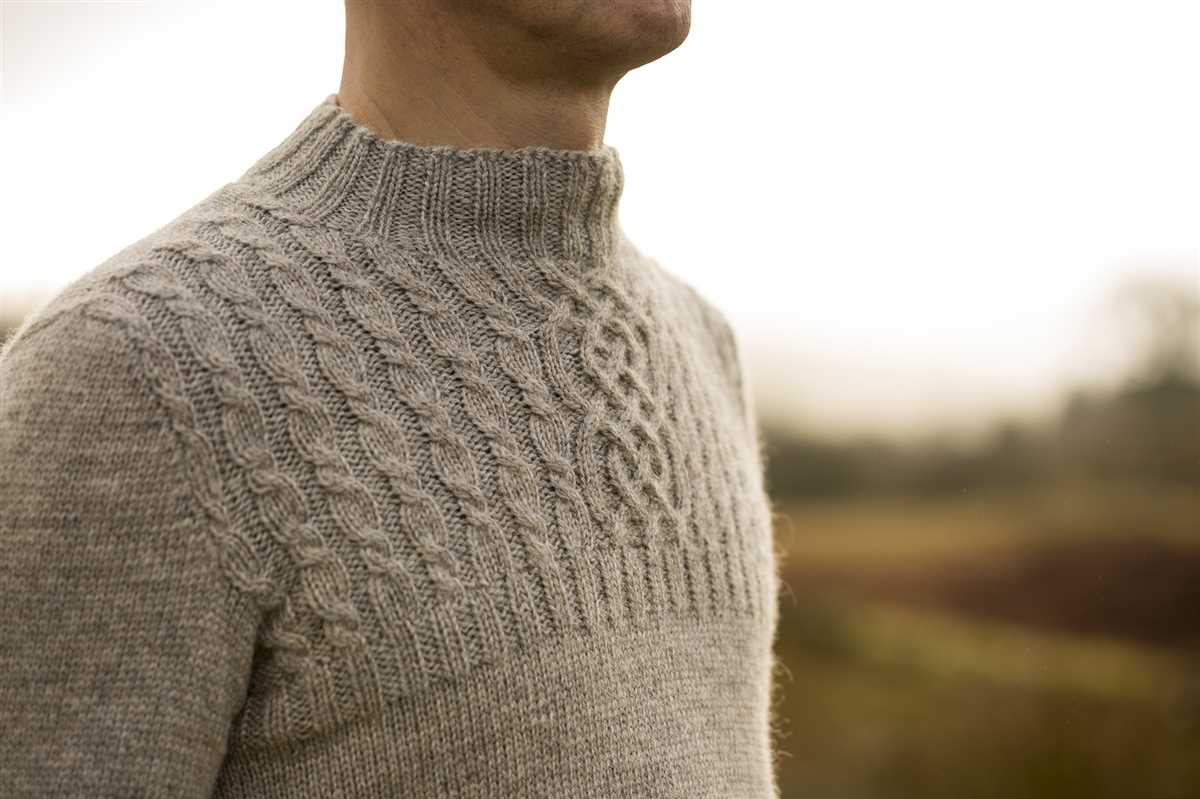
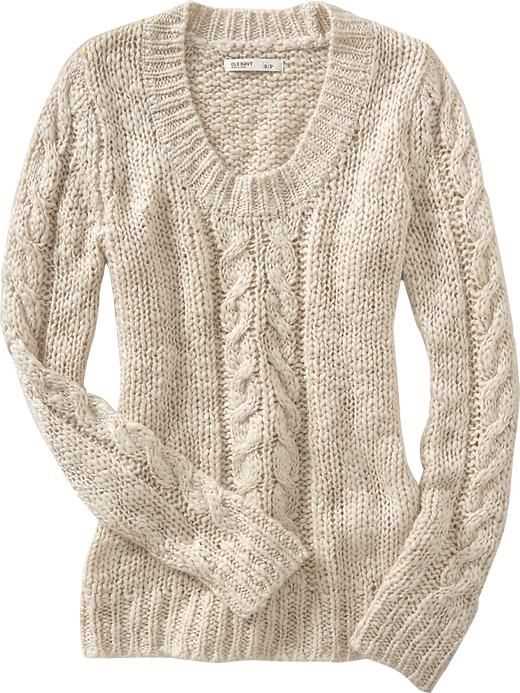
Cable Pattern
For a more intricate and detailed sleeve pattern, consider using a cable pattern. Cable patterns create intricate twists and braids in the fabric, adding a touch of elegance to the sweater. To create a cable pattern, use a cable needle to cross stitches over each other. This pattern requires a bit more advanced knitting skills but the end result is well worth the effort.
Overall, the sleeve pattern is an important aspect of creating a gingham sweater. Whether you choose a gingham check pattern, plaid pattern, ribbed pattern, or cable pattern, each option adds its own unique style and flair to the finished garment. Happy knitting!
Sleeve Cap Shaping

When knitting a gingham sweater, the sleeve cap shaping is an important part of the pattern to create the desired fit and shape. The sleeve cap is the section of the sleeve that is shaped to fit the curve of the shoulder, allowing for ease of movement and comfort when wearing the sweater.
To shape the sleeve cap, the pattern will typically include instructions for decreasing stitches in a specific pattern. This pattern may involve various types of decreases such as knit two together (k2tog) or slip, slip, knit (ssk), which create a diagonal line that helps shape the cap. The decreases are usually spaced evenly across the rows, gradually reducing the number of stitches in each row.
The shaping of the sleeve cap is essential to ensure a proper fit and prevent any puckering or excess fabric in the shoulder area. The pattern will often provide specific measurements or guidelines for the number of decreases and their placement based on the size of the sweater being knitted.
It is important to carefully follow the pattern instructions for the sleeve cap shaping to achieve the desired result. Paying attention to the stitch counts and maintaining an even tension while knitting is crucial to creating a smooth and well-shaped sleeve cap. Taking the time to properly shape the sleeve cap will result in a gingham sweater that fits comfortably and looks professionally finished.
Sweater Neckline Styles
The neckline is an important design detail in a sweater. It not only affects the overall look of the garment, but also influences its fit and comfort. There are several different neckline styles to choose from when knitting a gingham sweater. Let’s explore some of these options below.
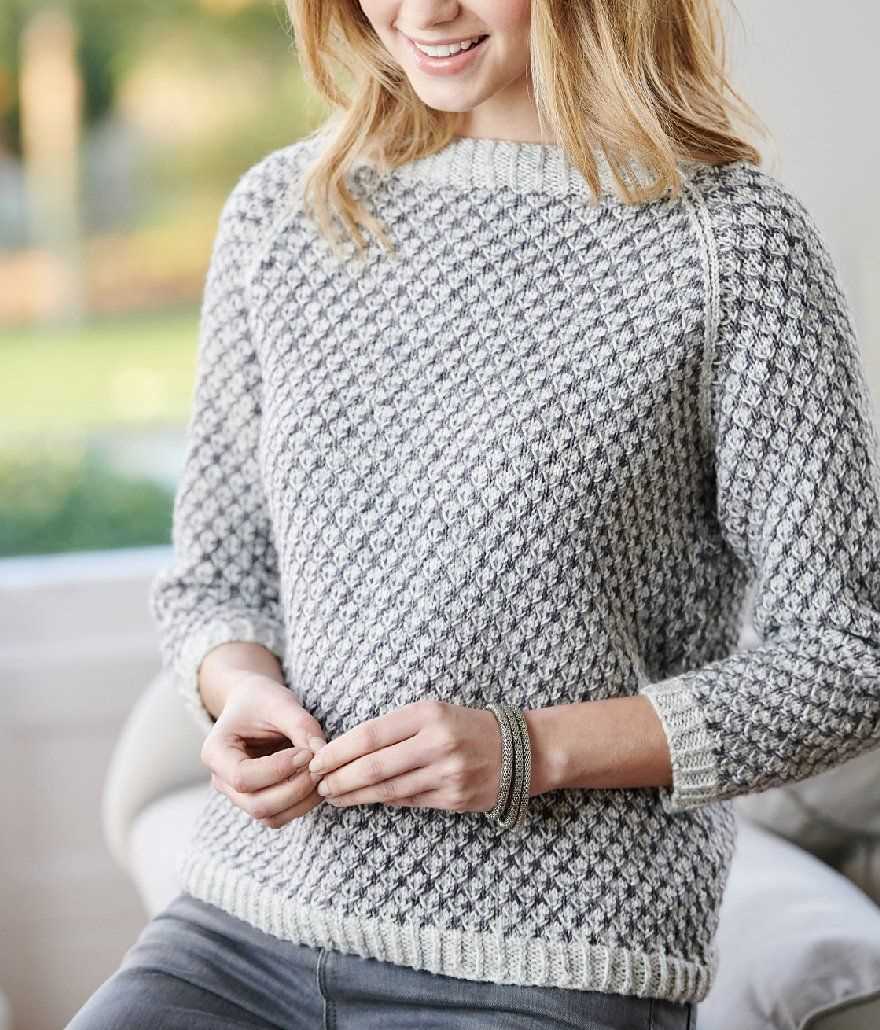
1. Crew Neck
The crew neck is a classic and timeless neckline style. It features a high, round neckline that sits close to the base of the neck. This style is popular for its simplicity and versatility, as it can be dressed up or down depending on the occasion. A crew neck is an excellent choice for a gingham sweater if you prefer a clean and streamlined look.
2. V-Neck
A V-neck is another popular option for sweater necklines. It features a V-shaped cutout that elongates the neck and creates a flattering silhouette. This style is great for adding a touch of femininity to a gingham sweater. Whether you prefer a deep V or a more subtle V, this neckline style is sure to add visual interest to your knitted garment.
3. Boat Neck
The boat neck is a wide, shallow neckline that sits slightly off the shoulders. It is characterized by its elegant and sophisticated look. A boat neck adds a touch of glamour to a gingham sweater and is perfect for showcasing the collarbone. This neckline style is versatile and can be worn with or without accessories for different occasions.
4. Turtle Neck
If you’re looking for a cozy and warm option, a turtle neck is a great choice for a gingham sweater. It features a high, folded neckline that covers the entire neck. This style not only provides extra warmth, but also gives a stylish and polished look to the sweater. A turtle neck is perfect for colder seasons or for those who prefer more coverage.
5. Scoop Neck
A scoop neck is a feminine and flattering neckline style. It features a U-shaped cutout that shows off the collarbone and highlights the neck and décolletage. This style is versatile and can be adjusted to be more or less revealing. A scoop neck adds a touch of elegance to a gingham sweater and is suitable for both casual and dressy occasions.
In conclusion, the neckline of a gingham sweater plays a significant role in its overall design and style. Whether you prefer a classic crew neck, a feminine V-neck, an elegant boat neck, a cozy turtle neck, or a flattering scoop neck, there are plenty of options to choose from. Consider your personal style, comfort, and the occasion when selecting the neckline for your next knitting project.
Finishing Details
Once you have finished knitting your gingham sweater, it’s time to add the finishing details to complete your project. These finishing touches will give your sweater a polished and professional look.
First, you’ll need to weave in any loose ends of yarn that you have left from changing colors or attaching new balls of yarn. Use a yarn needle to carefully weave the ends into the stitches of your sweater, making sure they are secure and won’t come undone. This will give your sweater a neat and tidy finish.
Next, you can add any desired embellishments to your sweater. This could include buttons, ribbons, or even pockets. If you’re adding buttons, use a measuring tape to evenly space them along the front of your sweater. Sew them on securely, making sure they align with the buttonholes. If you want to add pockets, you can knit them separately and then sew them onto the front of your sweater.
Finally, it’s time to block your gingham sweater. Blocking is the process of shaping and smoothing your knitted item to give it a more finished appearance. Wet blocking is recommended for this sweater, as it will help to even out the tension and give your sweater a crisp and professional look. Submerge your sweater in water and gently squeeze out the excess. Lay it flat on a clean towel and use pins to shape it to the desired dimensions. Allow it to dry completely before unpinning.
With these finishing details complete, your gingham sweater will be ready to wear and show off to the world. Enjoy the satisfaction of finishing another knitting project and the joy of wearing your handmade creation!
Blocking
Blocking is an important step in knitting that involves shaping and stretching the finished knitted piece to the desired dimensions. It helps to smooth out the stitches, even out the tension, and give the final project a polished look. Blocking is especially crucial when working with lace or textured patterns, as it helps to open up the stitches and reveal the intricate details.
There are two main methods of blocking: wet blocking and steam blocking. Wet blocking involves soaking the knitted item in water, gently squeezing out the excess moisture, and then pinning it to the correct measurements on a blocking board or towel. This method is ideal for natural fibers like wool and cotton, as it allows the fibers to relax and reshape as they dry.
Wet Blocking
To wet block a gingham sweater, fill a basin or sink with lukewarm water and add a small amount of wool wash or mild detergent. Gently submerge the sweater in the water, making sure it is completely saturated. Let it soak for about 20 minutes to allow the fibers to absorb the moisture.
After soaking, remove the sweater from the water and gently squeeze out the excess moisture. Lay the sweater flat on a clean towel and gently roll it up to remove more water. Do not wring or twist the sweater, as this can distort the shape and damage the fibers.
Next, lay the sweater on a blocking board or towel, shaping it to the desired dimensions. Use T-pins or blocking wires to secure the edges and maintain the shape. Pay attention to any lace or pattern details, ensuring they are opened up and stretched evenly.
Allow the sweater to dry completely before removing the pins or wires. This may take several hours or overnight, depending on the thickness of the yarn and the ambient humidity. Once dry, the gingham sweater will have a professional finish and be ready to wear or gift to a lucky recipient.
Final Thoughts
Overall, knitting a gingham sweater can be a fun and rewarding project for knitters of all skill levels. The pattern offers an opportunity to experiment with colorwork and create a unique and stylish piece of clothing.
It is important to choose the right yarn and needles for this project to achieve the desired gauge and ensure a well-fitting garment. Additionally, following the pattern instructions closely and keeping track of the color changes will help to create a crisp and defined gingham pattern.
Knitting a gingham sweater requires some patience and attention to detail, but the end result is definitely worth it. The finished sweater will be a versatile addition to any wardrobe, suitable for both casual and more formal occasions. Plus, the satisfaction of completing a complex knitting project is always a great feeling.
By following this gingham sweater knitting pattern and putting your own spin on it, you can create a cozy and stylish sweater that you’ll enjoy wearing for years to come. So grab your knitting needles and get started on your own gingham sweater adventure!