
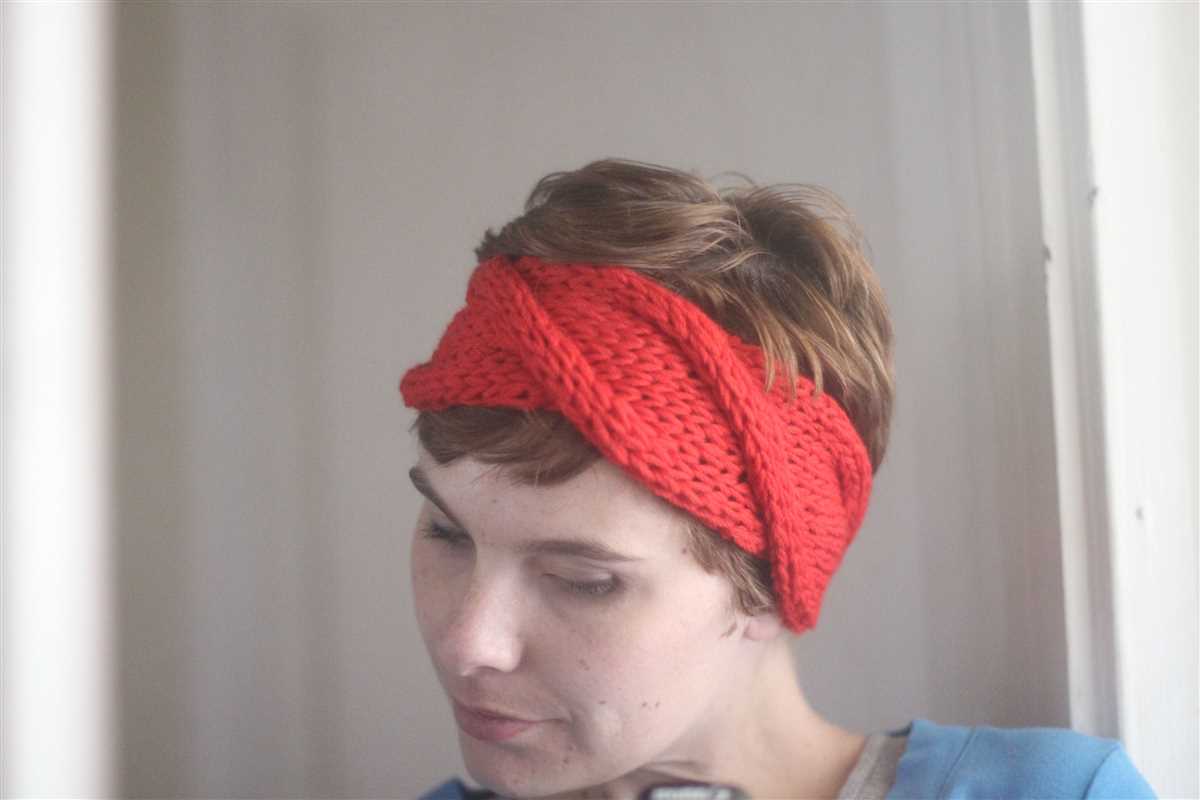
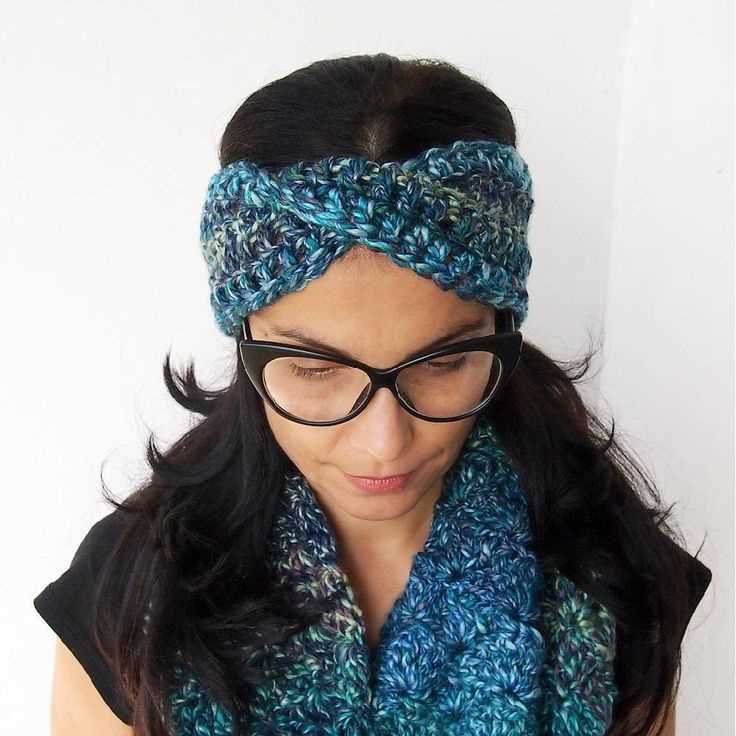
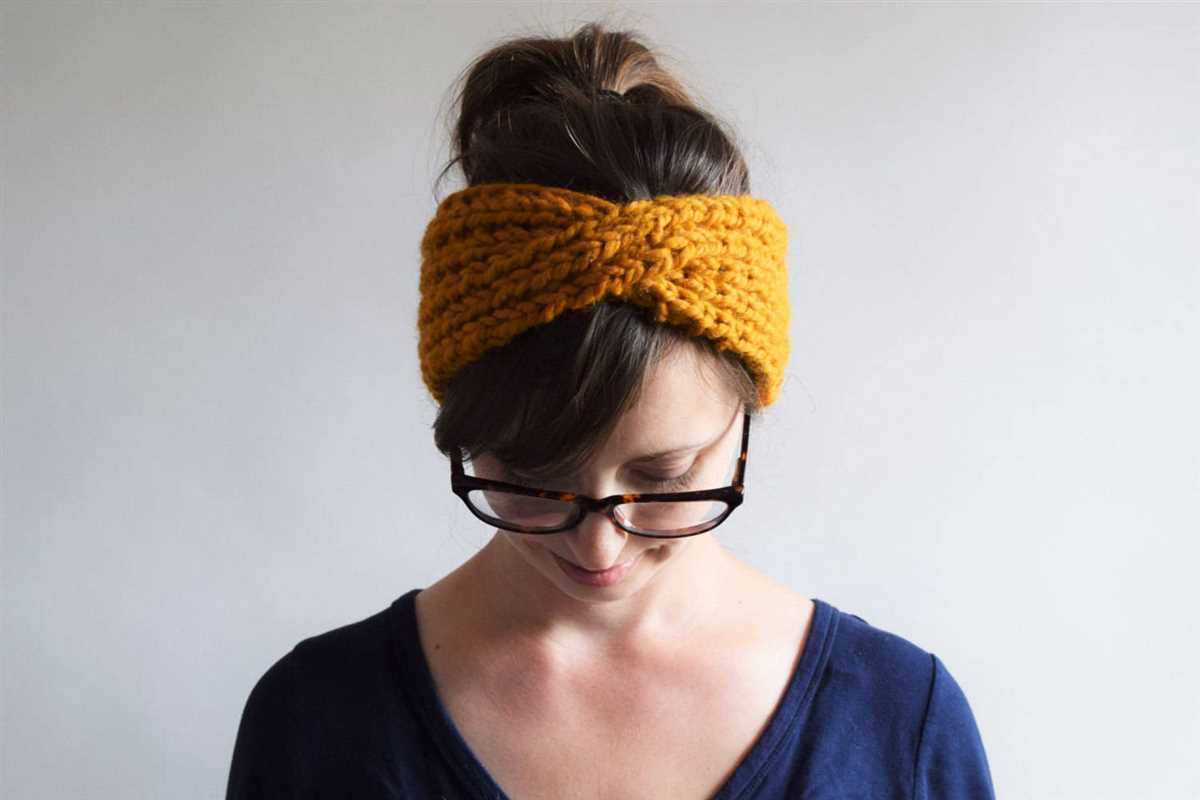
Knitting is a beloved craft that allows us to create beautiful and functional pieces of clothing and accessories. Among the many knitting projects out there, headbands are a popular choice. They are not only stylish and versatile but also serve the practical purpose of keeping our ears warm during cold weather.
One particularly special type of headband that has gained popularity in recent years is the friendship headband. As the name suggests, these headbands are designed to be shared with friends, symbolizing the bond and strength of friendship. This sentimental accessory is a great gift idea and can be made in various colors and patterns to suit each friend’s taste.
If you are looking to create your own friendship headband, you’re in luck! In this article, we will provide you with a knitting pattern that will guide you through the process step by step. Whether you are an experienced knitter or a beginner, this pattern is suitable for all skill levels and can be easily customized to fit any head size.
Friendship Headband Knitting Pattern
Introduction:
Knitting is not only a relaxing and enjoyable hobby, but it can also be a great way to create personalized gifts for your friends. One popular knitting project is the friendship headband. This pattern allows you to create stylish and cozy headbands that can be customized with different colors and patterns. Whether you are a beginner knitter or an experienced one, this friendship headband knitting pattern is perfect for you.
Materials:
- Yarn: Choose a soft and comfortable yarn in your preferred color. Worsted weight yarn works well for this pattern.
- Knitting Needles: Use a pair of size 8 (5 mm) knitting needles.
- Tapestry Needle: This will be used for weaving in the ends of your yarn.
- Scissors: You’ll need a pair of sharp scissors to cut the yarn.
Instructions:
1. Cast on 18 stitches using your preferred cast-on method.
2. Knit in a 1×1 ribbing pattern for 2 inches. This means you will knit 1 stitch, then purl 1 stitch and continue alternating until you reach the end of the row.
3. Switch to the stockinette stitch by knitting every row for the next 4 inches.
4. Start decreasing the stitches by knitting 2 together at the beginning and end of each row until only 2 stitches remain.
5. Cut the yarn, leaving a long tail. Thread the tail through the tapestry needle and slip the needle through the remaining 2 stitches, pulling tight to secure.
6. Use the tapestry needle to weave in any loose ends of yarn.
7. Repeat steps 1-6 to create a second headband in a different color if desired.
Conclusion:
The friendship headband knitting pattern is a simple and fun project that allows you to create beautiful and personalized headbands for yourself or your friends. With just a few basic knitting techniques, you can create stylish accessories that are perfect for keeping your ears warm during the colder months. Get creative with colors and patterns to make each headband unique! Whether you’re a beginner knitter or an experienced one, this pattern is a great way to practice your skills and create something special.
Materials Needed
When it comes to knitting a friendship headband, there are a few materials that you will need to get started. Here is a list of the essential items:
- Yarn: Choose a soft and comfortable yarn in the color of your choice. Make sure that the yarn is suitable for knitting and will provide enough warmth.
- Knitting Needles: Select a pair of knitting needles that are appropriate for the thickness of your yarn. The size of the needles will determine the tension and size of your finished headband.
- Tapestry Needle: This needle will be used for weaving in the loose ends of yarn and finishing off your headband.
- Scissors: You will need a pair of scissors for cutting the yarn and trimming any excess.
- Measuring Tape: A measuring tape will come in handy when checking the length and circumference of your headband. This will ensure a comfortable fit.
These materials are the basic essentials for knitting a friendship headband. With these in hand, you will be well-equipped to begin your knitting project and create a cozy and stylish headband for yourself or a friend.
Casting On
Before you can start knitting your friendship headband, you need to cast on. Casting on is the process of creating the first row of stitches on your knitting needle. There are several methods of casting on, but for this pattern, we will be using the long tail cast on method.
To begin, you will need to estimate how much yarn you will need for the long tail cast on. This can be done by measuring approximately three times the width of your headband and adding a little extra for insurance. Make a slipknot close to the end of your yarn and place it on one of your knitting needles. Hold the tail of the yarn and the working yarn in your left hand.
Step 1: Hold the knitting needle with the slipknot in your right hand and the other knitting needle in your left hand.
Step 2: Use your right thumb and forefinger to hold the tail of the yarn against the needle. Let the working yarn fall over your left thumb and grip it with your left palm.
Step 3: Slide the needle under the loop on your thumb, coming from right to left.
Step 4: Pull the loop through the stitch on your thumb with the needle, creating a new stitch on the needle. Make sure to keep the tension even, but not too tight.
Step 5: Repeat steps 3 and 4 until you have cast on the desired number of stitches for your headband.
Knitting the Headband Body
Once you have cast on the desired number of stitches for your headband, it’s time to start knitting the body. Make sure to keep a count of your stitches, as it’s important to maintain the same number throughout the pattern.
To create the body of the headband, you will be working in a basic rib stitch pattern. This means alternating between knitting and purling stitches to create a textured fabric. The rib stitch pattern is not only visually appealing but also stretches nicely, ensuring a comfortable fit.
To begin, knit the first stitch, then purl the next stitch. Repeat this sequence of knitting and purling until you reach the end of the row. On the next row, simply continue knitting the knitted stitches and purling the purled stitches, maintaining the rib pattern.
Continue working in the rib stitch pattern until the headband reaches your desired width. This may vary depending on personal preference and head size. Remember to periodically measure the width of the headband to ensure you achieve the desired fit.
Once you are satisfied with the width of the headband, you can proceed to bind off the stitches. This will secure the edges of the headband and complete the first step of the pattern. Stay tuned for the next section, where we will cover adding the decorative details and finishing touches to your friendship headband.
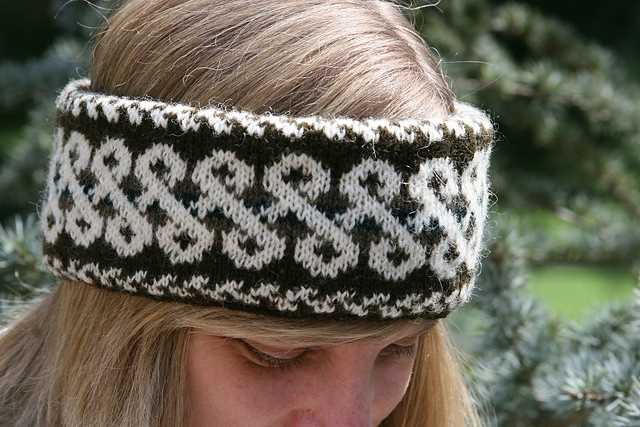
Adding the Friendship Pattern
Once you have finished knitting the base headband, it’s time to add the friendship pattern. This pattern will add a unique and colorful touch to your headband, perfect for showing off your friendship with someone special.
The friendship pattern consists of a series of alternating colors, usually representing the colors of the friendship bracelets that friends would exchange as a token of their bond. You can choose any colors that you like, but it’s common to use bright and vibrant colors to make the pattern stand out.
To start the friendship pattern, you’ll need to decide on the number of rows and stitches you want to dedicate to each color. This will depend on the width of your headband and how many colors you want to include. Once you have decided on the pattern, you can start knitting it using the intarsia technique.
Intarsia knitting is a technique that allows you to knit with multiple colors in one row without carrying the yarn across the back of your work. You will need a separate ball of yarn for each color used in the pattern. When you switch colors, you will drop the previous yarn and pick up the new color, leaving a short “tail” on the back of your work. The tail can be woven in later to secure the color change.
Begin by following the pattern row by row, knitting the stitches with the corresponding color yarn. It’s important to pay attention to the pattern and keep track of your rows to ensure a consistent and neat result. You can use a row counter or place markers to help you keep track.
As you continue knitting the friendship pattern, you will start to see the colorful design take shape. The alternating colors will create a striking and eye-catching effect on your headband, making it a unique accessory that can symbolize the strength of your friendship. Once you have completed the pattern, you can finish off your headband by binding off and weaving in any loose ends.
Changing Colors
Changing colors in your knitting project can add a beautiful and dynamic element to your design. Whether you’re knitting a friendship headband or any other project, knowing how to change colors can take your knitting skills to the next level.
One simple way to change colors is by using the “intarsia” technique. With this method, you can easily transition from one color to another without any visible bumps or knots. Simply drop the old color and start knitting with the new color. To secure the yarn ends, you can weave them in later or use a technique called “duplicate stitch” to embroider over the loose ends.
If you prefer a more seamless color transition, you can try the “stranded knitting” technique, also known as Fair Isle knitting. With this method, you carry both colors along the back of your work and alternate between them as needed. By knitting with both colors in each row, you create a beautiful and intricate pattern. It’s important to keep the tension even to avoid puckering or distortion.
When working with multiple colors, it’s essential to plan your color changes in advance. Create a color chart or refer to the knitting pattern to determine where each color change should occur. This will help you achieve the desired color pattern and prevent any mistakes or confusion.
Remember, practice makes perfect when it comes to changing colors in knitting. Start with simple projects like a friendship headband and gradually challenge yourself with more complex patterns. With time and patience, you’ll become confident in your ability to create stunning colorwork designs.
Knitting in Rounds

Knitting in rounds is a technique commonly used in knitting projects to create seamless and circular pieces. Instead of knitting back and forth in rows, you work in a continuous spiral, joining the ends of each row to form a round. This technique is especially useful for knitting hats, socks, and other items that require a seamless construction.
To knit in rounds, you will need a set of double-pointed needles, circular needles, or a long circular needle for the magic loop technique. The number of stitches you cast on will depend on the pattern and the size of the item you are knitting. It’s important to ensure that your cast-on stitches are not twisted before joining in the round.
When knitting in rounds, there are two main methods you can use: the circular method and the double-pointed needle method. The circular method involves using a circular needle and knitting all the stitches onto the needle, while the double-pointed needle method involves dividing the stitches evenly onto multiple double-pointed needles and working with one needle at a time.
- In the circular method, you can simply work your stitches in a continuous spiral, without needing to switch between needles. This method is often preferred for large projects like sweaters or blankets.
- In the double-pointed needle method, you will typically divide your stitches onto three or four double-pointed needles and work with a fourth or fifth needle. You will need to transfer the stitches from one needle to the next to create a seamless and circular piece.
Both methods require you to join the ends of each round to create a continuous piece. You can do this by sliding the last stitch of the current round onto the left-hand needle and knitting the first stitch of the next round with the working yarn. This will create an invisible join and prevent any gaps or holes in your work.
Knitting in rounds can be a tricky technique to master at first, but with practice, it can become a versatile and efficient way to create seamless and circular pieces. So grab your needles and yarn, and start knitting beautiful projects in the round!
Knitting the Ends Together
Knitting is not just about creating beautiful garments, it is also a way to connect with others and create meaningful friendships. One way to do this is by knitting friendship headbands. These headbands are not only stylish accessories, but they also symbolize the bond between friends.
The process of knitting the ends together is a symbolic act that represents the coming together of two individuals. It is a way to celebrate the connection and friendship between two people. The headbands are typically knitted using a simple pattern, making them accessible to knitters of all levels. The finished product is a tangible reminder of the bond between friends.
To knit the ends together, you will need two sets of knitting needles and two balls of yarn in different colors. The pattern typically involves knitting a simple band with a stretchy stitch pattern. Once the band is completed, the two ends are brought together and sewn or knitted together to create a loop. This loop can then be worn as a headband, symbolizing the unity and friendship between the two friends.
Knitting the ends together is not just about creating a beautiful accessory, but it is also about creating a lasting connection with a friend. The act of knitting itself can be meditative and relaxing, allowing for conversation and bonding between friends. As you knit, you can share stories, laughter, and support, creating a stronger bond with each stitch. The finished headband serves as a reminder of the time and effort that went into creating the friendship, and can be cherished for years to come.
Finishing Touches
Once you have completed knitting your friendship headband, it’s time to add the finishing touches that will make it truly special. These small details will take your creation from a simple knitted accessory to a unique and personalized piece that reflects your style and creativity.
One of the simplest yet most effective ways to add a finishing touch is by attaching a decorative button to your headband. Choose a button that complements the color and texture of your yarn, and sew it securely onto one end of the headband. This small embellishment can instantly elevate the look of your headband and give it a polished and professional finish.
To further enhance the aesthetic appeal of your friendship headband, consider adding some delicate embroidery. Using a contrasting color of yarn or embroidery thread, create small stitches or patterns on the surface of the headband. This subtle detail will add an extra layer of texture and visual interest to your knitted piece, making it even more eye-catching and unique.
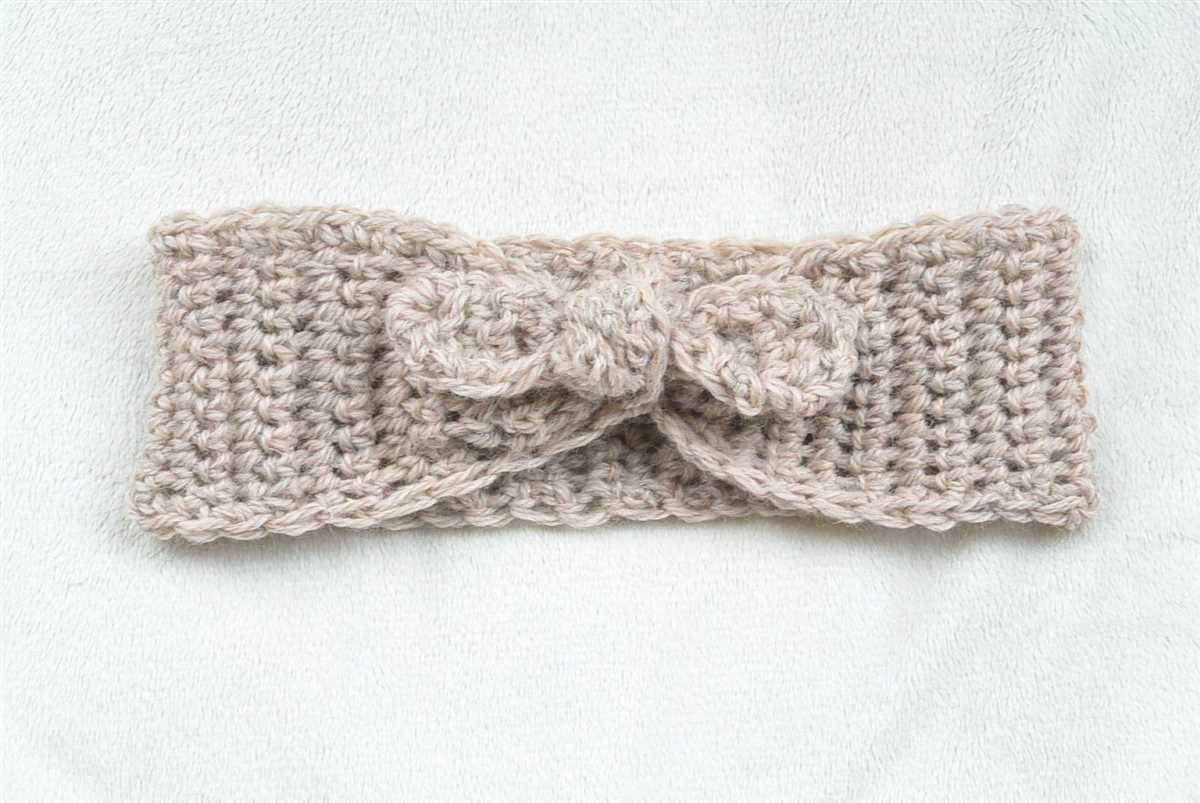
An alternative way to add a finishing touch is by incorporating a small knitted flower or bow. Knit these separate from the headband, using a different yarn color or texture, and sew them onto the headband at your desired location. These small knitted accessories will bring a playful and feminine touch to your headband, making it even more charming and delightful to wear.
Remember, the finishing touches are an opportunity for you to showcase your personal style and creativity. Don’t be afraid to experiment with different embellishments and techniques, such as beading, appliques, or even attaching charms. Let your imagination run wild and have fun with the process of adding those final details that will make your friendship headband truly one-of-a-kind.
Blocking the Headband
Blocking is an important step in knitting to ensure that your finished project looks polished and professional. It involves reshaping the knitted piece and allowing it to dry in the desired shape. For the Friendship Headband knitting pattern, blocking helps to ensure that the headband fits comfortably and retains its shape.
To block the headband, first, gather all the necessary materials, including blocking mats or towels, rust-proof pins, a spray bottle filled with water, and a measuring tape. Lay the headband flat on the blocking mats, making sure it is stretched evenly and the edges are aligned.
Spray the headband with water to dampen it thoroughly. This will help the fibers relax and mold into the desired shape. Use a gentle mist setting on the spray bottle to distribute the water evenly. Avoid soaking the headband, as excessive moisture can cause stretching.
Pin the headband in place using rust-proof pins. Start by pinning the corners, then work your way along the edges, spacing the pins evenly. Make sure that the headband is stretched to the desired width and length. Use a measuring tape to check the dimensions and adjust as necessary.
Leave the headband to dry completely, undisturbed, in the pinned shape. This may take a few hours or overnight, depending on the humidity and airflow in the room. Avoid touching or moving the headband until it is completely dry to maintain its shape.
Once the headband is dry, carefully remove the pins and gently unpin the headband from the blocking surface. The headband should now be beautifully blocked and ready to wear or gift to a friend. Enjoy your newly blocked Friendship Headband!
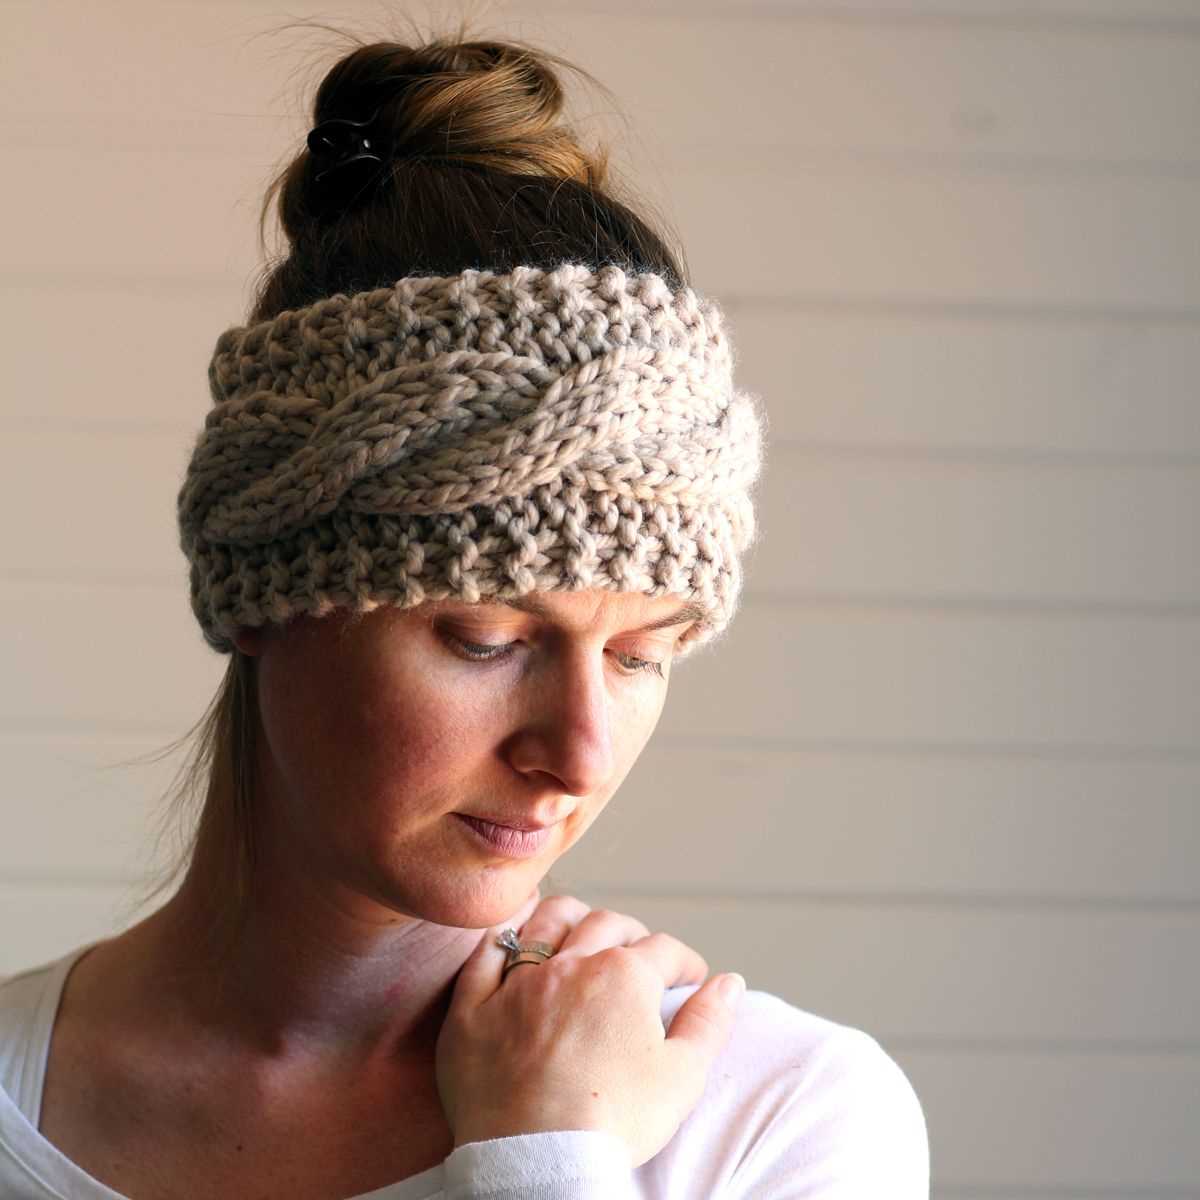
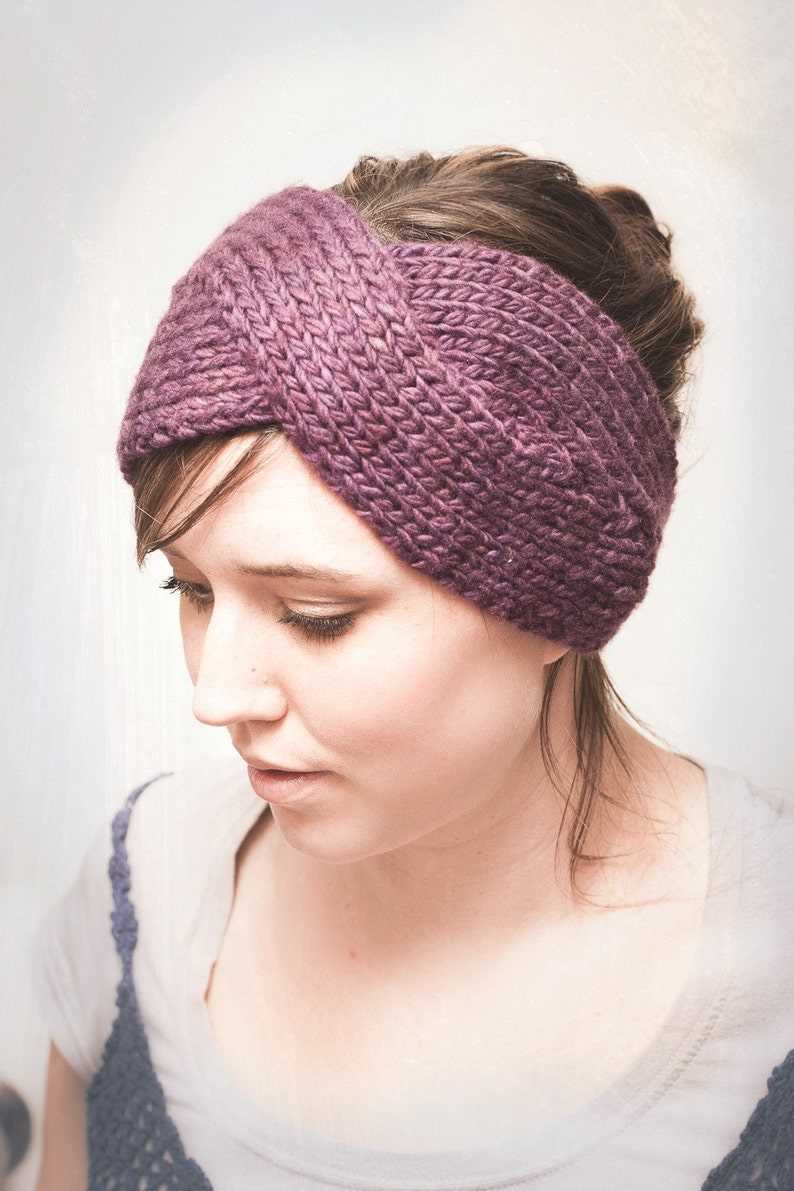
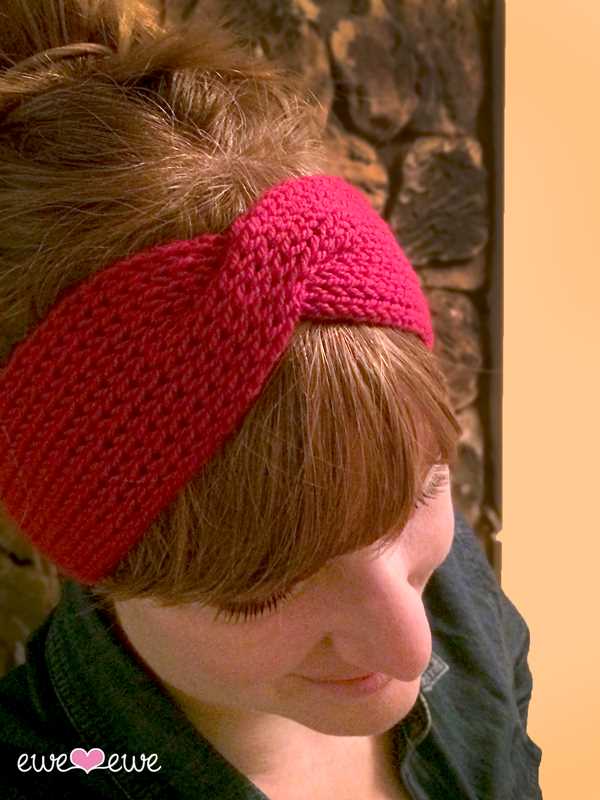
Variations
There are endless possibilities when it comes to variations of the friendship headband knitting pattern. You can experiment with different colors, textures, and stitches to create unique and personalized headbands.
One variation you can try is using variegated yarn. This type of yarn has multiple colors blended together, creating a beautiful and intricate pattern. Knitting a friendship headband with variegated yarn can add a pop of color and make the pattern more interesting.
Color Combinations
- Gradient: Instead of using a solid color, you can create a gradient effect by using different shades of the same color. Start with a lighter shade at the beginning of the headband and gradually switch to a darker shade.
- Contrasting Colors: Another option is to use contrasting colors for the stripes. This can create a bold and eye-catching look.
- Neutrals: If you prefer a more subtle and understated look, you can choose neutral colors such as gray, beige, or cream.
Stitch Patterns
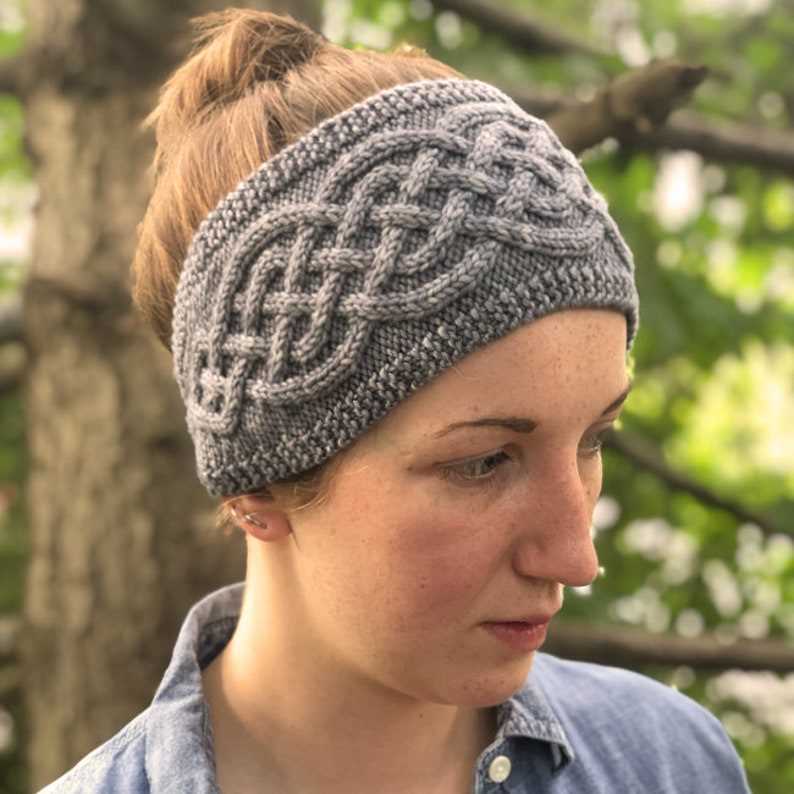
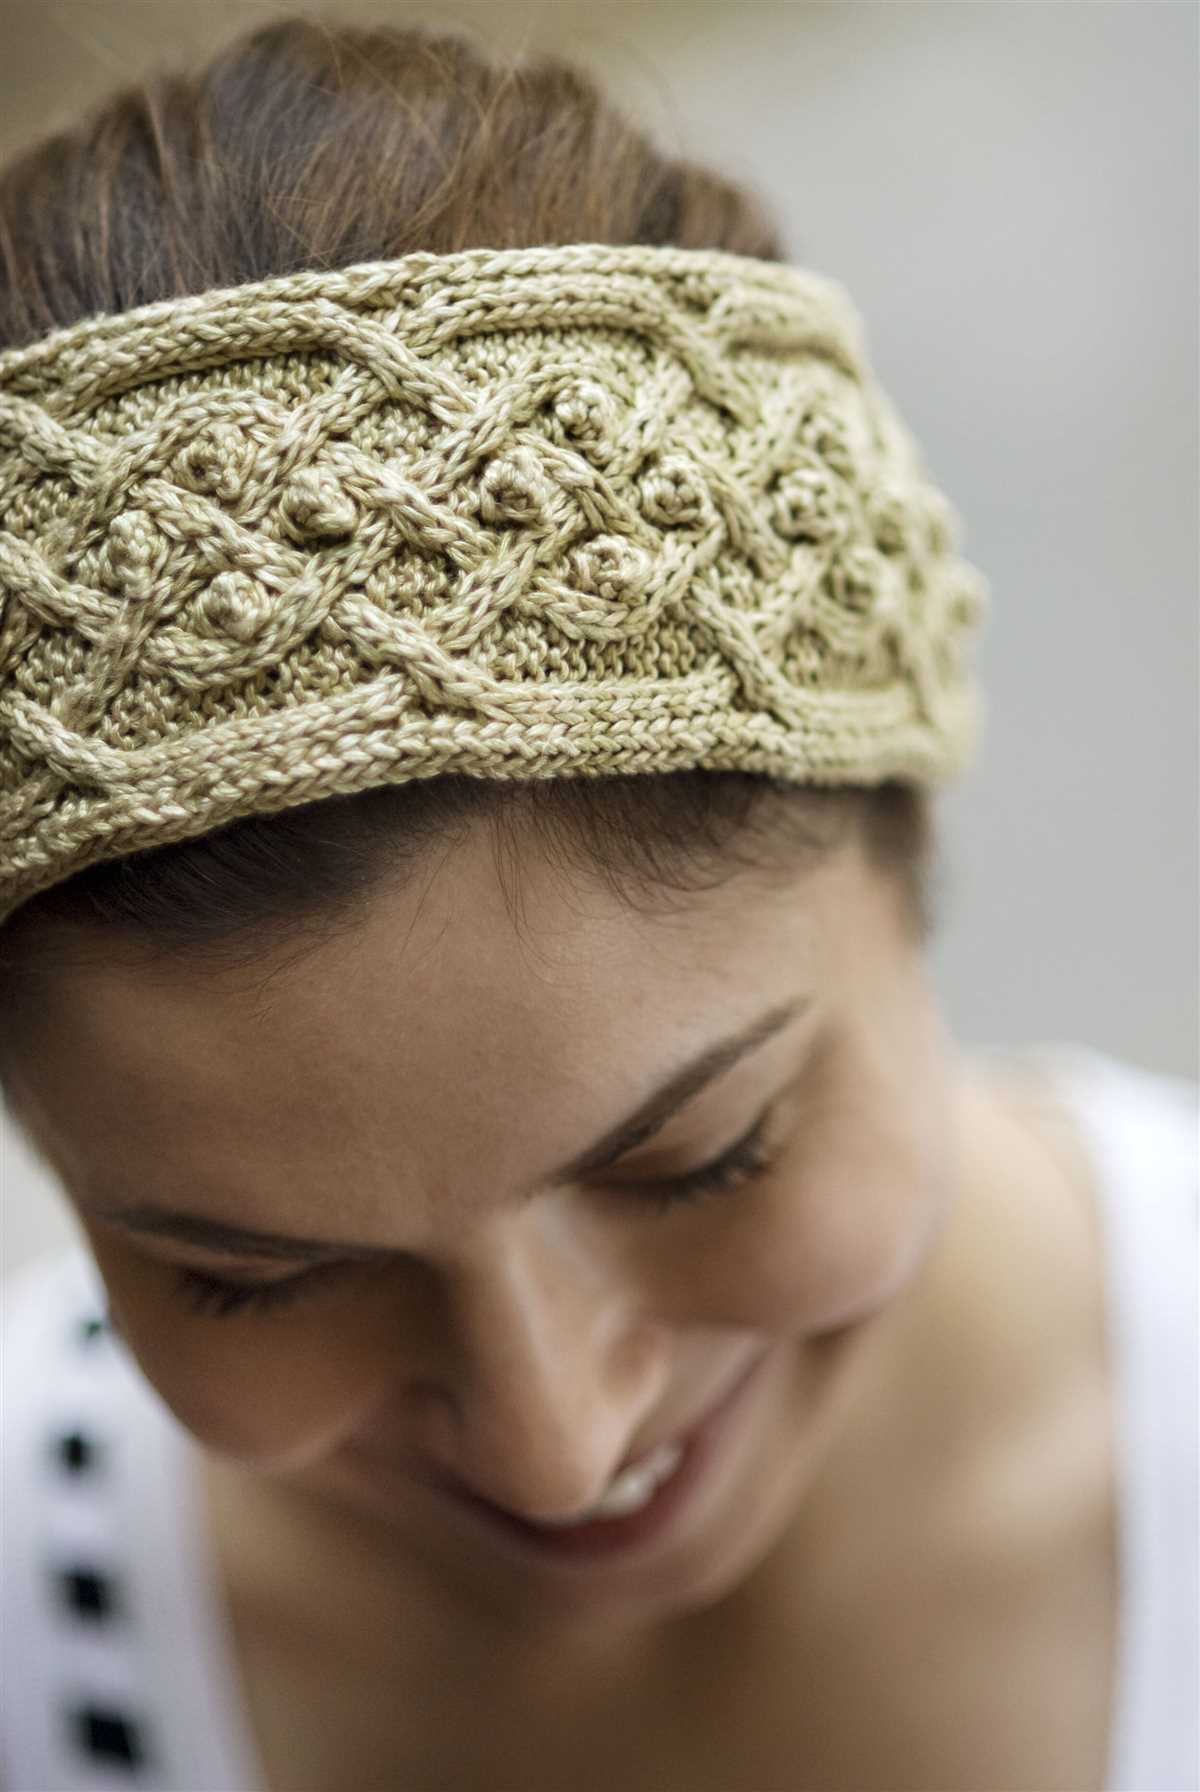
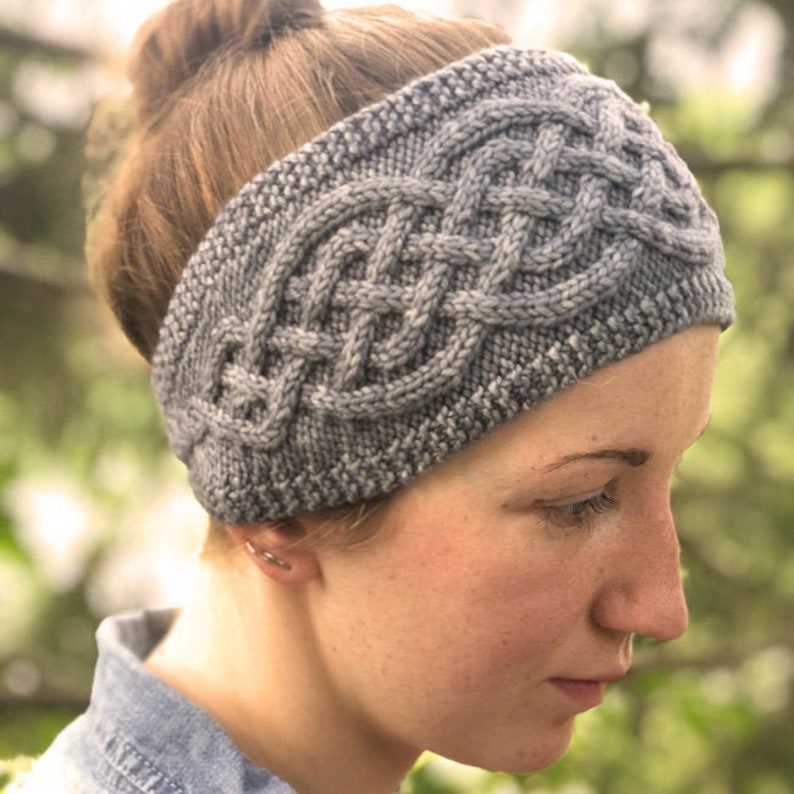
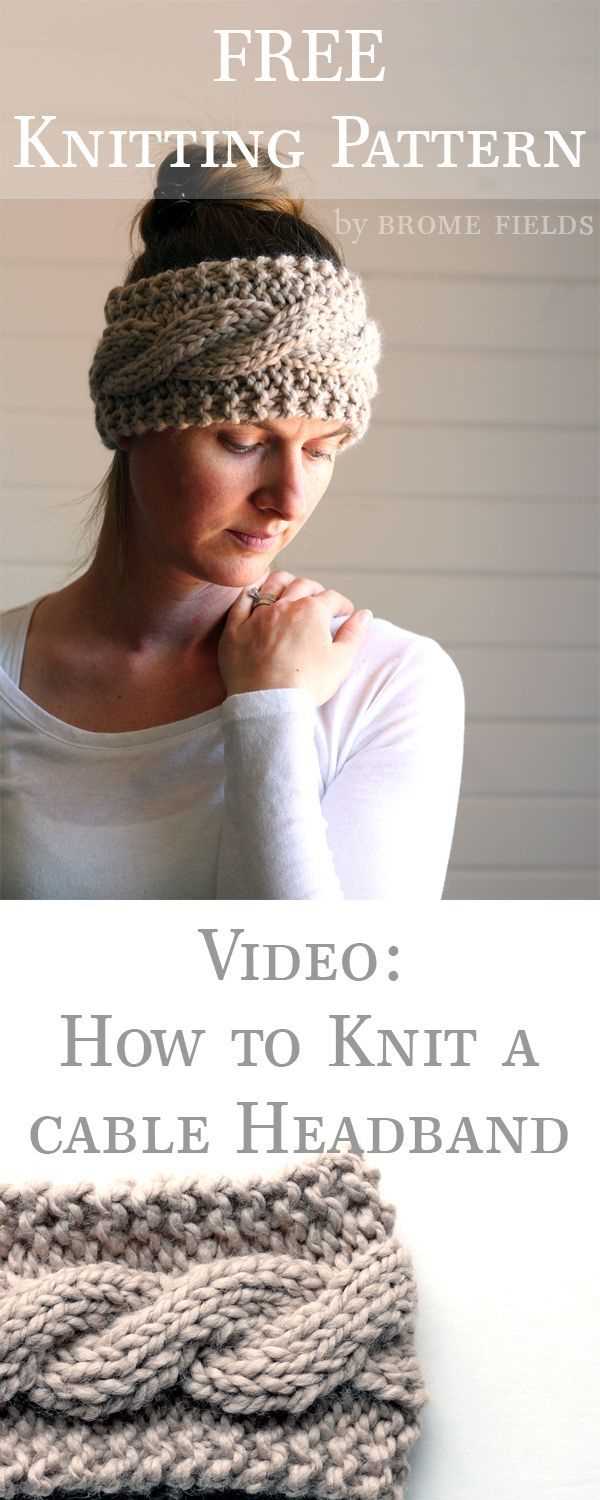
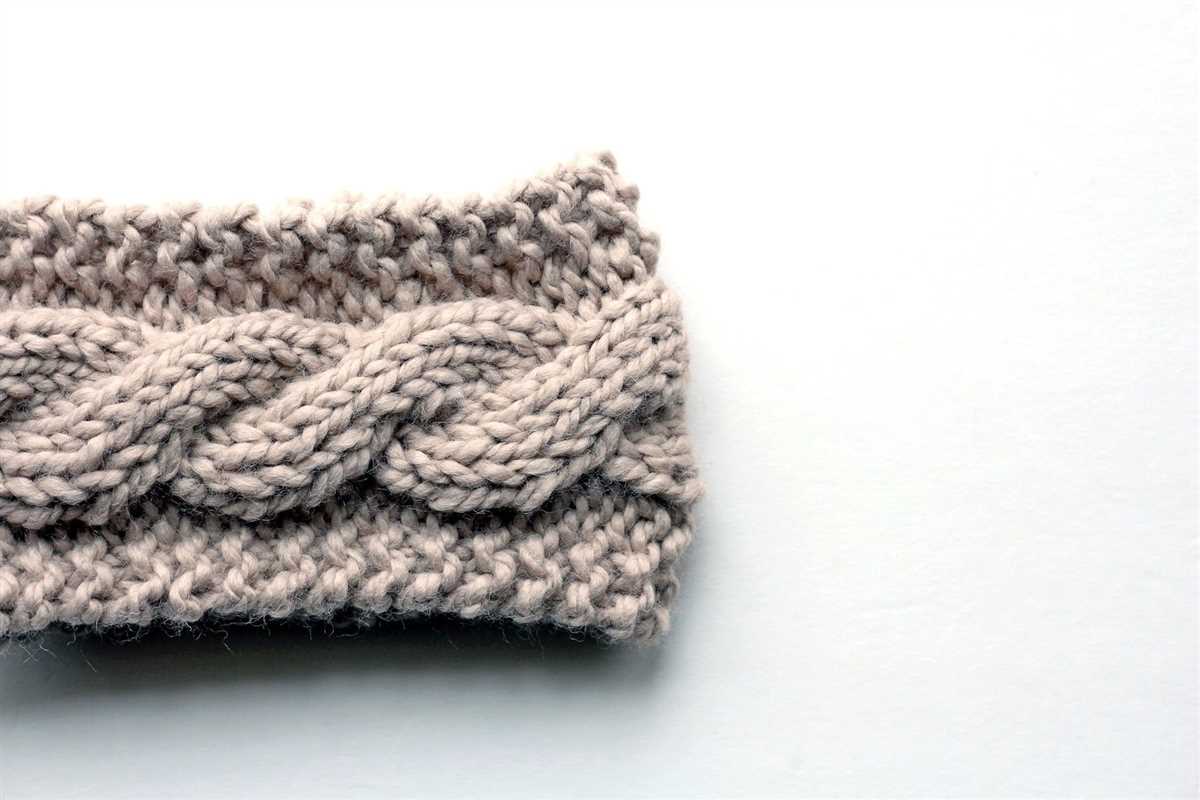
- Cable Stitch: Adding a cable stitch to the friendship headband can give it a more intricate and textured look. You can create simple cables or more complex designs, depending on your skill level and preference.
- Ribbing: Another option is to incorporate rib stitching into the headband. Ribbing creates a stretchy and snug fit, making the headband more comfortable to wear.
- Lace Patterns: For a delicate and feminine touch, you can use lace stitch patterns. Lace stitches create an open and airy fabric, perfect for warmer weather or dressier occasions.
Remember, the beauty of knitting is that you can customize and personalize your projects to suit your own style and preferences. Experiment with different variations of the friendship headband knitting pattern to create headbands that are as unique as your friendships.
Care Instructions
To ensure that your friendship headband stays in the best condition possible, follow these care instructions:
- Hand wash the headband in cold water with mild detergent
- Gently squeeze out excess water, avoiding wringing or twisting the headband
- Do not bleach or use harsh chemicals
- Lay flat to dry, avoiding direct sunlight
- Do not iron
- Store the headband in a cool and dry place
By following these care instructions, you can extend the lifespan of your friendship headband and keep it looking beautiful for longer.
Conclusion
Knitting friendship headbands can be a fun and rewarding craft project. Whether you’re making them for yourself or as a gift for a friend, the pattern provided in this article is sure to create a stylish and cozy accessory.
Remember to choose the yarn and color combination that suits your personal style, and don’t be afraid to get creative with different stitch patterns or embellishments.
With the finished headband in hand, you’ll have a one-of-a-kind accessory that will keep you warm and make a fashionable statement. Enjoy the process of knitting, wear your friendship headband with pride, and share the joy of handmade gifts with your loved ones.
Q&A:
What is a friendship headband knitting pattern?
A friendship headband knitting pattern is a set of instructions and guidelines that enable you to knit a headband featuring a friendship design. It usually includes information on the materials needed, the stitches and techniques required, and the step-by-step instructions for creating the headband.
How do I find a friendship headband knitting pattern?
You can find a friendship headband knitting pattern online on various knitting websites and platforms. You can also check knitting books and magazines for patterns. Additionally, you can ask fellow knitters or join knitting communities for recommendations and pattern suggestions.
What materials do I need to knit a friendship headband?
The materials needed to knit a friendship headband vary depending on the pattern, but typically include yarn in various colors, knitting needles of appropriate size, a tapestry needle for weaving in ends, and any additional embellishments or decorations mentioned in the pattern.
Are friendship headbands difficult to knit?
The difficulty level of knitting a friendship headband depends on the pattern and your knitting experience. Some patterns may be suitable for beginners, while others might require more advanced knitting skills. It’s always a good idea to check the difficulty level mentioned in the pattern description before starting.
Can I modify a friendship headband knitting pattern?
Yes, you can modify a friendship headband knitting pattern to suit your preferences or needs. You can change the colors, experiment with different stitch patterns, or adjust the size of the headband. However, it’s important to note that modifying a pattern may affect the final result, so it’s recommended to make a small swatch or test before making any major modifications.
What is a friendship headband knitting pattern?
A friendship headband knitting pattern is a set of instructions and guidelines for knitting a headband that can be given as a gift to a friend or loved one. It typically includes information on the required materials, knitting techniques, and stitch patterns needed to create the headband.